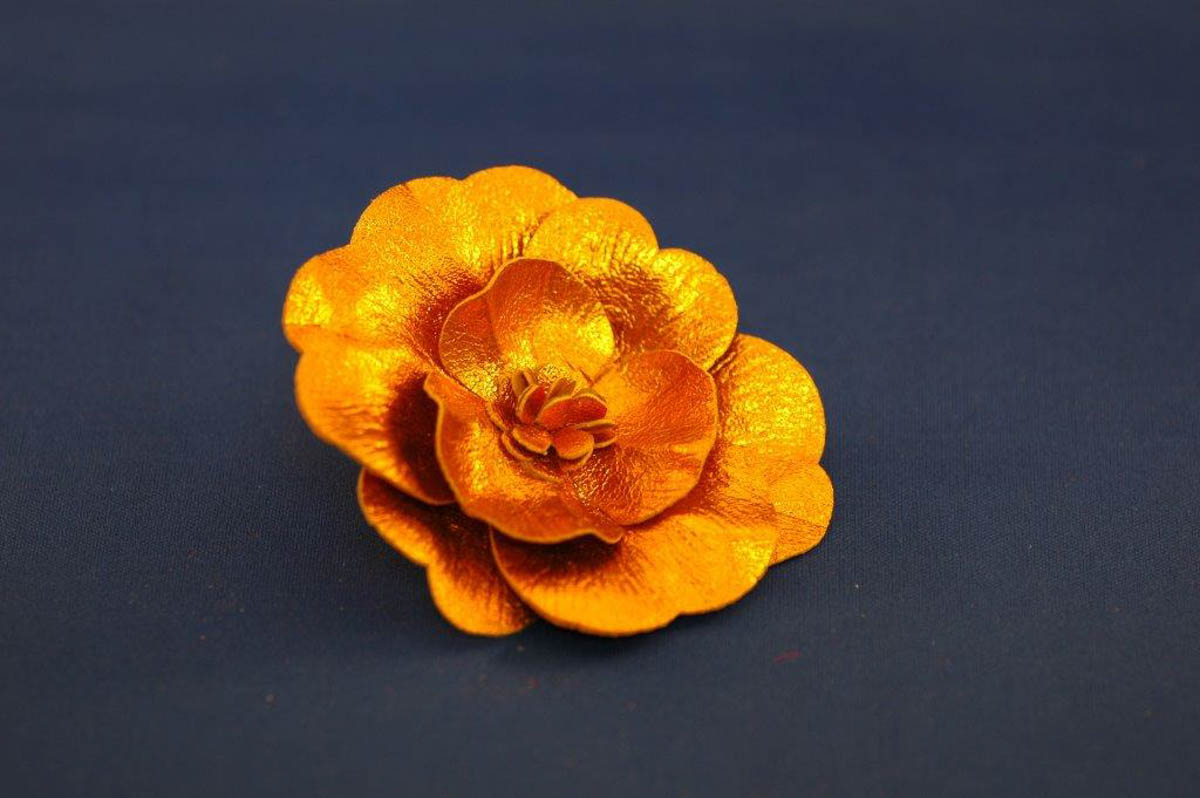
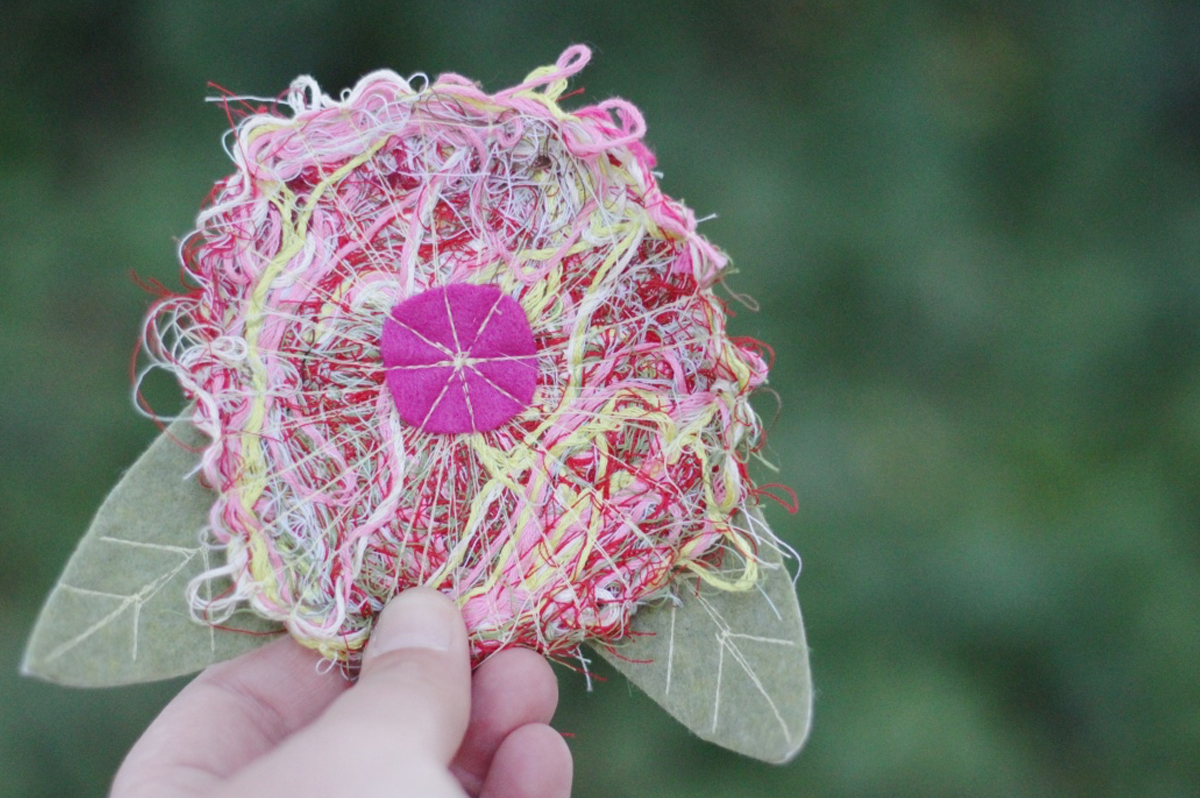
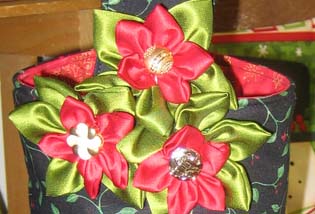
Zigzag Flower Stitches
Here’s a simple and easy embellishment technique. Developed before the days of machine embroidery, this technique uses a simple zigzag stitch to create a bouquet of delicate flowers to stitch on a variety of projects such as little girls’ clothing, table linens, lingerie, and other places where just a little adornment is needed. This delicate embellishment is made with a zigzag stitch with the feed dog lowered, creating bartacks. By pivoting around in a circle, the bartacks are “petals” that create a simple little blossom. I stitch these flowers on my B 790 PLUS but they can be sewn using any BERNINA model.
Presser Feet Options
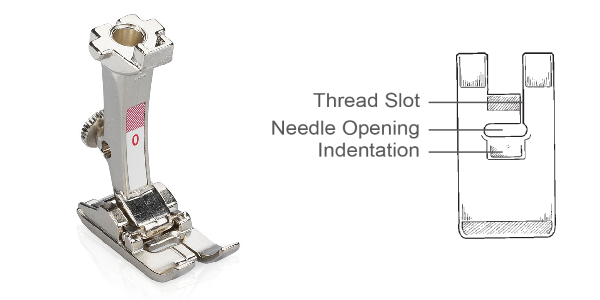
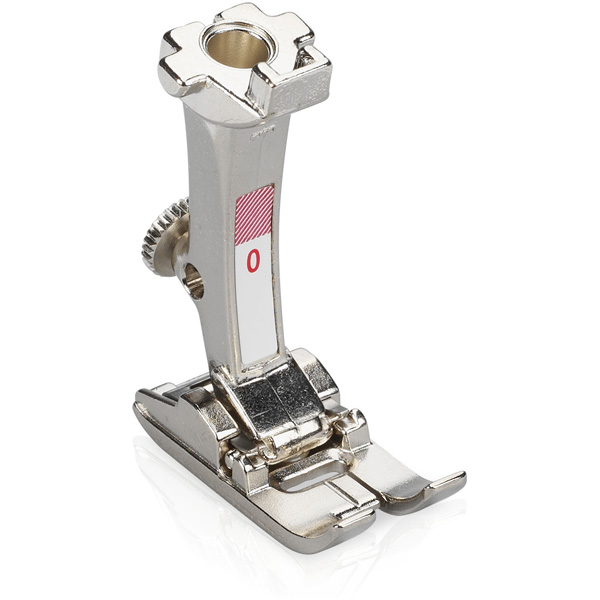
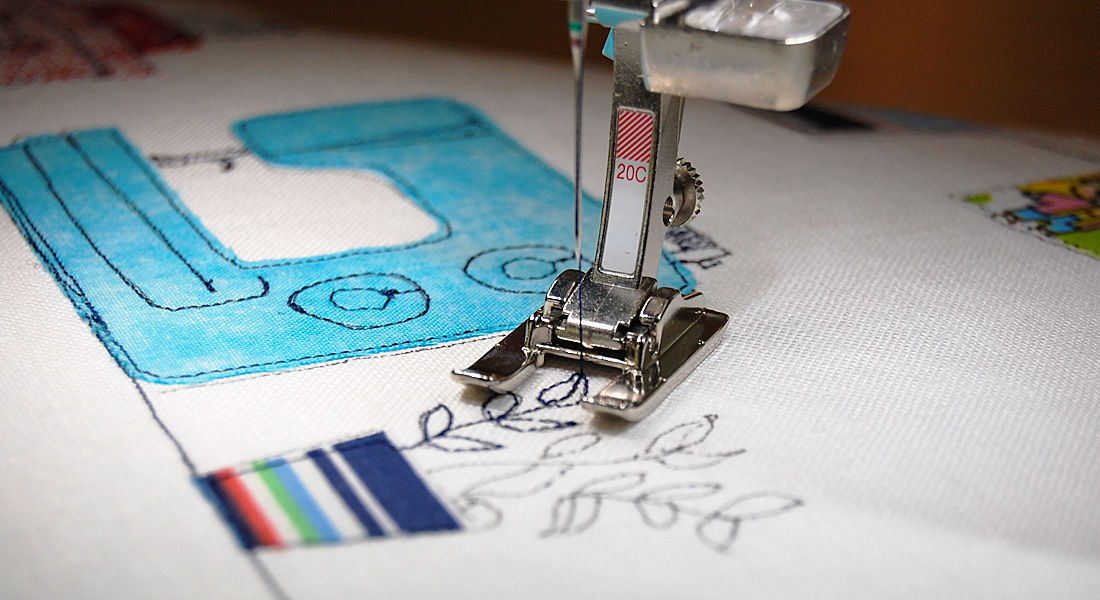
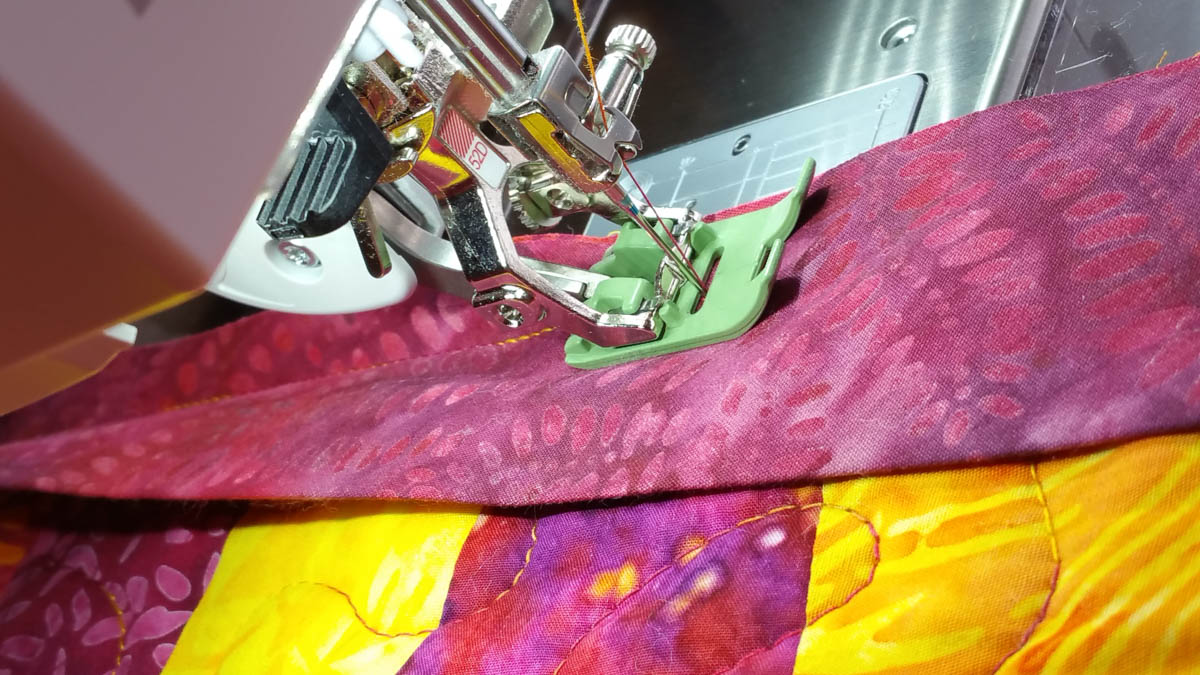
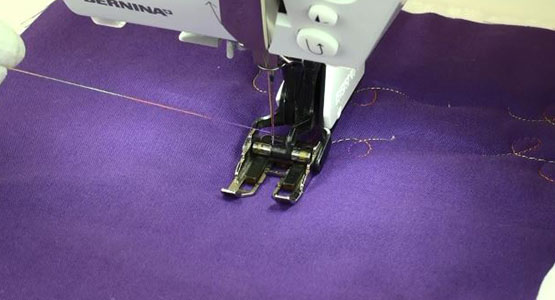
Zigzag Foot #0 is made to stitch simple stitches that move only in a forward motion, such as straight, zigzag and other simple stitches found on the practical stitch menu.The sole of Foot #0 is flat with a small indentation behind the needle. It is there to allow the thread to move under the foot easily without dragging. An engraved line marks the center of the foot; the slot next to it allows the needle thread to be put under the foot and placed to the back when sewing. The needle opening of the foot is wide enough for a stitch width of 5.5 mm, making it useful for sewing a wide range of practical stitches when used with a stitch plate that has a 5.5 mm opening.
 Other presser feet can also be used to make zigzag flowers. Reverse pattern #1/1C/1D is another all-purpose foot that has two 9 mm options (#20C and #20D). Using one of them lets you make flowers that are slightly larger than those made with Foot #0.
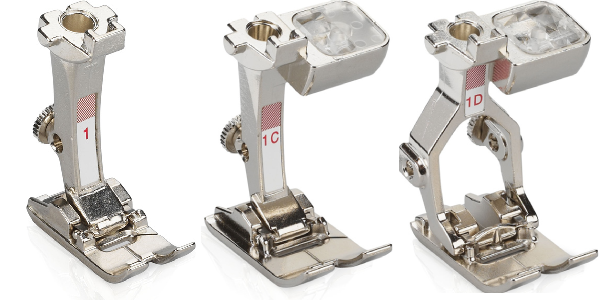
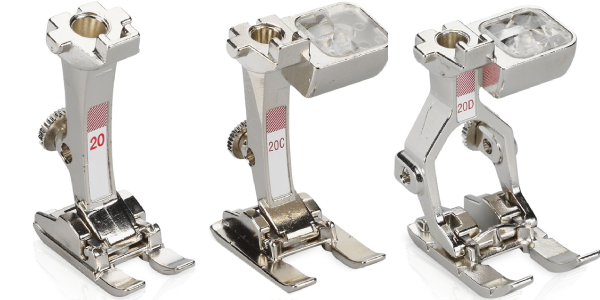
Embroidery Foot #20/20C/20D also has the 9 mm options for the larger flowers. In addition, the open area between the toes gives clear visibility when you are stitching the flowers.
Stitching Zigzag Flowers
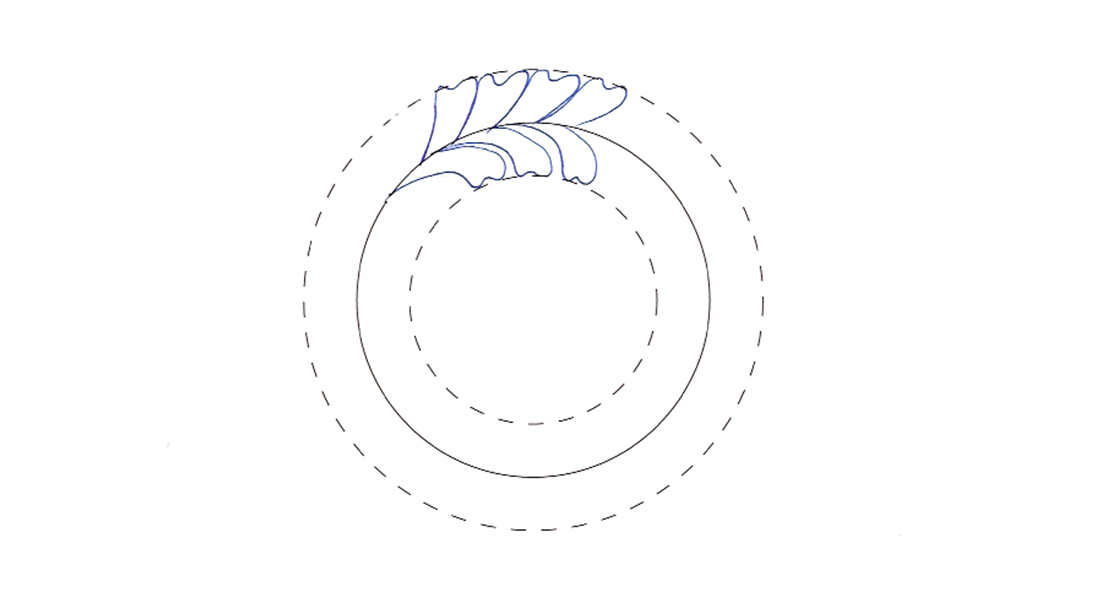
Decide where you want the flowers on your fabric. Mark the centers of the flower using a water-soluble marker. You can also draw lines through the center dot to form four “arms”. And, lastly draw two diagonal lines through the center. The lines are not absolutely necessary but make it easier to space petals of the flower evenly.
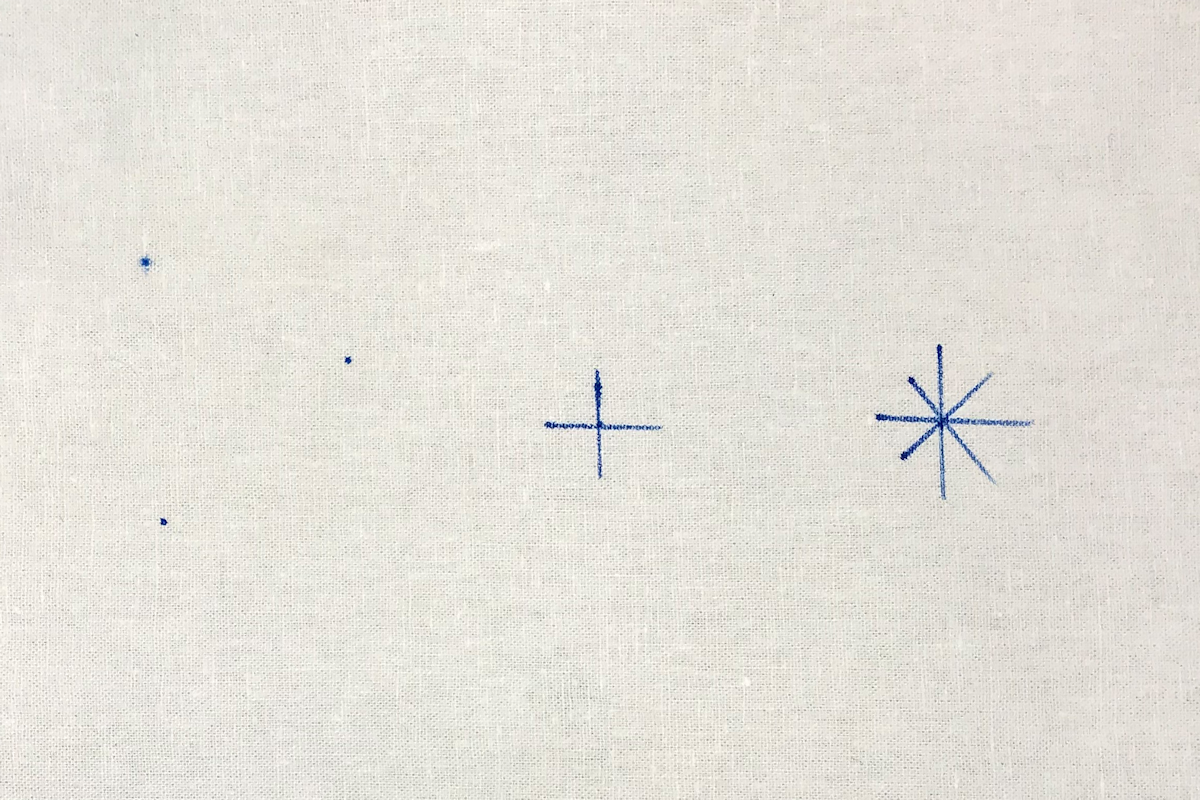
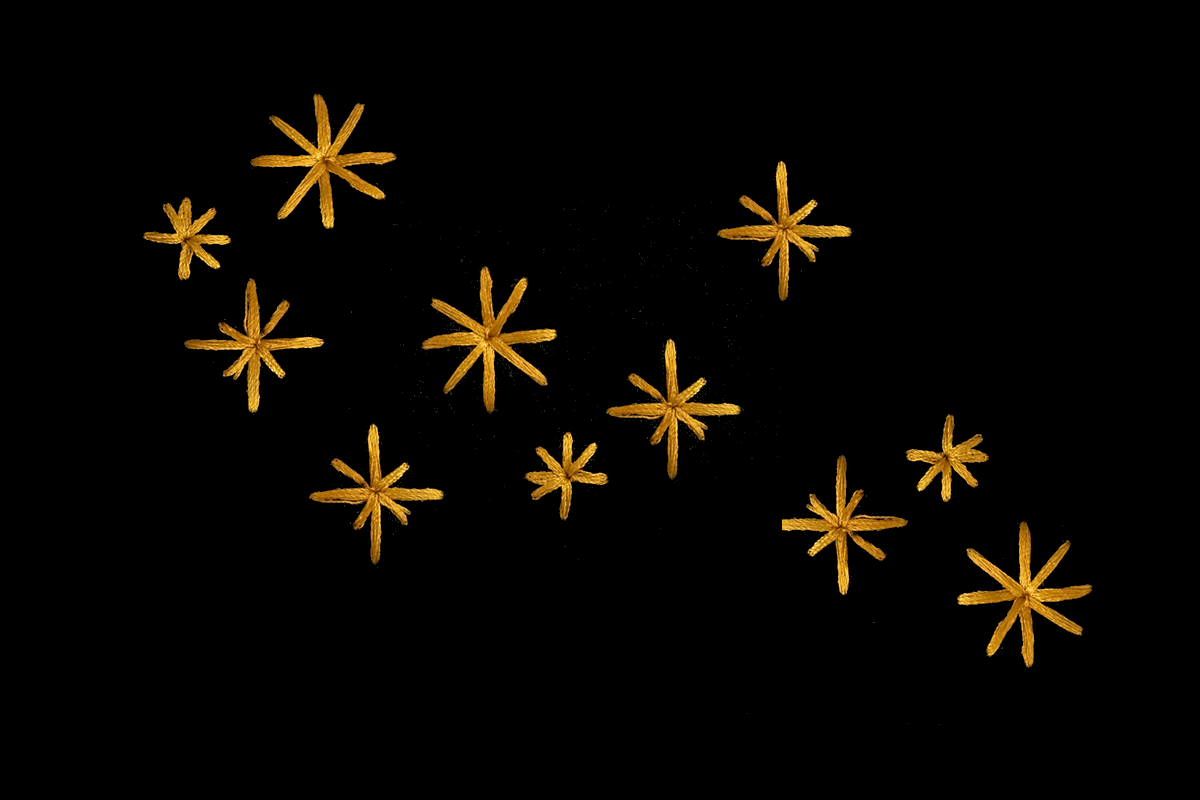
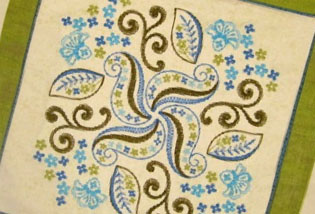
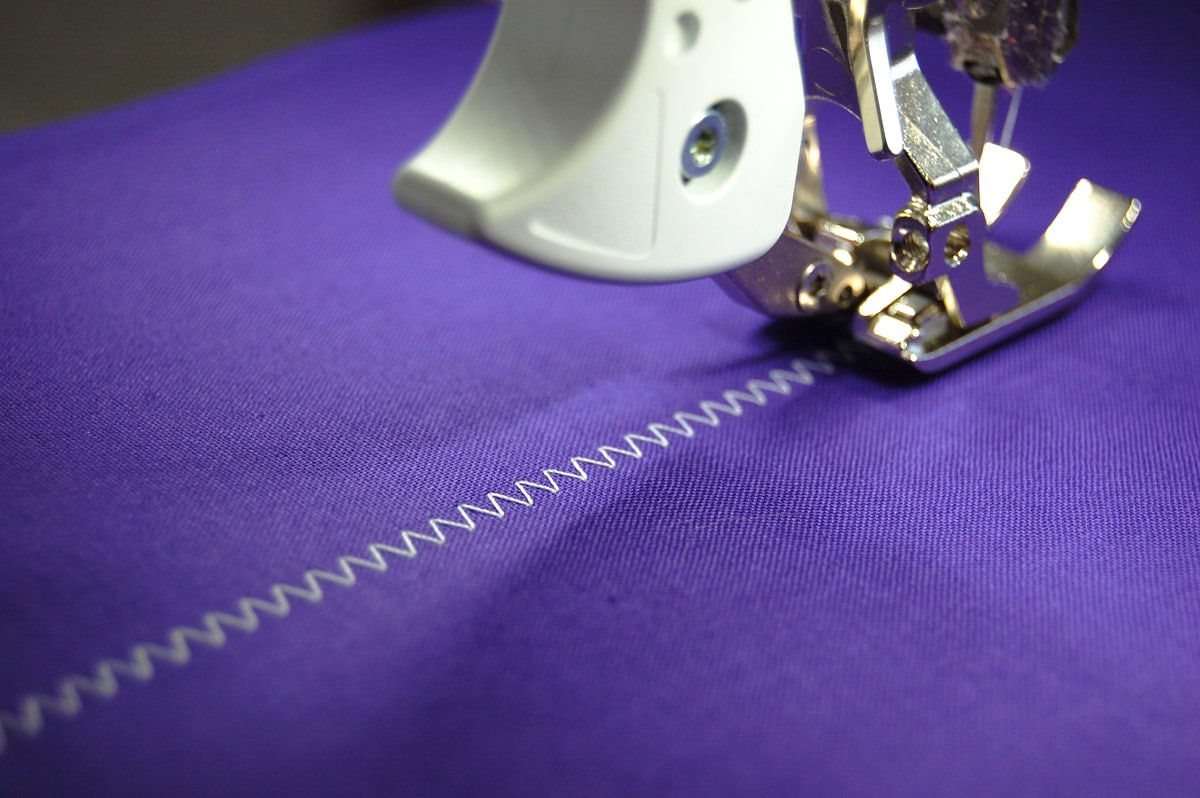
Set your machine for a zigzag stitch with any width you want. I usually make the width as wide as it will go (5.5 mm or 9 mm, depending on the machine and the presser foot selected). Engage the Needle Down function and lower the feed dog. Start with the needle at a marked center and create a bartack by going back and forth 6-8 times, stopping at the center with the needle down in the fabric. Raise the needle, lift the foot and pivot to the next marked line. Continue pivoting and stitching until the flower is complete.
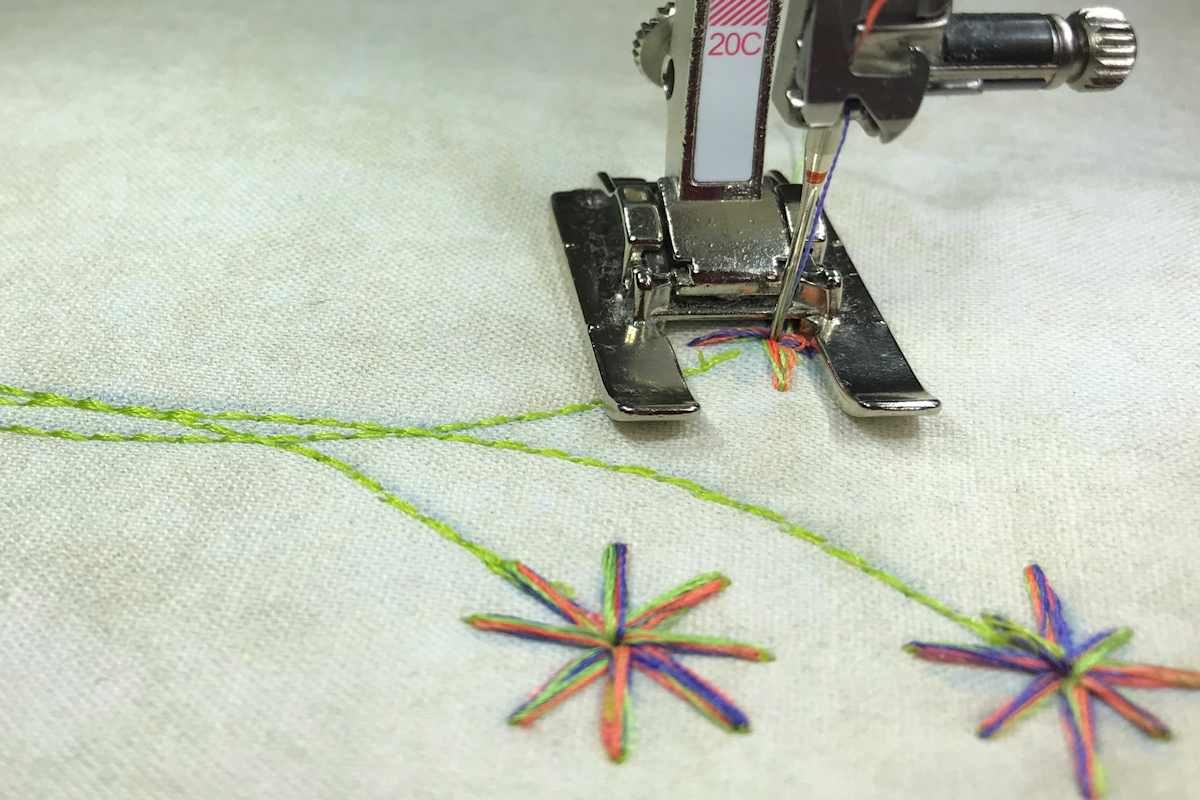
By pivoting around in a circle, the bartacks are “petals” that create a simple little blossom. If you vary the length of the petals, it resembles a star, rather than a flower. Variegated thread gives more depth to the flowers. Sew lines of triple straight stitching to add stems to the flowers.
For more information about BERNINA presser feet and accessories, see The Big Book of Feet at your local BERNINA store.
Used Products


What you might also like


3 comments on “Zigzag Flower Stitches”
-
-
And make them very readable for “older” eyes.
-
What about stitch length for the zigzag flowers… it would have to be set at zero to stitch a bar tack, doesn’t it?
Leave a Reply
You must be logged in to post a comment.
I am not sure where to post this so I am making this post here. When will Bernina come out with a plate that has the 1/8, 1/4 & 1/2 inch on it, I am tired of putting tape where these makings are supposed to be?
Thank you,
Carlene Balickie