Zipper Binder Pencil Pouch
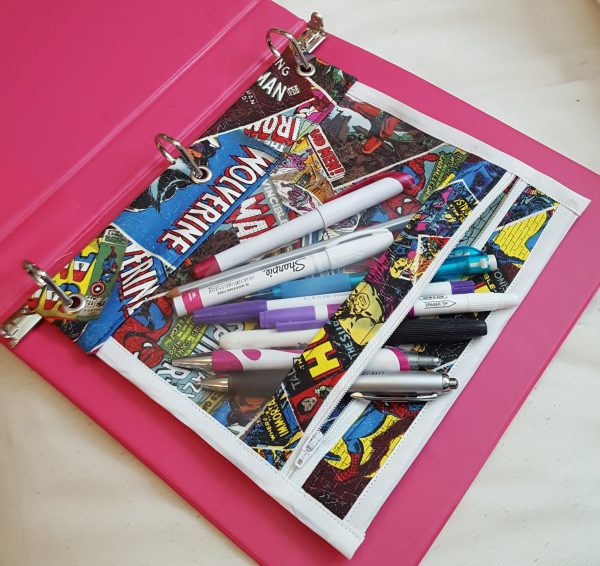
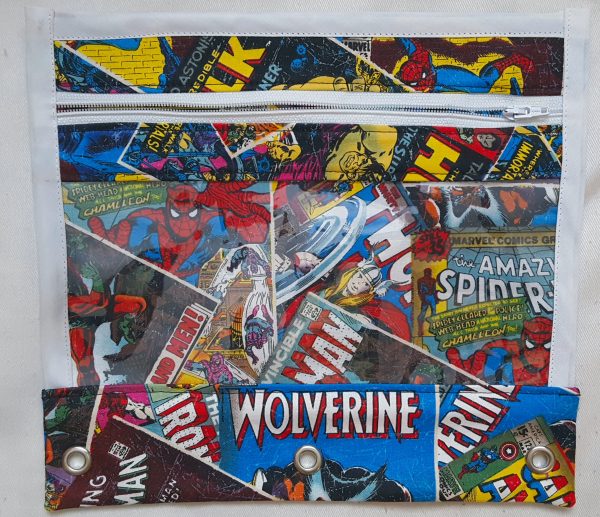
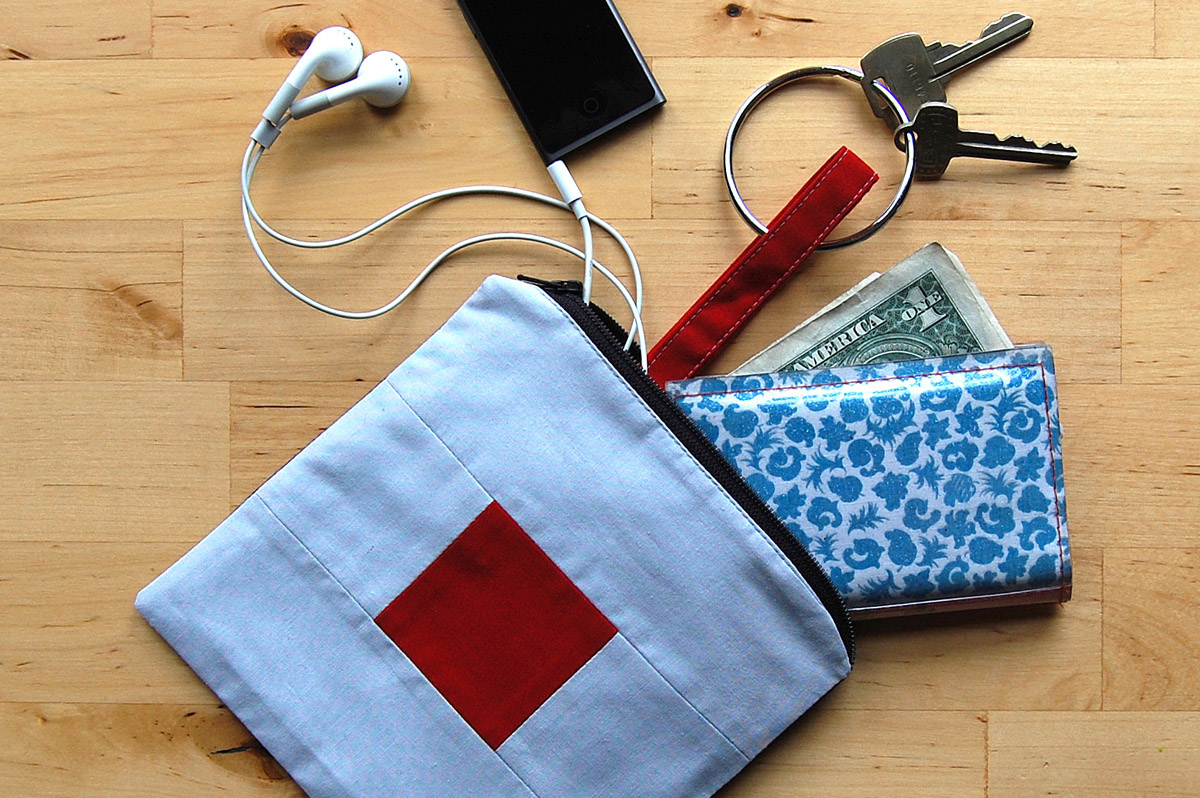
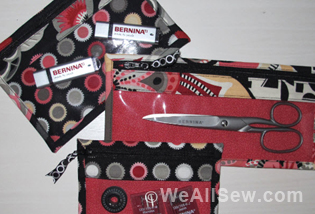
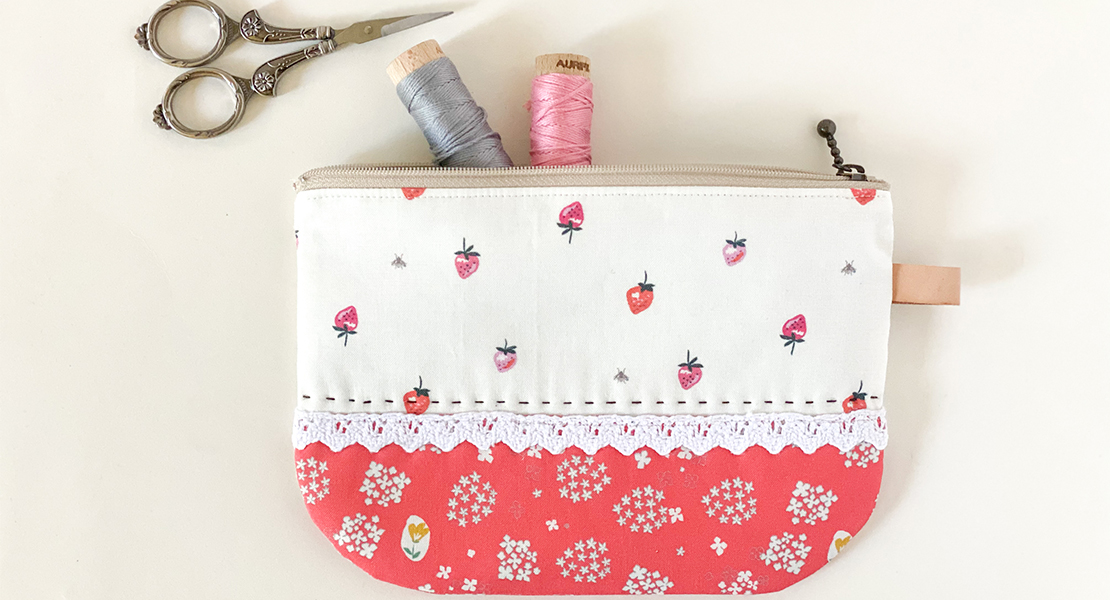
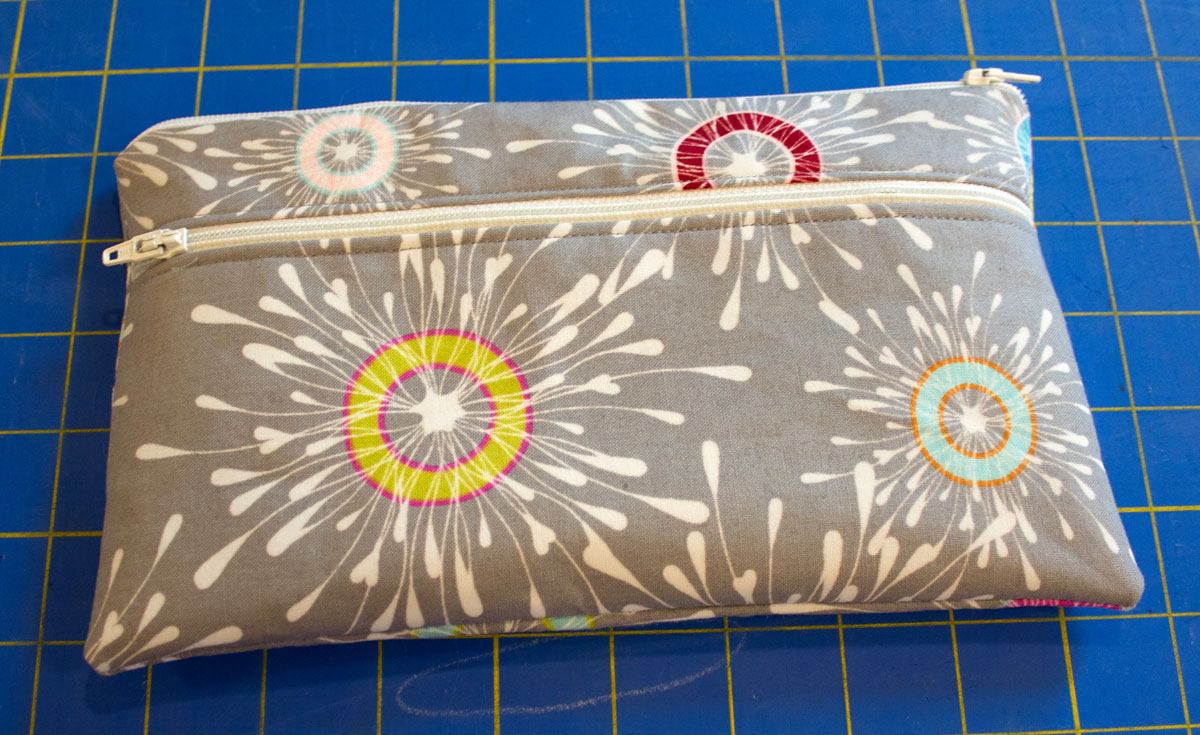
Get ready for back to school by whipping up one of these easy-to-sew zipper binder pencil pouches. This finished bag measures 8 1/2″ x 9 1/2″ (plenty of room to hold all the essentials) and can be slipped inside a 3-ring binder so that nothing falls out of place. Best of all, it can be made in your child’s favorite material, making the school day more fun. Don’t forget to whip one up for yourself, too – they make the perfect pouch for organizing your sewing supplies or taking them on the go!
Materials to sew a Zipper Binder Pencil Pouch:
- 1/4 yard of material for pouch
- 4 1/2″ x 9 1/2″ scrap of clear vinyl
- 1/2 yard of woven interfacing such as Pellon SF101 Shapeflex
- 12″ zipper
- Package of extra wide double fold bias tape
- 3 large eyelets (1/4″ interior diameter)
- Ruler
- Scissors\Rotary cutter & mat
- Water soluble marker
- Patchwork Foot #37/#37D or Patchwork foot #97/#97D
- Zipper Foot #4/#4D
Cutting Fabrics for Zipper Binder Pencil Pouch:
From Fabric:
- 2, 1 1/2″ x 9 1/2″ strips for zipper panel
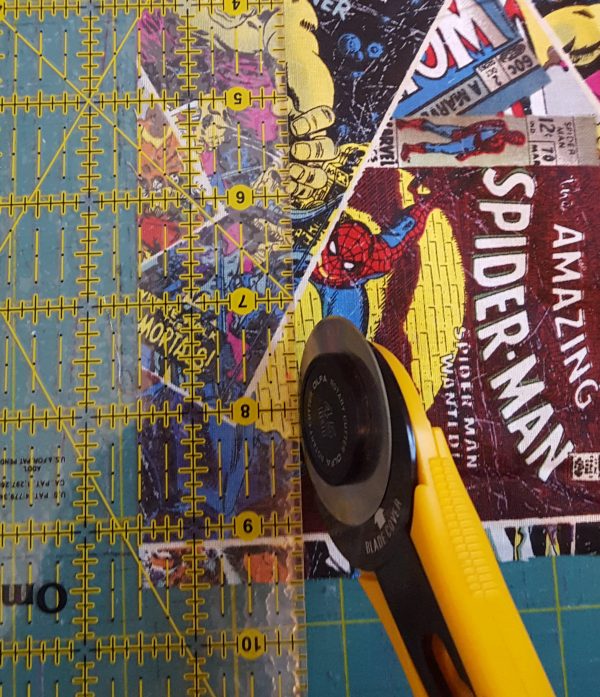
- 2, 3″ x 10″ strips for lower panel
- 2, 7 x 9 1/2″ rectangles for backing and lining
From Interfacing:
- 2, 1 1/2″ x 9 1/2″ strips for zipper panel
- 2, 3 x 10 strip for lower panel
- 1, 7 x 9 1/2″ rectangle for backing
From Vinyl:
- Cut scrap to 4 1/2″ x 9 1/2″
Sewing the Zipper Binder Pouch:
(all seams are 1/4″ unless otherwise specified)
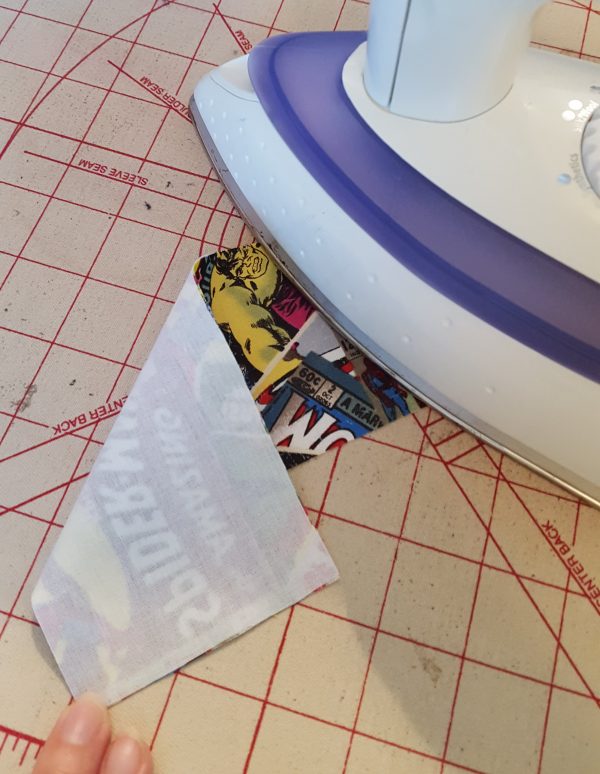
Iron interfacing to corresponding fabric pieces of the zipper pouch, following manufacturer’s directions.
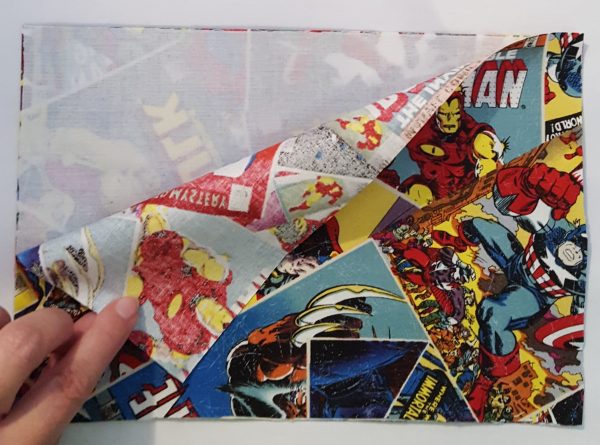
Place 7″ x 9 1/2″ rectangles wrong sides together. Machine baste close to the edges around all sides and set aside.
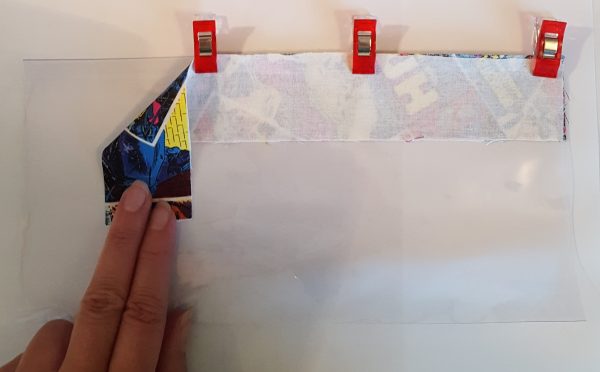
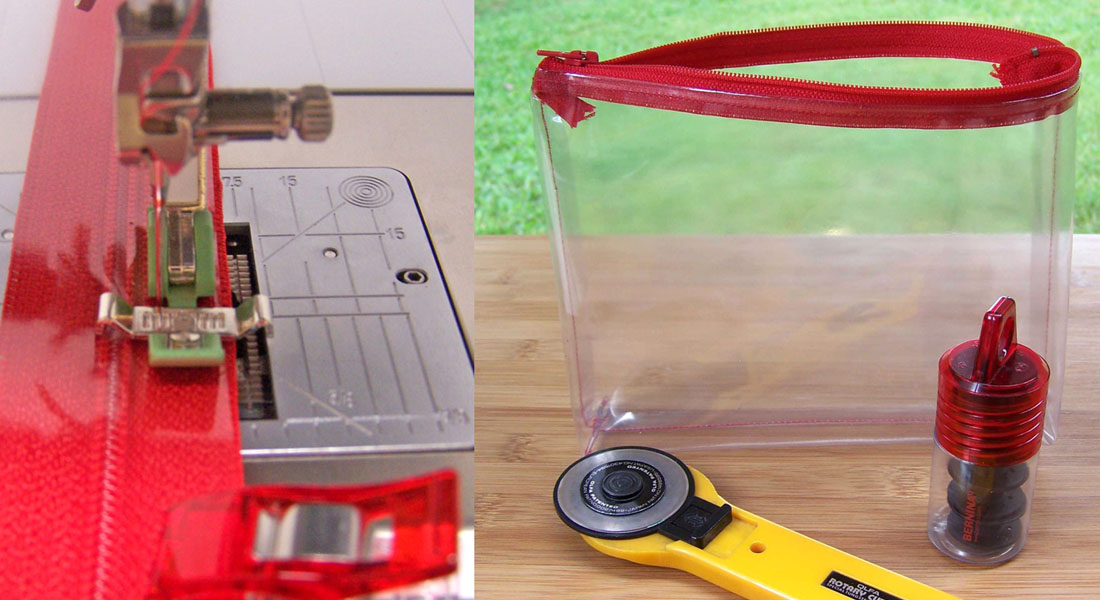
Place 1 1/2″ x 9 1/2″ strip of fabric on long edge of vinyl, right sides together and sew. Topstitch near finished edge. Do not use pins as they will create permanent holes in the material. If pins must be used, keep them within the seam allowances. Finger press seams open as a hot iron may melt the vinyl.
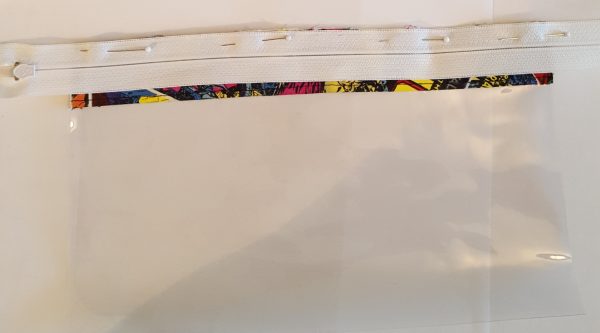
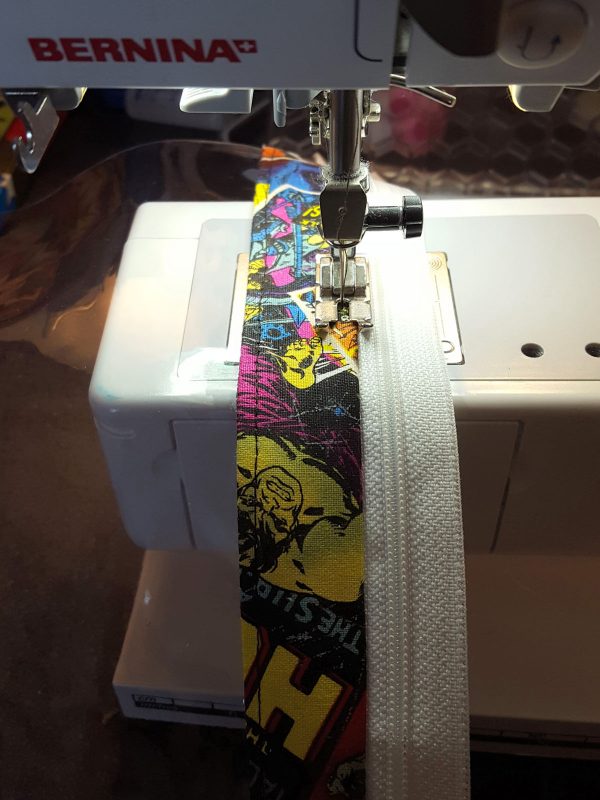
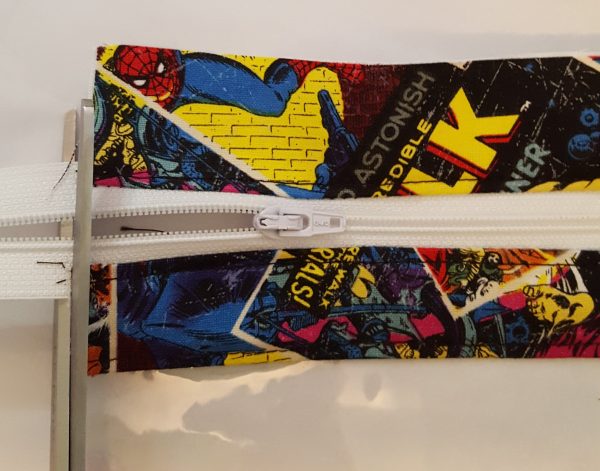
Place zipper on unfinished edge of fabric strip (with vinyl), with zipper face down. Zipper will be longer than the strip, the excess will be removed in later steps. Sew using the zipper foot.
Press zipper open and topstitch fabric strip.
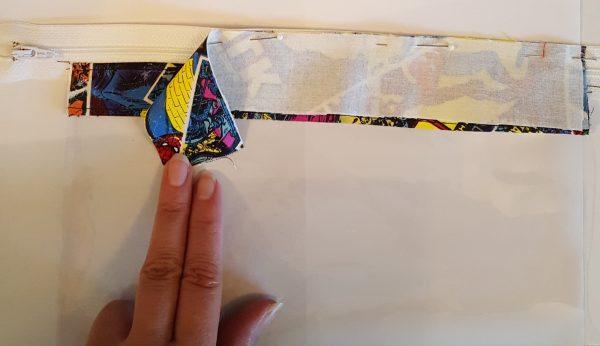
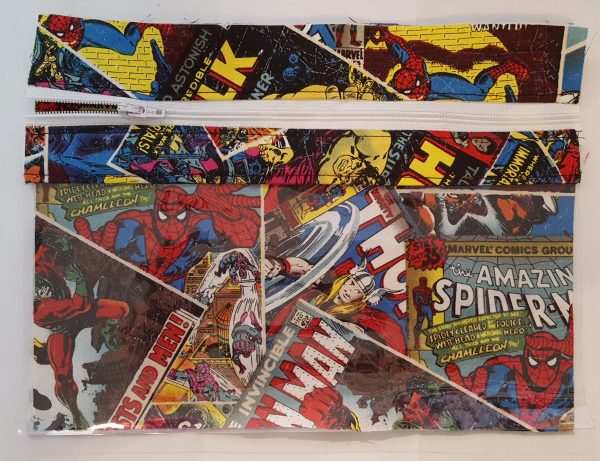
Repeat above steps for second fabric strip and top edge of zipper. Make sure that fabric strips are placed at the same points on the zipper.
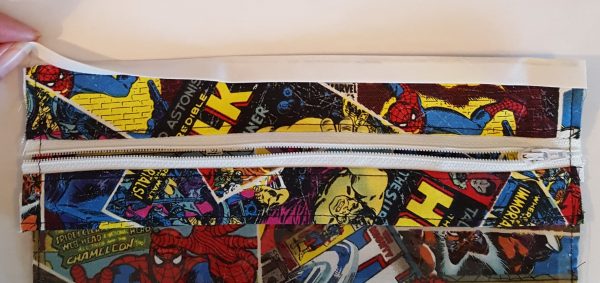
Trim zipper tape. Be sure to move the zipper to center of pouch before cutting!
Place zipper panel, right side up, on top of lining/backing. Machine baste close to the edges around all sides.
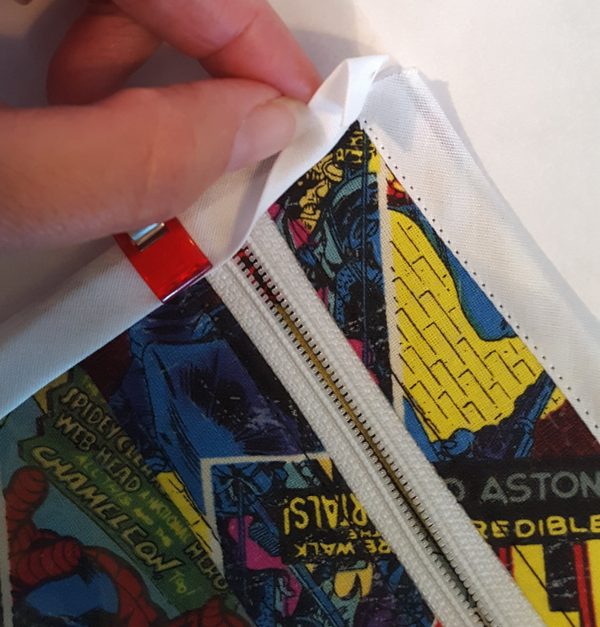
Place bias strip on top edge of pouch and stitch.
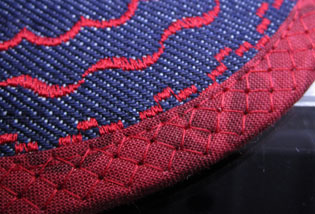
Place bias strip on side of pouch, folding the top edge of bias strip to inside, creating a finished edge (bottom edge will be left raw). Repeat for second edge of bag.
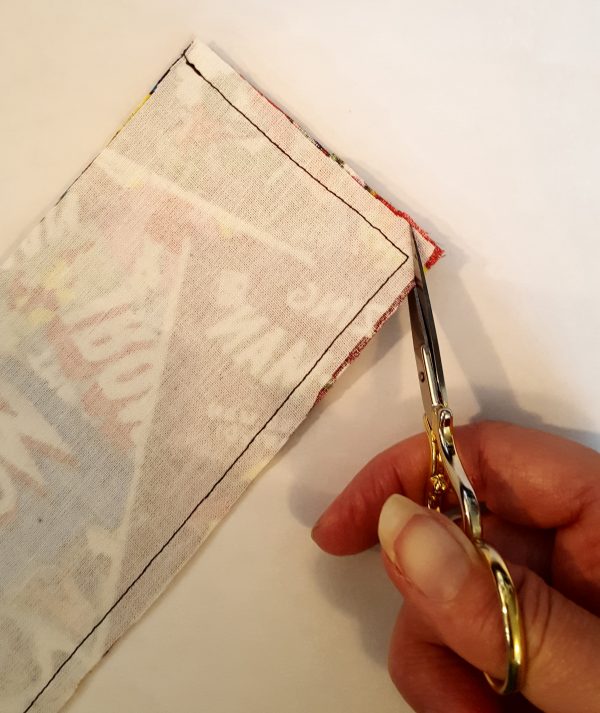
Place 3″ x 10″ rectangles, right sides together, and stitch, leaving one long edge open. Clip curves and turn right side out.
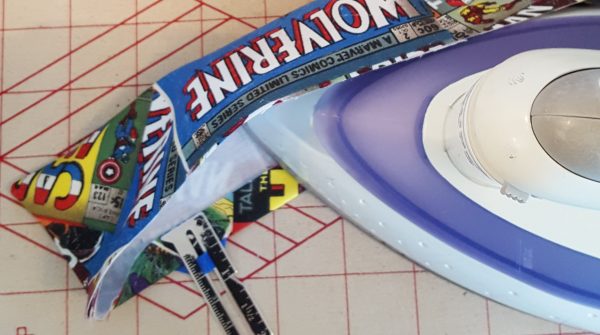
Turn under 1/2″ on top edge of rectangle to the wrong side and press.
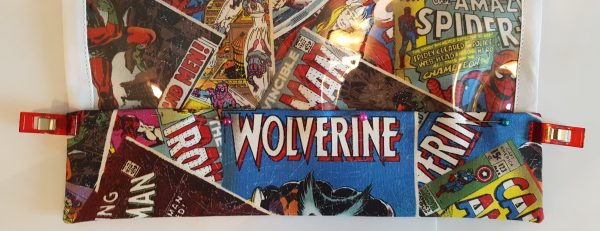
Slip bottom edge of the bag (approximately 1/2″) into the rectangle strip and sew.
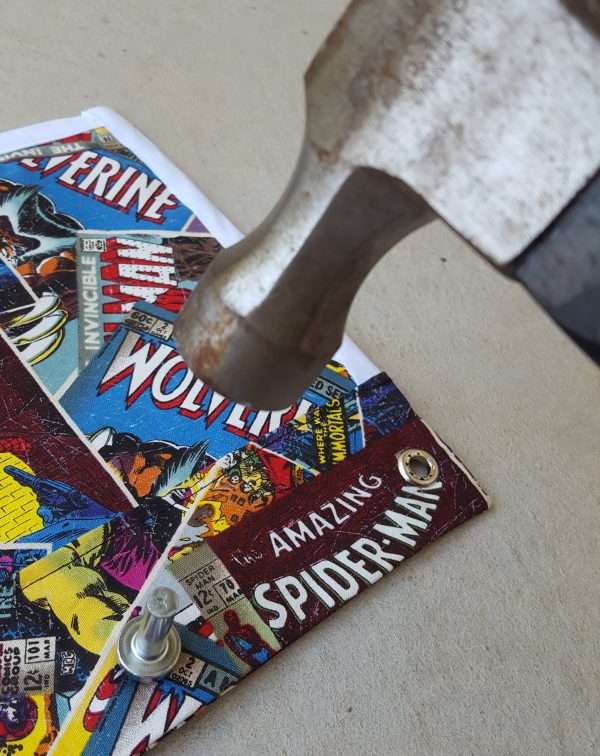
Place eyelets on lower edge of bag following manufacturer’s directions: Eyelets should be 5/8″ from bottom edge of pouch, 1/2″ from each side of, with third eyelet centered. Be sure to check placement of eyelets with the 3-ring binder you intend on using before setting grommets.
You’re done! Now fill with school or sewing supplies and place in your favorite binder.



This will be the perfect gift for my teacher niece! I’ve been meaning to reverse-engineer one for ages. Now that you’ve saved me the trouble maybe I’ll actually make some!