How to Make a Mail Organizer
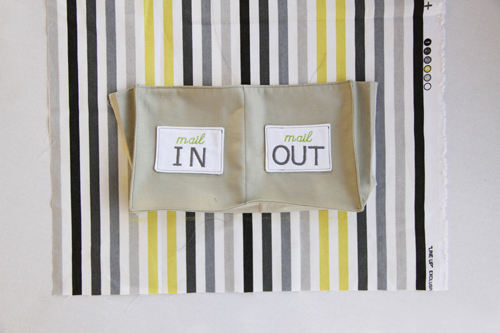
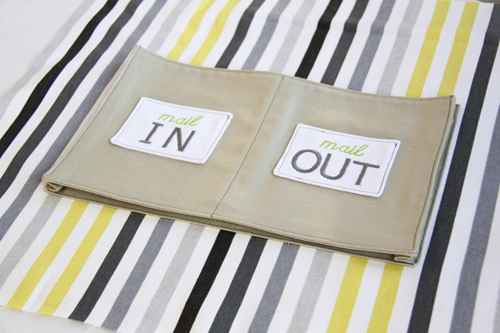
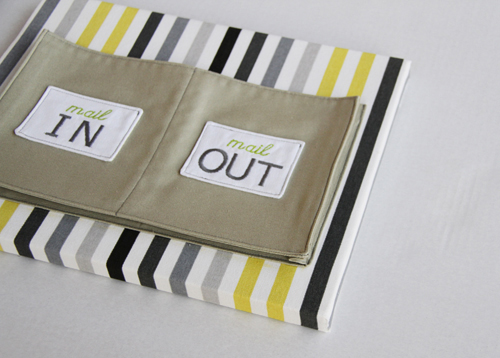
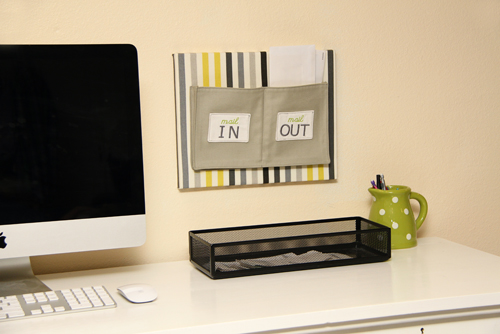
Does you desk eat your mail? Does it disappear into oblivion? The solution is simple. This trendy In/Out mail organizer will keep your mail handy until you’re ready to open it… or mail it out. Dress it up with your favorite fabric, add a touch of embroidery and you have a creative answer to everyday clutter
Supplies
- Sewing machine
- Embroidery machine (optional)
- Overlocker/serger (optional)
- Assorted pieces of upholstery fabric (see cutting instructions below)
- Lightweight stabilizer or non-fusible interfacing
- 11″ x 14″ stretch art canvas on a wood base
- Coordinating sewing thread
- Coordinating embroidery thread
- Rotary cutter, mat, and ruler (optional, but very helpful)
- Chalk marker
- Hot glue gun and glue sticks or heavy-duty stapler and staples
Step 1) Cut the fabric.
Cut the following pieces (using a rotary cutter makes this easier):
- One 16″ x 20″ rectangle of base fabric (stripe)
- Two 7-1/2″ x 12-1/2″ pieces for the pocket (one yellow, one tan)
- One 3-1/2″ x 7″ piece for the pocket divider (yellow)
- One 2-1/4″ x 29-1/2″ strip for the outer pocket edge (tan)
- Two 2-3/4″ x 3-3/4″ labels (embroider these before cutting the rectangles)
Step 2) Embroider (or applique) the labels.
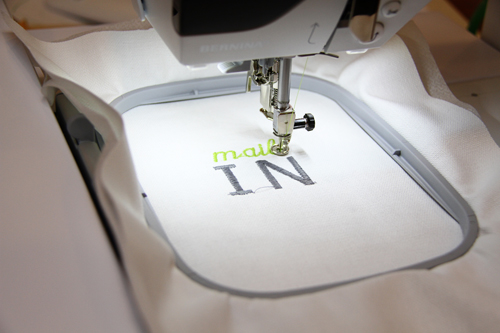
For the labels you can either applique the letters or embroider them as shown here. Cut to size when lettering is complete.
Tip: Using an embroidery machine, such as the BERNINA 580 E, makes it a lot faster and gives your labels a clean and professional finish.
Step 3) Construct the pockets.
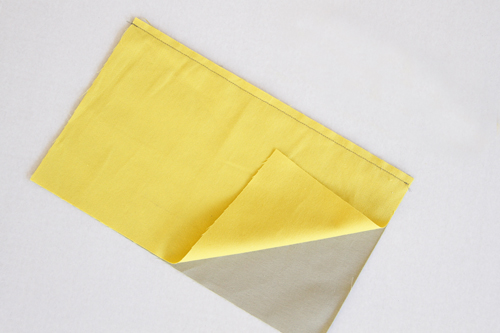
Place the two mail pocket pieces right sides together; stitch along one of the 12-1/2″-long edges using a 1/4″-wide seam allowance.
Turn the pocket right side out and press the seam flat.
Topstitch close to the pocket edge.
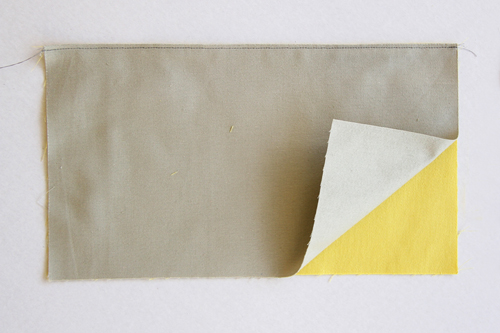
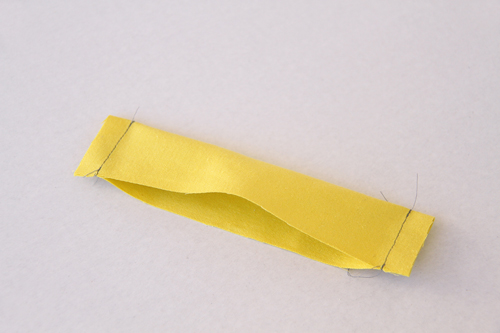
Fold the pocket divider piece in half lengthwise.
Sew along both ends using a 1/2″-wide seam allowance, leaving the long edge open.
Turn the pocket divider right side out and press the seam flat.
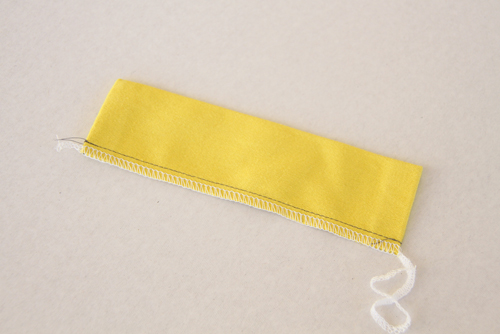
Sew the open side closed.
Overlock/serge or sewing machine overcast the raw edges.
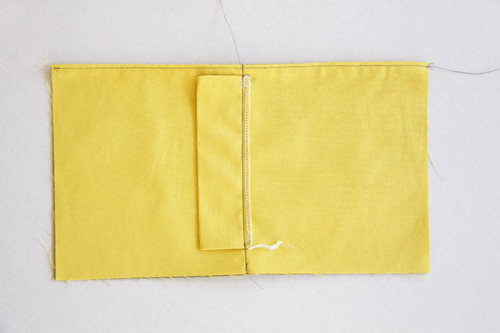
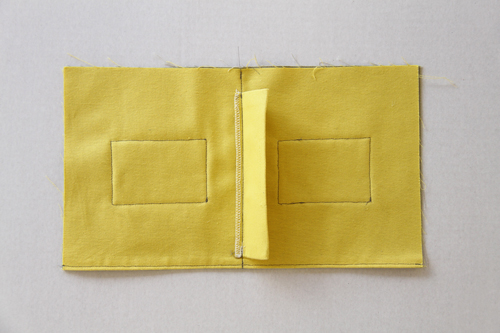
Place the main pocket piece on a flat surface with the front of the pocket face down. Mark a vertical line through the center of the pocket.
Place the pocket divider on this line, matching the seam with the chalk line. Sew the divider to the main pocket piece, stitching on top of the divider piece seam.
Step 4) Attach the labels to the pockets.
Cut rectangles of lightweight interfacing (non-fusible) or stabilizer the same size as the labels.
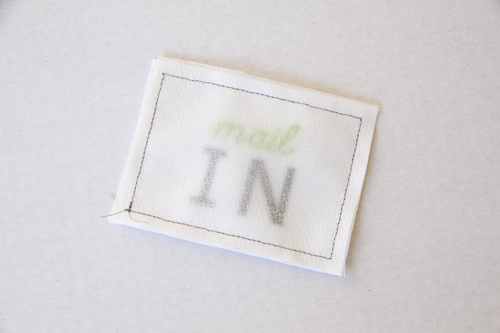
Stitch the interfacing or stabilizer to the front of each label using a 1/4″-wide seam allowance.
Trim each corner and make a slit in the center of the interfacing only. Don’t cut through your label!
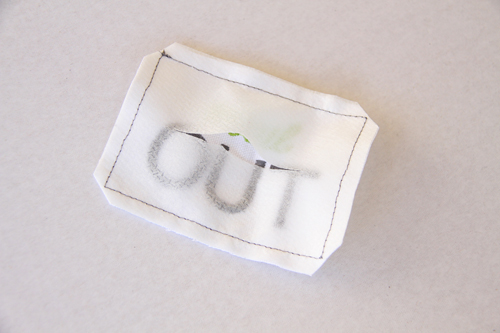
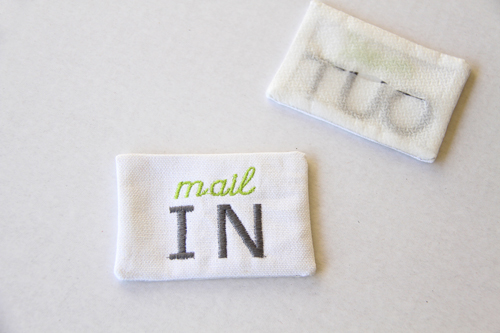
Turn right side out, poke out the corners, and press.
Tip: Don’t have any interfacing or stabilizer? Just turn each edge under 1/4″ and press. It’s not as easy or accurate as the “stitch ‘n turn” technique, but your results will be similar.
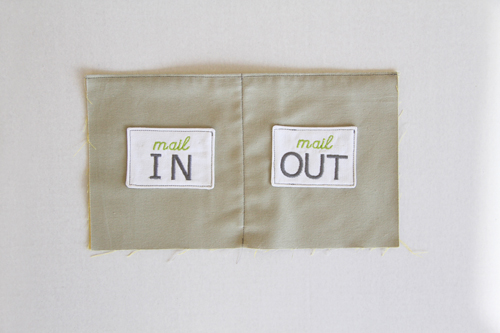
Pin the labels to the front of the main pocket piece, centering them on each half. (Remember to allow 1/4″ on the sides and lower edge for seam allowances when measuring and marking.)
Topstitch close to the outer edges of the labels, taking care not to catch the divider flap (hidden under the pocket) in the stitching.
Step 5) Attach the side strips to the pockets.
Overlock/serge or overcast one long edge and both short edges of the outer edge strip.

Fold the strip in half and finger press the fold to mark the center of the strip.
Place the raw edge of the strip right sides together with the lower edge of the pocket, matching the centers.
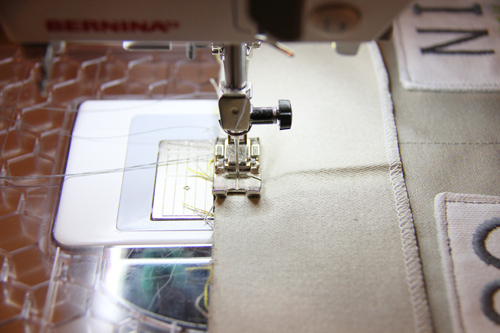
Stitch with a 1/4″-wide seam allowance, stopping 1/4″ from the first corner.

Leave the needle down in the fabric and lift the presser foot.
Rotate the pocket a quarter turn so you can start sewing up the side. Adjust the strip and align the raw edge of the side strips with the side of the pocket.
Continue stitching, stopping a few inches before reaching the top of the pocket.
Fold the end of the side strip down so it’s even with the top edge of the main pocket piece. Stitch the rest of this side, backstitching at the top edge.
Repeat with the other half of the outer edge strip, starting at the center of the lower edge of the pocket again.
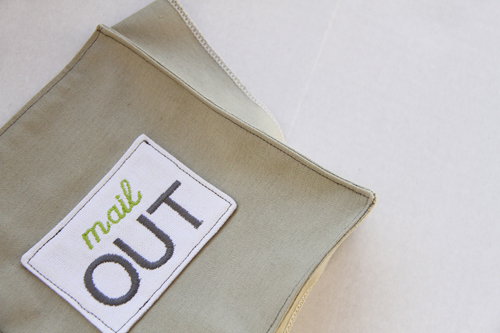
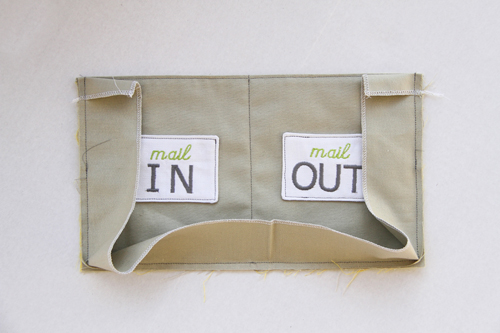
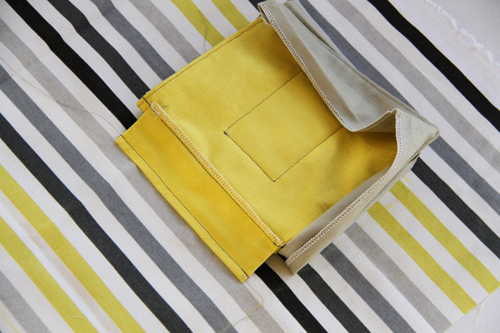
Your finished pocket with the outer edge attached should look like the one in the photo below.
Fold the outer edge strip to the back and iron it flat.
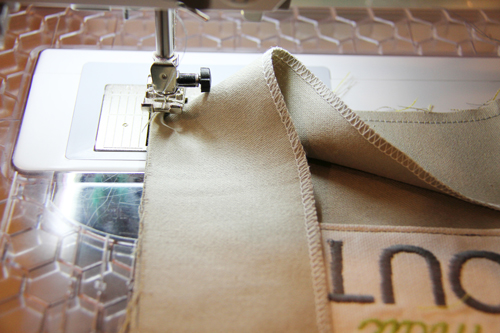
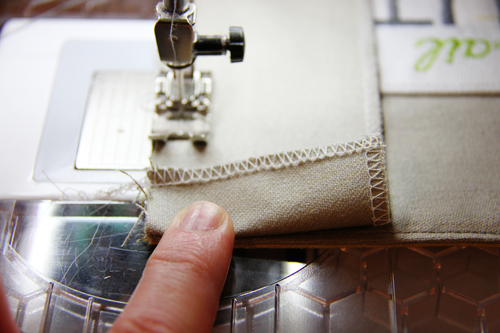
Topstitch close to the outer pocket edge, keeping the edge strip folded out of the way.
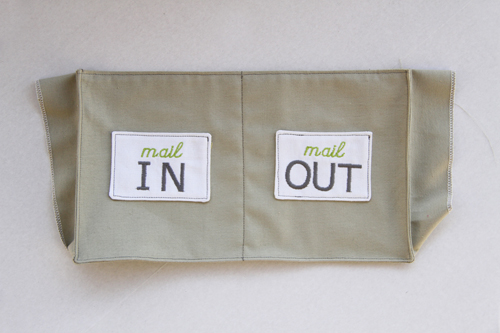
When sewing around the corners, stop as you reach the end of the side. Leave the needle down in the fabric, raise the presser foot, and rotate the fabric. Move the outer edge of the strip toward the back, out of the way, and continue stitching.
Step 6) Attach the pockets to the base panel.
Center the pocket on the front of the main base piece.
Fold over one half of the pocket so you can see your divider piece.
Stitch the divider piece to the main base piece, using a 1/4″-wide seam allowance, making sure you’re sewing right along the very center of the main base piece.
Fold the pocket back over and realign it over the center of the base piece.
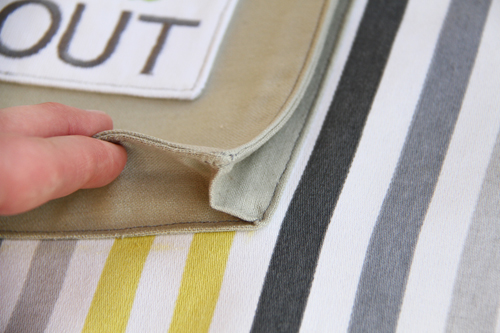
Fold the outer edges under 1/4″ as you pin them to the main base piece. You’ll need to fold the outer edge piece accordion-style to get it to lay under the pocket piece nicely.
Be sure to pin the outer edge piece directly underneath the main pocket piece, so it will be hidden beneath the pocket.
Don’t worry about the corners. They’ll be folded over and pressed in a later step, so just keep them out of the way for now.
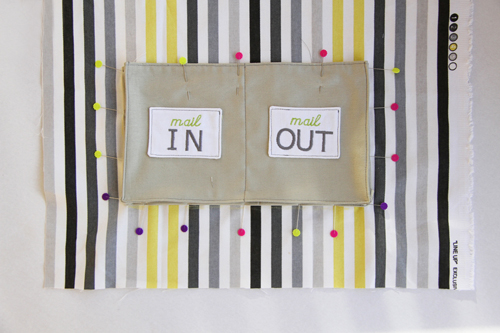
Place the entire pocket/base piece on the sewing machine and stitch the pocket to the base piece.
Press flat.
Make sure the corners are folded inward, toward the center of the pocket.
Step 7) Complete the organizer construction.
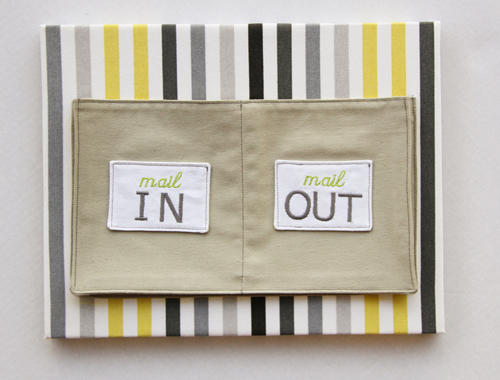
Center your finished pocket/base piece on top of the art canvas, then move it down a bit to make room for envelopes to poke out of the top of the pocket.
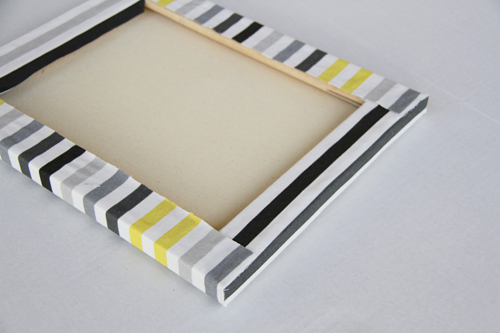
Wrap the base piece edges to the back and staple or hot-glue them in place.





![Have a habit of misplacing your keys. Losing your iPod? Forgetting your coupons? Now, with this handy organizer, all your little necessities are in one convenient spot when you're ready to head out the door - right on the door knob! How to Make a Door Organizer Supplies 1/3 yard or heavyweight fabric such as twill, canvas, or denim 1/3 yard of fusible interfacing Coordinating thread Scissors Water-soluble marking pen or tailor's chalk Ruler 1/4" presser foot (BERNINA Patchwork Foot #37 or Patchwork Foot with Guide #57) Download and print the keyhole template: [download id="88"] Step 1) Prepare the fabric pieces. Cut from the heavyweight fabric: Two 5" x 11" rectangles for the organizer body One 5" x 12" rectangle for the large pocket One 5" x 7" rectangle for the small pocket One 6" x 7" rectangle for the hanging pocket Fuse interfacing to the wrong side of both 5" x 11" fabric rectangles following the manufacturer's directions. How to Make a Door Organizer Cut the keyhole: Measure down 1" from the top edge of one 5" x 11" rectangle. Center the top of the keyhole template on this mark. Trace the template. Cut along the traced line. Repeat for the second 5" x 11" rectangle. How to Make a Door Organizer Step 2) Make the large and small pockets. With wrong sides together, fold the large pocket in half to create a 6" x 5" rectangle. Topstitch close to the folded edge. How to Make a Door Organizer Place the large pocket on top of the right side of one 5" x 11" rectangle, matching the raw edges along the sides and bottom edges. Baste in place. How to Make a Door Organizer With wrong sides together, fold the small pocket in half to create a 3 1/2" x 5" rectangle. Topstitch close to the folded edge. Place the small pocket on top of the large pocket, matching the raw edges along the sides and bottom edges. Baste in place. How to Make a Door Organizer Step 3) Make the hanging pocket. With wrong sides together, fold the 6" x 7" rectangle in half lengthwise. Press. How to Make a Door Organizer Unfold the strip and then fold the long raw edges to the center fold line. Press. Refold the strip along the center crease. Topstitch close to both long edges. How to Make a Door Organizer Fold under 1" on both edge of the finished 7" strip. Measure up 1-1/4" from the lower edge on the right side of the second 5" x 11" piece. Center the bottom of the strip on this mark. How to Make a Door Organizer Sew close to the folded ends of the strip, then again 1/2" away from the first stitching. How to Make a Door Organizer Step 4) Construct the door organizer. With right sides together, place the two 5" x 11" rectangles together, matching the raw edges and the keyhole opening. How to Make a Door Organizer Stitch around the entire rectangle, leaving the keyhole open. Do not stitch around the keyhole area! Clip the corners. How to Make a Door Organizer Turn the organizer right side out through the keyhole opening. Press. How to Make a Door Organizer Topstitch close to the finished edges. How to Make a Door Organizer Baste the raw edges of the keyhole opening together. How to Make a Door Organizer Satin stitch close to the keyhole edges. Position the fabric so the needle goes just barely to the right of the raw edges and encloses them in stitches. Tip: A satin stitch is a zigzag stitch with a very short stitch length, so the stitches are very close to each other. How to Make a Door Organizer How to Make a Door Organizer Fill your organizer with keys, pens, letters, etc. so you never leave home without your essentials! How to Make a Door Organizer](https://weallsew.com/wp-content/uploads/sites/4/2011/10/How-to-Make-a-Door-Organizer-WeAllSew.jpg)








7 comments on “How to Make a Mail Organizer”
Very simple and cute. Kudos Ashley!
You are one step ahead of me! I have some plans to make something similiar! Yours is really cute- of course 🙂
EXACTLY what I need. I want my kitchen table to look nice with the quilts I make for it – but hubby always leaves the mail on the table, till it just gets out of hand! So thanks!