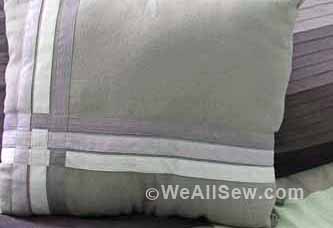
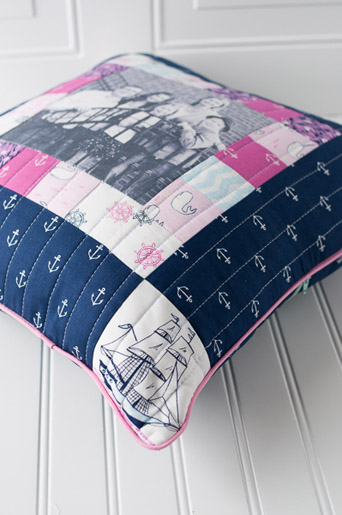
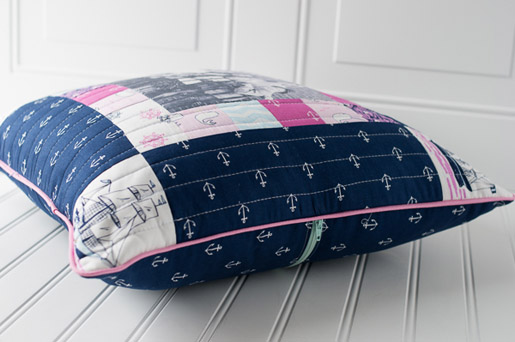
Dorm Décor: Memory Pillow
My oldest daughter is off to college this month! She will be 1,600 miles away from home so I thought I’d make her a little something for her dorm room to help her remember us while she is away.
Supplies
- Five fat quarters (18ʺ x 22ʺ rectangles) of various prints for border
- One fat quarter for pillow front corners
- One piece of printable fabric, such as Electric Quilt Cotton Inkjet Fabric Sheets or June Tailor Colorfast Fabric Sheets for Inkjet Printers
- One yard of fabric for borders and pillow back
- 3/4 yard of white fabric to back the quilted panel (this won’t show)
- ¾ yard or 20ʺ square of white 100% cotton batting
- One 18ʺ square pillow form
- One zipper, at least 20ʺ long
- One package pre-folded binding
- 40-weight cotton thread to match fabric
- 50-weight cotton thread to match fabric
- Quilting needle
- Fabric basting spray such as 505 Temporary Fabric Adhesive
- Quarter-inch presser foot (BERNINA Patchwork Foot with Guide #57/57D)
- Walking foot (BERNINA Walking Foot #50 or Reverse Pattern Foot #1D with BERNINA Dual Feed engaged)
- Cording or piping foot (BERNINA Bulky Overlock Foot #12/12C)
- Zipper foot (BERNINA Zipper Foot #4/4D)
Note: All seam allowances are 1/4”-wide unless otherwise indicated.
Step 1) Cut the fabric.
Cut the following:
- 5 fat quarters for patchwork border: Cut twenty 2¼ʺ squares
- Border fabric: Cut four 4ʺ x 11ʺ strips
- Border corner fabric: Cut four 4ʺ squares
- Pillow back: Cut two 10ʺ x 18ʺ rectangles
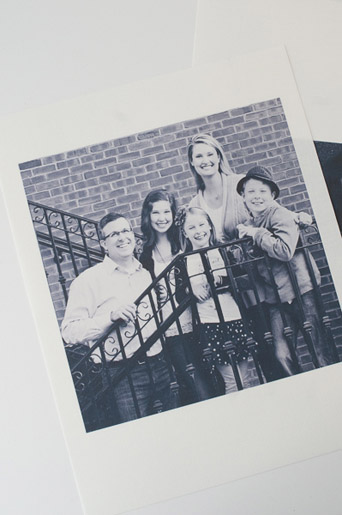
Step 2) Print the fabric photo.
Select a photo to use for your pillow and resize/crop into a 7-1/2ʺ square. Remember that 1/4ʺ on each side will be taken up by the seam allowances.
Print your photo on printable fabric following the manufacturer’s instructions.
Trim photo to 7-1/2ʺ square.
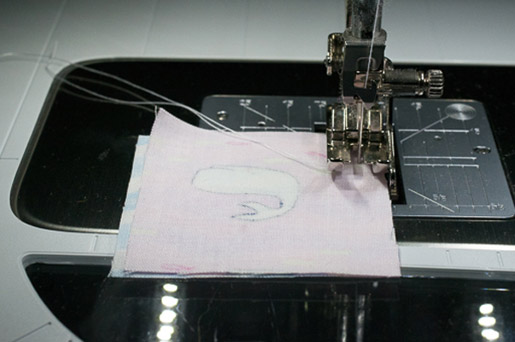
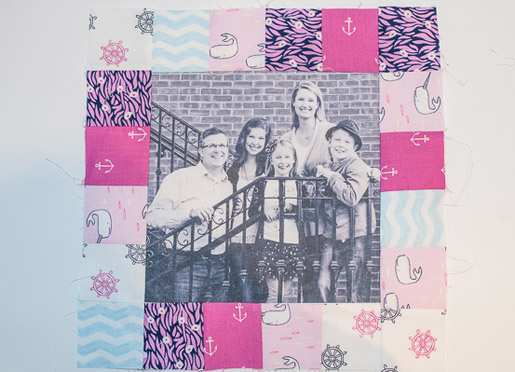
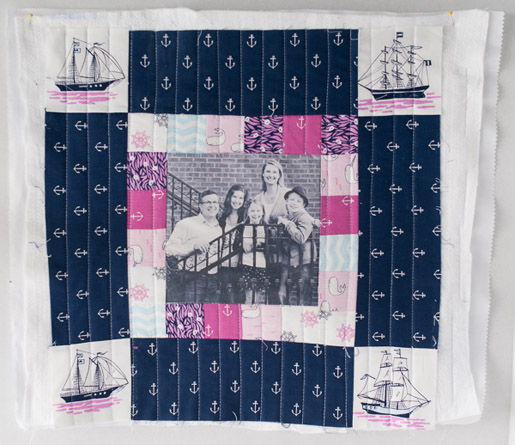
Step 3) Piece the pillow front.
Attach the quarter-inch foot to your machine. This foot will help you maintain an even ¼ʺ-wide seam allowance as you piece together your pillow.
Following the guide below
- Sew four 2-1/4ʺ squares together. Repeat.
- Sew six 2-1/4ʺ squares together. Repeat.
Press all seam allowances to one side.
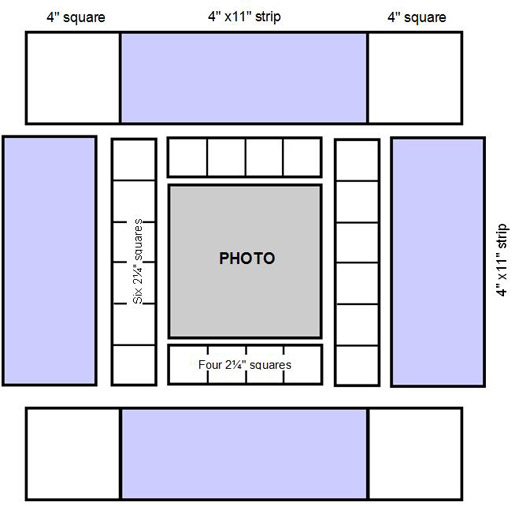
Following the guide, attach the upper and lower strips:
- Sew one strip of four squares to the lower edge of the photo square. Press seam allowances toward the patchwork strip.
- Sew the second strip of four squares to the upper edge of the photo square. Press seam allowances toward the patchwork strip.
Following the guide, attach the side strips:
- Sew one strip of six squares to the left edge of the photo square. Press seam allowances toward the patchwork strip.
- Sew the second strip of six squares to the right edge of the photo square. Press seam allowances toward the patchwork strip.

Following the guide
- Sew one 4ʺ square to each end of one 4ʺ x 11ʺ strip.
- Repeat.
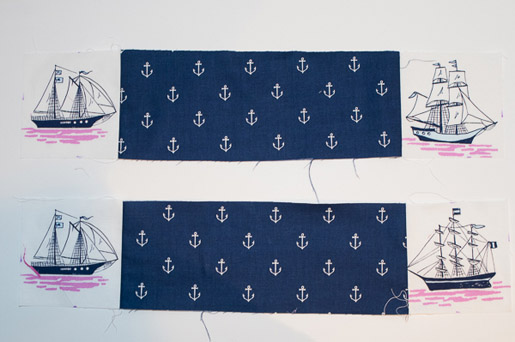
Following the guide, sew one 4ʺ x 11ʺ strip to each side of the pieced photo square. Press seam allowances to one side.
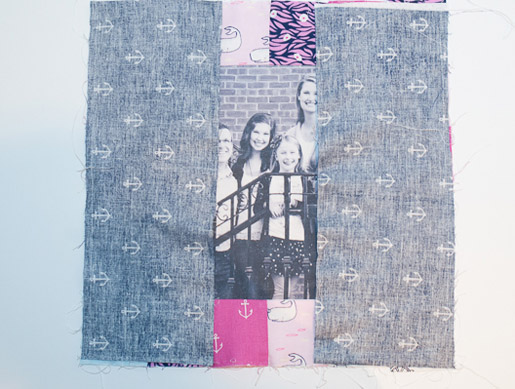
Following the guide
- Sew one square-border-square strip to the upper edge of the pieced pillow front.
- Stitch the other strip to the lower edge of the pieced pillow front.
Press seam allowances to one side.
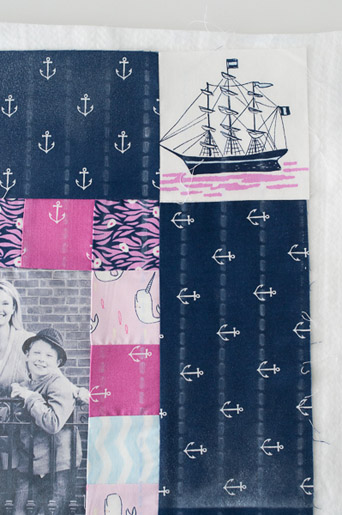
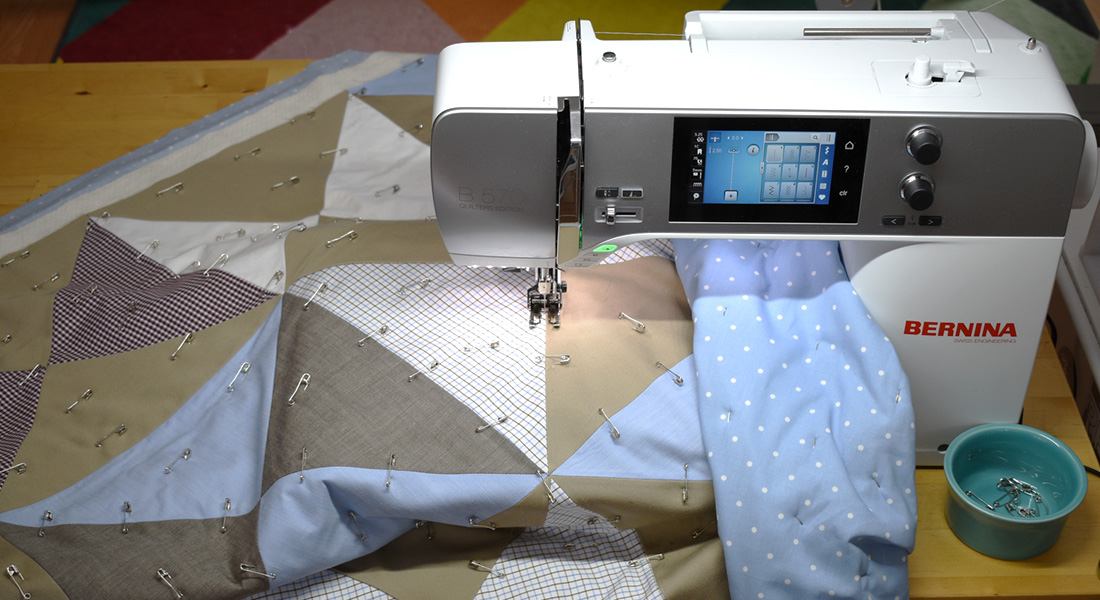
Step 4) Quilt the layers together.
Cut a 21ʺ square of white fabric and a 20ʺ square of white batting.
Make a “quilt sandwich”:
- Place the white fabric right side down and spray it with basting spray.
- Center the batting square on the white fabric.
- Center the pieced pillow front on the batting.
Attach the walking foot to your machine, or attach BERNINA Reverse Pattern Foot #1D and engage the BERNINA Dual Feed.
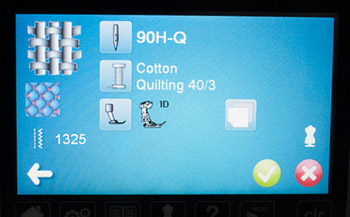
Insert a Quilting needle and thread your machine with 40-weight thread in the needle and 50-weight thread in the bobbin.
If your BERNINA sewing machine has a Sewing Advisor, select HEAVY WOVEN from the fabric type menu.
Select QUILTING, then select OK.
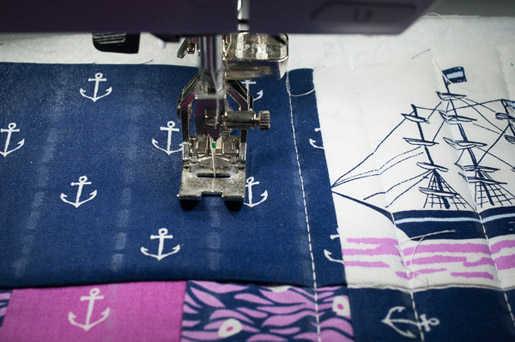
Stitch parallel straight lines across the pillow front borders, working in only one direction to help keep the fabric from bunching up. Do not stitch on the photo square!
When stitching is complete, trim the quilted pillow top so all layers are even, the sides are straight, and the corners square.
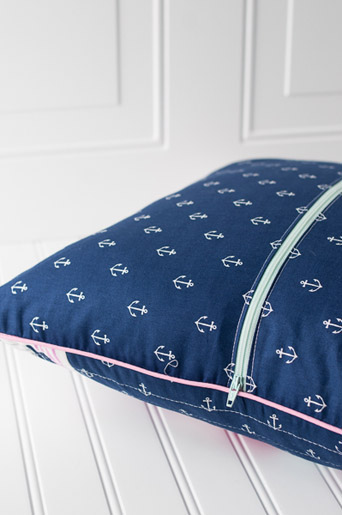
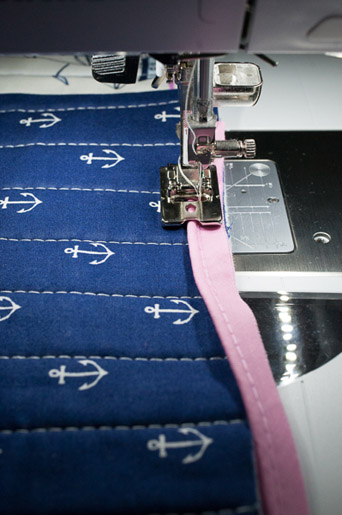
Step 5) Attach the covered cord or piping.
With the machine still in “quilting mode,” attach the cording/ piping foot (BERNINA Bulky Overlock Foot #12/12C) to your sewing machine. This foot will allow the piping (covered cord) to move easily under the foot and turn 90° at the corners.
Align the raw edges of the piping with the raw edge of the pillow front. Adjust the needle position so it stitches close to—but not on top of—the piping.
Begin stitching, leaving a 2ʺ-long tail of piping at the beginning.
Sew the piping to the edges of the pillow top, clipping the piping at the corners to allow it to turn at 90°.
When you get back to where you started, clip the piping so it is even with the stitched down piping.
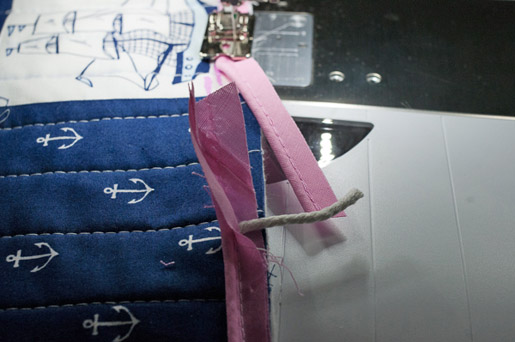
Unpick the stitches from the tail of piping you left at the beginning. Unwrap the cord and clip the cord out of this piece.
Fold under the raw edges at the end, feed in the remainder of the piping from the other end, and stitch the overlapped ends to the pillow front.

Step 6) Insert the zipper.
Attach the zipper foot to your sewing machine.
If your machine has Dual Feed, attach Zipper Foot #4 and engage Dual Feed.
Center the zipper over one 10ʺ x 18ʺ rectangle of fabric; there will be 1ʺ or more of zipper extending past the ends.
Pin the right side of the fabric to the right side of the zipper; stitch in place.
Repeat for the second rectangle and the other side of the zipper.
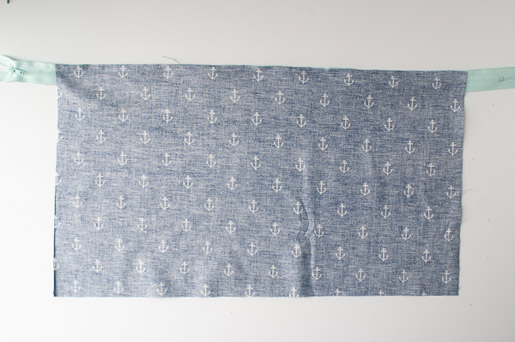
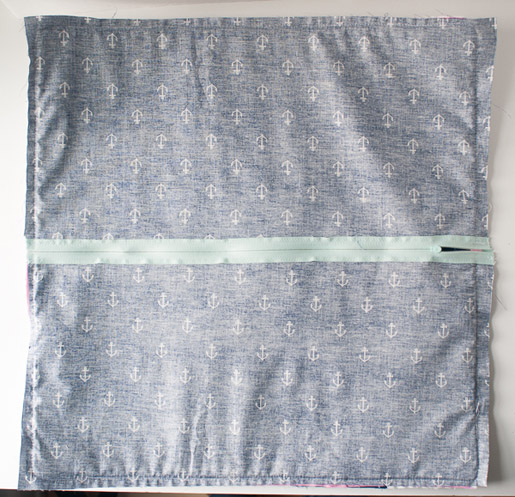
Press the fabric seam allowances away from the zipper.
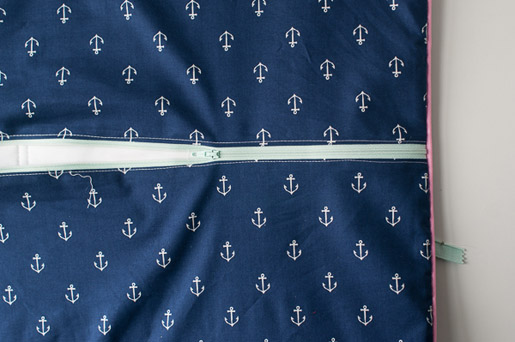
From the right side, edgestitch along the sides of the zipper.
Trim the pillow back to 18ʺ square, avoiding the zipper.
Step 7) Construct the pillow.
Pin the pillow back to the front, right sides together.
Reattach the piping foot to your machine.
Stitch the pillow front to the back, sewing over the stitching used to attach the piping.
Trim away the excess zipper.
Unzip the zipper and turn the pillow right side out.

Insert the pillow form.