Making a Memory Quilt: Quilting and Facing
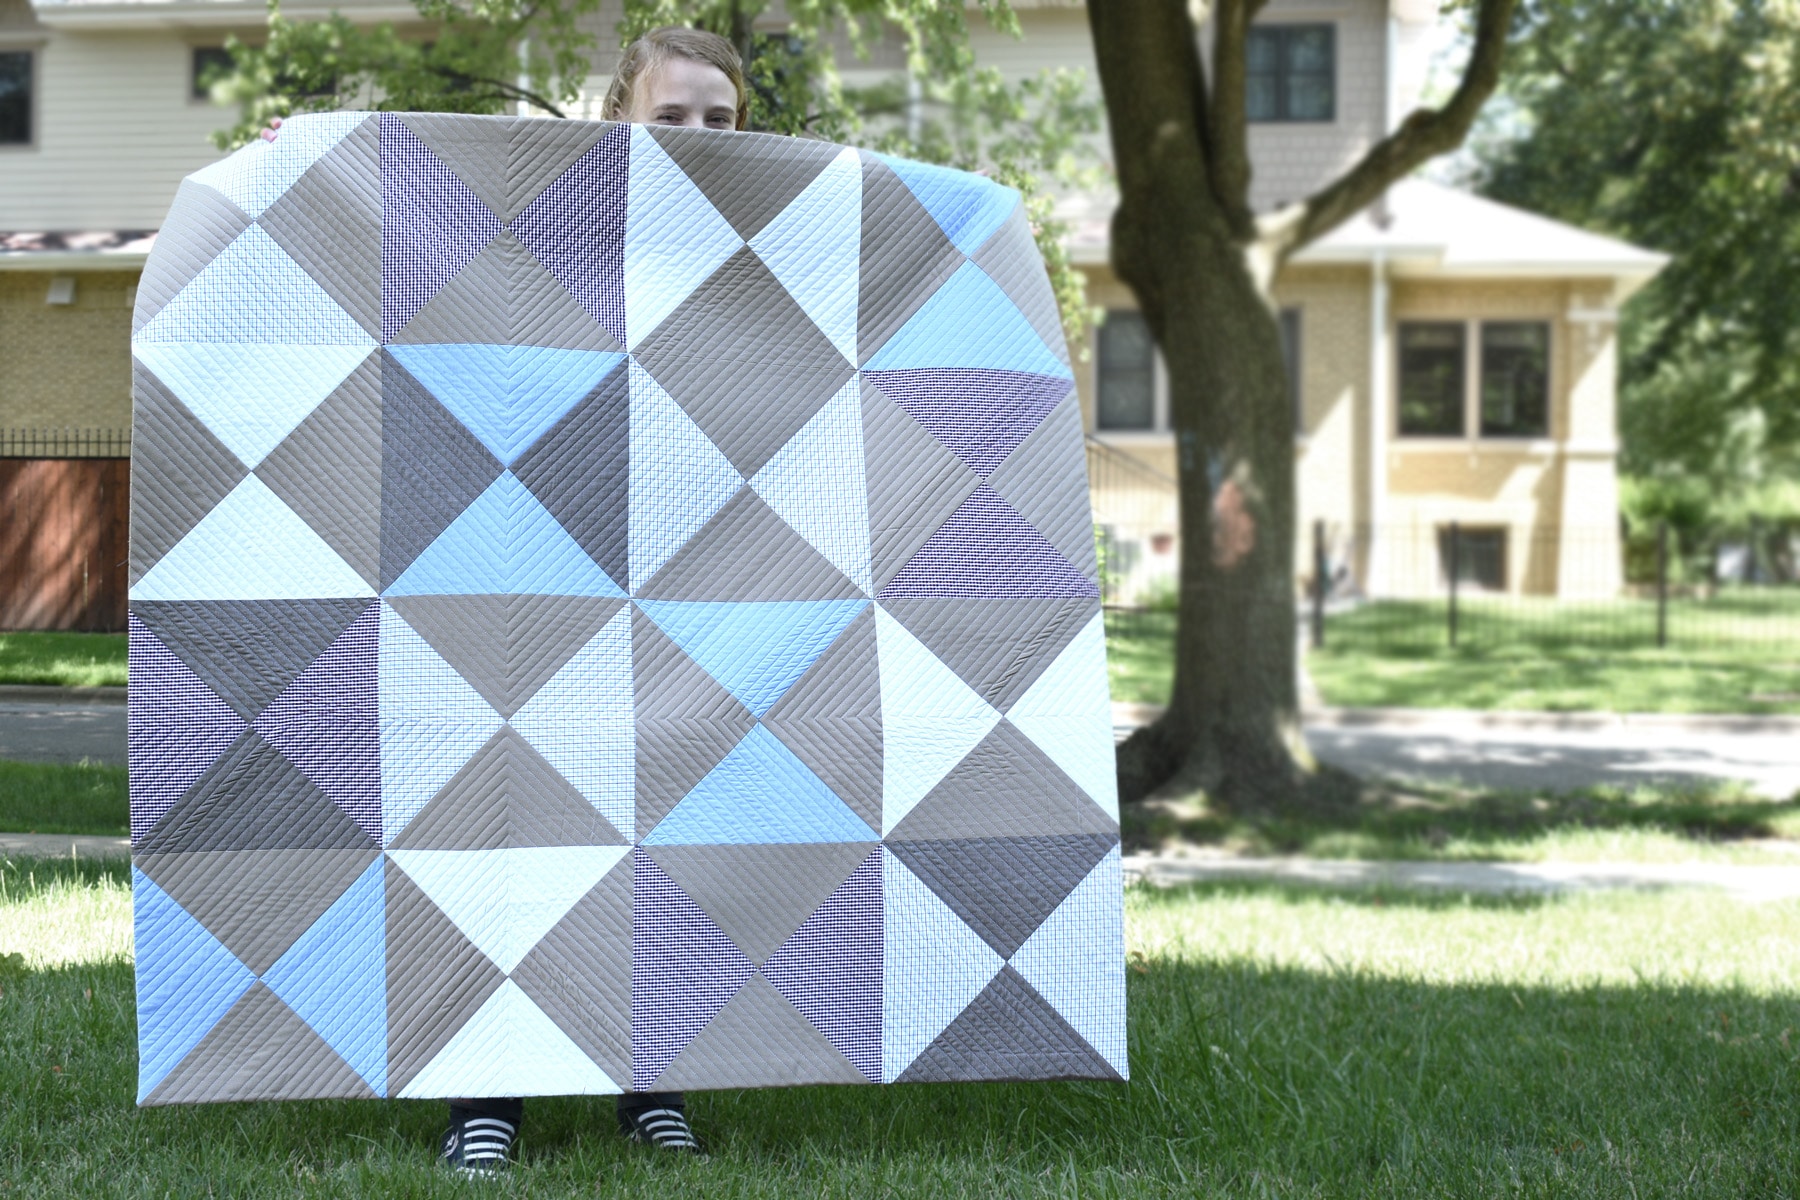
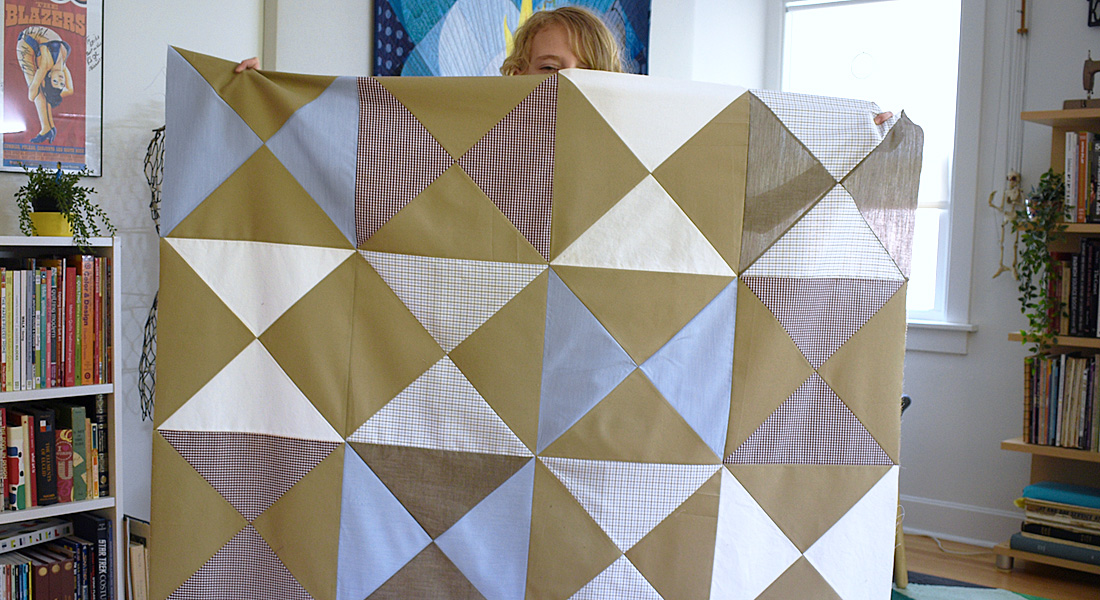
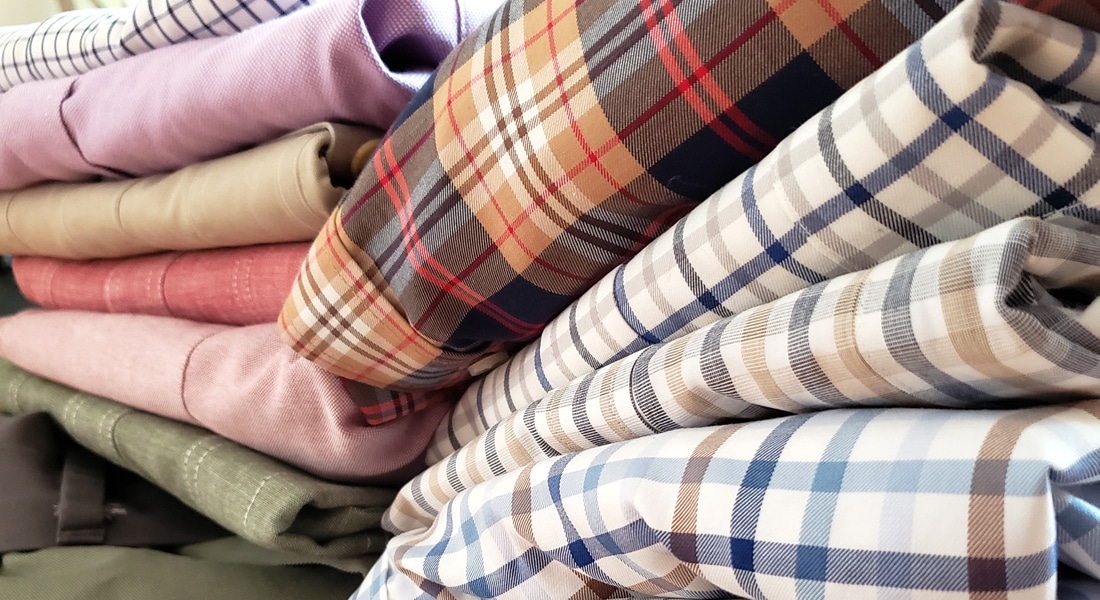
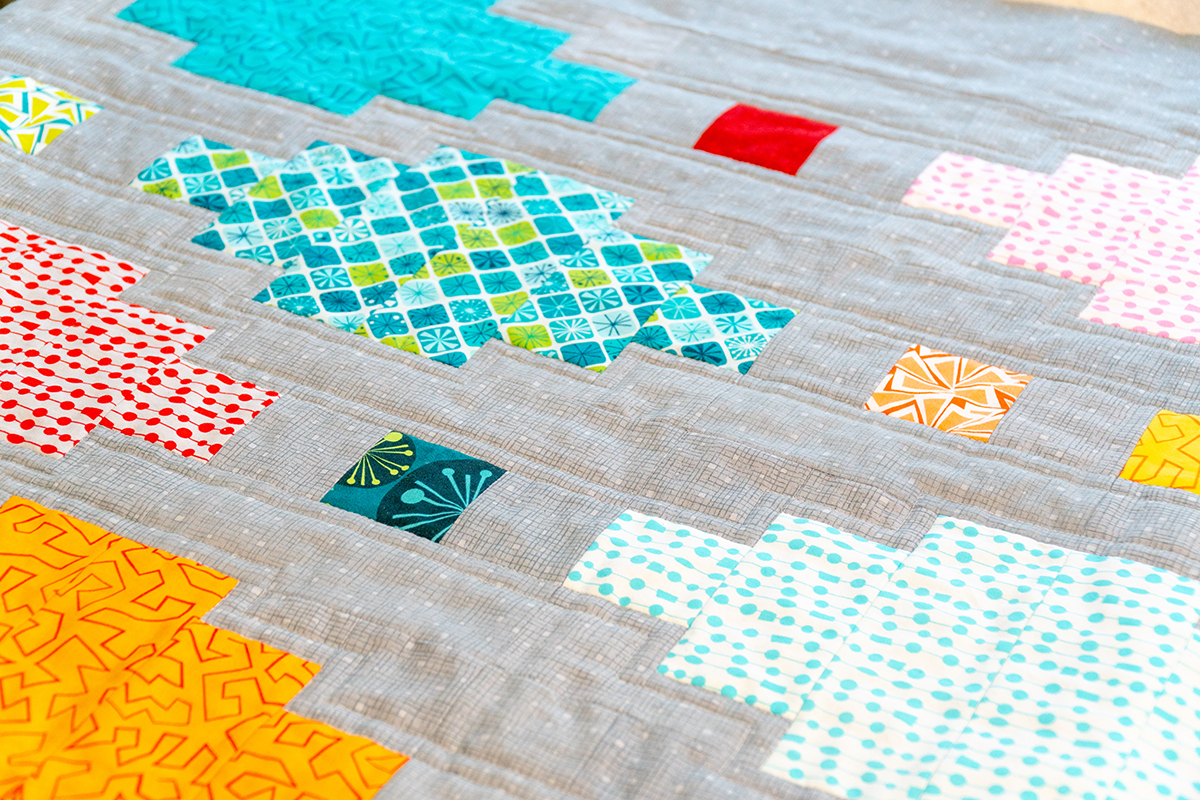
Welcome to the final installment of Making a Memory Quilt! In part 3 I’ll show you how to baste and quilt your project, and how to finish the edges with a slim facing. Read part 1 to read about making a quilt with recycled clothing, and find the full materials list along with cutting and piecing instructions in part 2.
Before quilting the layers of your quilt together (the backing, batting, and quilt top), the layers need to be basted. Basting helps the layers from shifting, bunching, and distorting while sewing the quilting stitches. You can use a spray basting method or a pin basting method. I use pin basting using quilter’s curved safety pins.
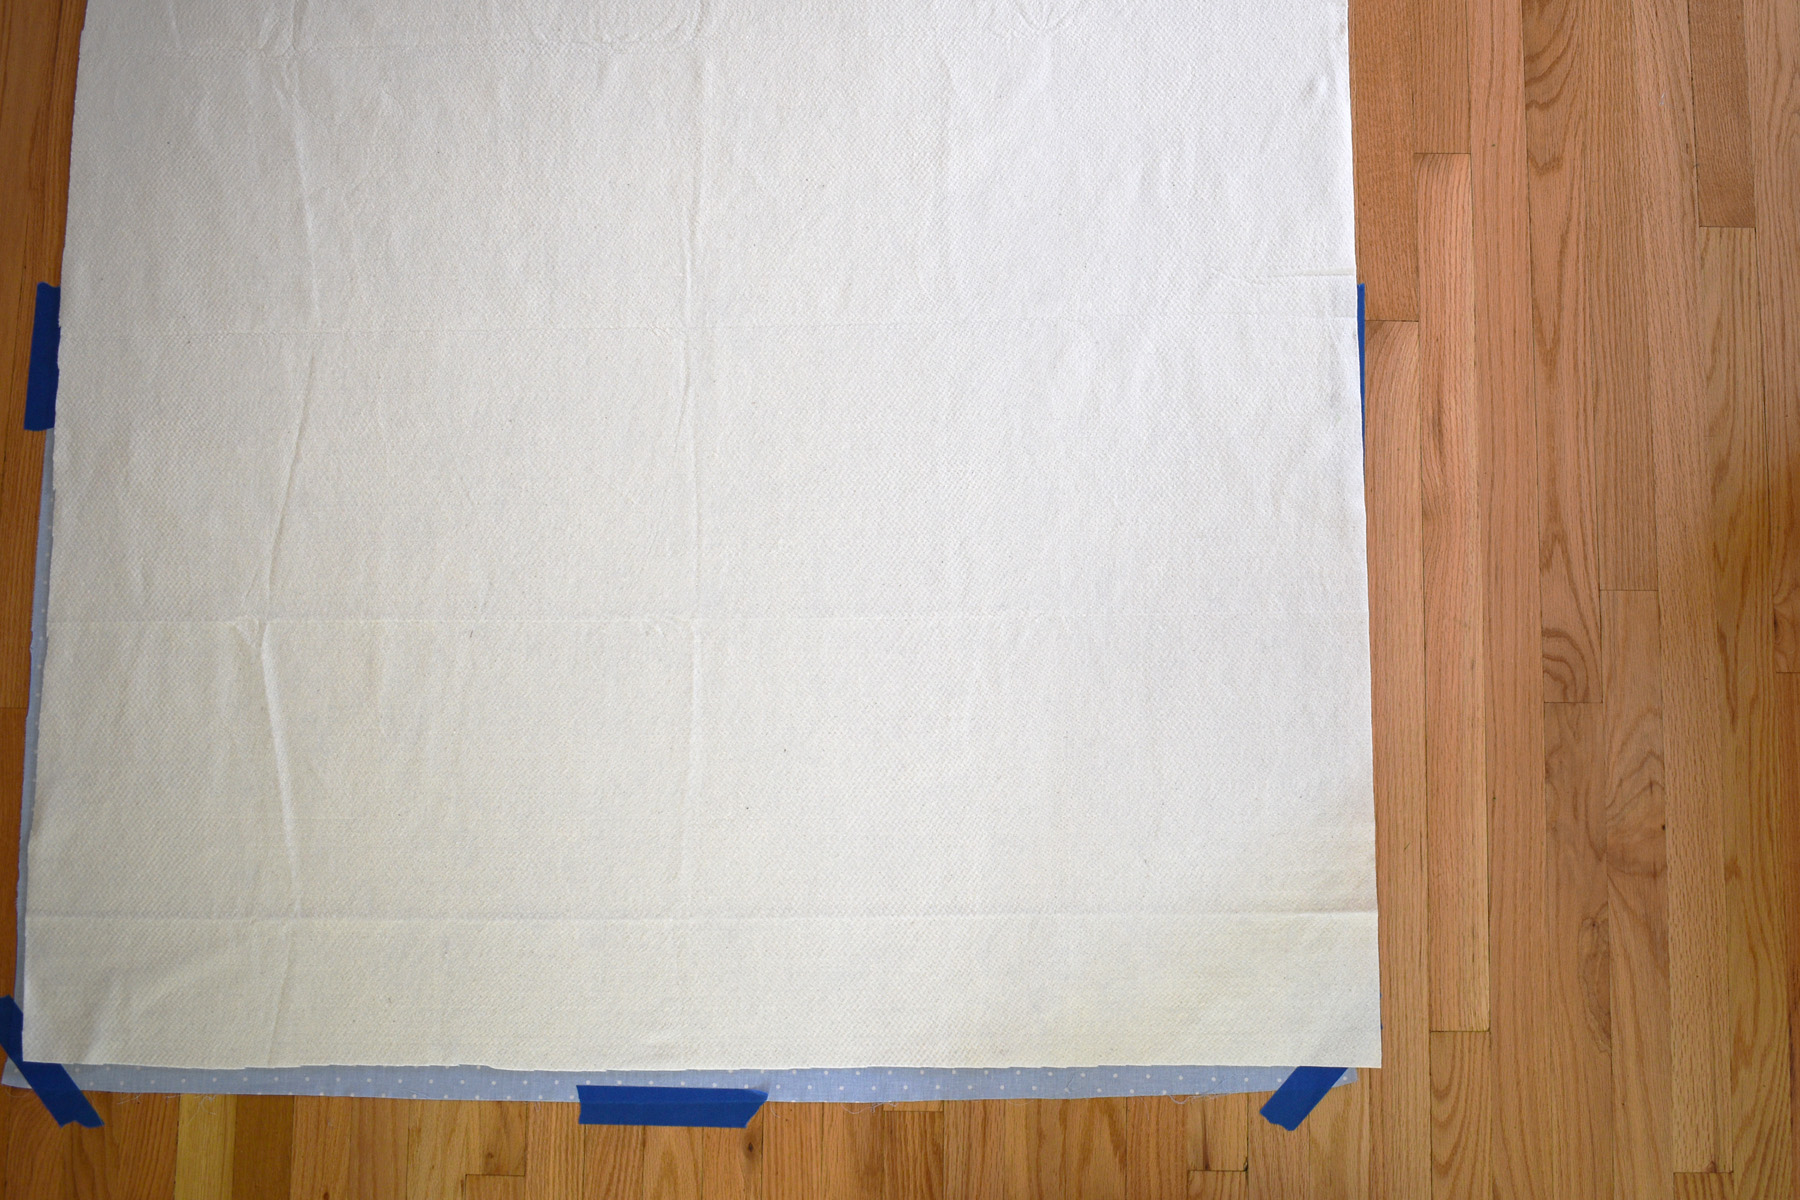
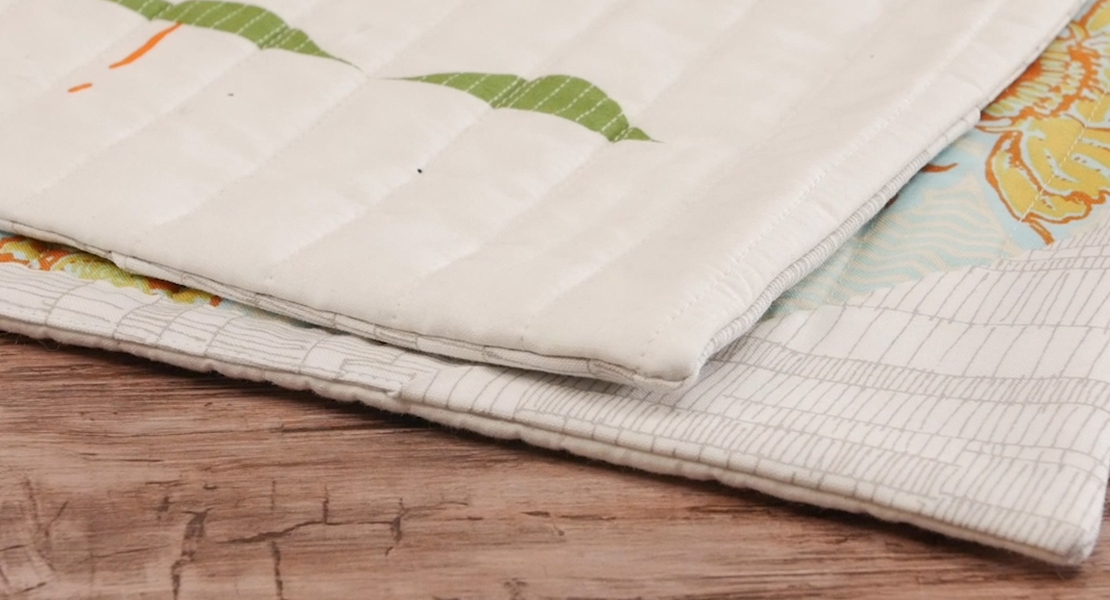
Before getting started with basting you will need to prepare your backing layer. I am using a piece of 54″ wide cotton shirting for the quilt backing. You can use a solid piece of fabric, or you can piece together a backing from smaller pieces of fabric. The final size should measure a minimum of 54″ x 54″ for this quilt. Press your backing well to make sure it is flat and free of any wrinkles.

I baste right on the wood floor in my sewing space. I begin by using painter’s tape to secure the backing layer on the floor, right side down. The tape helps hold the fabric flat and can prevent the bottom layer from shifting while pin basting, and will prevent puckers and tucks. Try not to pull or distort the fabric when taping to the floor, just smooth it out and use the tape to keep the fabric flat.
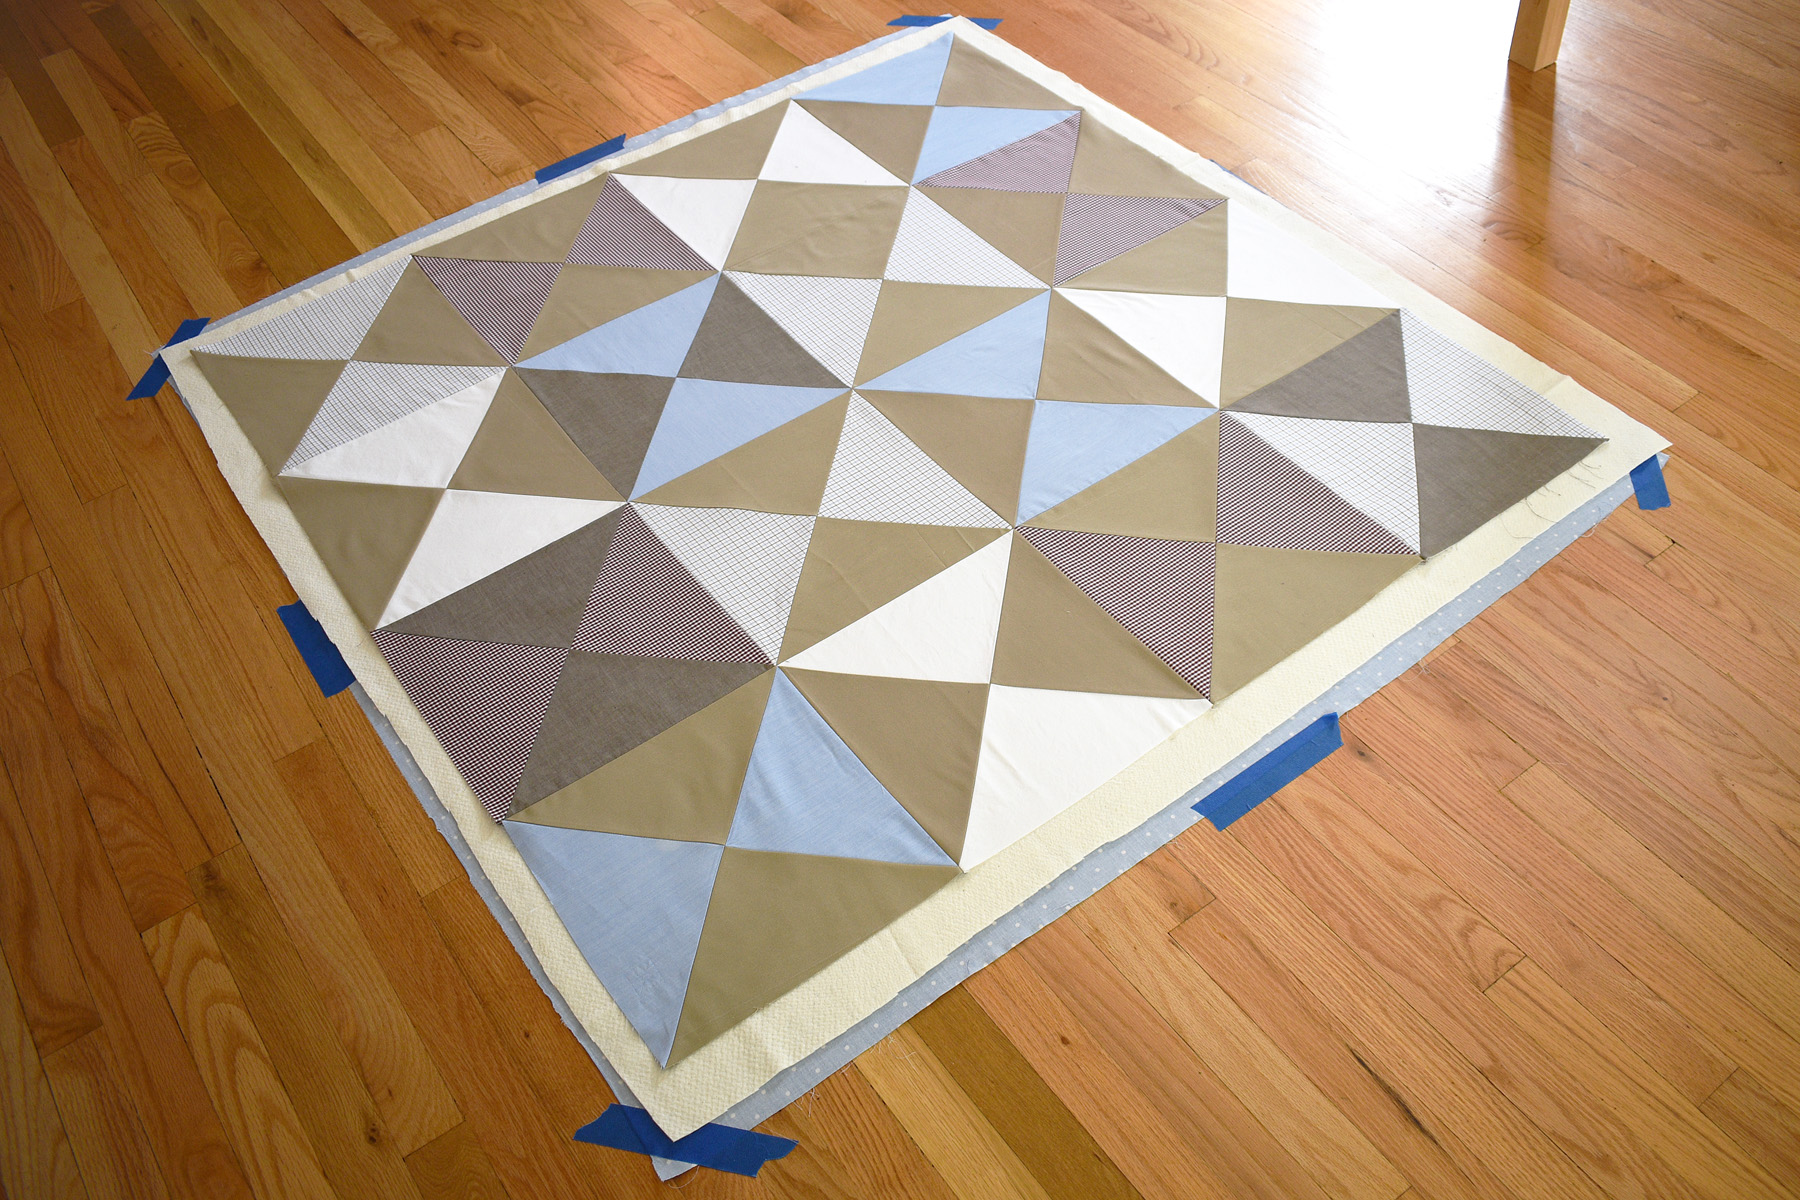
Next, I cut the batting to the approximate size of the backing fabric, and smooth it out carefully. The trick here is not to pull or distort the batting. Carefully flatten out the batting on top of the backing, removing any wrinkles or puckers as you go.
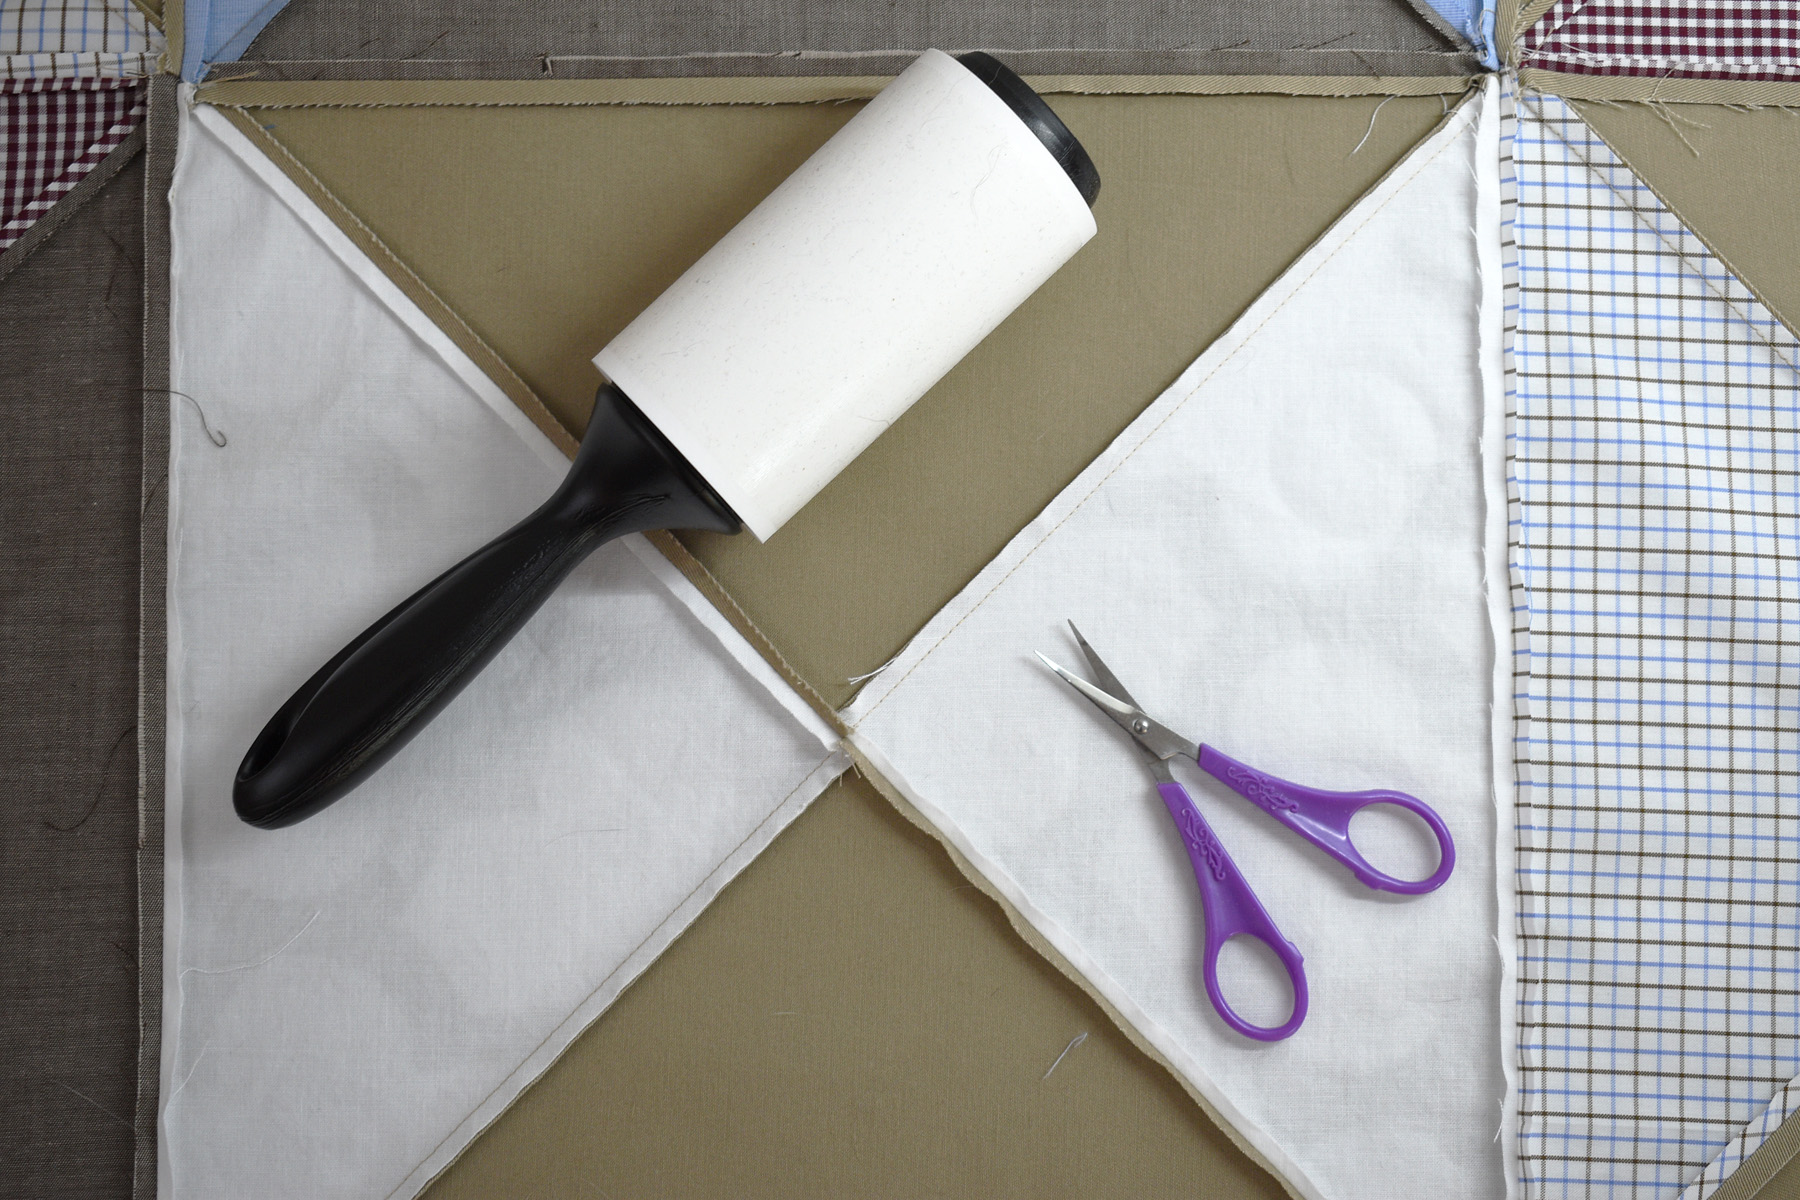
Before adding the quilt top to the sandwich, give it a good pressing from the back side. I use a pair of thread snips and a lint roller to remove as many stray threads as possible. Threads may end up showing through the lighter colored fabrics in the quilt top.

Center the quilt top on the batting layer, and smooth out any wrinkle or puckers from the center out to the edges. You can also check to make sure your patchwork seams are straight in this step by using a long straight edge. Line the straight edge up with the straight seams to check for straightness. You will have a small amount of play with the quilt top to straighten out the seams a little bit. Move the quilt top slightly by pressing and moving gently with your hands to make the seam straighter. You’ll know if you’re moving the quilt top too much in one direction or the other if the fabric in the top starts to distort, pucker, or pleat as you go.
Now it’s time to grab your pins and start basting.

I use curved quilter’s pins and a tool to help open and close the safety pins. Quilter’s usually find their own rhythm and spacing with pinning.

I like to start pin basting in the center of the quilt and pin out towards the sides first.
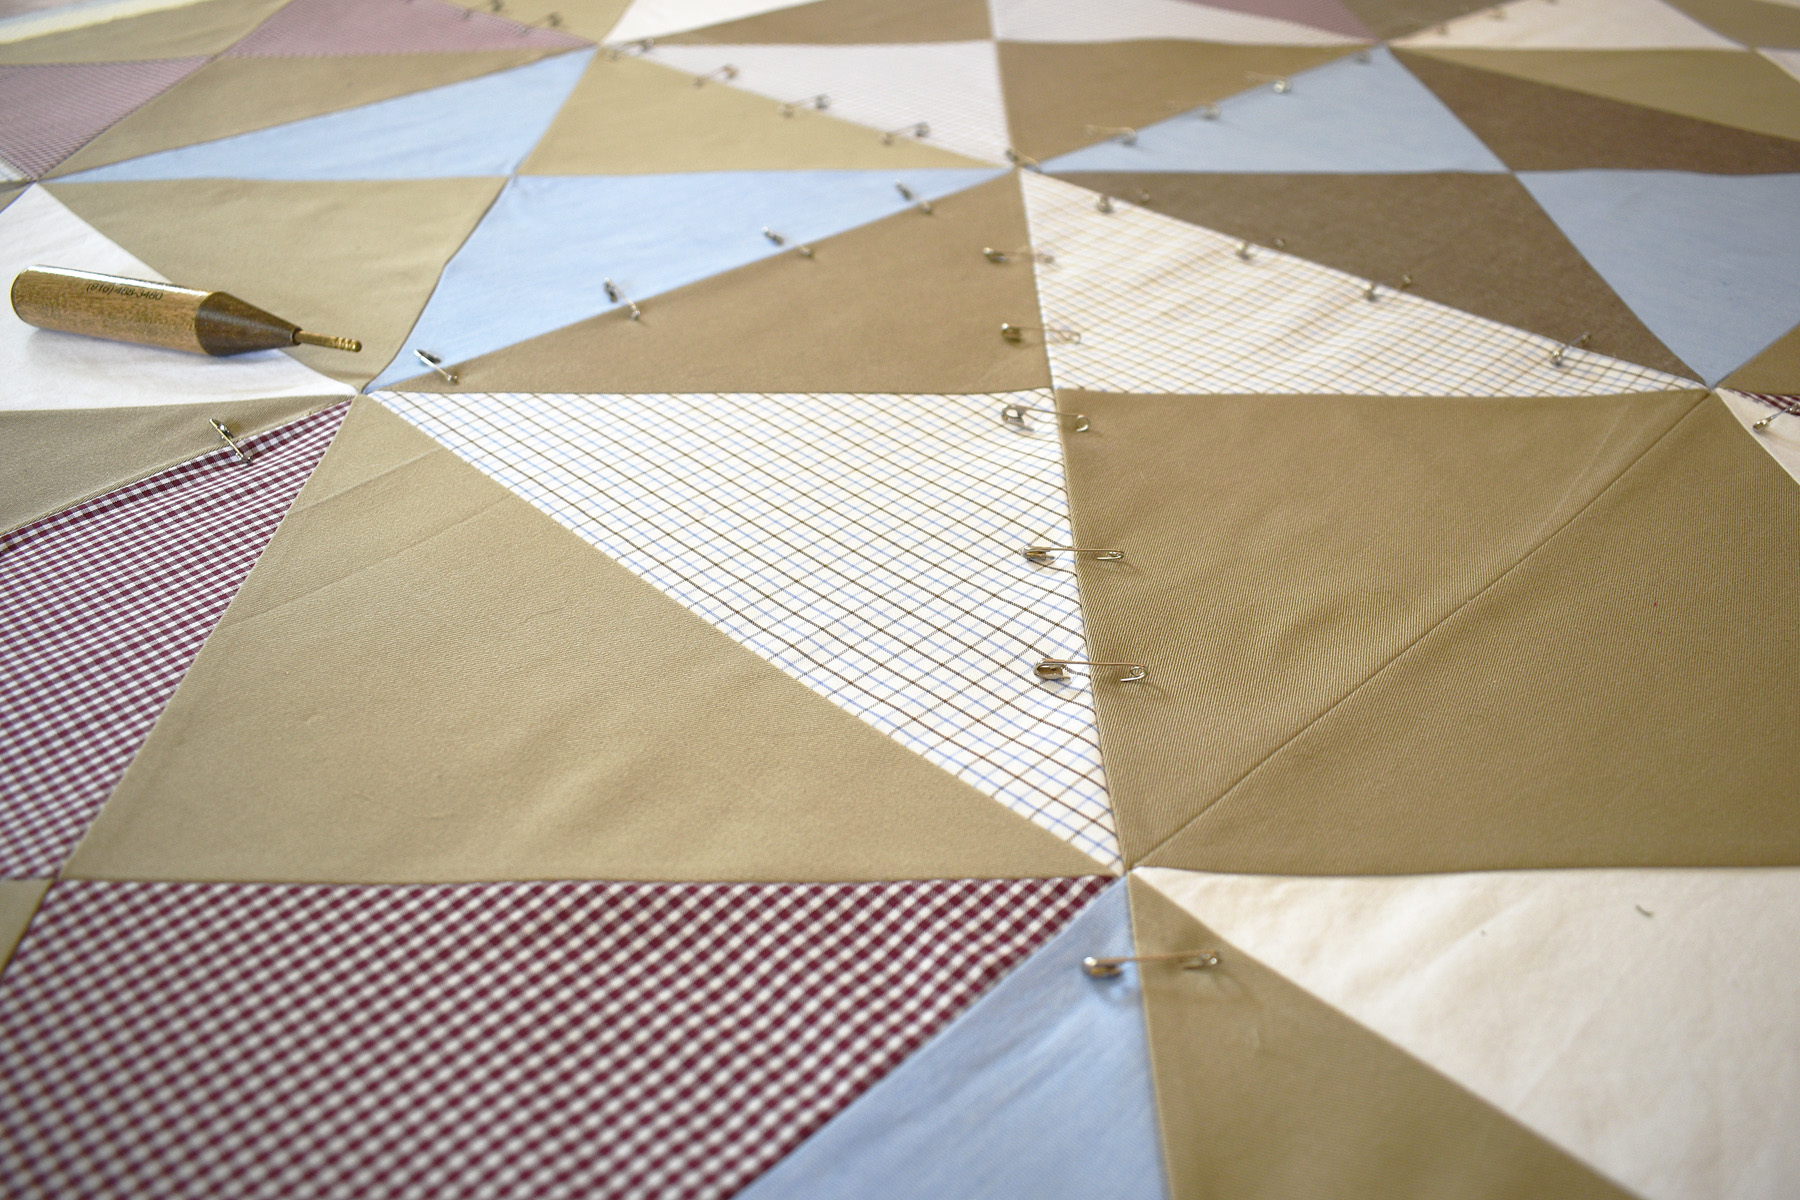
Then I pin from the center out to the corners, and fill in the rest from there.

If you finish pinning and don’t expect to start quilting right away, you can carefully roll-up the quilt and store it away. Try not to fold-up a pin basted quilt too tightly or leave it bunched up for long periods of time to prevent the pins from pulling and stressing the fabric.
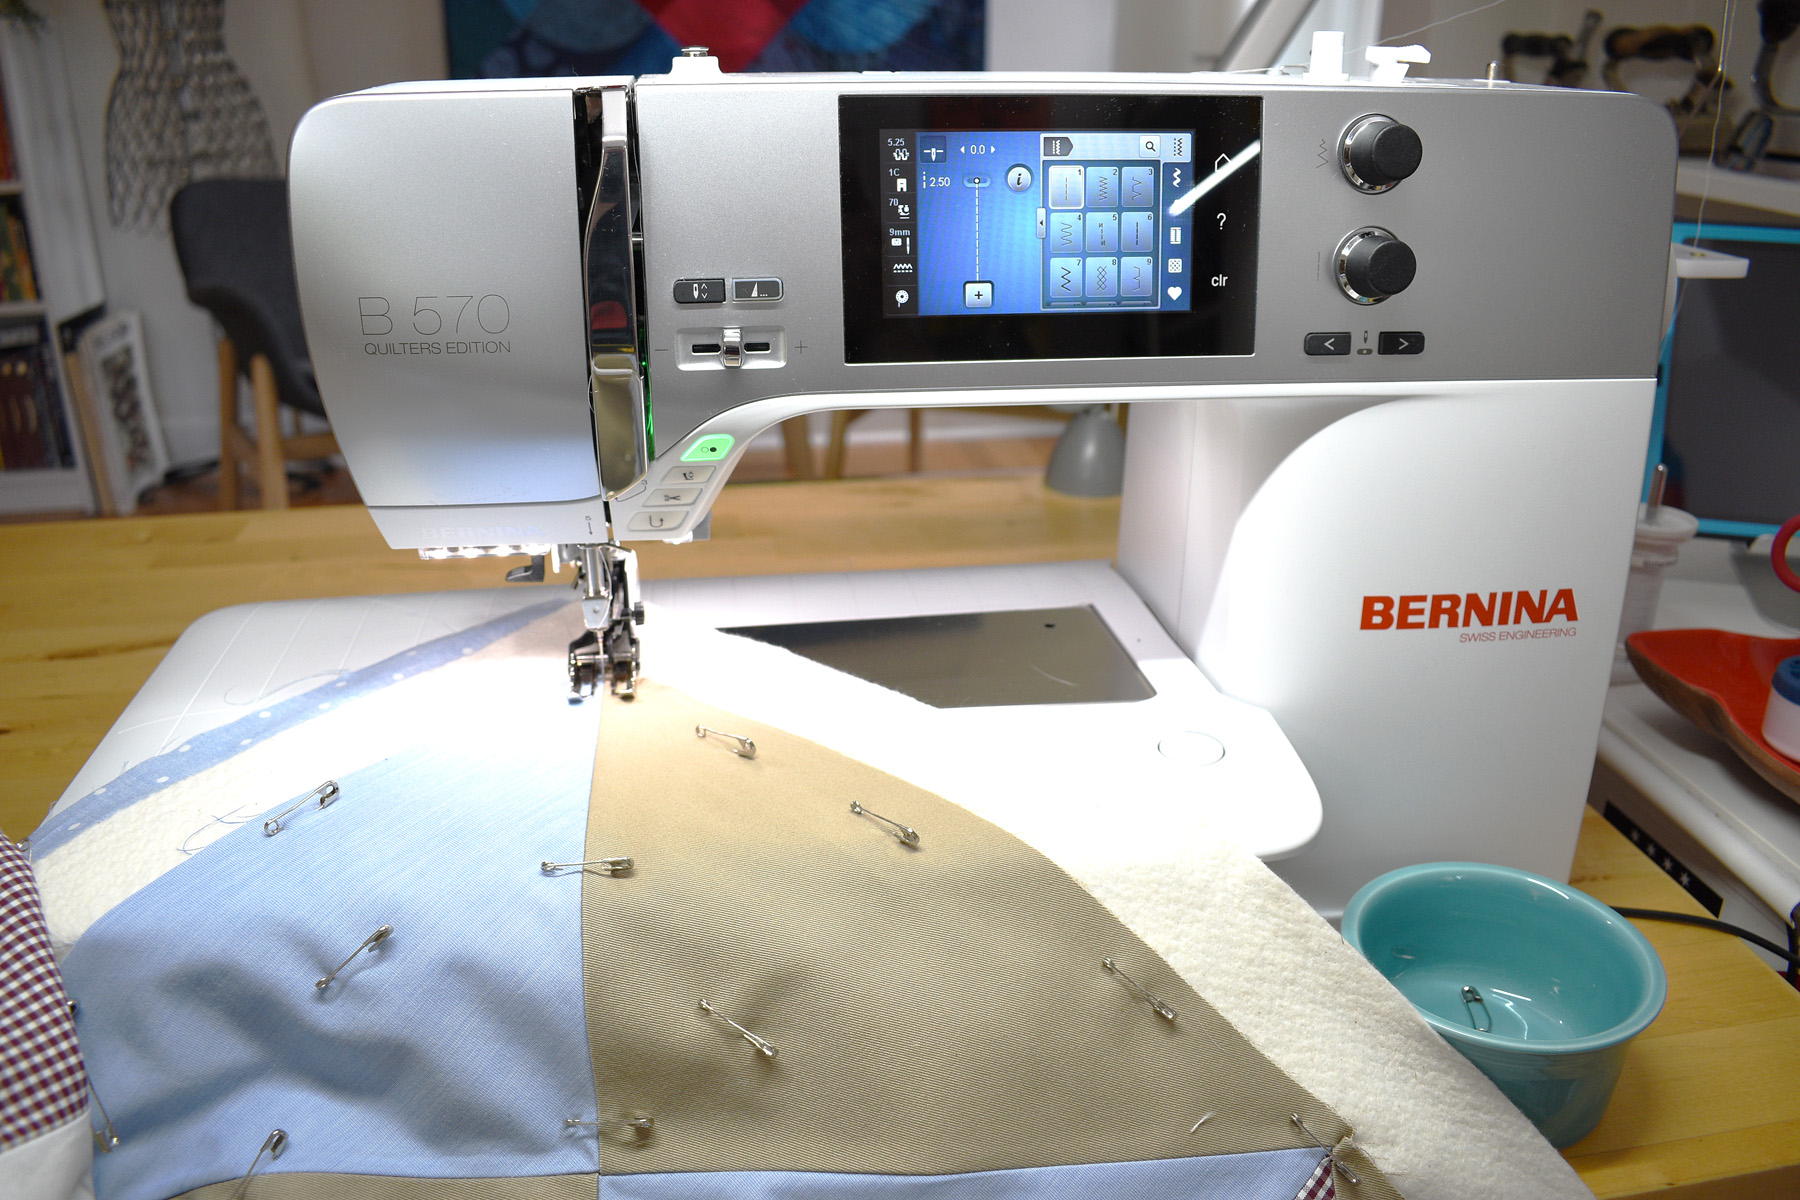
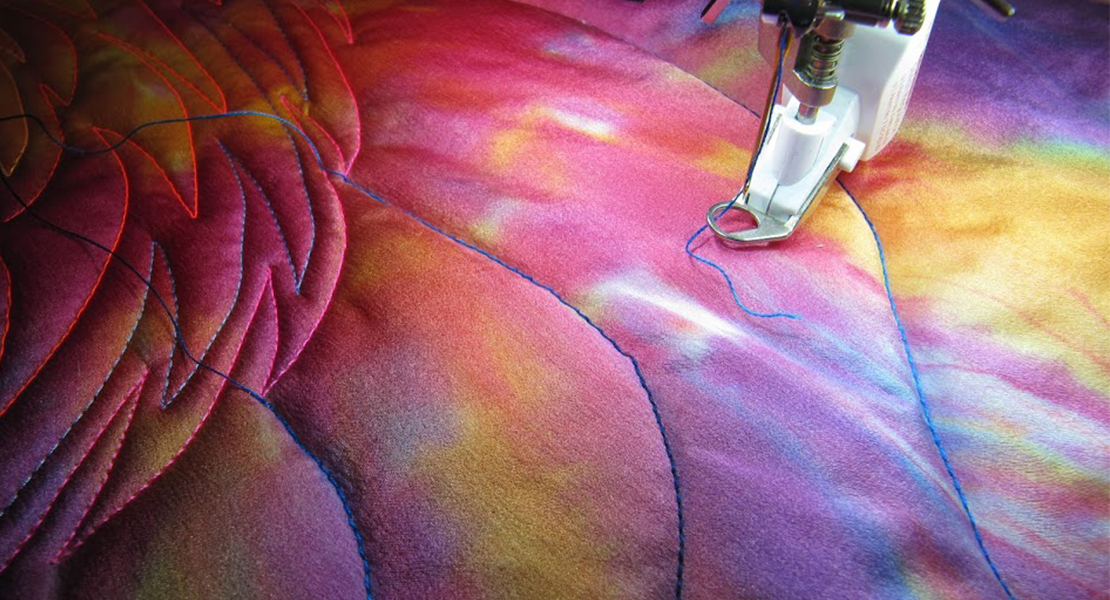
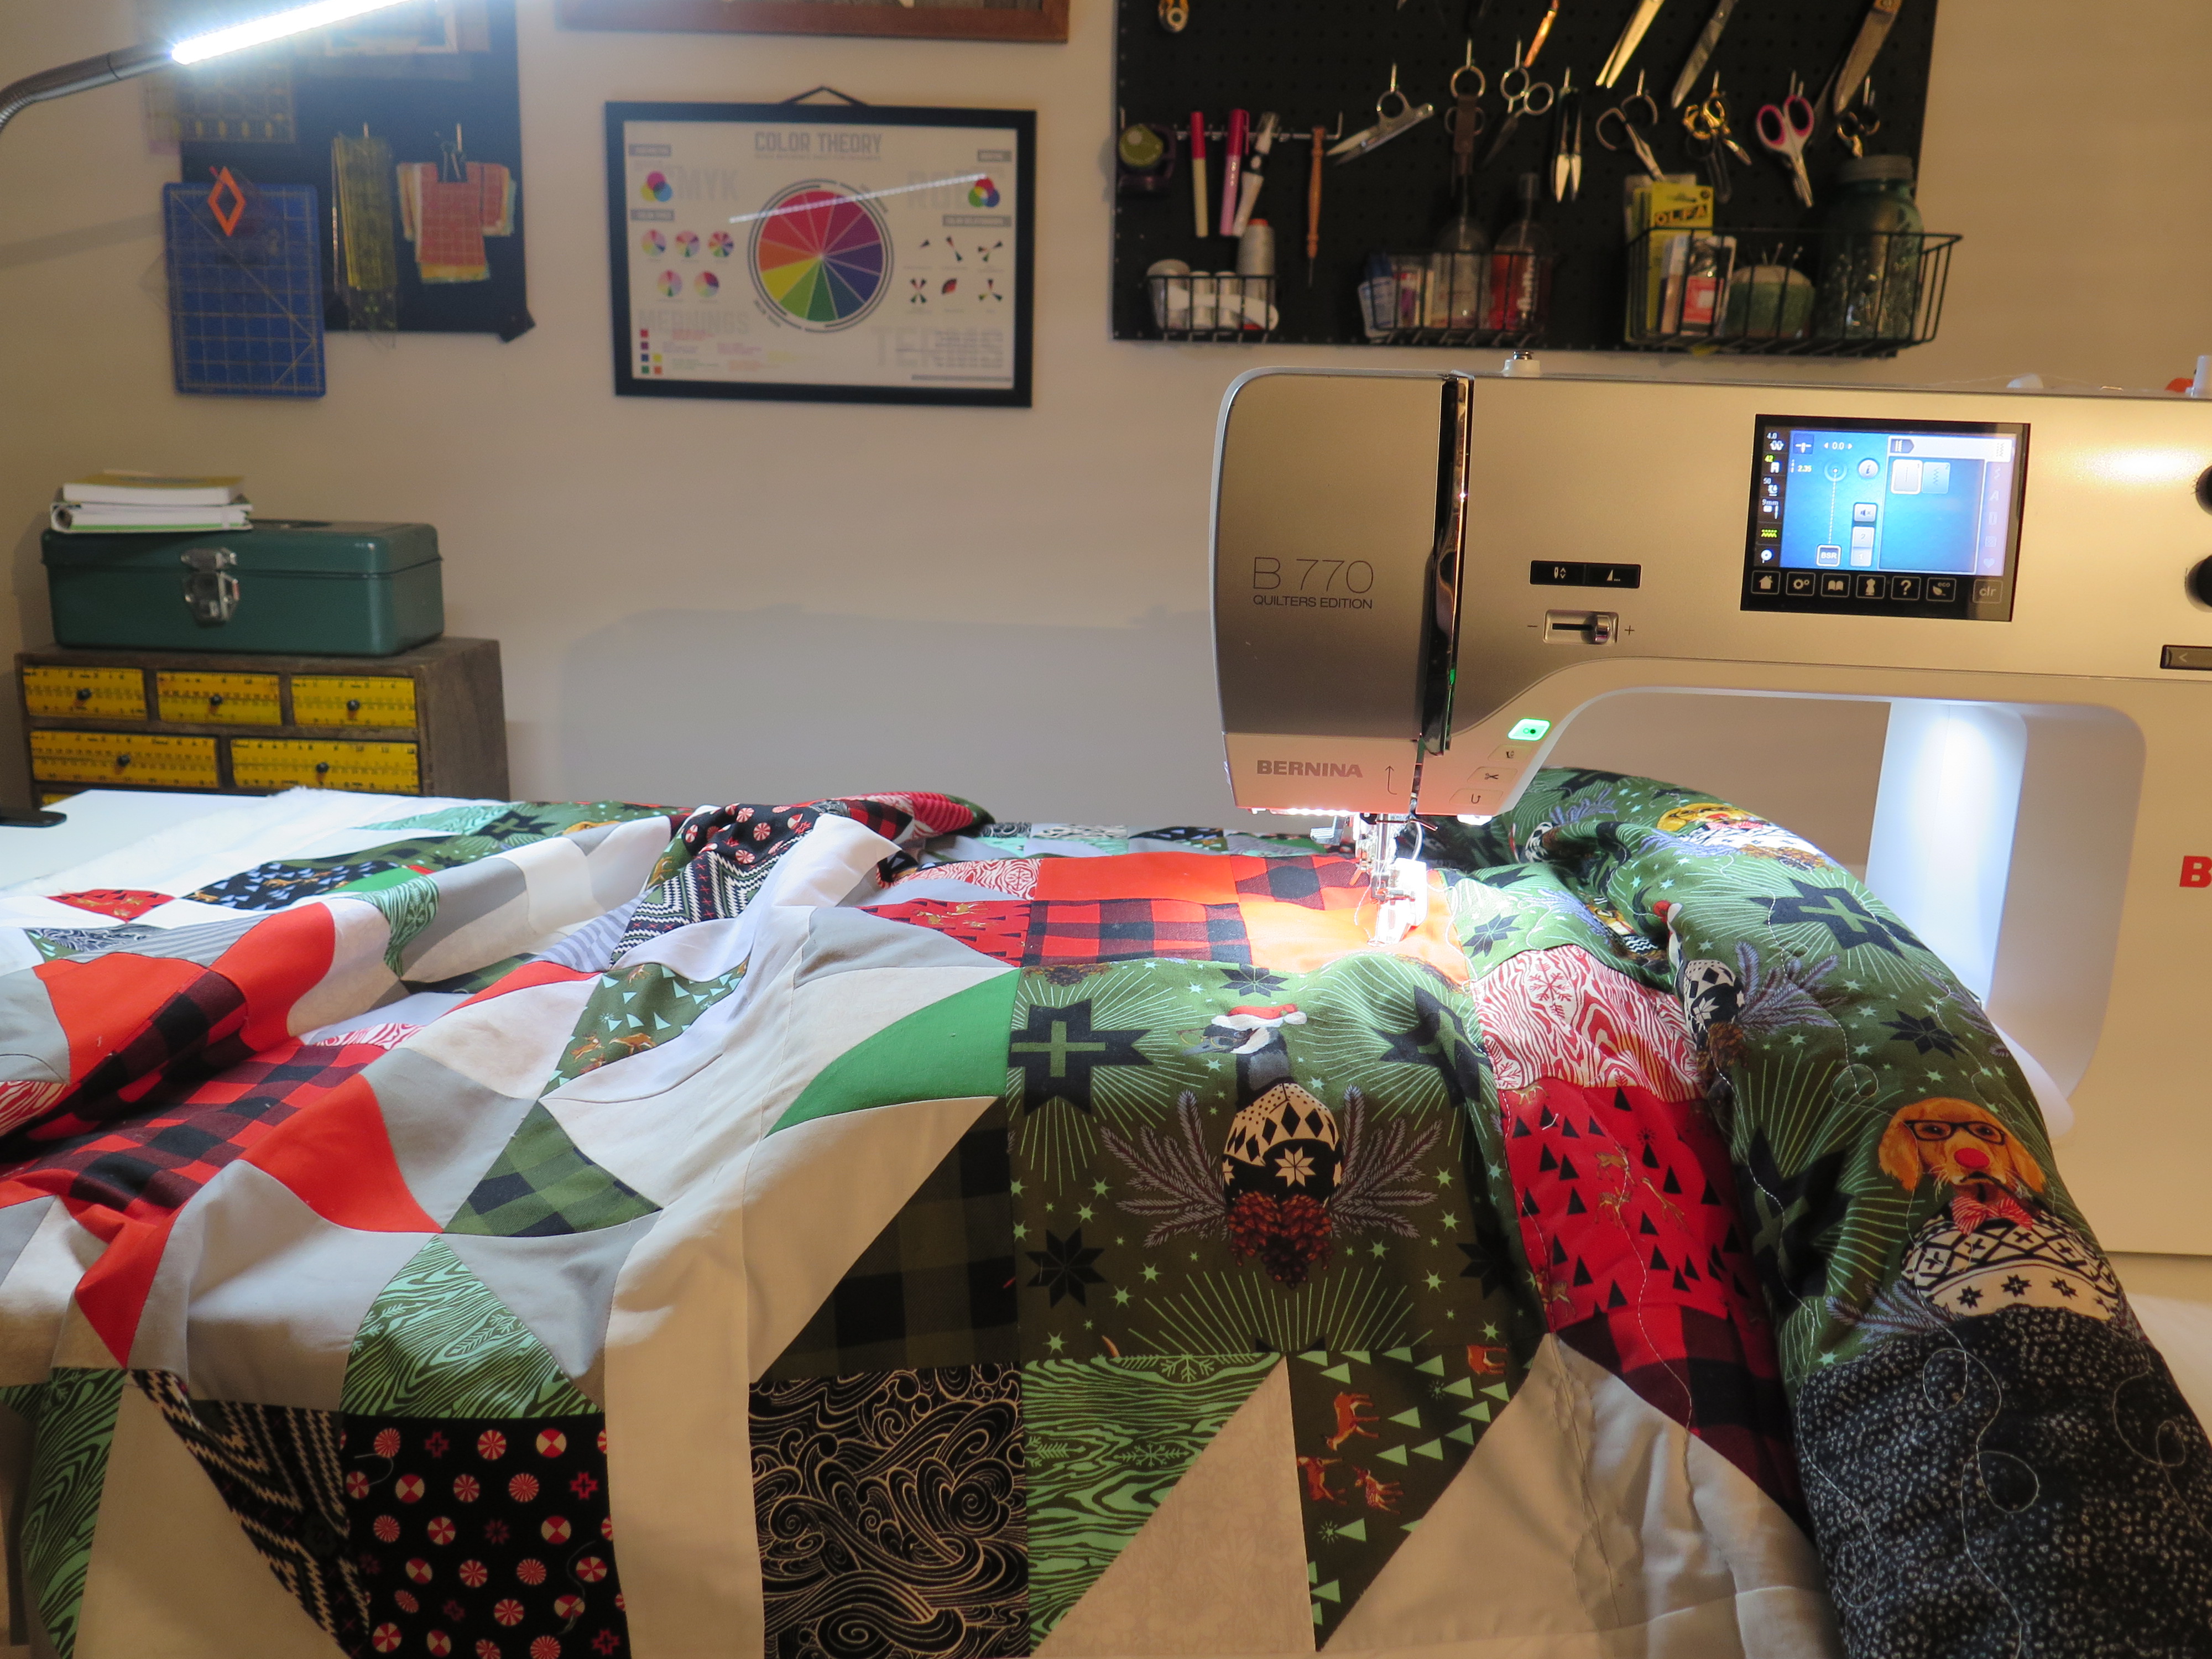
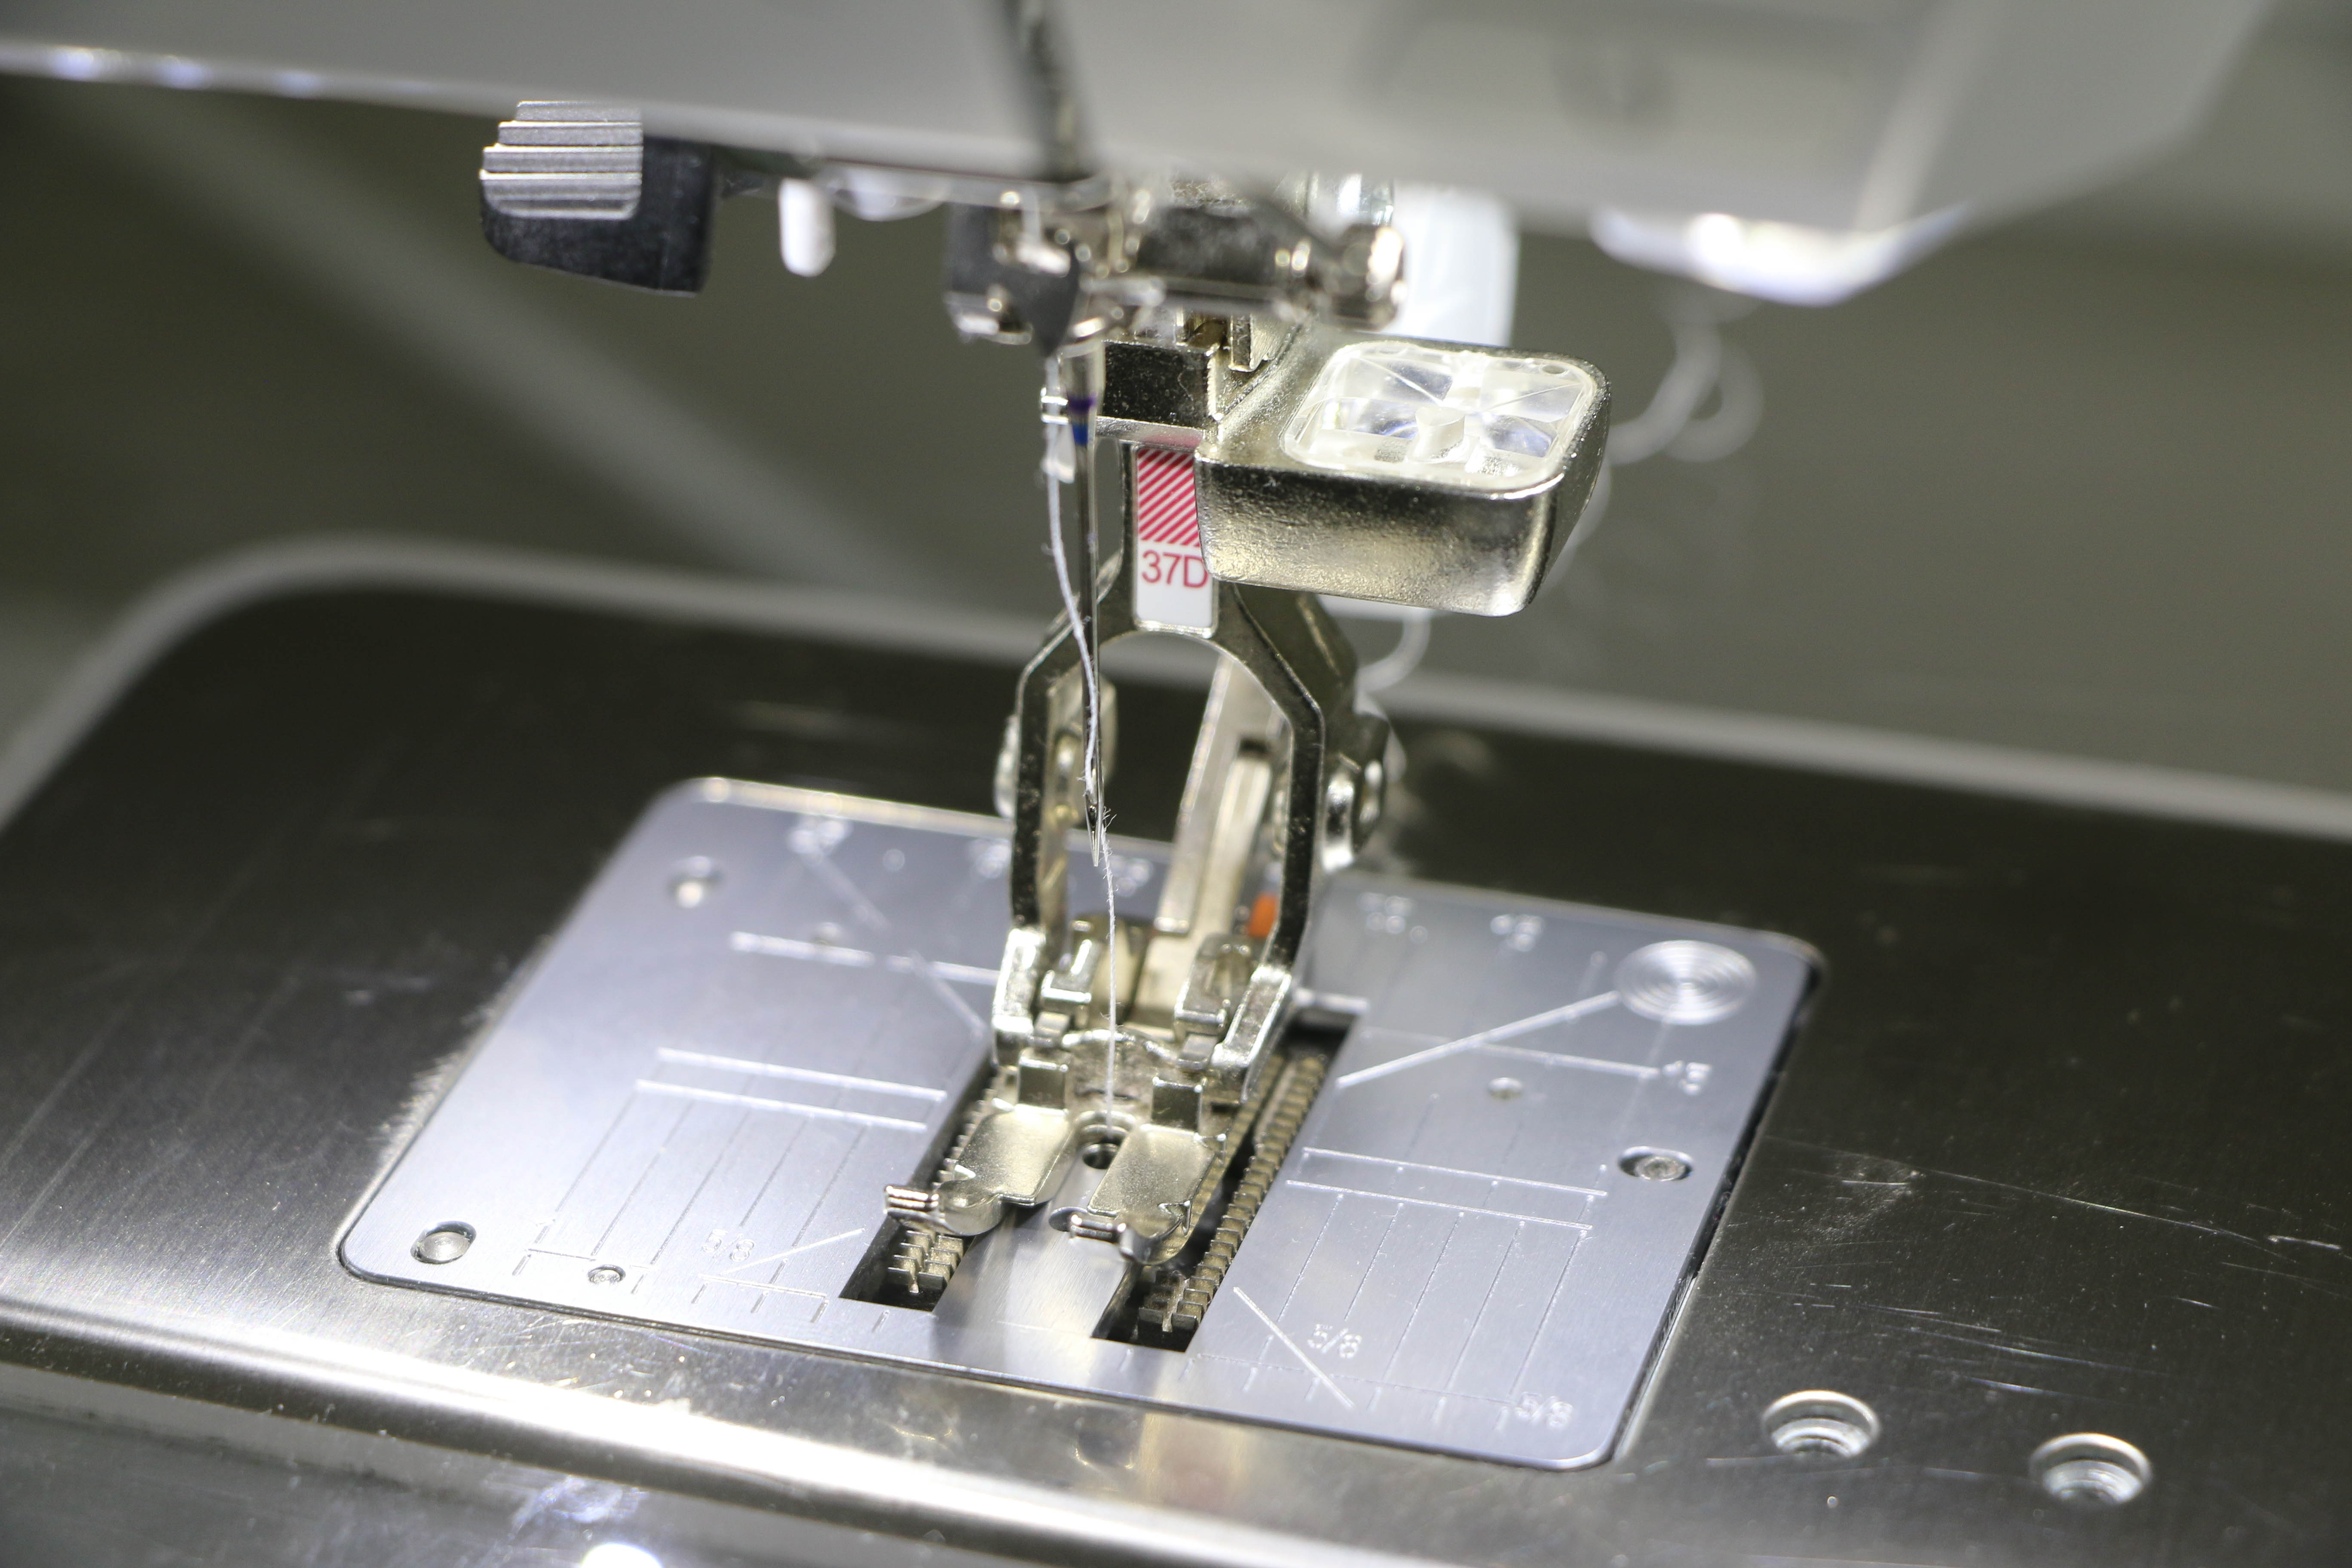
Let’s get ready to quilt! I use the BERNINA Walking foot #50 with the open toe sole for straight line quilting. Lots of people tell me they have a hard time attaching the Walking foot to the machine. Here’s a quick tip!
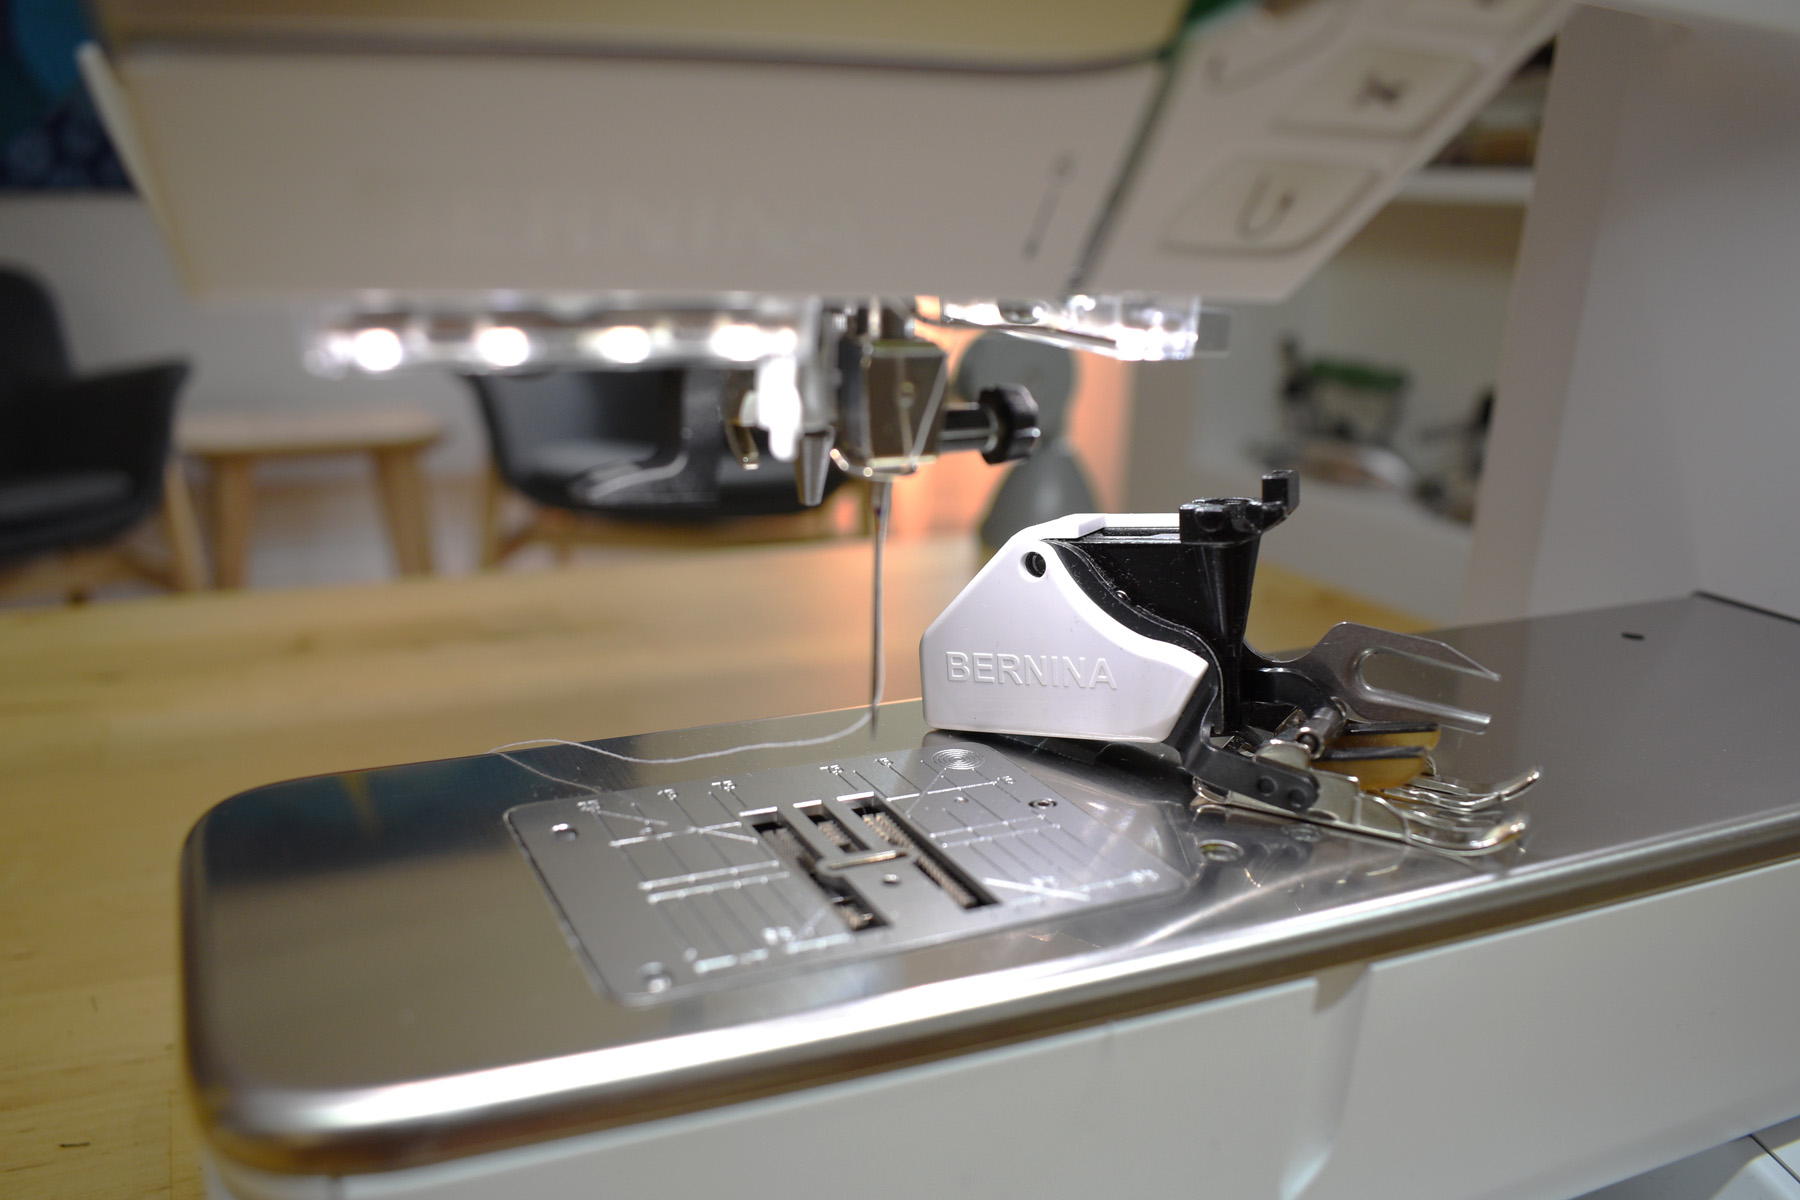
Lower the feed dogs on your machine to attach the Walking foot. Slide the Walking foot over from the side of the machine.

Attach the fork on the Walking foot over the needle bar screw, then slide the foot in place and clamp it in.

Raise the feed dogs on your machine, they will re-engage when you start to stitch. This is also a great opportunity to grab everything you might need before you start to quilt. If you are pin basting, use a container near your machine to catch pins as you remove them. Wind an additional bobbin so you’ll have it at the ready when you need it. I also grab something to drink, make sure my phone is nearby, and stream some tunes.
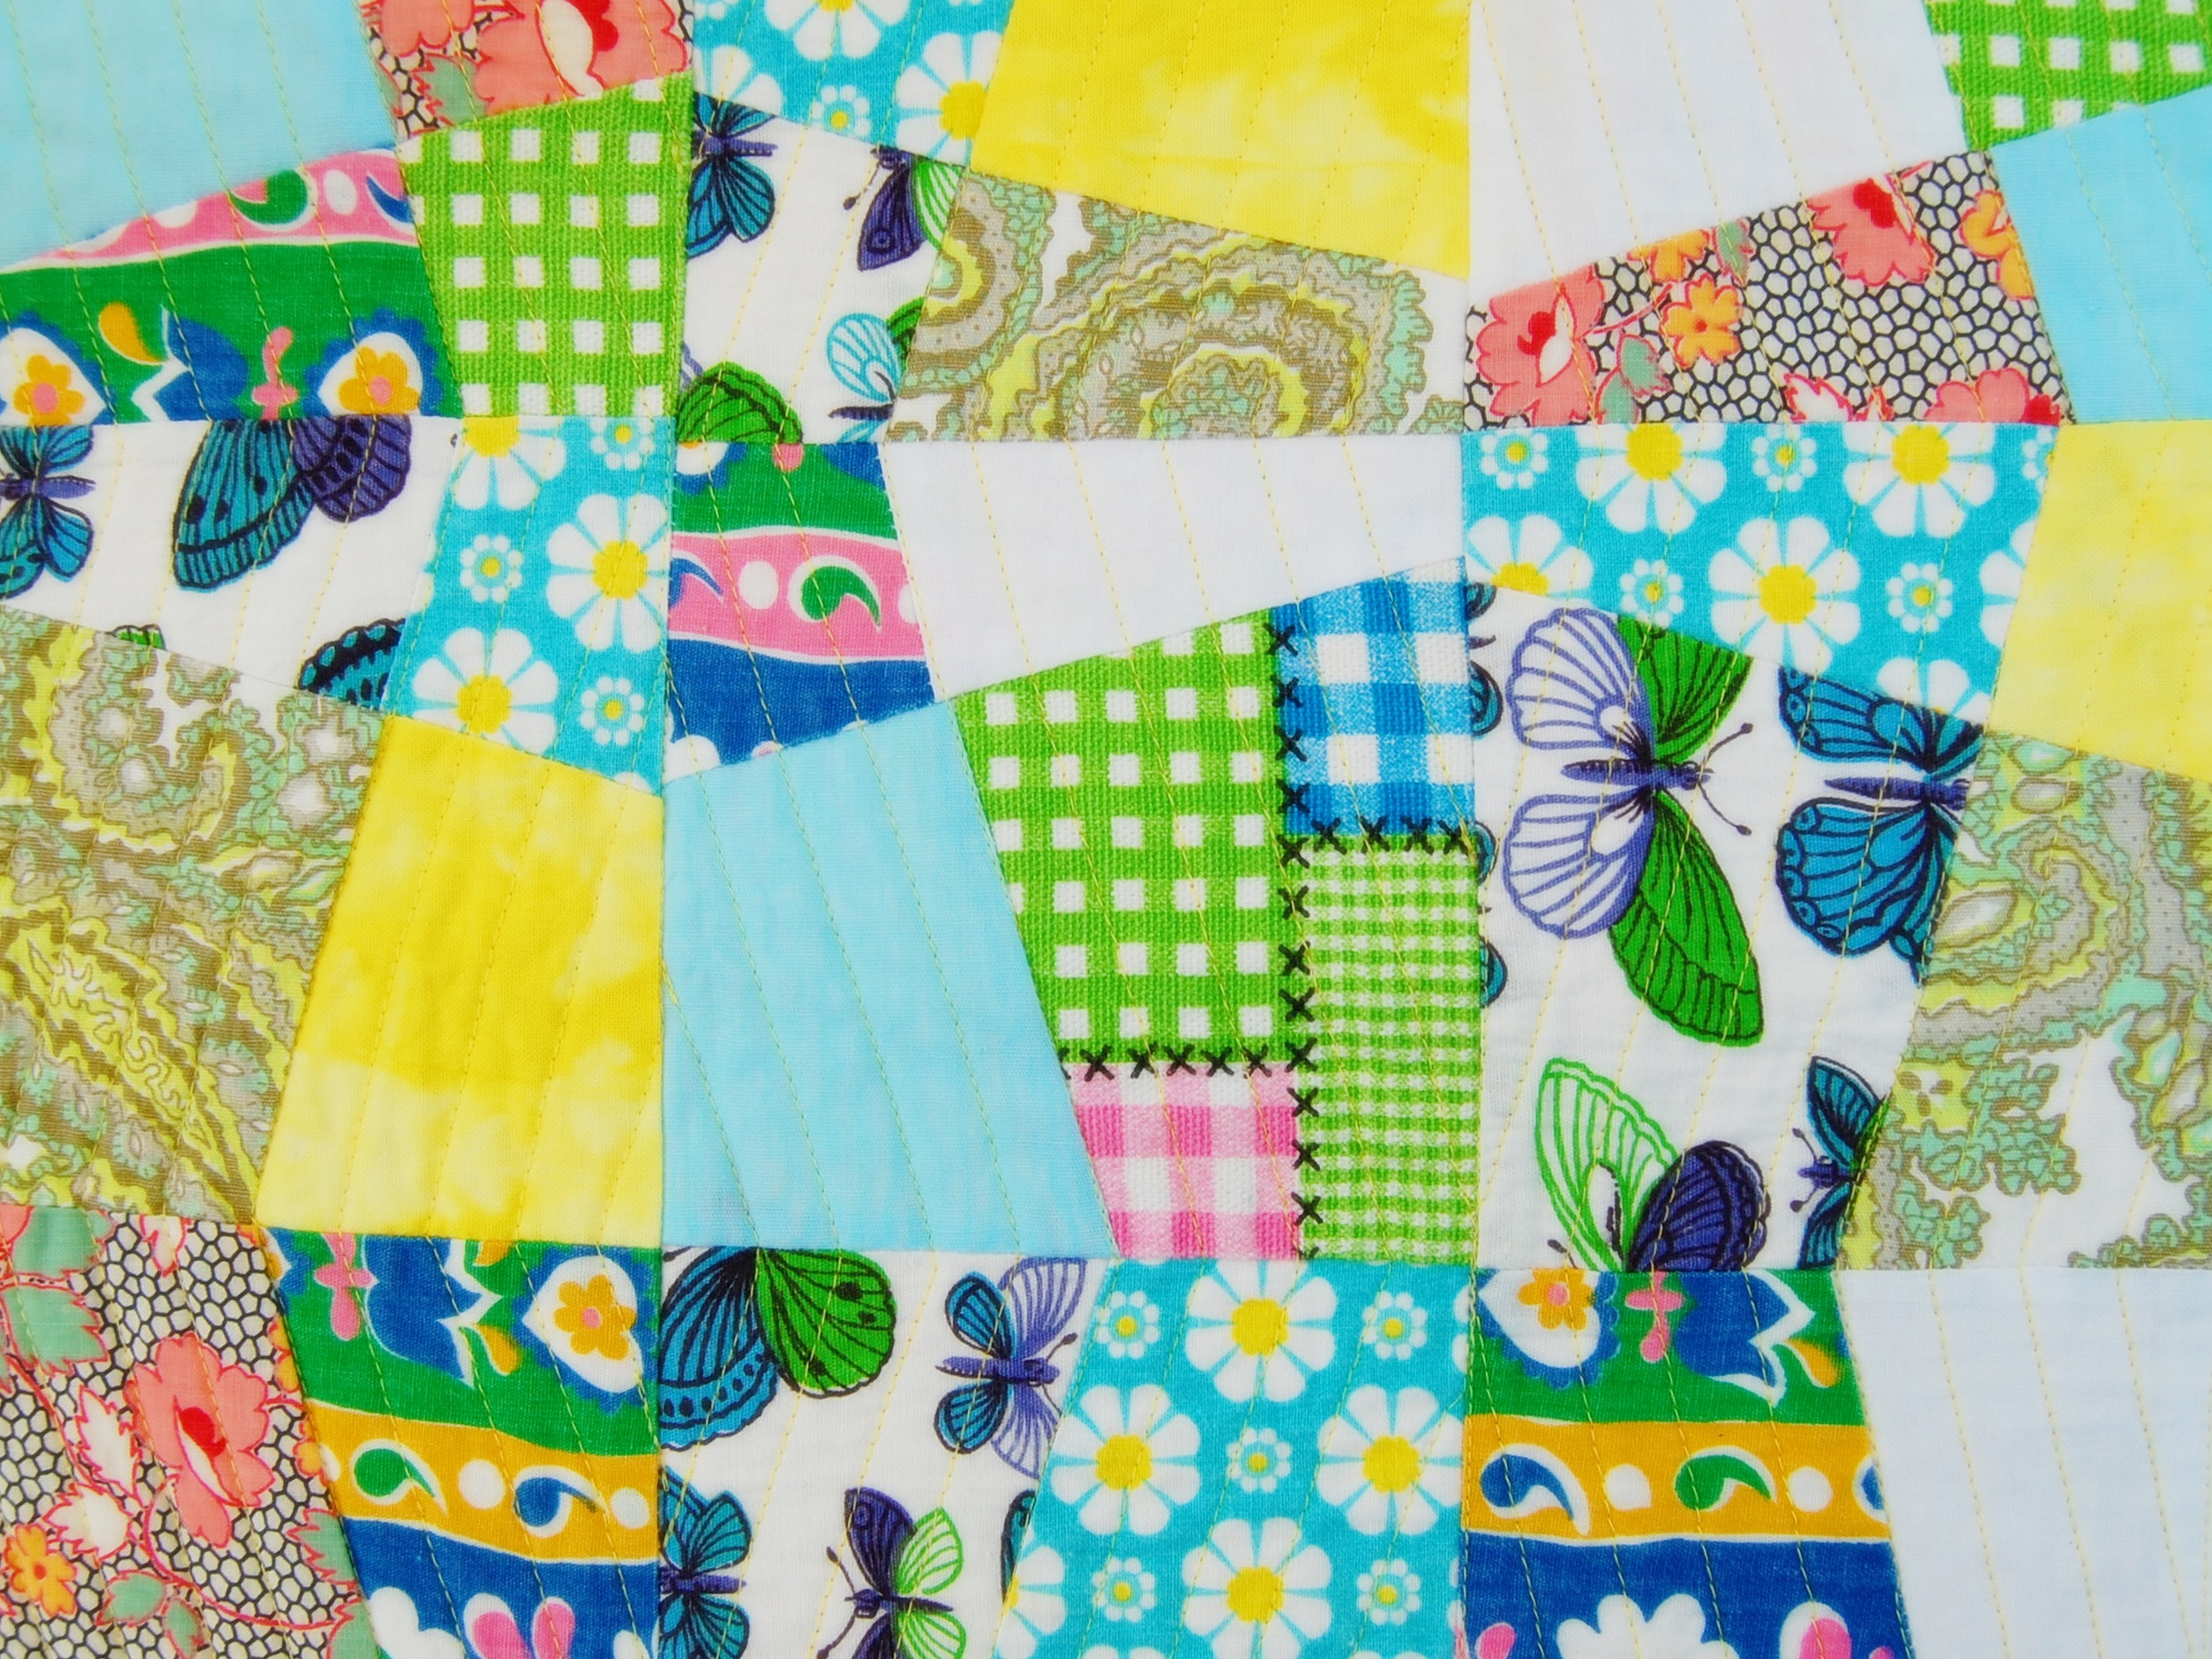
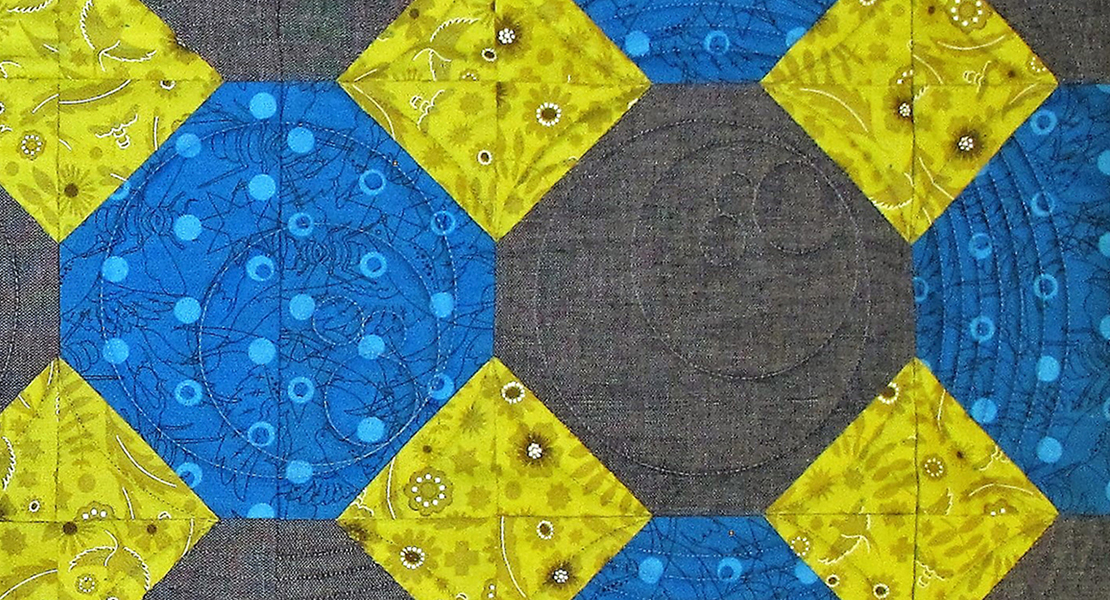
Below is a quick diagram of how I started to quilt this straight line pattern. First, I stitched in the ditch formed by the patchwork seams across the entire quilt from one corner to the other. Next, I stitched in the ditch across a shorter seam, shown with the shorter red line below.
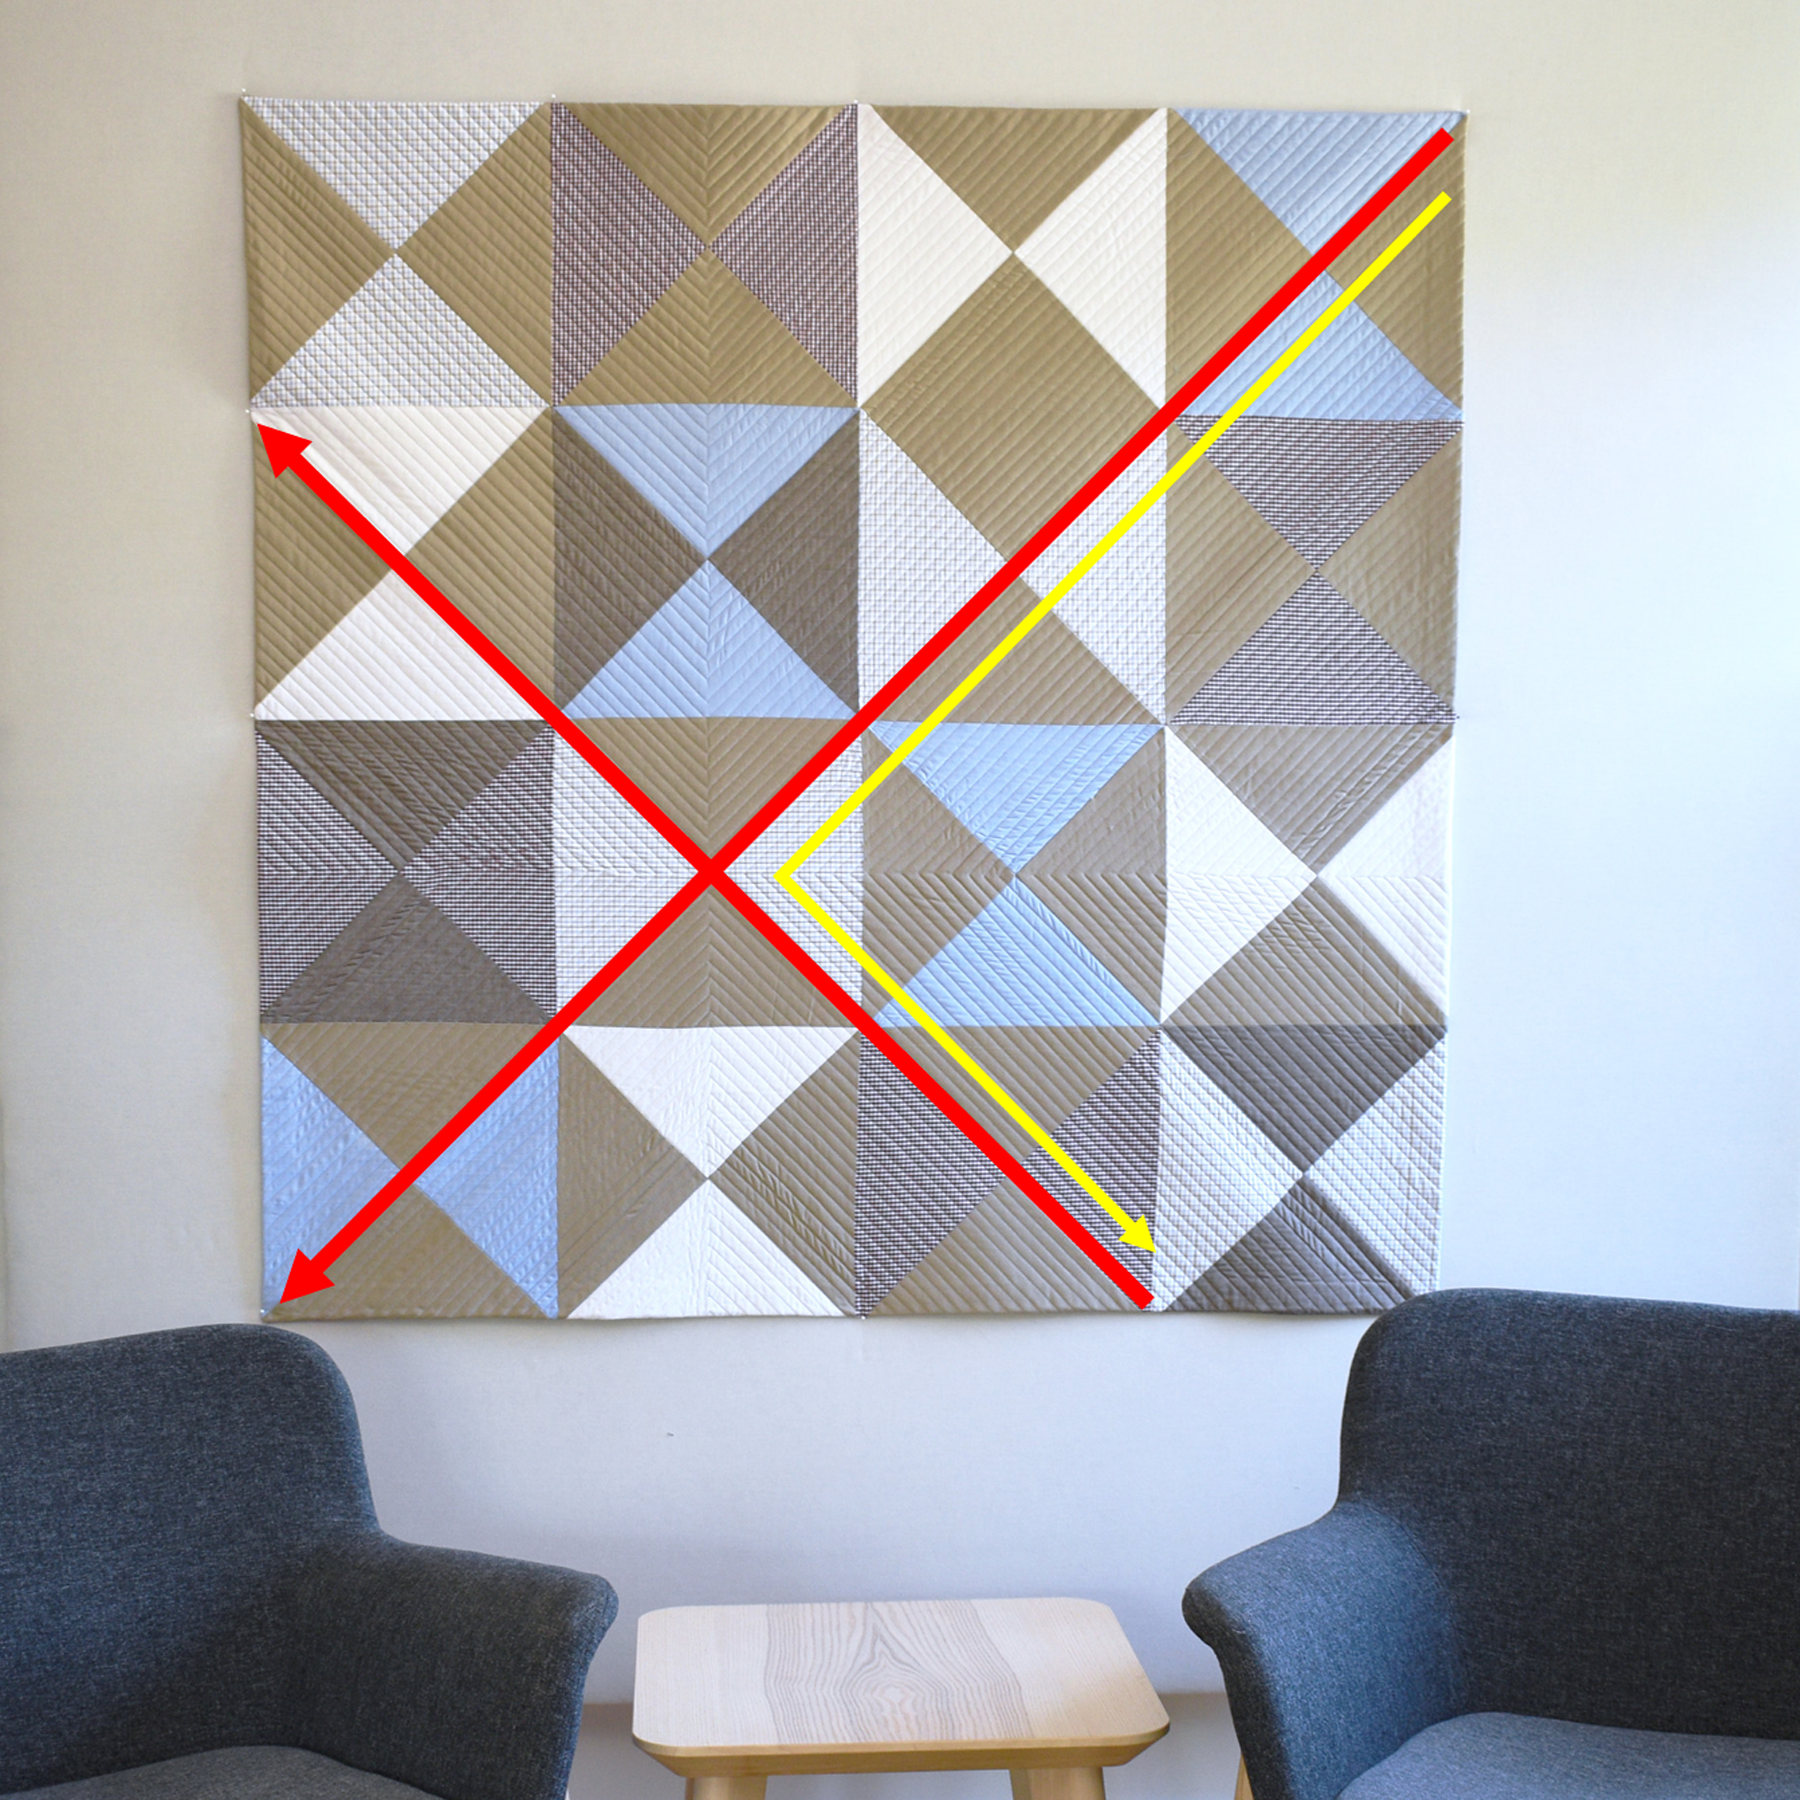
Once the “X” pattern was quilted (the red lines above), I followed each section with 1/2″ straight line quilting out to the edge (the yellow line above). Follow along below to see each step.
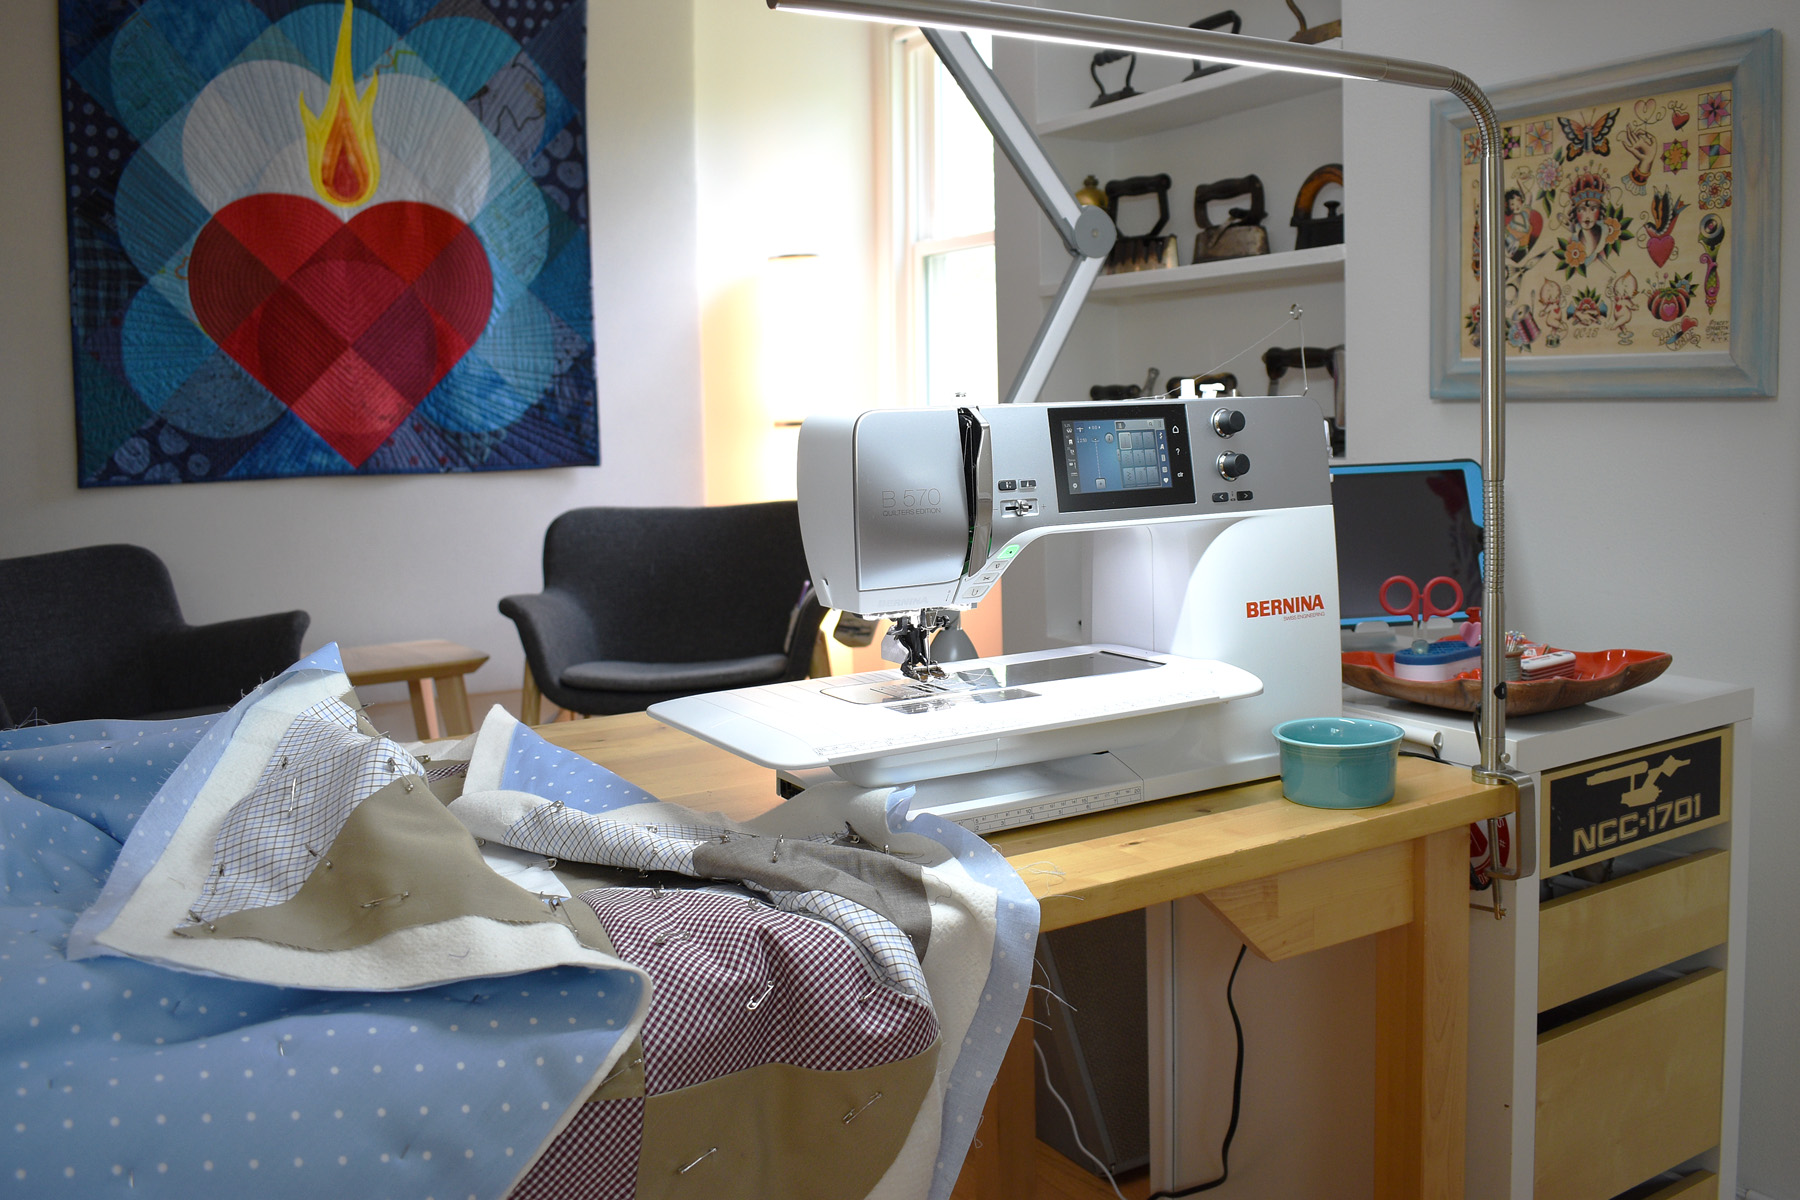
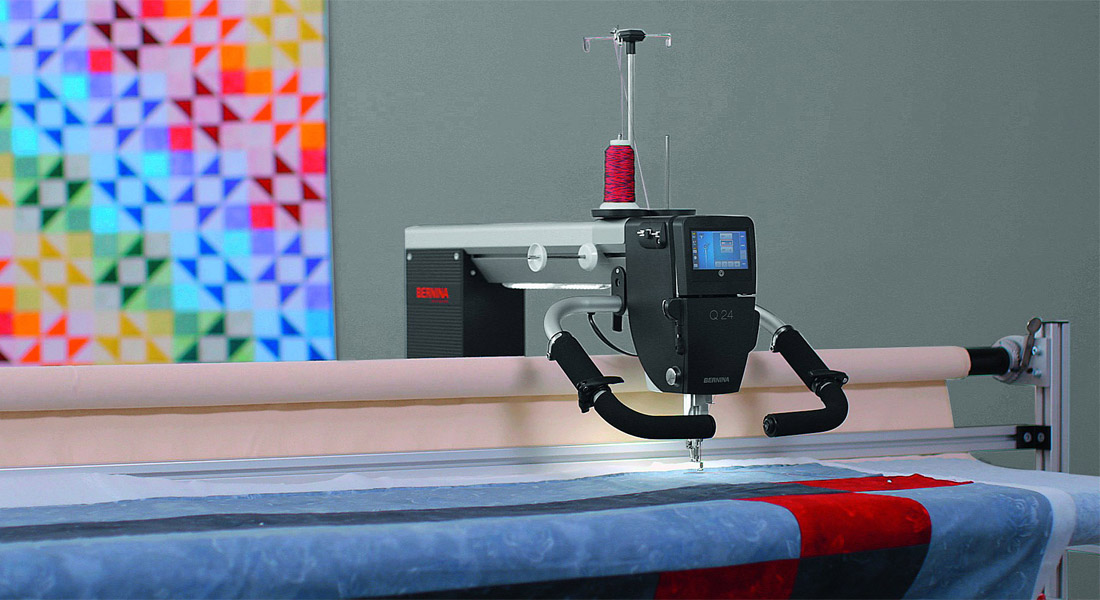
You can see I have a small bowl near my sewing machine to catch pins as I’m quilting. I also have extra lighting on my table from The Daylight Company. I set my machine to stop with the needle-down when I straight line quilt. This helps me out when I have to pivot around a corner, or when I need to stop to remove a pin.
Start by straight line quilting in the ditch formed by the patchwork from one corner of the quilt to the other.

Don’t forget to pull out the pins so you don’t stitch over them.

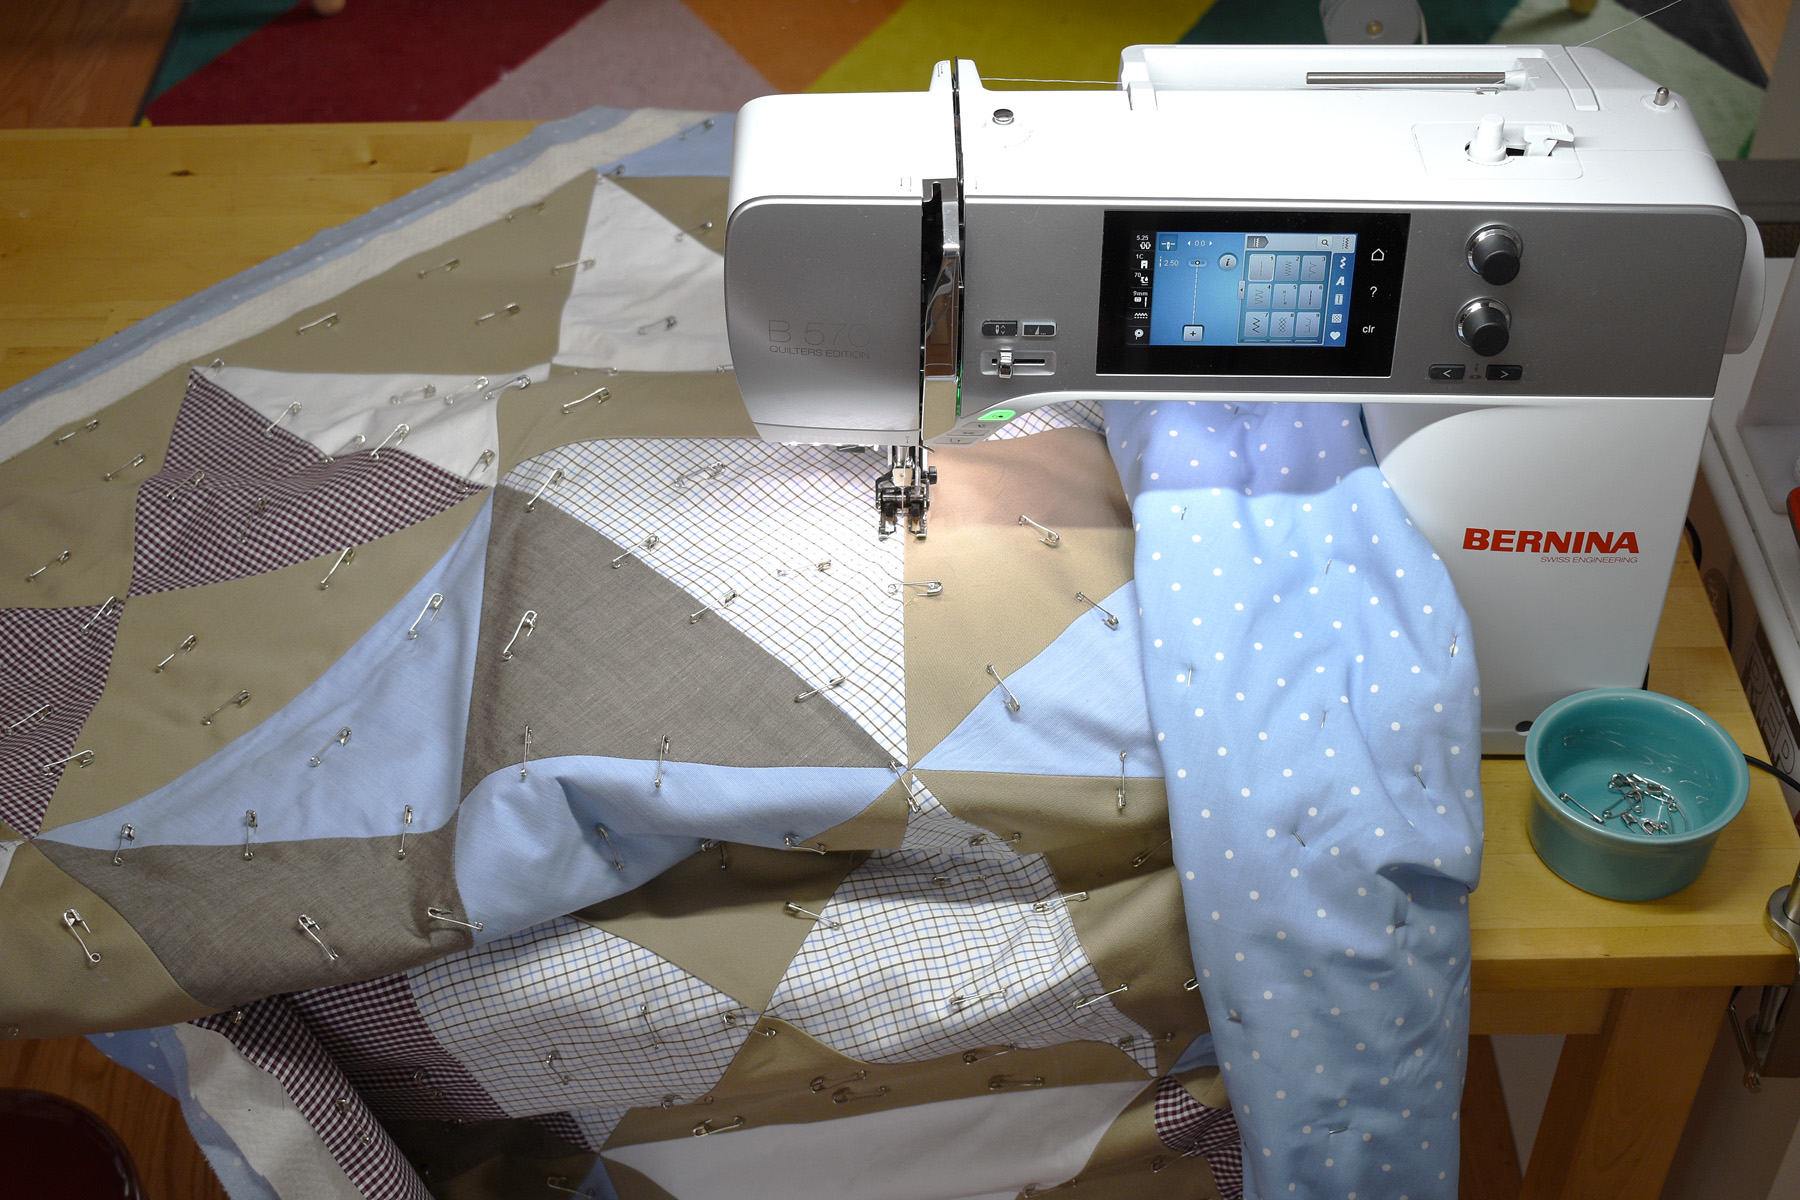
Next, I decide which corner of the quilt to stitch across to make the second arm of the “X” pattern. I quilt in the ditch from one side of the quilt to the other. When you’re quilting and you have a choice of which way to orient the quilt under the needle, try to remember to put the larger side to the left, and the smaller side under the machine.
Once I’ve stitched the “X” pattern, I use the edge of the Walking foot to stitch 1/2″ lines, following previous lines of stitching.
In the video you can see how I follow the last line of stitching with the edge of the Walking foot. I stop to remove pins, to adjust the bulk of the quilt, and to make sure the area in front of the needle is smoothed out before I quilt over that section.
When reaching the corner, I use the needle-down function to help me pivot around the corner. When I’m ready to pivot, I wait until the needle stops down in the fabric. I raise the presser foot (you can use your Free-hand System, the Hover feature, or the presser foot lifter/lever to raise the foot), carefully pivot with the needle in the fabric, being careful not to pull or push the needle as you go. Straighten out the fabric and keep on stitching down the others side.
Here’s a tip I use to straighten out my quilting when the straight lines start to look a little wonky. I use a long ruler and painter’s tape to help create a new straight line to follow with my Walking foot over the last line of stitching.
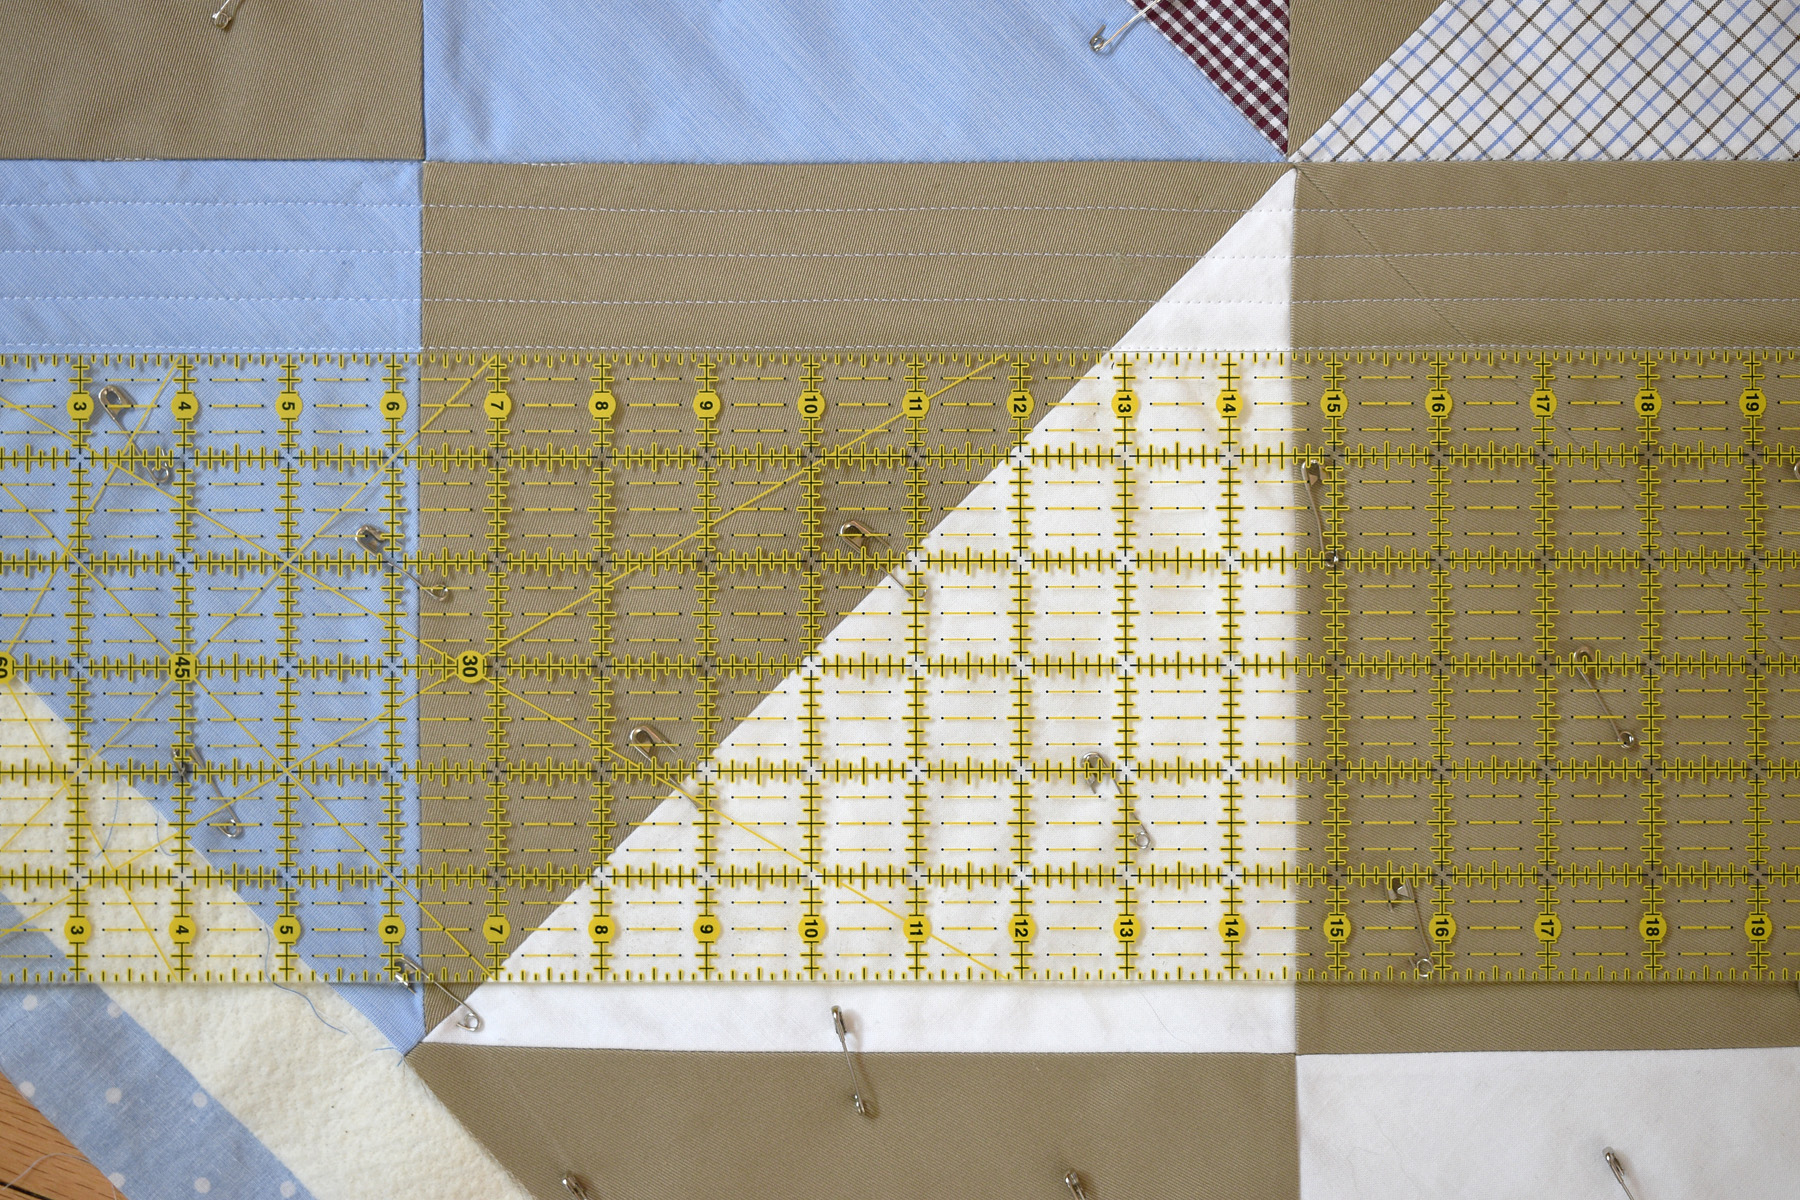
I line-up a long ruler with the last line of stitching, using the patchwork as a guide to make sure the ruler is straight. Sometimes my stitching doesn’t exactly match with the straight edge of the ruler.

I place a piece of painter’s tape along the straight edge of the ruler, right on top of the stitching, creating a new straight line.

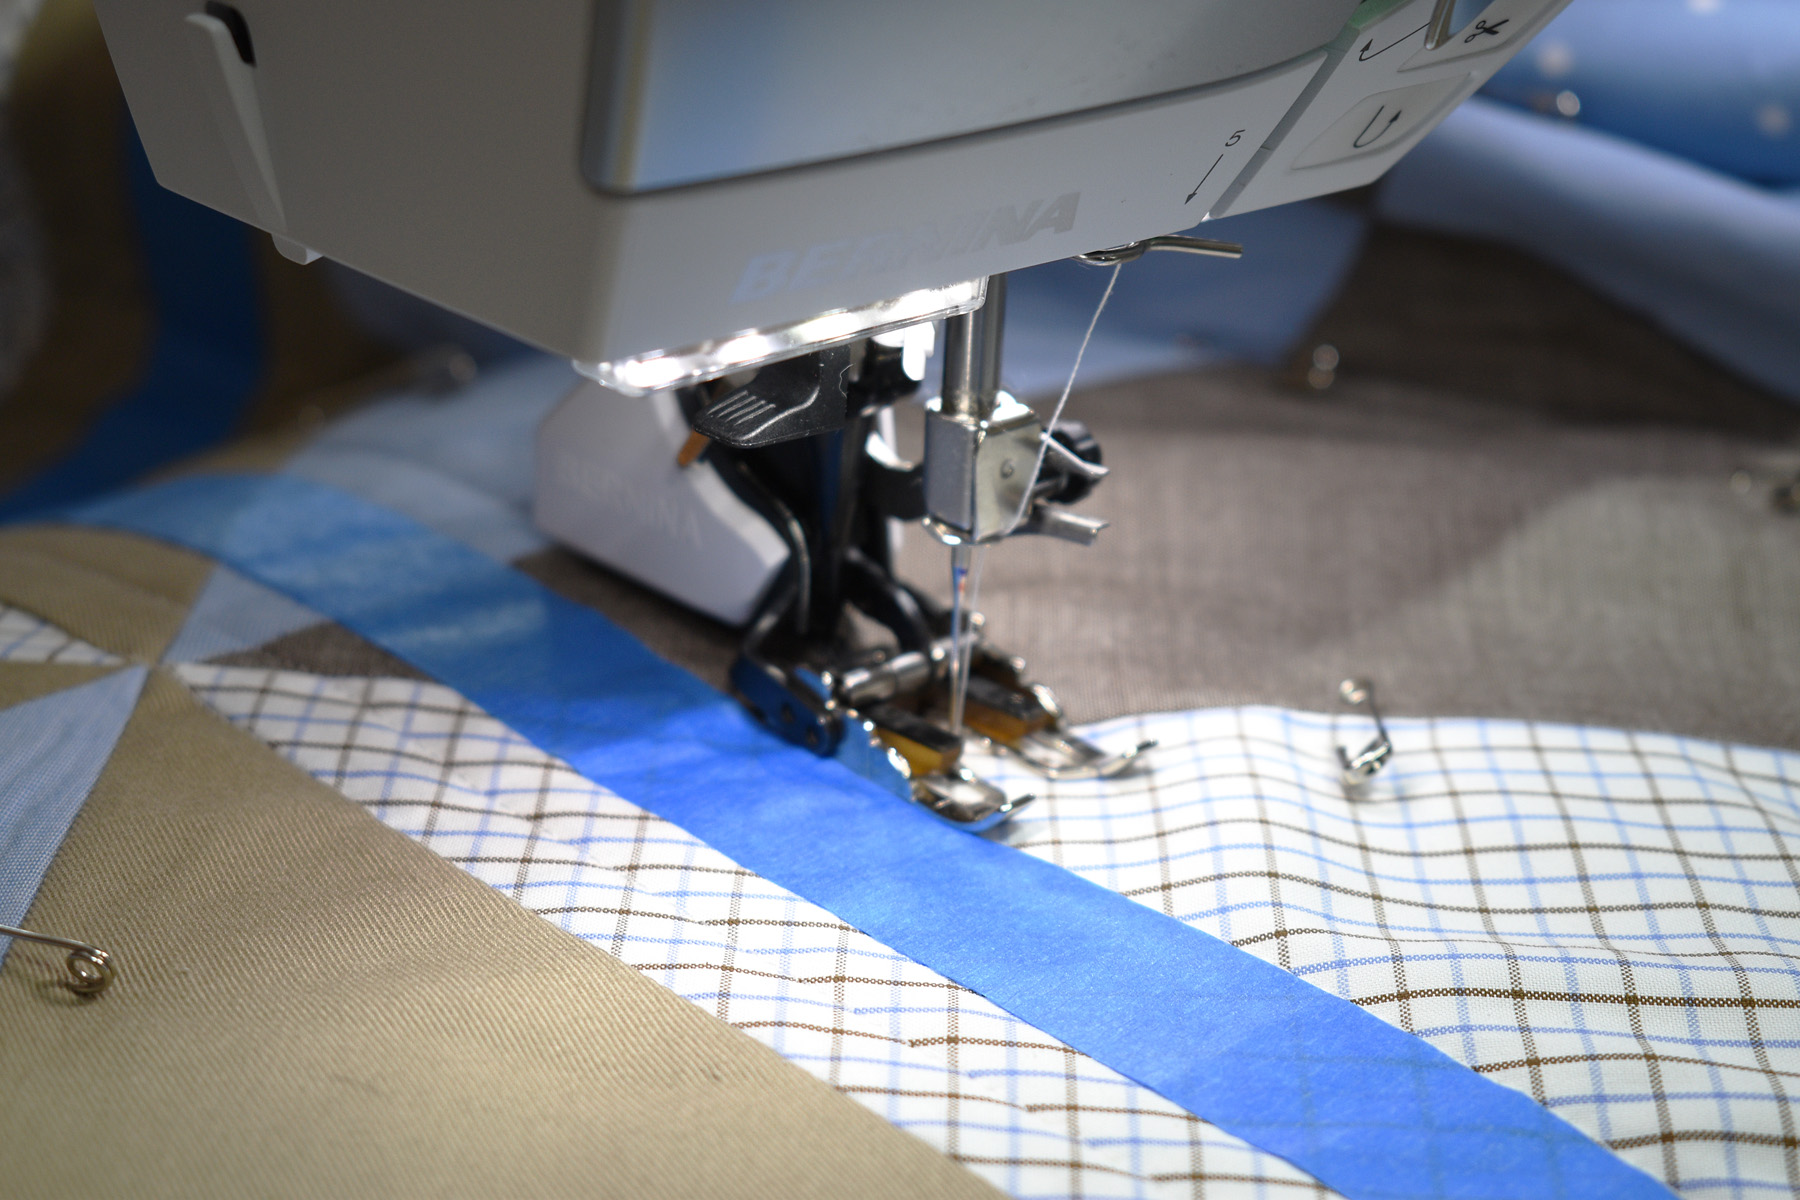
I follow the edge of the blue painter’s tape, which is now a straight line made with my ruler, with the edge of the Walking foot to create the next line of straight stitching.
I stop every 5 lines of stitching or so and check my lines with a long ruler. If it looks like it’s getting off or wonky, I’ll use this method to help get back on track.
When you have finished quilting the top, the next steps are to trim the quilt top and finish the edges. I use a large cutting mat, rotary cutter, and large rulers for this step.
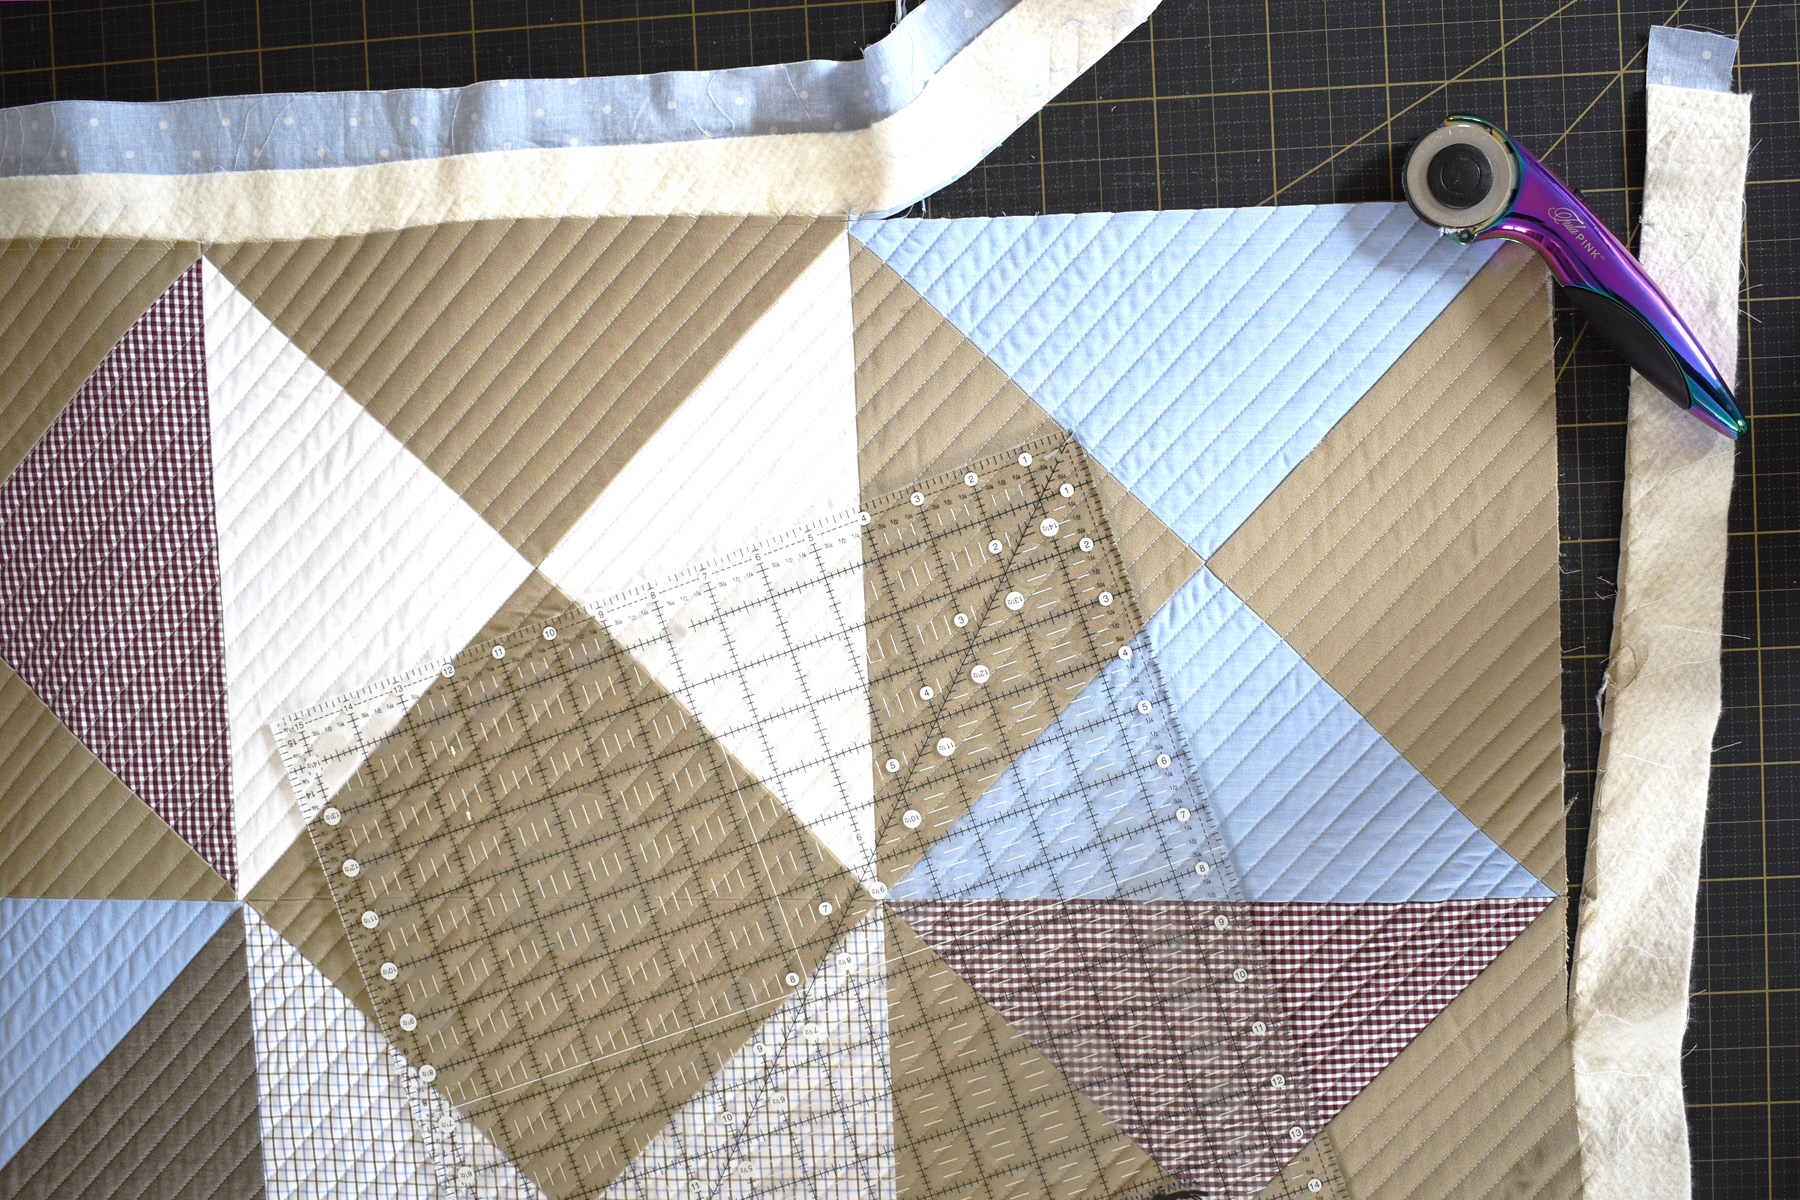
I trim quilts on the floor of my sewing space so that the quilts can lay completely flat and relaxed. I use a large, square ruler to first trim each corner of the quilt. My ruler has a diagonal line that I use to align with the patchwork to help make sure the corners are square.

Once each corner is trimmed and square, I use a long ruler to connect the corners and trim the sides.
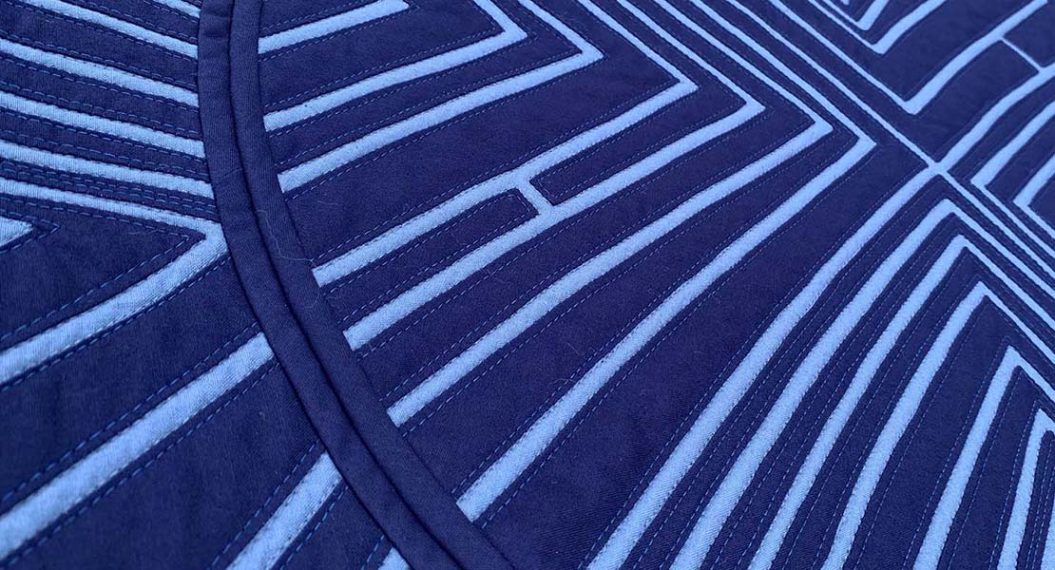
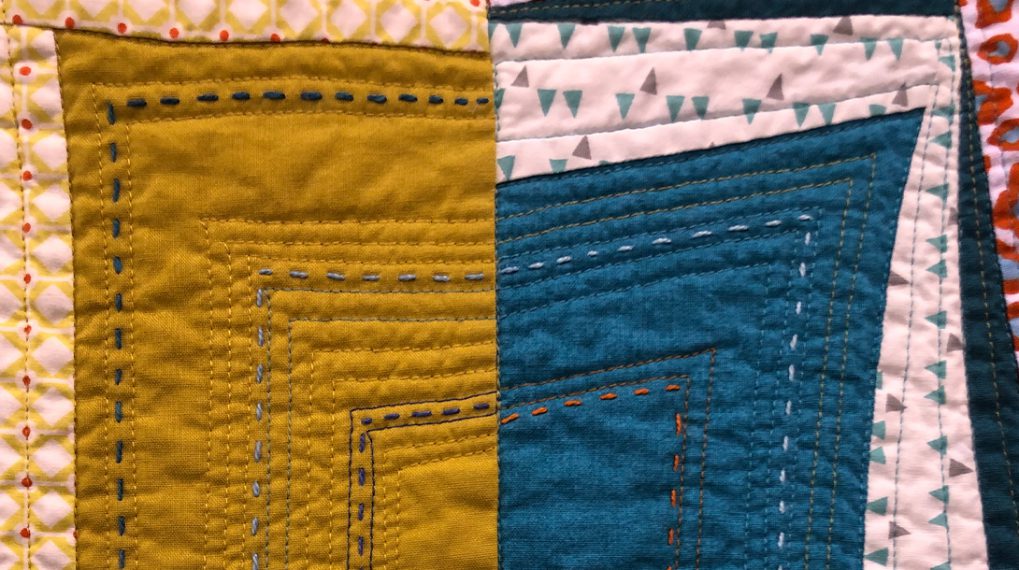
A traditional binding would create a small frame around the outside edge of the quilt, and I wanted to see the patchwork go right to the edges without that binding. I opted to use a facing to finish the edges of this quilt, a technique that only shows on the back of the quilt. I use a variation of a facing technique I learned from quilter Joe Cunningham.
You will need a total of 4 strips for the facing, each 3″ wide by about 49-50″ long. Some people do prefer to use bias cut fabric for a facing because the bias direction of the fabric has some stretch and give to it, and will be forgiving if the quilt shrinks in the wash. I’m not concerned about much shrinkage with a smaller quilt, plus this facing is completely to the back side of the quilt – not wrapped around the sides. You can cut either straight along the grain or use a bias strip for your facing strips, whichever you prefer.
I am using strips cut from the back of a man’s shirt to make my facing strips.
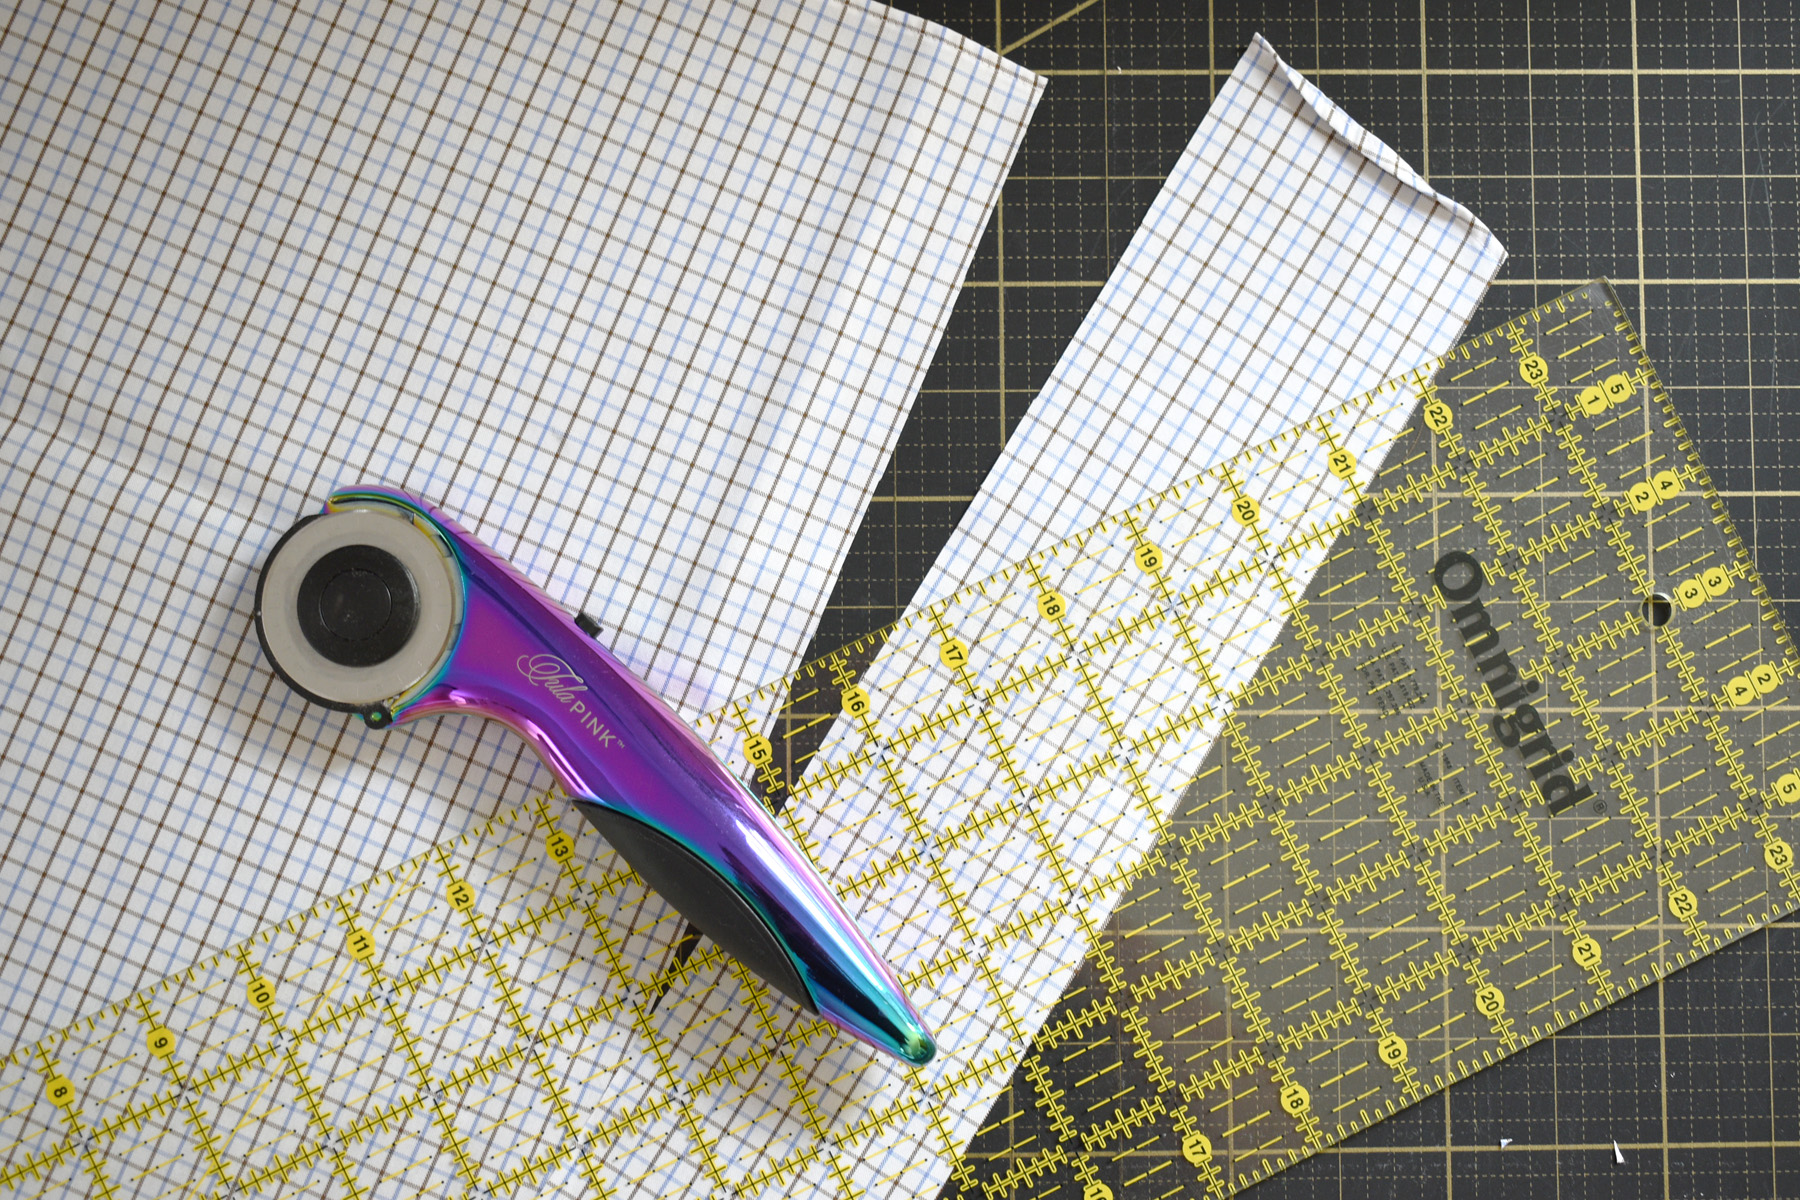
I cut a total of 8, 3″ wide pieces from the piece of fabric. I will sew two strips together to make a total of 4 long strips and cut them down to 49″ for facing strips.
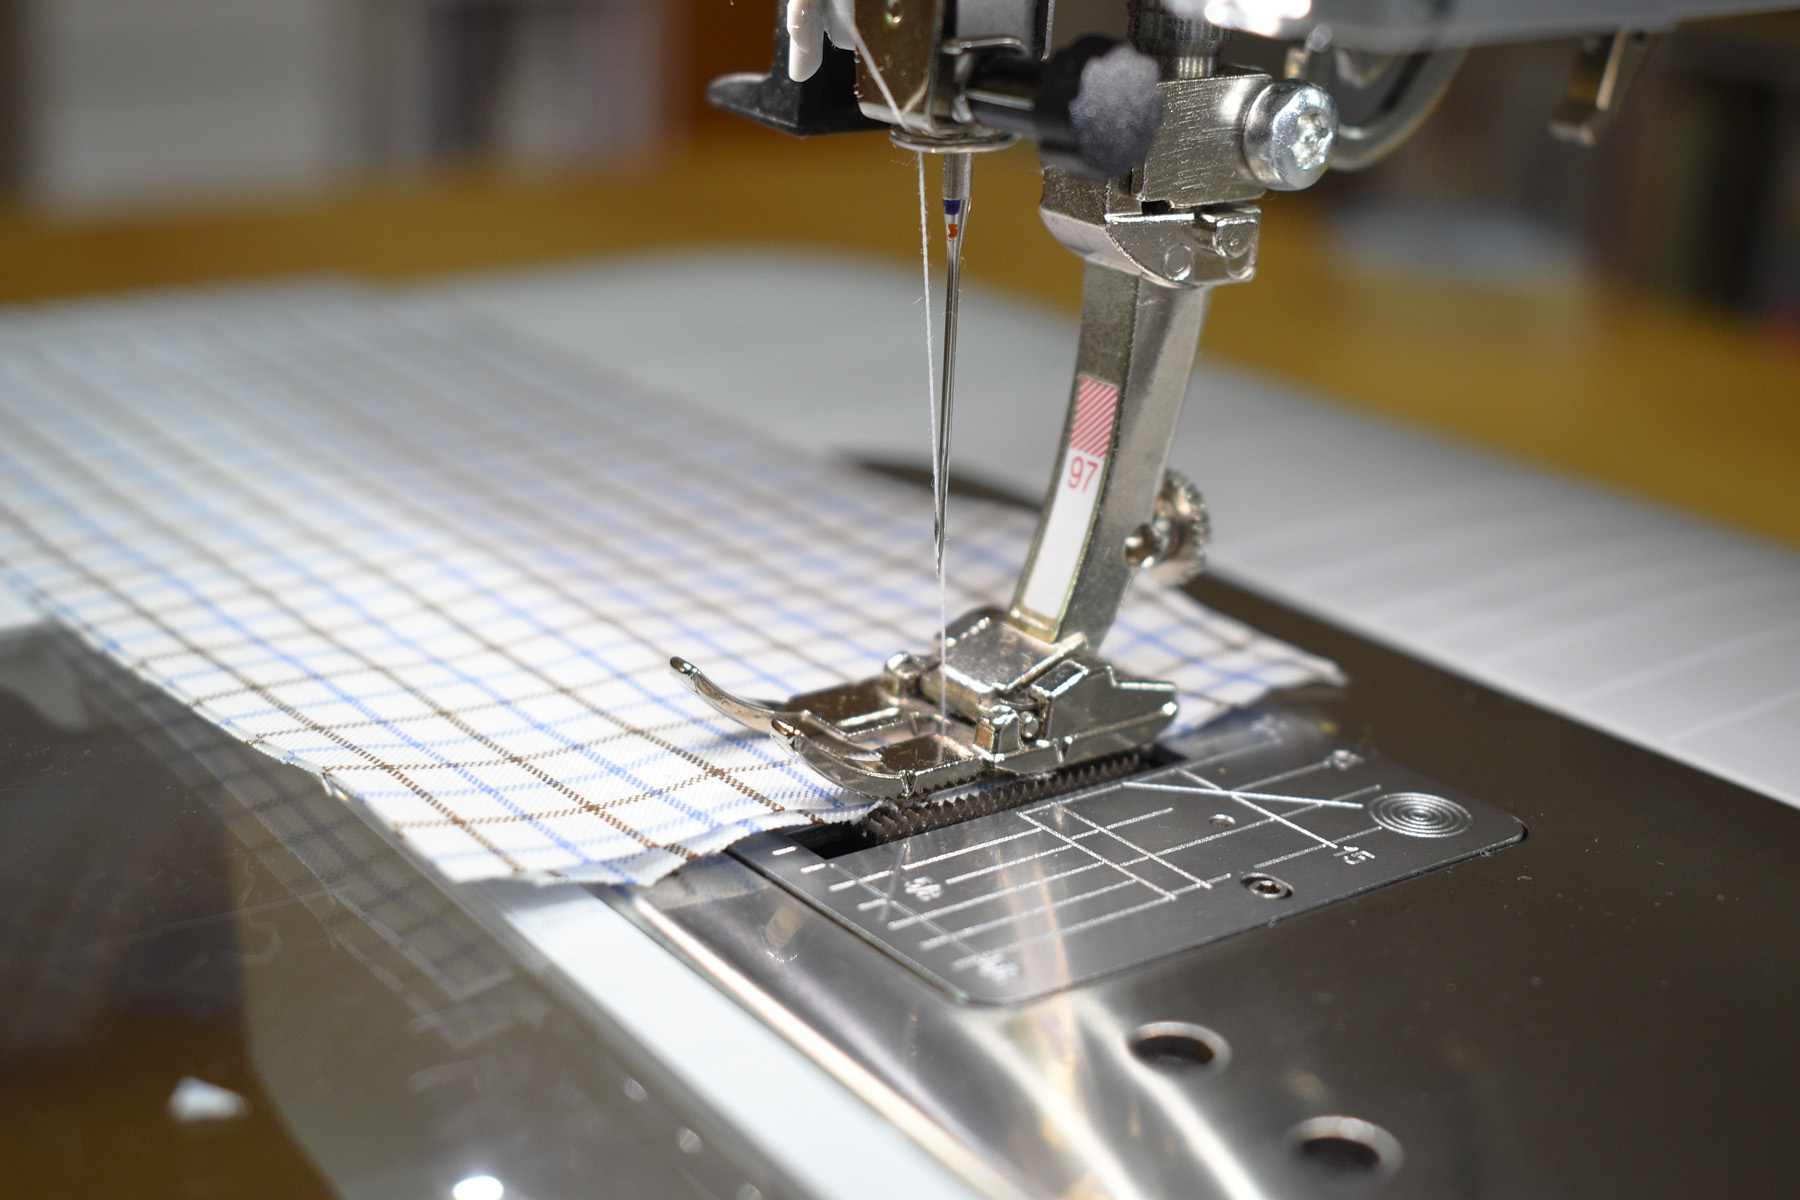
I piece the strips with a 1/4″ seam using a patchwork foot.
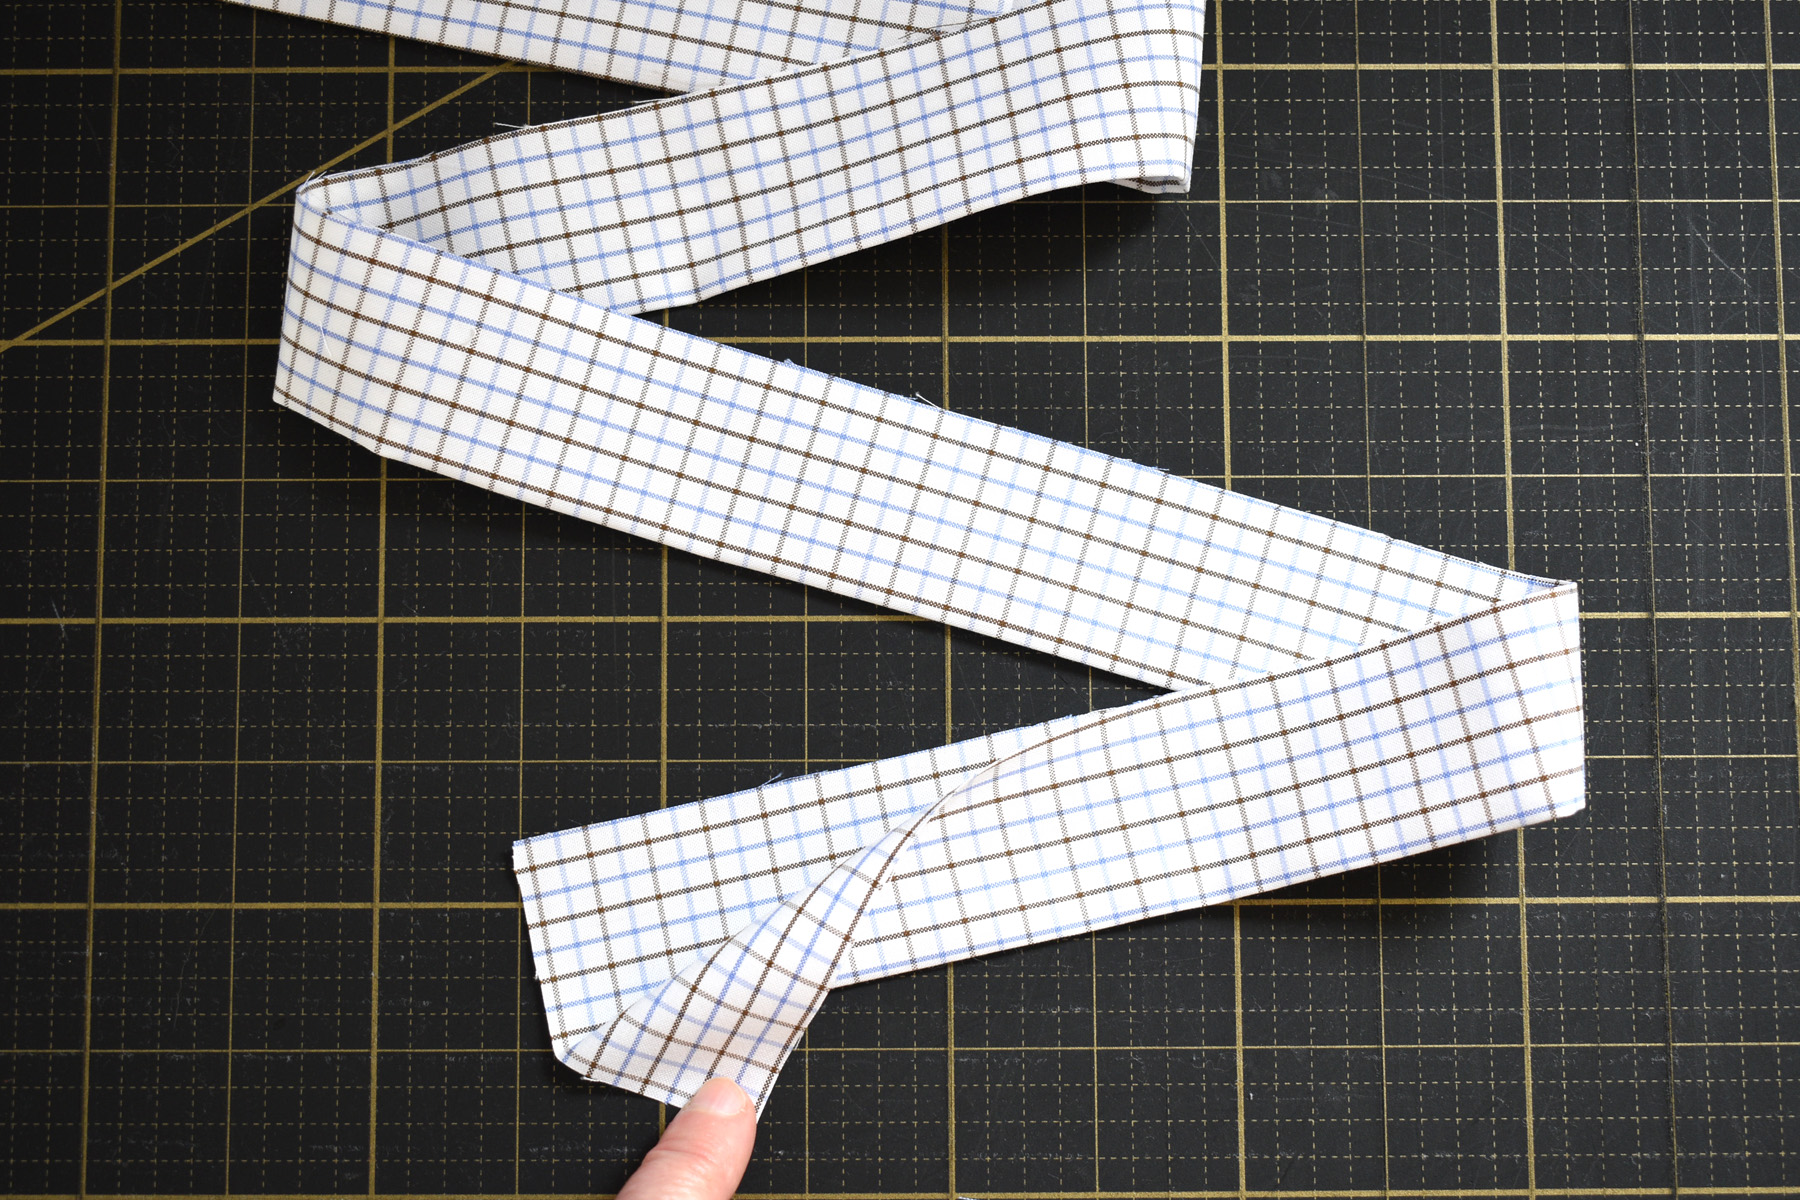
Press your finished facing strips in half the long way, raw edges matching, making sure the right side of the fabric is to the outside of the pressed facing strip.
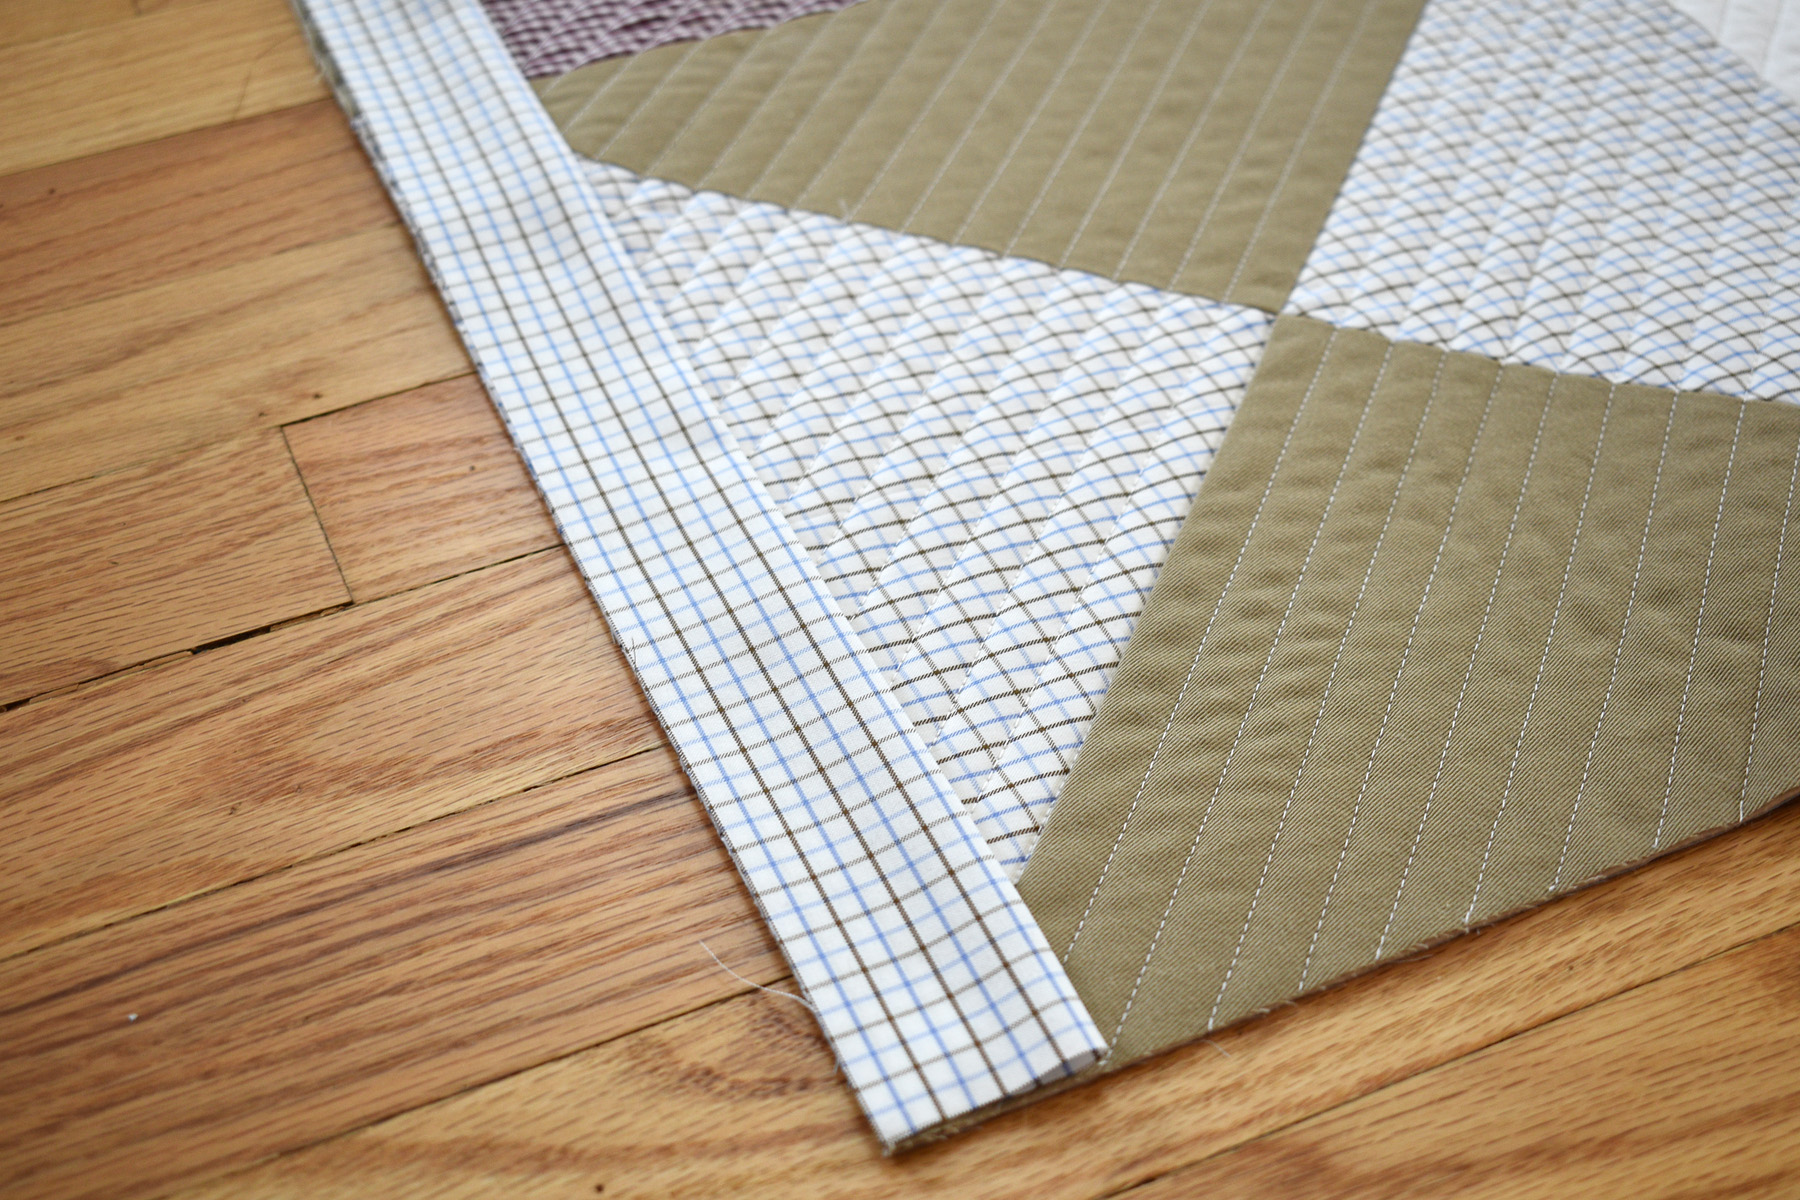
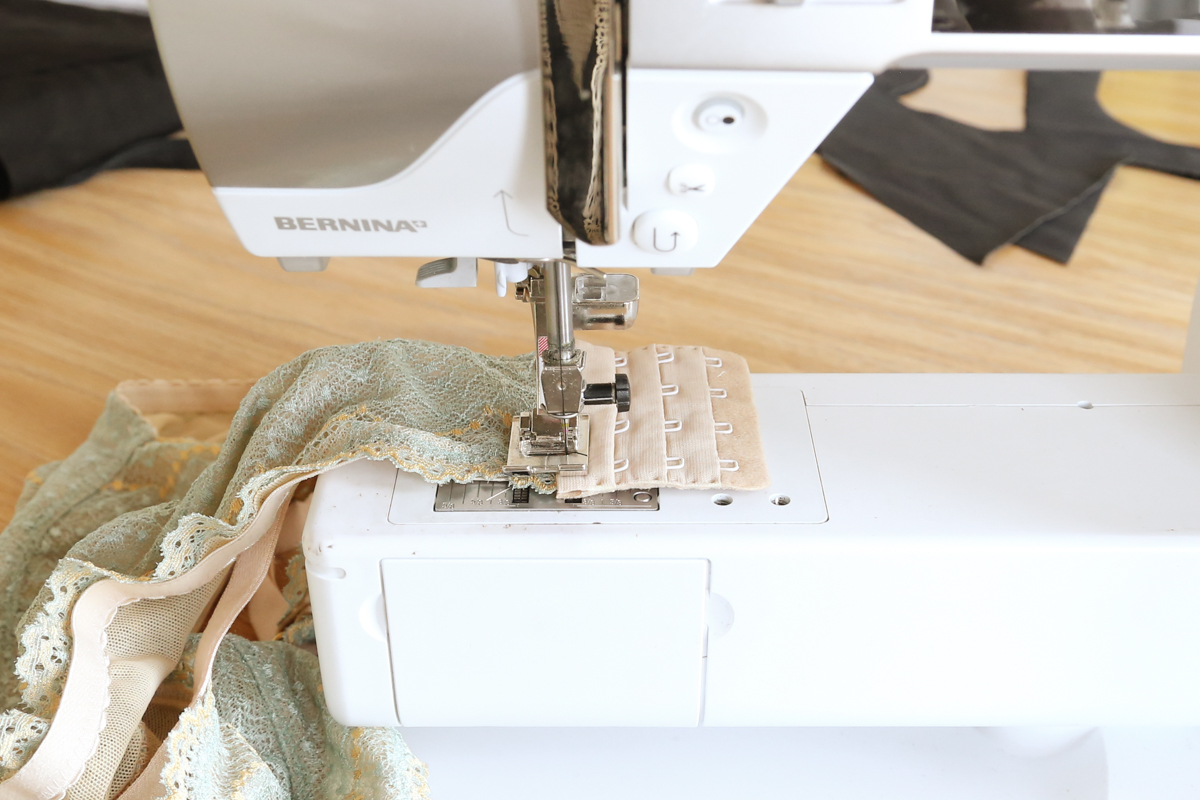
The facing strips are attached to the front of the quilt. Start with two opposite sides of the trimmed quilt, lining up facing strips on the edge of the quilt, matching raw edges together. The facing strips should be the exact length of the quilt sides, trim the strip even with the quilt if needed.
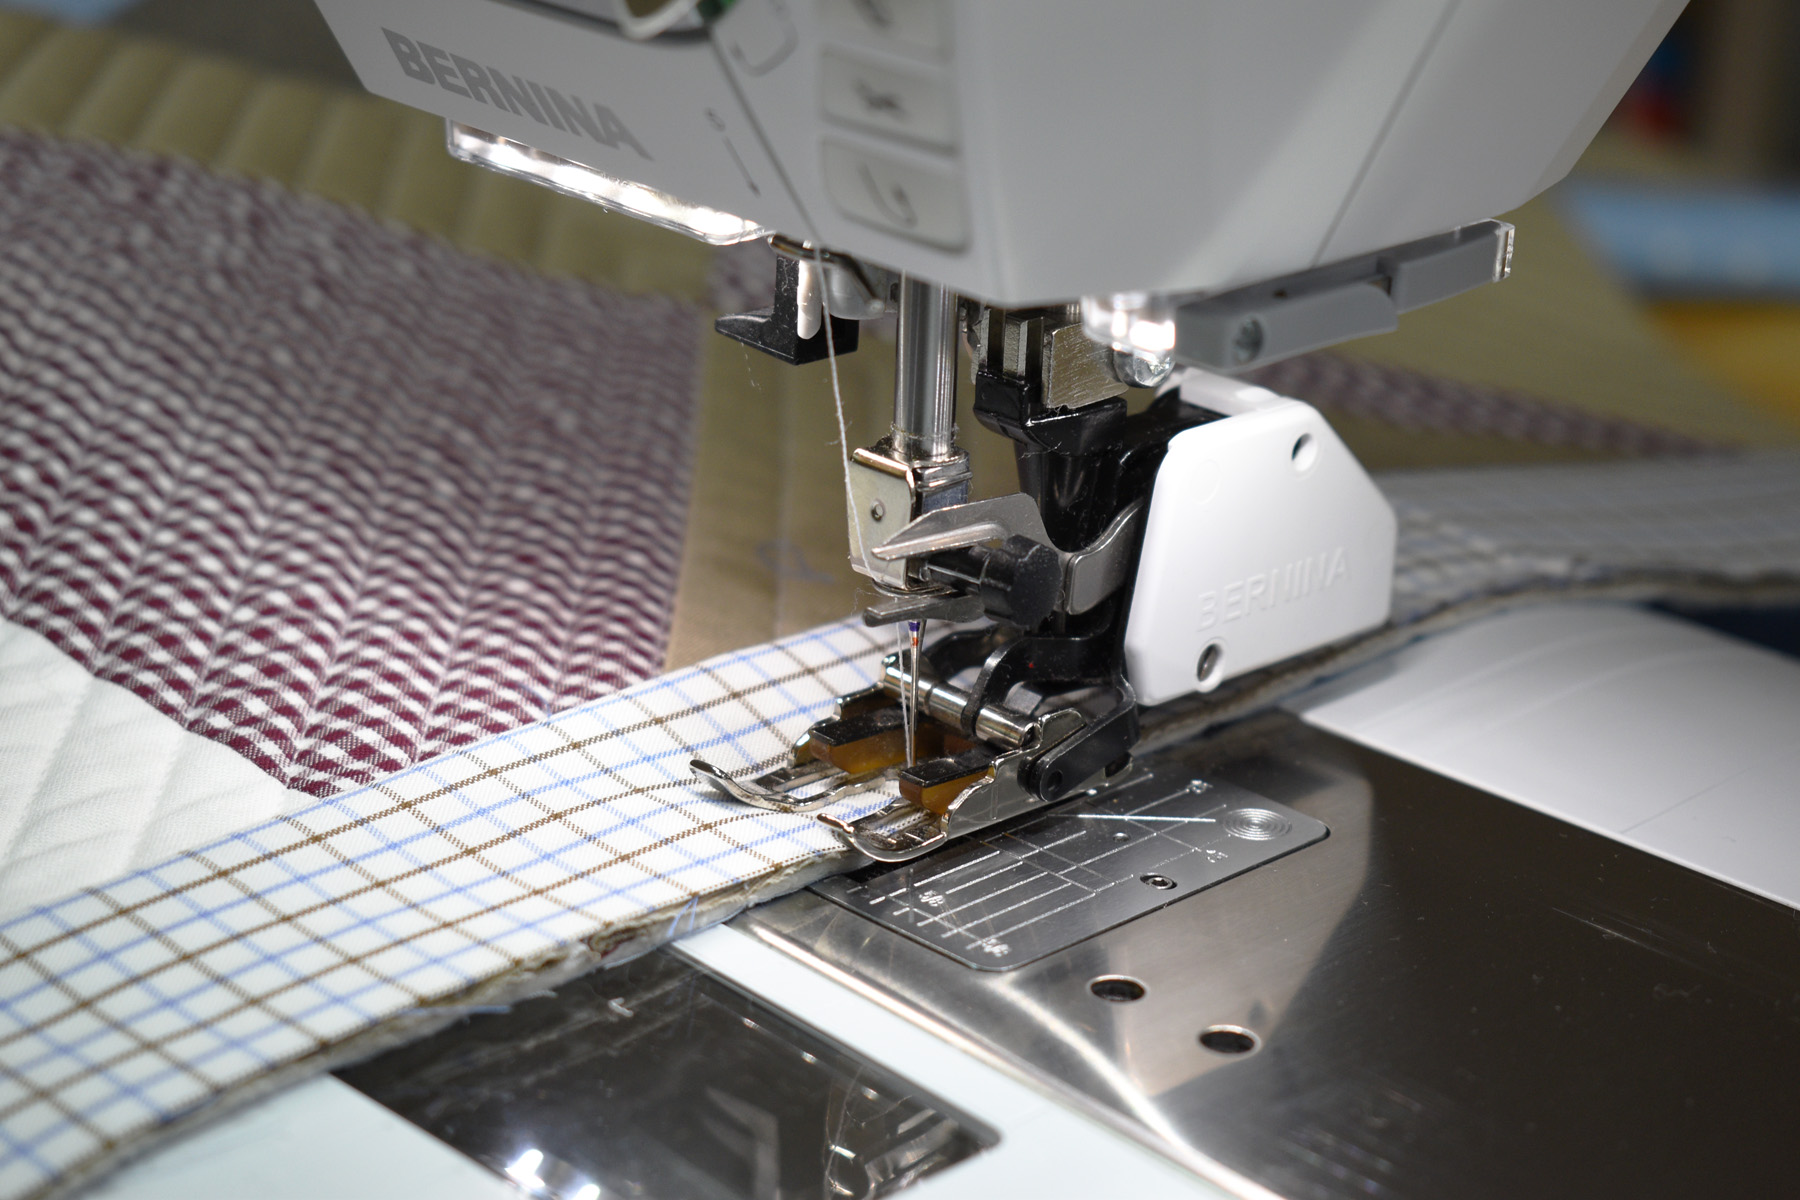
Use the Walking foot to sew the facing strips to help keep fabrics from shifting as you sew. Stitch each facing strip with a 1/4″ seam all along the length of the facing strips.
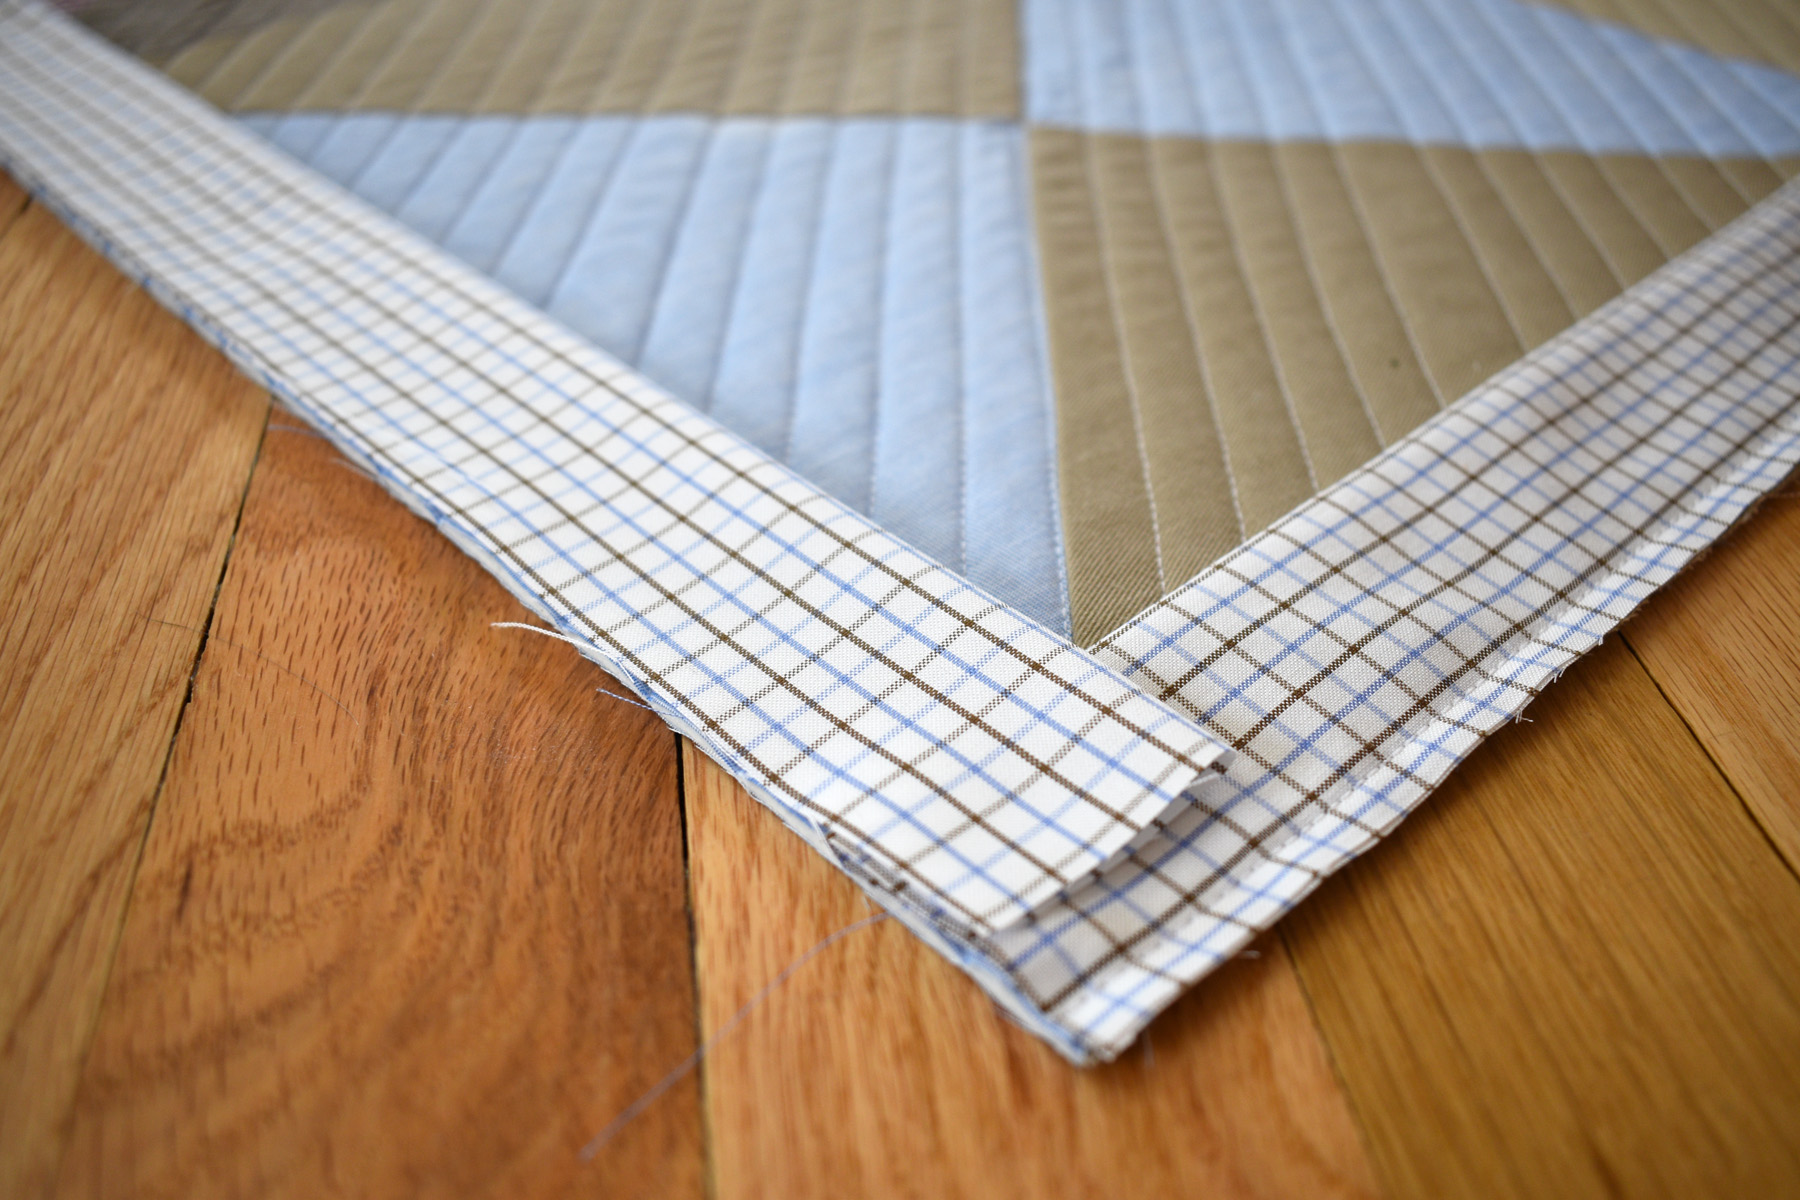
Attach the final two facing strips to the other sides of the quilt. Start at one end, matching raw edges together, and trim these facing strips to leave about 1/2″ of space at the end of each strip and the edge of the quilt.
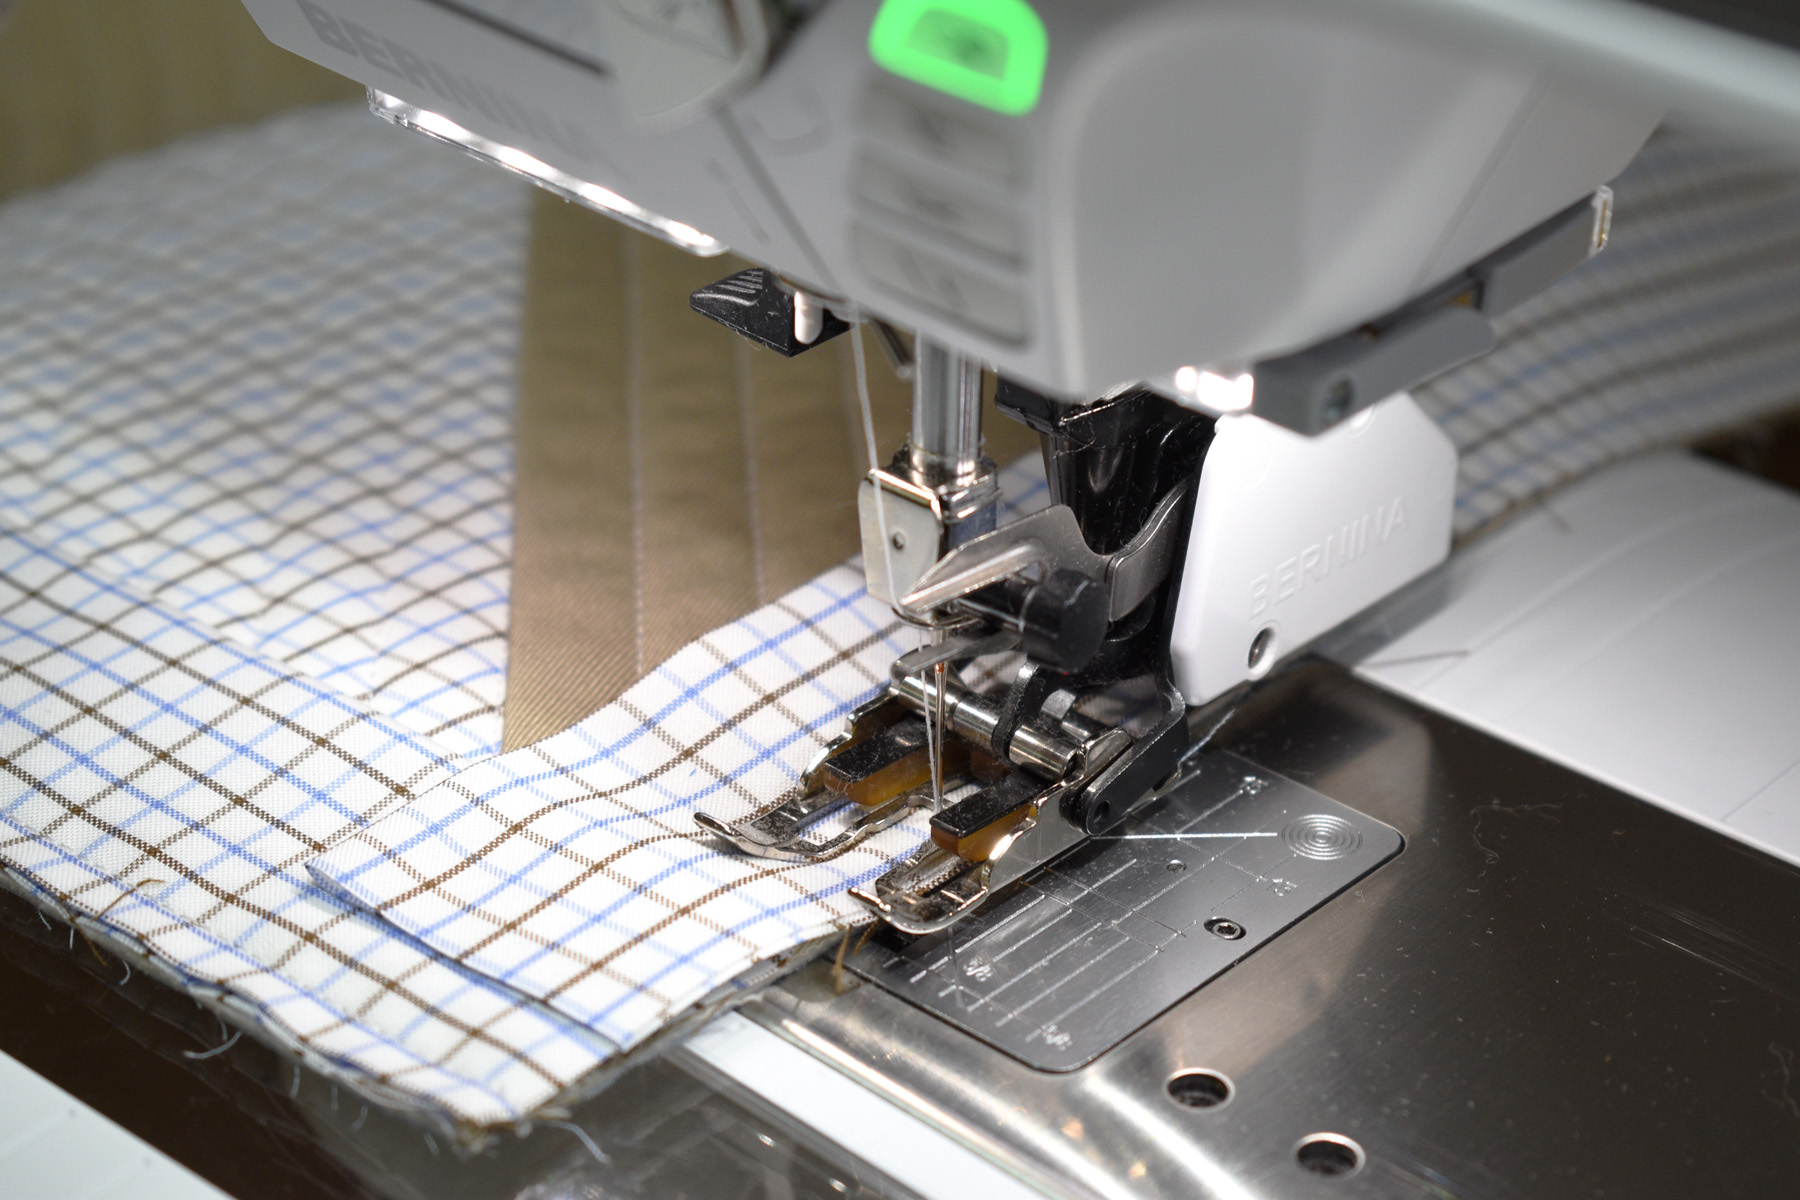
Stitch again, making sure to sew all the way from one edge of the quilt to the other, across the short ends of the facing strips.
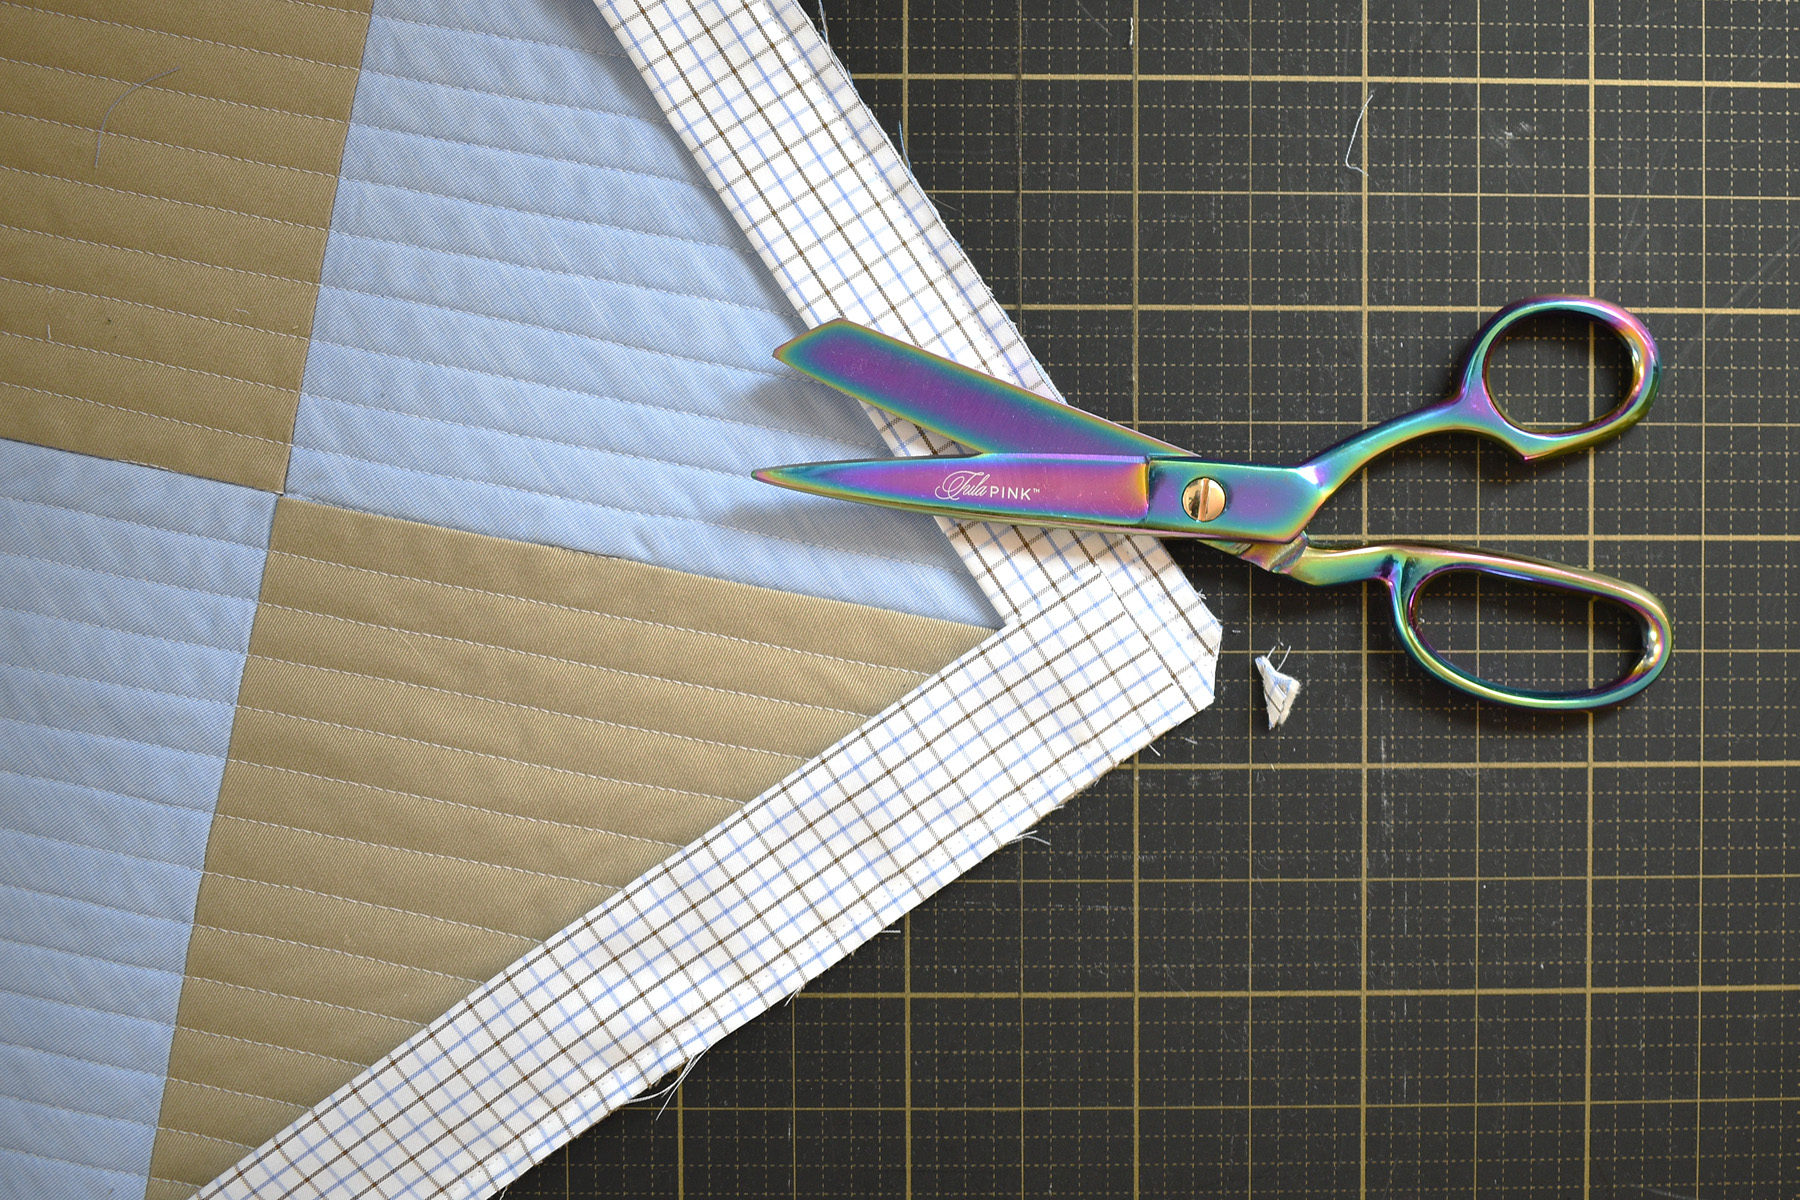
Trim the corners close to the stitching.
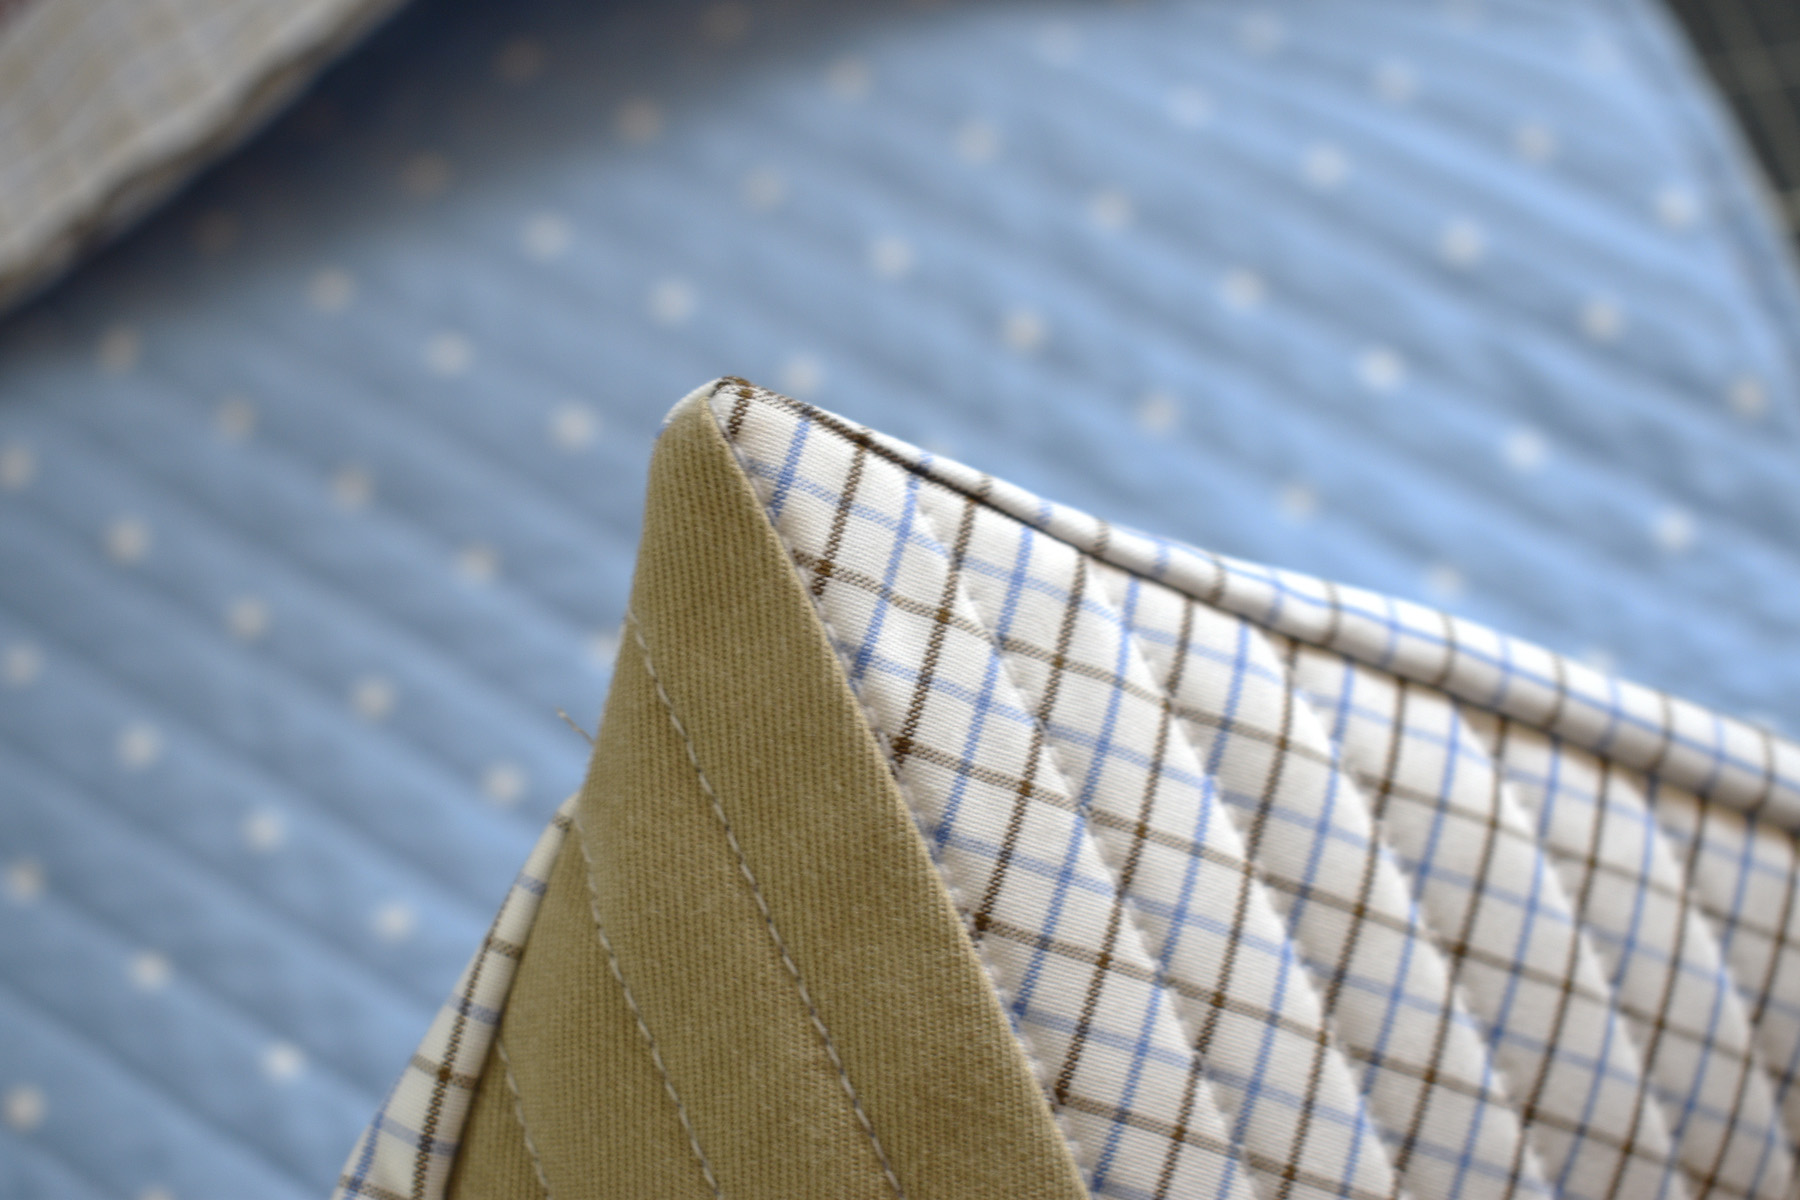
Carefully turn the corners inside out.

The facing will turn to the back side, press the facing towards the back and give each corner a bit of a light pressing before finishing.
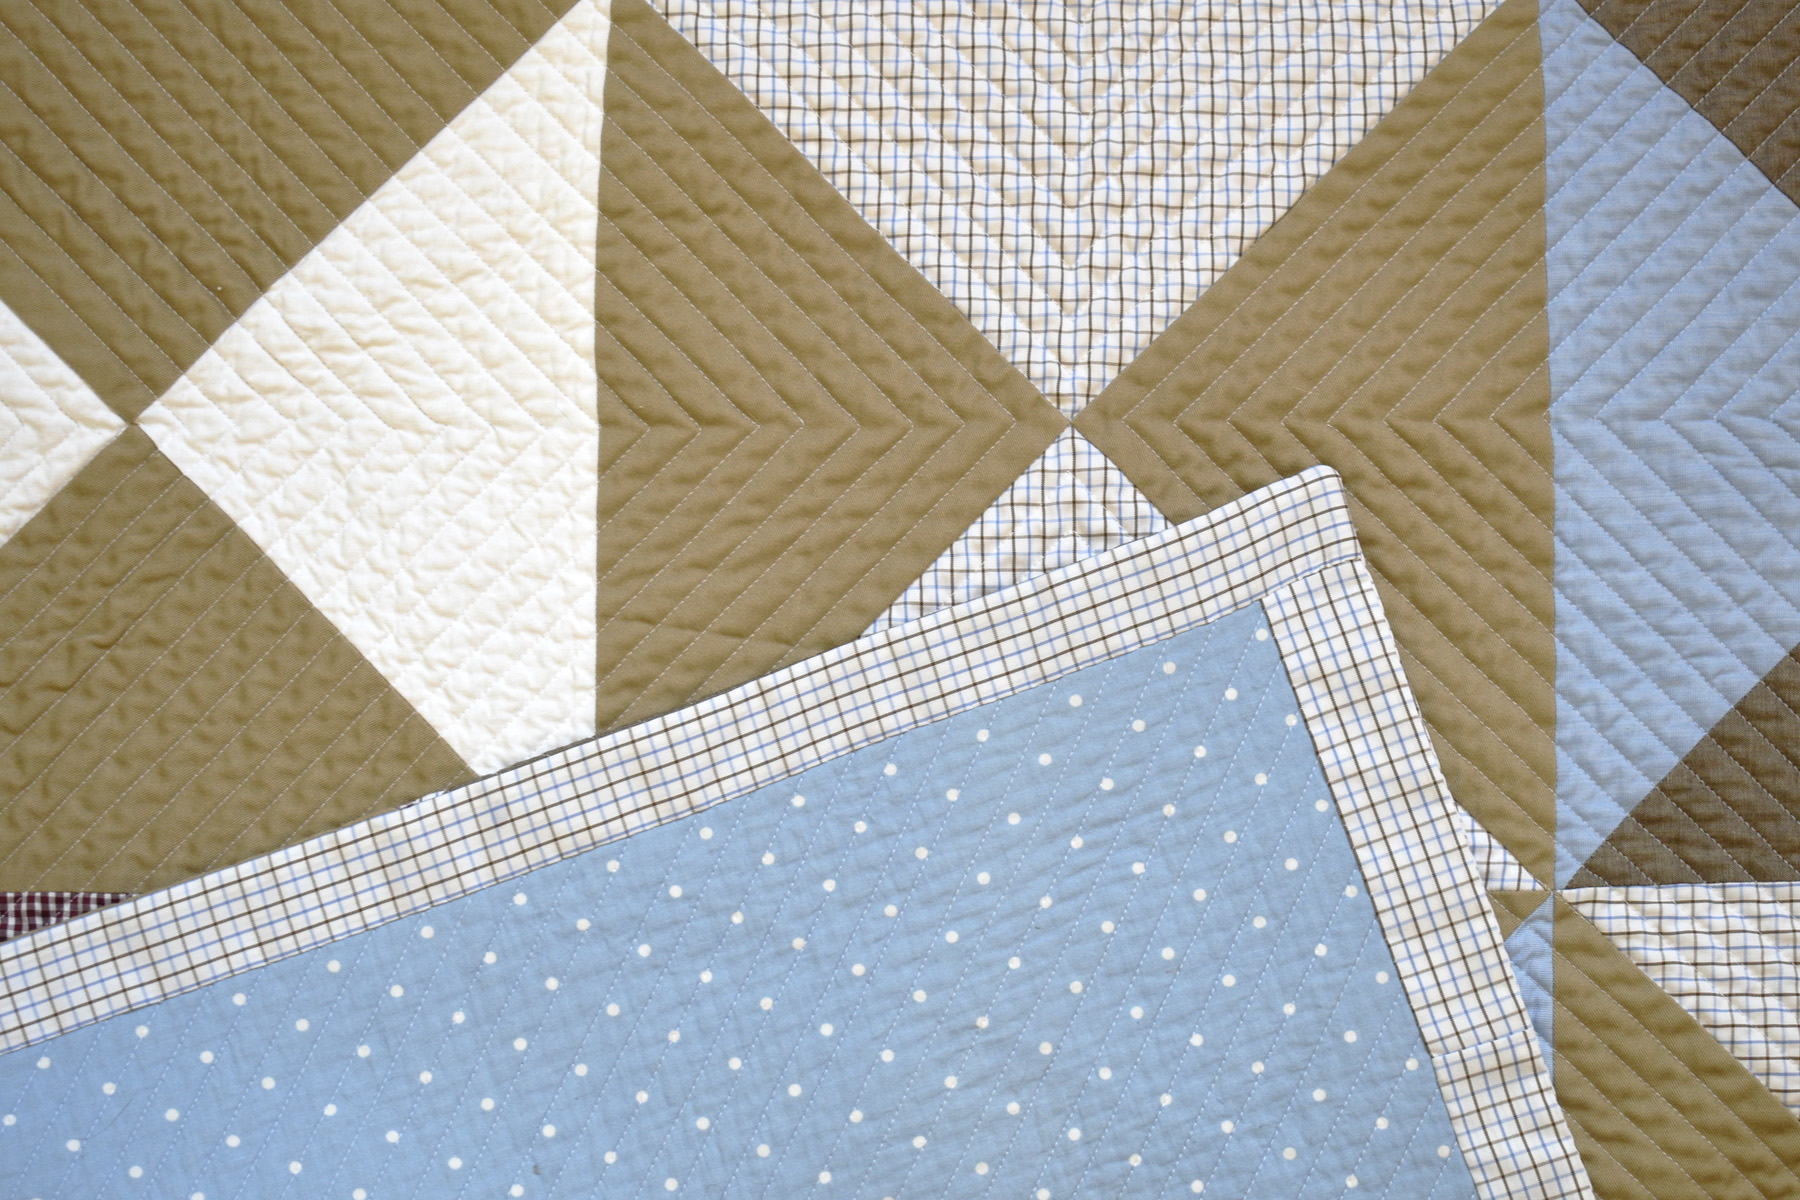
Handstitch the facing to the back of the quilt. Your quilt edges are nicely finished and you won’t see the facing from the front.
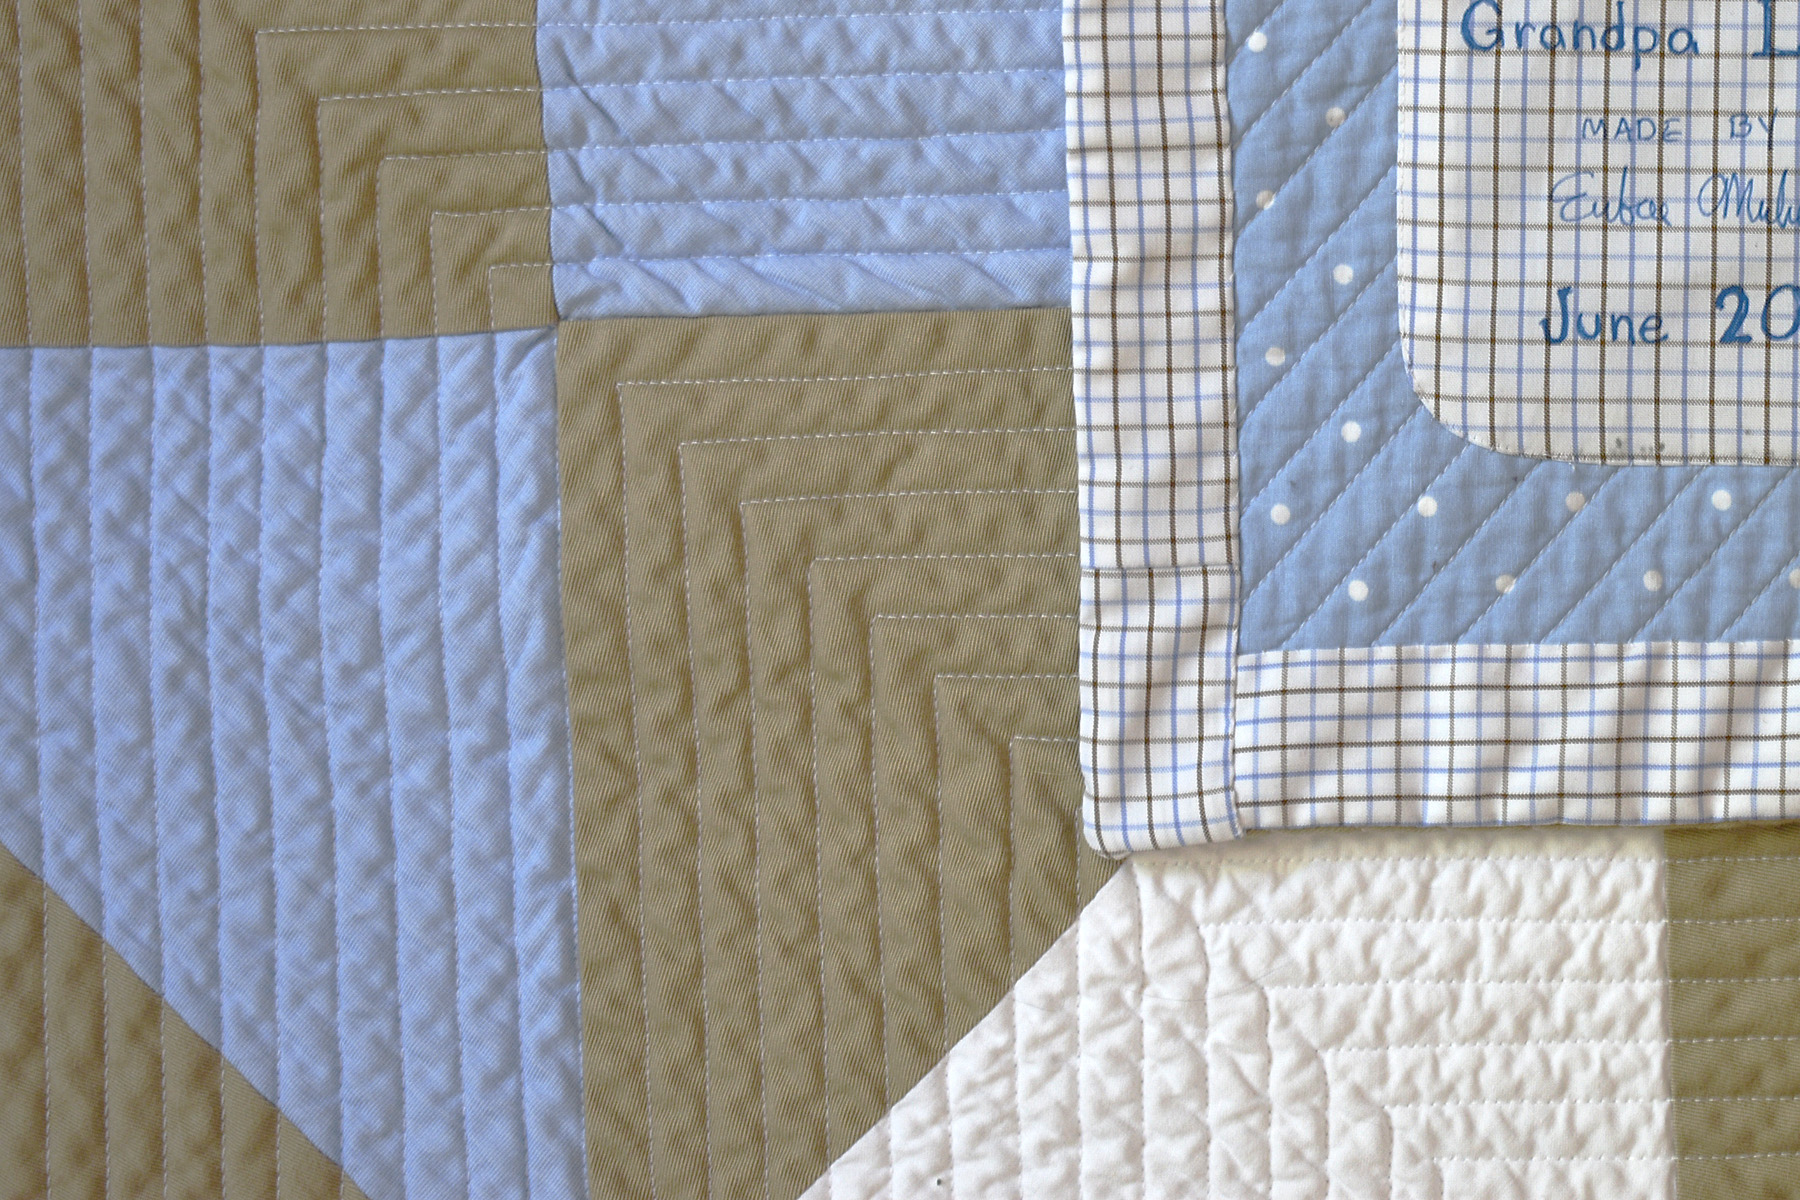
Don’t forget the quilt label! There are many ways to label a quilt, and with a special memory quilt like this it’s an important, personal touch. I’ve created machine embroidered labels for some of my quilts in the past, but since this quilt is for my kiddo, I’m creating a handwritten label.
I saved a pocket from one of the shirts used in this quilt, and use the pocket to create a hand-written label. I use a permanent, archival Micron pen.

I hand stitch the label to a corner of the quilt, a nice touch for my daughter to help her remember the good times she’s had with her grandpa.
I hope you enjoyed following along as I shared the making of this special memory quilt.

Best of all, my daughter absolutely loves the quilt! She says it’s like getting a big hug from her grandpa.

Used Products


What you might also like


One comment on “Making a Memory Quilt: Quilting and Facing”
Leave a Reply
You must be logged in to post a comment.

How much do I love this? Thank you for a beautiful tutorial.