How to Make Gingerbread House Snow Globe Coasters
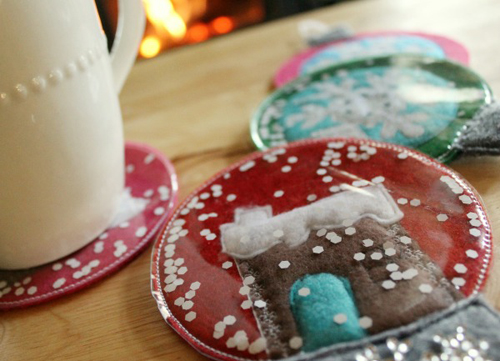
With the holidays approaching and cool temperatures already setting in, today’s project is sure to brighten your spirits while you enjoy a mug of hot cocoa. These fun and easy-to-make snow globe coasters make a perfect handmade gift for anyone on your list.
Materials Needed to create a Snow Globe Coaster
- ¼”-thick gray felt for the coaster base
- Felt in various thickness and colors for the appliques (I used brown, white, pink, green, and red)
- Quilter’s Vinyl
- White confetti
- Coordinating thread
- Iron-on rhinestones
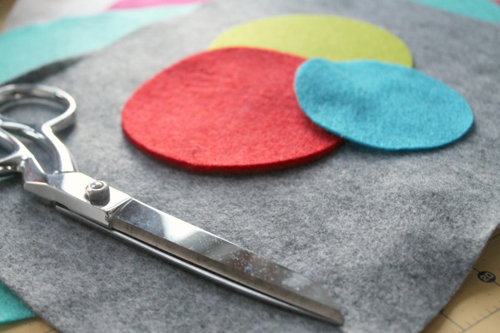
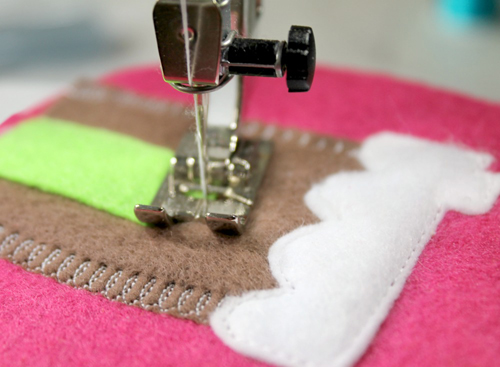
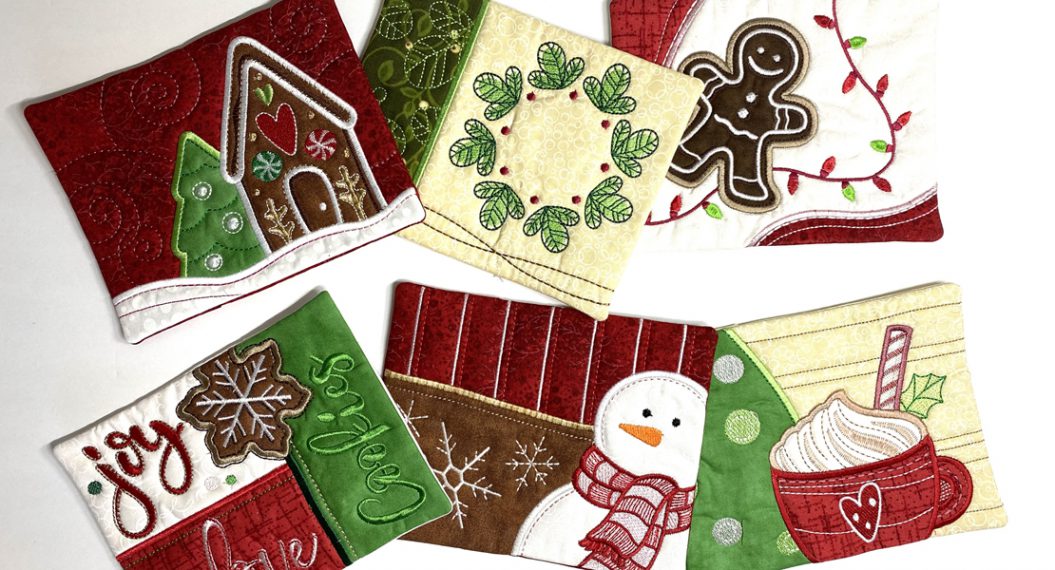
To start, I cut out four circles from the ¼”-thick gray felt for the base of my snow globes, one for each coaster. I added a different color circle of thin felt to each one, then pieced together a simple gingerbread house and stitched all the pieces in place. I took advantage of the decorative stitches available on my BERNINA 350 PE and used them to add details along the sides of the house.
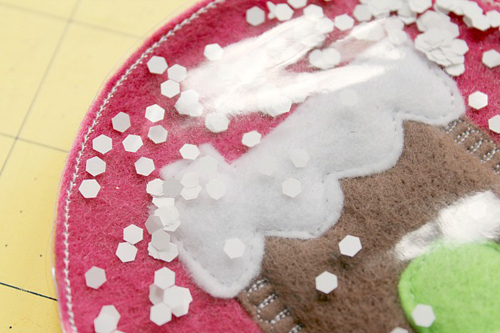
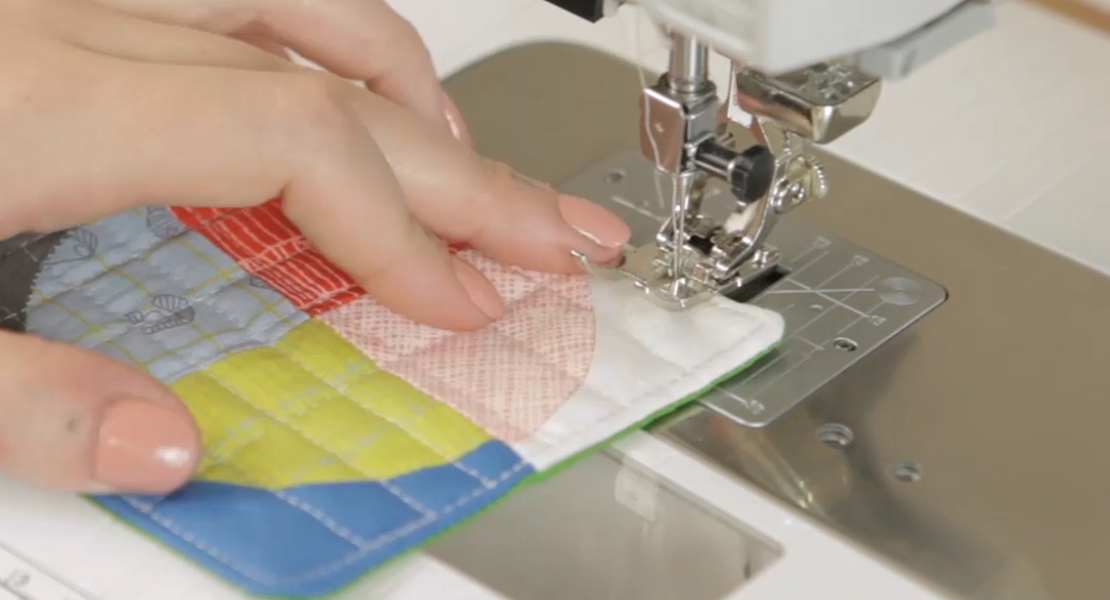
Once all of my gingerbread house elements were sewn into place I covered the snow globe with a square of Quilters Vinyl just slightly bigger than the circle itself. Using a straight stitch I followed the outside of the globe leaving a 2″ opening at the bottom. Drop some white confetti through the opening.
To finish off my snow globe coasters I cut out a globe base (a.k.a. trapazoid). I lapped the upper edge of the base over the lower edge of the snow globe and stitched it in place. This stitching will also close the opening. If you’re using thinner felt for your own snow globe, you may find you want to double the layers here to keep the coaster surface as even and stable as possible. For a thicker coaster, cut a piece of felt the same size and shape as your snow globe + base and glue it to the bottom of your coaster.
Your snow globe coasters can be further personalized using embroidery or iron-on rhinestones to detail your globe base.








19 comments on “How to Make Gingerbread House Snow Globe Coasters”
Cute project. I’m curious about the Quilter’s Vinyl. How is it different from ‘regular’ clear 16 ga vinyl? What happens to it with a hot beverage?
Thank you suquilt! I was curious about how the vinyl would hold up against hot beverages myself. Before choosing to use it I tested the vinyl out by setting a freshly brewed hot cup of coffee (in a ceramic mug) on top with no problem. Taking it a step further the we microwaved a hot cup of coffee for an additional 10 seconds and still had no melting issues with the vinyl. The great part is that they can wiped clean too!
I’m linking to Quilter’s Vinyl because it’s the product I specifically used and I can attest to the quality. I don’t believe it to be much different than the clear 16 gauge vinyl available off the bolt. Another option- I’ve since made the a few additional repurposing plastic vinyl bedding bags- which have held up perfectly! Thanks for your question! -J
I just finished mine. Turned out cute. It is 3 1/4″ across, which is fine for a glass, but small for a mug. I made it as an ornament for an exchange at my Modern Quilt group. Turned out so cute. I used blue for the background and red for the door. I also cut the background with the base added, made it easy to sew the base on. I found the white hexagon confetti at Hobby Lobby, in the Christmas section with the craft items for groups, also has red and green. I used regular heavy vinyl, which is fine for an ornament. Will test that vinyl before I make a coaster, which I will enlarge. Thanks Jenelle!
I wish I could get this pattern, but the PDF attached above is not the same coaster. Is there anyway to get the correct PDF pattern so I could make some of these this year for Christmas?
These make me smile. Another project lined up. : )
Could you please tell me how to get the pattern for the snow globe. Thank you, would like to make some for ornaments on my Christmas tree!!
Thanks so much for your comment. This tutorial was originally posted in 2013, the We All Sew blog and through the updates we must have lost the link to PDF file.
Unfortunately I do not have the digital pattern personally but I can provide you with my original drawing. I’ve uploaded it to Google Drive. You are welcome to use it; https://drive.google.com/file/d/1dAHRsC5SrbGG-X2kdxw_abbLjK-LRAQe/view?usp=drivesdk
I would love to see how your coasters turn out!! Tag me on IG if you use it @jmontilone Happy Sewing!
I would be nice if there was a pattern.
Initially a pattern was provided with this tutorial. I’m sorry I do not have the printable PDF any longer but I was able to locate the original drawing used and you are welcome to it; https://drive.google.com/file/d/1dAHRsC5SrbGG-X2kdxw_abbLjK-LRAQe/view?usp=drivesdk
Thanks for taking time to comment.
Do you have a PDF for the Gingerbread House, Circles, etc?
Happy Monday @Quilt4fun!
I’m attaching a link to download my personal drawing in hopes that it can help you. I’m sorry the original post did include a PDF but I no longer have that file. The moderator of this blog may still be able to attach it to the original post. Until then, I hope this helps!
https://drive.google.com/file/d/1dAHRsC5SrbGG-X2kdxw_abbLjK-LRAQe/view?usp=drivesdk
I should clarify my question. Do you have a pattern that we can print to use to make the shapes of the Gingerbread House, Circles, and Snow Globe? I can’t find it in the tutorial. I would love to make these, but, I would also like a pattern so as to not start from scratch to draw it out. Thank you for your assistance.
A great idea for a Christmas gift
Thank you + happy sewing!
Would like to make the mug rug in the hoop. Any instruction for the Snow Globe in the hoop?
Unfortunately this sewing project isn’t digitized for machine embroidery- but I absolutely love Kimberbell Designs and she has some adorable mug rugs for the winter holidays here: https://kimberbell.com/product/mug-rugs-vol-4/