How to Make a Churn-Dash Quilt, Part 1
Hello fellow sewing-enthusiasts! I am so excited to share this quilt-a-long project with you here at WeAllSew. I learned to make quilts from my mom when I was growing up. About fifteen years ago I began doing it in earnest and took classes to broaden my skills. I have since worked in a quilt shop where I taught beginning quilting classes. I still love to teach quilting basics on my blog, Diary of a Quilter, which I have been writing for over five years now.
For this quilt-a-long we are going to make a traditional Churn Dash quilt block using some short-cut techniques to speed up the process and with very little fabric waste. This is a classic quilt block with a huge potential for a variety of looks, depending on the colors and fabrics used, including a modern, updated version.
Week 1: Choose and cut fabrics.
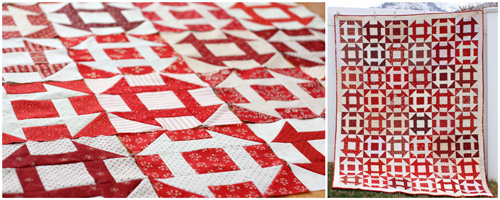
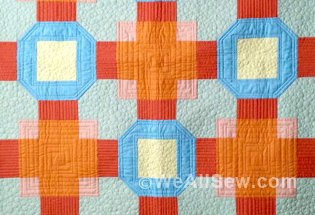
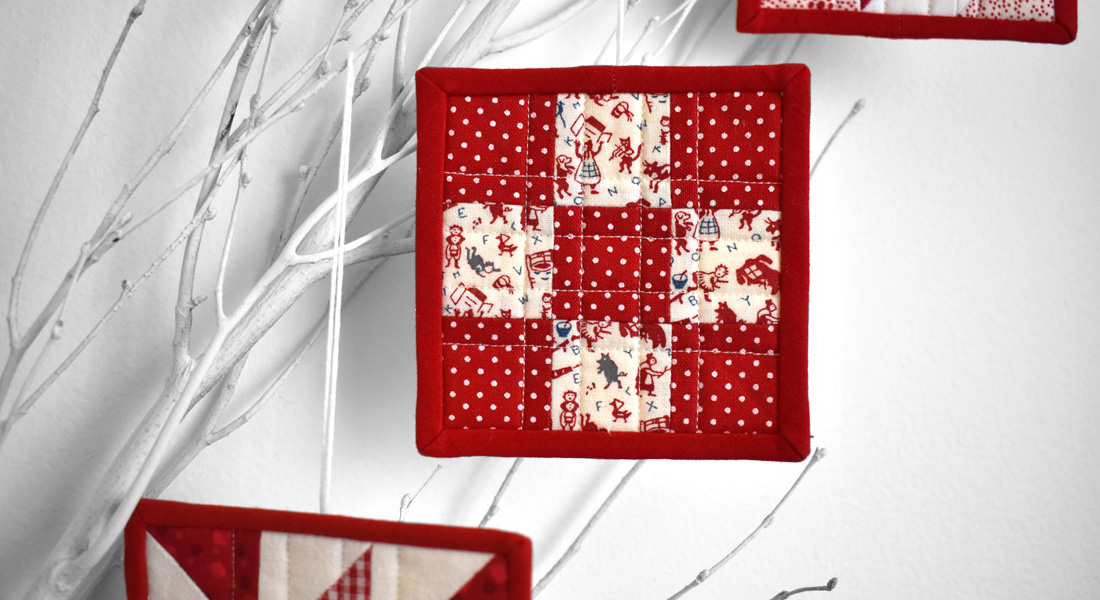
This specific design works best with two contrasting sets of fabrics. Here is a version using traditional quilt fabrics such as shirtings and other reproduction fabrics in high-contrast red and white.
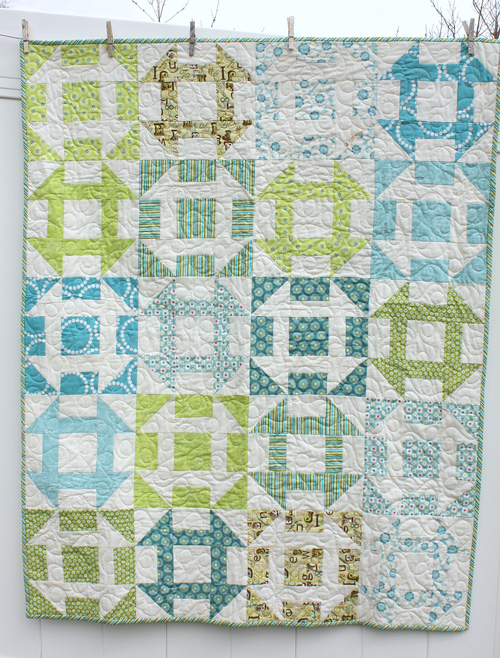
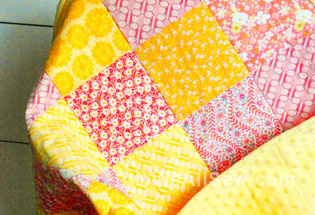
The same pattern in more contemporary aquas and green prints contrasting with the more the modern solid white.
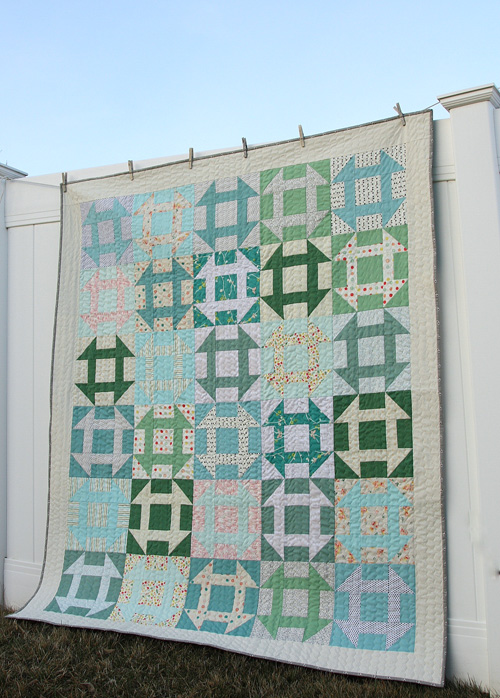
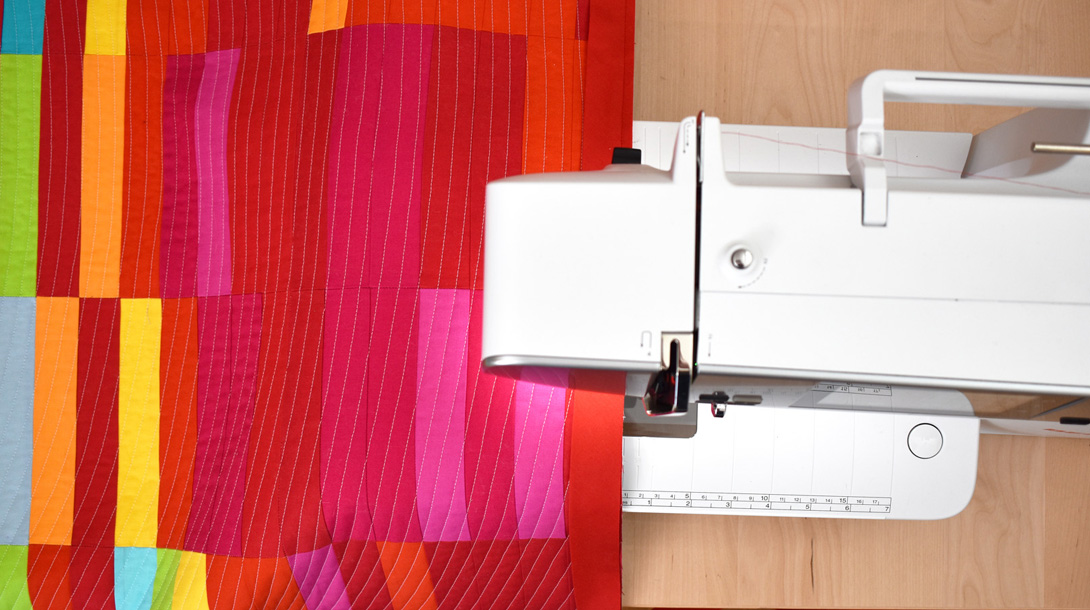
For this version I wanted to try something more subtle and “low-volume” (or low-contrast) to create a quilt with a slightly more washed-out palette inspired by spring.
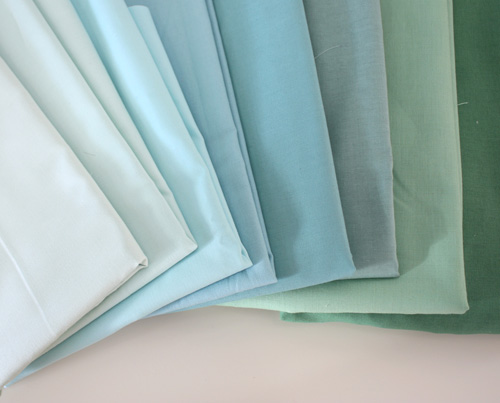
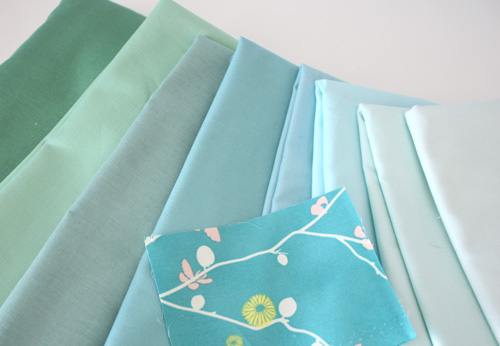
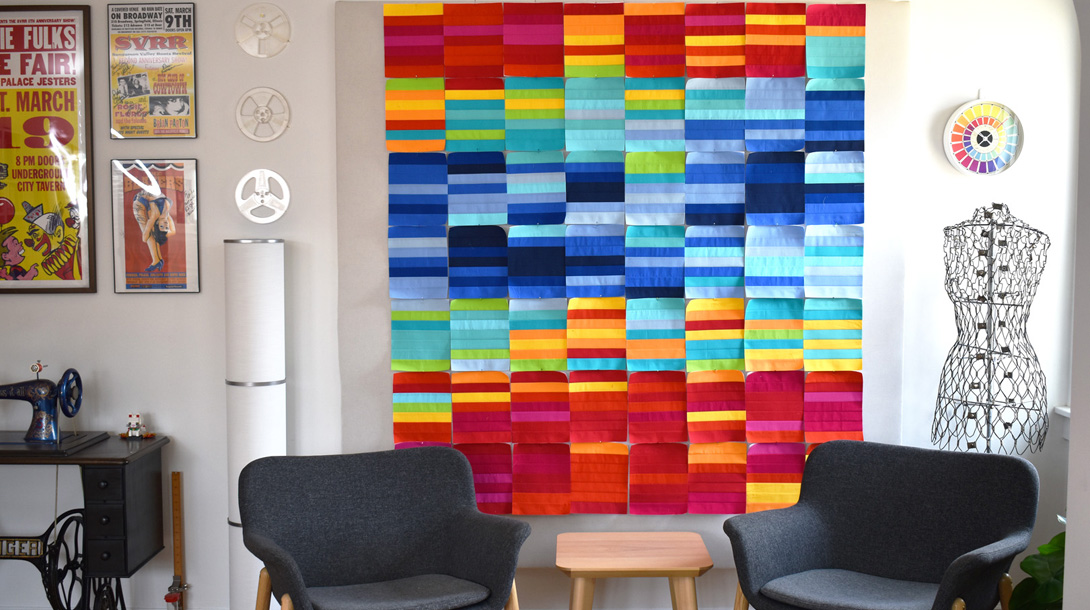
To give it more of a modern look I chose solids again as one set of my contrasting fabrics but this time I went with a range of colors in the blue and green spectrum.
For the contrasting fabrics I went with low-value prints on light/white backgrounds. (Also popularly called “low-volume” prints right now and a fun current trend in modern quilting.) I added some variety of colors in my prints. One way of adding visual interest to any quilt design is to throw in a color that is slightly unexpected. I love the term “zinger” for those unexpected colors. In this case, looking at the selection of prints, notice how the pink print and the yellow print stand jump out.
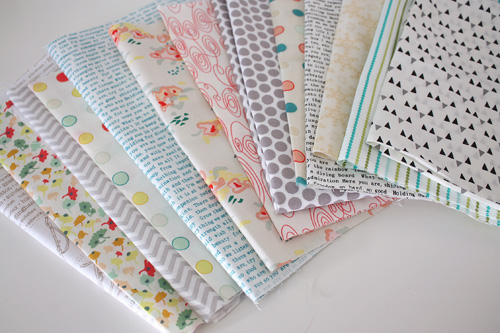
A variety of scales (sizes) of prints can also add visual interest to a quilt design. Using the prints paired with the solids gives the quilt contrast, but giving a variety of scales of prints ads even more depth and visual texture.
And then, just to be a little bit rebellious, I added one dark print fabric that blended with my solids.
Fabrics used in this quilt:
- Sea Glass
- Blue Skies
- Cove
- Notting Hill
- Beach House
- Nile Green
- Aqua
- Leaf
Prints from collections such as
- Rapture by Pat Bravo for Art Gallery Fabrics
- Minimalista by Pat Bravo for Art Gallery Fabrics
- Sun Texts from Allison Glass
This quilt is based on 1/8 yard strips of fabric. You can use either a traditional 1/8 of a yard strips (4-1/2″ x 44″) or something called a Fat Eighth. This size piece is a really convenient size to find. A Fat Eighth comes from cutting a quarter yard of fabric (Fat Quarter or traditional quarter) in half to create a boxier shape (9″ x 22″). Some fabric manufacturers also sell bundles of pre-cut Fat Eighth pieces.
Fabric Requirements are:
- 15 “light” eighth of yards (4-1/2″ x 44″) or Fat Eighths (9″ x 22″)
- 15 “dark” eighth of yards (4-1/2″ x 44″) or Fat Eighths (9″ x 22″)
- 5/8 yard border fabric
- 1/2 yard binding fabric
- 3-1/2 yards backing fabric
This quilt finishes at 58-1/2″ x 69″.
If you prefer a bigger quilt size the fabric requirements for a twin size version (70″ x 91″) are:
- 24 “light” eighth of yards (4-1/2″ x 44″) or Fat Eighths (9″ x 22″)
- 24 “dark” eighth of yards (4-1/2″ x 44″) or Fat Eighths (9″ x 22″)
- 1 yard border fabric
- 5/8 yard binding fabric
- 5-1/2 yards backing fabric
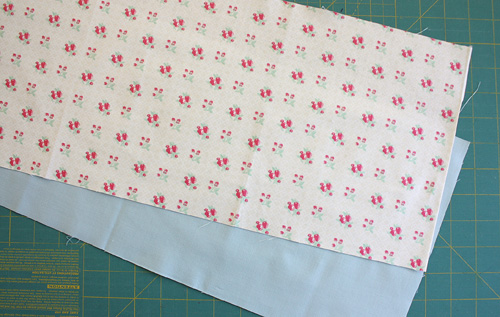
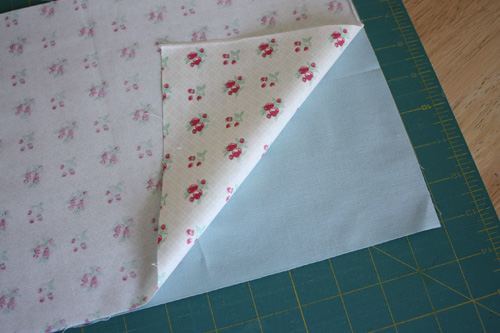
Prepare to piece your blocks by pairing up a contrasting “light” eighth yard and a “dark” eighth yard cut to create 15 sets of fabric. Match them right sides together and cut two sets of strips 4-1/2″ x 21″. Keep these two sets together.
Next time we will talk about cutting and piecing the blocks.


What you might also like


21 comments on “How to Make a Churn-Dash Quilt, Part 1”
-
-
I will be joining! I have been wanting a easy traditional quilt and this will be perfect,
-
I love the blue and green, and I way love the low volume! I have never done a quilt along so this will be my first one. Thanks for hosting it.
-
I love the sea glass colors. Been wanting to make a quilt with those colors. One of these days I’ll get around to buying them so I can. hehe
-
My first qal also. Just ordered my fat eighth bundle. Looking forward to it.
-
Pingback: Stop me before…. | Green Truck Stitching
-
This is beautiful! I am thinking I may try to do some stash busting here though… Dare I ask, when you refer to “darks” and “lights” are you referring to “solids” and “prints” or can either one be both (if that makes sense)?
-
Let me see if I can get some clarification on that. – Jo
-
Great question Luone! They don’t have to be “lights” vs “darks” (although that will give the highest contrast.) Pretty much, you can use any fabrics you like as long as there is an even number of fat eighth pieces. So get busting that stash!
-
-
This is my first Quilt Along and my first time making the Churn Dash block!
-
I’ve never made a quilt before. I have made a table runner using quilt techniques but never a whole quilt. This will be fun.
-
Churn Dash is my favorite block! It was the first block I made when I took my first quilting class. I would love to do a whole quilt of just Churn Dash blocks, and look forward to your Sew Along.
Grace -
Is there a way to add a print button, so that the information can be printed out without including all the comments at the bottom of the page?
-
That’s on our wish list for the future. For now… select Print Preview instead of Print. Then you can tell it which pages to print and leave off all the comments. Another option – one I often use – is to highlight and copy the text/photos I want and paste them into a Word.doc. Then I can adjust the text and margins and resize the photos however I want to have them. Jo
-
-
Pingback: WeAllSew « https://weallsew.com
-
Pingback: WeAllSew « https://weallsew.com
-
Pingback: WeAllSew « https://weallsew.com
-
Pingback: Churn Dash Quilt | newcreativestate
-
Pingback: Churn Dash Finish | newcreativestate
Leave a Reply
You must be logged in to post a comment.
Love the aqua prints – looking forward to sewing along!