Hexagon Pillow Tutorial

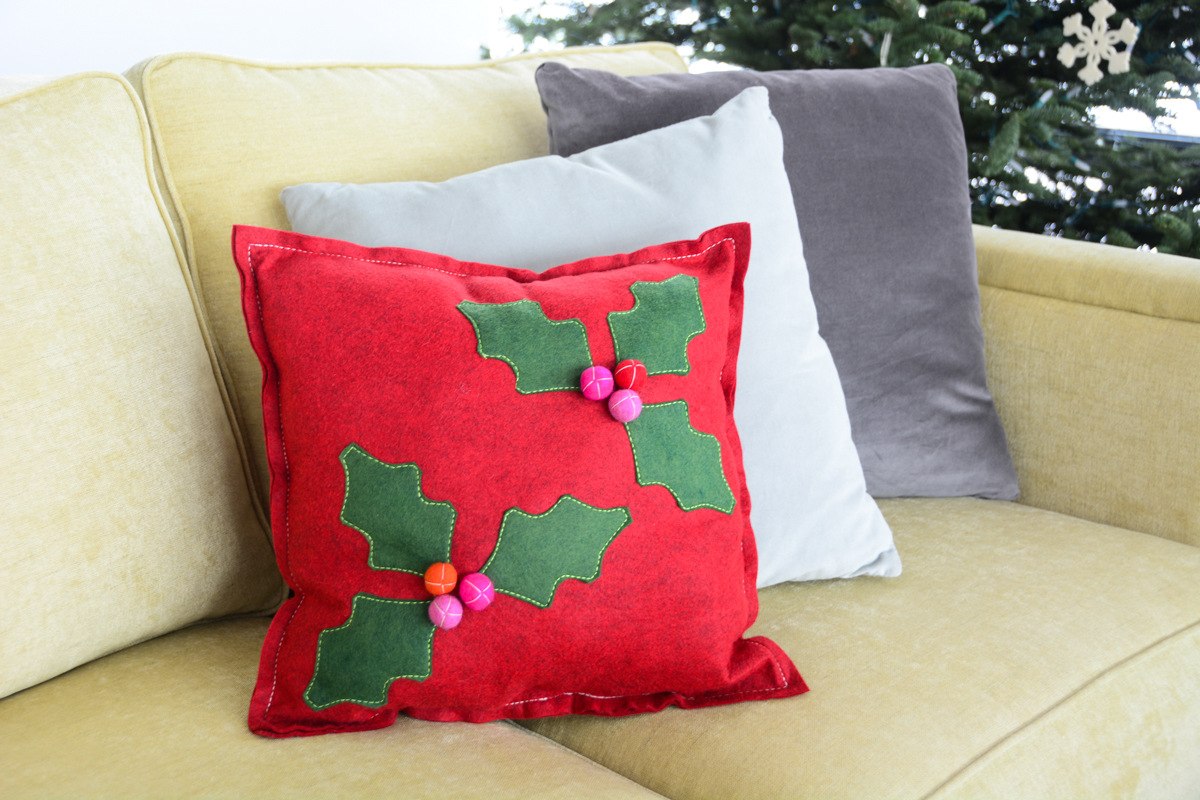
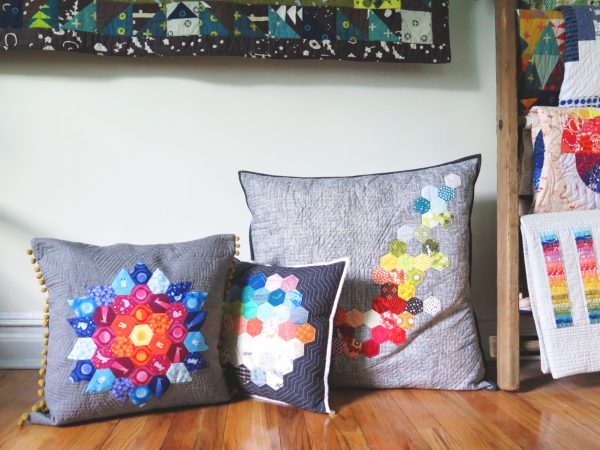
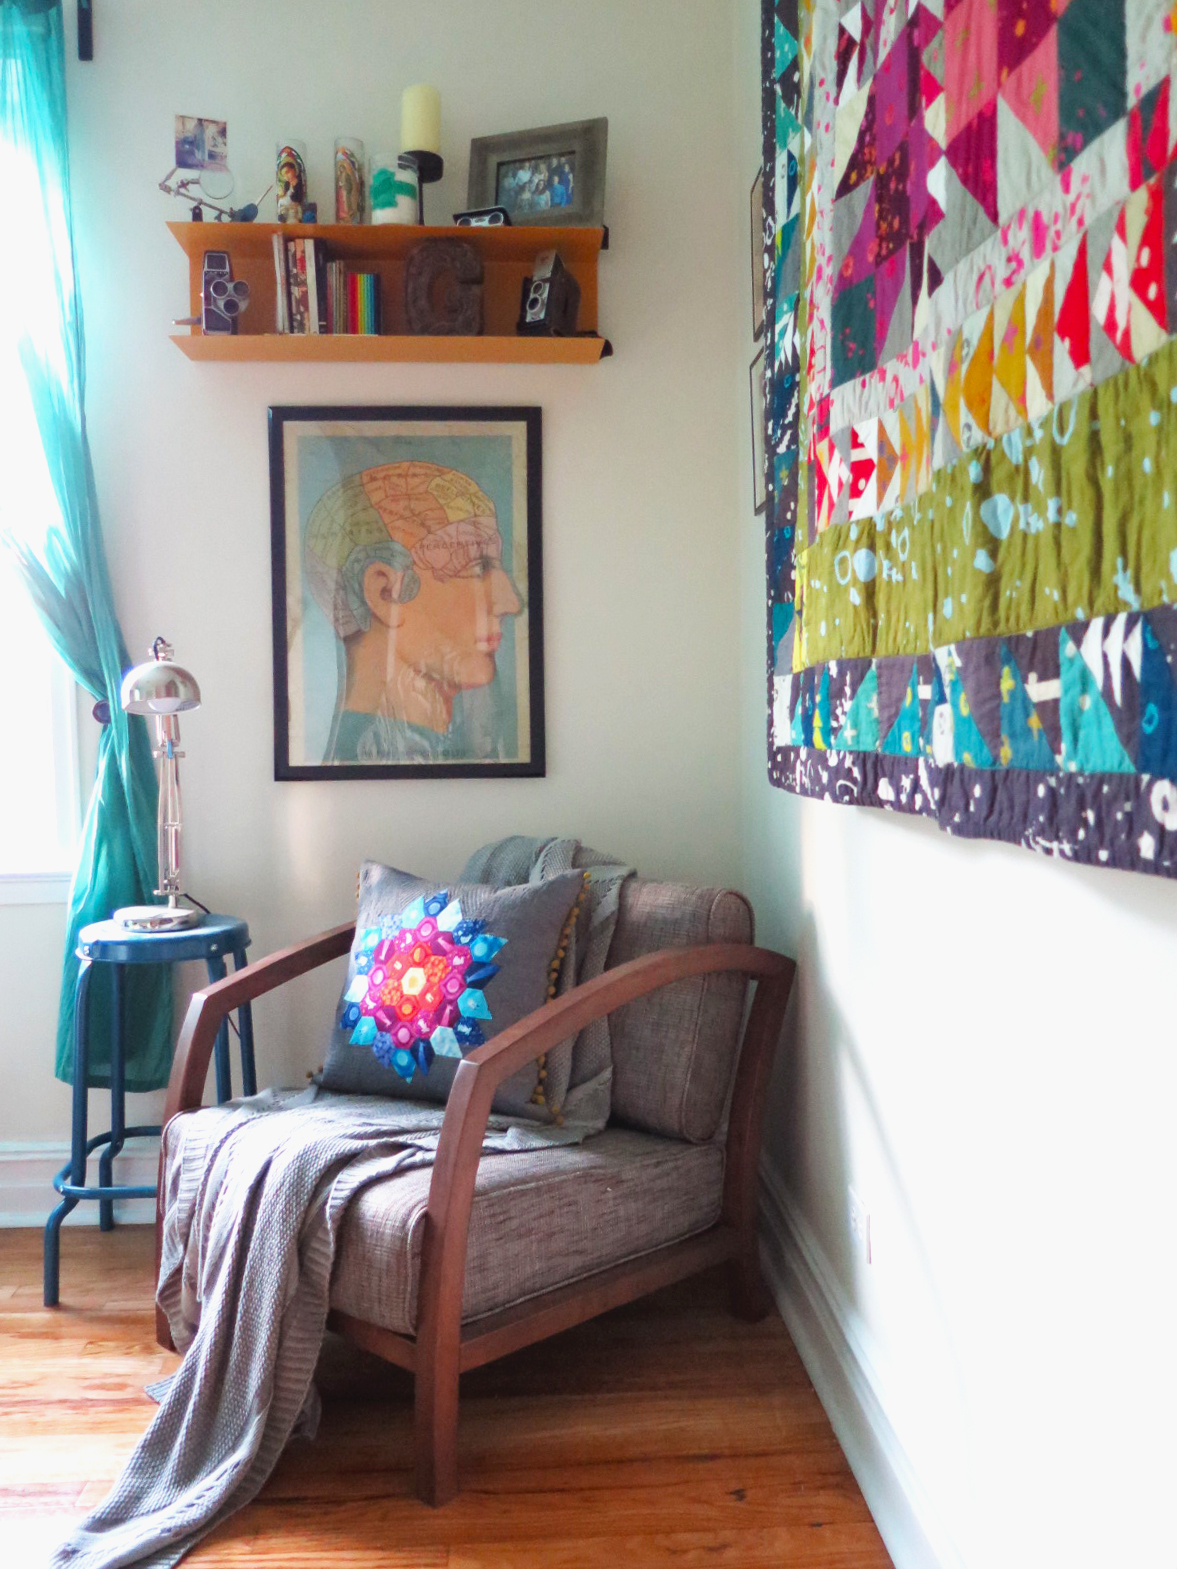
I. Love. Pillows. They are one of my absolute favorite things to make. Regardless of whether they are simple or complex, I just think they add so much to a room. They just make everything look fancier and more expensive. It’s such an easy way to class up a bed, sofa, armchair, what have you.
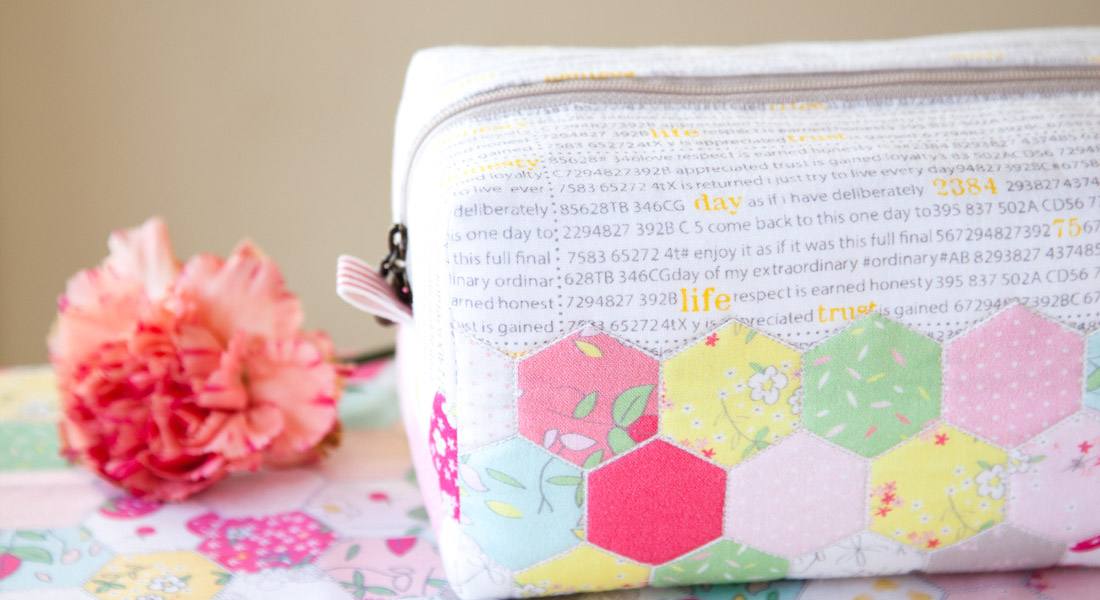
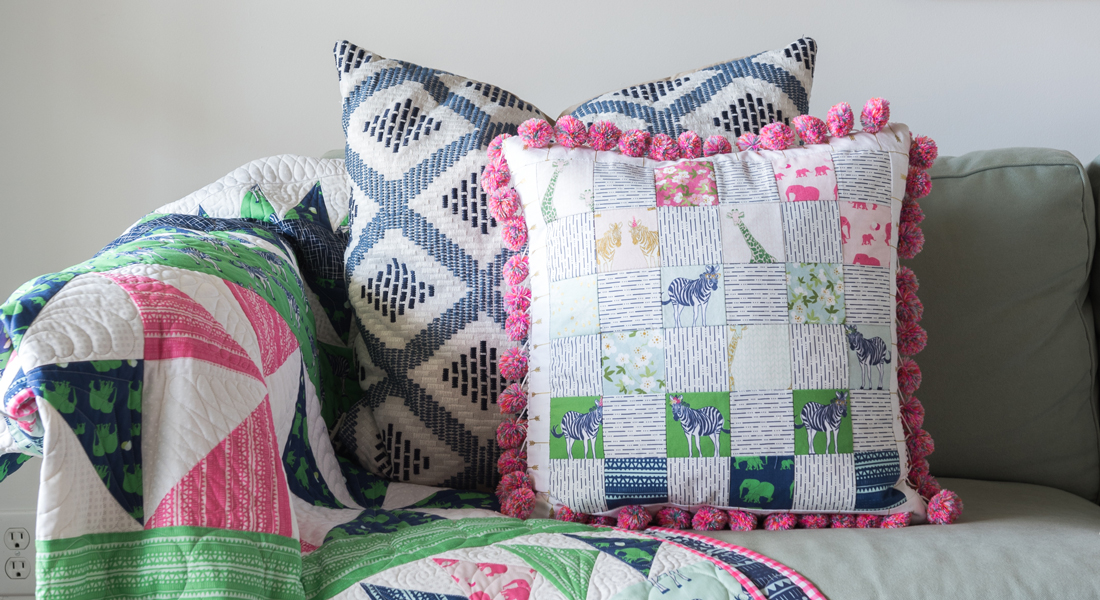
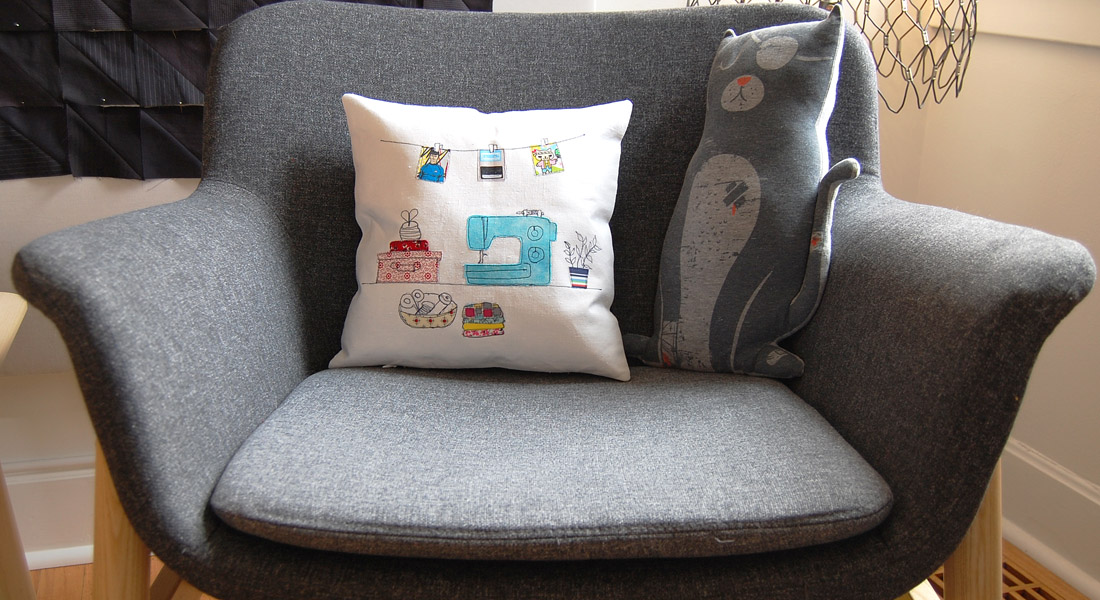
In my last post, I snuck one of my favorite pillow projects in a photo. Alice over at BERNINA spied it in the shot and told me she thought I should create a tutorial for it. I jumped at the chance to share my pillow-making process with you all!
Lately I have been obsessively English paper piecing (or EPP). I EPP everywhere. In the car, on the train to and from work, on my lunch break. Like many of us, I live a pretty active life, so it’s not always easy to find time to be creative. While I may not have two hours everyday to sit down and sew, I can always find time to sew a few hexies.
My friend Nicole Daksiewicz of Modern Handcraft taught me to sew hexies a few years back when we lived around the corner from one another in Chicago. She was the best teacher. If you have never sewn hexies before, or done any English paper piecing for that matter, I would highly recommend watching Nicole’s Periscope video on the process. Just click here to check it out!
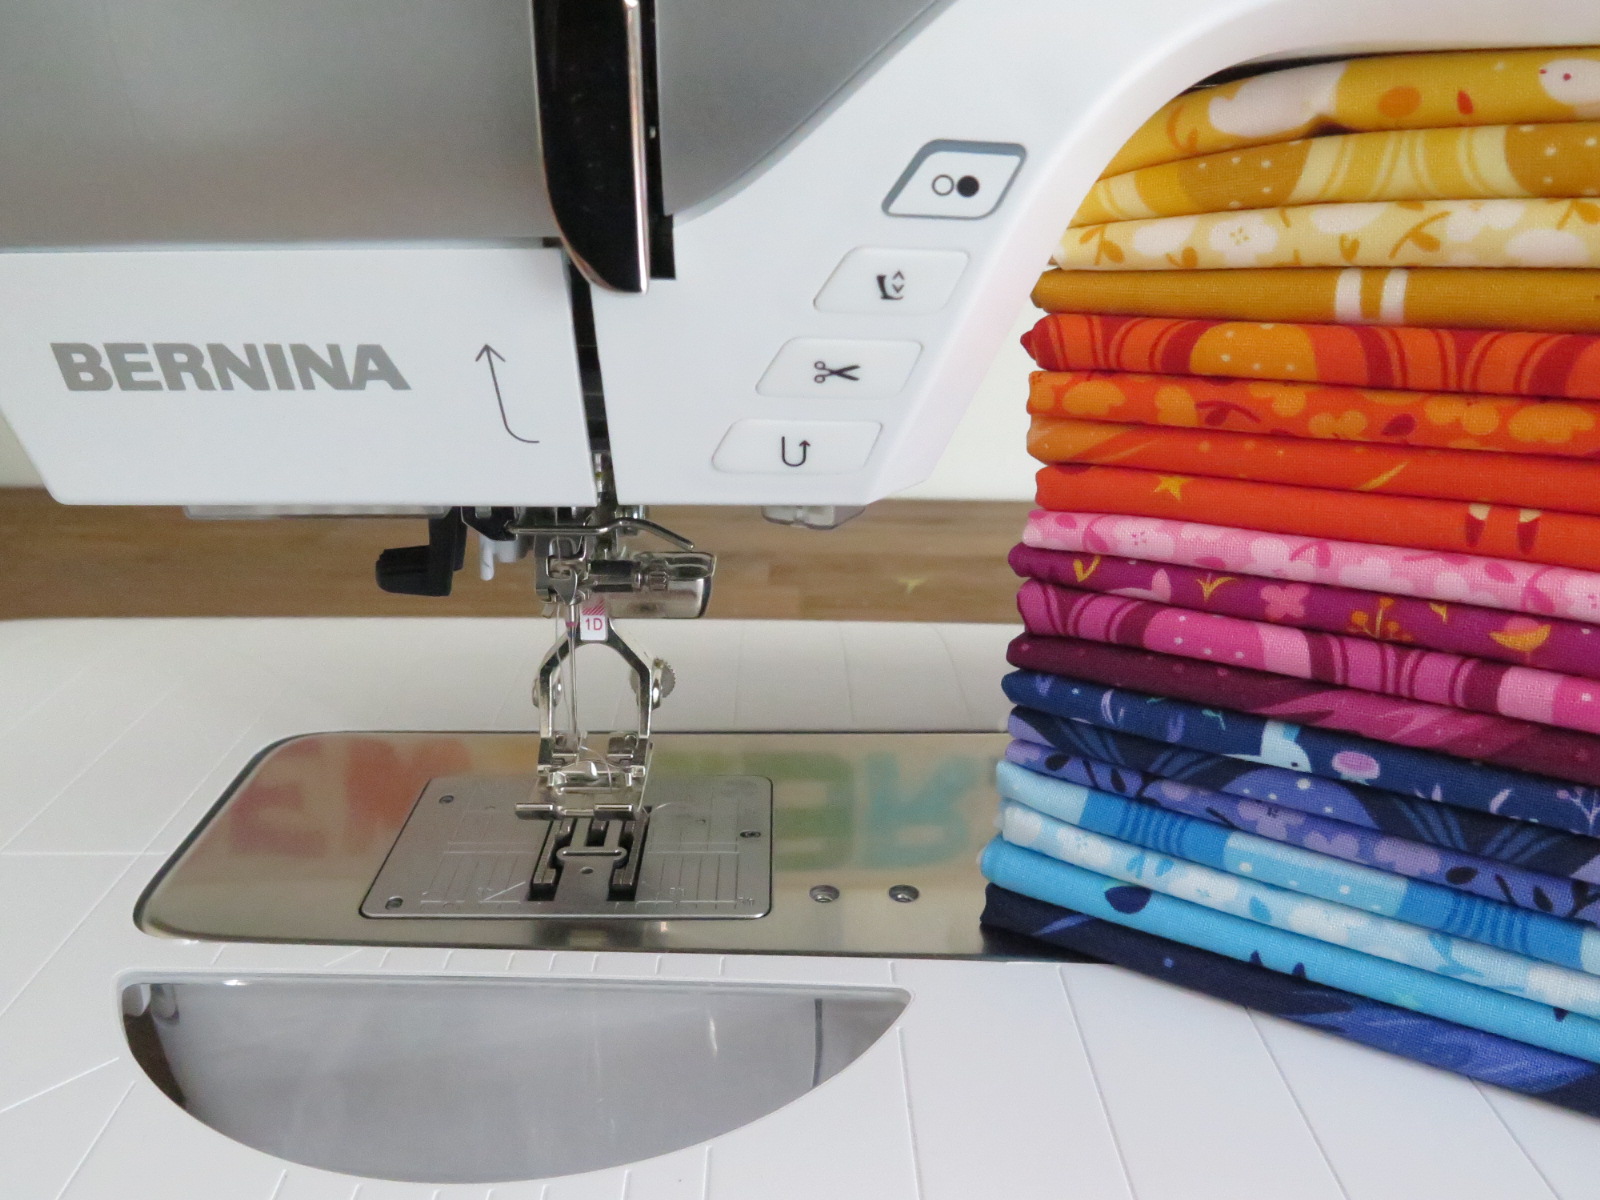
For this pillow I used Felice Regina‘s first line with Windham Fabrics called Luna Sol. The background fabric I used was Andover Fabric’s Chambray in Black. I used a combination of paper hexagon and jewel templates from Paper Pieces. I like to purchase mine because they are super inexpensive and reusable and the card stock they use is terrific. I have, however, included a downloadable template so you can print your own hexies and jewels right at home!
Now onto the fun…
Materials to make an EPP Pillow:
- 1 20″ pillow form
- Assorted scraps or pieces of fabric
- 1″ paper hexies
- 1″ paper jewels
- 3/4 – 1 yard background fabric
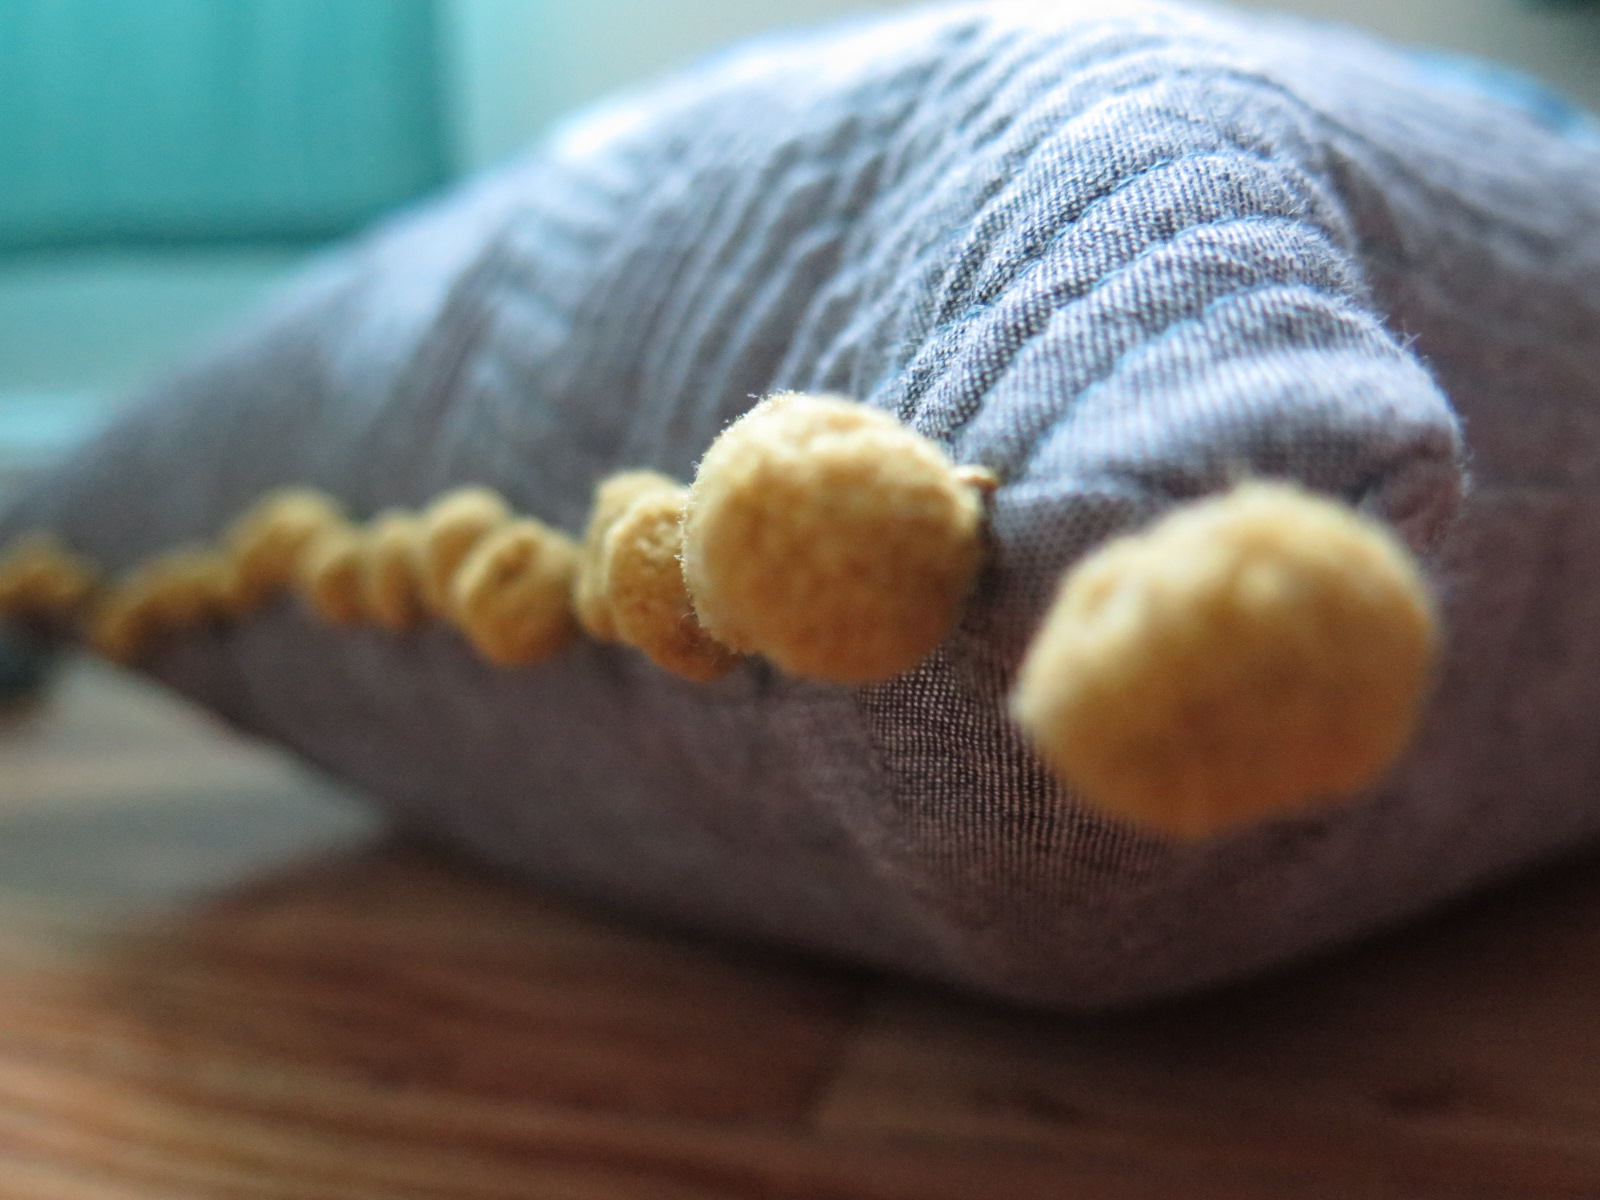
- 1 1/3 yards of pom pom fringe
- 22″ square of batting
- Thread
- Hand sewing needles
- Hexies template
- Jewels template
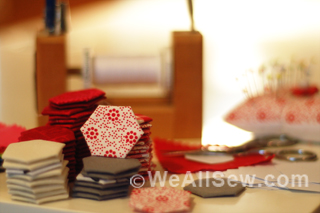
Start by making your hexies and jewels. For this project you’ll need 19 1″ hexies and 18 1″ jewels. Once again, be sure to check out Nicole’s hexie tutorial. The principal for sewing the jewels is exactly the same as the hexies.
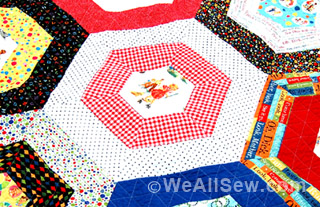
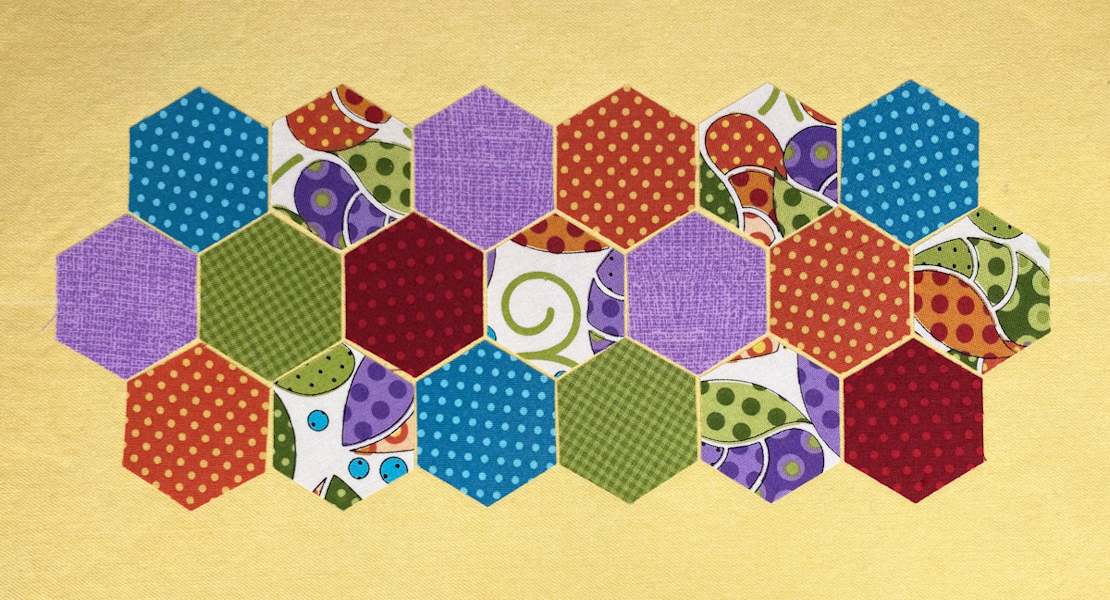
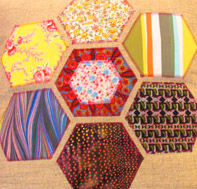
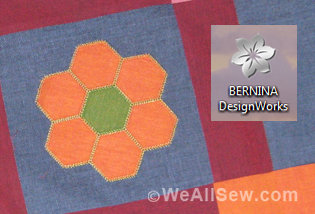
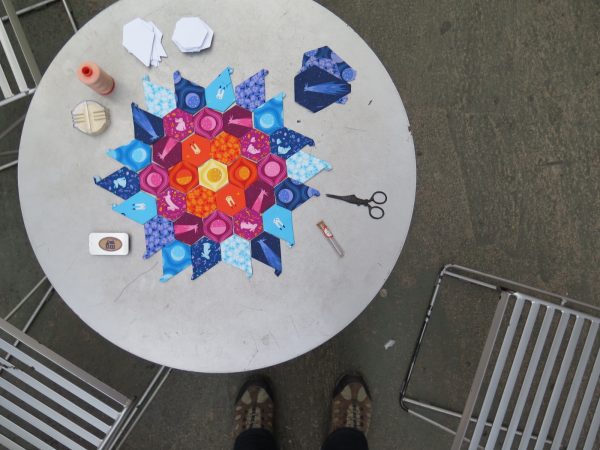
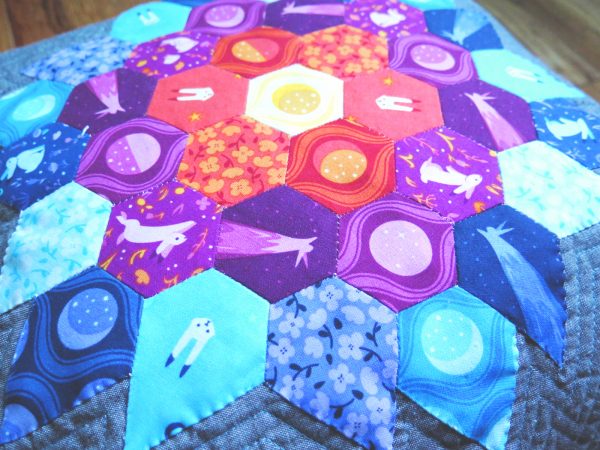
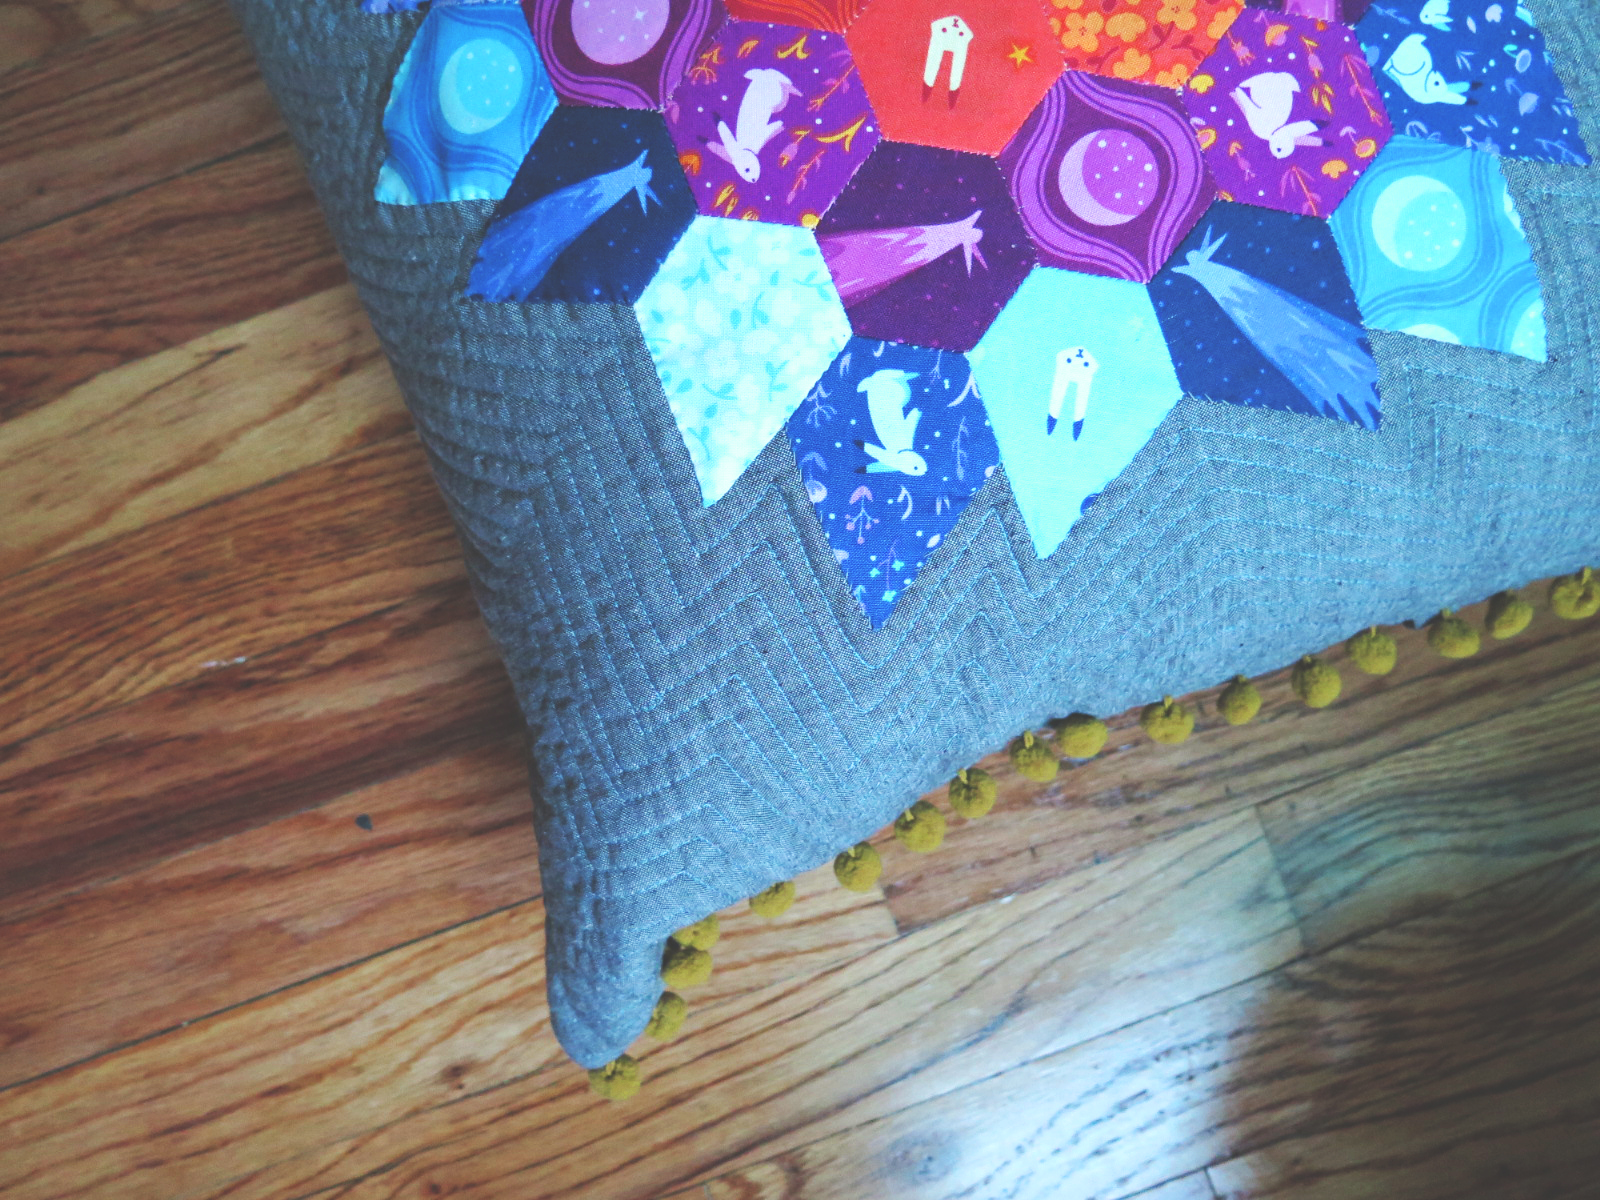
Once they are all sewn up, it’s time to lay out your pieces. For my pillow I started from the center. I surrounded my center hexie (yellow hexie) with six hexies to make a hexie flower (orange hexies). Then I surround that hexie flower with 12 more hexies (purple hexies). Then I surround the last row of hexies with the 18 blue and violet jewels.
The fun thing about this part of the process is the endless layouts you can come up with. There are so many possibilities! I lay out a lot of different options and document them photographically. It’s so important to take a picture. Especially when you are fussy cutting and placing your pieces directionally. Your mind can start to swirl so be sure to look really carefully at your pieces before you sew them up.
Recently my friend showed me a terrific trick to keep track of the order of your hexies once you have landed on a layout. Using washi tape, tape across the top of your pieces so they stay just as you want them.
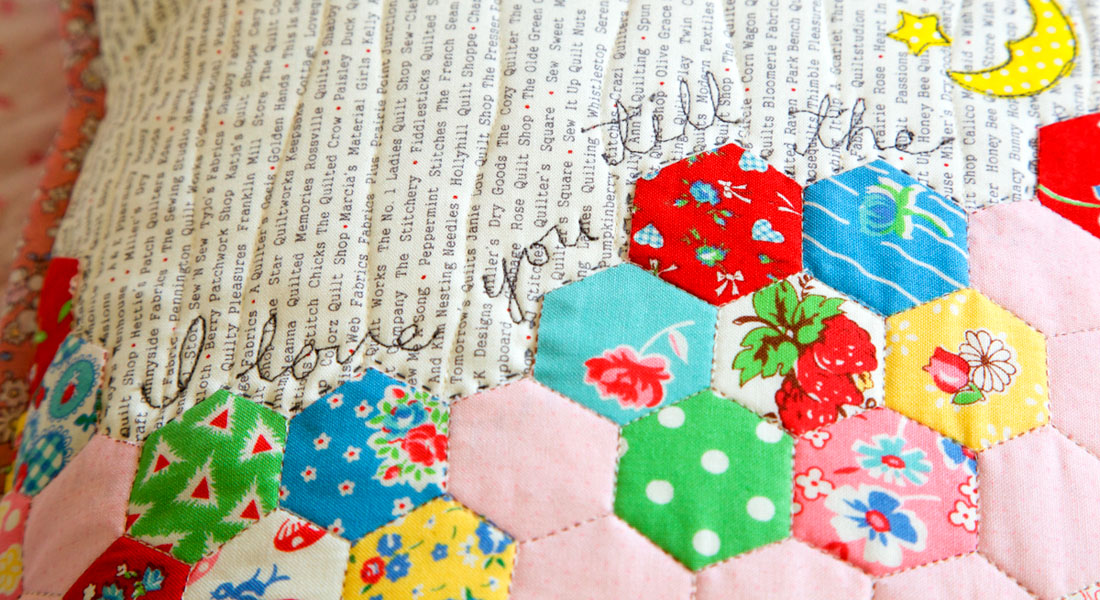
For this pillow I made everything face toward the center. Once the pieces were just as I wanted them, I whip stitched them all together. Be sure to leave your paper in. The structure will really help keep the pieces aligned. Just grab a little tiny bit of your fabric when you are whip stitching. I love the hand sewing process and I like to let the work show just a little bit. I love it when you can see the tiny stitches.
Once you have your center pieces sewn up, press, press, press. I use a ton of Flatter during this process to get everything nice and crisp. Make sure you get all those seems on the back nice and flat. Then it’s time to take out the paper and excess thread.
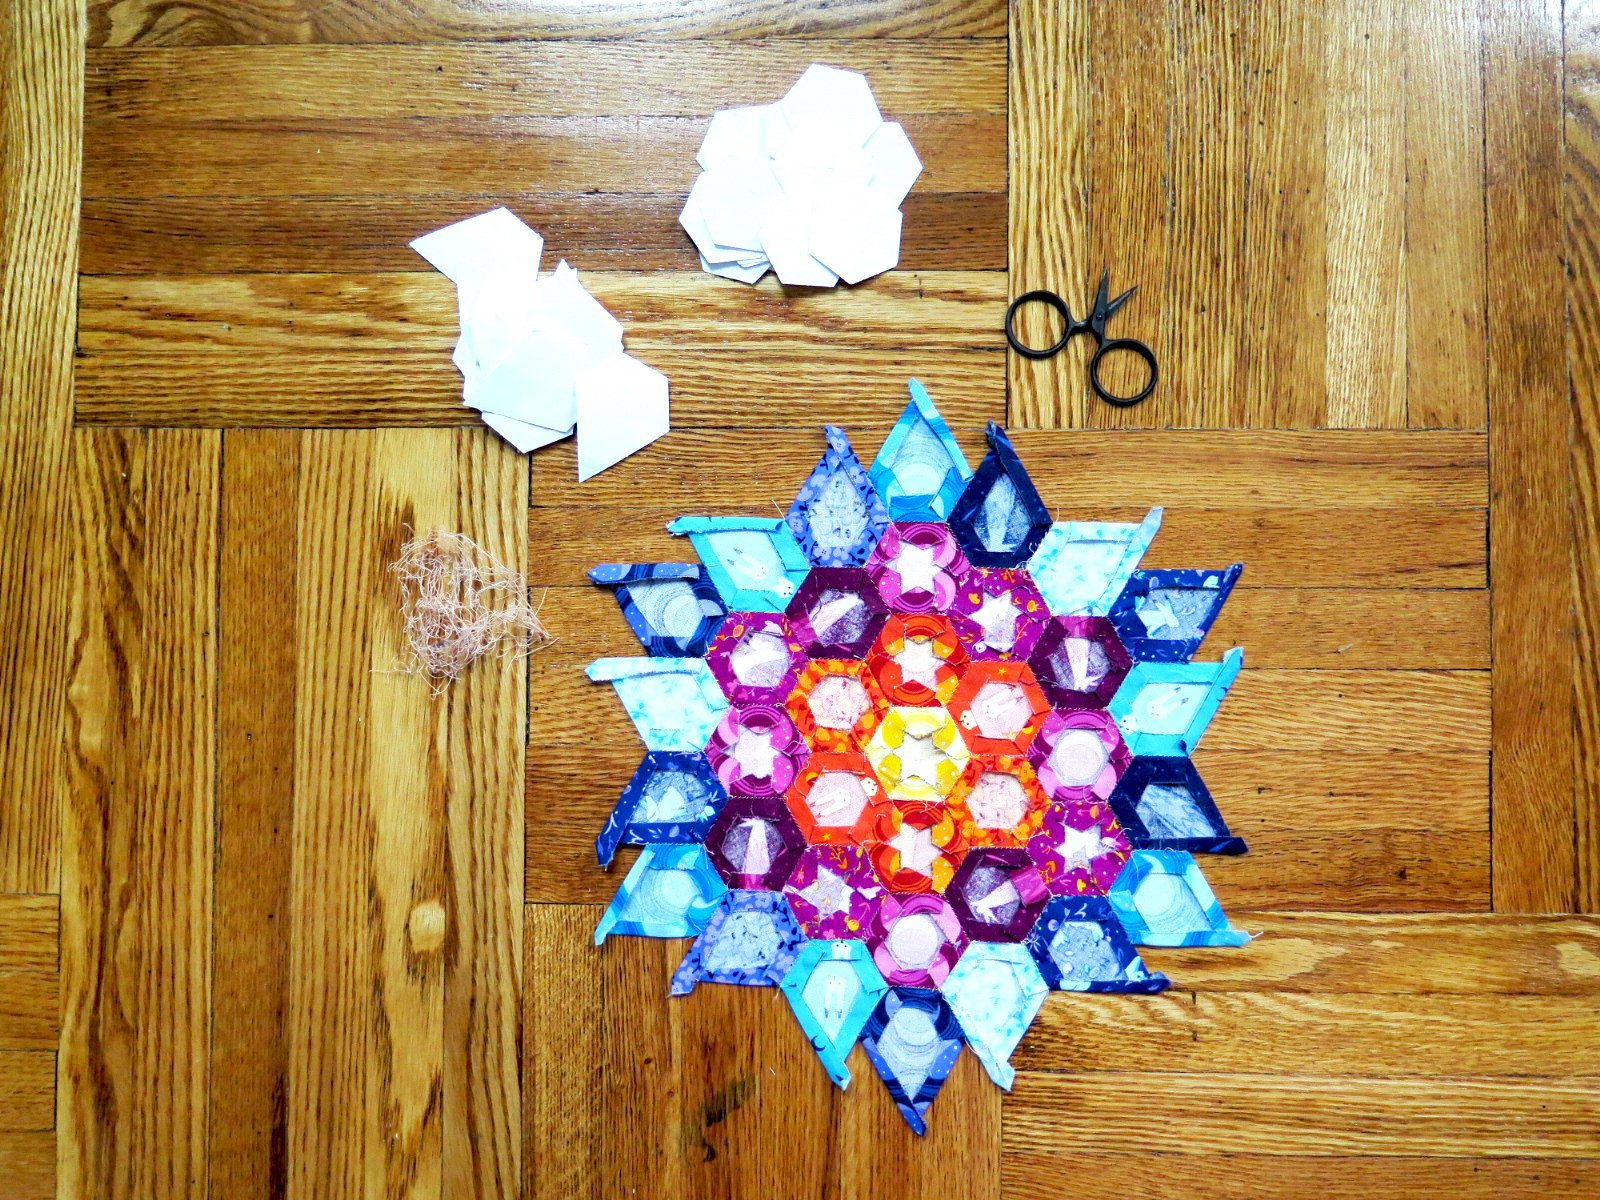
The nice thing about Nicole’s method of EPP is that the threads slip right out. The other plus-side is that your paper pieces last longer. Save those hexies and jewels for another project down the road! Press your sewn up hexies and jewels one last time, sans paper.
Now it’s time to cut your pillow face. I cut a 22″ square from my Andover Chambray and did a quick whip stitch to appliqué it to the center of the square. Before stitching, I used some straight pins on each of the jewel pieces to make sure there was no shifting as I sewed. Once the piece was sewn onto the Chambray, I took my 22″ square of batting and basted it to my pillow top, placing a few pins throughout the center medallion to make sure there would be no shifting as I quilted.
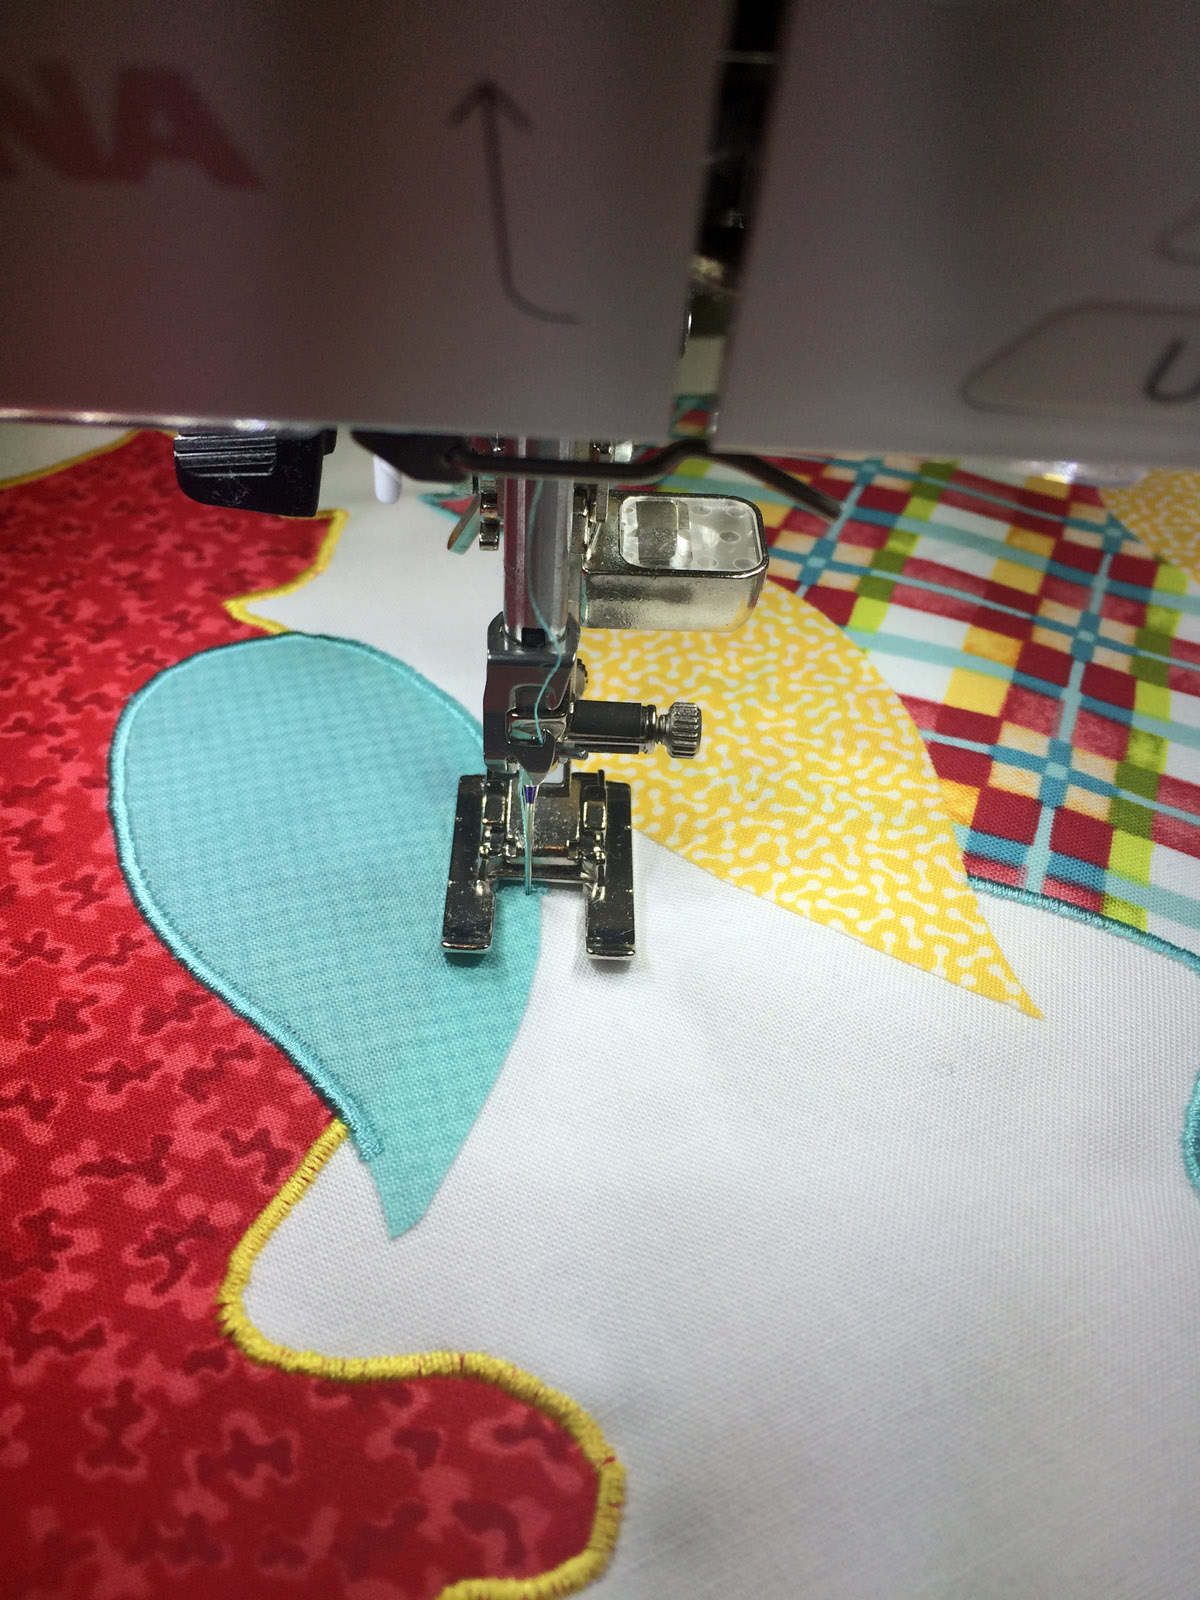
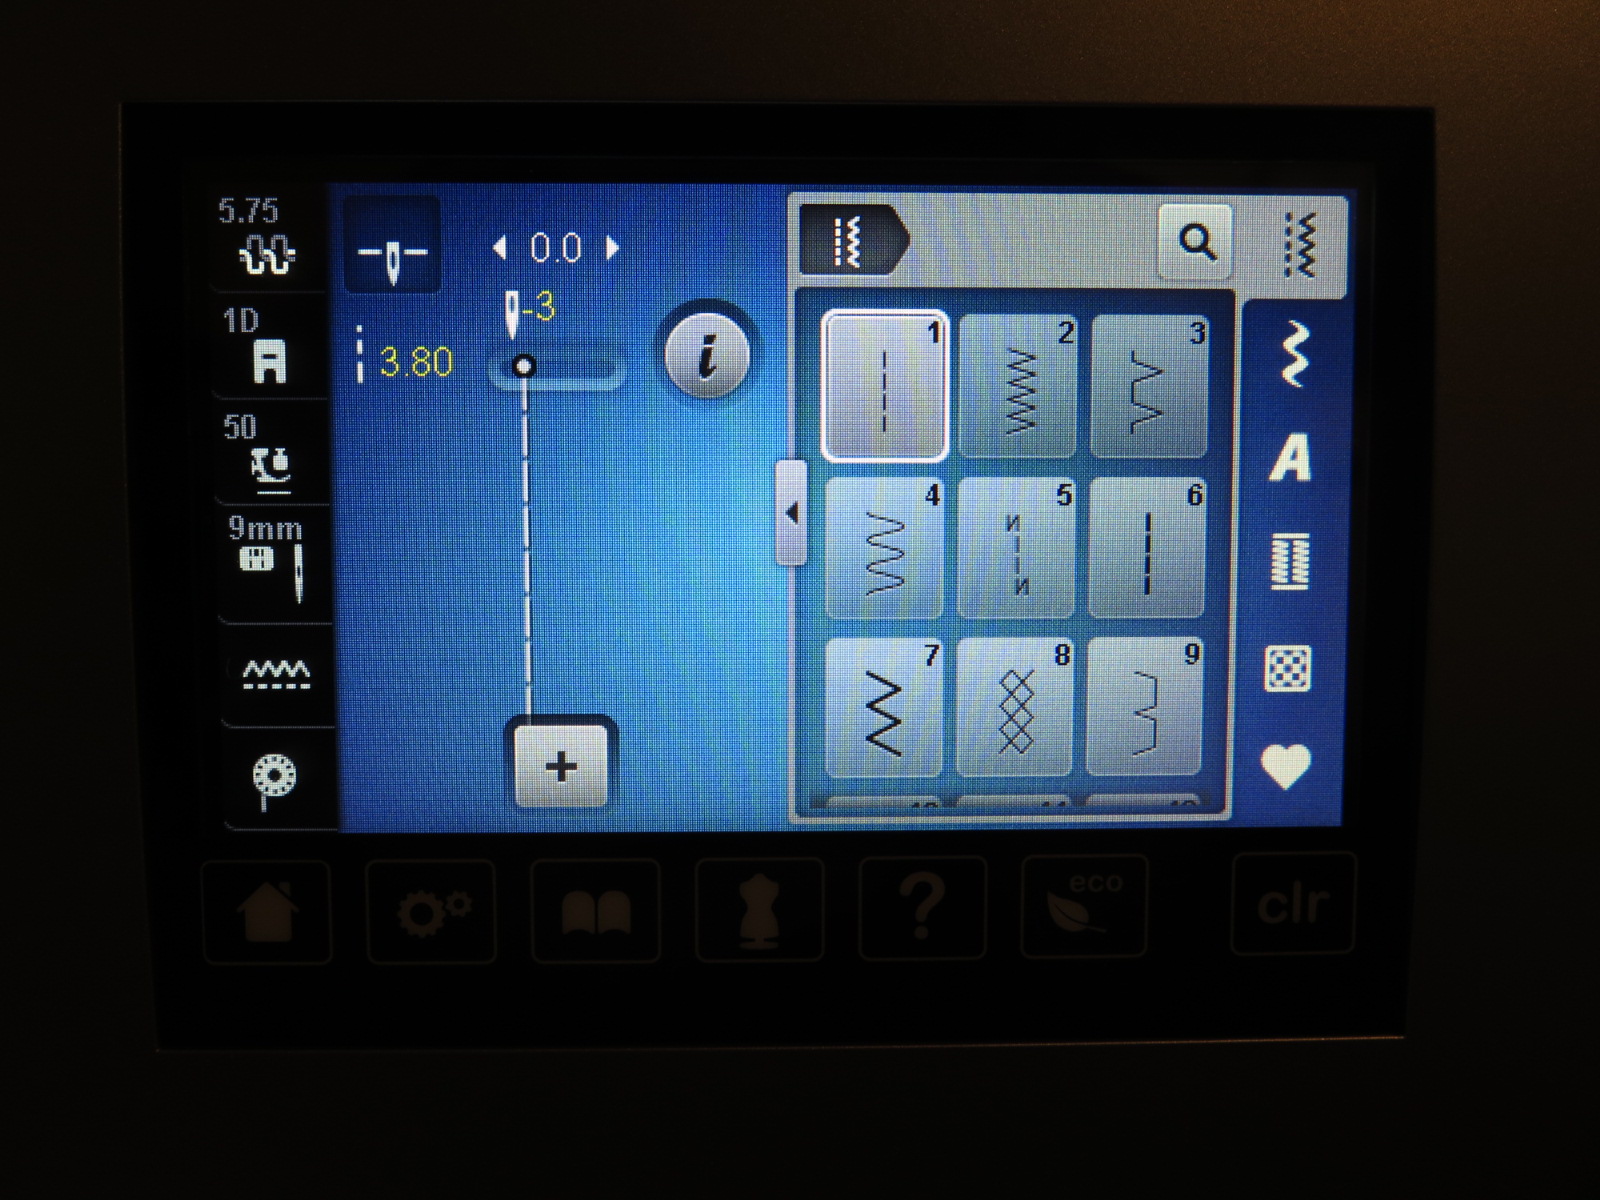
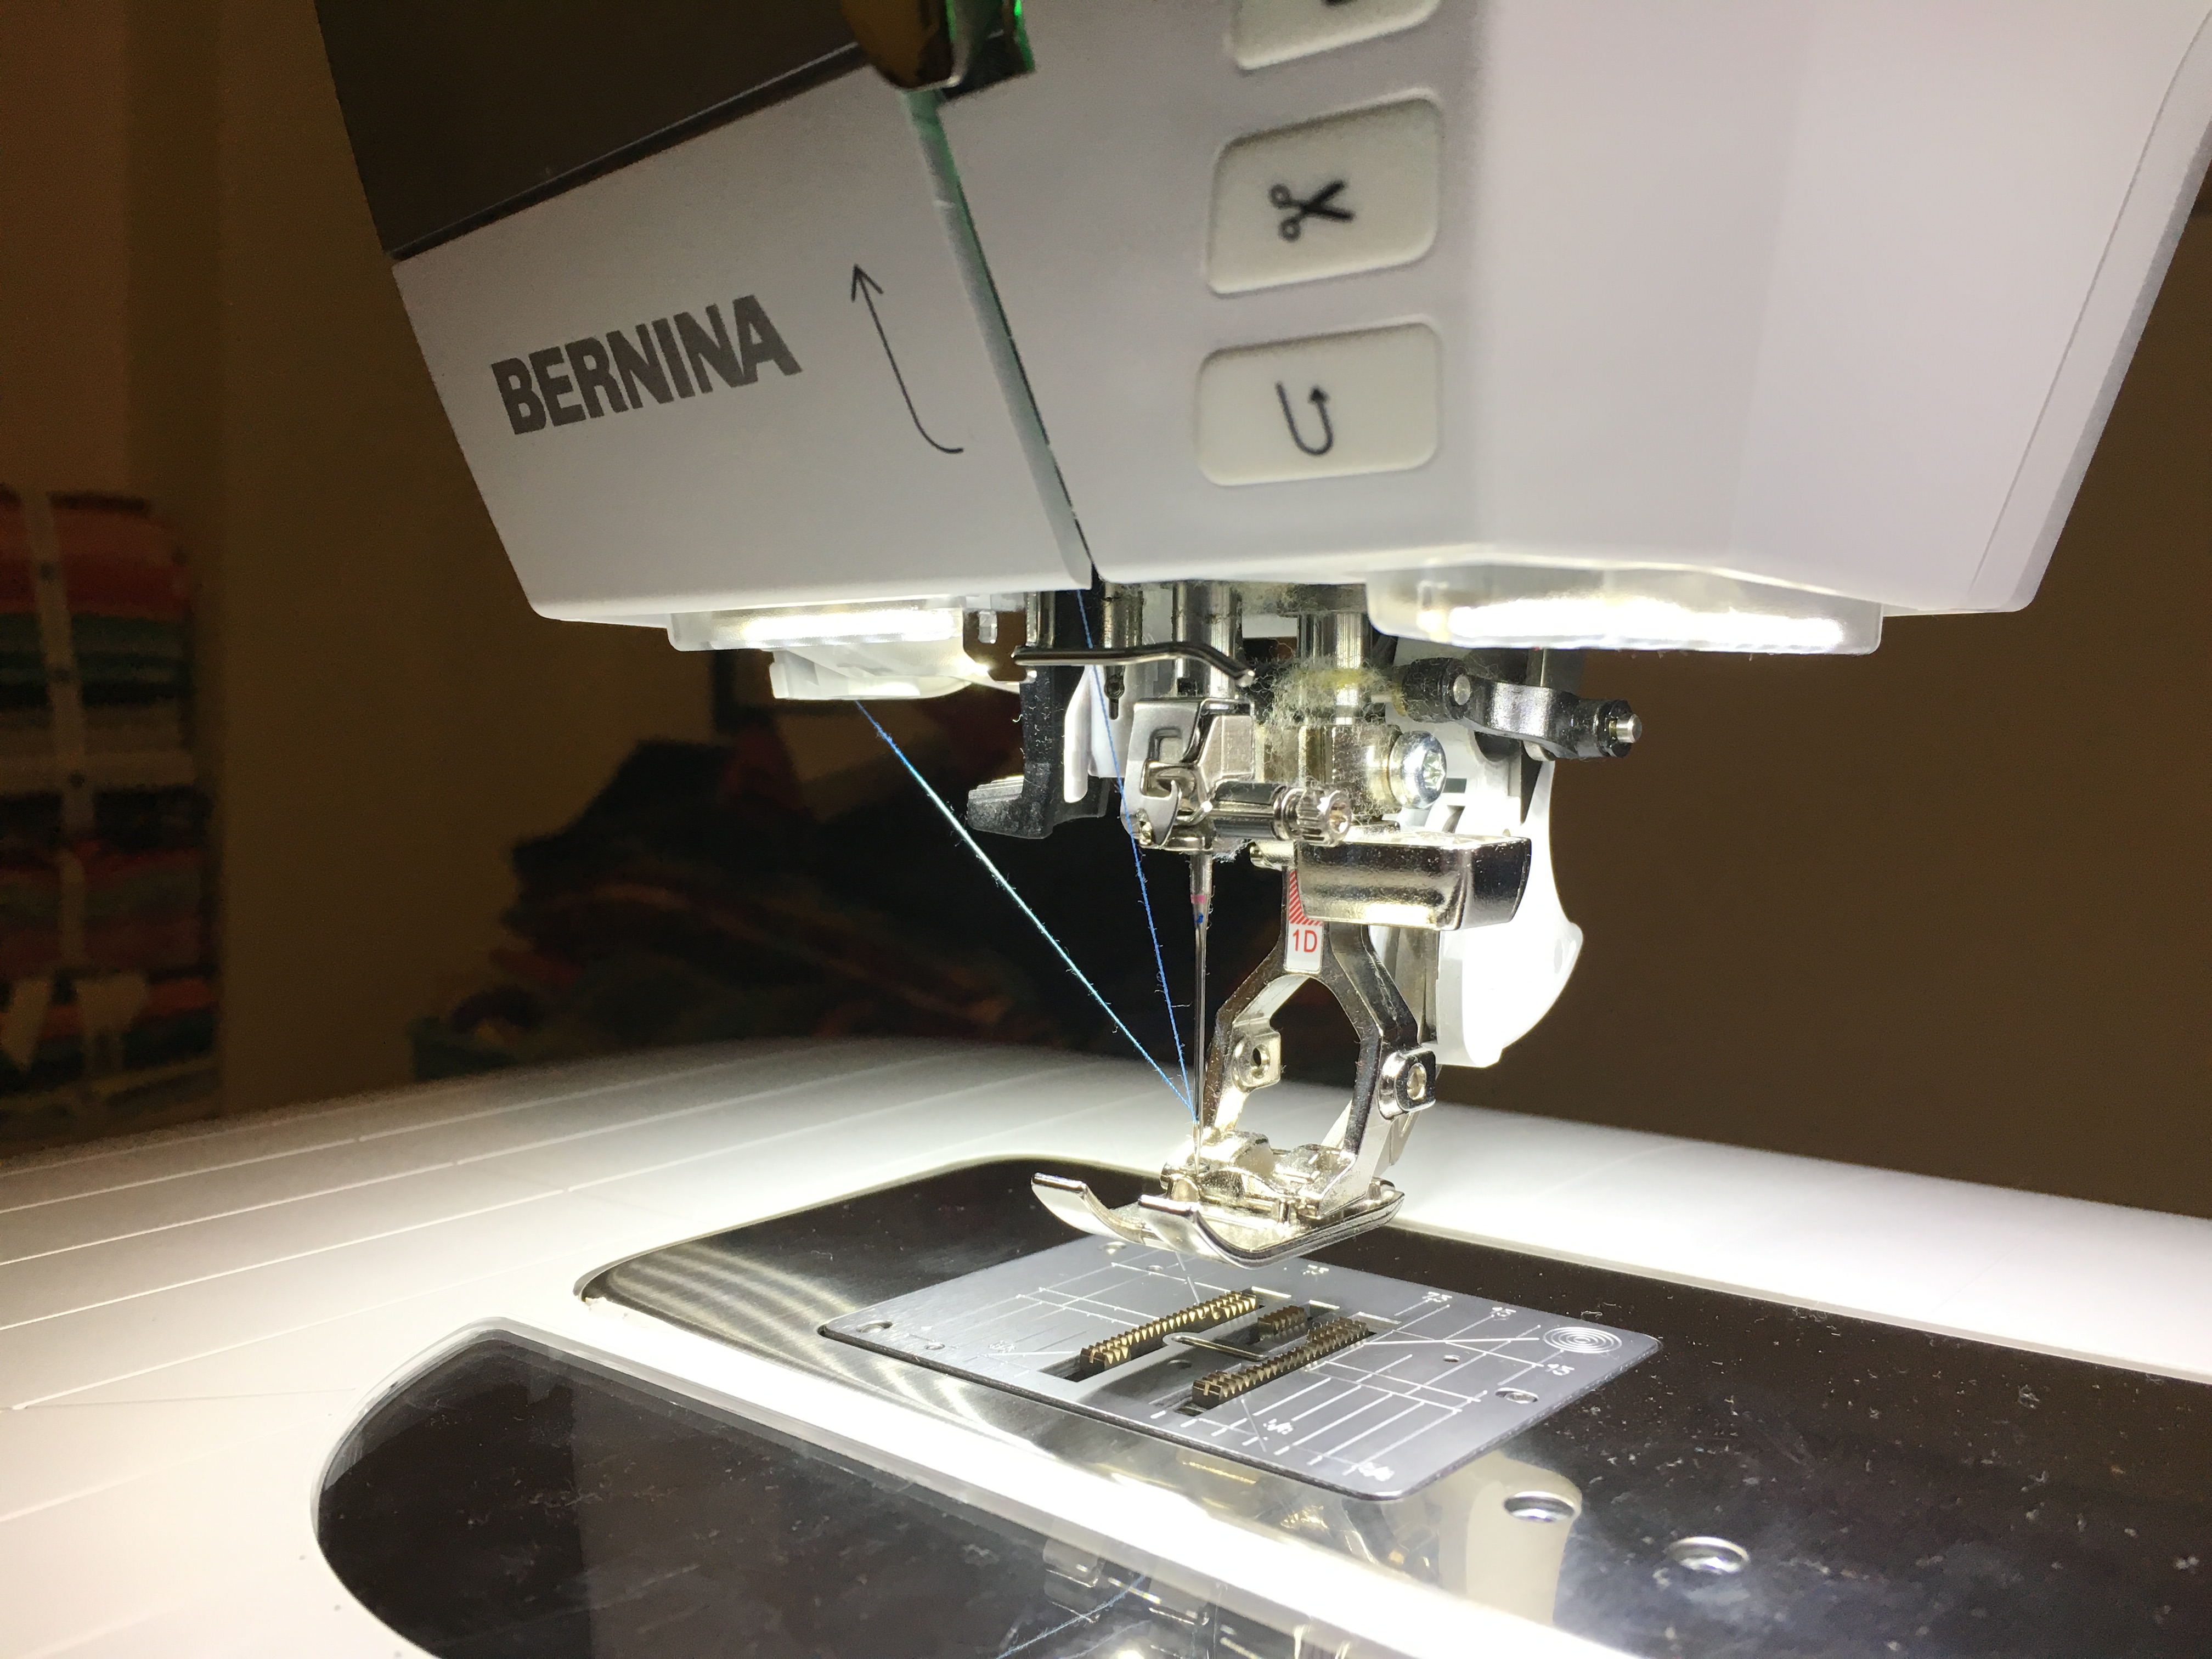
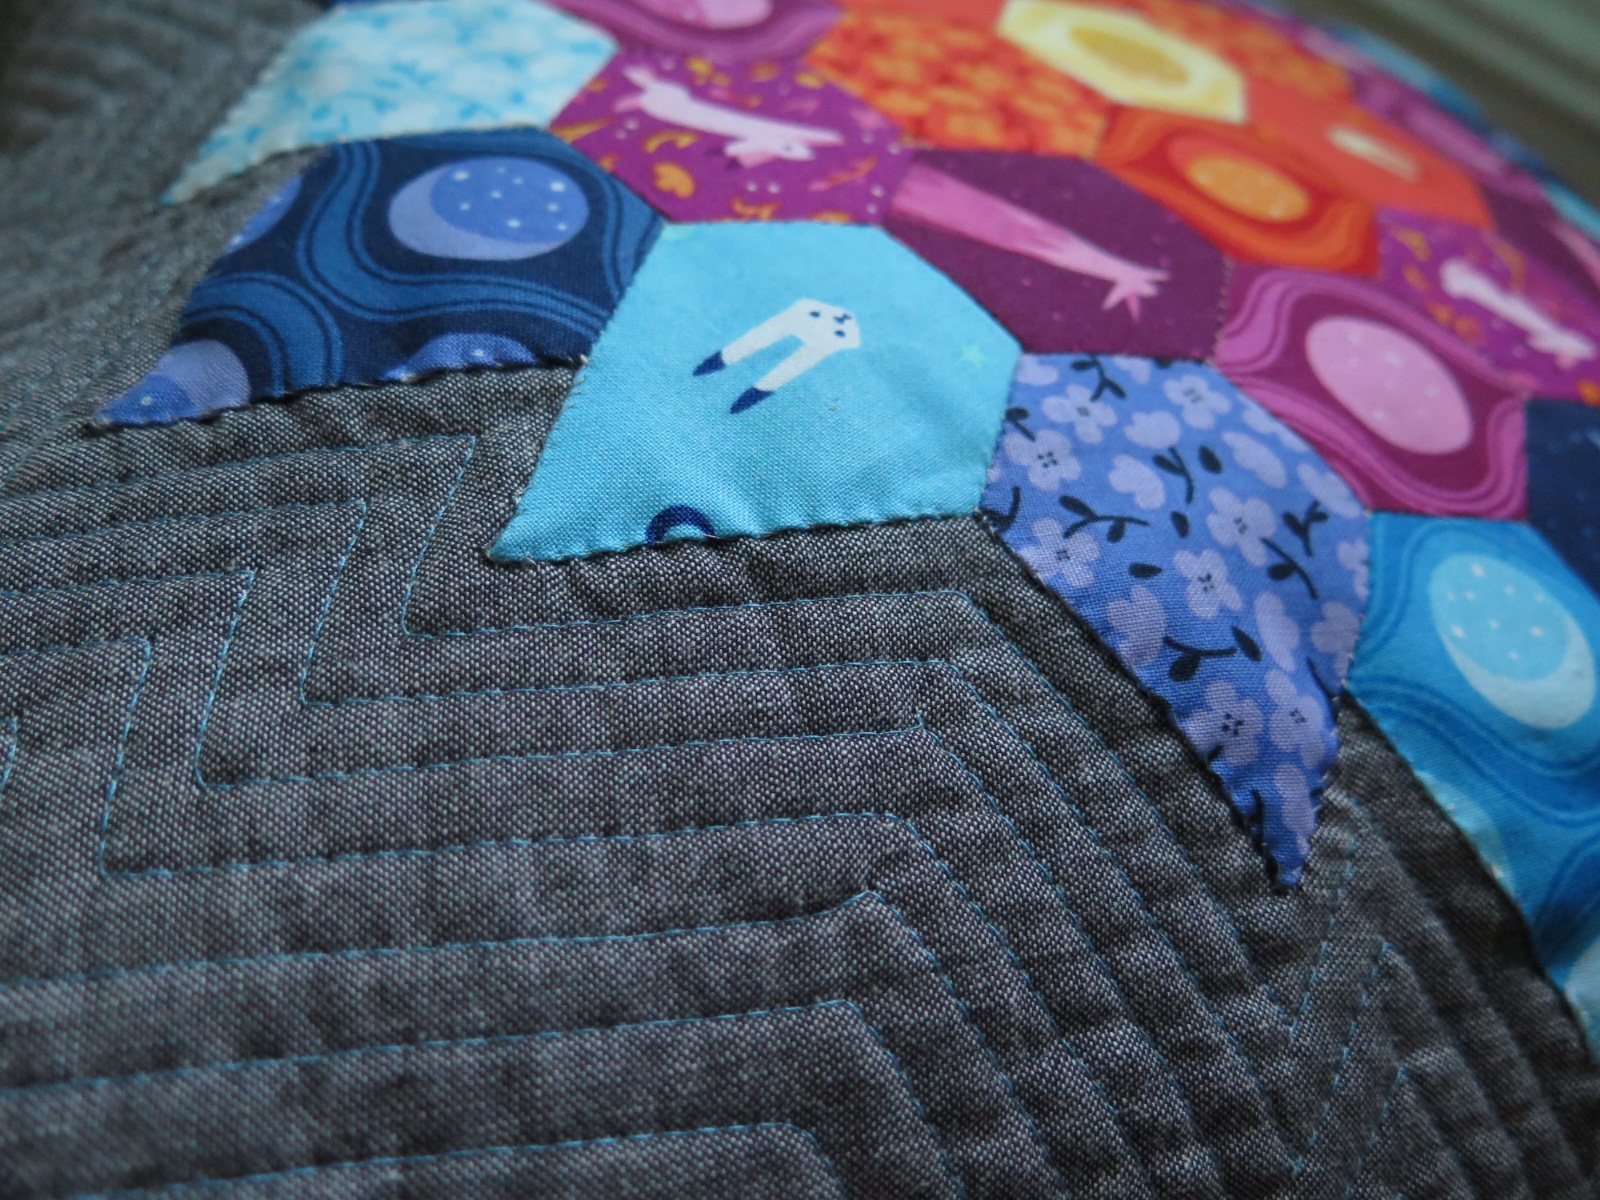
For the quilting, I just did some simple echoing lines. I used my BERNINA Reverse pattern foot #1D throughout the project, for quilting and to assemble the pillow. I started at the base of one of my jewels and went around and around. As you see on the bottom of the moon jewel, this is where I began my echo. Then I just buried that thread and continued around the perimeter of my pieced center.

For my fellow BERNINA sewists, I set my stitch length to 3.8 and placed my needle at position -3. And if you are lucky enough to have the BERNINA Dual Feed, be sure to use it!
I sewed each of my lines about 3/8″ of an inch apart. As I said, I started at the base of a triangle and worked my way up to the point, stopping about 3/8 of an inch from the top. Then I would lift the presser foot with the needle down, pivot my piece and sew down the other side of the triangle. When I was about 3/8″ from the bottom of the triangle, I lifted the foot again with the needle down, pivoted, so on and so forth. The process is a bit tedious but I think the effect is very rewarding. The angles that the jewel paper pieces create are just look so neat with the echo quilting.
When you have quilted the whole pillow top, square it up to 21″, being sure that your center medallion stays right in the middle.
Put aside the top for now and cut the pieces for the back of the pillow. We will create a slip cover for this project. For the bottom of the pillow back cut 16″ x 21″ and for the top of the pillow back cut 9″ x 21″. Starting with the bottom piece, press one of the 21″ sides over half an inch once, then again. Using a straight stitch, sew down the ironed fold. Repeat this step for the top of the pillow back.
Now to assemble the pillow.
Place your quilted pillow top down, right side up. Now it’s time to add the pom pom fringe! I only added the fringe to the sides of the pillow, but you could very easily follow these steps to put it all the way around. Place the tape edge of the fringe on the seam, the pom poms facing toward the center. Make sure you have enough to cover the length of the side seam.
On top of that place the top of the pillow back, right sides together, unfinished side of the seam facing you. The seam should point toward the bottom of the pillow. The bottom of the pillow back goes on top of that, unfinished side of the seam facing you with the seam pointed to the top of the pillow.
Carefully pin the sides of the pillow.
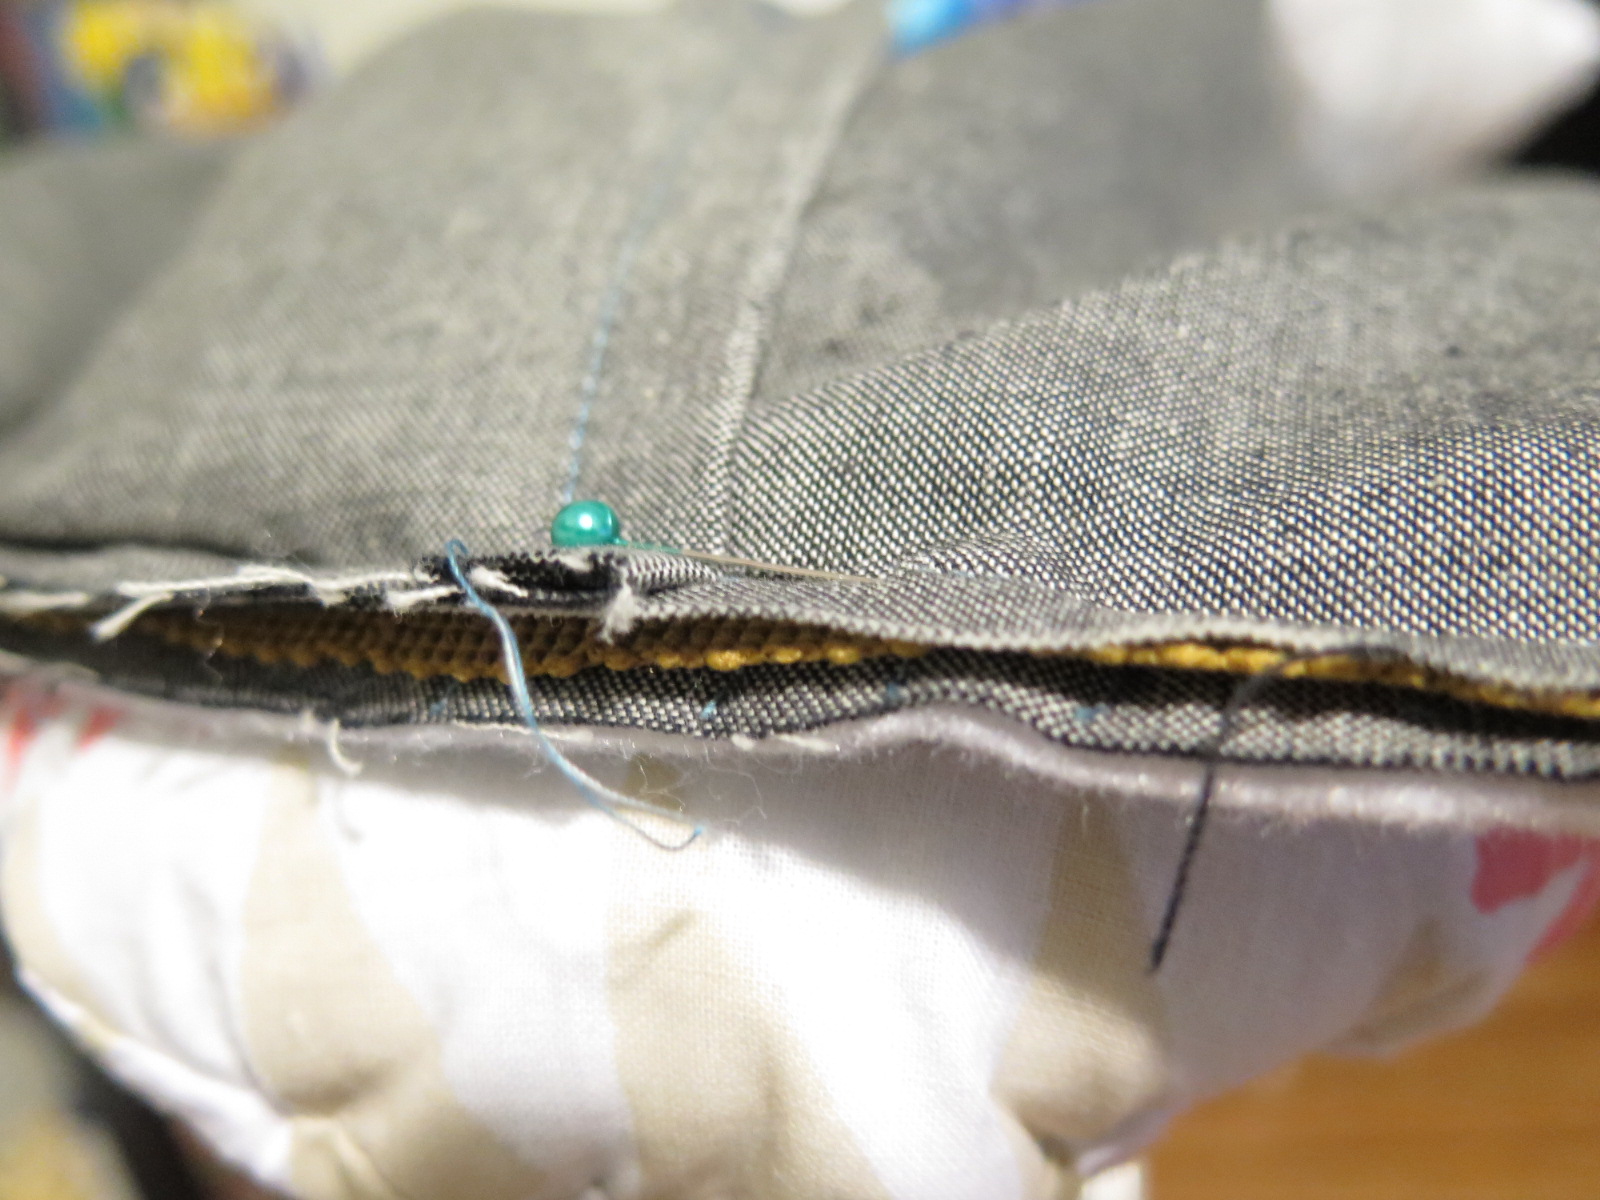
To sew the side seams, I moved my needle as far left as it would go. I sewed down the length of the side, pressing the foot up against the pom poms. This is a good way to make sure that the tape of the pom poms disappears into the seam. It gave me just under a 1/2″ seam.
Before pinning and sewing the top and bottom of the pillow, I recommend flipping your project to make sure that your pom pom tape isn’t showing through the seams. Once you have done this, flip the pillow inside out again and sew a 1/2″ from the edge along the top and bottom.
I trimmed back my seams to about 3/8″ all the way around before turning the pillow right-side out. You could zigzag stitch the seams on the inside if you’d like. I would certainly suggest that if you were planning on washing your pillow covers often.
Then I ironed the pressed the seams, put my pillow form in, and that was that!
I hope you found this tutorial fun and helpful. Please let me know if you have any questions in the comments below.
Happy sewing!