Half-Square Triangles with LUKE Haynes
I have been making quilts for 10 years and only in the past few have been learning anything about traditional patterns and how they add such panache to quilts if done intentionally.
I want to show you how I sew half square triangles and the methods [and pitfalls] of how to put them together into just one of the myriad of possible blocks using them.
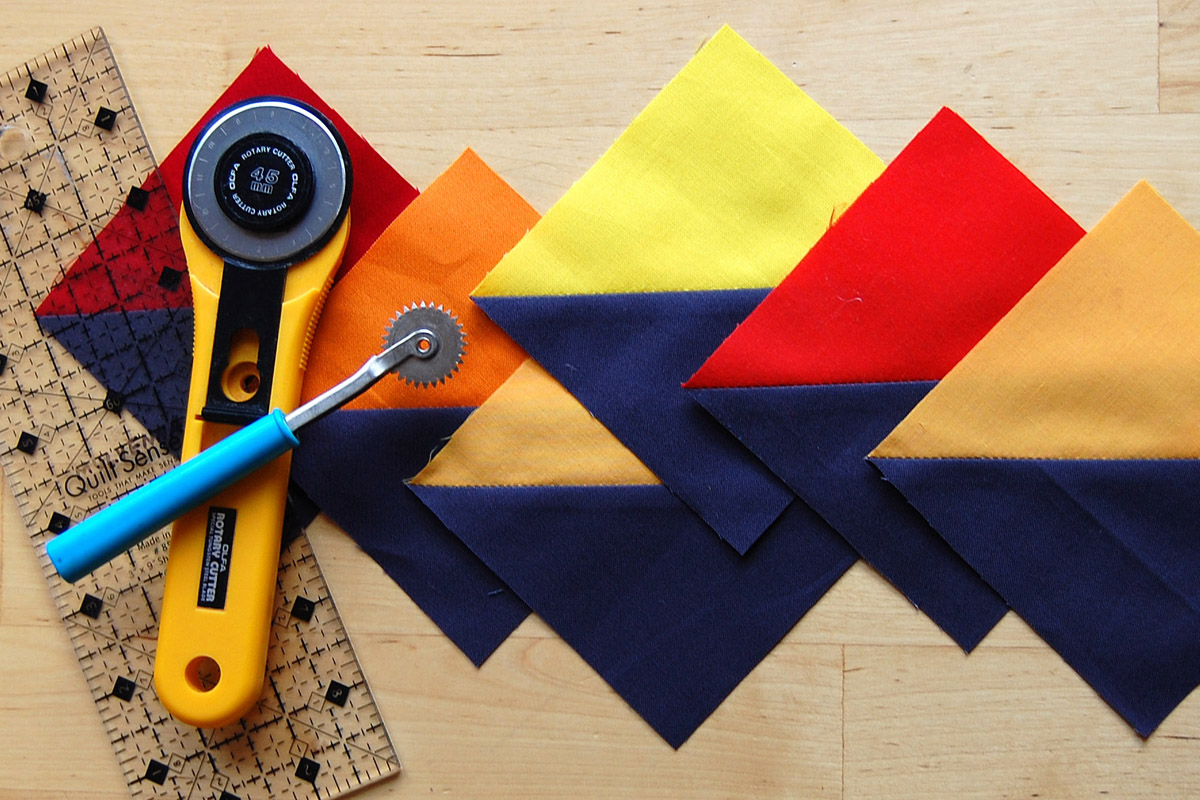
What I start with is strips.
So…cut strips:

We are using 3″ strips in my studio for this project but you can use any size you want depending on how large or small you want the finished project or the details to be.
Put the strips together face to face.

We are using fabric that doesn’t have a front side [aka the side with the printing if it has a blank side].
I trim one side of all my strips so I have a clean edge to work from.

Then start sewing.
Here is where the MOST IMPORTANT PART to pay attention to comes in.
Make sure your seam allowance stays the same!!
Try of course to keep it at 1/4 inch to be quilting standard, but WAY more important is that it is consistent. I can’t tell you how many times I have helped people who are having trouble matching corners just to find out that it’s their seam allowances causing the problem.
Use the side of your presser foot.
Your machine will have feet available in many sizes.
Place one strip on top of the other so the sides match and the trimmed top matches.
Sew down one side top to bottom.

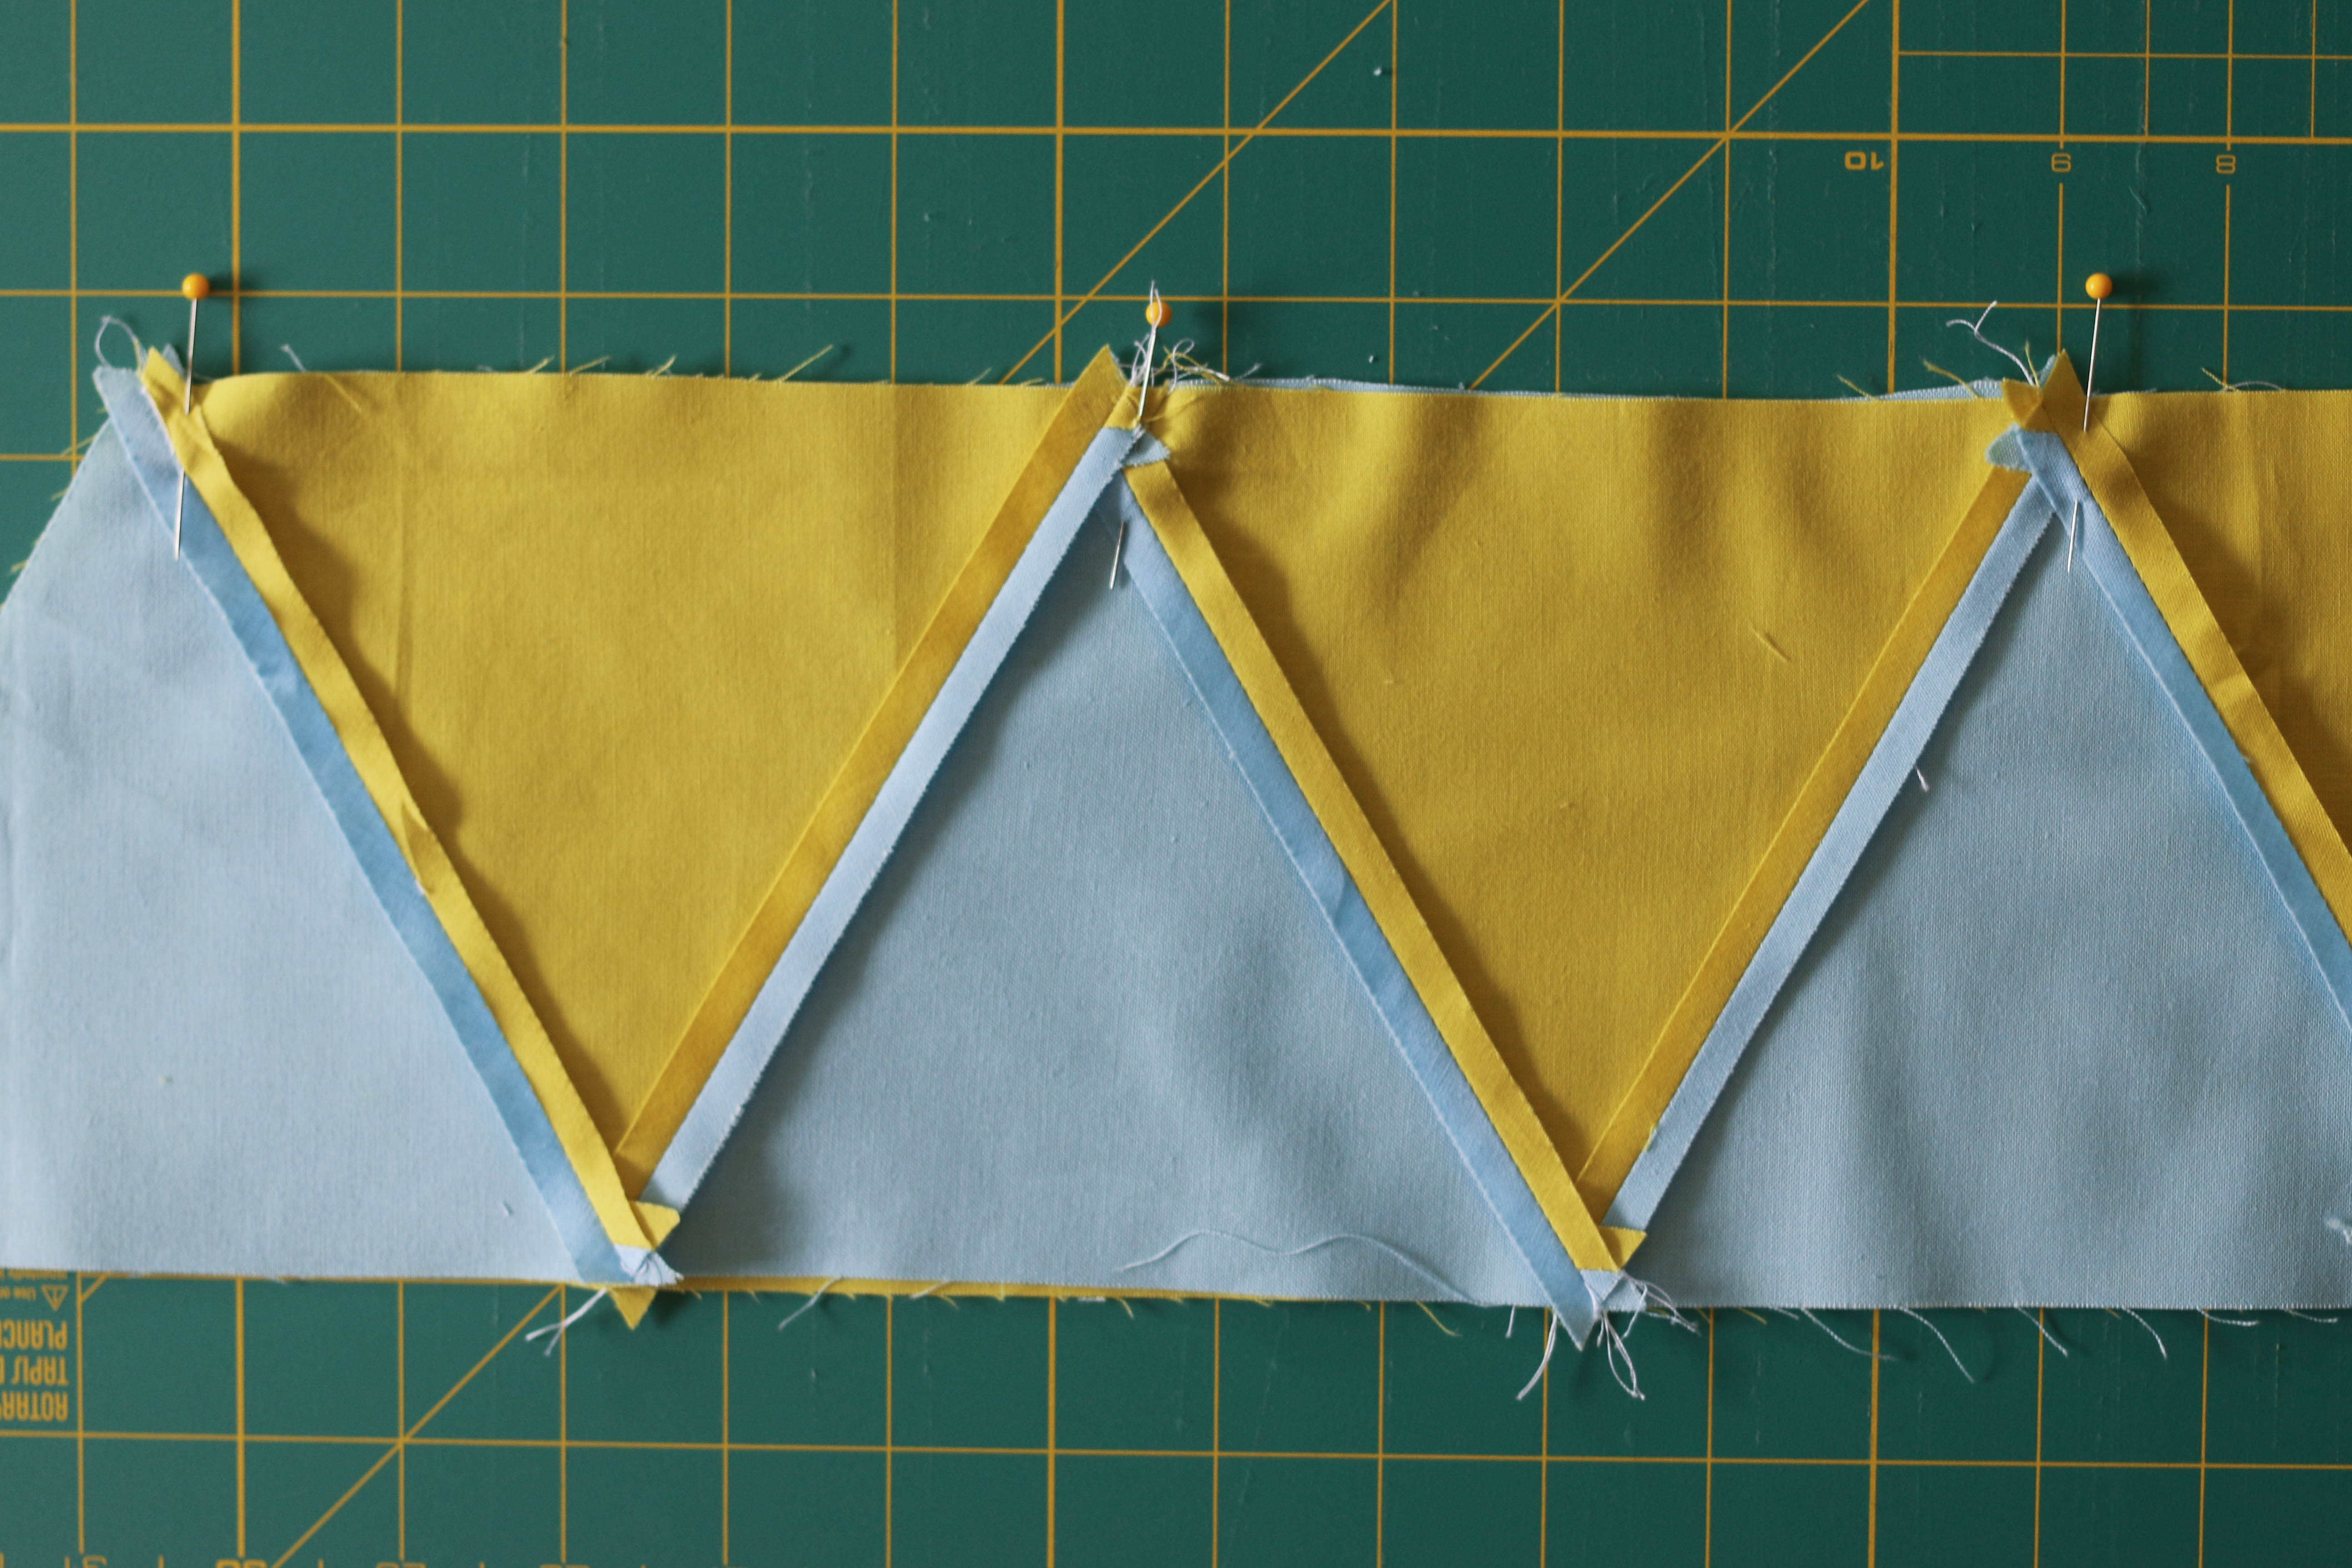
Once you have sewn all the way down stop and flip the piece over and start on the other side from that same top point…

…and sew all the way down again so you have made a tube in essence.
Here is where a little finesse comes in, not too difficult, but it takes a little trial and error.
I use a clear ruler to make these cuts, but you can use a die cutter or the lines on your cutting mat.
Take your clear ruler and find the 45 degree mark.

Line up your strip of sewn pieces to one of the horizontal lines of your cutting mat. Then line up your ruler to a line below it with the 45 degree line.

Make a cut to start the process.
Now pivot the ruler 90 degrees so the other 45 line is on that same line on your cutting board. [Some rulers only have one so you will have to flip it over.]
In essence you are cutting triangles with the sides at 45 degrees, 90 degrees, and 45 degrees.
No need to remember that except if you have a math brain like I do.
SO now what you need to do is to scoot the ruler down with that 45 degree mark on the line till the ruler lines up with the stitch line. NOT with the edge of the fabric.

This makes the magic work.
It also cuts your corners for easy sewing later

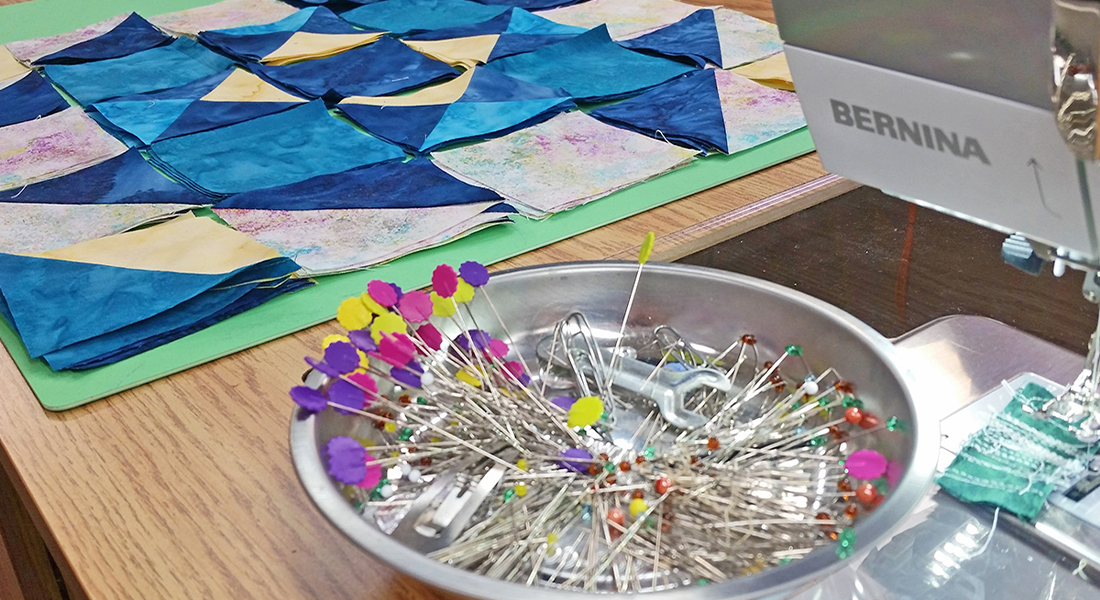
Once you get comfortable you can cut several layers of this at once.
Flip open the blocks. Now you have a pile of half-square triangles ready to sew for any project your heart desires.
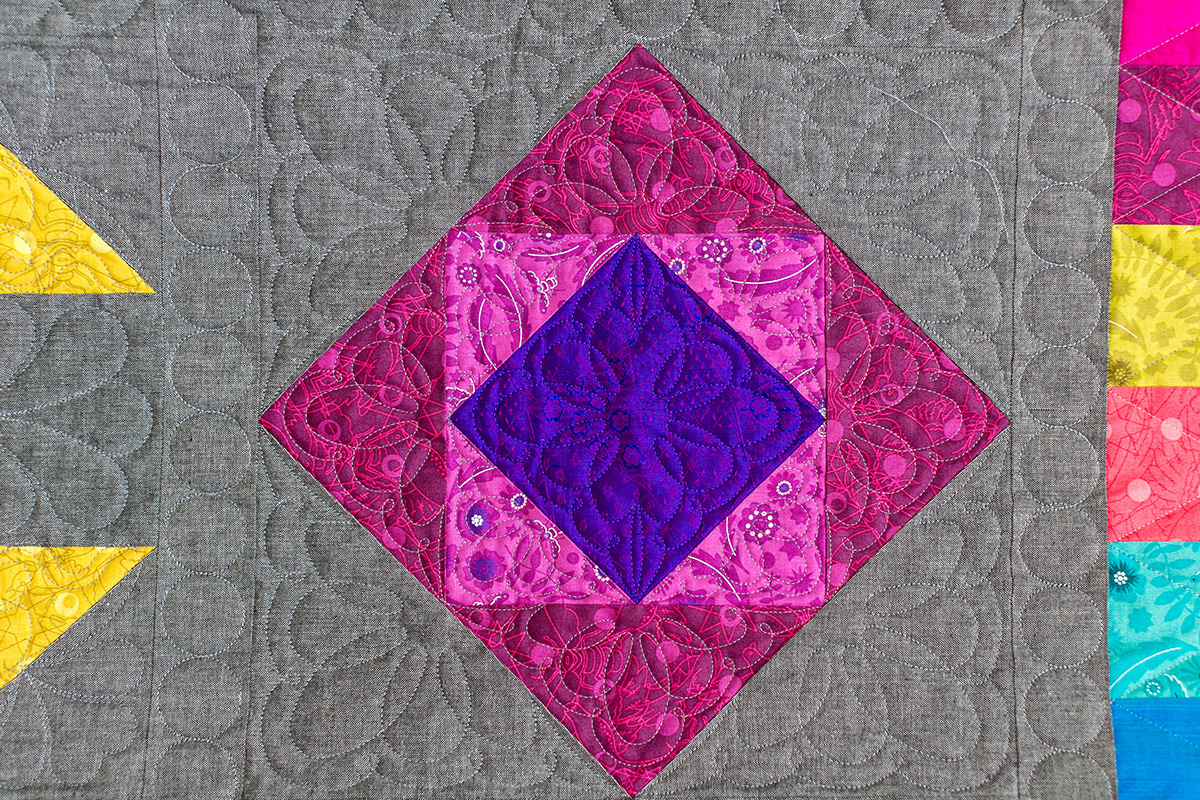
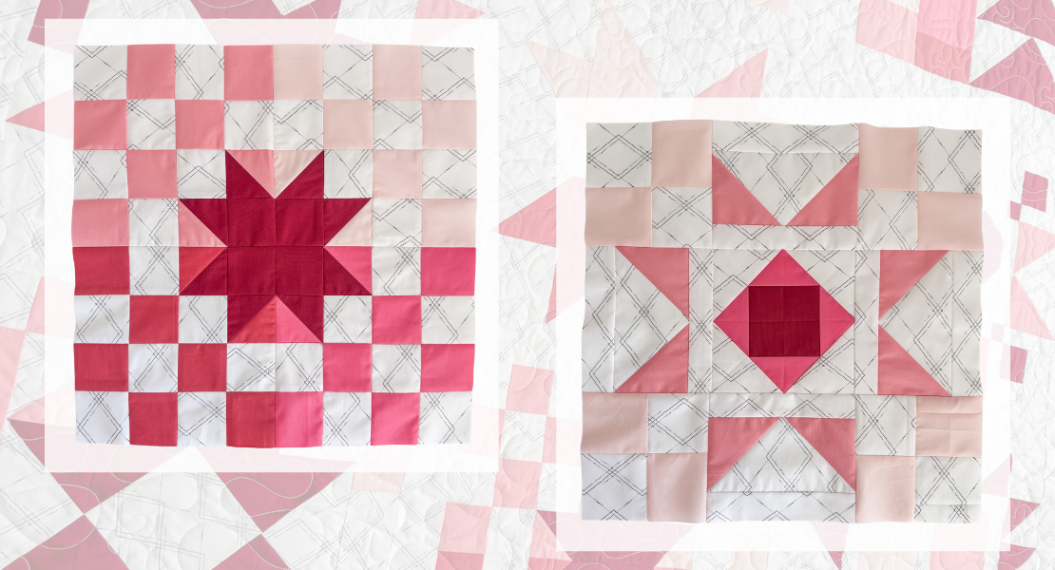
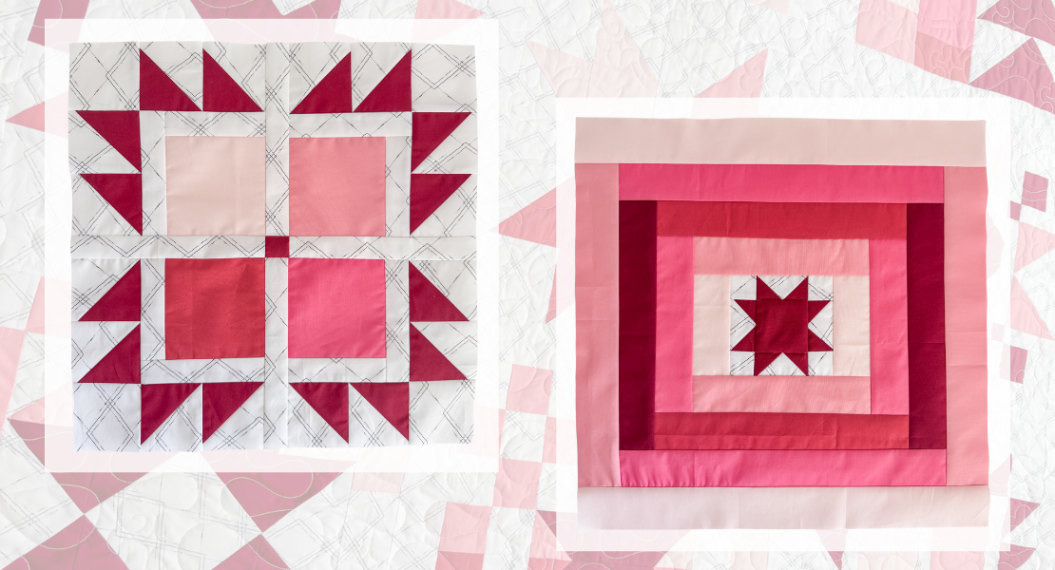
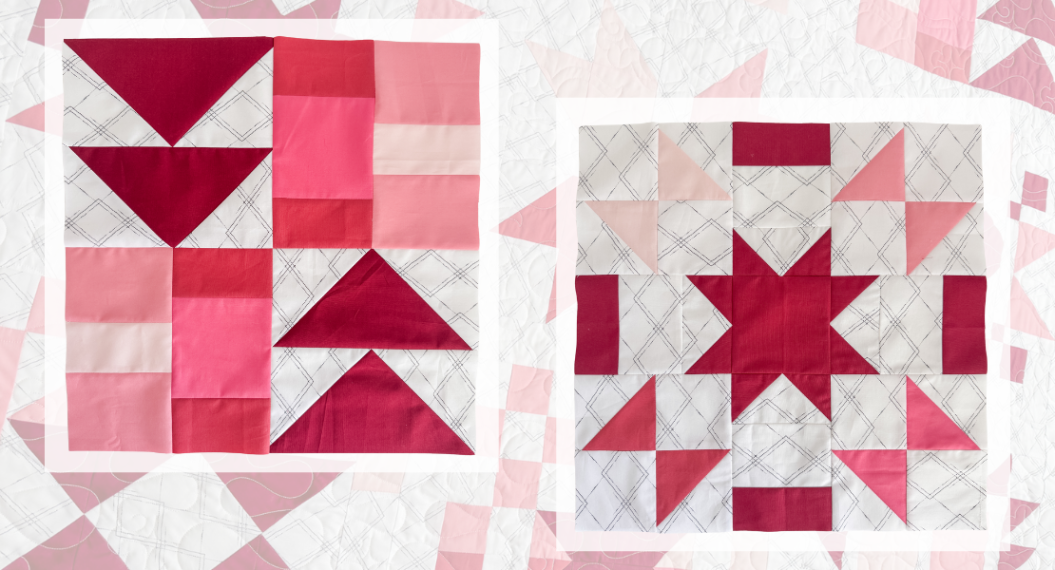
What we are going to do today is a block called “Dutchman’s Puzzle.”
We will need 16 half-square triangles.
This block will allow us to try our hand at a few of the important things about sewing triangles: corner matching and what they call “serial sewing.”
Take two squares in your hand [or lay them out till you get the hang of it].

We are matching them together like a mirror.
Place the right one on top of the left and flip it like a sandwich – we are going to sew the seam on the right side.
Match your corners.

Again this is important because it will make it clean for later usage.
Sew these in a serial method, meaning don’t cut the thread after each seam.

This saves a lot of time and thread. You dont have to start a seam from scratch each time, you can just pull the last one and help guide the next one through.
Once you have sewn all them in this method cut them apart.
We are using 8 pairs for this block.

Here is where we get to play with corner matching.
You don’t have to do it this way, but learn it and then choose not to if you don’t want to rather than letting your skill level dictate your aesthetic.
I never thought I would say this…sigh… but here is where pinning really helps. I held out for a very long time till I realized the help that I got from this simple maneuver.
We are using the pin to match the seams so when it’s finished it lays flat and the pieces match up and the eye flows around the quilt.

Match the corners to the bottom of the second piece [note the layout in above].
Pin it slightly after the seam so there’s not so much material to get through.
Back to the sewing machine.
Sew it with the corner piece on top [the piece that comes to a point in the middle towards the seam].
This allows us to watch the sewing machine as it hits that corner and guide it to perfection.

Watch that needle and make sure it hits EXACTLY on that cross of the seam from our first seam. That way when its folded out it will be super sharp.
Do that for each of the pieces. Follow the layout you have made on the board till you get the hang of it.
I sew them all in pairs of two and then turn them appropriately, since there is not a need to sew them differently.
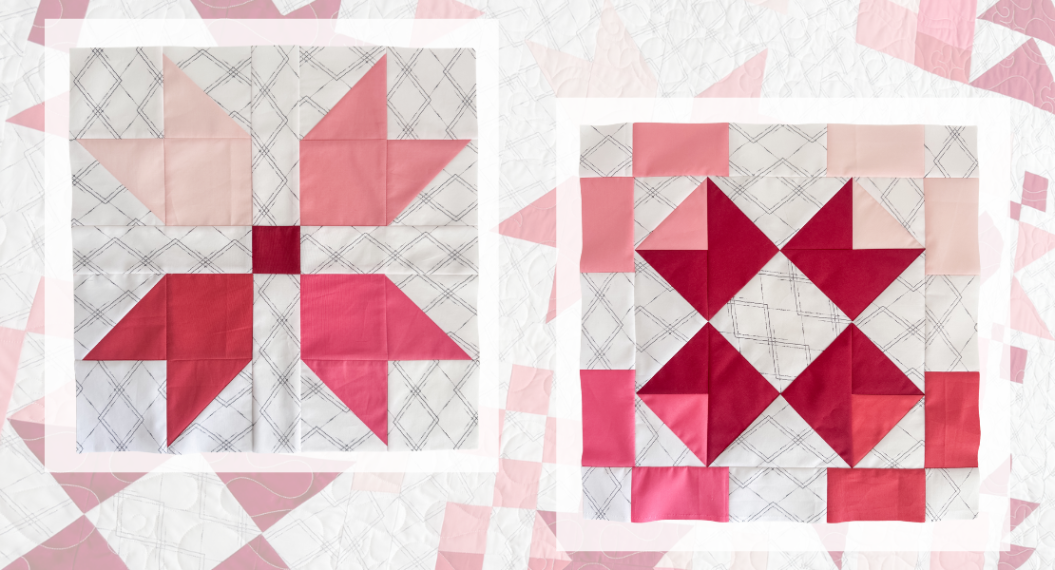
We are using the method where the points turn in towards the center to form a center diamond.
Once you have sewn the pieces together into the block, trim the sides.

This will make the final quilt lay flat. Measure the size the block should be and trim it down so they all match.
DONE

I actually have a quilt top made out of these on the wall behind my work table right now.

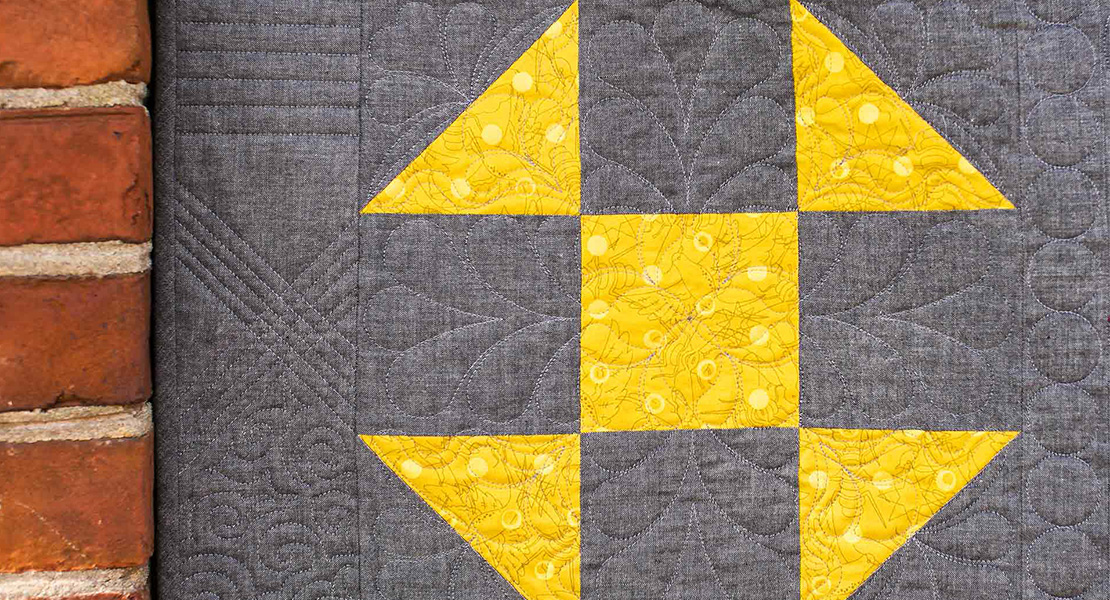
The simple half square triangle can be used in SOOO many ways to create interesting patterns and to add interest to your quilts.
Take a gander over at the “Quilt Index” to see what others historically and currently are doing with it.
Good luck! Thanks for playing!


What you might also like


2 comments on “Half-Square Triangles with LUKE Haynes”
-
-
Pingback: WeAllSew « https://weallsew.com
Leave a Reply
You must be logged in to post a comment.

Refreshing how Mark uses layman’s (LOL) terms to describe his process here so that someone can work right from these instructions instead of having to also refer to other tutorials for definitions of terms and phrases like “right sides together” and “chain-piecing” which would have been used in a “standard” tutorial about HSTs.
I also like how he is so meticulous about his sewing, but he cuts woven plaids off grain! Fun! And hard to get points to match, so it’s impressive also!