How to Make a Churn Dash Quilt: Part 4
Welcome to the final week of our Churn Dash Quilt-Along with Amy Smart!
To see previous posts click below:
We’d love to see what you make! Amy has a Flickr group where you can post photos of your work-in-progress and finished quilts. CLICK HERE to take a peek!
Week 4) Finish your Churn Dash quilt.
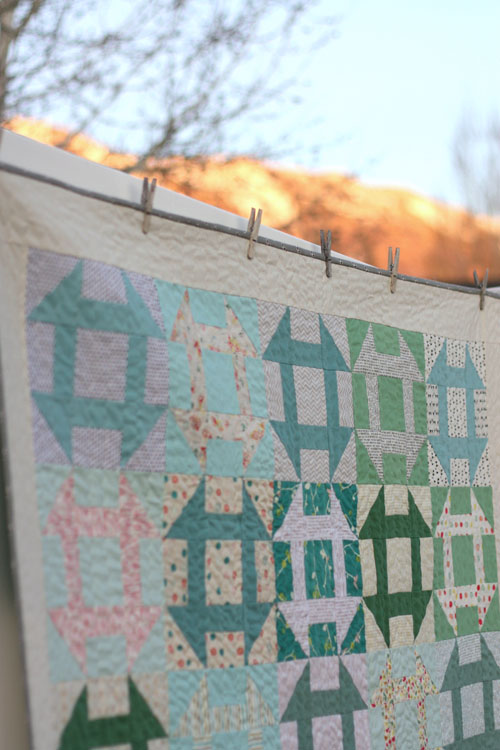
Today we will discuss finishing the quilt including quilting and binding. This is where we sandwich a layer of batting between the quilt top and the backing. I’ve written more about choosing between different types of batting HERE.
Baste the quilt layers together.
Basting the three layers together is a very important part of the quilting process. It seems tedious, but doing it carefully will result in a professional-looking finished project. Basting is a way to temporarily hold the three layers together while you “quilt” – stitch through all three layers to hold them together. It is very important that all three layers are smooth and wrinkle free. Iron each layer before basting.
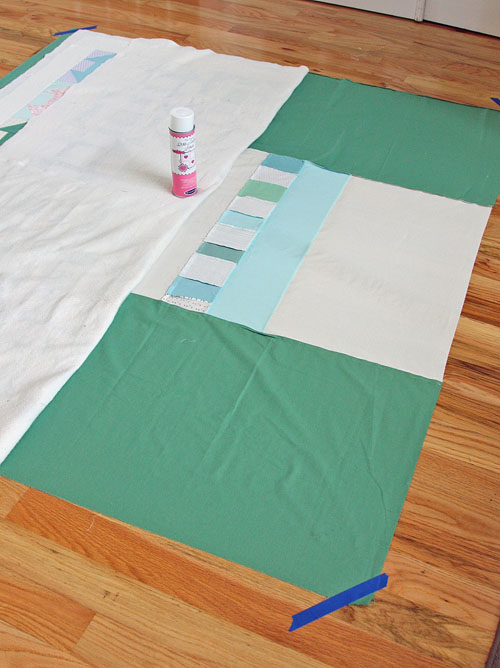
Create a quilt back at least 3″ bigger all the way around than your quilt top. Lay the back on the floor face down. Carefully pull the fabric taught (but don’t stretch it) and tape it to a hard, flat surface.
Trim the batting so that it is slightly smaller than the quilt back. Smooth the batting and lay your quilt top over the batting. I like to press these layers together to get all the wrinkles out. Doing so also helps the quilt top adhere slightly to the batting. When top and batting are smooth and flat, carefully roll the two together.
Bring the top + batt unit to the quilt back and carefully unroll it, centered on top of the backing, smoothing all wrinkles as you unroll. Make sure you can see backing fabric around all four edges of the quilt top.
I like to use a little bit of basting spray to hold things together and then secure with LOTS of safety pins. (Do you have to use both? No. I just like to cover my bases. There are definitely lots of methods for basting a quilt.) Here’s how I do this: Roll aside one half of the quilt top and apply a thin layer of basting spray, and then roll quilt the top + batt back in place, smoothing everything flat. Roll other side back, spray adhesive lightly, and smooth second side back in place.
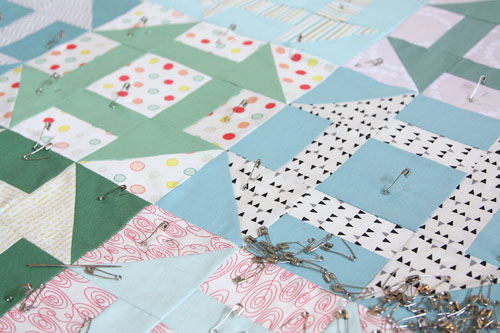
Apply safety pins generously. Using special bent basting safety pins will make things so much easier. Start in the middle and work your way out in all directions.
Tip: I wait until after I pick up the quilt from the floor to close all the safety pins. This seems to make the process go a lot faster and saves some of that time on my knees.
Check the quilt back to make sure things are tight and flat. If there are puckers or excess fabric, now is the time to fix these problems. If the fabric is loose when you start quilting, there will be tucks or puckers in the quilting. There is no way to adjust the back once you start sewing without a lot of headaches or time with the seam ripper. (However, using a busy, patterned fabric for the back will help hide any small mistakes.)
Sew the quilting stitches.
There are many options for machine quilting. The first is to let the seams and fabric designs themselves be your guide. Sewing along the seams is called “quilting in the ditch” and works great. If you want to create more visual interest in the quilt you can stitch lines or patterns in other directions.
[machine-quilting-settings]
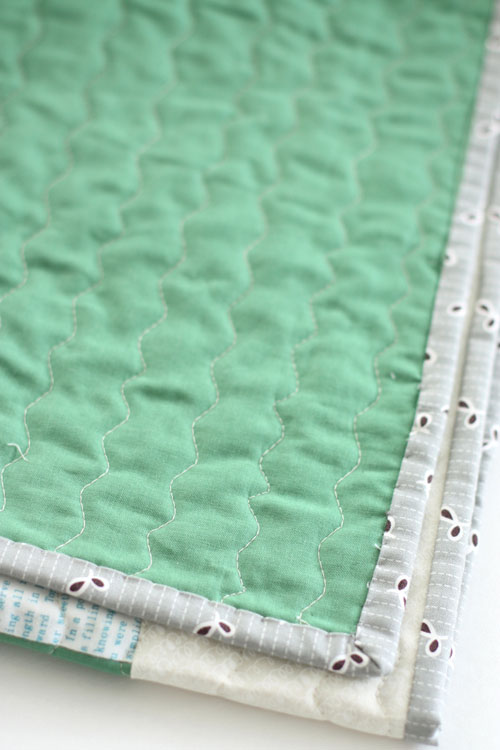
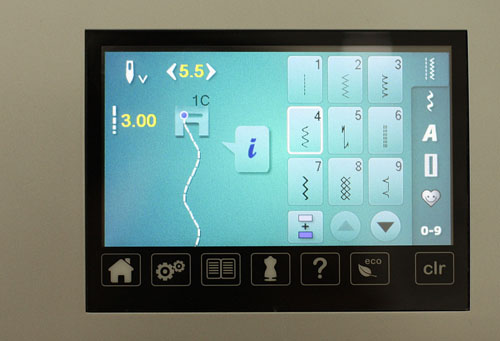
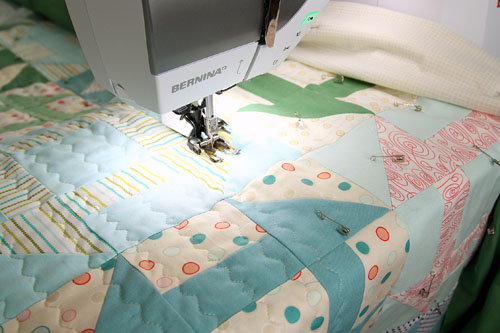
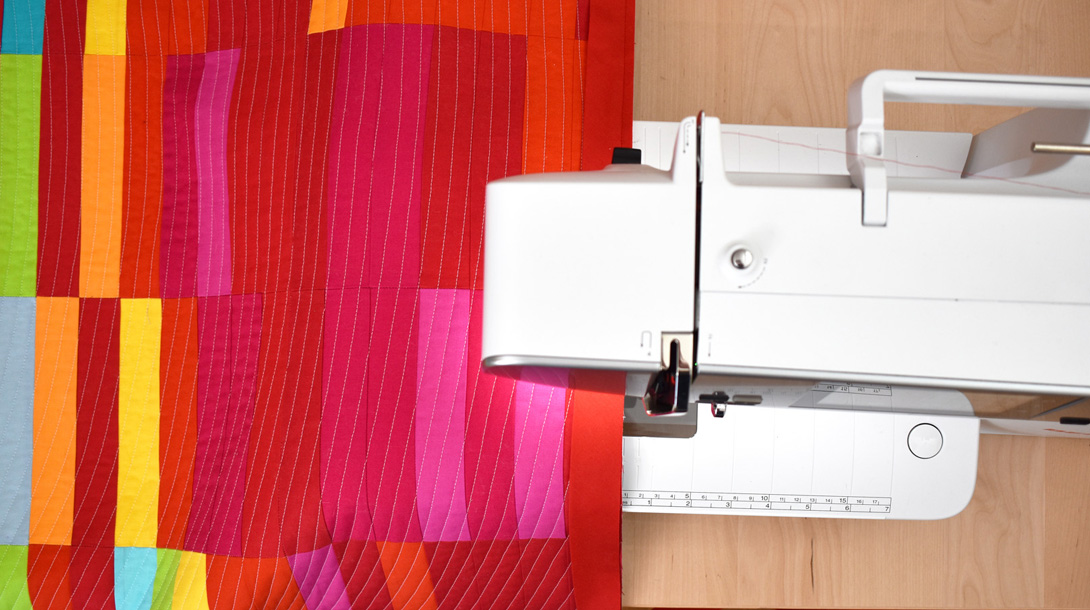
For this project I am using the running stitch – Stitch #4 on my machine – a fairly standard stitch on most sewing machines. I set my stitch width as wide as it would go (5.5 mm) with a length of 3 mm (but you could go slightly longer.) This is a fun alternative to straight-line quilting, giving the quilt the feel of something that has been done using free-motion quilting, but with a little more control if you’re a newbie.
Roll the sides of the quilt in so that you can fit your quilt inside the throat of your machine. (One of the things I love about my BERNINA 710 is the huge throat space!) I quilted this whole quilt only with vertical lines. Starting at the top in the center of the quilt, stitch down the whole length of the quilt. To help keep the back smooth, alternate stitching directions on the quilt (don’t always start stitching from the same end of the quilt). Working your way out from the center also helps prevent tucks or wrinkles.
Tip: If you have a walking foot, I highly recommend using it as it will help feed the quilt evenly through the machine, preventing tucks or wrinkles.
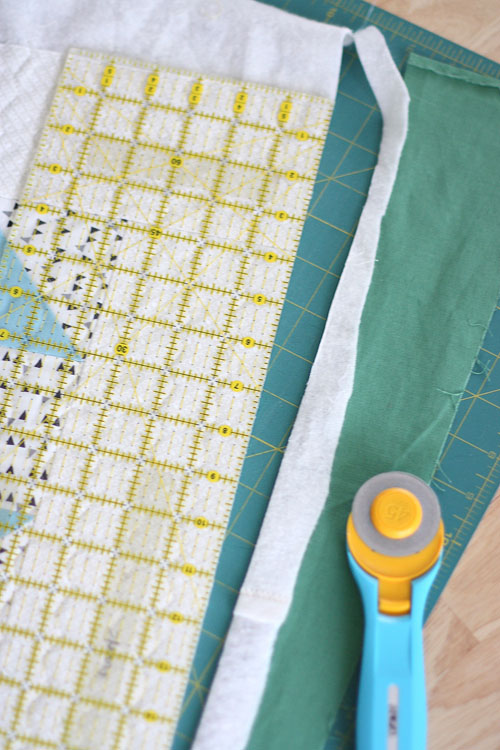
When quilting is complete, use a ruler and rotary cutter to trim the excess batting and backing, using the edges of your quilt as a guide.
Bind the edges.
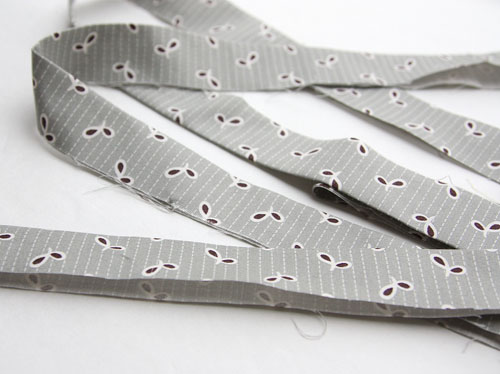
Carefully squaring up the fabric as you did when you cut borders, cut seven (7) strips 2-1/2″ x 44″ for your binding strips. (Cut nine (9) strips if you’re making a twin size quilt.) Trim the selvage edges and sew all strips together end to end to create one long strip. Press the seams allowances open. Fold the strip in half lengthwise and press.
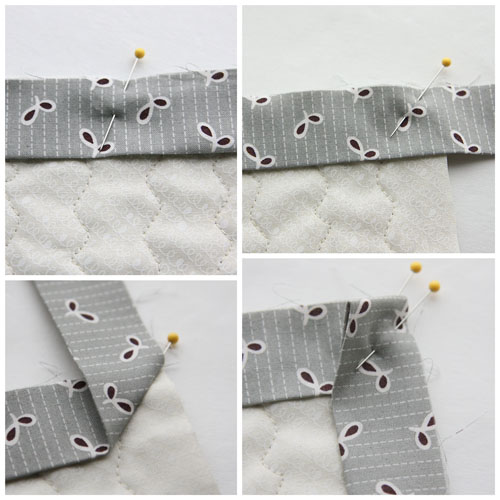
Starting in the middle of one side, pin the binding to the unfinished edge of the quilt front, matching raw edges. When you come to the corner put a pin in at a 45° angle. Fold the strip up at that same 45° angle and then fold it back down with the fold flush against the top edge of the quilt. Continue pinning the binding strip to the next side of the quilt, folding each corner in the same way. This will create a little triangular “flap” in each corner.
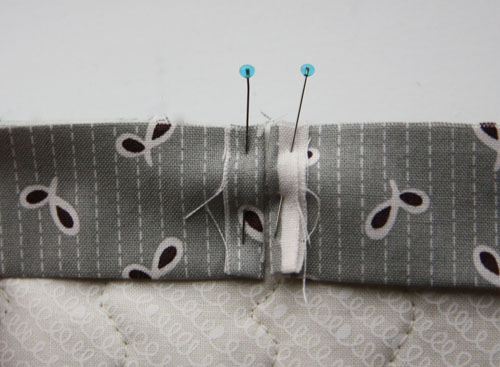
When you’ve pinned the strip around the quilt and back to the beginning, fold the ends down so that the strips meet. Press with your iron to make a crease at both folds. Trim both ends to 1/4″ and sew the ends together on the crease. Press the seam allowances open and pin the remaining binding in place.
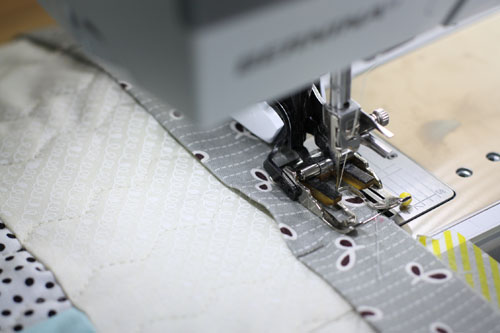
Using a walking foot if you have one, sew the binding to the front of the quilt with a 1/4″-wide seam allowance. When you reach the flap in each corner, sew to 1/4″ away from the edge, then lift the foot and the needle and rotate the quilt. Flip the flap down with the fold matched up with previous edge and start sewing the next side at the edge of the quilt.
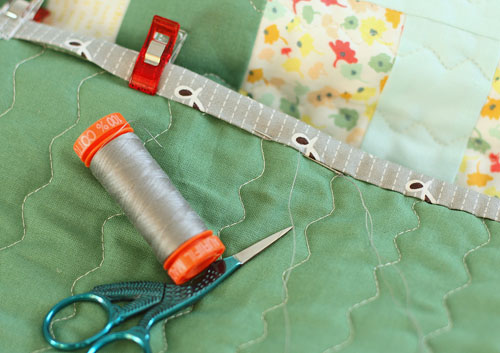
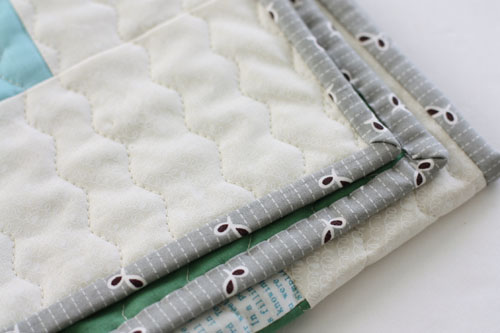
Fold the binding to the back of the quilt and hand sew it in place using a blind stitch in a coordinating thread. (
Tip: For more photos, details, and other options for binding a quilt click HERE.
I’m personally a fan of how clean the hand-binding method looks, but once again there are a whole bunch of binding options. Find the one that works best for you.
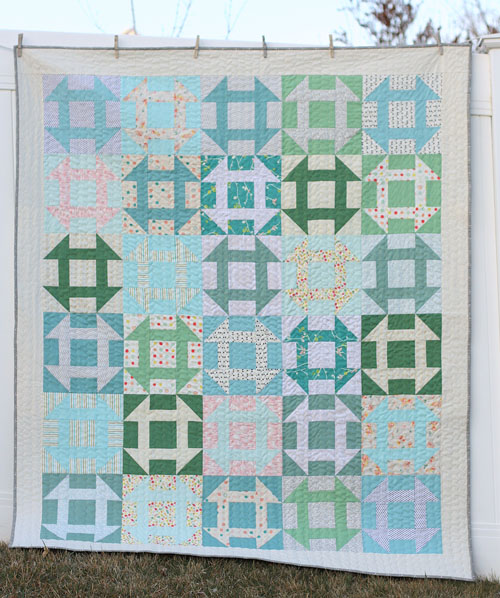
And that’s it! I hope you’ve enjoyed the process of creating this classic – but very versatile – quilt. I would love to see what you make with this quilt-along. Send photos or questions to me at [email protected] or stop by my blog – Diary of a Quilter – and say hello!
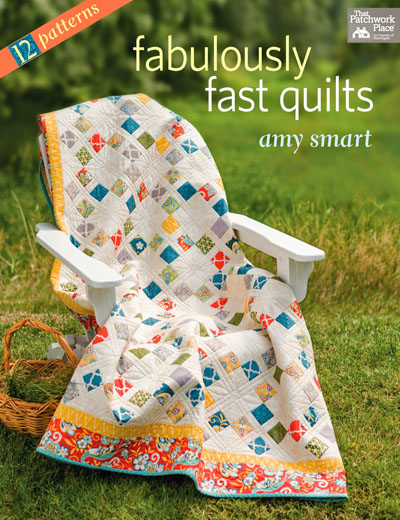
If you like this quick-to-sew Churn Dash patchwork technique , check out Amy’s new book – Fabulously Fast Quilts for more.
What you might also like
4 comments on “How to Make a Churn Dash Quilt: Part 4”
-
-
Hi, Mary – We don’t have a “Print” option (it’s on our wish list for the future), but you can print directly from the webpage. In the menu bar, click on File, then on Print Preview. Look through the pages to see which ones you want to print – you might not want to print comments – then print just those pages. Another alternative, if you want to more control over the text and images, is to copy and paste the whole article into a Word.doc, then adjust the type size, etc. before printing. Jo
-
-
Pingback: WeAllSew « https://weallsew.com
Leave a Reply
You must be logged in to post a comment.








is it possible to print directions