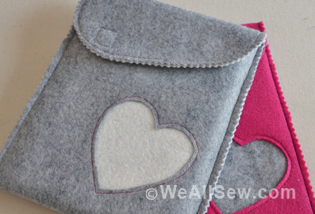
How to Make a Padded Phone Pouch
Here’s a quick and useful little project from Sue Bleiweiss, fiber artist, author, and new BERNINA Ambassador. Be sure to check out her website and blog and take a peek at her “coloring book fabric collage” technique.

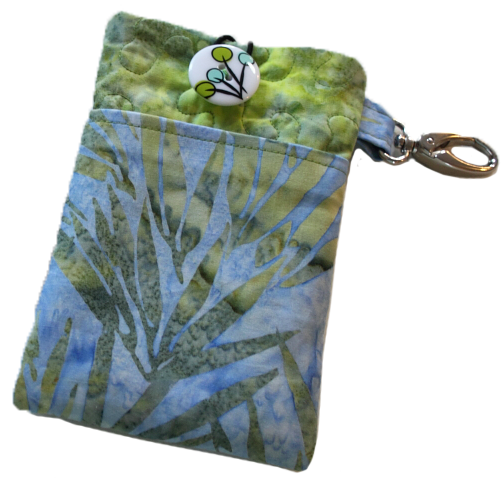
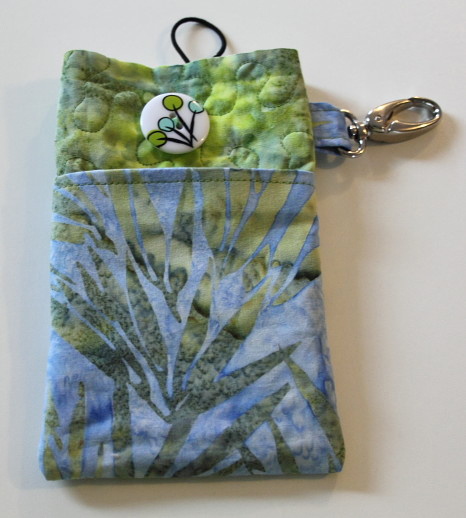
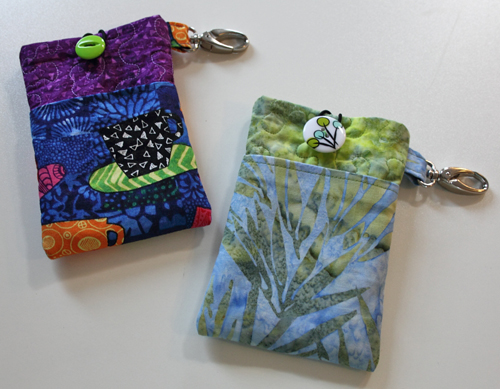
I created this iPhone pouch so that I wouldn’t have to carry my iPhone in my hand or my pockets when I’m out for my daily walk. Clip it to your hand bag and you’ll have easy access to your phone while you’re out running errands – you can tuck your “to do” list in one of the outside pockets of the pouch.
The measurements given are to make a pouch to fit an iPhone 5S in a hard case measuring 5″ x 2-1/2″; adjust the measurements if your phone is larger than that.
Supplies
- One 5″ x 13″ rectangle of fabric for the outside of the pouch
- One 9″ x 11″ rectangle of fabric for the pouch pocket
- Two 4-1/2″ x 6-1/4″ rectangles for the lining
- One 5″ x 13″ rectangle of quilt batting
- One 3″ x 5″ rectangle of fabric for the snap clip tab
- 1 small package of Mistyfuse® paper-less fusible
- 3″ of elastic
- 1 small button
- 1 snap clip
- Quarter-inch presser foot (BERNINA Patchwork Foot #37/37D)
- Your favorite free-motion sewing foot (such as BERNINA Free-motion Embroidery Foot #24 or the BERNINA Stitch Regulator)
All seam allowances are 1/4″ unless otherwise indicated.
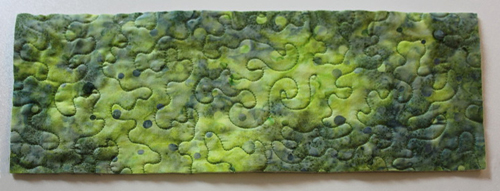
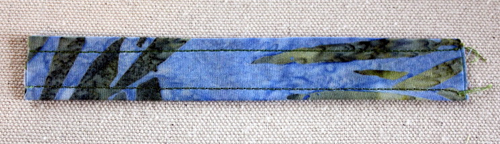
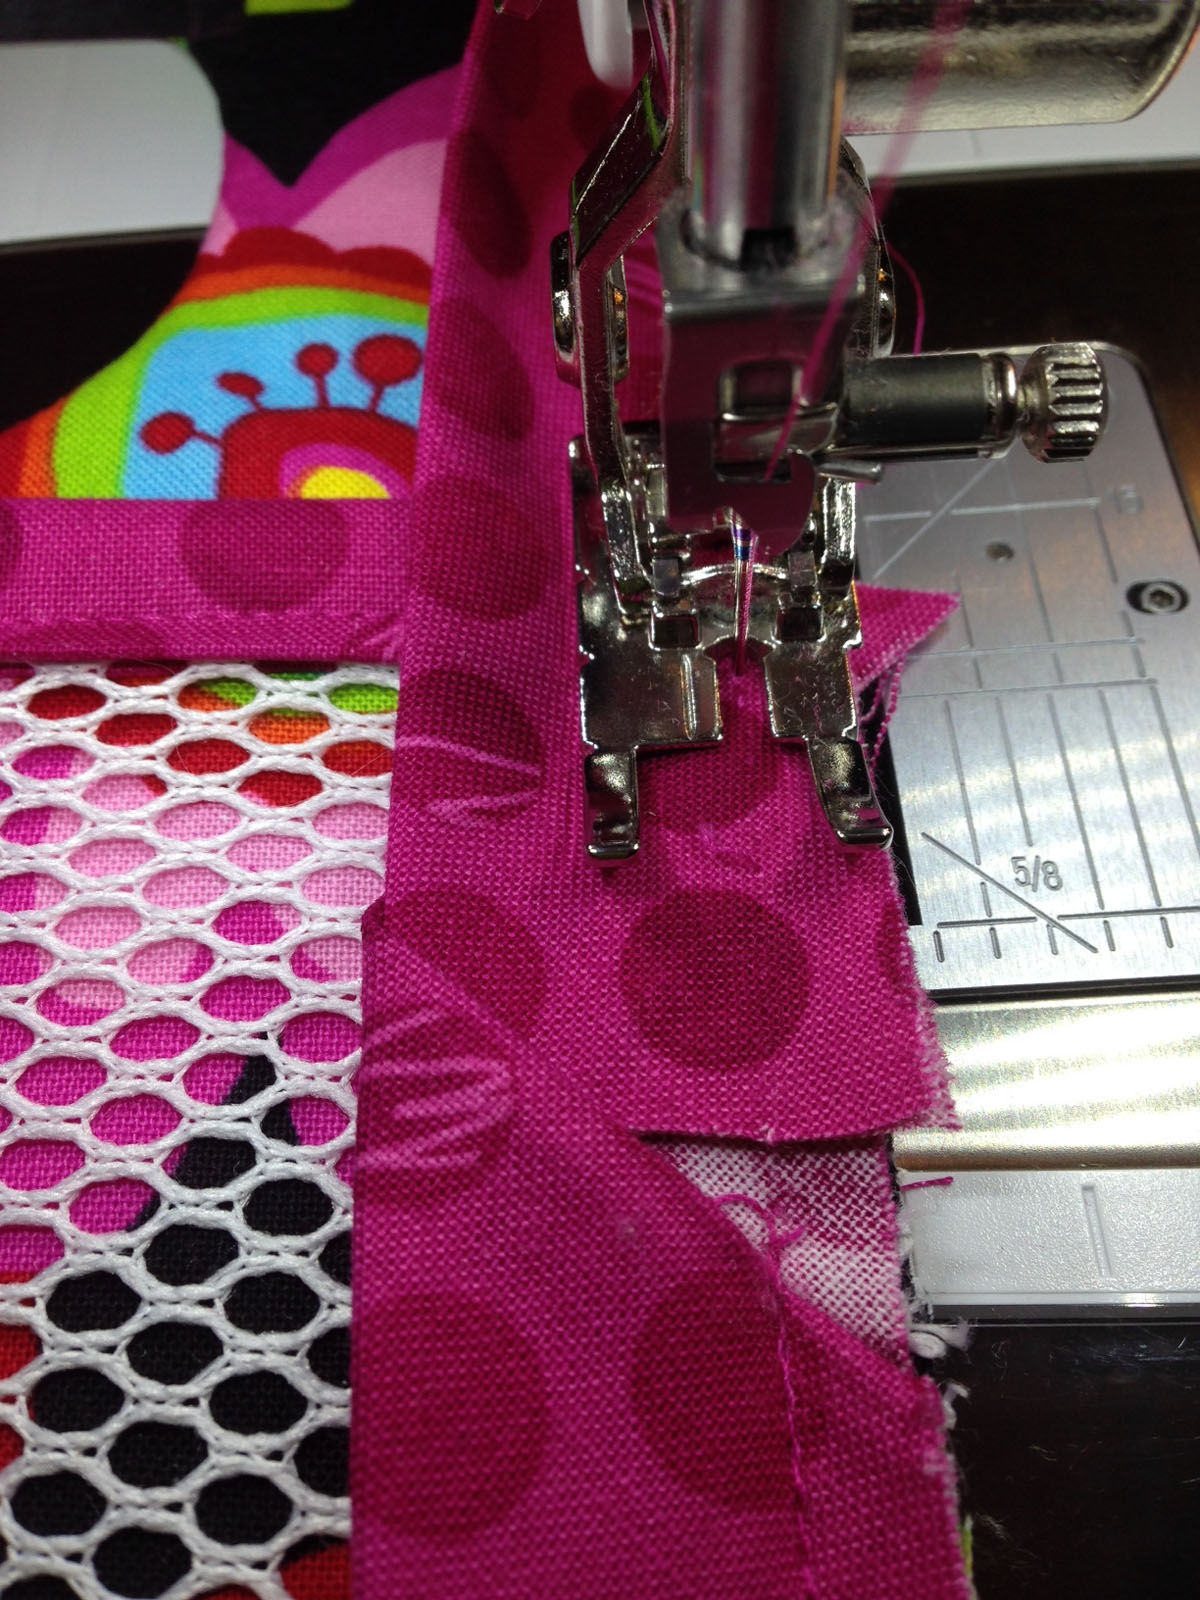
Step 1) Quilt the main pouch piece.
Fuse the fabric for the outside of the pouch to one side of the quilt batting. I like to fuse my fabric to the batting because it keeps it from shifting while I’m quilting it.
Set up your machine for free-motion quilting and quilt the surface using your choice of quilting stitch. I used a random meandering pattern to quilt mine.
Trim the quilted piece to measure 4-1/2″ x 12-1/2″ and set it aside while you prepare the pocket.
Free motion quilting tips:
- The key to successful free motion quilting is practice, practice practice!
- I keep a few small quilt sandwiches made from leftover fabrics near my machine to practice on before I start stitching on any project.
- Get comfortable before you start sewing and place the pedal where you can easily step on it without leaning off the edge of your seat.
- When you are stitching, relax. Keep your shoulders down and take your time.
- Just because you can run the machine at top speed doesn’t mean you have to!
- Remember that you don’t have to quilt the entire surface all at once and you can stop the machine at any point and reposition yourself and the fabric.
Step 2) Construct the snap clip tab.
Fold the 3″ x 5″ snap clip tab fabric in half lengthwise, right sides together, and press with a hot iron.
Open the fabric. With the wrong side up, fold each long raw edge into the center crease; press.
Then fold the piece in half again along the original crease to enclose all the raw edges.
Press the pocket well and then stitch 1/4″ away from each long edge.
Trim the tab to measure 2″ long.
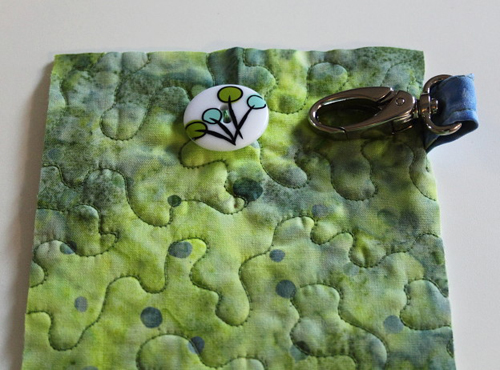
Slip the tab through the snap clip ring and then position it along the right side of the pouch, aligning the raw edges, and 3/4″ down from the top edge. Stitch about 1/8″ from the edge; you want to keep your stitched line inside the 1/4″-wide seam allowance so it will be hidden later.

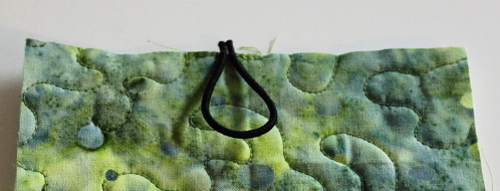
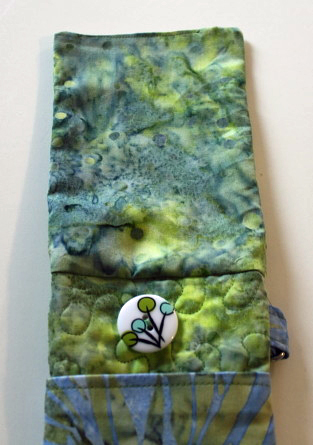
Step 3) Add the button closure.
Position a button to the front of the pouch, centering it between the long edges and keeping the top of the button at least 1/2″ from the top short edge of the pouch. Stitch in place.
Pin a 3″ piece of elastic to the other short edge of the pouch, centering it between the long edges. Stitch to secure, keeping your stitches inside the 1/4″-wide seam allowance.
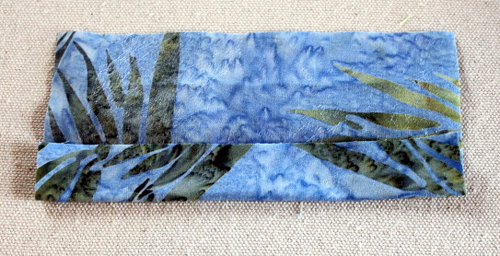
Step 4) Make the pocket.
To give the pocket more stability, I doubled the fabric.
Fuse a layer of Mistyfuse to the wrong side of the fabric and then let it cool.
Once it’s cooled, fold the fabric in half, wrong sides together, to create a piece 4-1/2″ x 11″ rectangle. Press it with a hot iron to fuse it together.
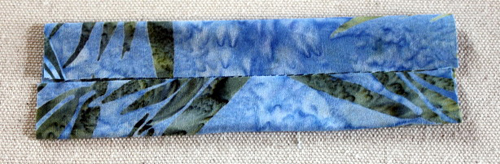
Fold down the short edges 1/2″ and press with a hot iron. Fold down another 1/2″ to enclose the raw edge; press the folds well.
Stitch the folds in place using a 1/4″-wide seam allowance.
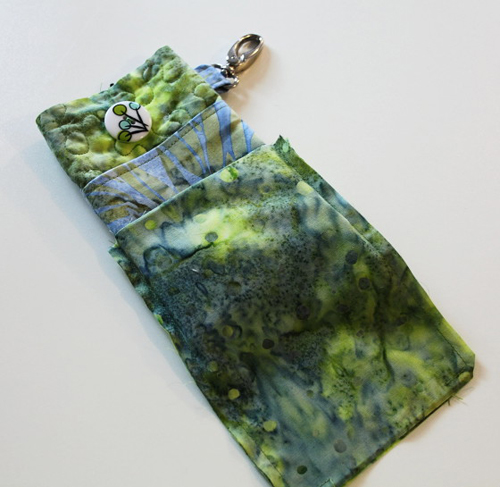
With the pouch right side up, place the pocket on top, also right side up, centering the pocket between the two short edges. Sew the pocket in place, keeping your stitches inside the 1/4″-wide seam allowance.
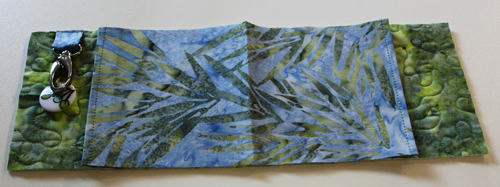
Fold the pouch right sides together. Sew along the two long edges using a 1/4″-wide seam allowance.
Turn the pouch right side out and set it aside while you make the lining.
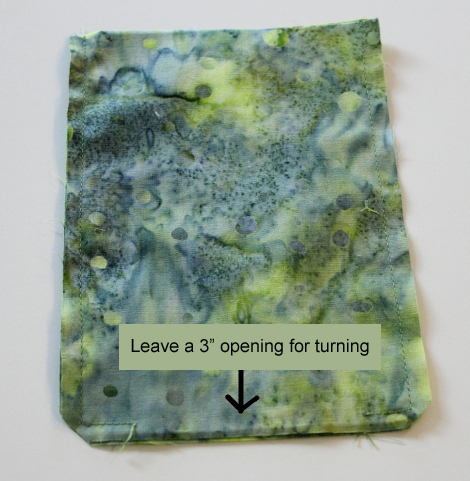
Step 5) Construct the lining.
With right sides together, sew the two lining pieces along the left, right, and bottom edges, leaving a 3″ opening along the bottom edge for turning.
Step 6) Complete the iPhone case.
With right sides together, slip the pouch into the lining, aligning the top raw edges.
Sew the pouch to the lining along the top edge using a 1/4″-wide seam allowance.
Pull the pouch through the opening you left in the bottom edge of the lining.
Sew the opening closed and then tuck the lining into the pouch.
Give the pouch a good press and slip your phone inside. Secure the phone in place by slipping the elastic over the button. Clip the pouch to your belt or purse and you’re done!


What you might also like


3 comments on “How to Make a Padded Phone Pouch”
-
-
Hi phlilly, there is no error in the pattern. There’s no reason to put a piece of fabric on the other side of the batting because later in the directions you’ll be adding a lining to the pouch. You could add one if it makes you more comfortable but that extra layer of fabric is going to add some bulk in the seams. Hope that helps!
-
Thank you. This is the second time I have adapted this pattern, and I really like it. I have an iPhone 7, and it was quite a task to enlarge the pattern pieces to work for it. I did add the extra lining piece behind the batting, as it keeps the batting out of my feed dog, and it is not really too bulky in the seams.
-
-
Leave a Reply
You must be logged in to post a comment.

Is there an error in this pattern? It talks about layering the main fabric piece for the outside of the pouch on the batting piece, and then talks about quilting the piece, but there is no mention anywhere of a similar piece of fabric on the other side of the batting. I have never quilted anything with just one piece of fabric and batting. Please clarify.