Lone Star Baby Quilt Tutorial, Part I
Hello friends! My name is Amy Smart and I love to share my quilting obsession on my site Diary of a Quilter. Wall or baby-size quilts are some of my favorite to make because they come together so quickly and I can finish and start a new project. (I have a short attention span when it comes to projects, so something I can make quickly is more likely to get finished!)
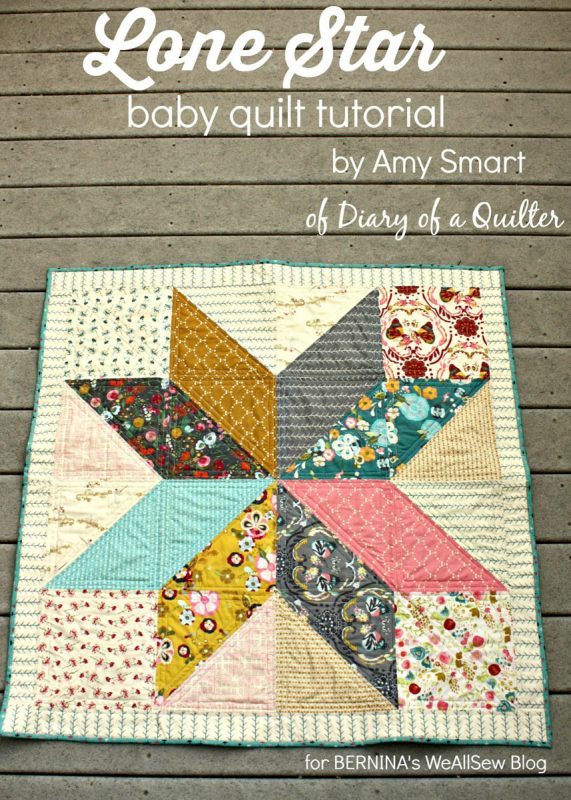
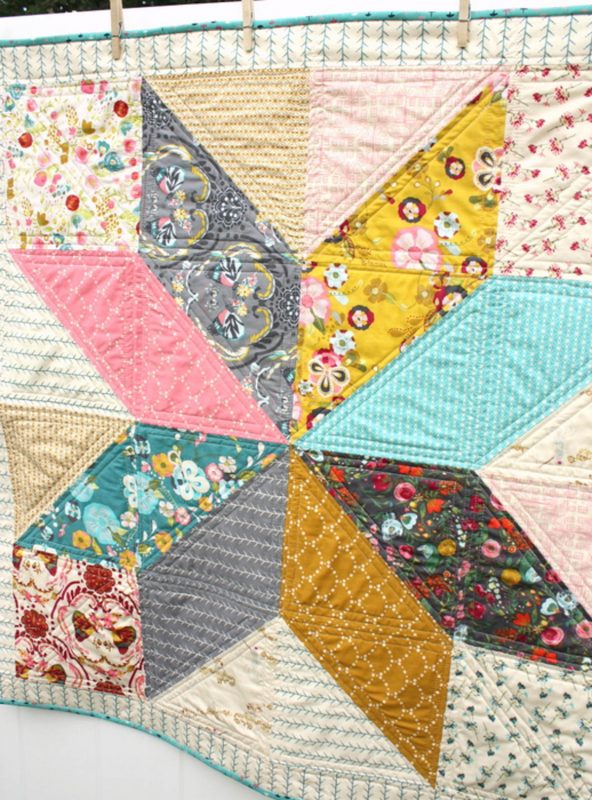
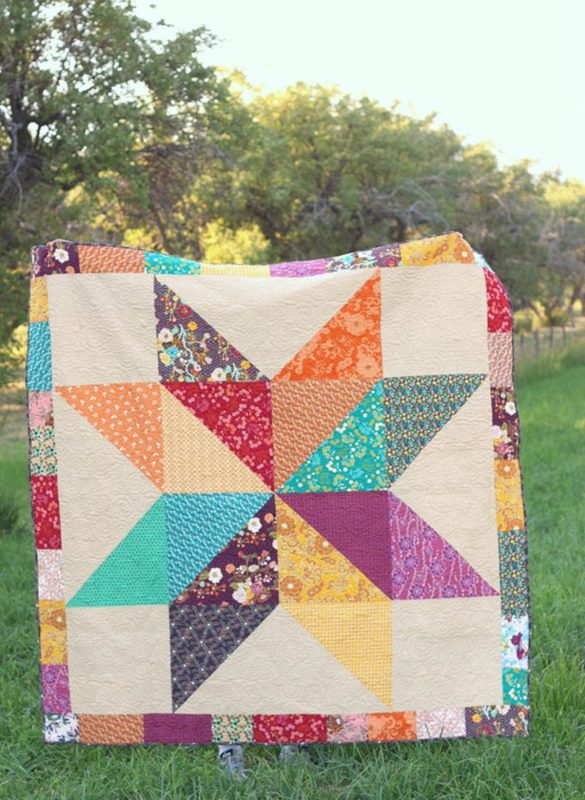
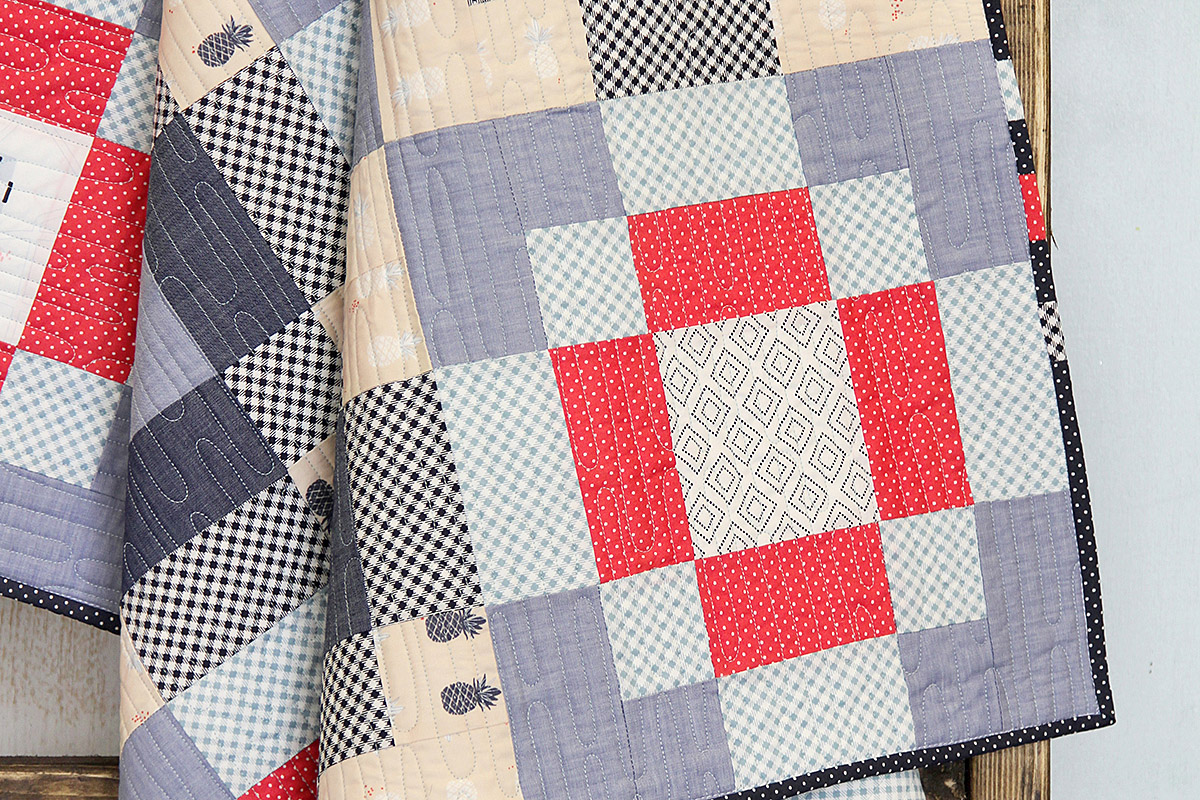
This baby quilt project is a simple 39″ x 39” quilt using a traditional Lone Star block motif blown-up. This is a great project for using pre-cut 10” x 10” squares.
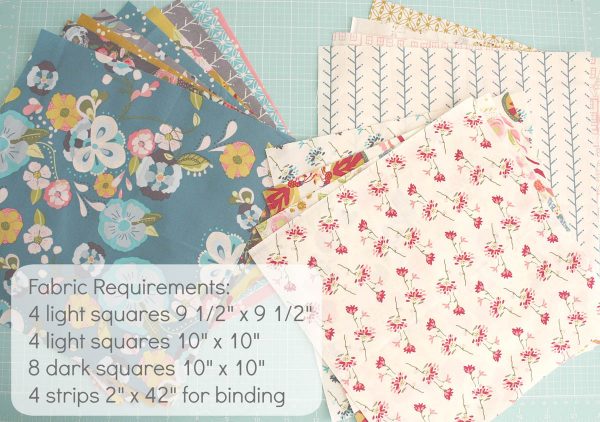
The fabric requirements for this baby quilt project are:
- 4 light squares 9½” x 9½”
- 4 light squares 10” x 10”
- 8 dark squares 10” x 10” (the quilt looks best if these are a variety of different prints)
- 4 strips 2” x 42” for binding
- 1 ¼ yard for backing
- 3/8 yard for binding
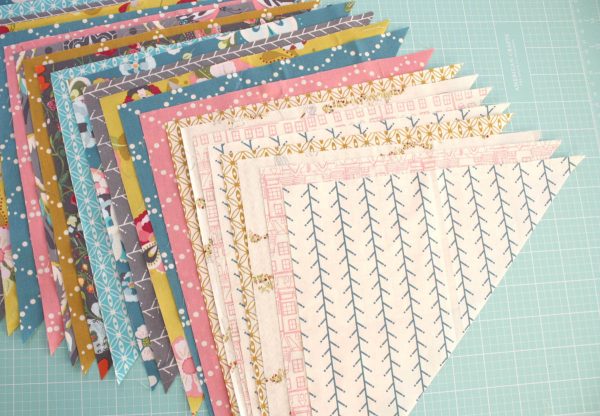
Start this project by taking the twelve 10” x 10” squares (4 light and 8 dark) and cutting them in half once on the diagonal.
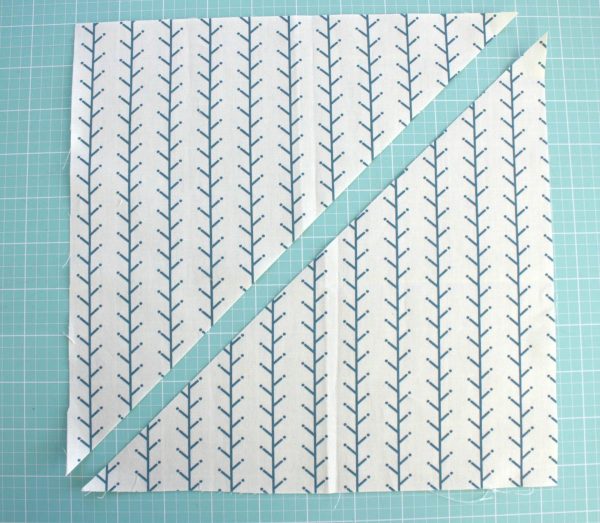
You will now have 24 triangles.
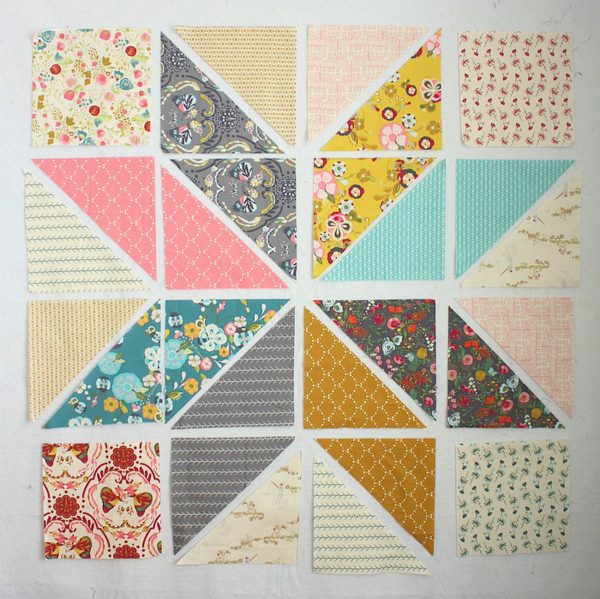
Layout your pieces as shown. This is a great way to play with color and get your eight star points well balanced. Use your four 9½” x 9½” light squares in the four corner blocks.
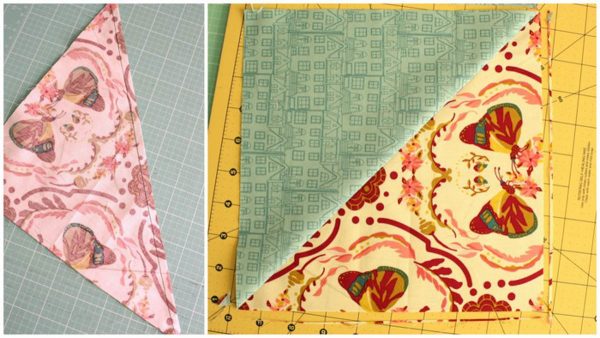
Sew the triangle pieces into twelve half-square triangle blocks. Match up the long diagonal edges and sew them together carefully using a ¼” seam allowance. Let the machine feed them through without pulling so that you don’t stretch the bias (diagonal) edges.
Press seams to one side. Then square-up your blocks so that they are all an accurate 9½” x 9½” square.
Quilt laid out with squared-up blocks will look like this.
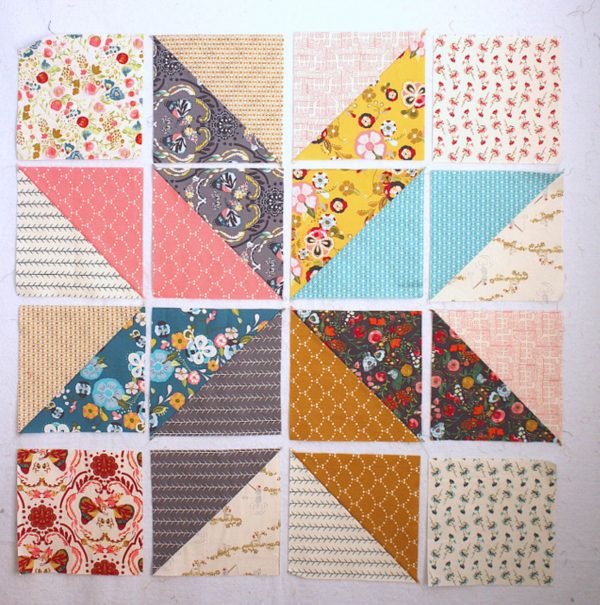
Then sew the blocks into four rows of four blocks. Press seams to the left on rows 1 and 3 and press seams to the right on rows 2 and 4.
Sew rows together to get pieced quilt top. Opposing seam allowances should match up and nest together, helping points to match up as well. Press row seams all the same direction.
Add borders:
Trim two of the 2” x 42” strips to 2” x 36 ½”and pin the strips to opposite sides of the quilt and sew in place using a ¼” seam allowance. Press seams toward the border strips.
Trim the remaining two strips to 2” x 39 ½” and sew them to remaining sides. Press seams toward the border strips.
Tomorrow we’ll talk about basting, quilting, and binding the baby quilt.
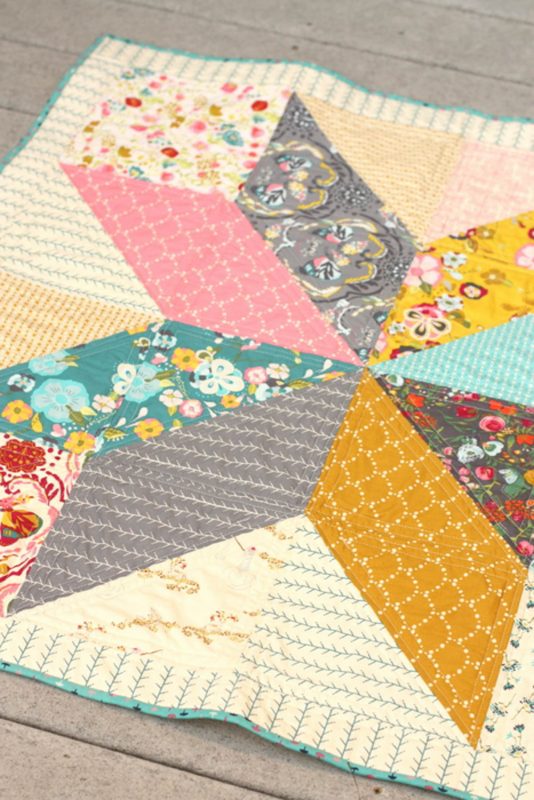
If you’d like to make a giant version 68” x 68” of this quilt design, check out this tutorial by Jeni Baker.







13 comments on “Lone Star Baby Quilt Tutorial, Part I”
What line did you use in this quilt? It is adorable!
Thanks Laura! Isn’t it so sweet? The fabric line is Emmy Grace by Bari J Ackerman for Art Gallery Fabrics.
I was wondering the same thing about the fabric! I love it!
Thanks Jenn, I love it too. The fabric line is Emmy Grace by Bari J Ackerman for Art Gallery Fabrics.
I’m a beginner with a question. Won’t the star tips get sewn into the seam allowance when attaching the border?
Not if your seams are consistant 1/4″ when sewing blocks together.
Love this quilt!
When you made the larger version, I noticed you added a border which I really loved! Any idea the size of your border and final quilt size? I want one for ME 😉 Thank you for any help!
I cut those border pieces 4″ wide. (They are the leftovers from cutting 18″ x 18″ squres from a Fat Quarter.) They finish at 3 1/2″ wide.
I loved this tutorial! Im super new to quilting and this was so easy to follow. I also wanted to share with you my quilt I made for my new baby girl with your tutorial. I blogged all about it and linked back to your post here. Thanks so much for this!
http://www.everydaymomideas.com/2017/01/easy-beginner-baby-quilt-with-simple.html
I have made this quilt a couple of times. Great easy, pretty baby quilt. Thanks for sharing. Here is a link to a photo of one of my versions – scroll down. http://thepottingshedquilter.com/?p=699