Monogram Cork Slim Wallet: In-the-Hoop Tutorial
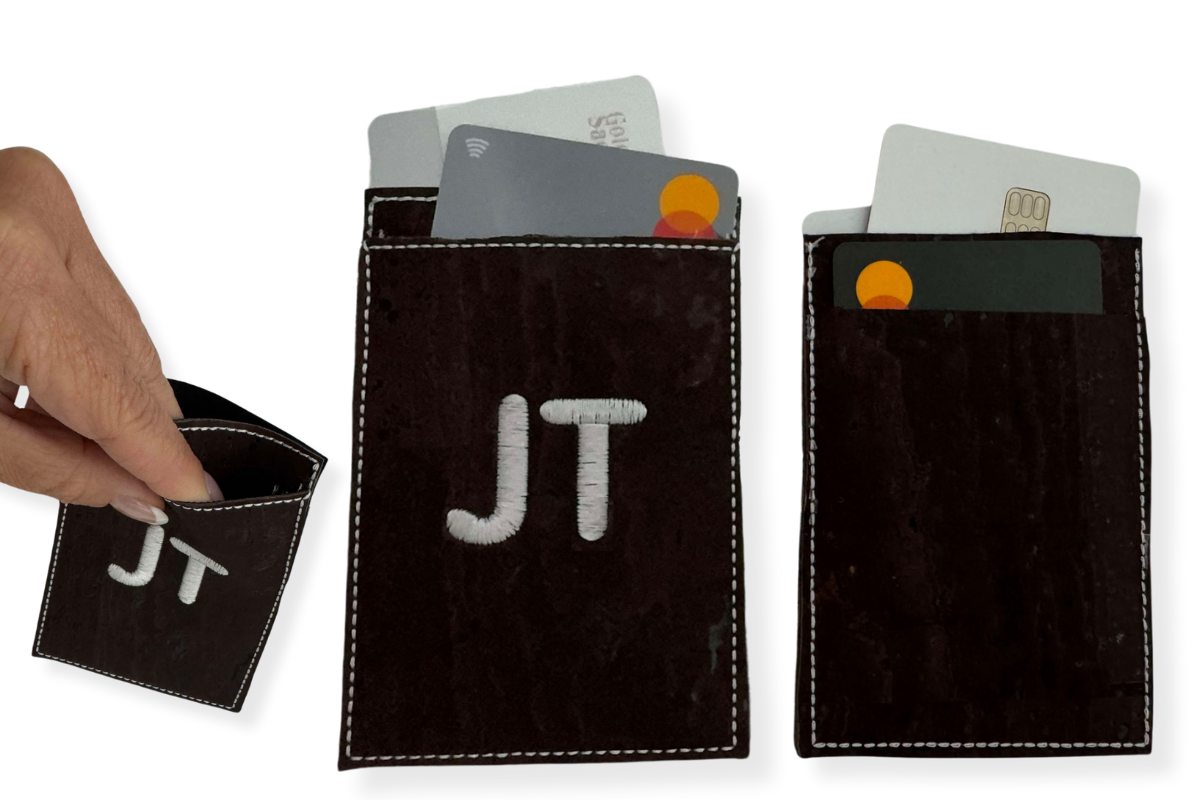
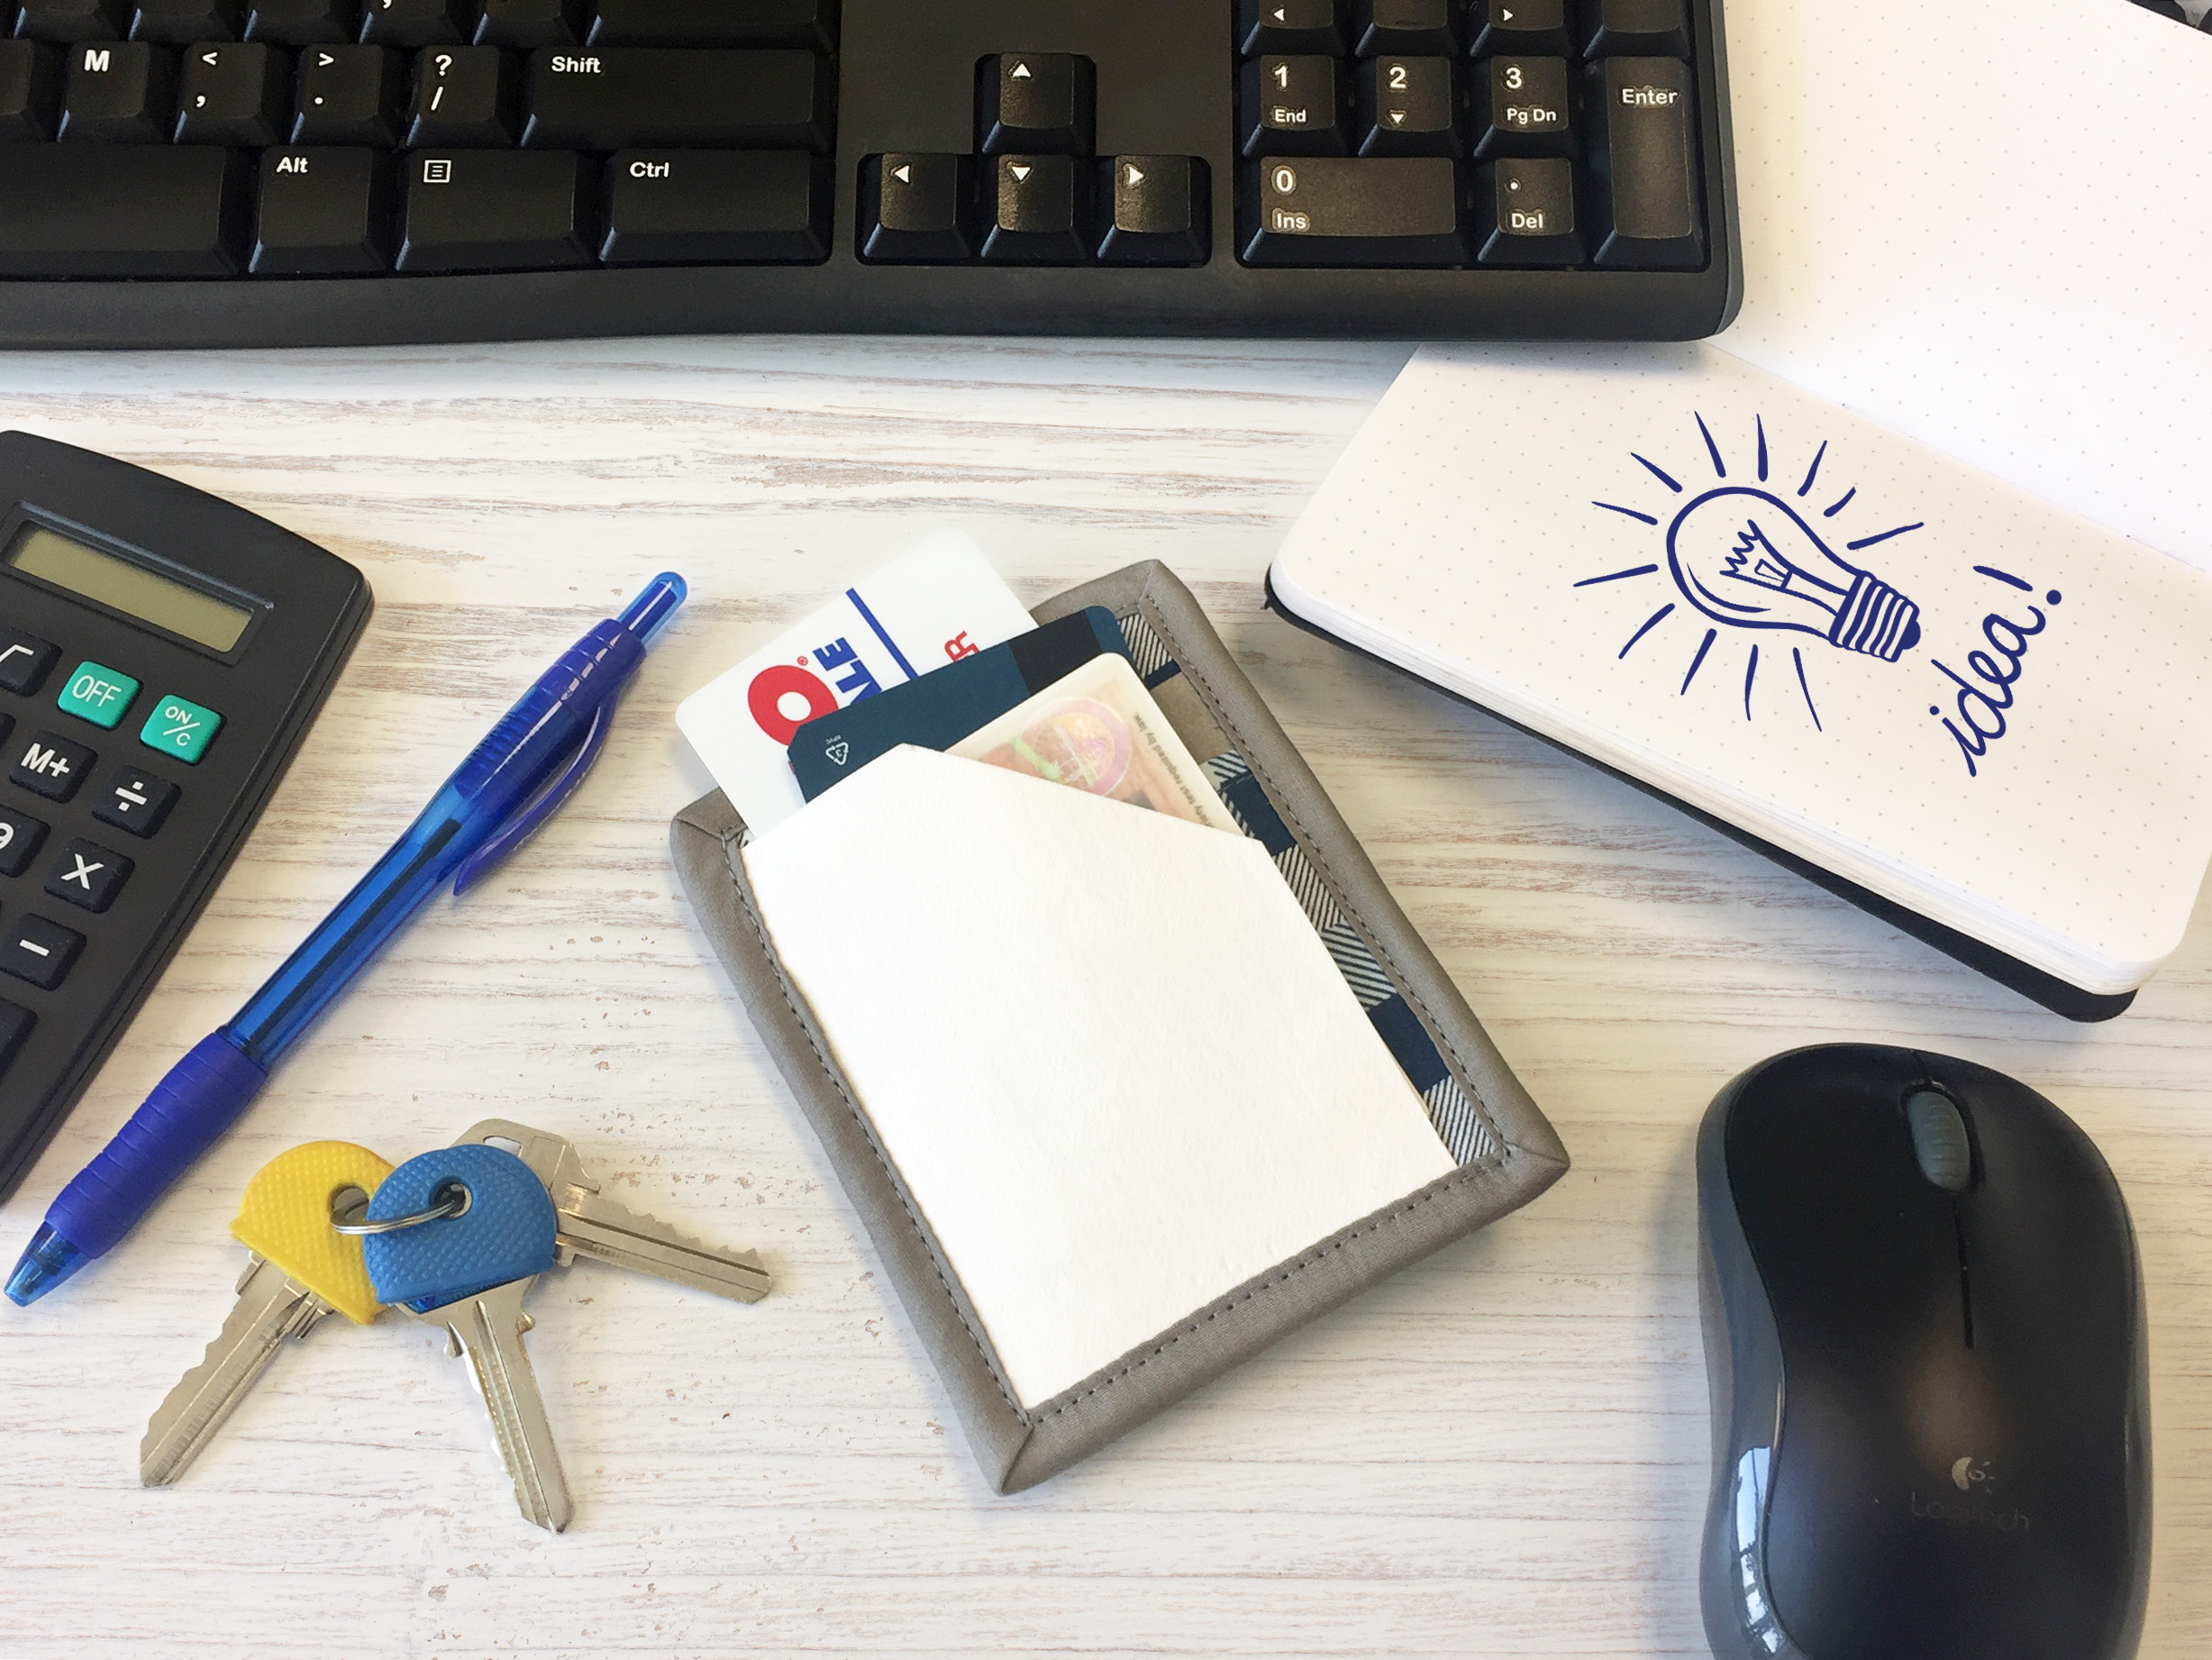
If you’re looking for a simple and functional way to carry your essentials, this In-the-Hoop monogram cork slim wallet is a great project. It features three pockets, perfect for holding cards and cash, and the cork fabric adds a modern touch. In this post, I’ll show you how to make the wallet entirely In-the-Hoop, and I’ll walk you through using the BERNINA 790 PRO built-in lettering feature to add a monogram at the perfect time.
Hi, I’m Sue O’Very, known in the sewing world as Sookie Sews. I’m a pattern designer specializing in serger and machine embroidery projects, a YouTuber, and a three-time published author. I’m also proud to be a BERNINA and bernette Expert. You can find me everywhere online @SookieSews. Prepare to learn some pretty cool things using the BERNINA 790 PRO today. Now, grab your machine and let’s get stitching!
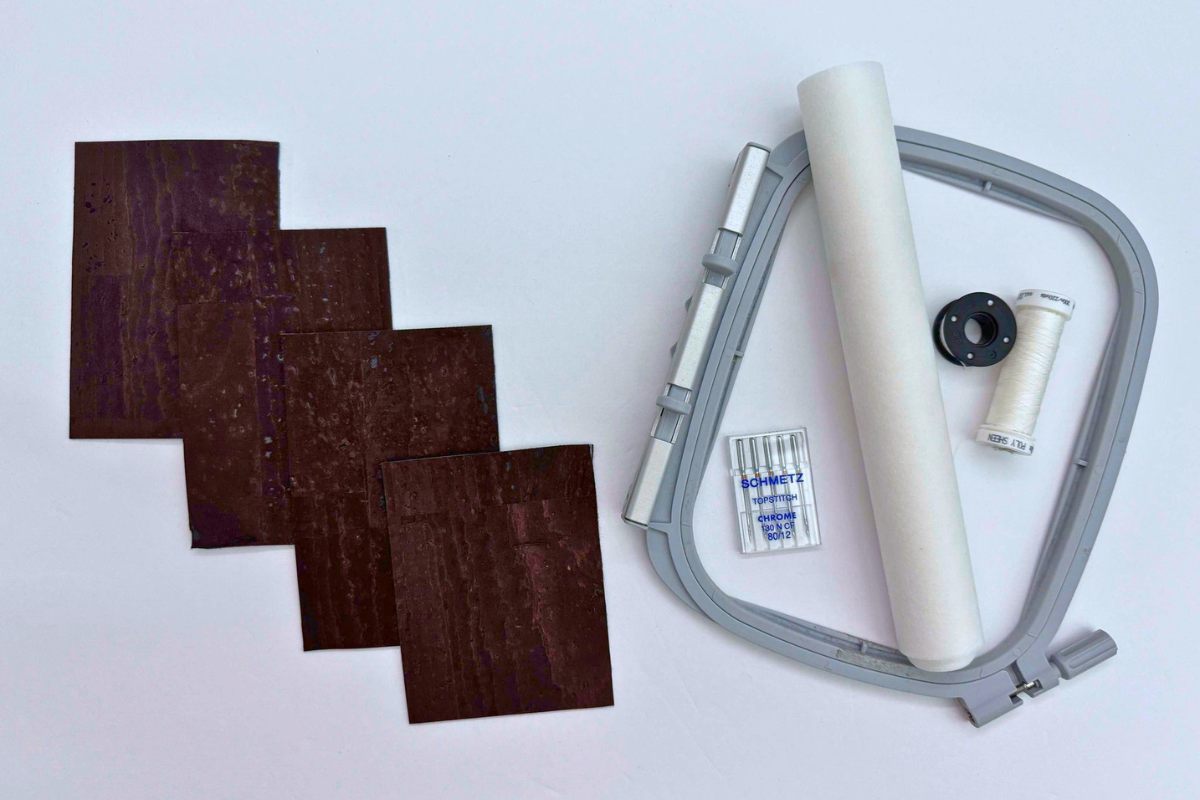
Materials (width by height)
- Tear away stabilizer to fit hoop
- Cork
- Front bottom pocket 3”x4-1/4” – Cork
- Front top 3”x4-1/2” – Cork
- Back 3”x4-1/2 – Cork
- Back pocket 3”x3-3/4” – Cork
- Embroidery thread with matching bobbin
- Top Stitch needles 80/12
- Clear adhesive tape
- Duckbill applique scissors
- Short sharp scissors or fabric shears
Steps
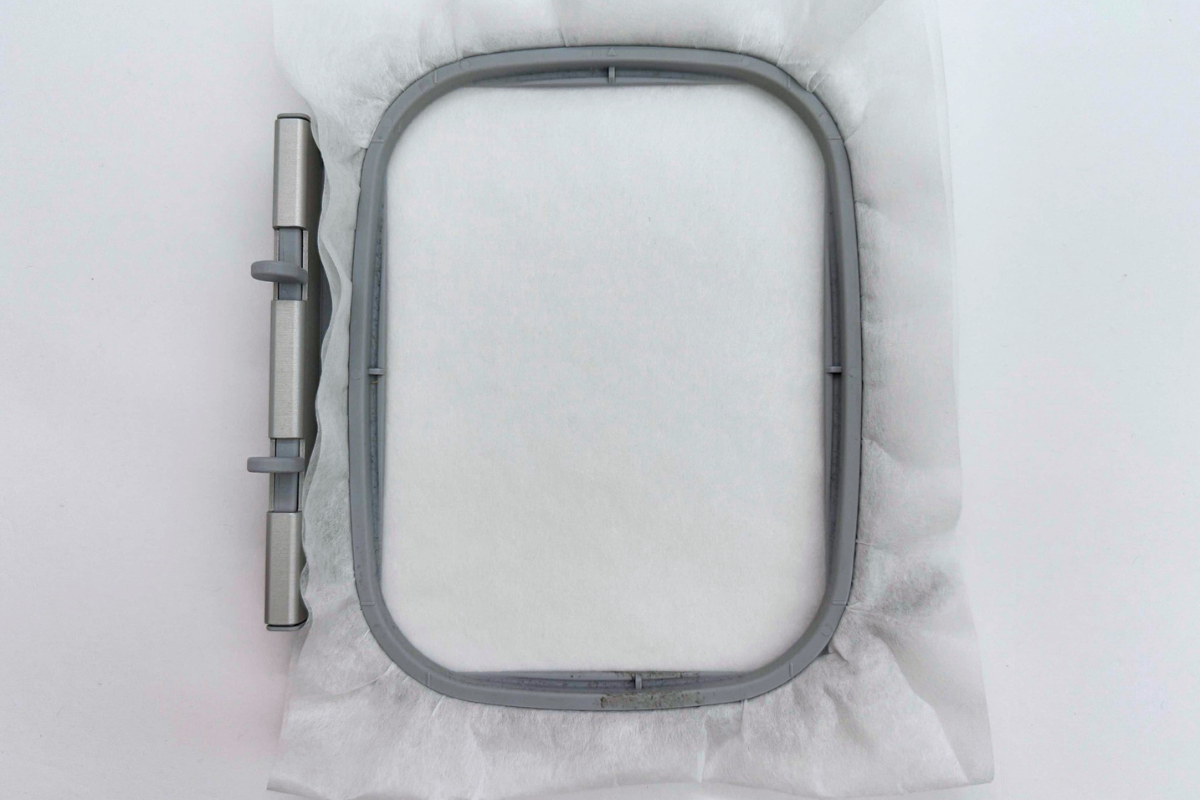
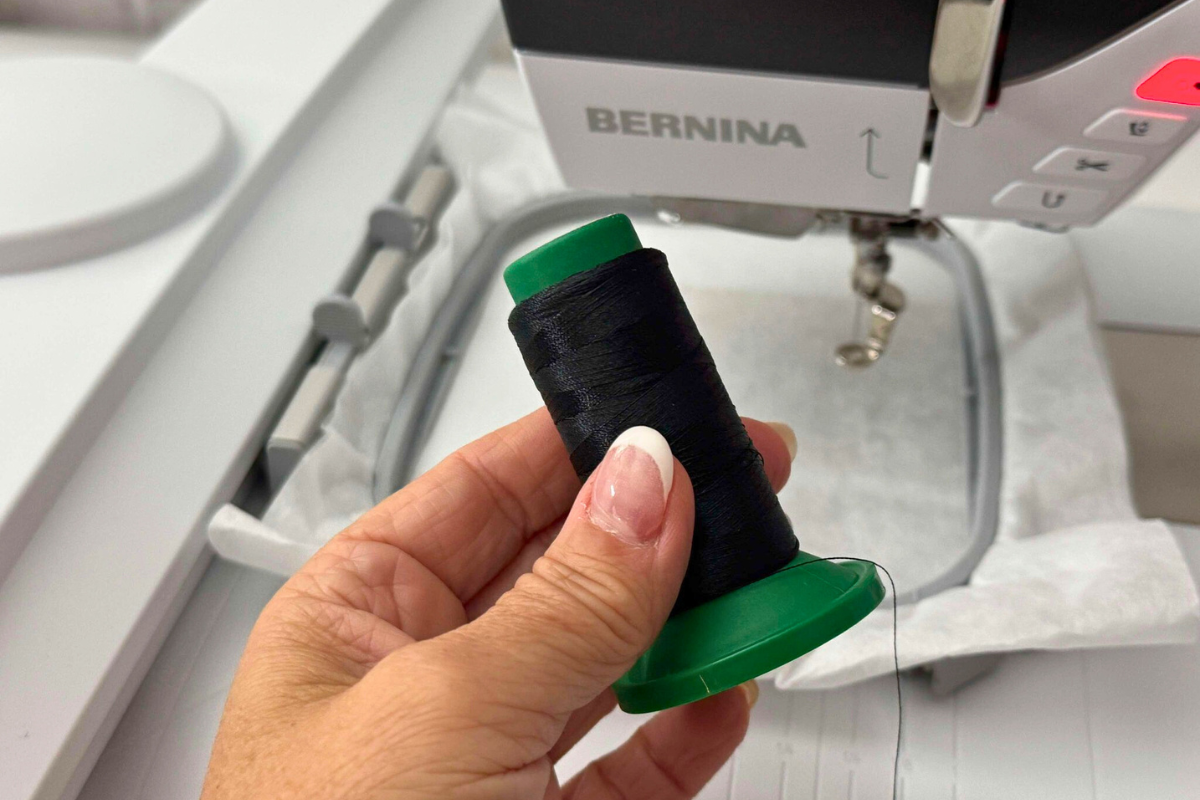
1. Thread machine, bobbin, and insert new needle. The thread colors can be the same for the entire project. Hoop tear away stabilizer, if it is thin, hoop two layers.
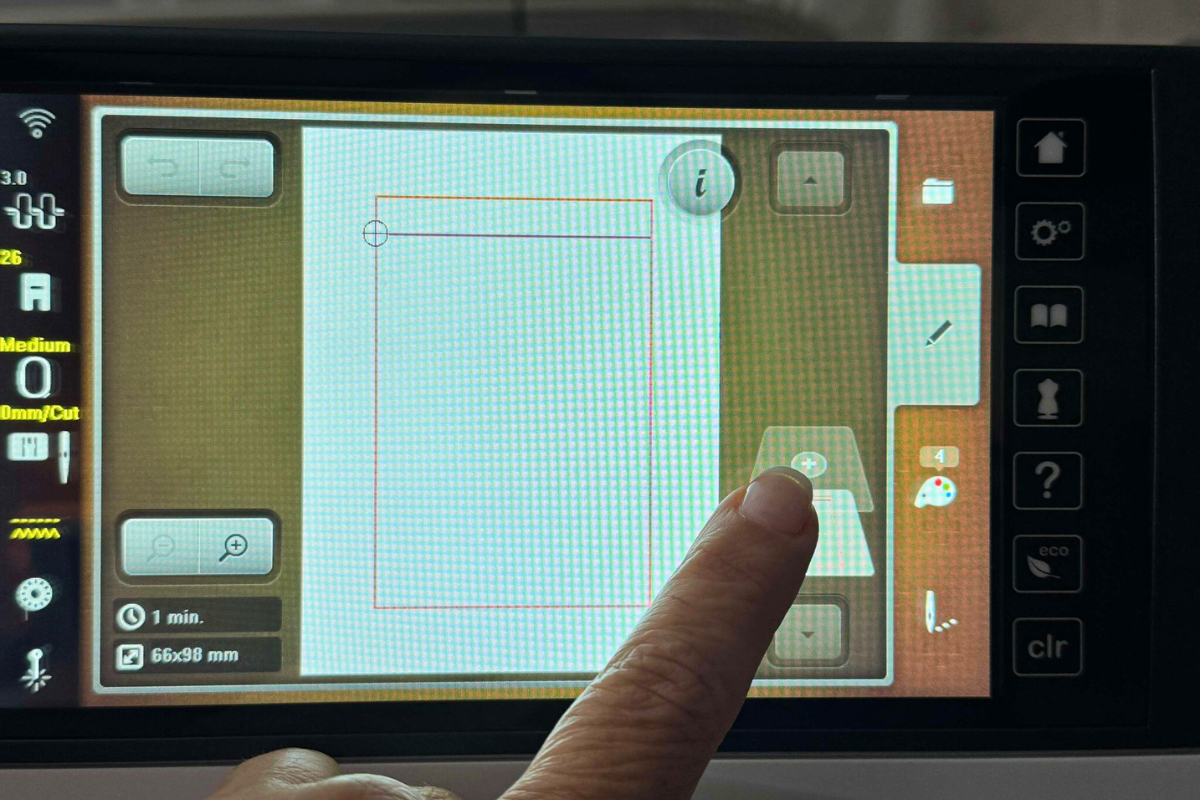
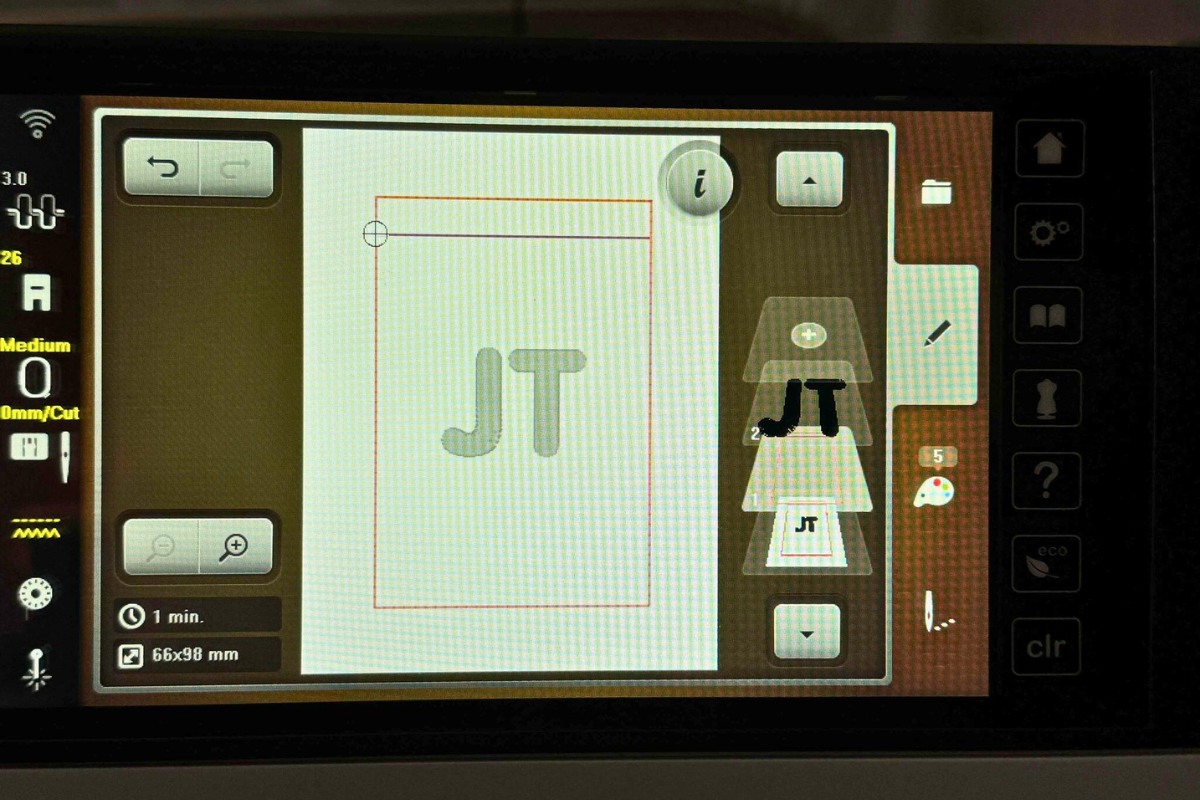
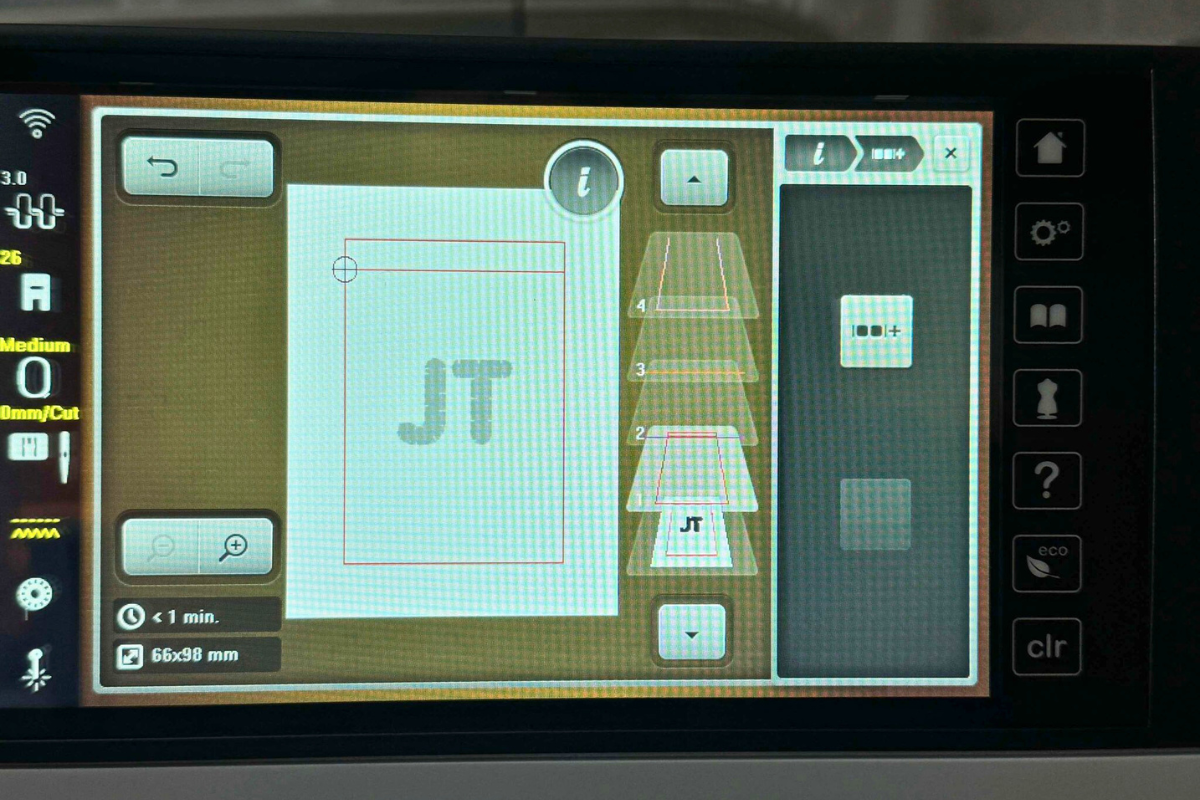
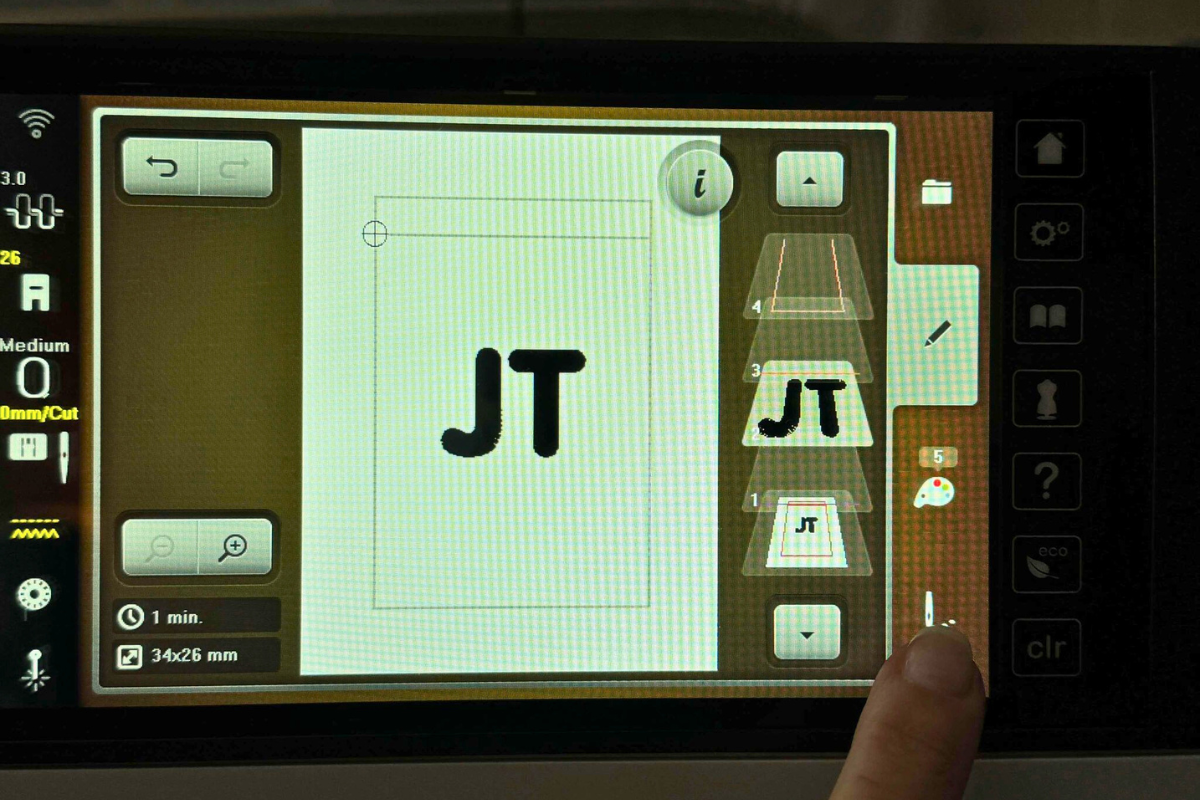
2. Open and select the wallet design. Press the “+” button right above the design on the screen in order to add the monogramming.
3. Add monogram.
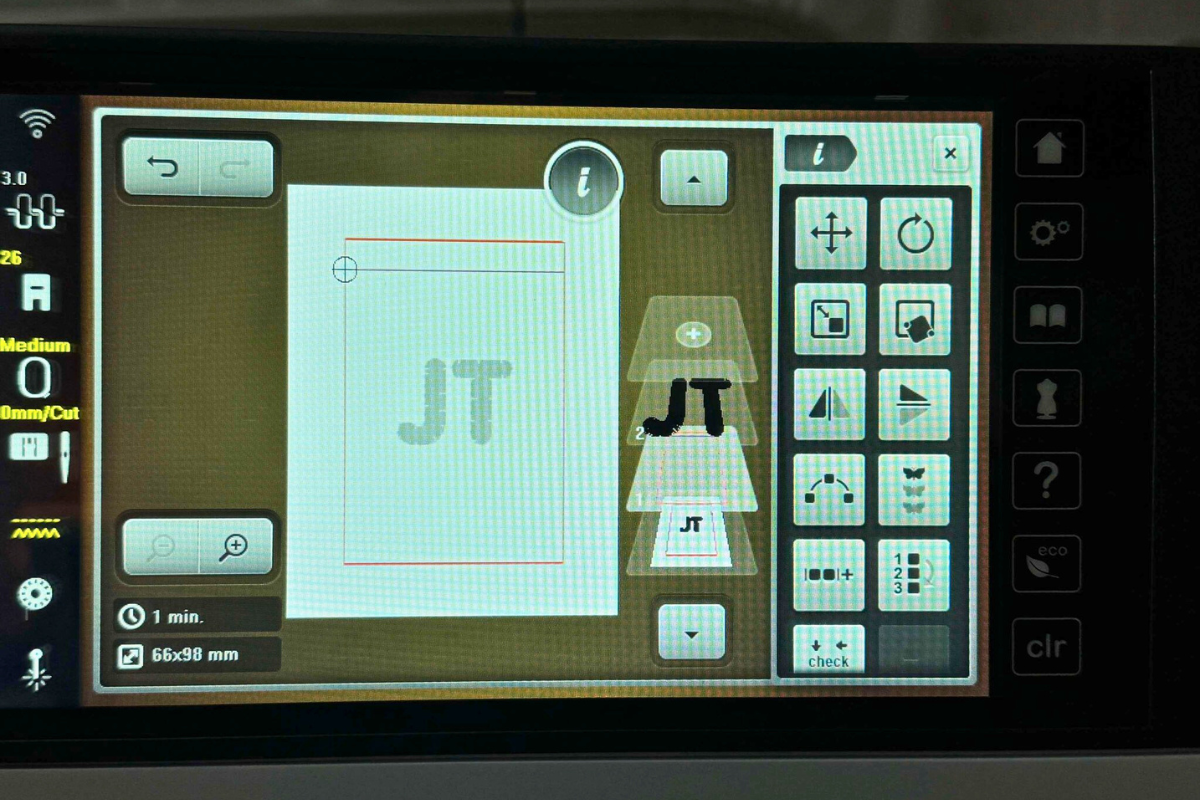
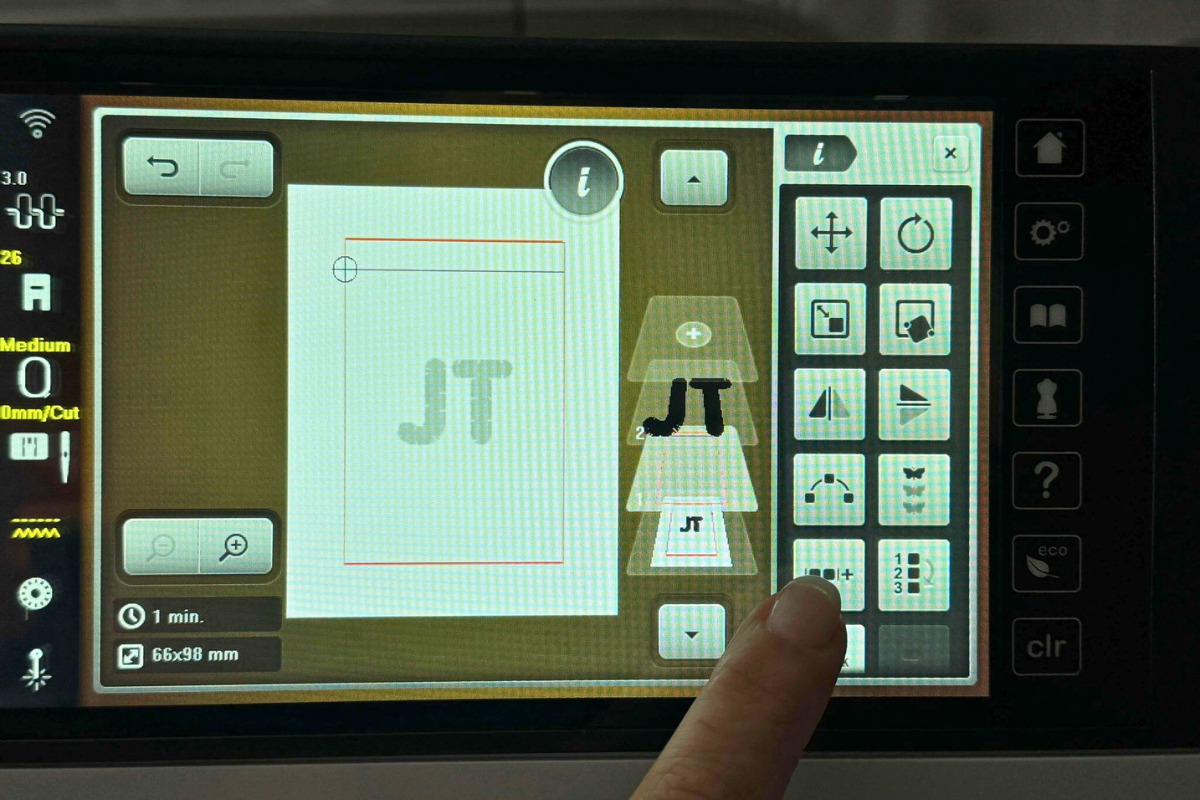
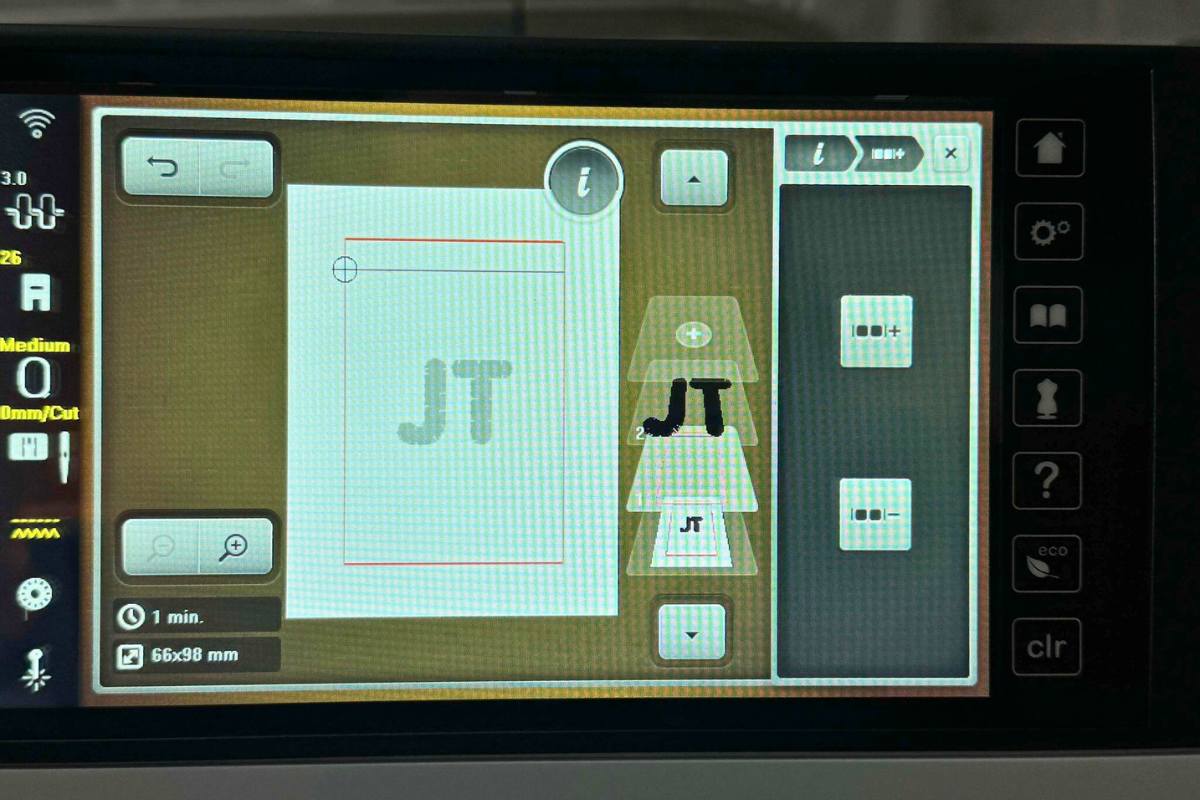
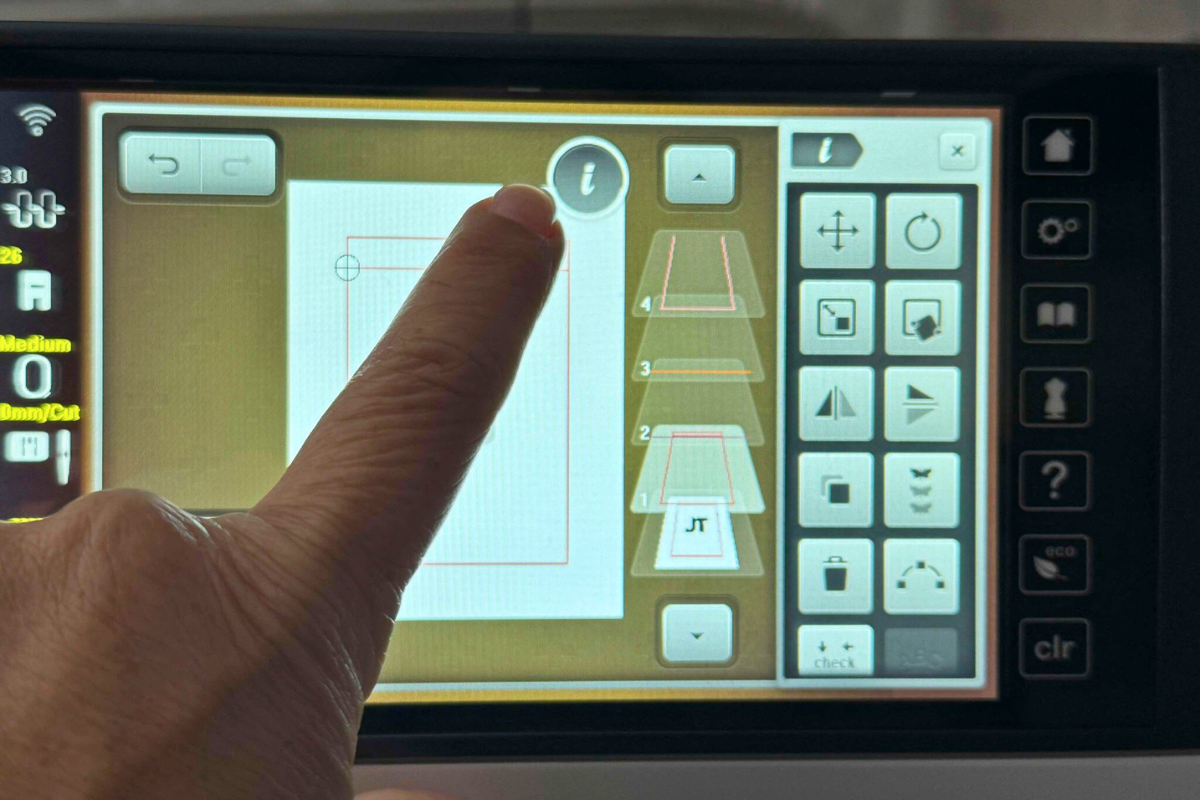
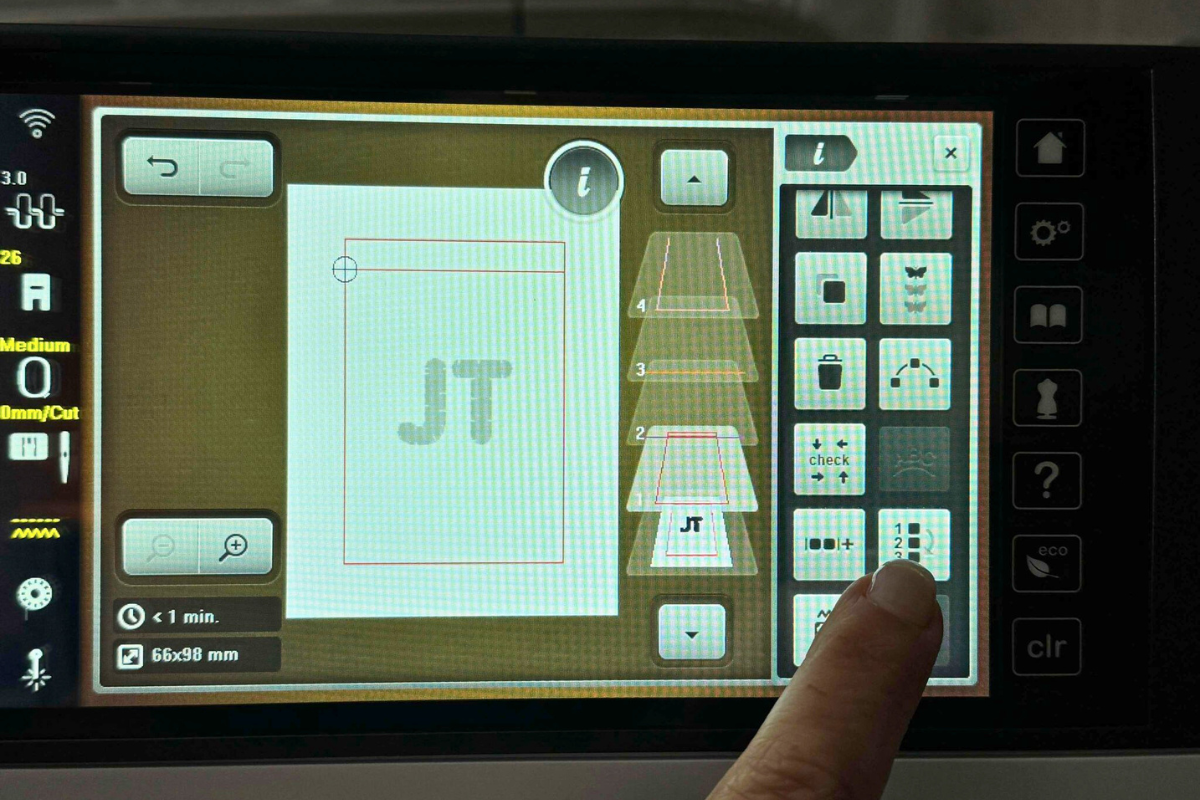
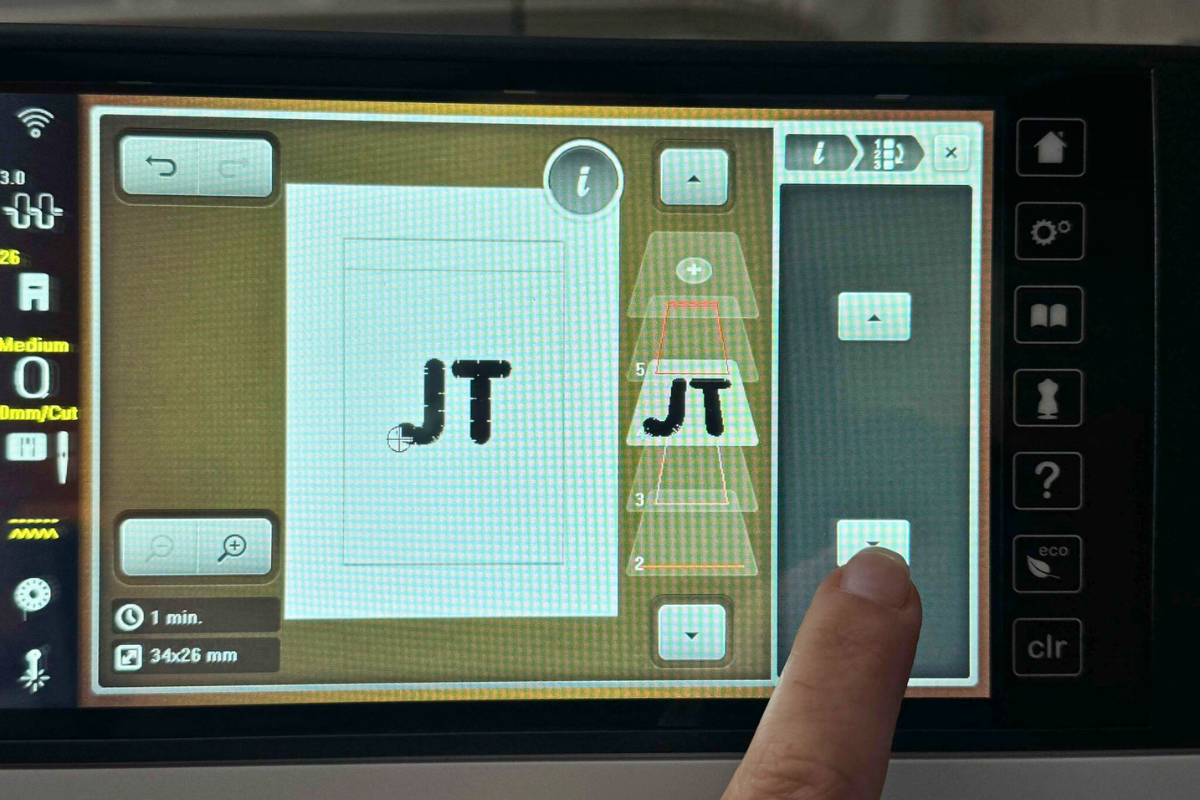
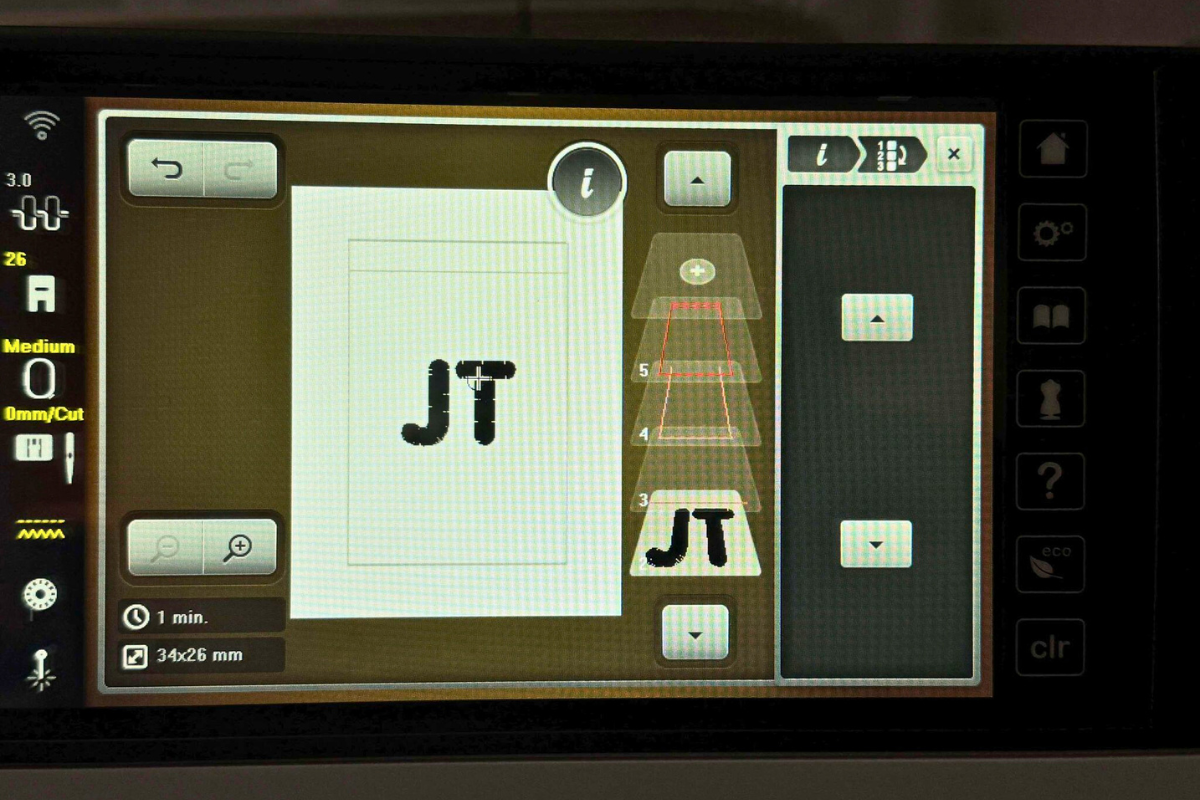
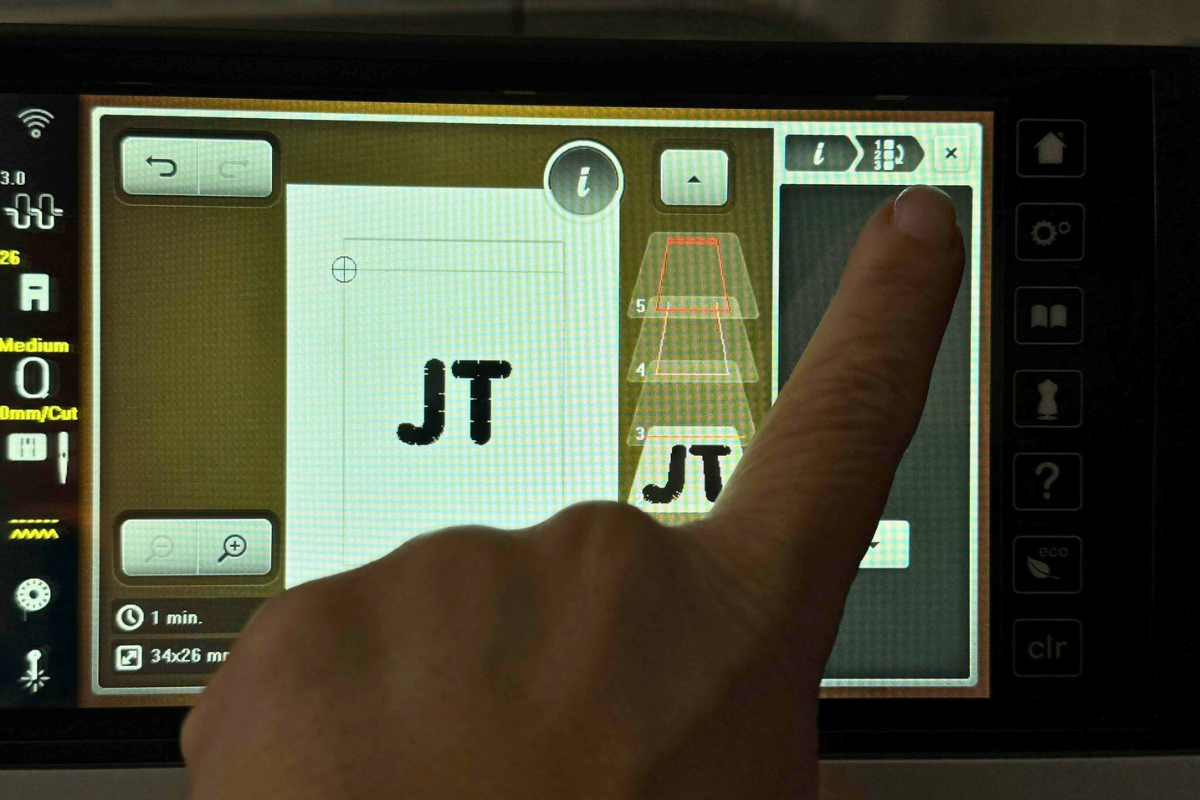
4. Select the wallet design icon, then select the “i” button, and the “Group Embroidery Motifs” button. Press the “-” button until there are no more left.
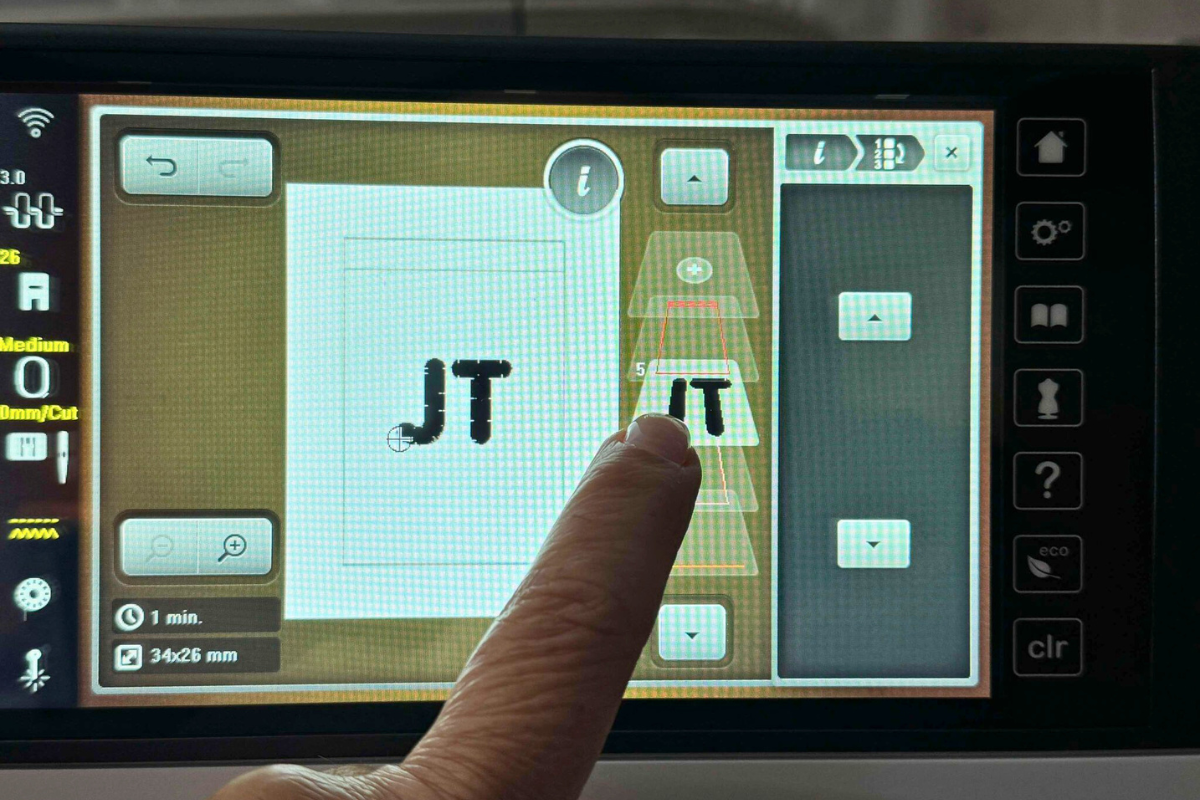
5. Go back to the “i” icon and then select the “Reagrange Embroidery Motifs” icon. This will allow you to place the monogram lettering after the second stitch sequence of the wallet. This will be the perfect placement for construction.
6. Insert the hoop into the machine. Note: For demonstration purposes, the first color will be darker.
7. Select the “needle” button to begin stitching.
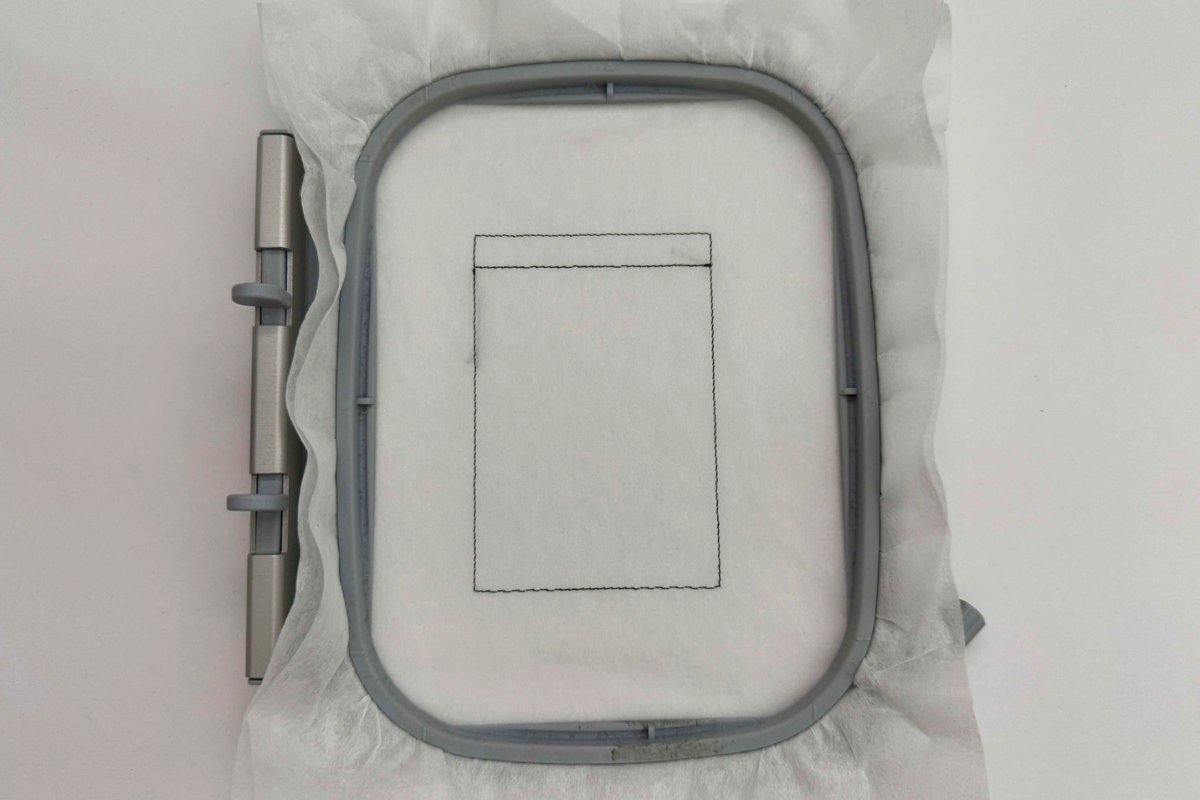
8. Sew stitch #1, the placement stitching for the wallet.
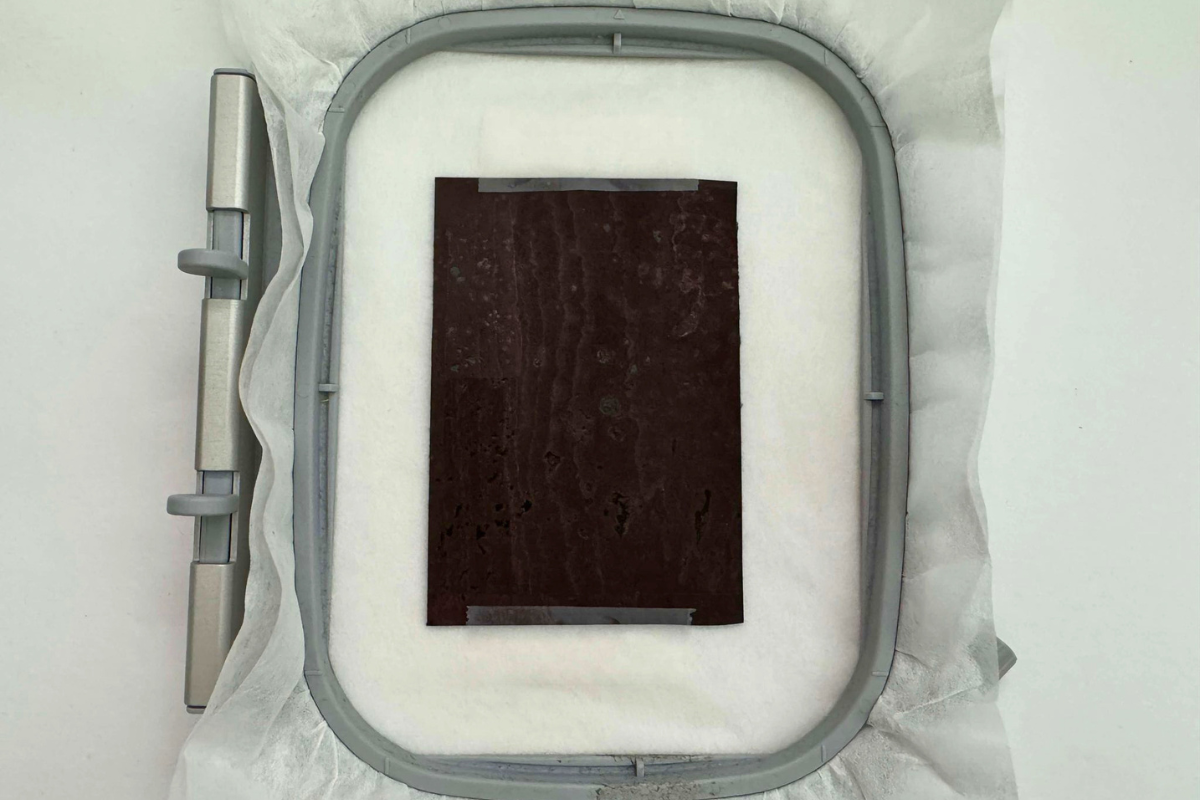
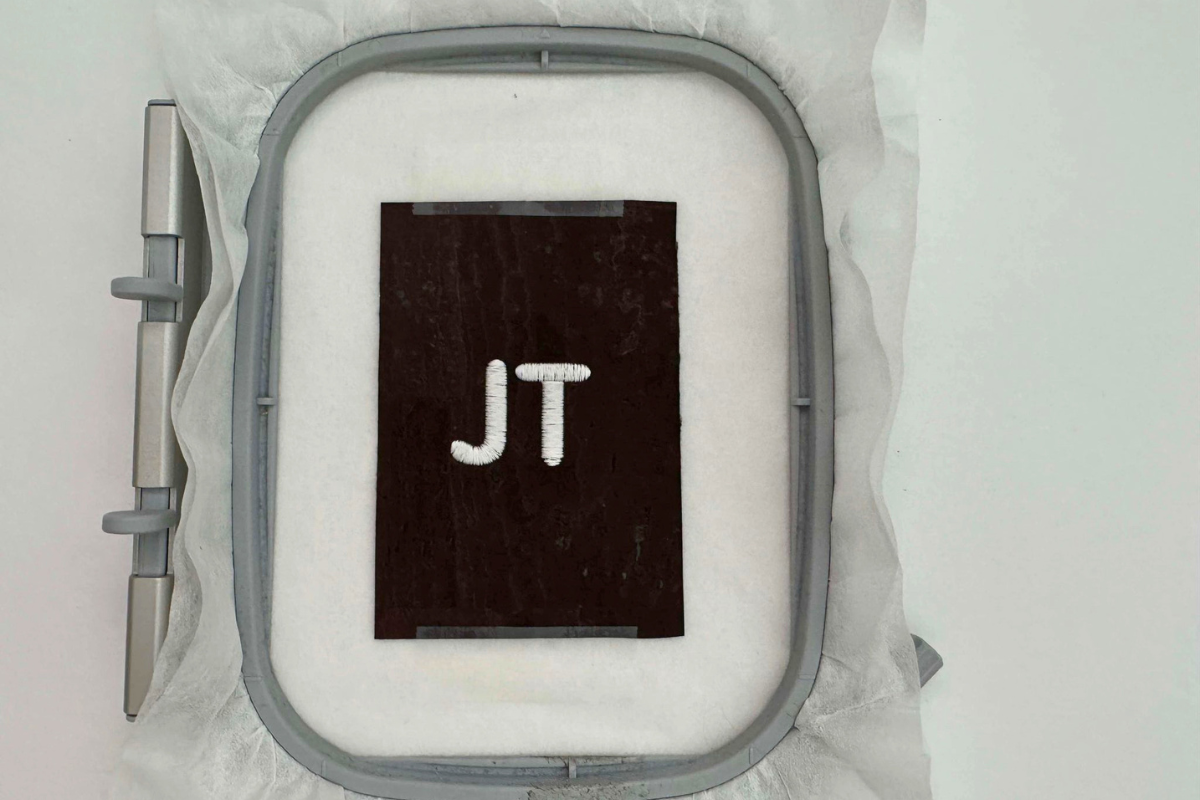
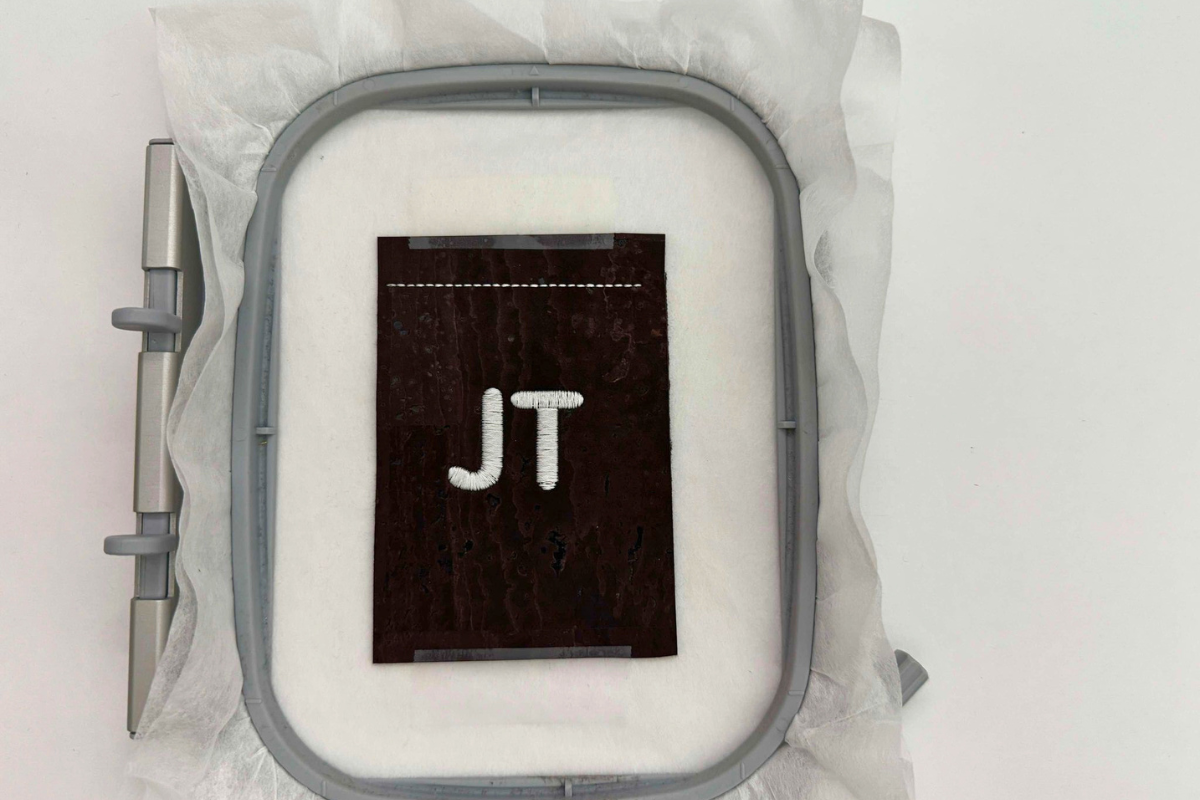
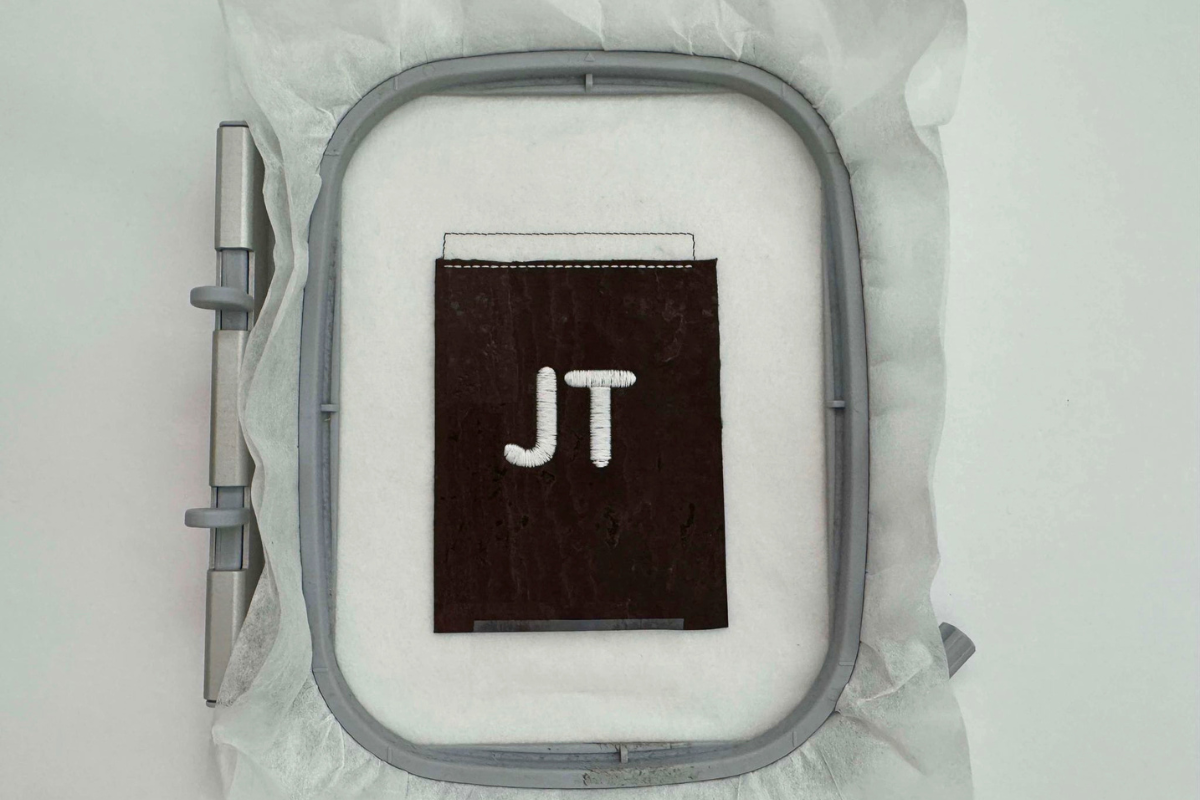
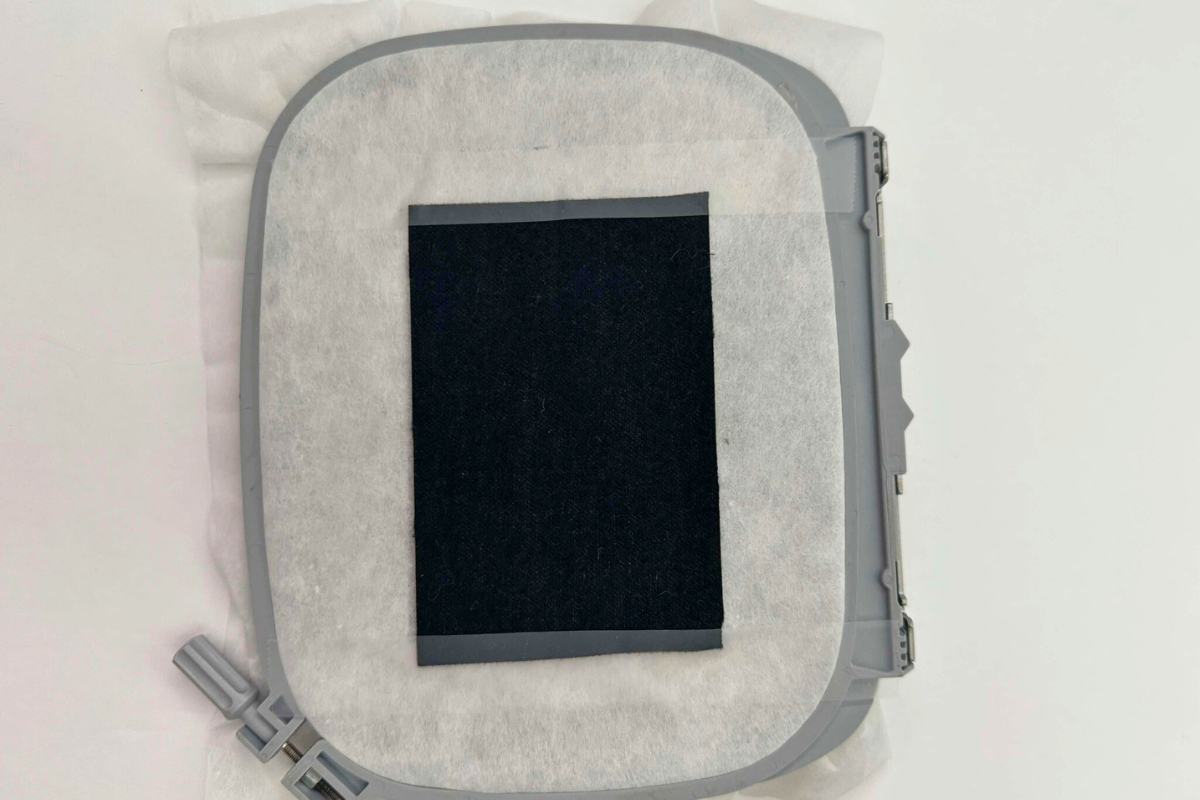
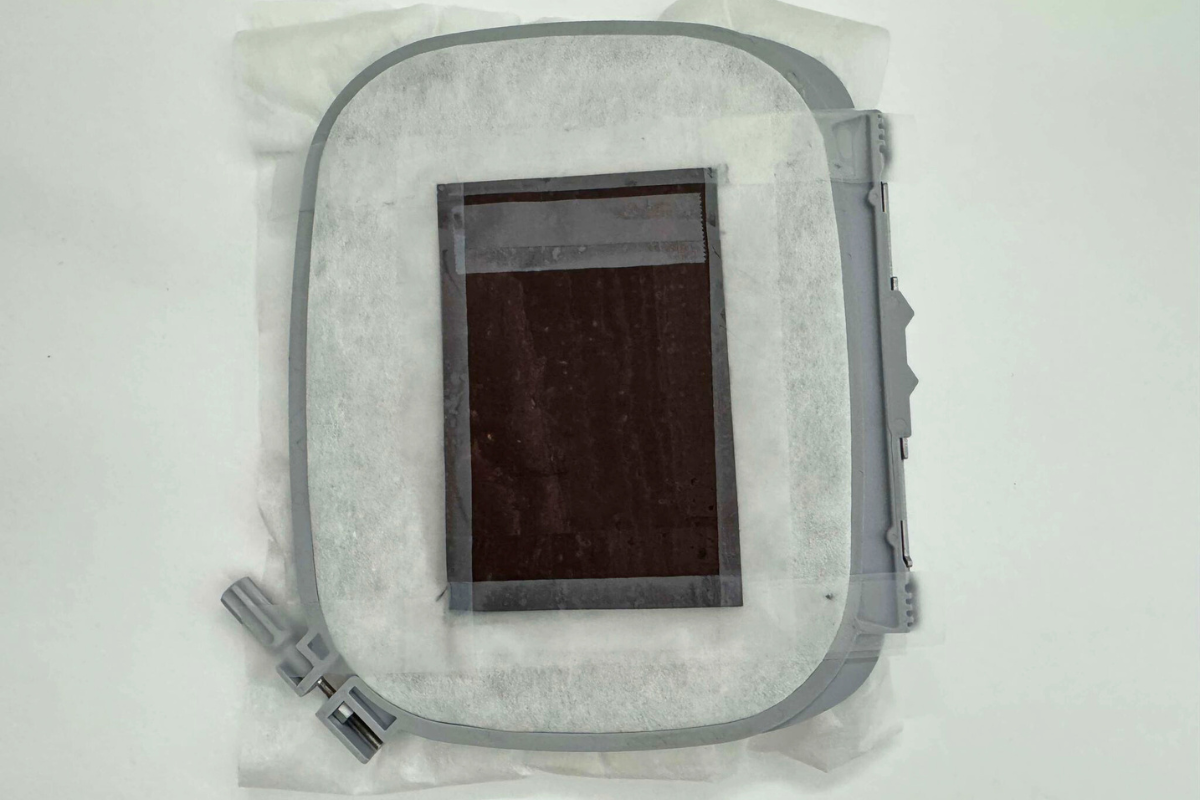
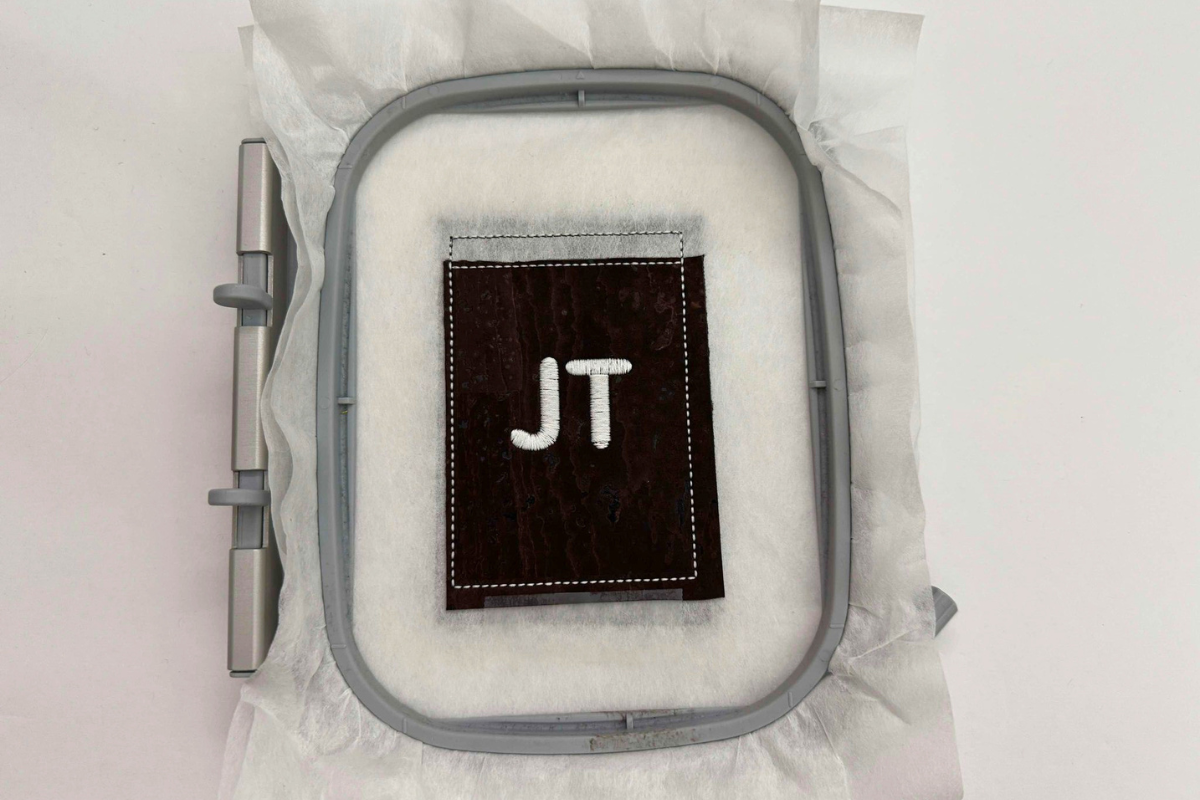
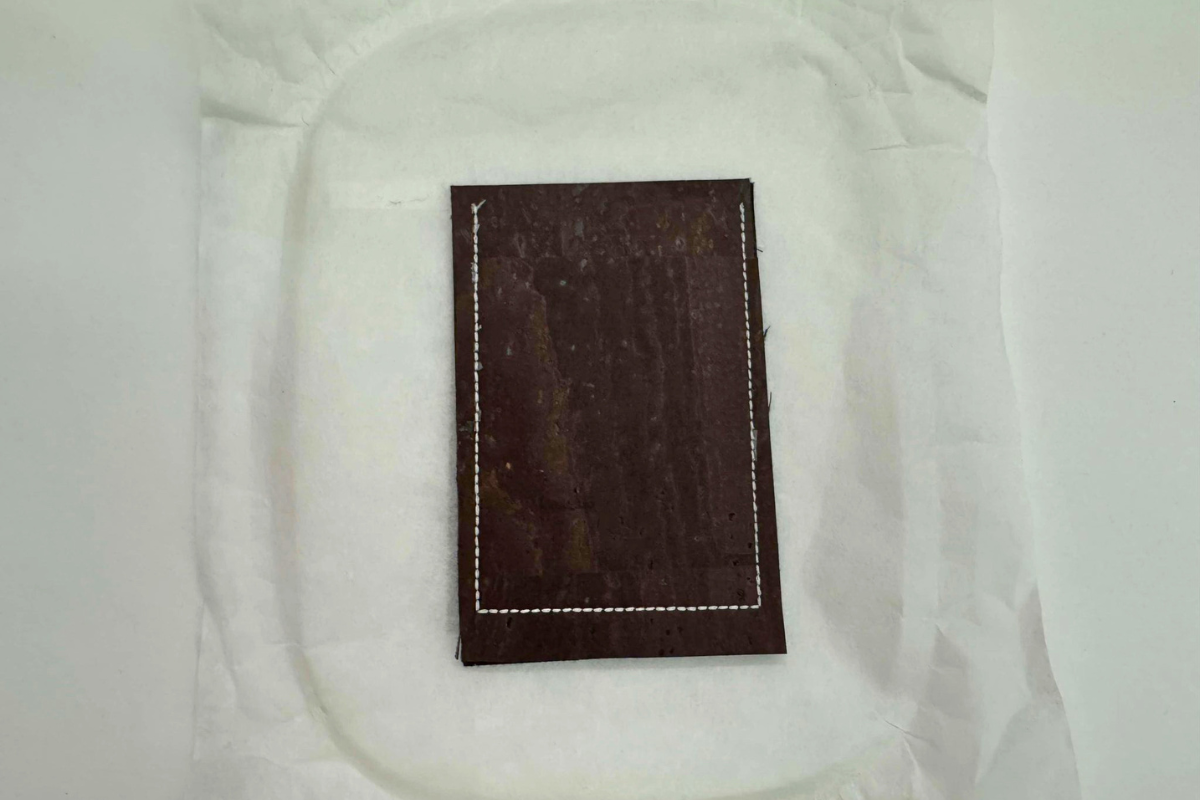
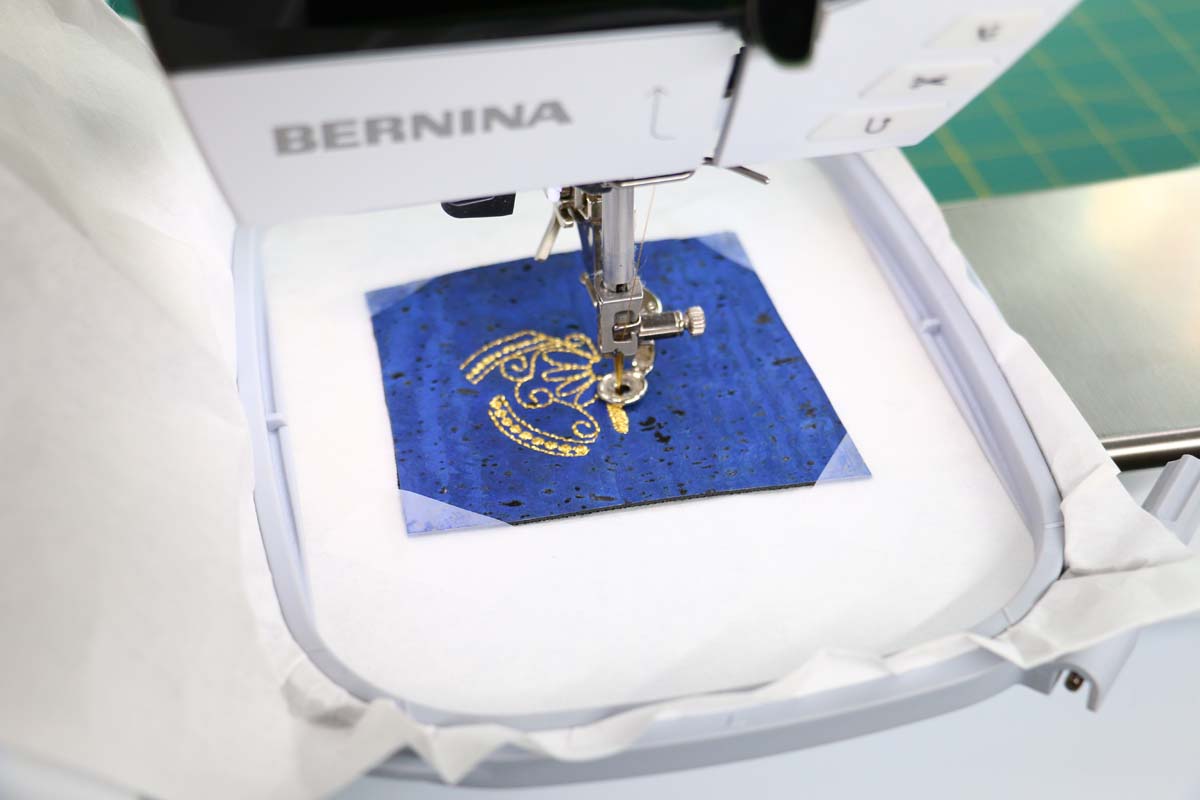
9. Remove the hoop from the machine and place with the hoop right side up. Place the Front Bottom Pocket right side up and secure with tape. Sew stitch #2, the monogram. Sew stitch #3, the top of the Front Bottom Pocket.
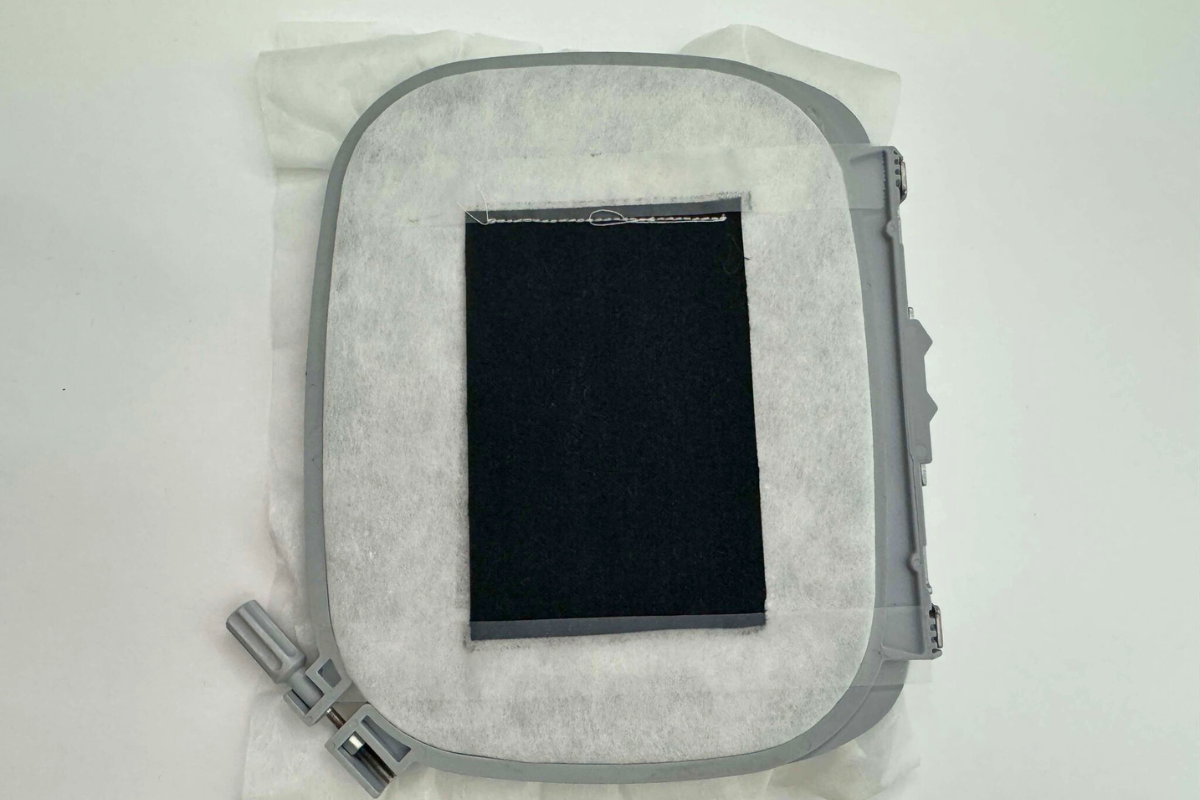
10. Remove the hoop from the machine and with duckbill applique scissors, cut about 1/8″ away from above the stitching. This will be the top of the Front Pocket.
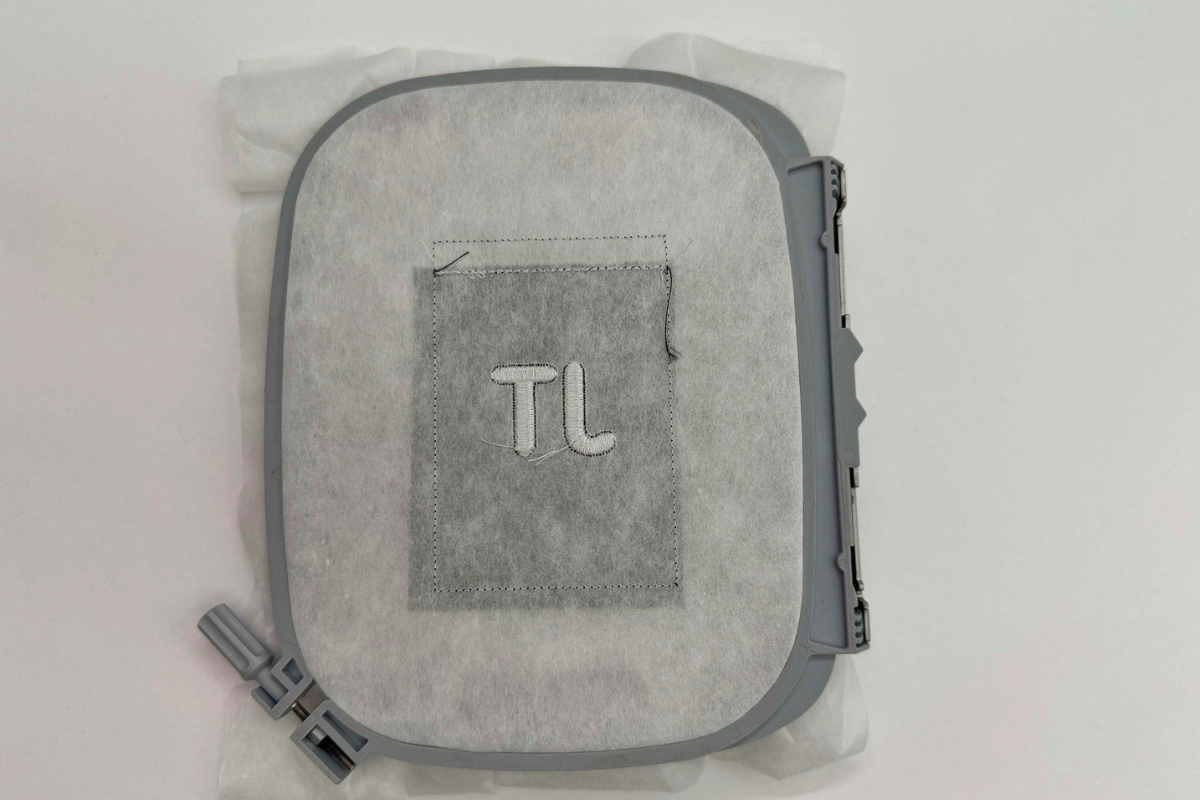
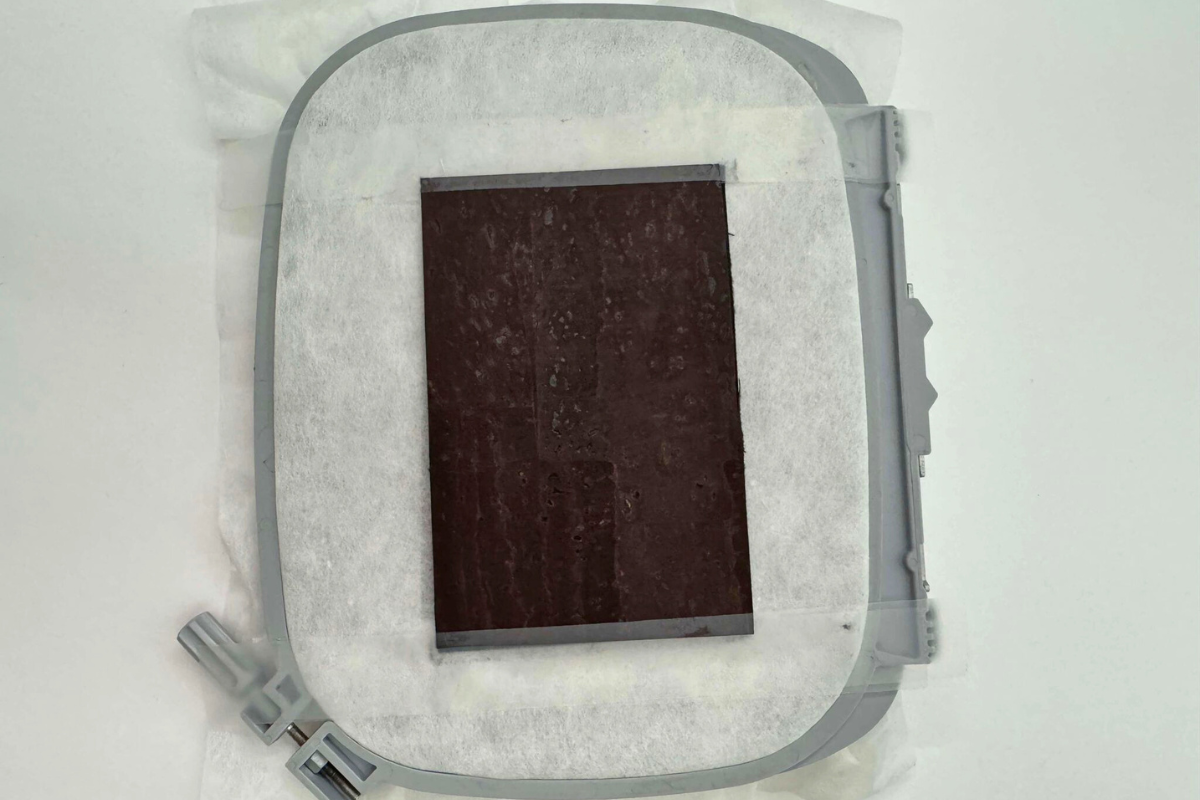
11. Turn hoop to the wrong side facing up. Place the Front top piece wrong side up covering all the stitching and secure with tape. Pro Tip: Extend the tape beyond the material onto the plastic of the hoop to help secure it while it is embroidering.
12. Insert hoop into the machine and sew stitch #4, the front top final stitch that only stitches through the Front piece.
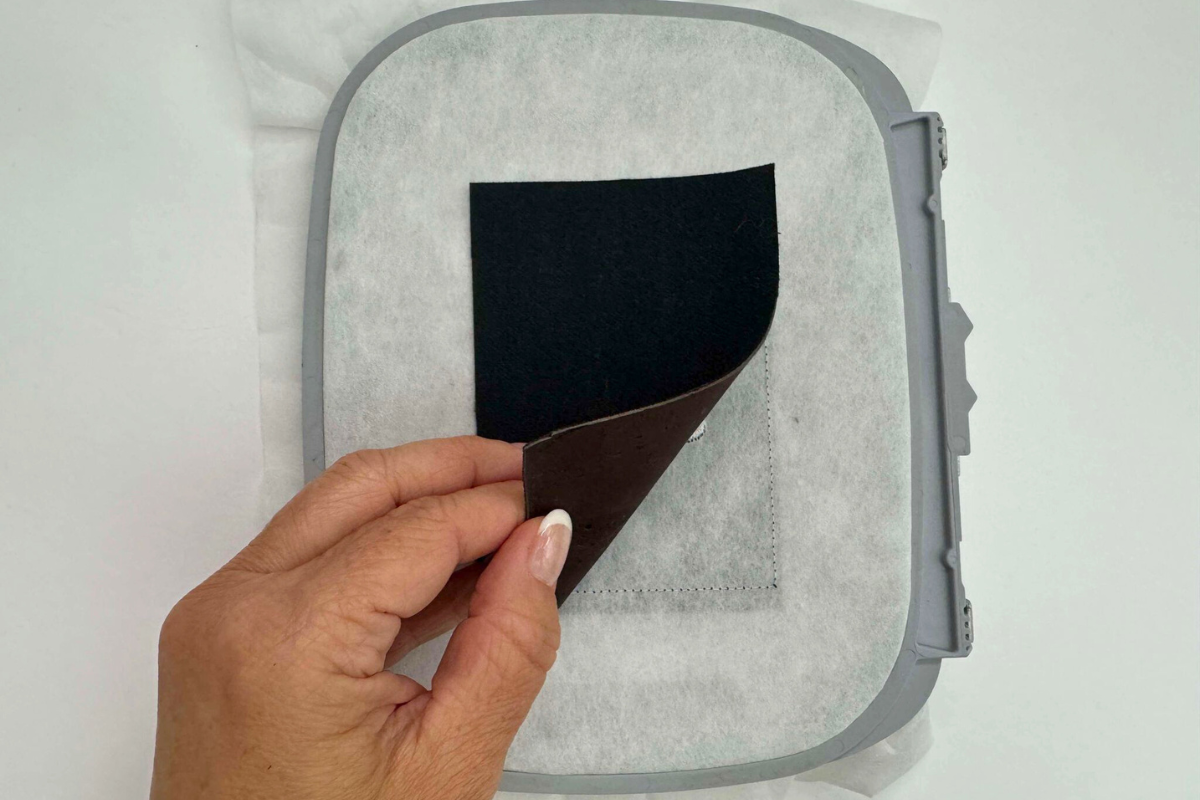
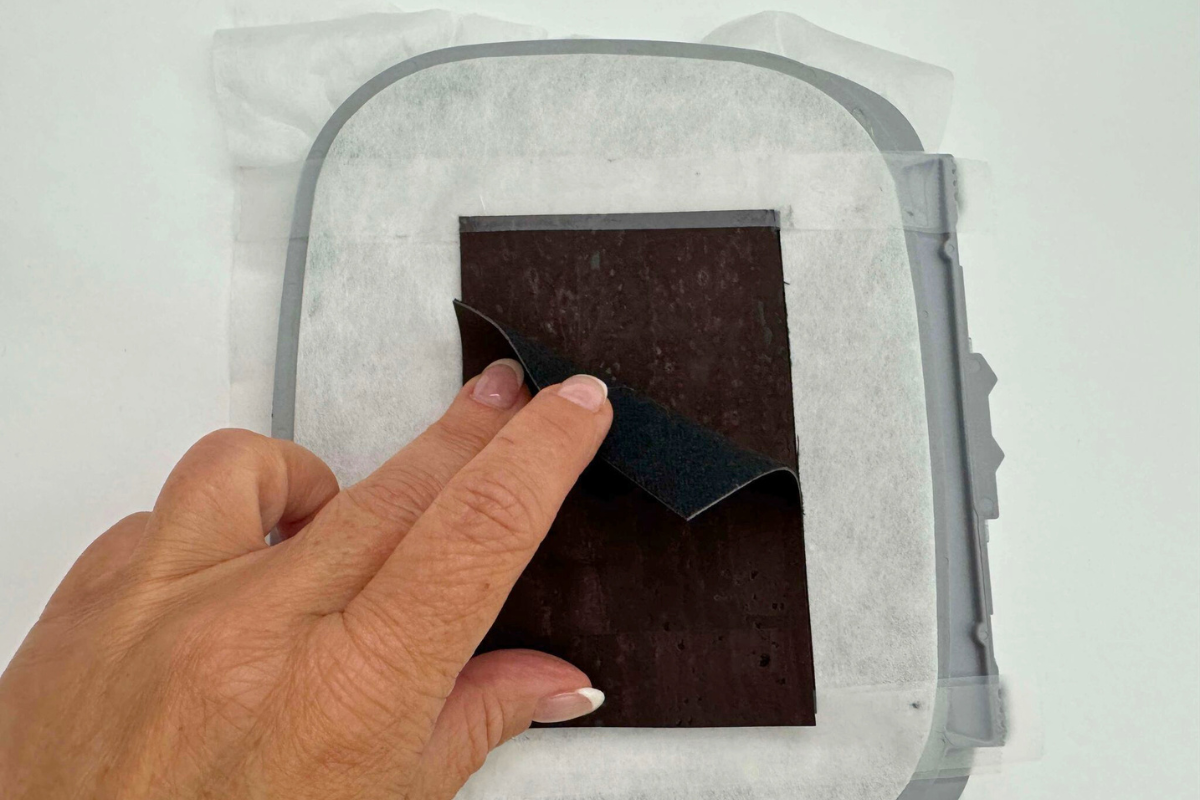
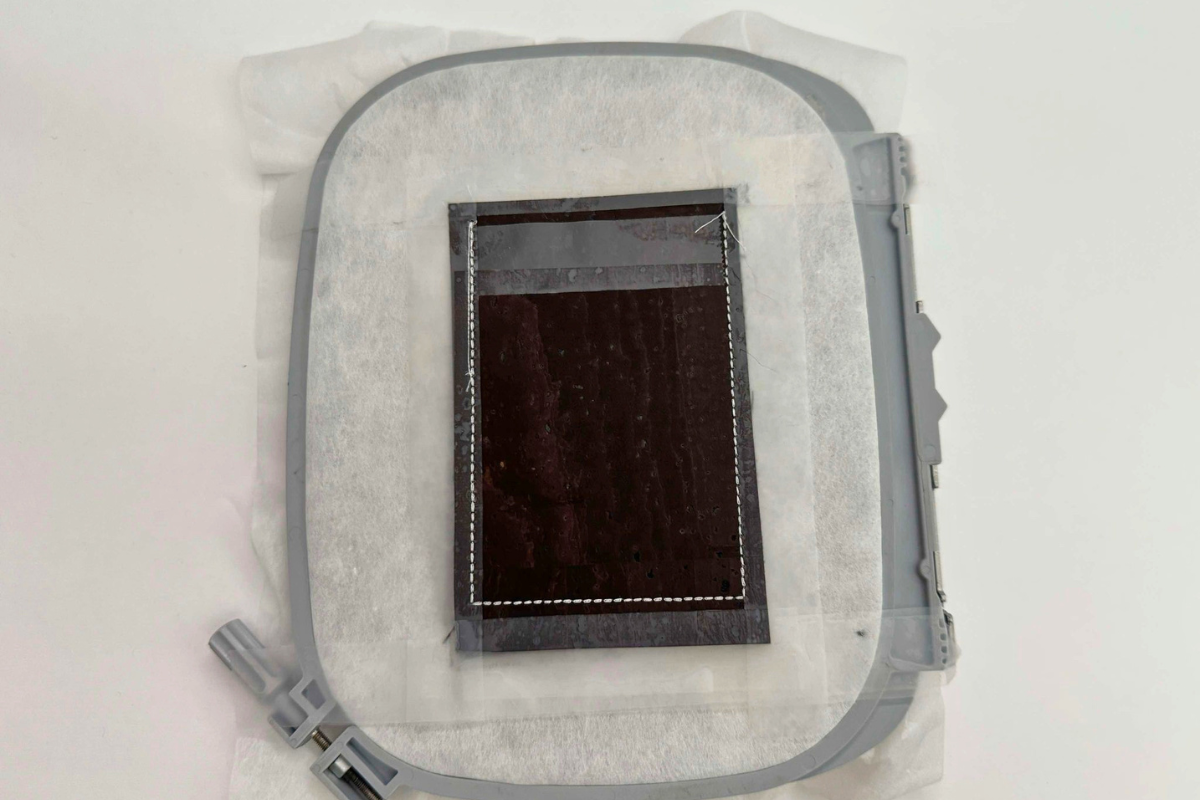
13. With hoop wrong side facing up, place the Back right side up over the Front and secure with tape. Then place the Back Pocket right side up aligning the bottom edge, secure with tape.
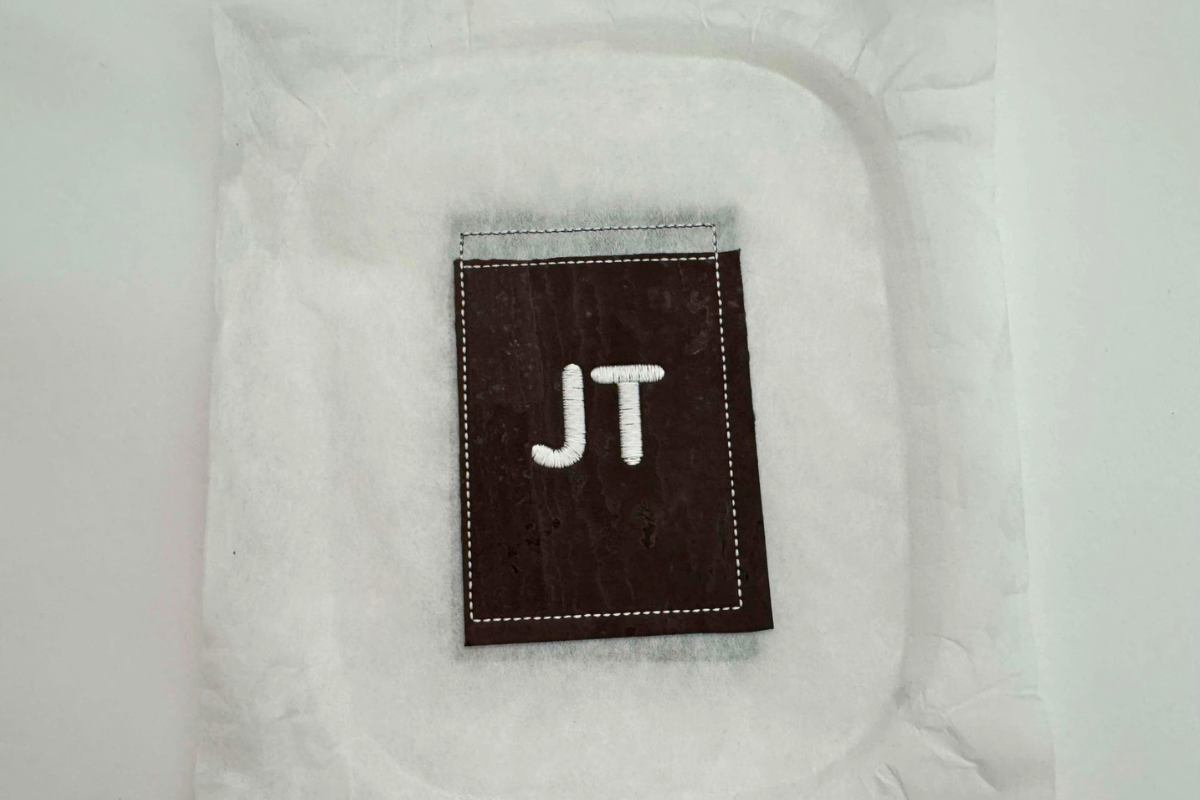
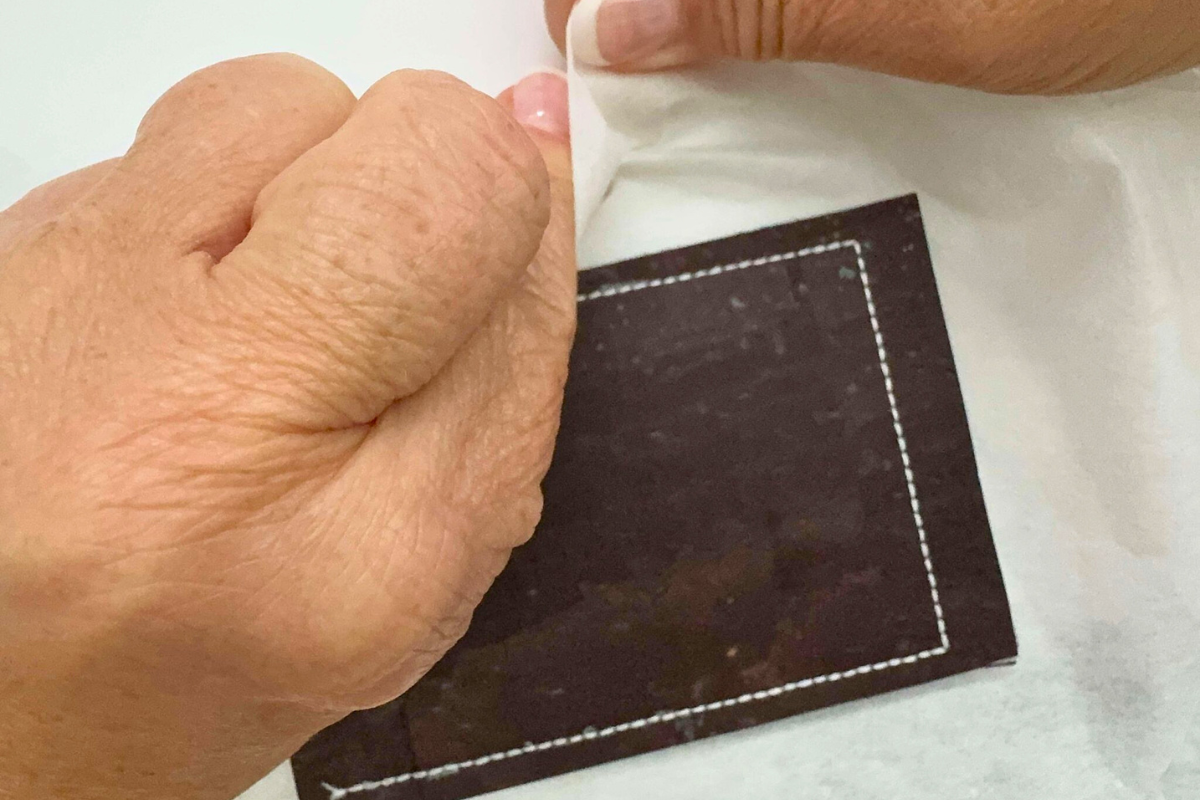
14. Insert hoop into the machine and sew stitch #5, the final bottom and side wallet stitching. Remove the hoop from the machine and the materials from the hoop.
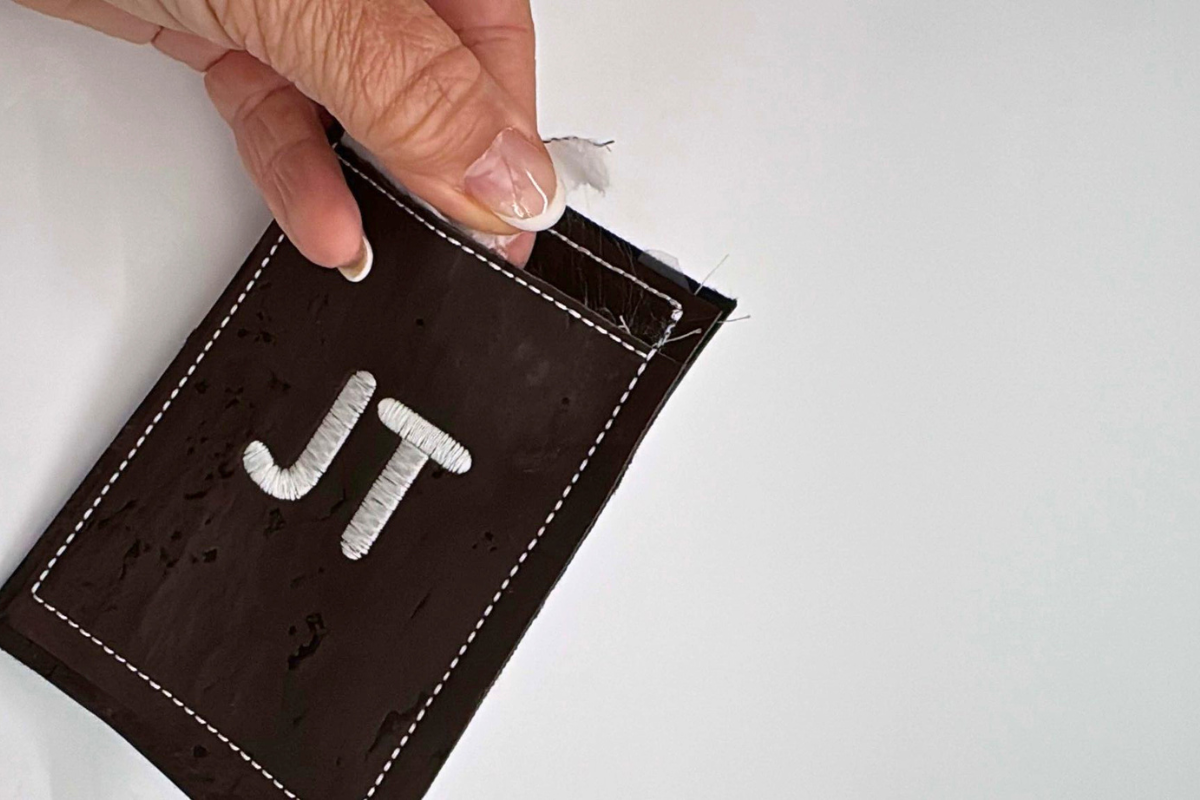
15. Gently remove the stabilizer from the outside and inside the pocket of the wallet.
16. With short sharp scissors, cut 1/8″ away from the outside edges.
17. Fill the front, back, and inside pocket with credit cards, cash, and business cards.
I hope you enjoyed this easy In-the-Hoop project and check out all of my machine embroidery projects here on WeAllSew! When you make yours, please snap a photo and tag me @SookieSews and @berninausa!!
What you might also like
2 comments on “Monogram Cork Slim Wallet: In-the-Hoop Tutorial”
-
-
Thank you for this last minute gift idea!
Leave a Reply
You must be logged in to post a comment.

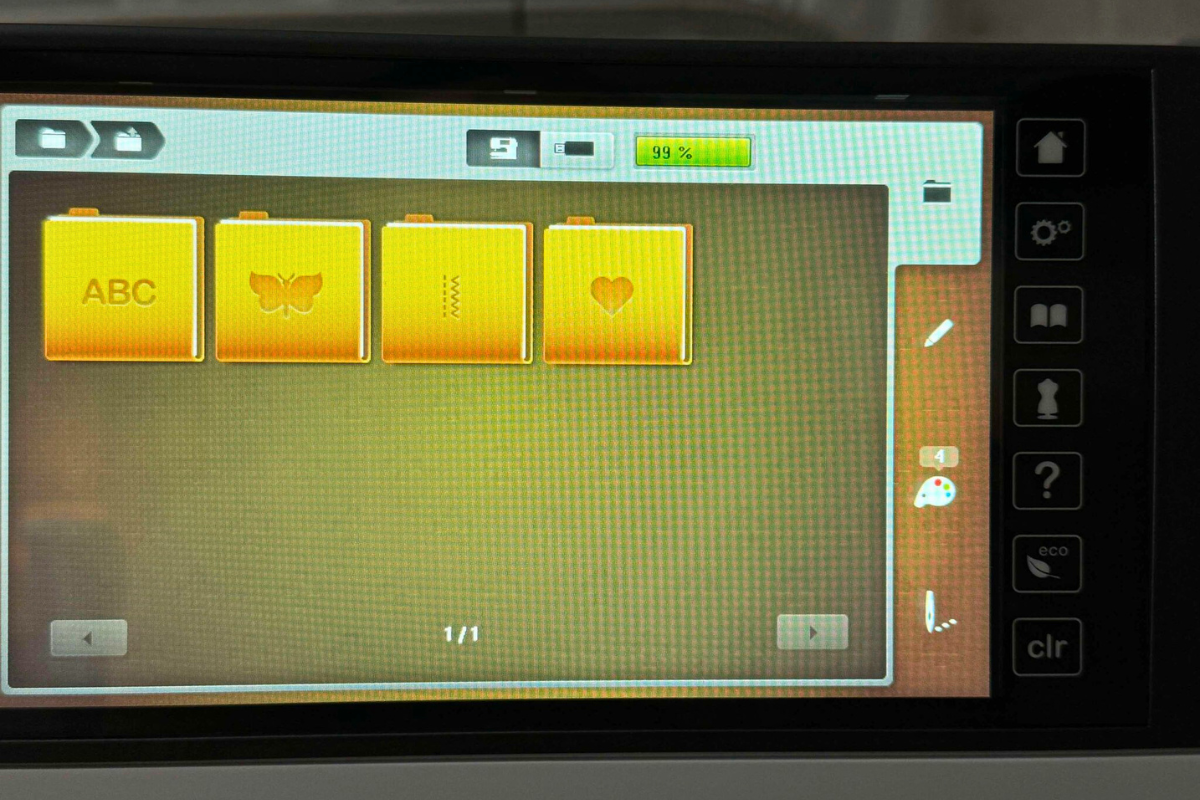
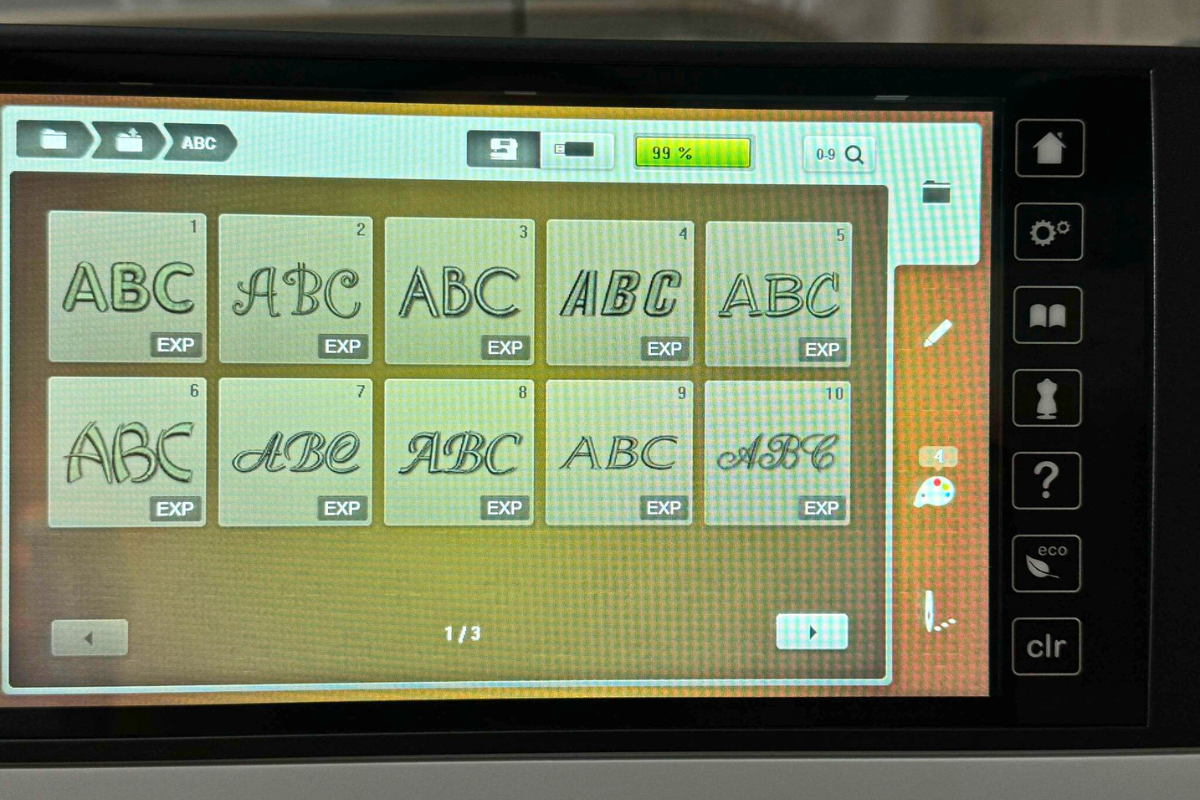
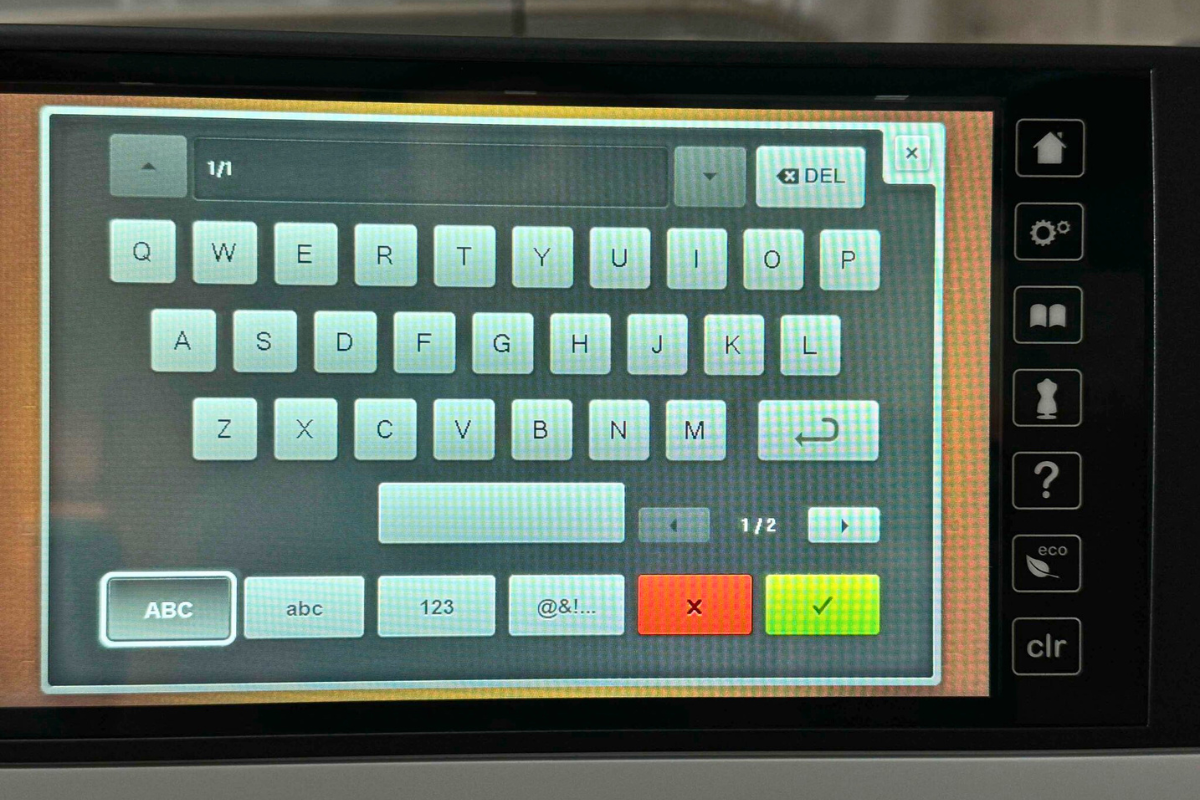
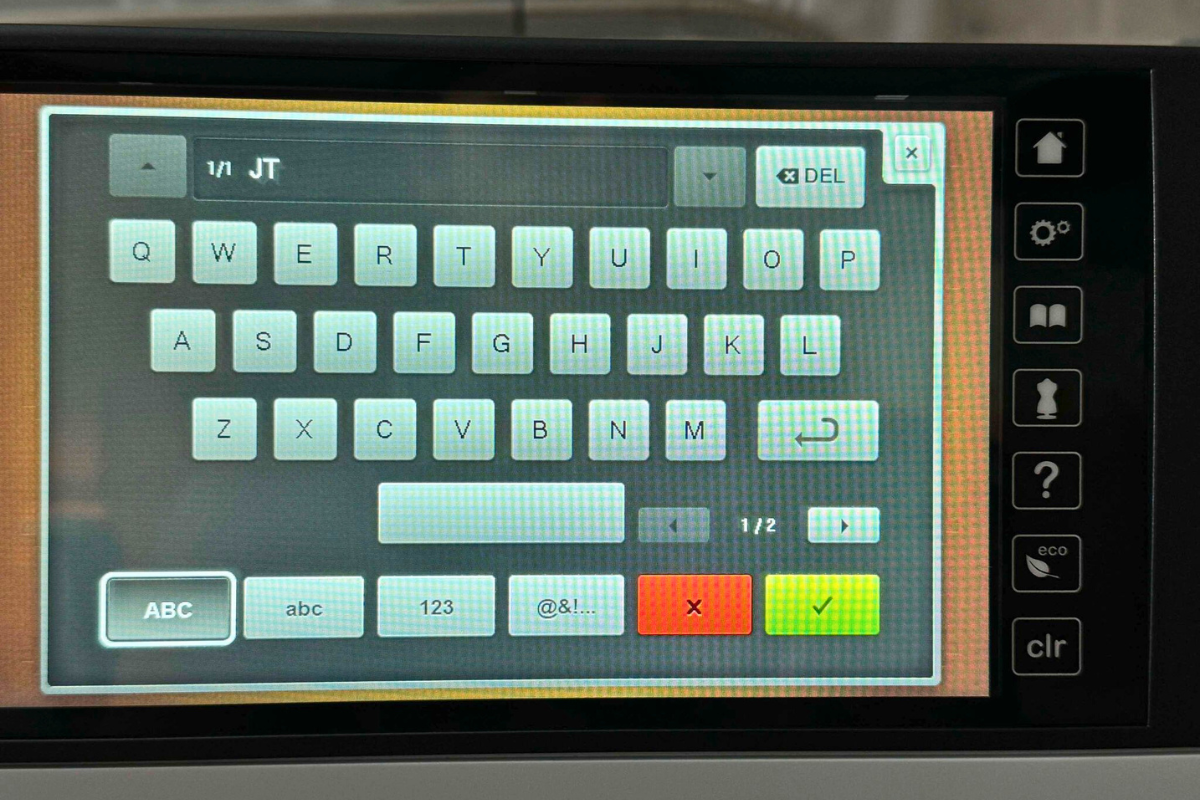


Thanks Sue and Bernina for a quick and easy embroidery project. This was just the project I needed to ease me into embroidery on cork and also for adding lettering to a design. I used my 570 QEE machine and adjusted the steps in the instructions to be able to embroider the lettering at the correct step (after step 1) in the project. I could not find the options on my 570 for “ Group Embroidery Motifs” or “ Rearrange Embroidery Motifs”, as mentioned in these directions. (I consulted my 570 manual, the Big Book of Embroidery, and YouTube— no help on these features for my 570. So I’m assuming that they are not available.). Anyway, I’m happy with my finished project and look forward to making a few more.