Speedy Serger Strip Quilt, Part Two
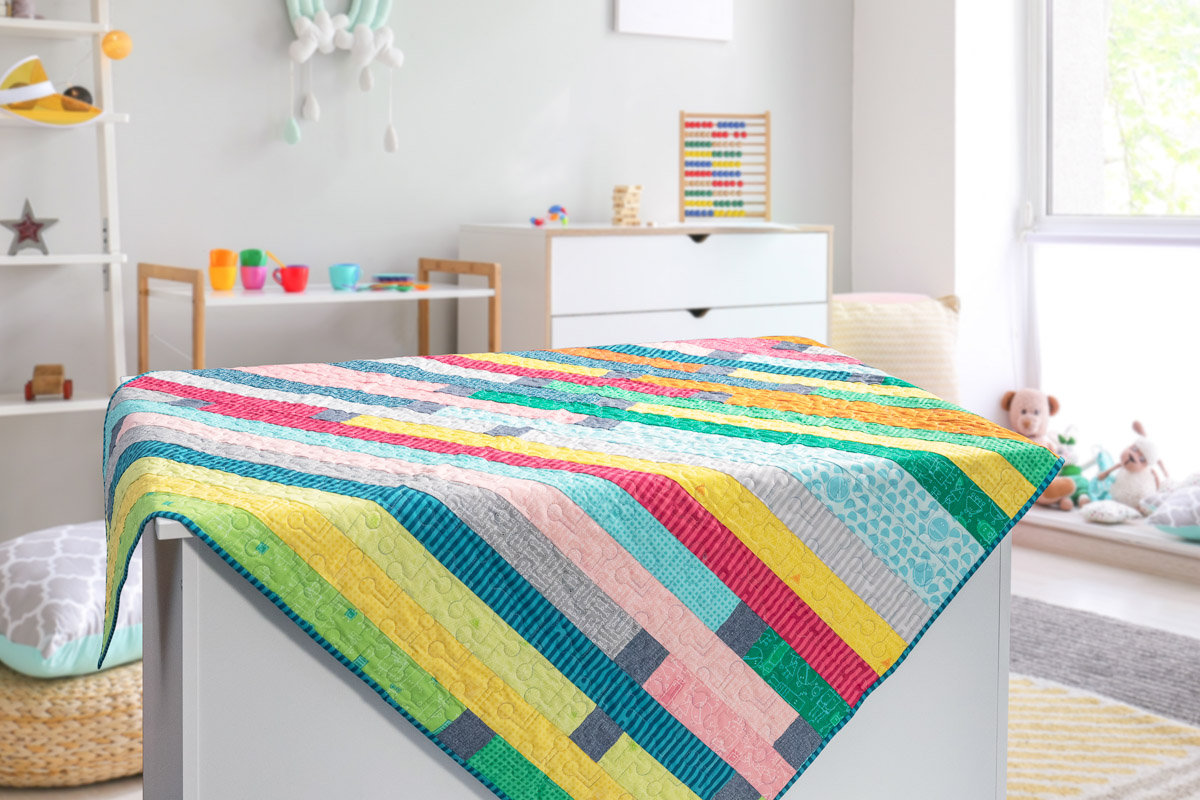
Welcome to Part Two of the Speedy Serger Strip Quilt. Click HERE to review what we did last time and to see the supply list.
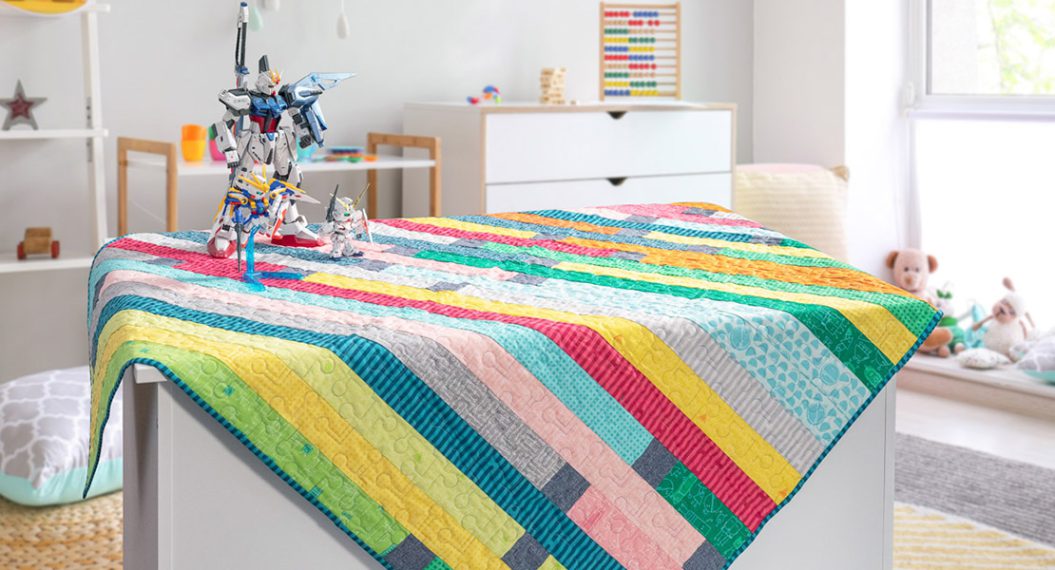
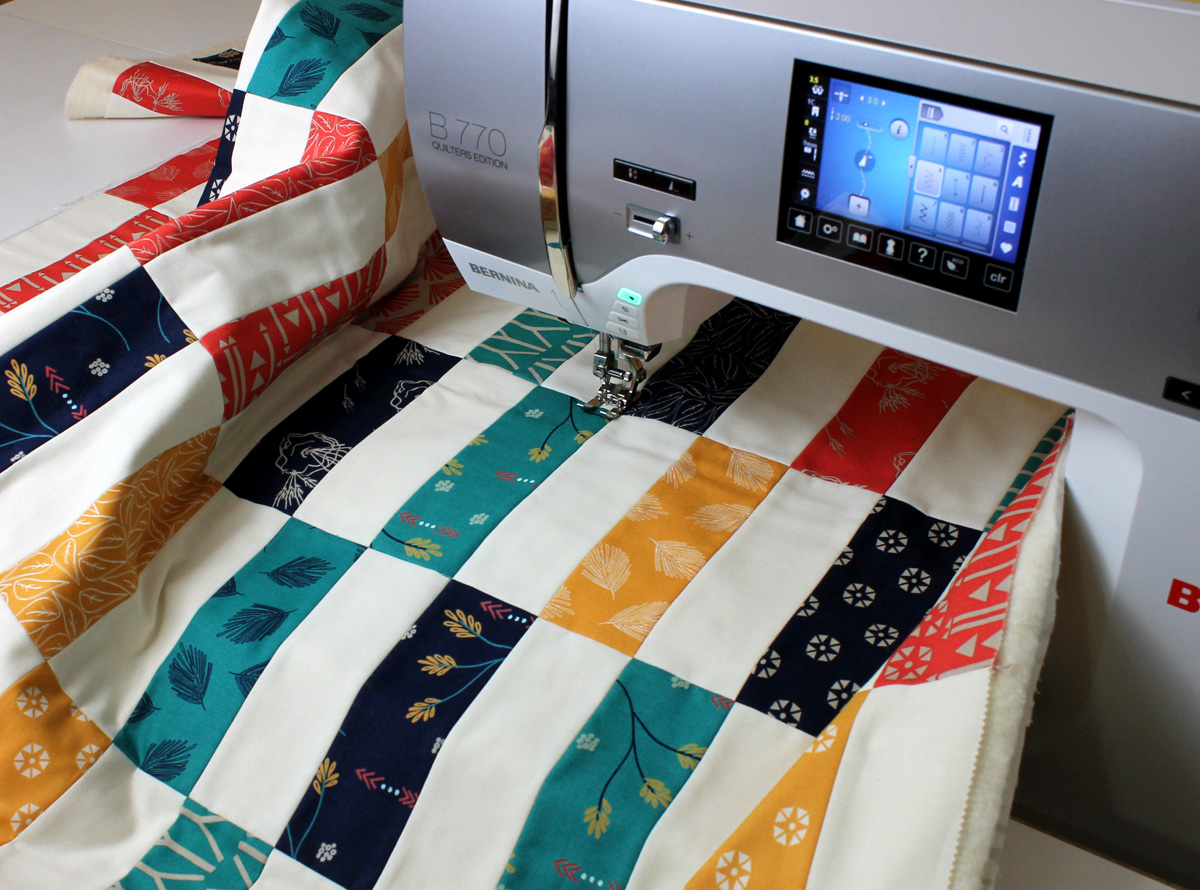
In this lesson, I’m going to share with you some tips and tricks for quilting a pantograph design with your embroidery machine, a process called Computerized Quilting. While piecing the quilt was speedy, I would call the quilting process speedy-ish. It is certainly faster than sending your quilt to your favorite longarm quilter and waiting impatiently for it to return.
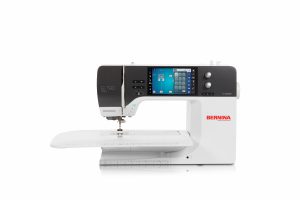
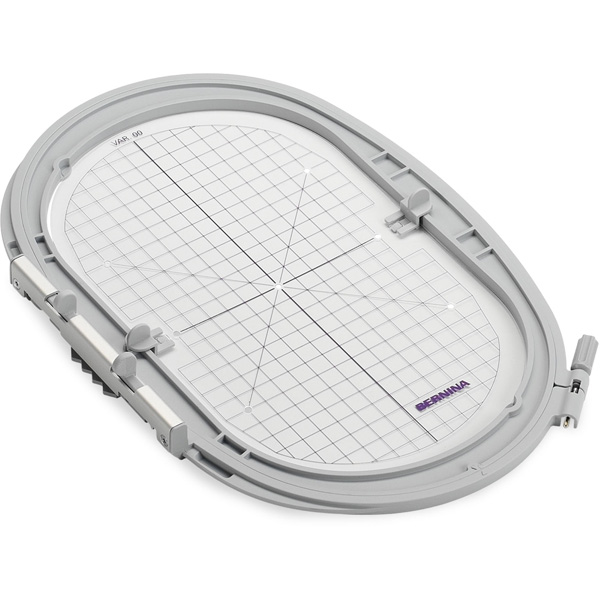
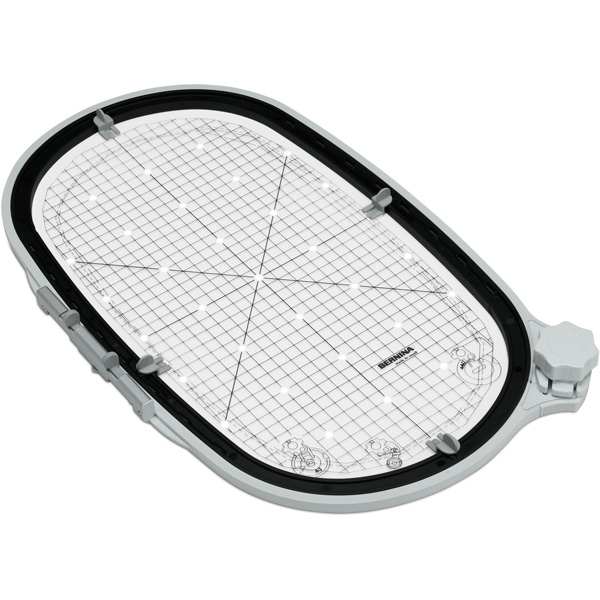
I used the BERNINA 790 PRO because I love the Pinpoint Laser, Pinpoint Placement, and Jumbo Bobbin. I used the Maxi Embroidery Hoop, which took my total hoopings from 192 (using the Large Oval Embroidery Hoop) down to 64. I also love the front-loading bobbin, which makes it easy to replace bobbins without having to remove my quilt from the machine.
Let’s begin by setting up our quilting design.
Step One: Design Setup
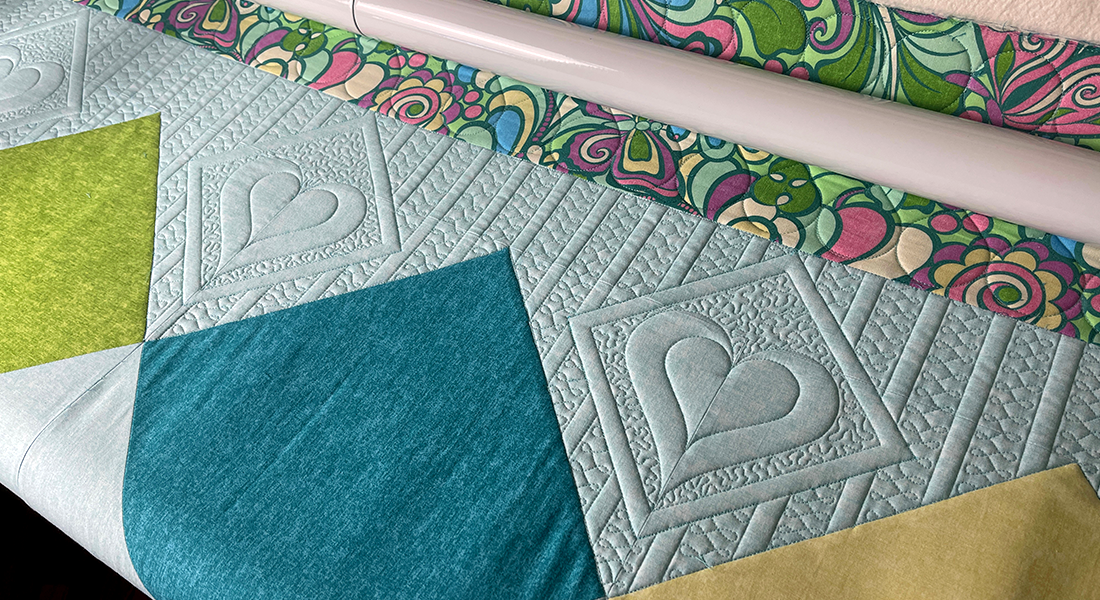
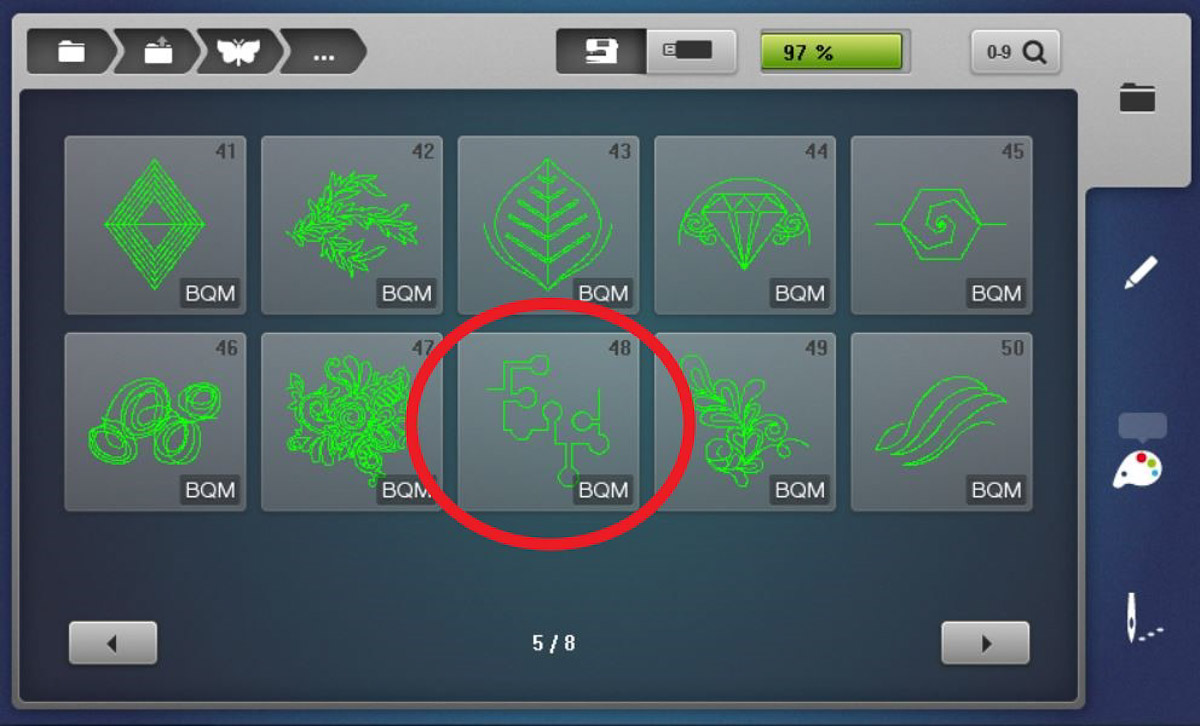
Select Design #48 in the Quilting Folder on the B 790 PRO. This design is perfectly sized for a jelly roll quilt. I was able to use the seams for alignment and the subsequent columns of quilting nested nicely together. I also liked how the design shape mimicked the designs of my fabric.
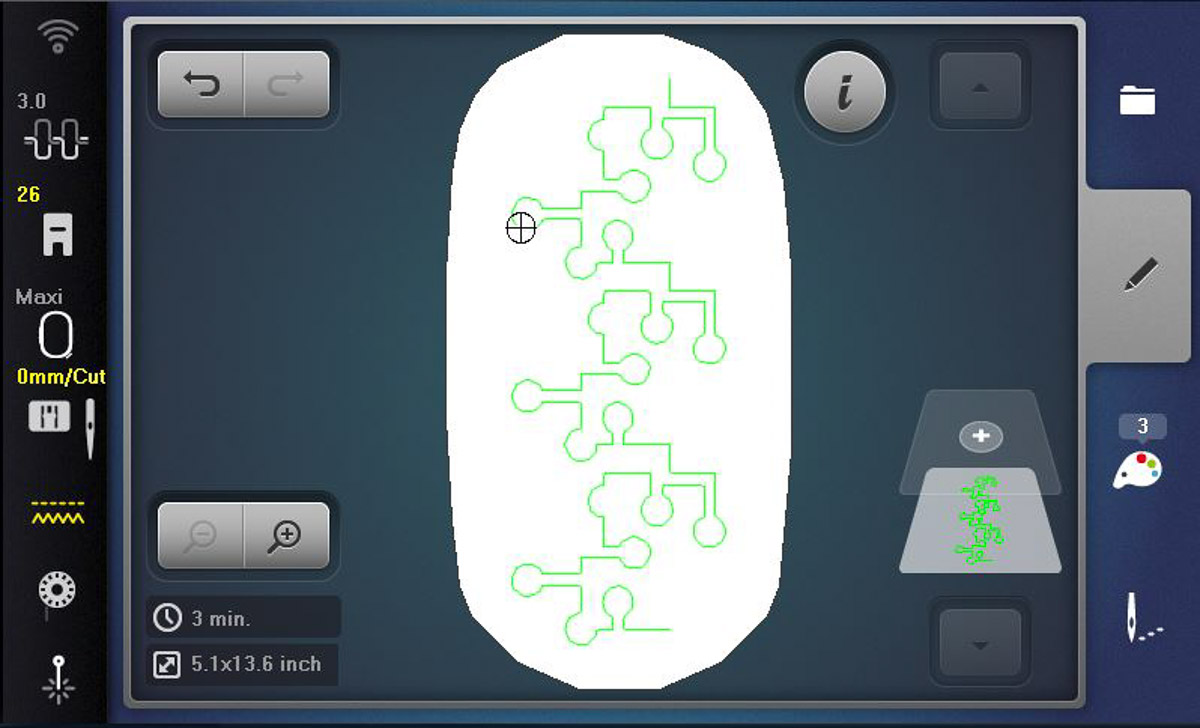
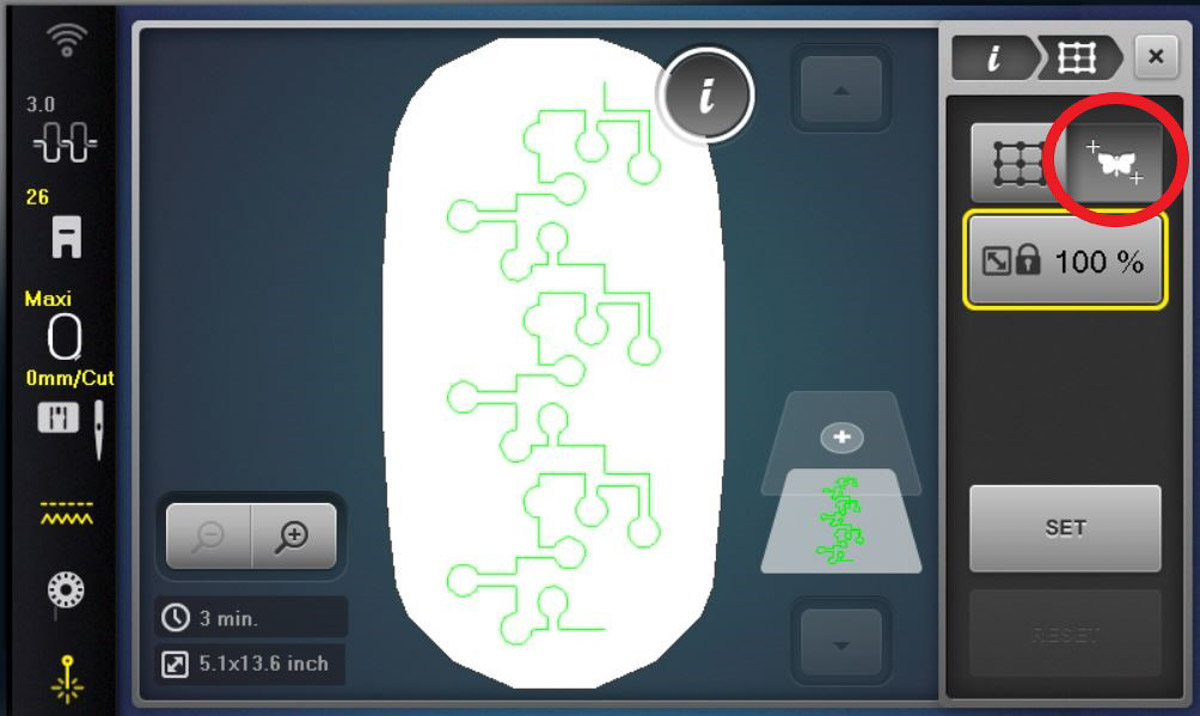
Select the Maxi Hoop. Rotate the design 90⁰ so that the starting stitch is at the top. Duplicate and place the second design below the first one. Repeat with the third design and place at the bottom. Move and align so that the three designs are touching, as shown below. Group and save to your machine. If you are unsure of any of these steps, click HERE for some tutorials.
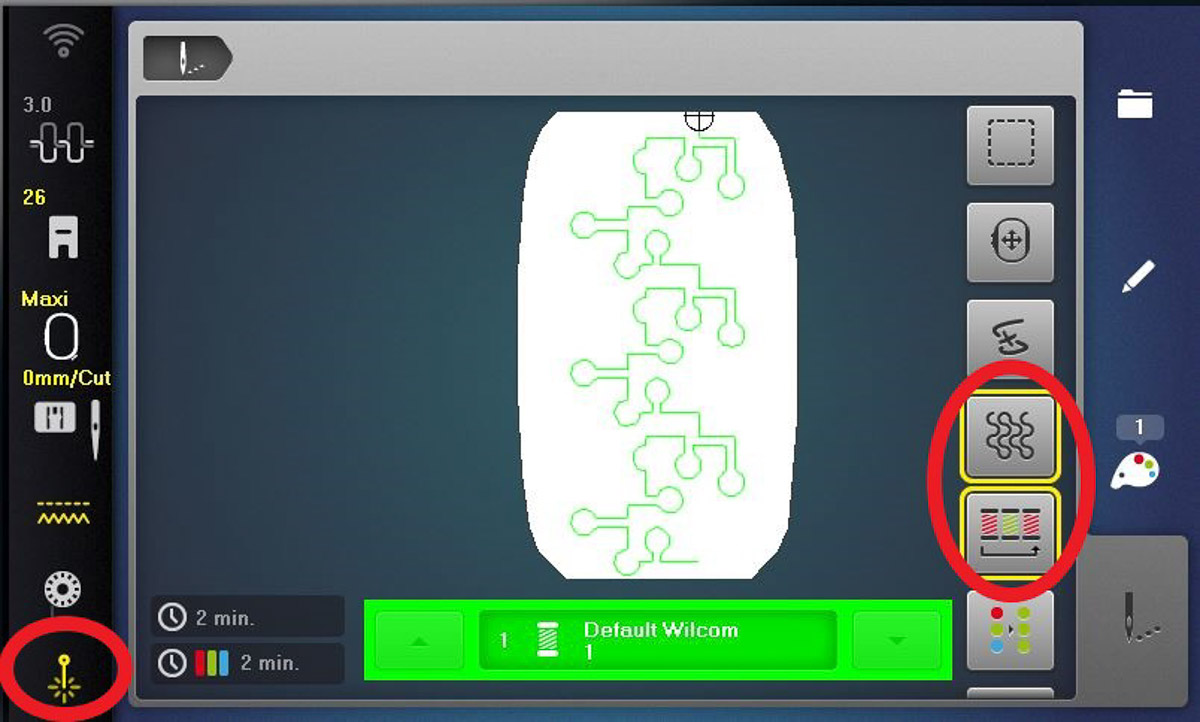
On the embroidery screen, select the Quilt Settings icon to activate quilting-related settings. Select Color Resequence. This tells the machine to stitch the entire design without stopping. Don’t forget to turn the Laser on! Finally, set the machine for about 1/2 speed with the Slide Speed Control.
Step Two: Machine Setup
Thread machine with matching thread in both needle and bobbin. I used King Tut (a 40 weight thread) and a 90/14 Topstitch needle. Wind two bobbins to get started. I did not have to adjust any tension settings, but do a small test sew if you aren’t sure. 50 weight threads sometimes require a slight increase in the top tension so that the needle thread does not show on the back.
Attach the Slide-on Freearm Extension Table to provide support for the Maxi Hoop.
Step Three: Test Design
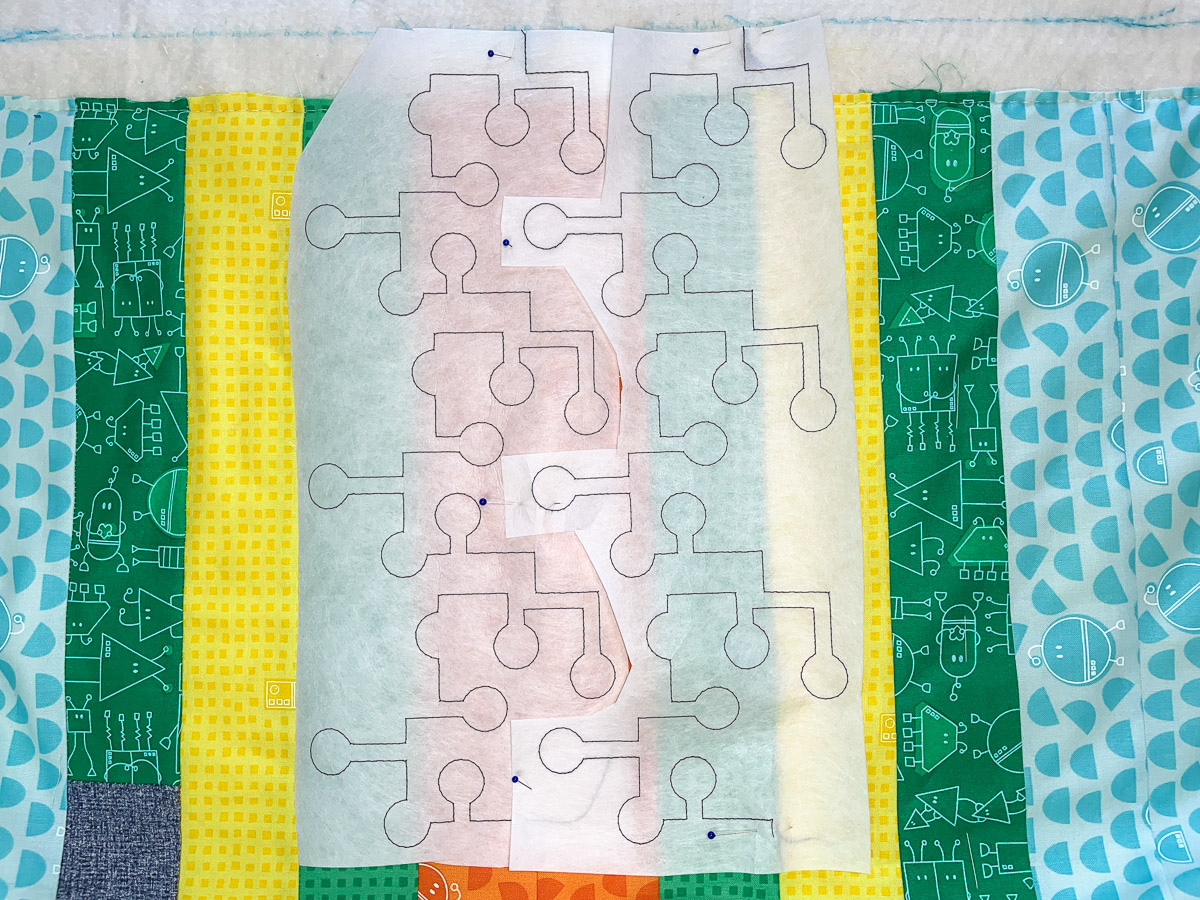
Hoop a piece of OESD HeavyWeight CutAway Stabilizer and stitch the design. Write “TOP” at the beginning of the design. Place on your quilt to preview how it will look. Notice that I have placed the first stitch on the drawn line on the batting even with the seam allowance. Do not skip this test! It is better to check the design before stitching to avoid any un-sewing!
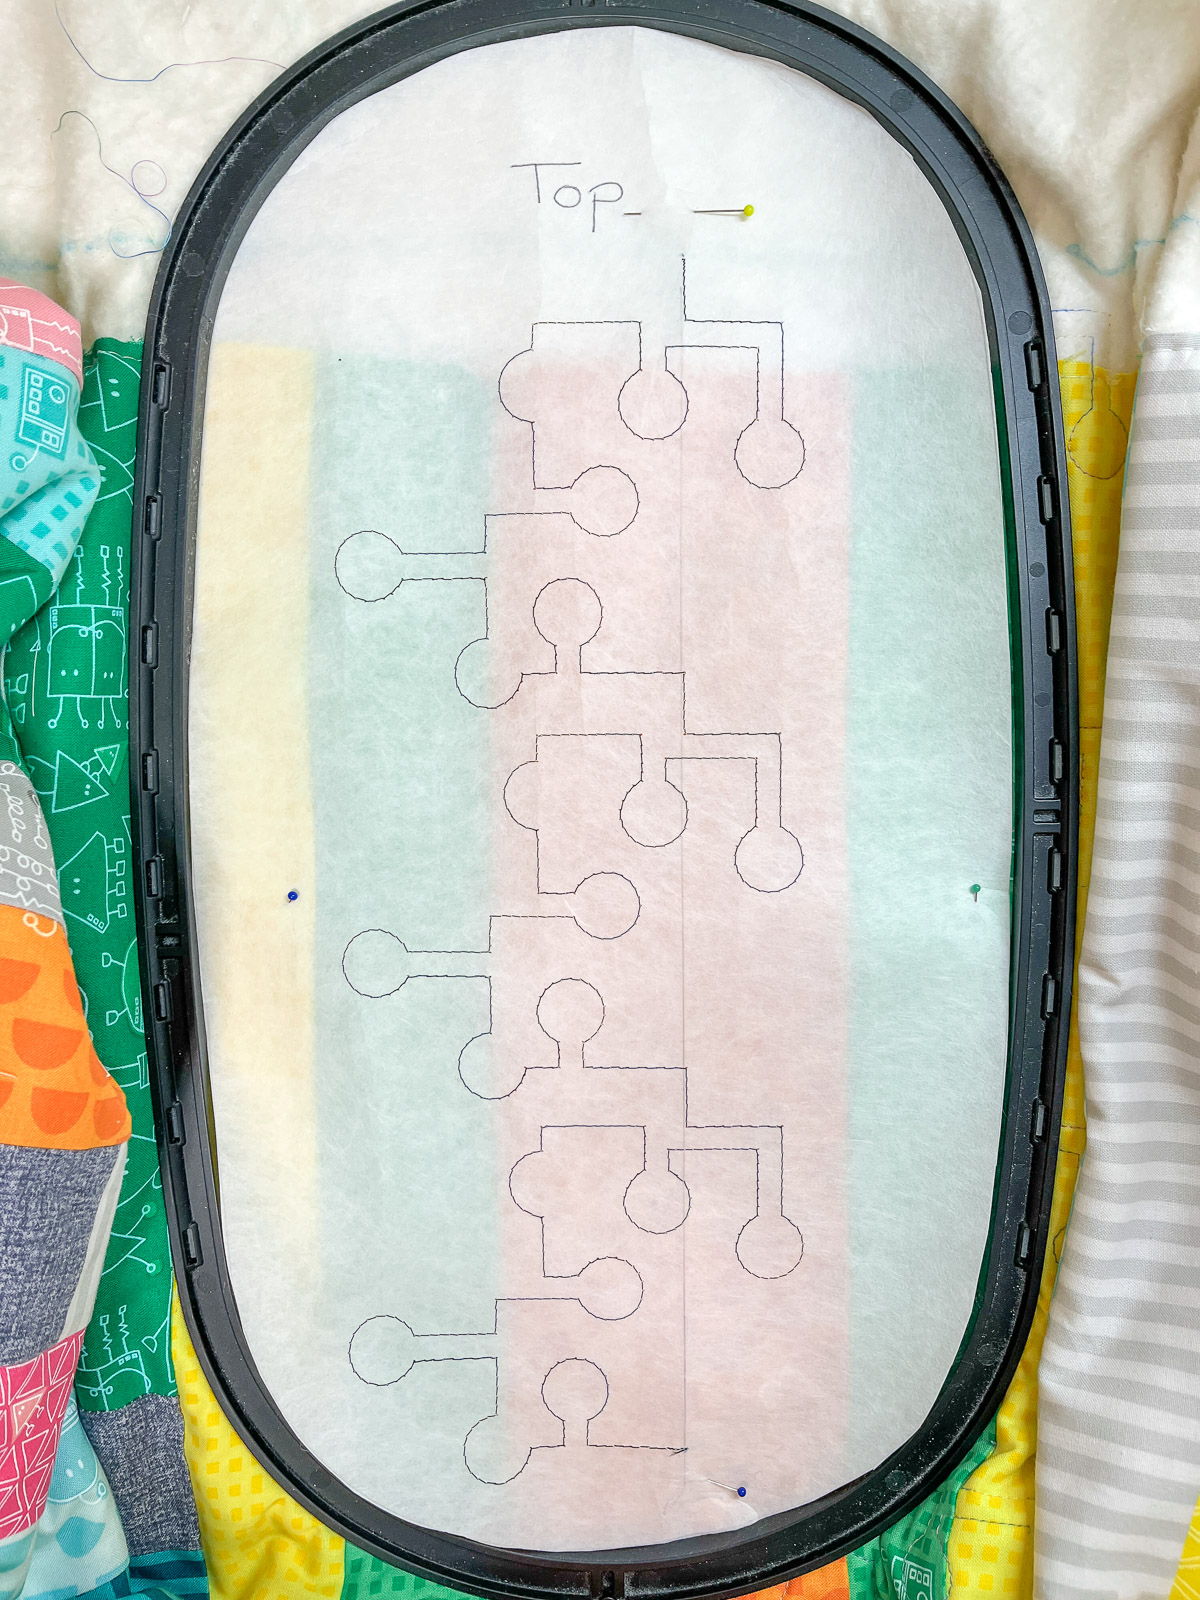
I found it helpful to stitch two more designs on the stabilizer. I trimmed both and placed them on my quilt to see how the designs nested together. I was happy to discover that each column will start and stop on a seam line. I used every other seam line for alignment. No marking required!
Special Note: No stabilizer is used during the actual computerized quilting process.
Step Four: Start the Design
The first column of stitches will be down the center, and then you will work to the right. It’s a little bulky at first, but there is plenty of room on the B 790 PRO! Make sure you are working on a table or cabinet that provides support for the rest of the quilt.
Technique Note: You can also stitch a row of unconnected motifs across the center. Then stitch the connecting designs above and below. Some designs, like ribbon candy, work better this way because they need to be precisely aligned. The nested design I chose allowed for a little forgiveness in placement, so I began with a completely connected column down the center.
Keep in mind that the starting and ending points of this design are NOT in the vertical center of the hoop, but to the right a little bit. In this photo, I’m getting set up for stitching the second column. You can see the first column of stitching on the left. I drew a line on the batting from the seam line to the horizontal line that I drew earlier. This will be the starting point of the beginning of the second column.
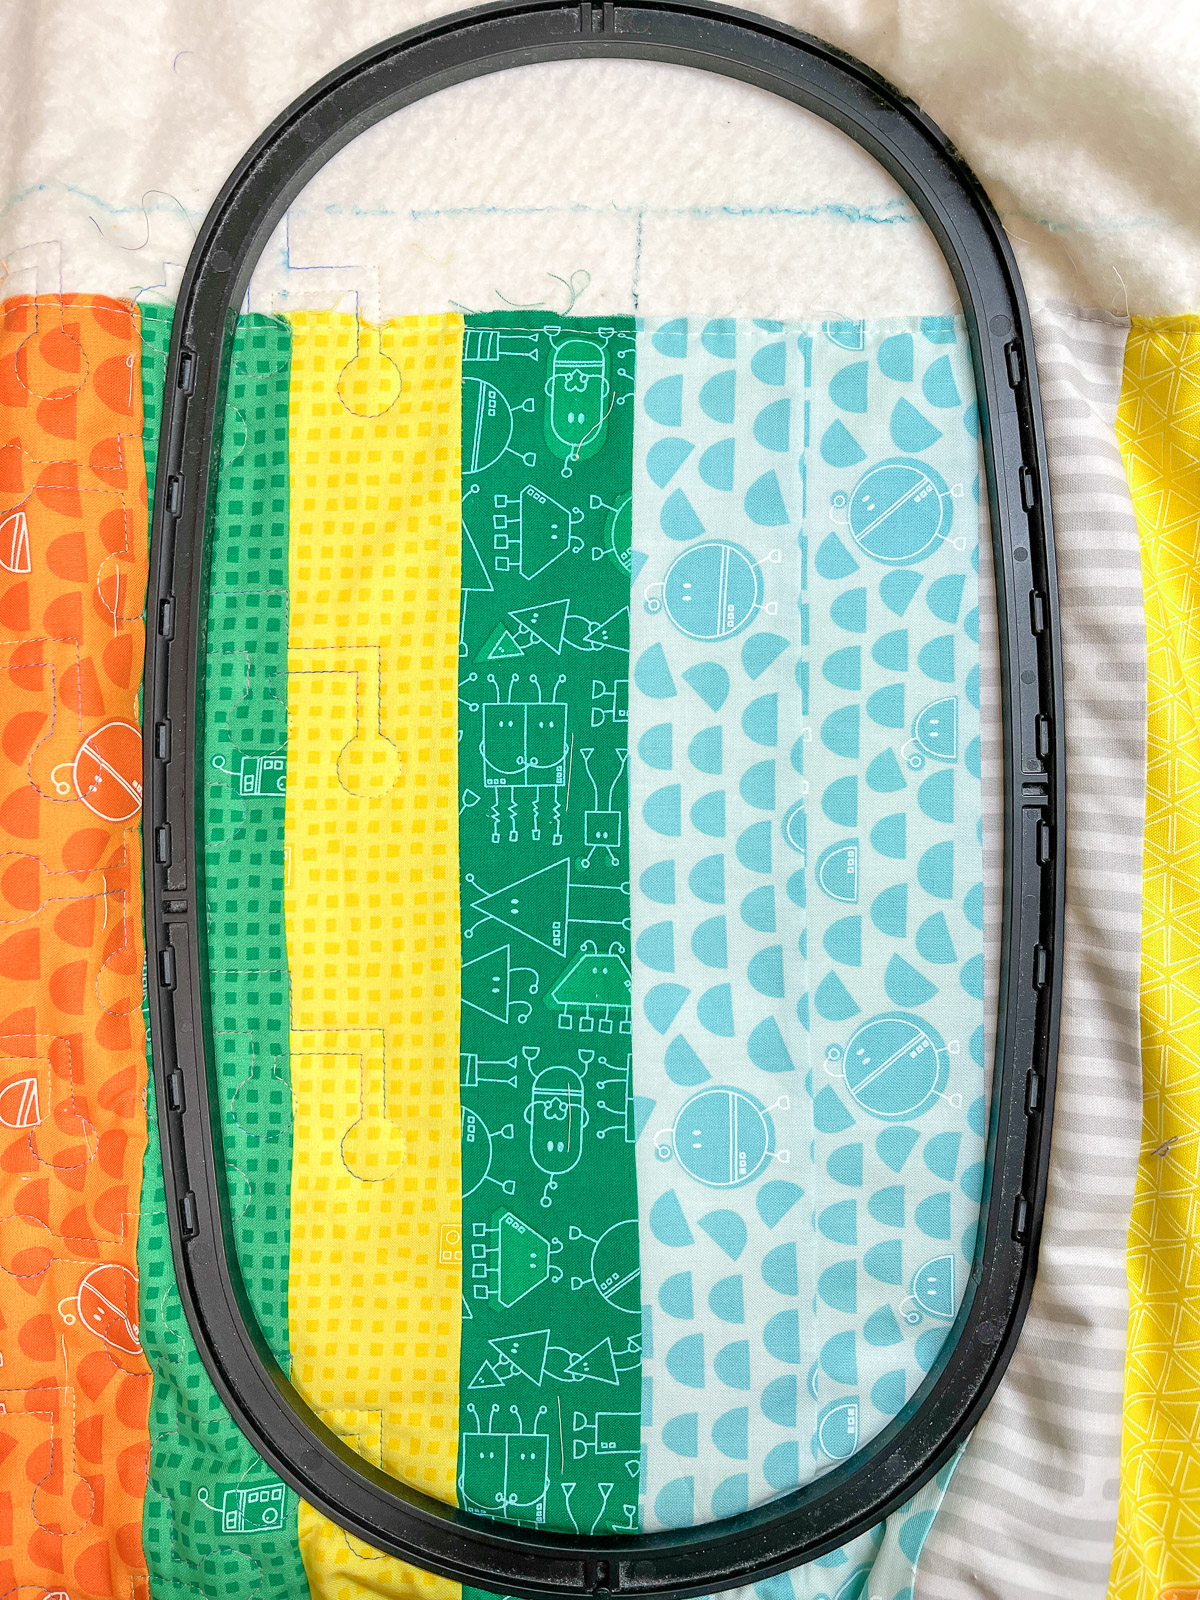
Use Free Point Positioning to align the start point at the top. After setting the start point, select the endpoint. Use the upper Multi-function Knob to move the design right or left to end on the same seam line. Activate the Lock Function to prevent any accidental resizing of the design.
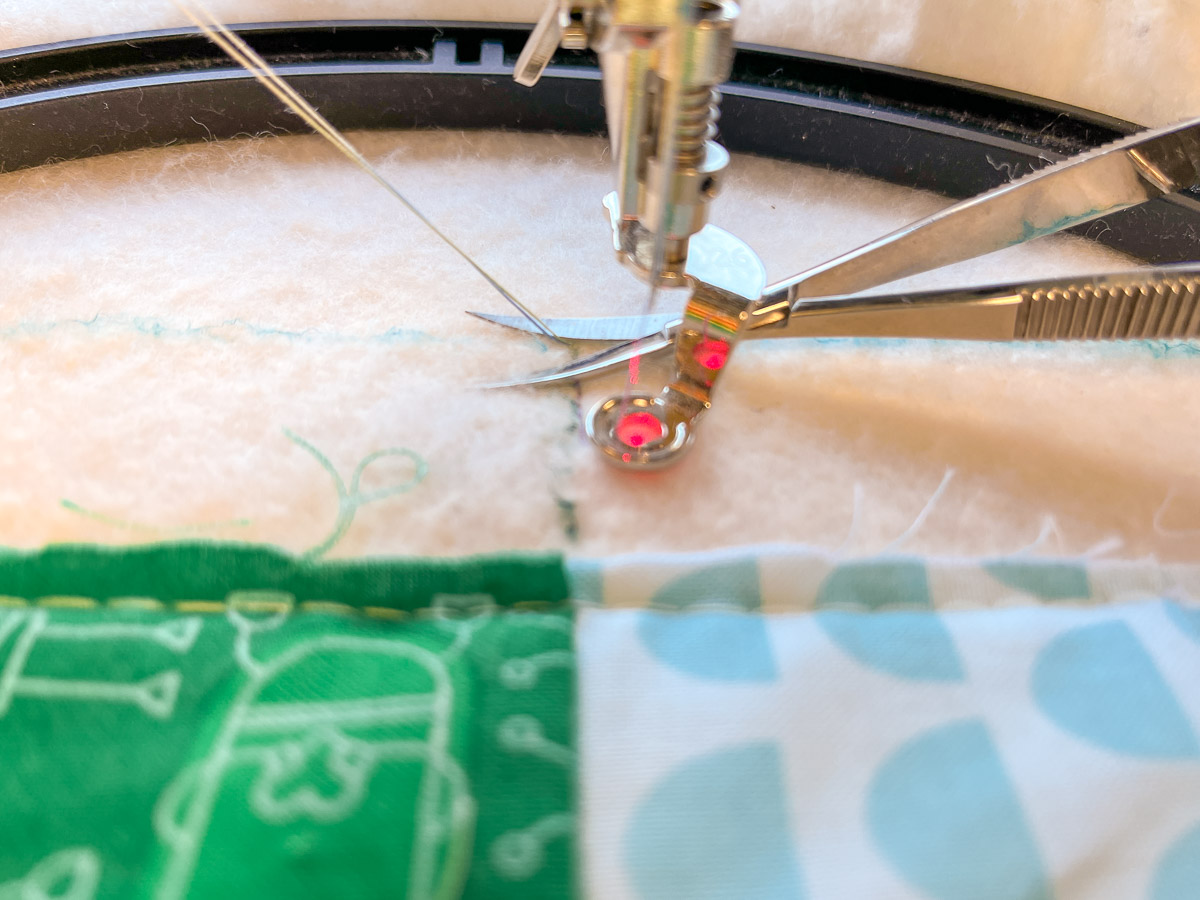
Use the Thread-up Command to bring up the bobbin thread and sew a few stitches. Trim and continue. I found it helpful to activate the beginning thread cutting setting in the Set Up menu. The machine stops after taking a few stitches to allow for the trimming of thread tails. It is best NOT to trim threads while the machine is moving! Continue stitching the design, supporting the quilt as you go. TIP: Remove basting stitches as necessary so that the embroidery foot doesn’t get caught under them.
Step Five: End the Design
When the design is complete, the threads are not automatically cut, and the hoop moves to the beginning of the design. Select the Embroidery Sequence Control icon and touch at the bottom of the design on the screen. The hoop will move back to the end so that you can bring up the bobbin thread.
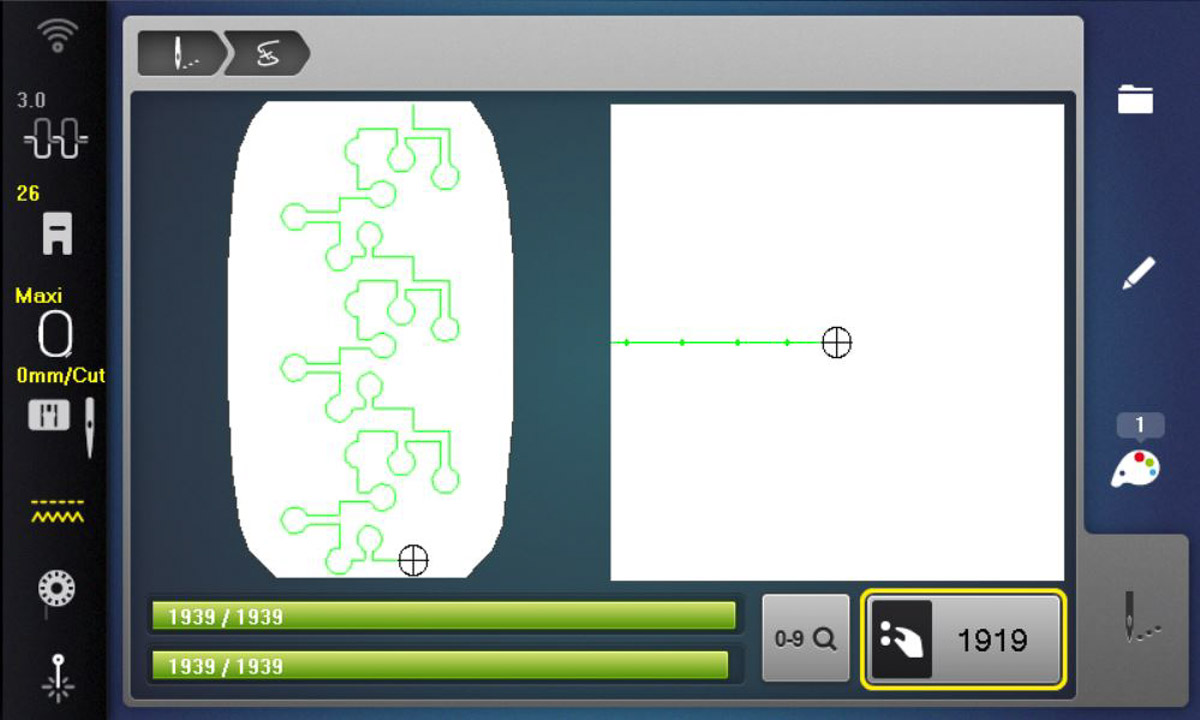
Once you bring up the bobbin thread, trim all the threads about 3″ away from the quilt. Then touch the middle of the design on the screen. This will move the hoop to the approximate center. (Note: The actual stitch count of the design is closer to 900, not the 1940 shown on this simulator image.)
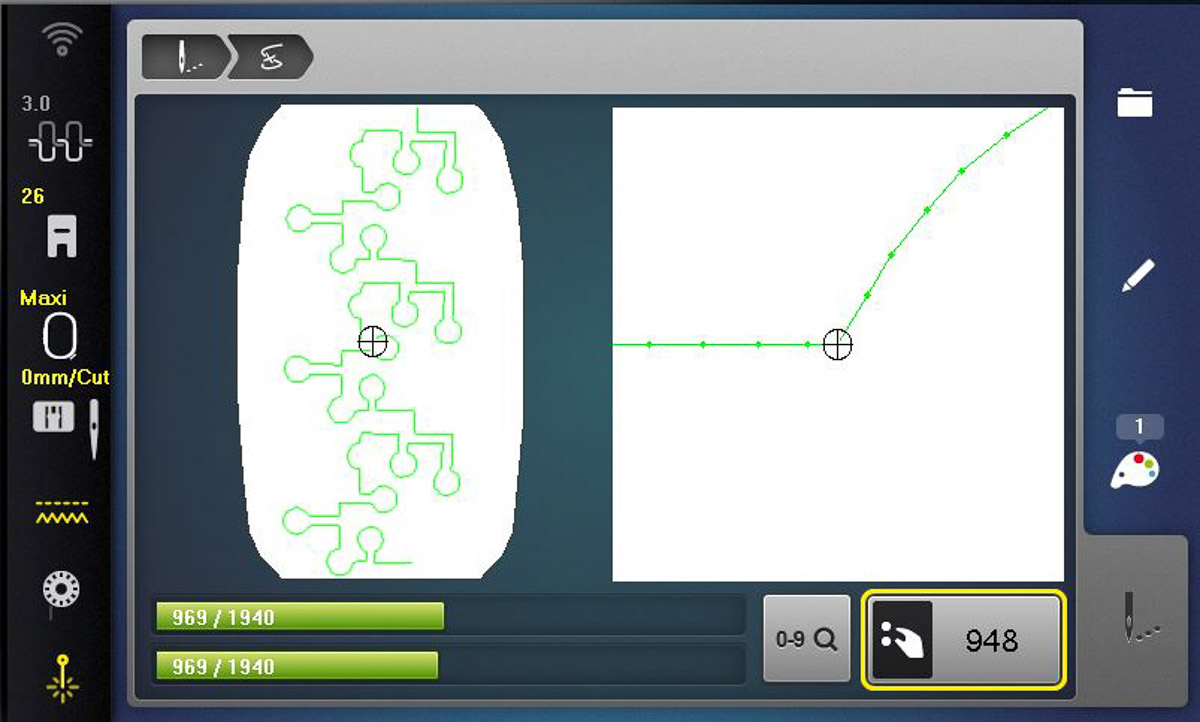
The bobbin thread that is attached to the bobbin will be taken to the back. Pull on the remaining two threads and trim close to the quilt. This will not be a show quilt, so I am not burying the threads. I found that if I trimmed the threads close to the quilt after bringing up the bobbin thread at the end of the design, the bobbin thread was too short to be pulled to the top for starting the next design.
Step Six: Re-hoop
The hoop is now centrally placed for maximum support on the sew table. Release the inner hoop. Do NOT remove the outer hoop from the machine! Slide the inner hoop onto the machine head up out of the way.
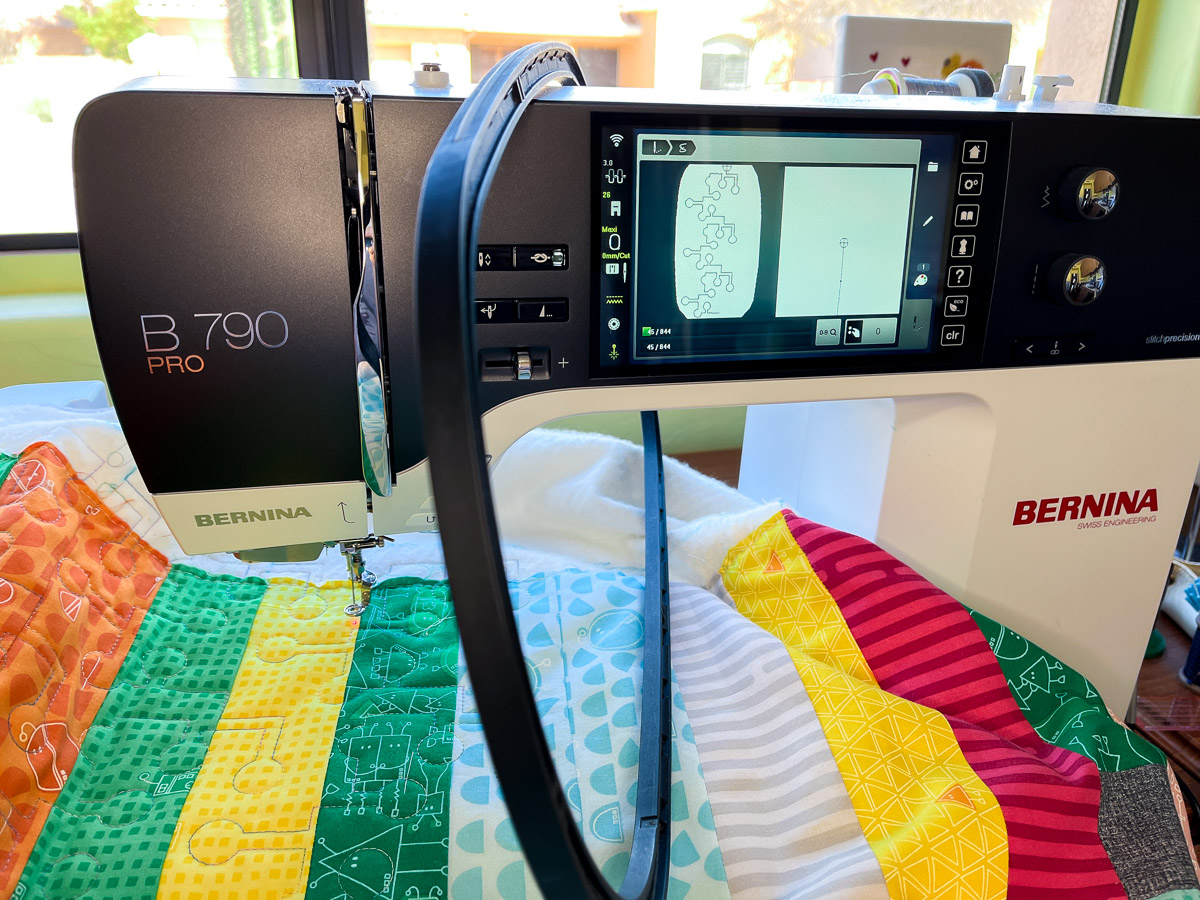
Slide the quilt into position for the next stitching and place the inner hoop back into position. This will seem awkward at first, but once you have done it a few times, you will be amazed at how easy it is to reposition the quilt each time! Because you are not removing everything from the machine, the quilt stays nice and flat. I love not having to worry about Dun-Under (when part of the quilt scoots underneath the hoop), the sneaky cousin of Dun-Lap (when part of the quilt flips on top of the hoop)!
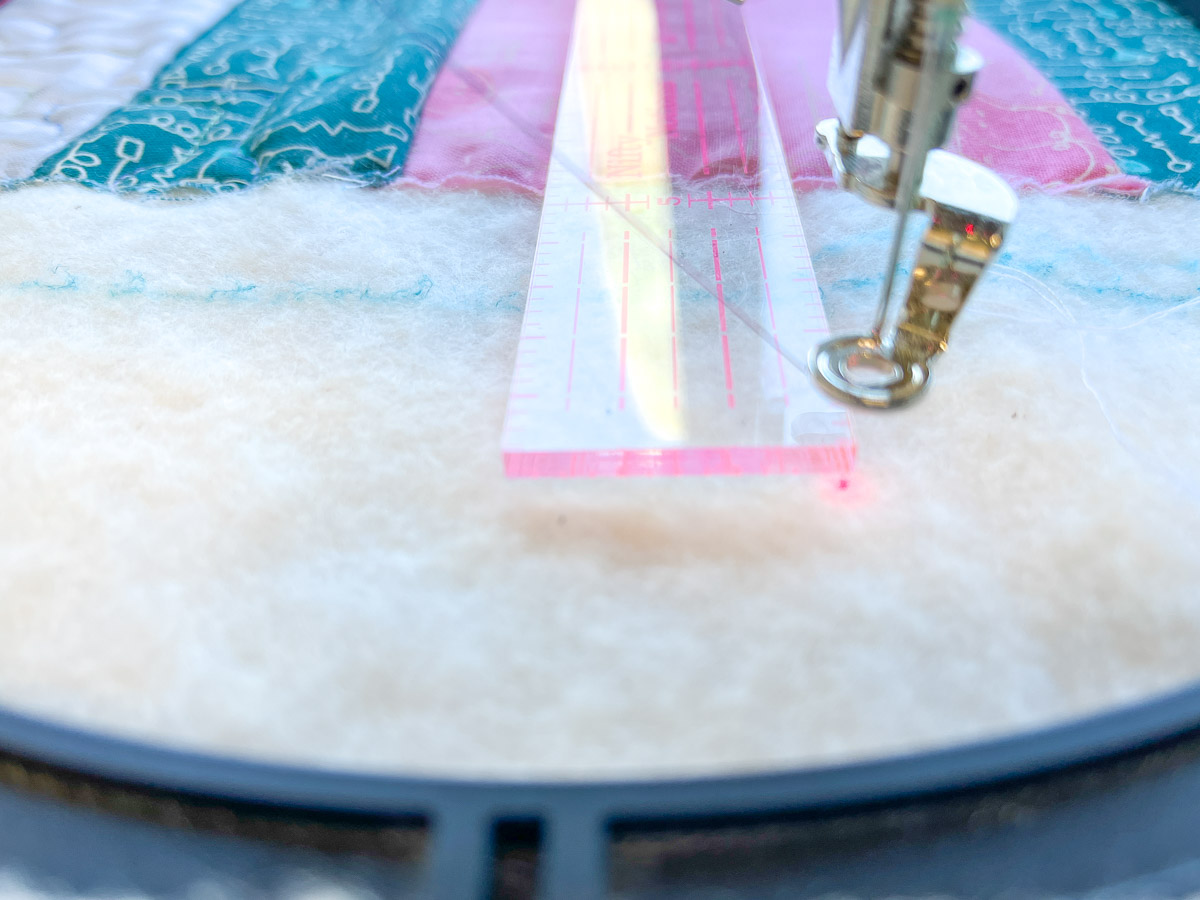
Make sure to select CLR before positioning the design. Get everything lined up and stitch. It will take four hoopings to stitch the entire column. I used a small ruler when placing the last design to keep the ending in line with the seam. Once the design started stitching on the batting, I stopped the machine and cut the thread.
Step Seven: The Other Half
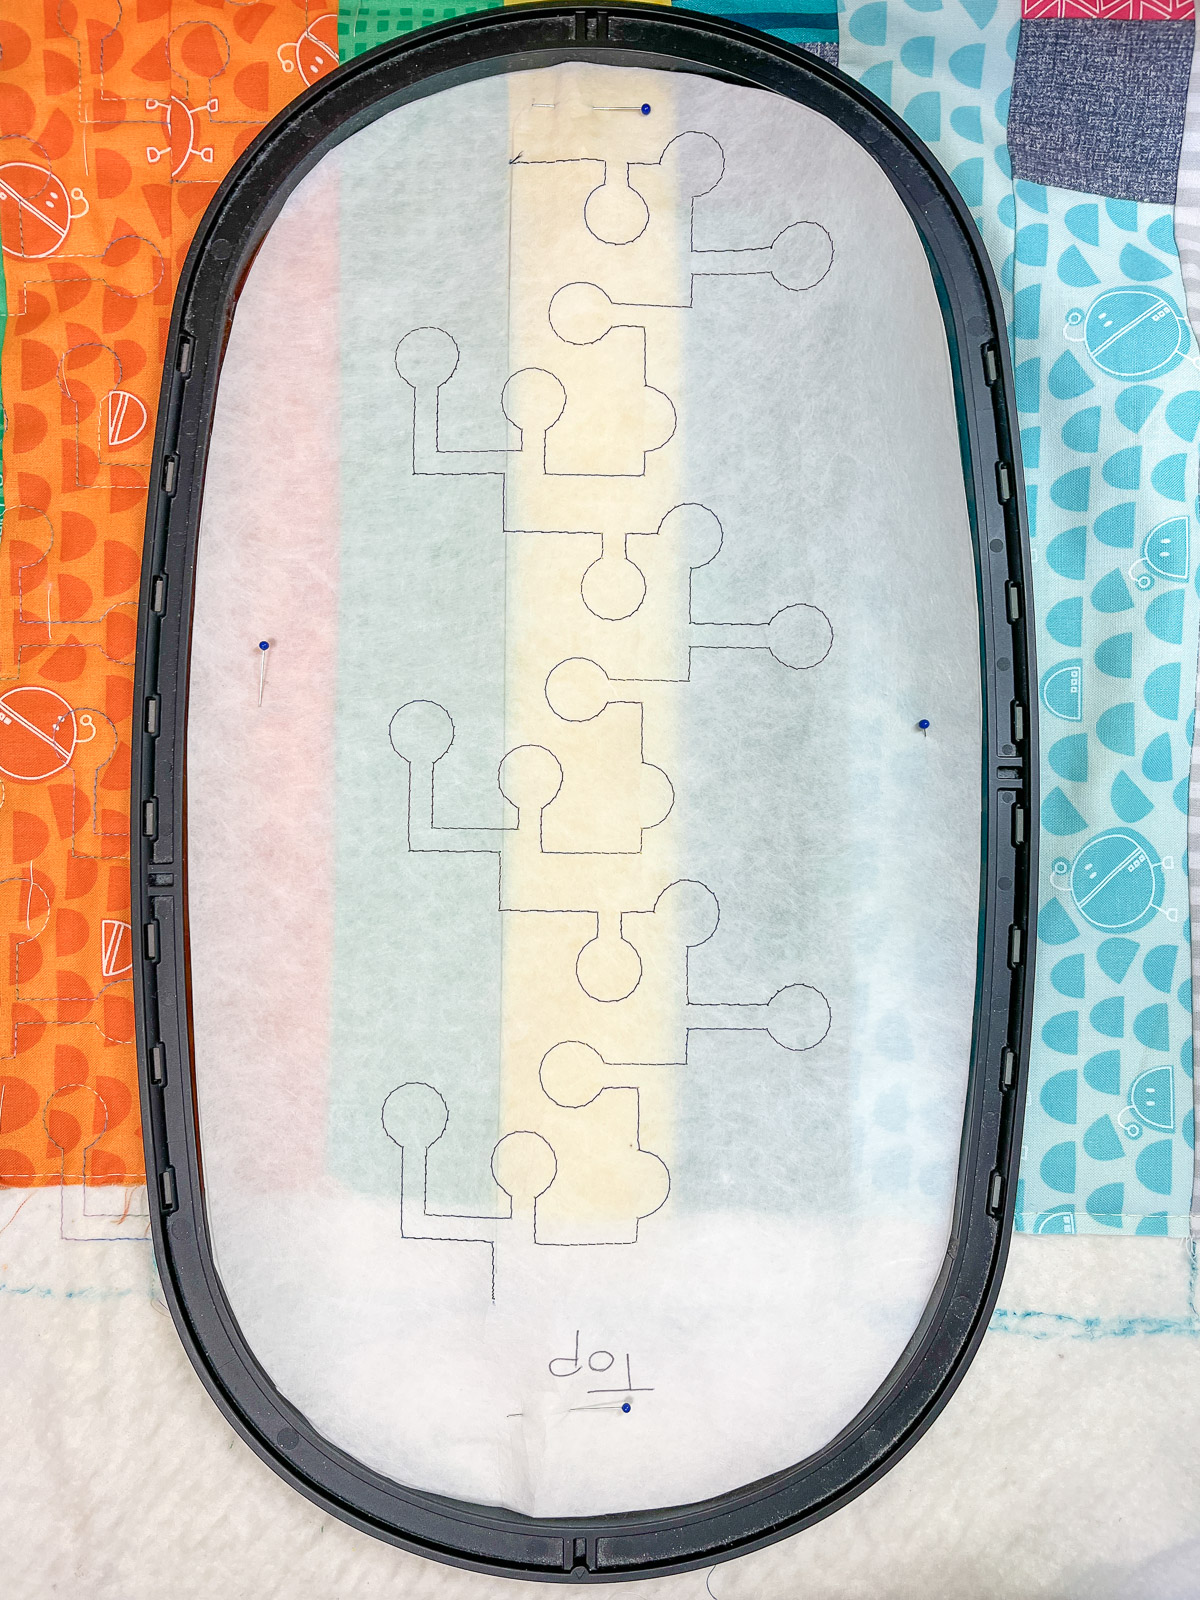
After you have quilted the entire right half of the quilt, it’s time to flip things around to quilt the left half. The starting point is on the same side of the quilt, but it is now closer to you. As you can see from the photo, I’ve rotated my test piece 180⁰. Make sure you rotate the design the same way in the machine and SAVE.
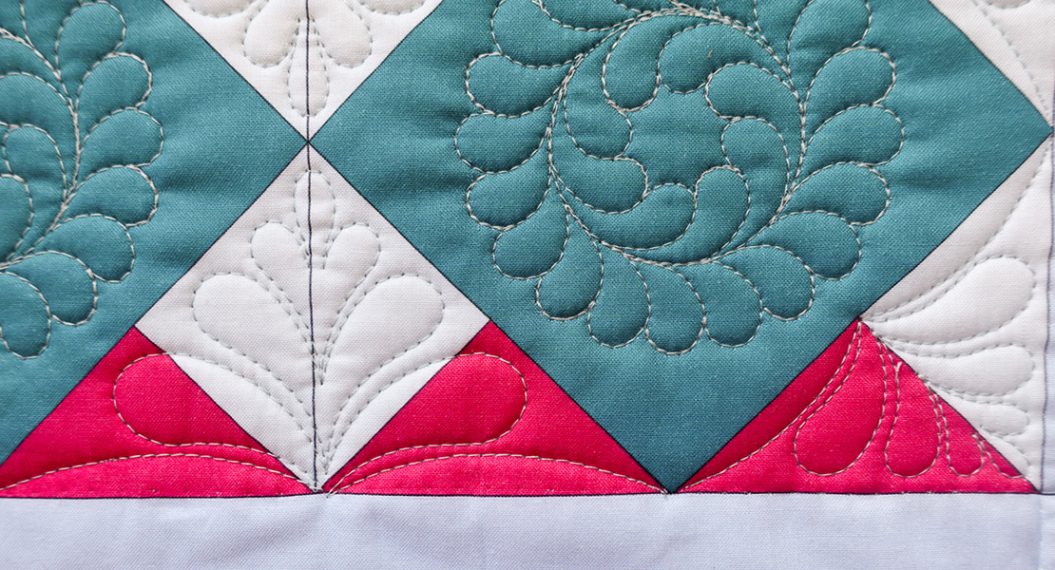
Quilt the other half of the quilt. Before you know it, you will be done! I just love how this looks like I quilted on a longarm! In fact, I lovingly call my B 790 PRO my mini Q-matic.
Step Eight: Binding
Square up the quilt and head back to the serger to add the binding. Use fusible thread in the lower looper and stitch the binding to the front of the quilt with the 4-thread Overlock stitch.
Press the binding to the back, fusing it in place. If this is going to be a well-loved (and well-washed!) quilt, I would suggest topstitching or hand tacking the binding in place. Isn’t it great not having to maneuver around pins or clips?
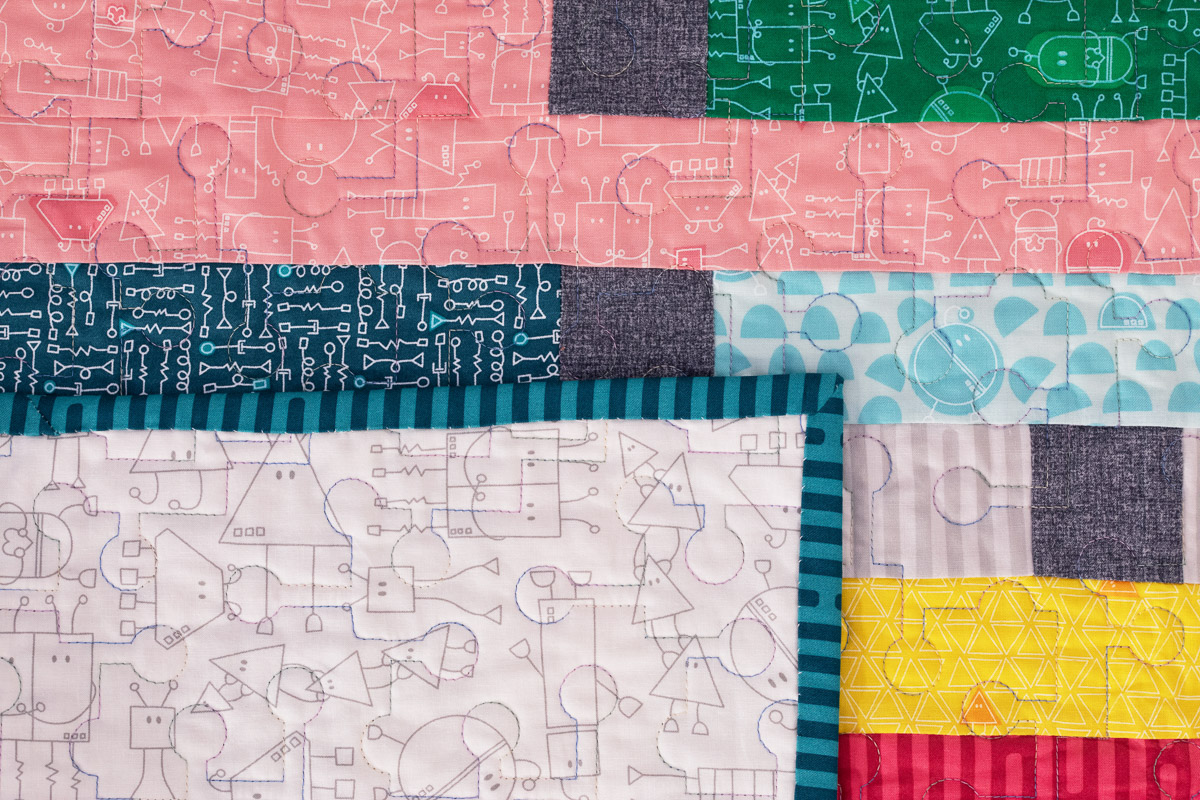
Now your quilt is complete … stitched AND quilted by you!
Until next time, happy creating!
