Q-matic Quilt Along, Part Eight: Quilting Row Six
Are you ready to quilt the final row in our Q-matic Quilt Along? It has been so much fun to quilt this quilt and explore so many features of the Q-matic system. Today we quilt stars in row 6!
If you missed the previous parts of the Q-matic Quilt Along, you can read all about it here:
- Q-matic Quilt Along: Introduction
- Q-matic Quilt Along, Part One: Sewing the Quilt Top
- Q-matic Quilt Along, Part Two: Continuing to Sew the Quilt Top
- Q-matic Quilt Along, Part Three: Quilting Row One
- Q-matic Quilt Along, Part Four: Quilting Row Two
- Q-matic Quilt Along, Part Five: Quilting Row Three
- Q-matic Quilt Along, Part Six: Quilting Row Four
- Q-matic Quilt Along, Part Seven: Quilting Row Five

Make sure to tag @BERNINAUSA and me, @Sugaridoo, when you’re working on this project. I would love to see what you’re making!
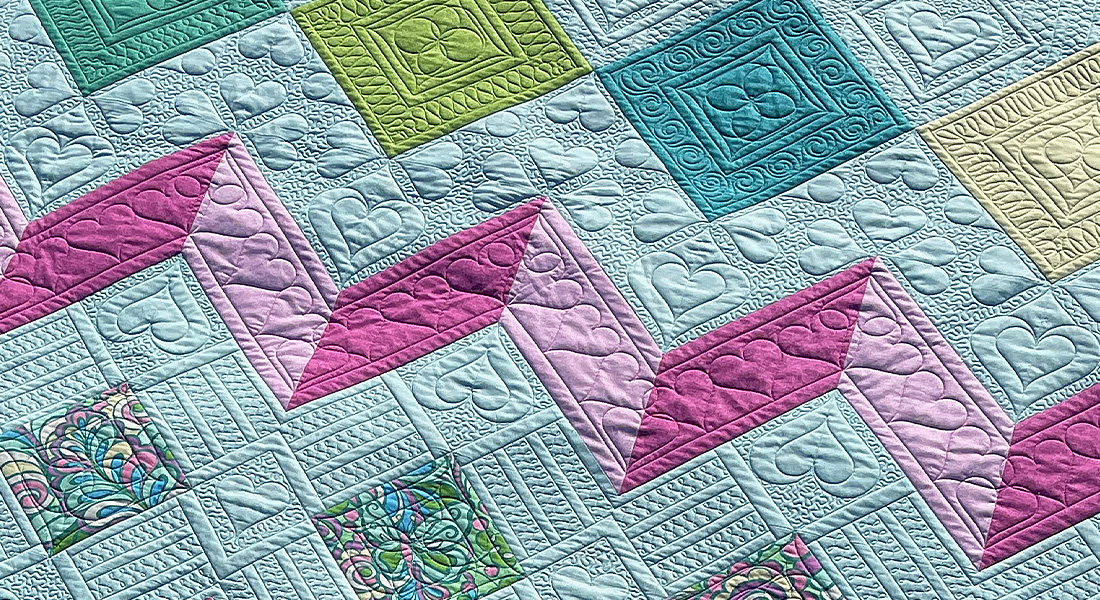
Row 6: Quilting Stars
For this row, we are combining what we learned in our previous rows:
- Import and scale a design
- Create an edge to edge pattern
- Align designs
- Flip and repeat designs
- Mask a design
We are also quilting a separate design in the stars today. For that, we will learn how to position a design on a particular spot on your quilt.
Set Up the Q-matic
Start up your machine and the Q-matic software. Open the project you saved after finishing the last row.
Set your safe area and use the Realign Safe Area tool to reposition your safe area.
Use markers to create a box around the edges of the final row on your quilt.

The Pattern
For every row in the Q-matic Quilt Along, you will find an edge-to-edge design to quilt on your row. You can go ahead and download it for free.
Download button pattern row 6:

Download button pattern star 1:
Download button pattern star 2:
Creating Our Design
Let’s start with our final row!
 Import the design for row 6 and make the height 3 inches.
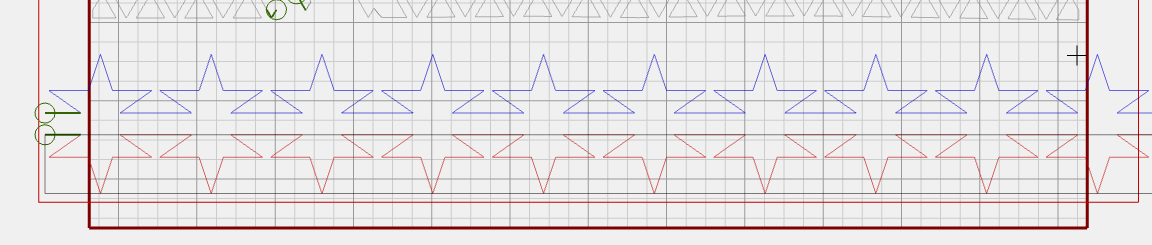
Use the E2E+ tool to create a row that is a little bit wider than the quilt.

Use the Copy tool to create two rows. Use the Align tool to align both rows horizontally.
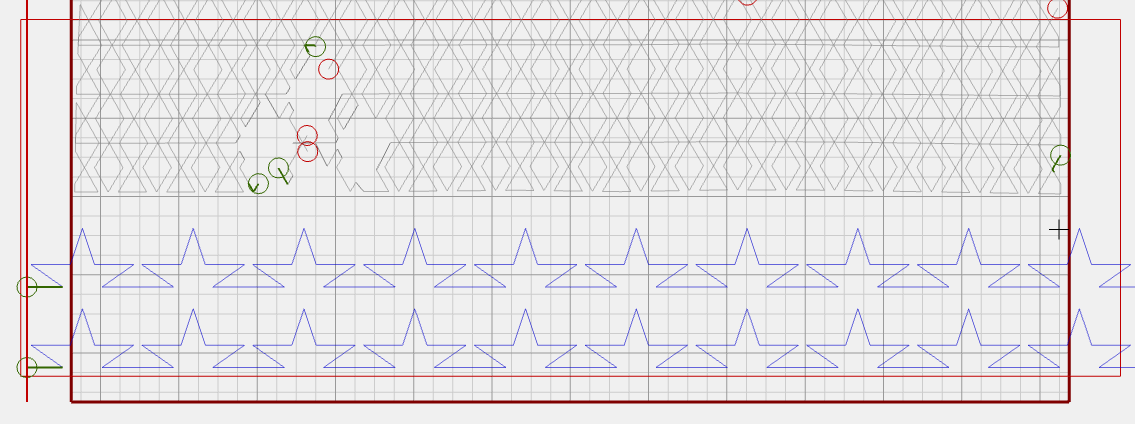
Select on e row and use the Flip tool to flip the bottom row.
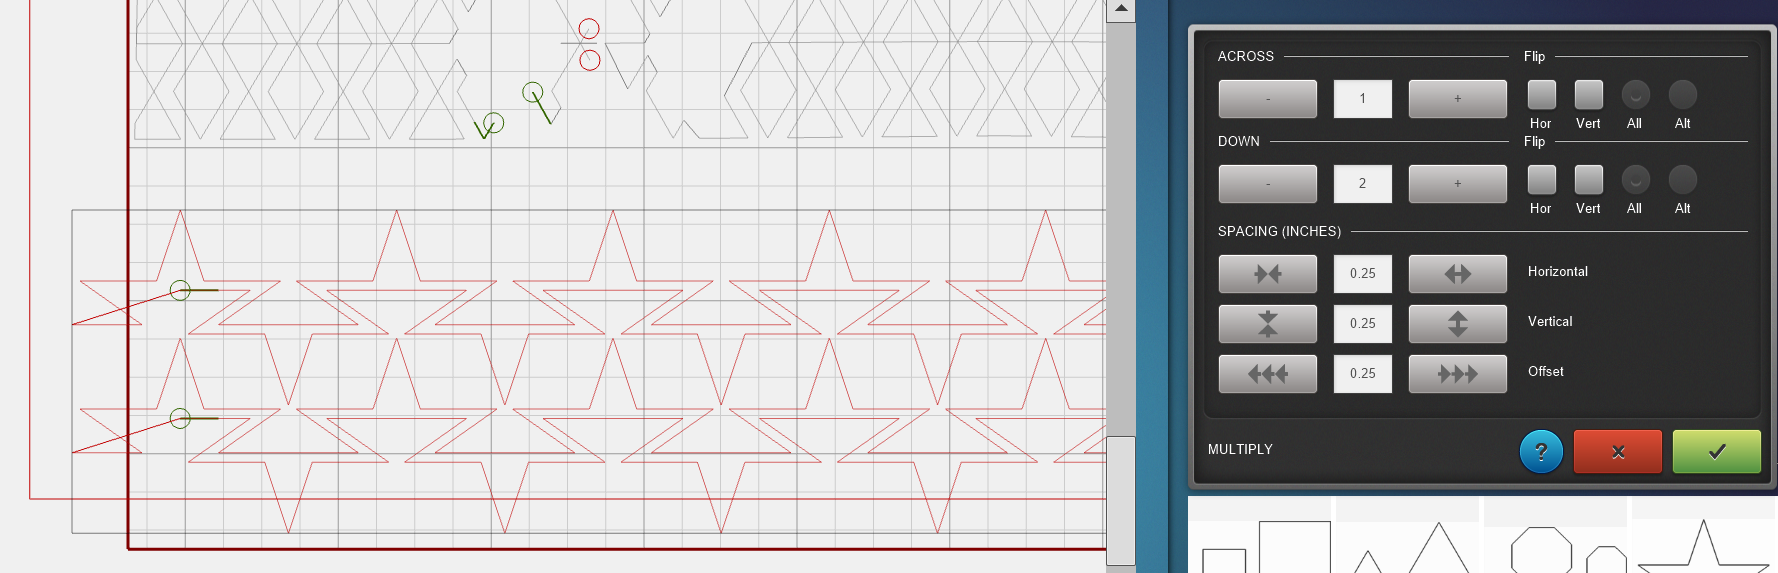
 Now use the Multiply tool to move the bottom row 2.83 inches to the side.

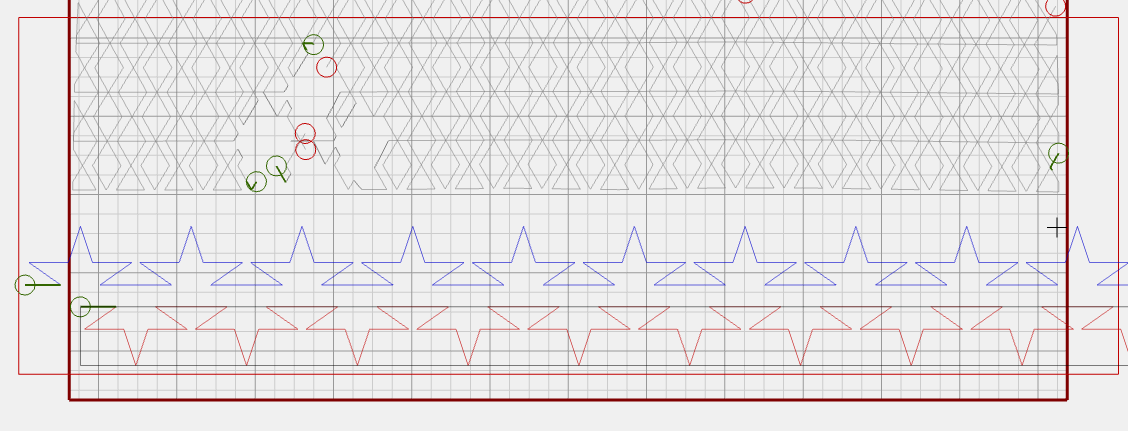
Use the arrow buttons on the screen to move the bottom design up until the rows fit together nicely.
![]()

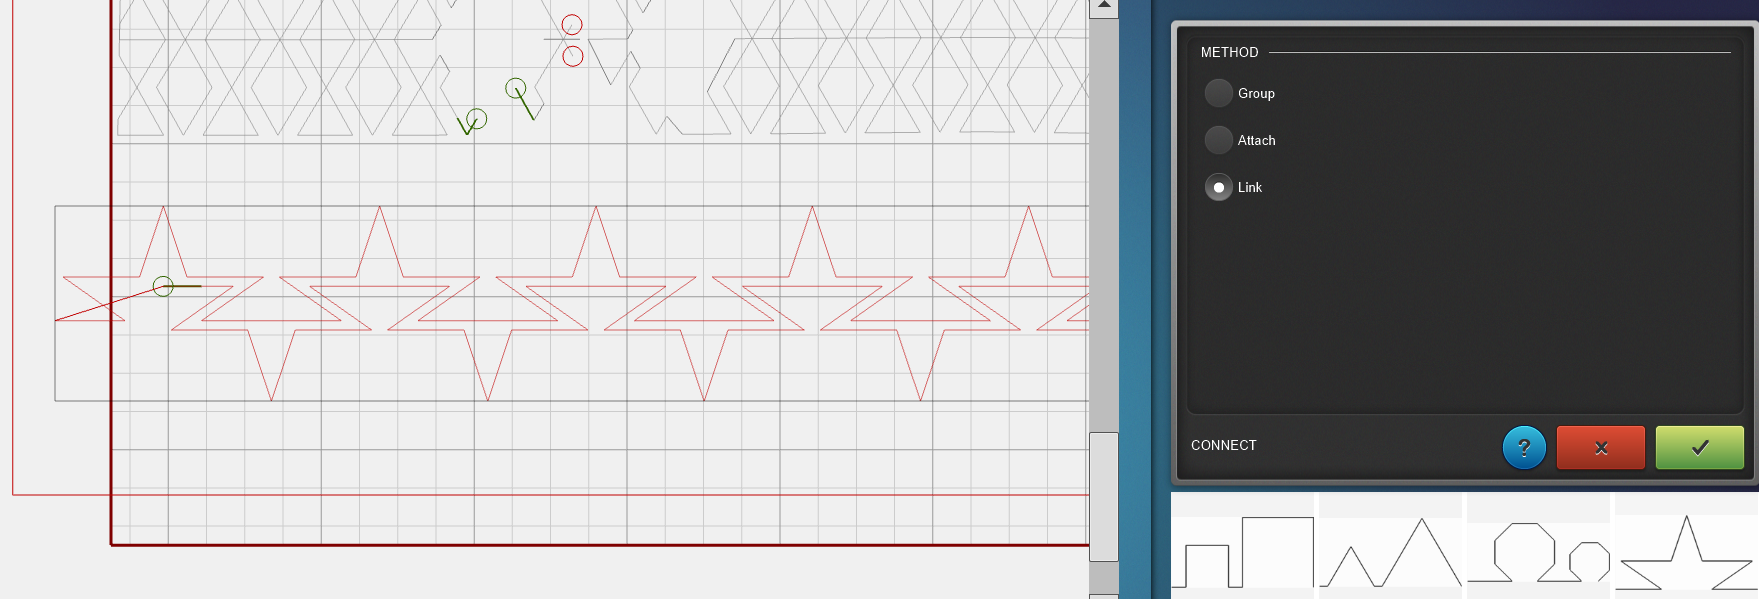
Now we have one complete row. Link these two rows.
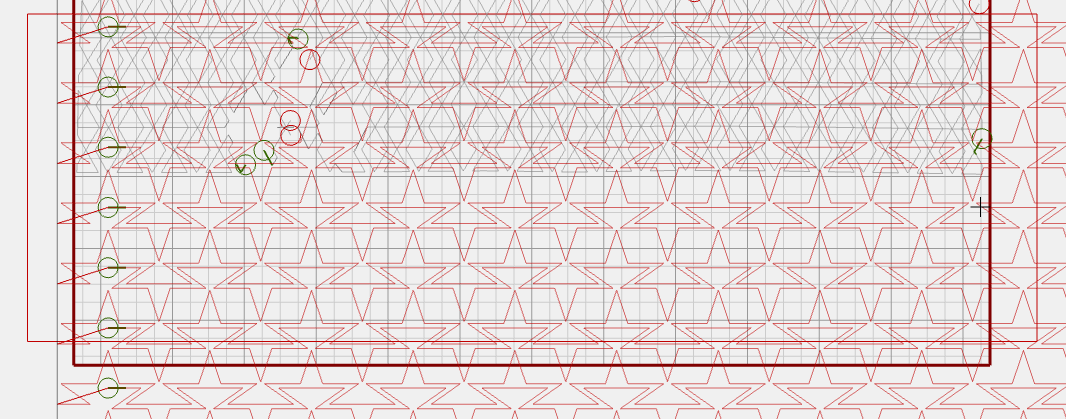
Use the Multiply tool to make more rows. Use the vertical spacing option to bring the rows close together.
Create enough rows to fill the whole area of row 6 and the diamonds in row 5 as well.

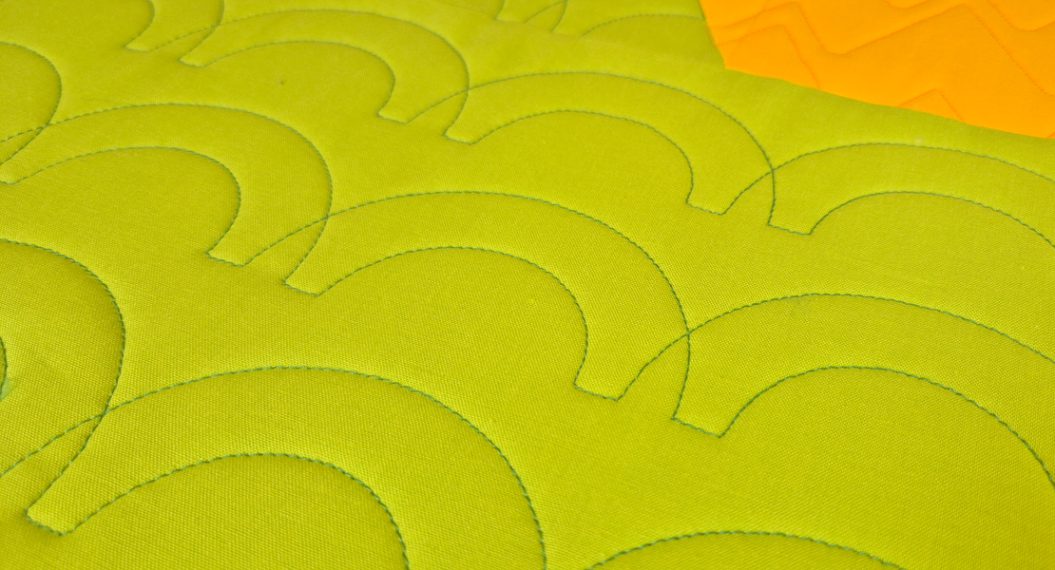
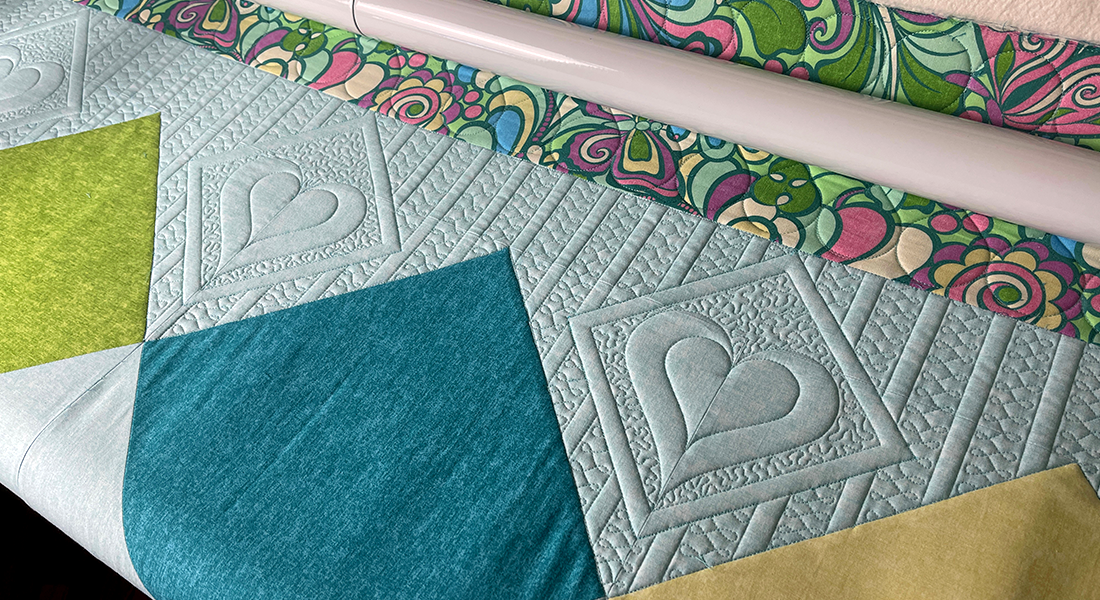
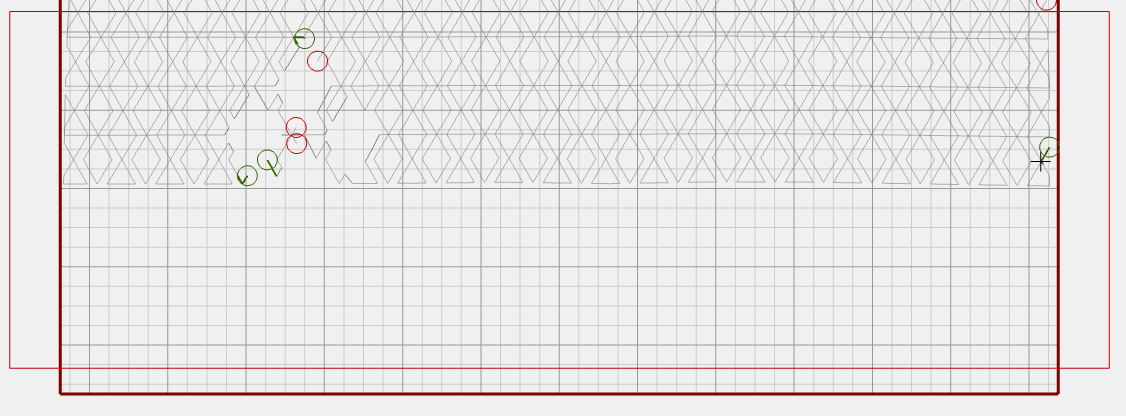
Quilting the Main Area
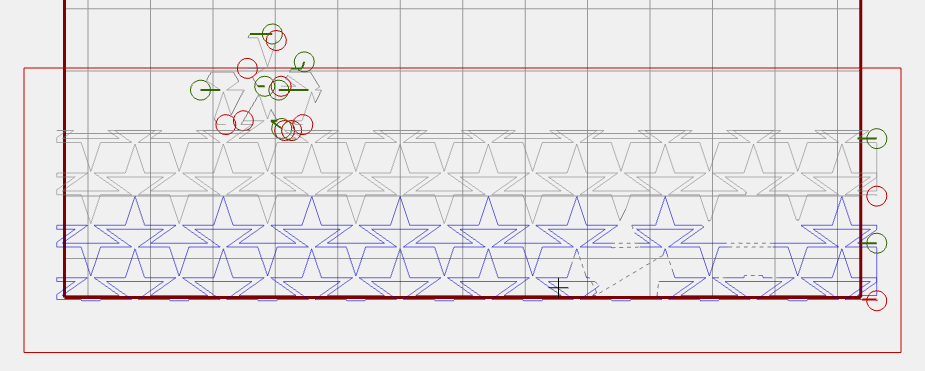
Now it is time to use the Mask tool to trim the parts that we don’t need to quilt.
Use your skills from the previous rows to mask the outside of the diamonds. And the inside of the two yellow stars.

I couldn’t fit the complete design on the frame. So first, I quilted the top half of the row. And only masked the top of the two yellow stars.
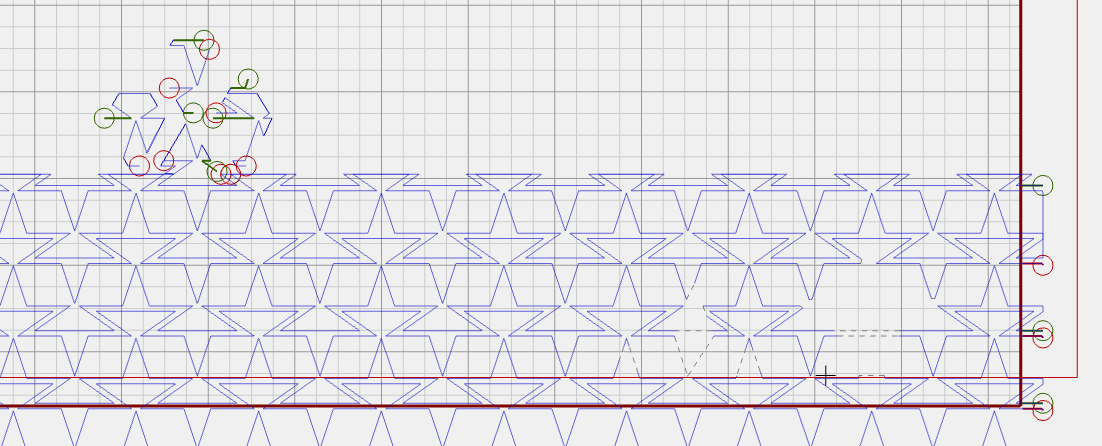
After repositioning the quilt, I masked the bottom half of the stars and quilted the rest of the row.

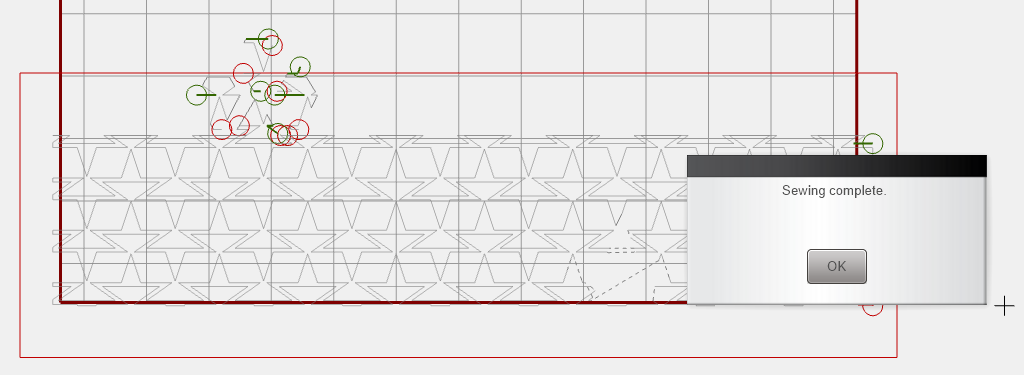
And there we go, that is the main part of the row quilted!
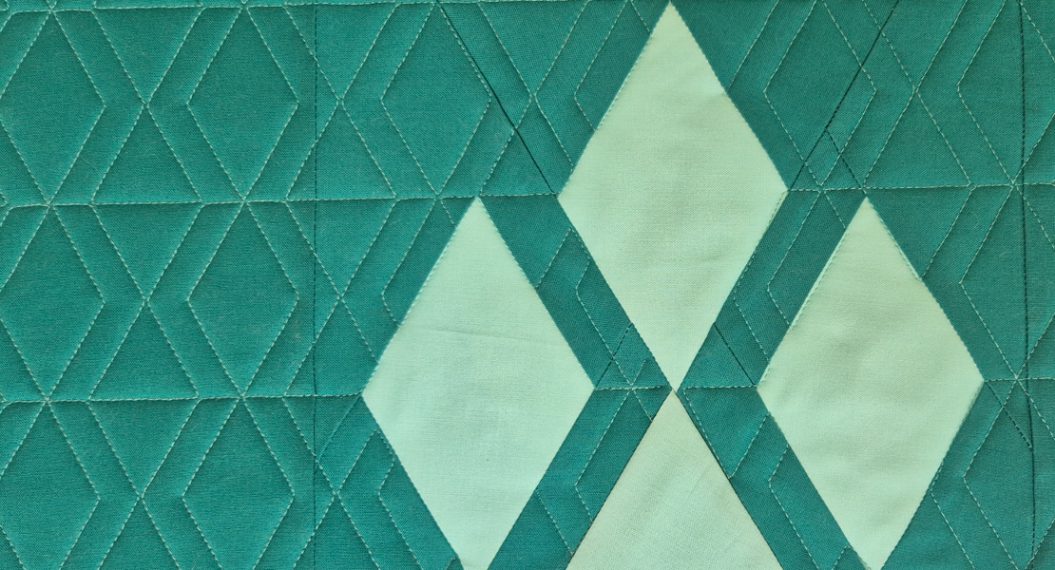
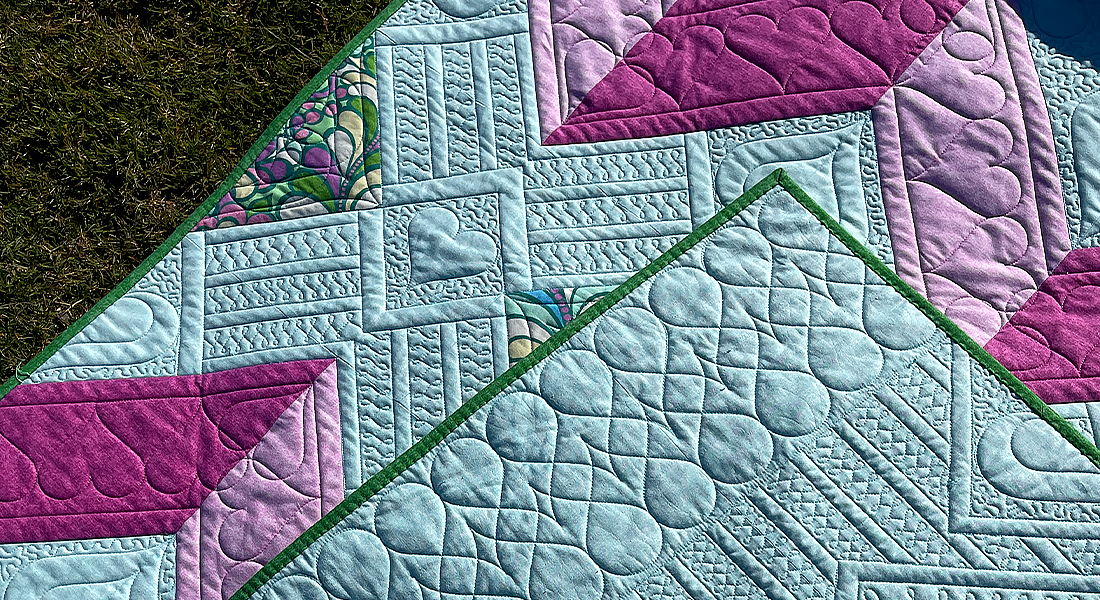
Quilting the Stars
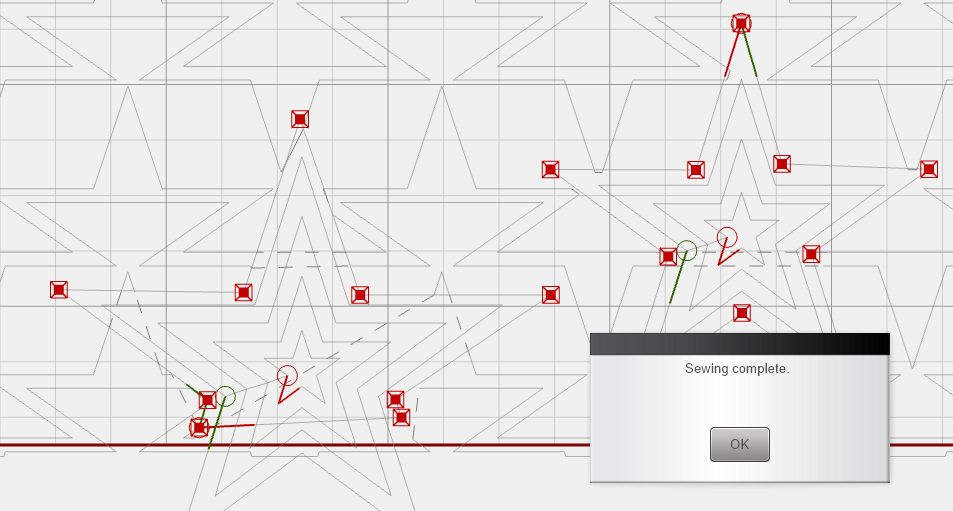
After quilting the main part of the row, we are going to quilt the two stars.

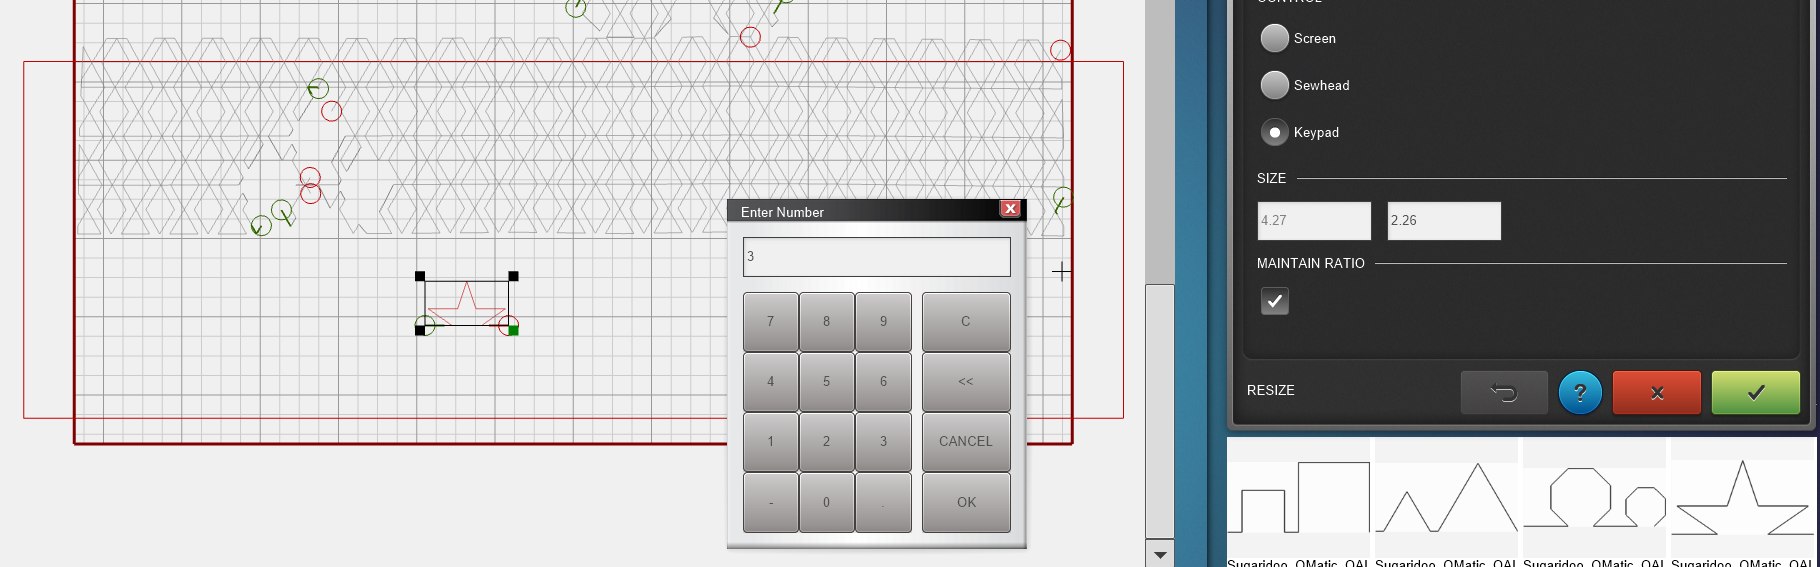
Place the designs Star 1 and Star 2 on your quilt design.
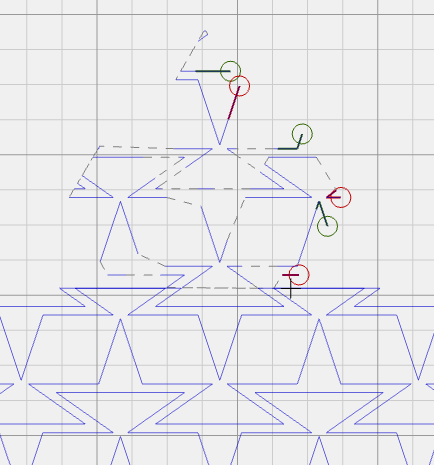
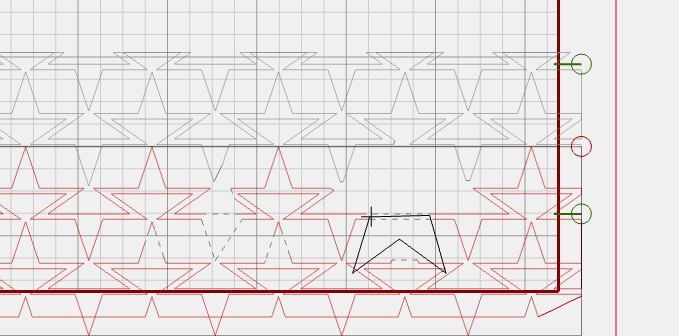
To put the stars in the right spot on the quilt, I’m using Markers. Mark all the points of the stars and use the ‘Connect markers’ option to draw the stars.

Resize Star 1 to be 7 inches high and Star 2 to 5 inches high.

Then drag and position it in the middle of the marked star.


I had enough room below my row on the batting, so I just quilted the complete star. But you can trim the bottom of Star 1 along the bottom edge of your quilt.

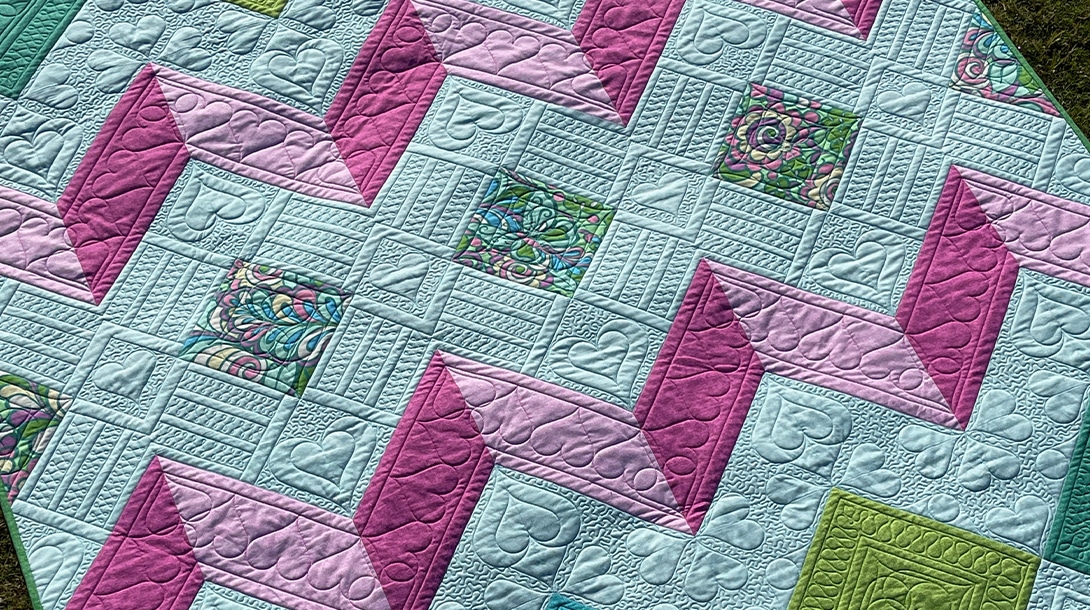
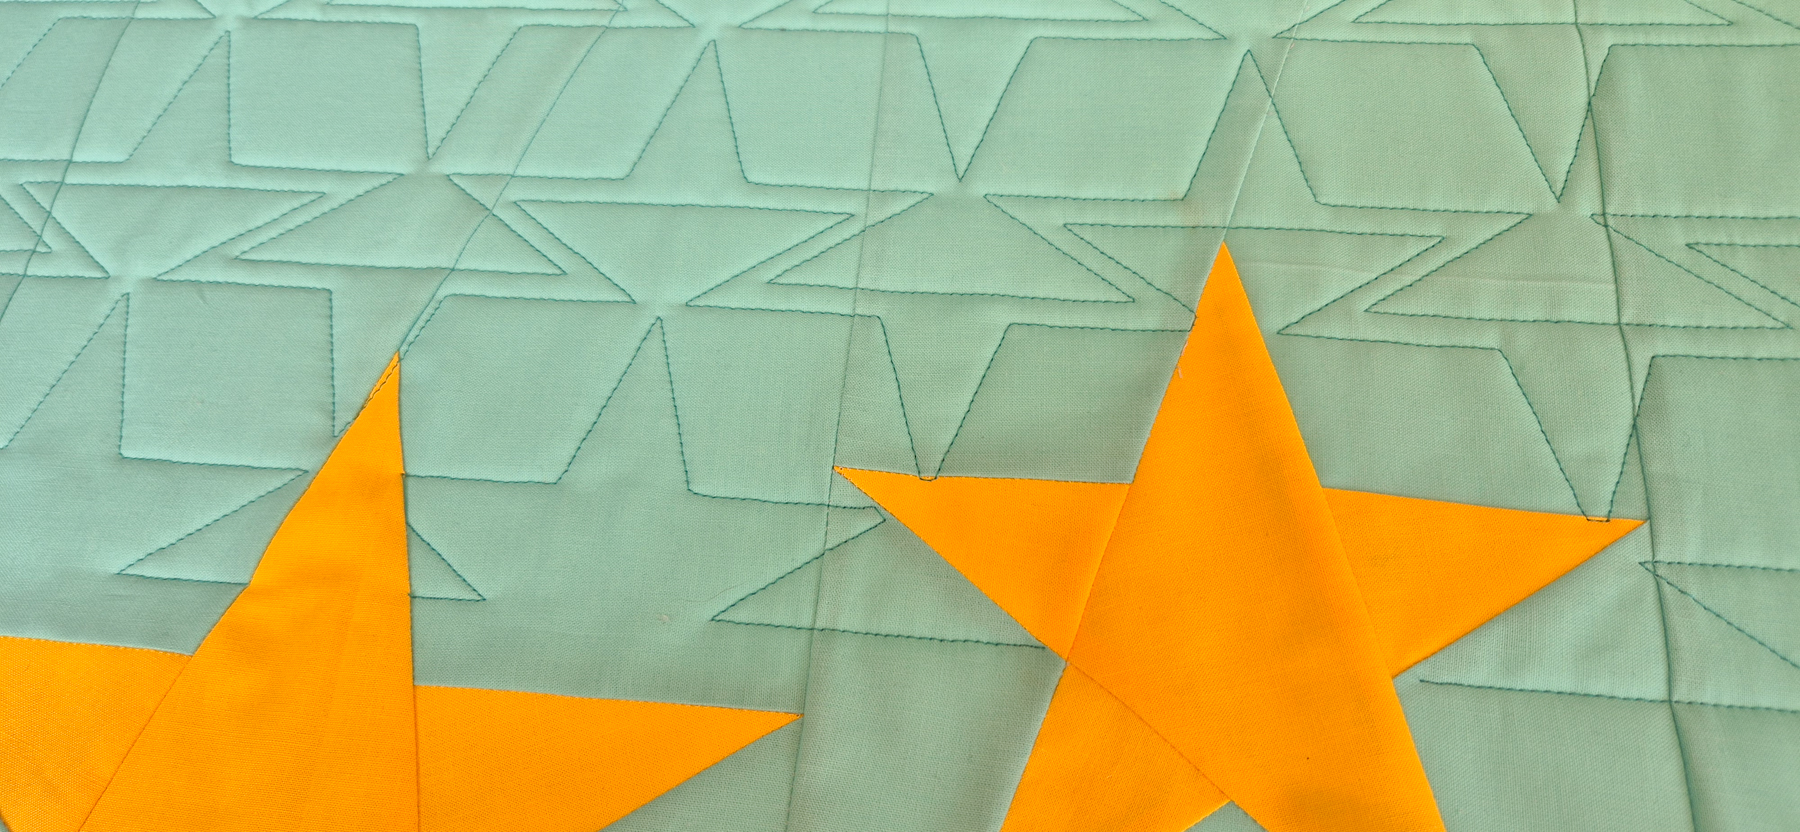
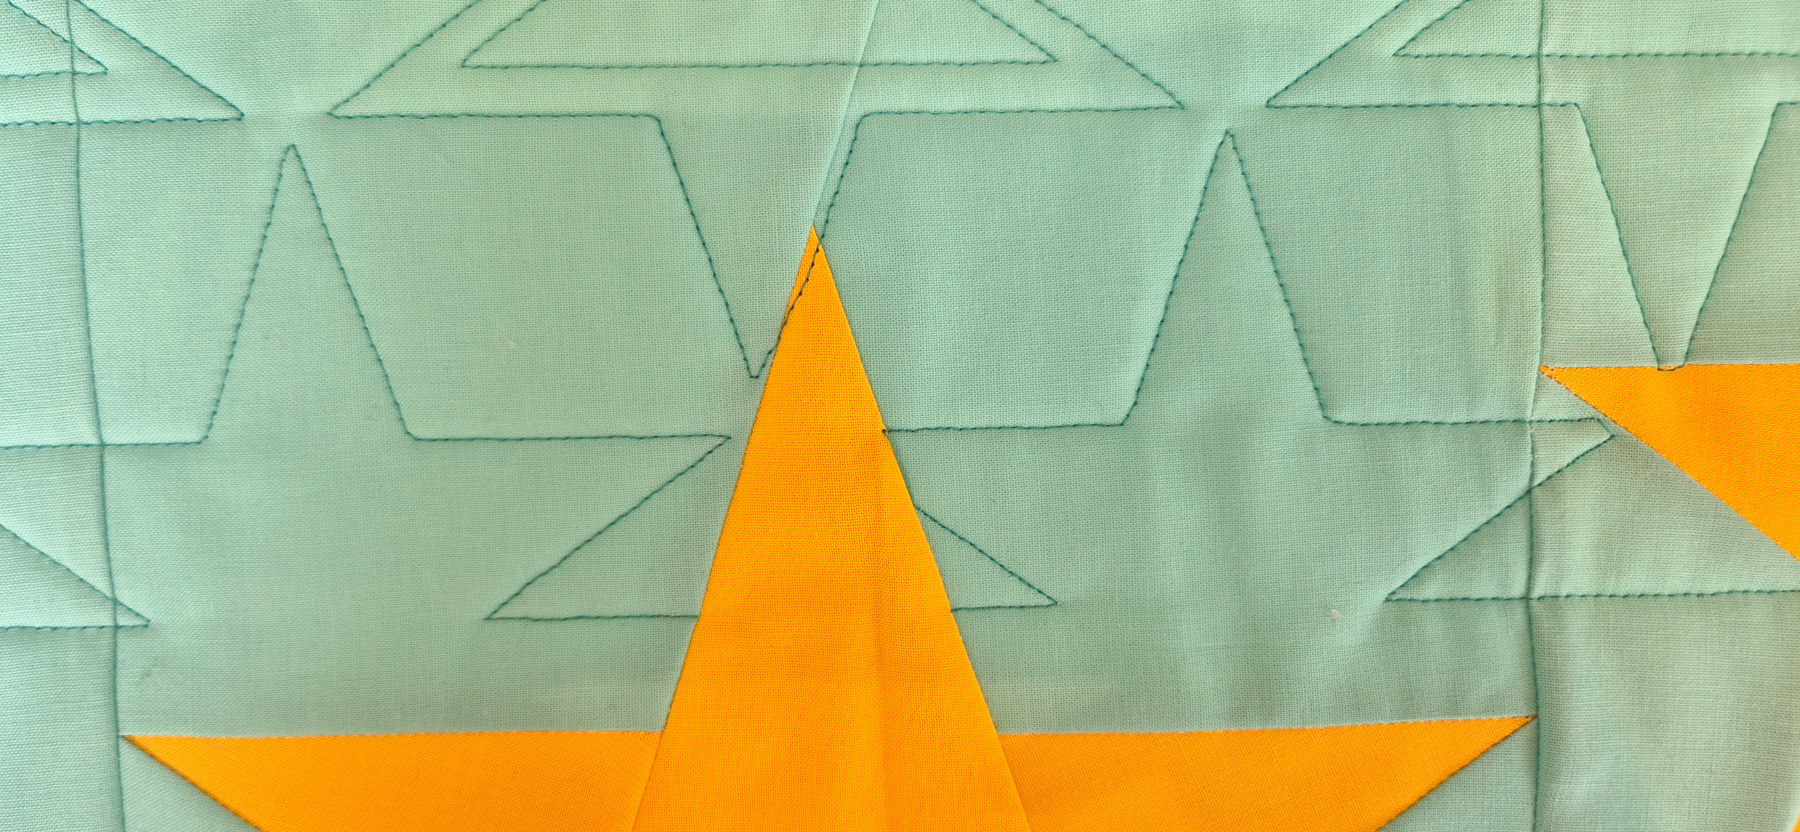
Yess! There is the complete final row quilted in our Q-matic Quilt Along. We made it!
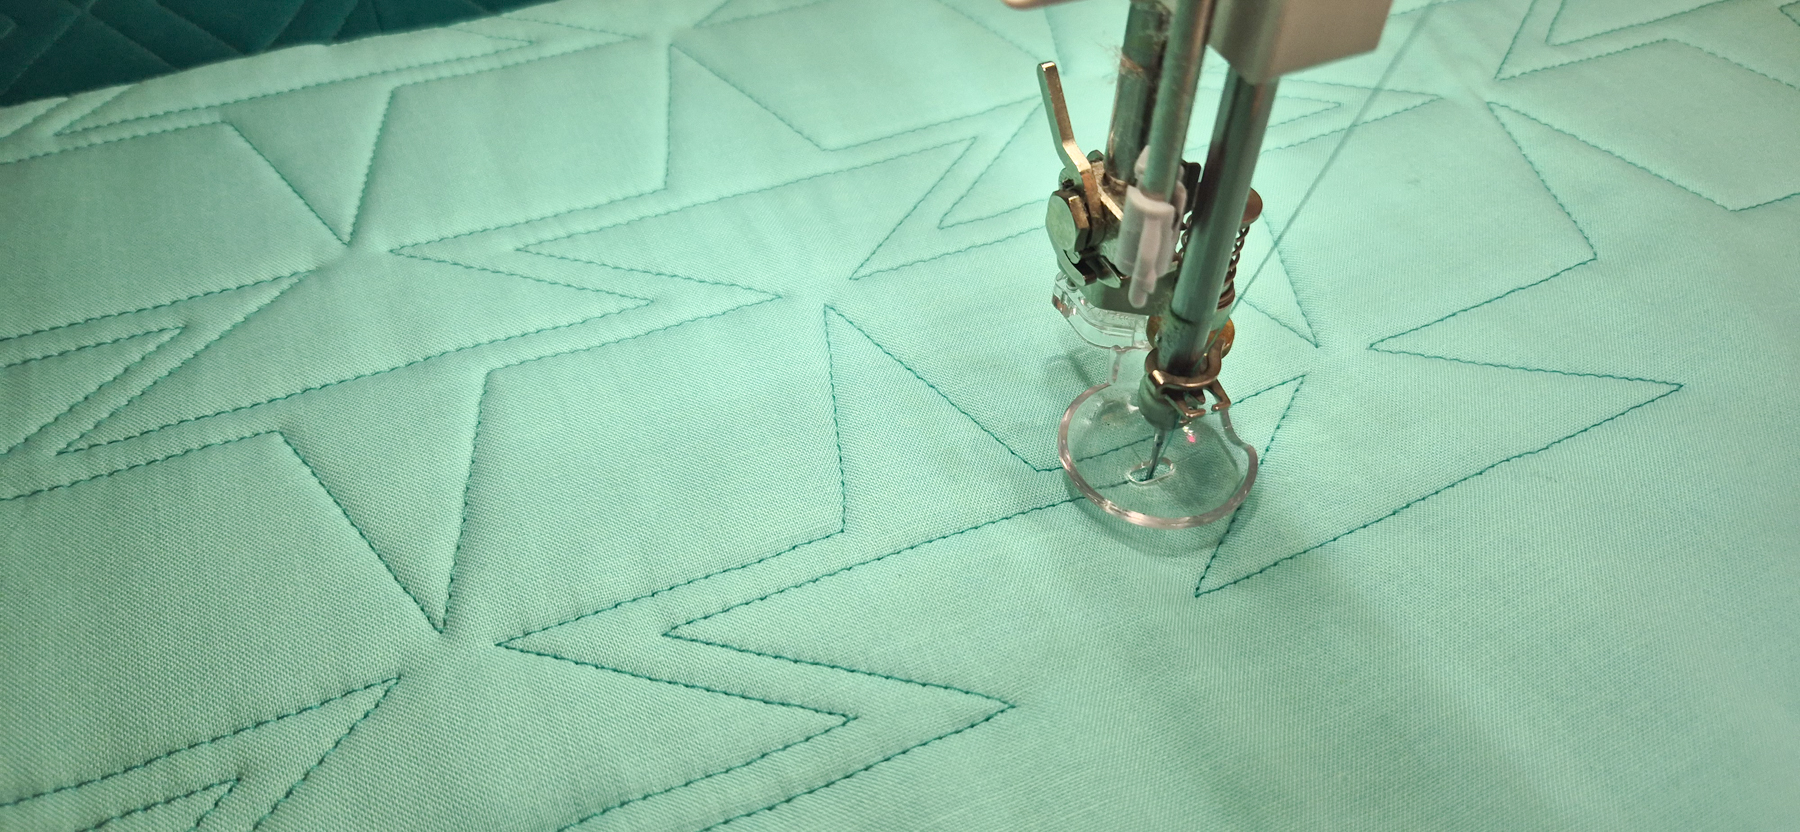
Don’t you love the look of the super crisply quilted design on your quilt?

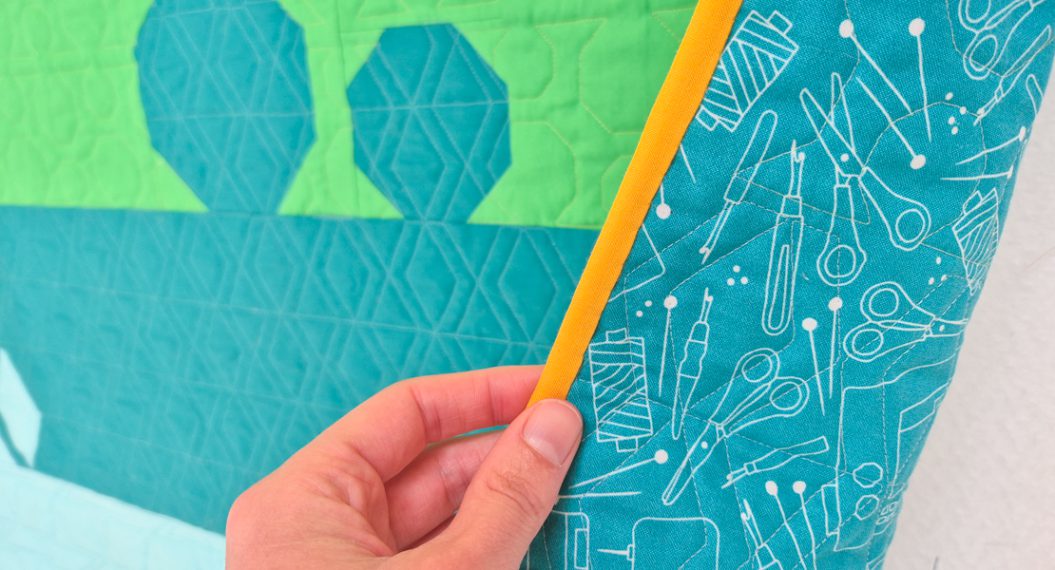
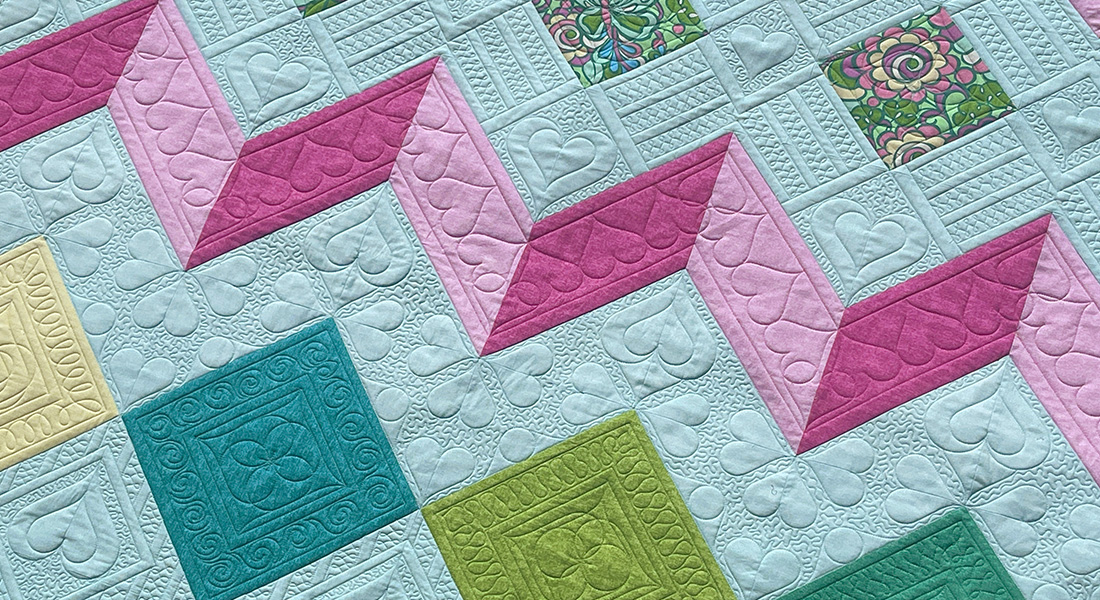
Perfect?
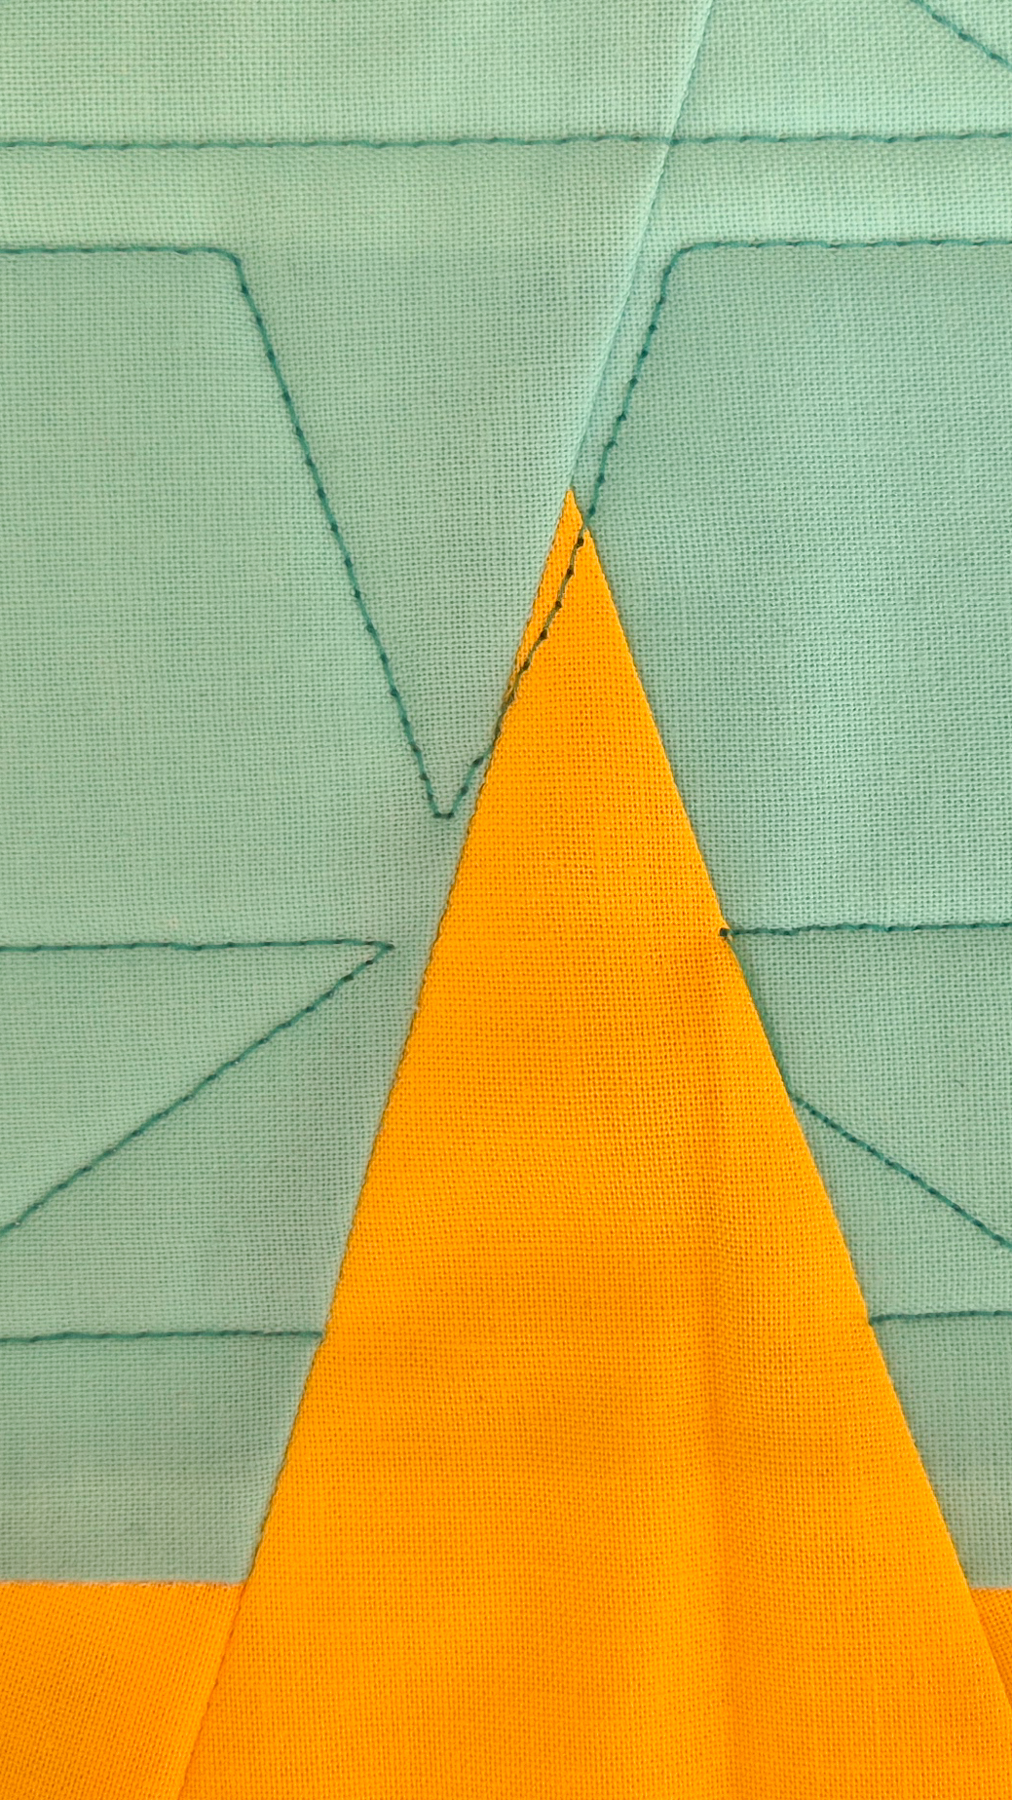
Does the quilting turn out perfect every time? Not really. Sometimes a line is a little wonky. For me, that is completely fine. Even though the Q-Matic is quilting, it is still manual work to set everything up, to program what needs to be quilted.
Of course, you could take out a thread like in the image below, which goes through the top point of the star. But honestly, when you’re making a quilt to snuggle under on your couch. Nobody will notice. So I’ll just leave those ‘oopsies’ in the quilt.

Till Next Time!
This was the final row in the Q-matic Quilt Qlong. Thank you so much for following along! Next week, I’ll be back one final time to talk about finishing your quilt.
Happy quilting, see you soon!
Irene