Upcycle Your Old Jeans into a Trendy Denim Bodice
In January, a few of us Ambassadors came together to create something fun using our machines and denim fabric for JEANUARY!
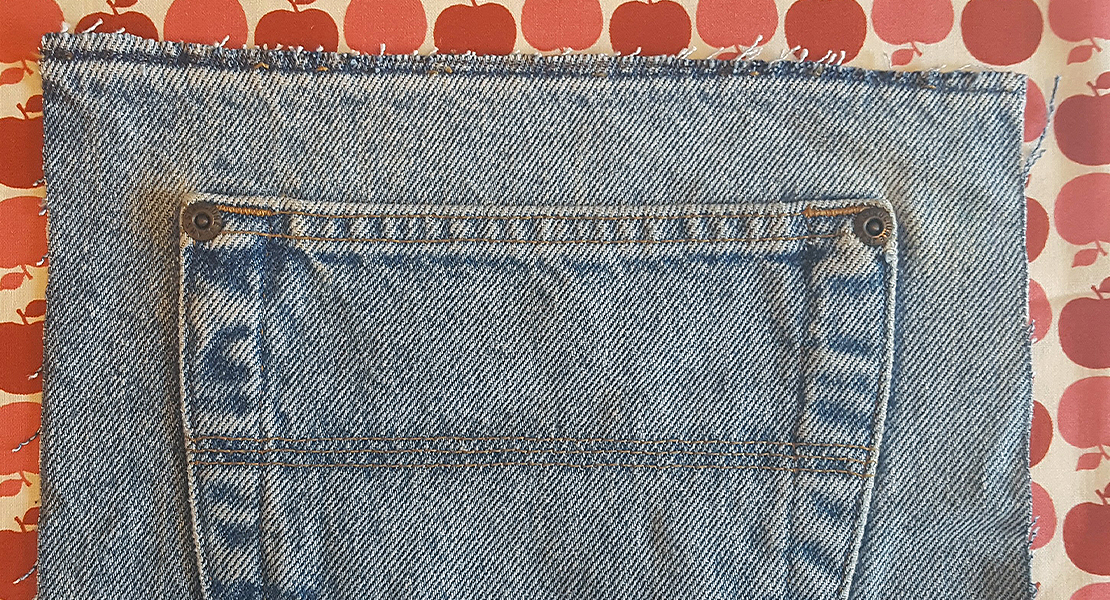
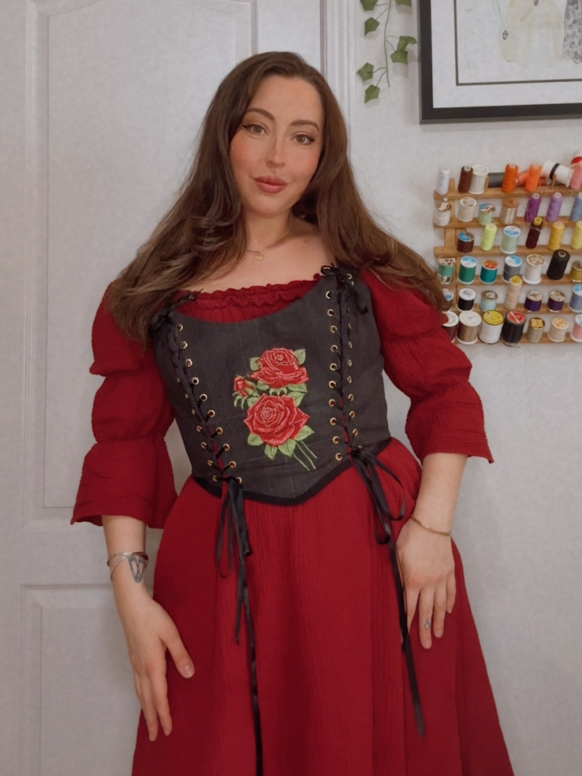
I took the opportunity to upcycle a pair of jeans that did not fit right into a denim corset bodice with a beautiful rose embroidery motif on it. It really feels like something Belle would wear from Beauty and the Beast, and it makes me so happy to put on–unlike those jeans!
How to Make a Denim Rose Bodice
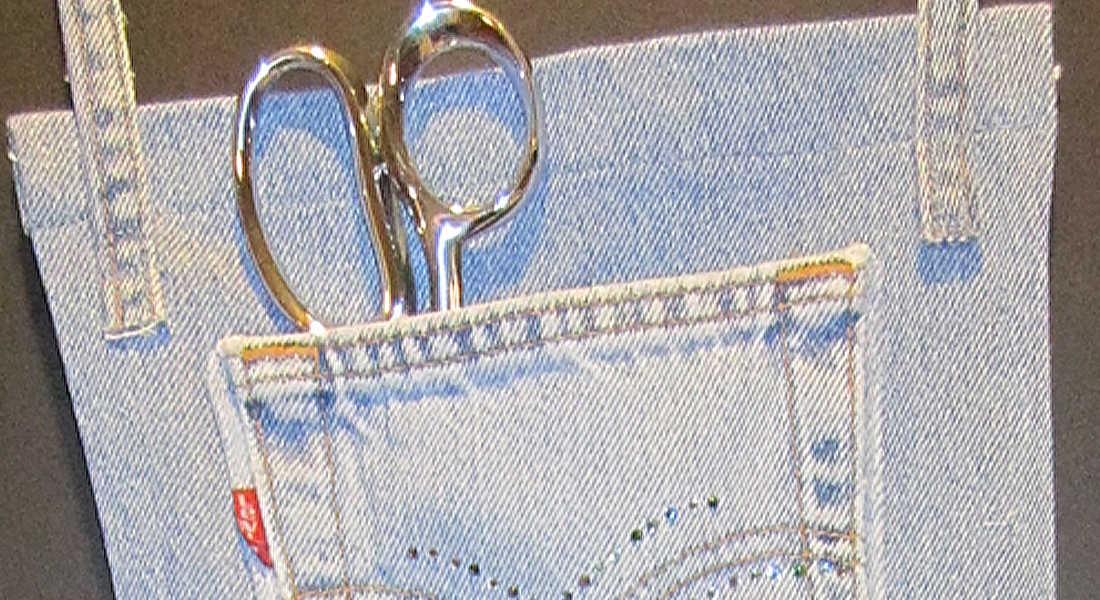
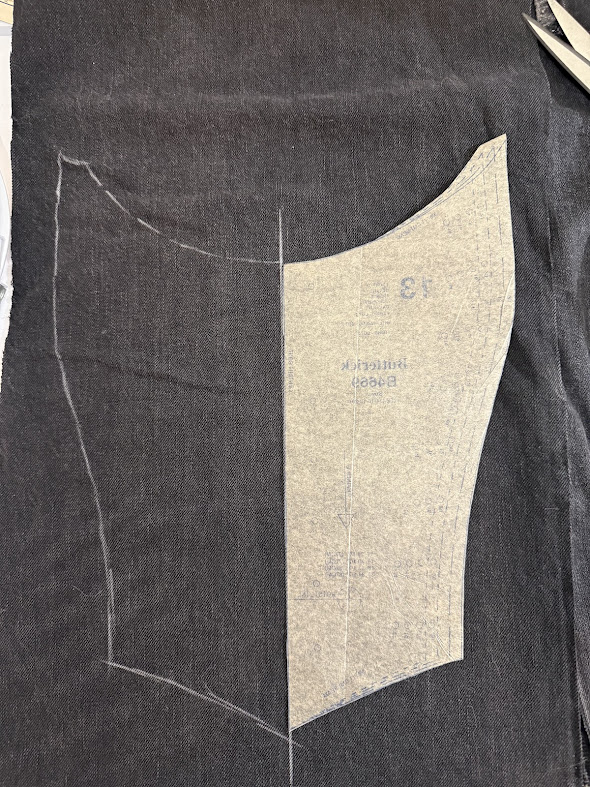
First, I started by cutting up the denim pants into usable pieces, and I traced out my Pattern piece so I could see where the Embroidery was going to be placed.
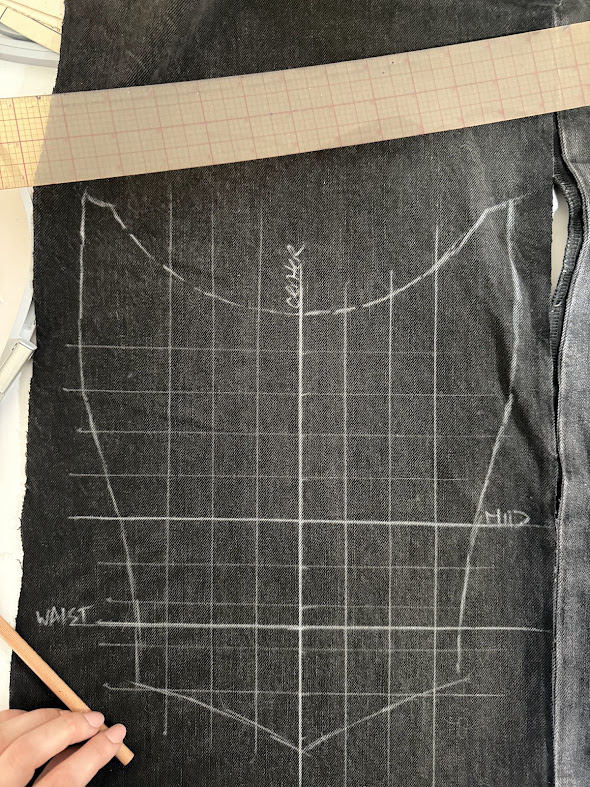
I also took the extra step to draw out a 1″ grid within the space of the pattern piece–this helped me align everything perfectly, especially when using the plastic ruler grid in the hoop as well. The reason I was being so technical about this is because I only had a limited amount of denim to use.
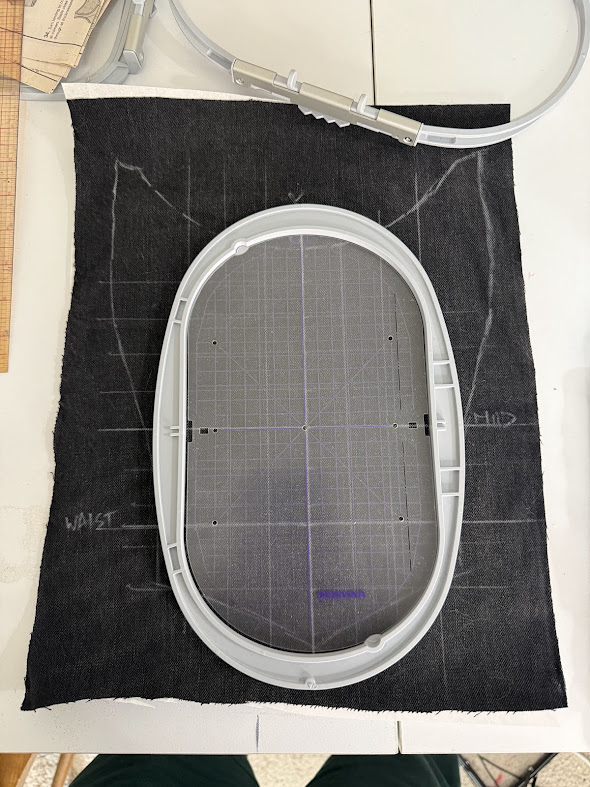
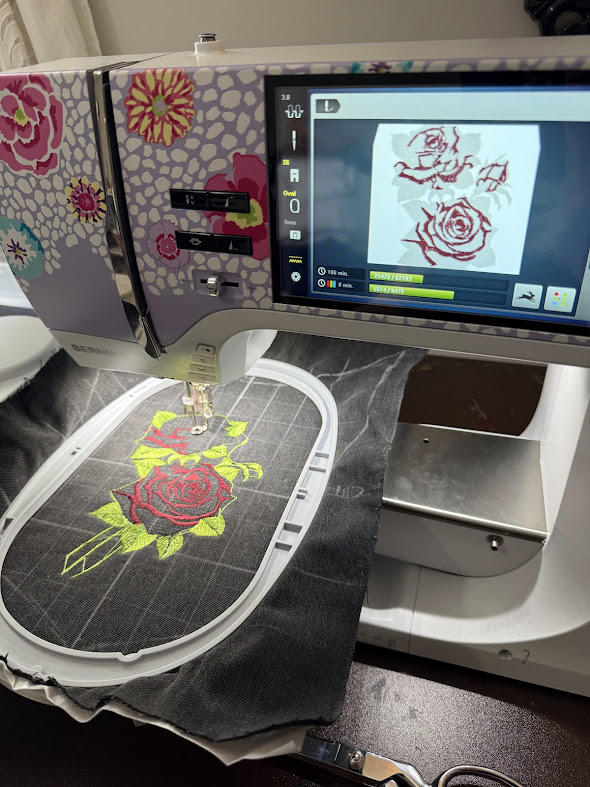
I used a medium-weight cutaway stabilizer from OESD, which was perfect for the denim and the density of the embroidery design. Once everything was aligned in the hoop, I was ready to start embroidering.
Tip: Do NOT cut out your pattern piece to hoop–cut it with enough seam allowance that if it is not aligned perfectly, you can re-align it when it is done.
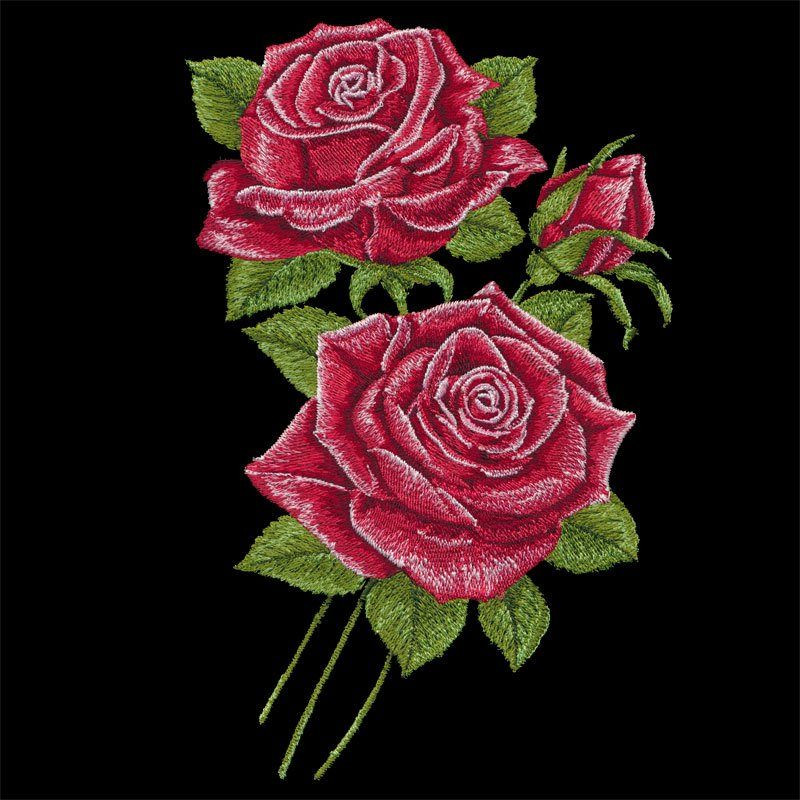
The embroidery I chose was the Double Roses pattern from the “A Festival of Roses by Jackie Robinson” collection from the OESD website. It’s such a beautiful collection of rose embroidery, I know I’ll be coming back to it in the future.
In order to set up my machine, I put it into embroidery mode, and I inserted the USB stick with my embroidery on it, and chose the design I wanted. I did not change any of the colors for the embroidery, choosing to follow what was suggested in their color chart, which worked perfectly.
I used to find embroidery very intimidating, but really, truly, the moment you touch the green go button to start sewing the embroidery, the machine does all the work. It’s been very delightful to learn how to embroider using this Machine.
Five Key Machine Features
Here are 5 key features of the BERNINA 770 QE PLUS Kaffe Edition and its embroidery capabilities that made this so enjoyable to create:
1. Large Embroidery Field
The B 770 QE PLUS offers an expansive embroidery area, allowing you to work on larger designs without repositioning the hoop as frequently. It’s compatible with a wide range of BERNINA hoops, including the Jumbo Hoop for oversized projects. I used the Large Oval Embroidery Hoop, and it was the perfect size for my project.
2. OESD Embroidery Designs
The machine works well with the OESD designs, and the OESD website made sourcing all the materials I needed–from stabilizers to embroidery thread so easy. It’s a one-stop shop!
3. USB Design Import
You can easily import custom embroidery designs via USB, making it simple to expand your design library. It’s compatible with popular embroidery file formats, so you can download designs online or create your own using embroidery software.
4. High-Resolution Touchscreen
The B 770 QE PLUS features a large, intuitive color touchscreen that lets you preview, resize, rotate, mirror, and position embroidery designs before you stitch. This gives you precise control over placement and customization without guesswork.
5. BERNINA Stitch Regulator (BSR)
While primarily a quilting and sewing feature, the BSR works in tandem with the machine’s precision engineering to ensure consistent, high-quality stitch output—which carries over into embroidery work, resulting in clean, even stitching density and professional-looking results.
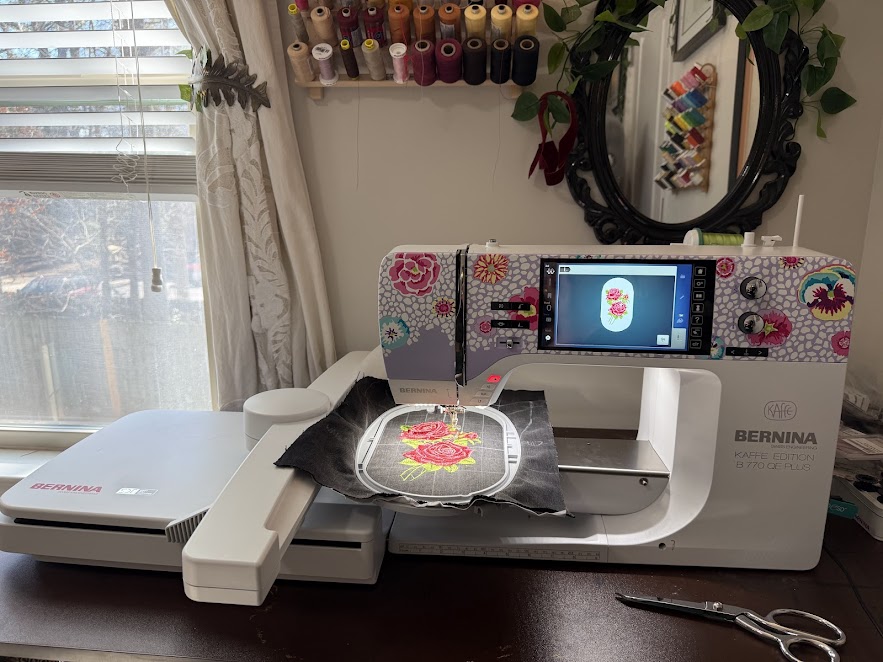
It really is a beautiful machine. Once the design is finished stitching out, your machine will tell you exactly how long it will take, which is REALLY nice for time management. It allows for time to take the design out of the hoop, iron it out, remove the stabilizer you no longer need, and make your corset!
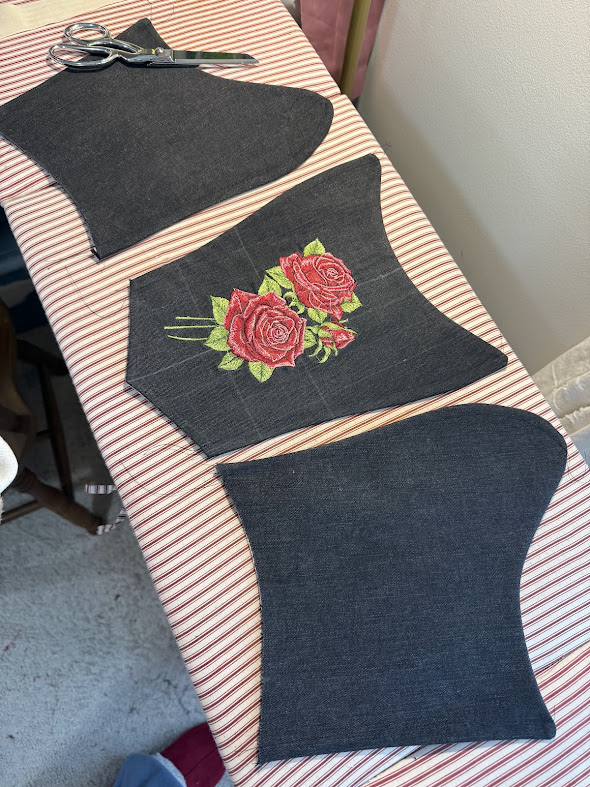
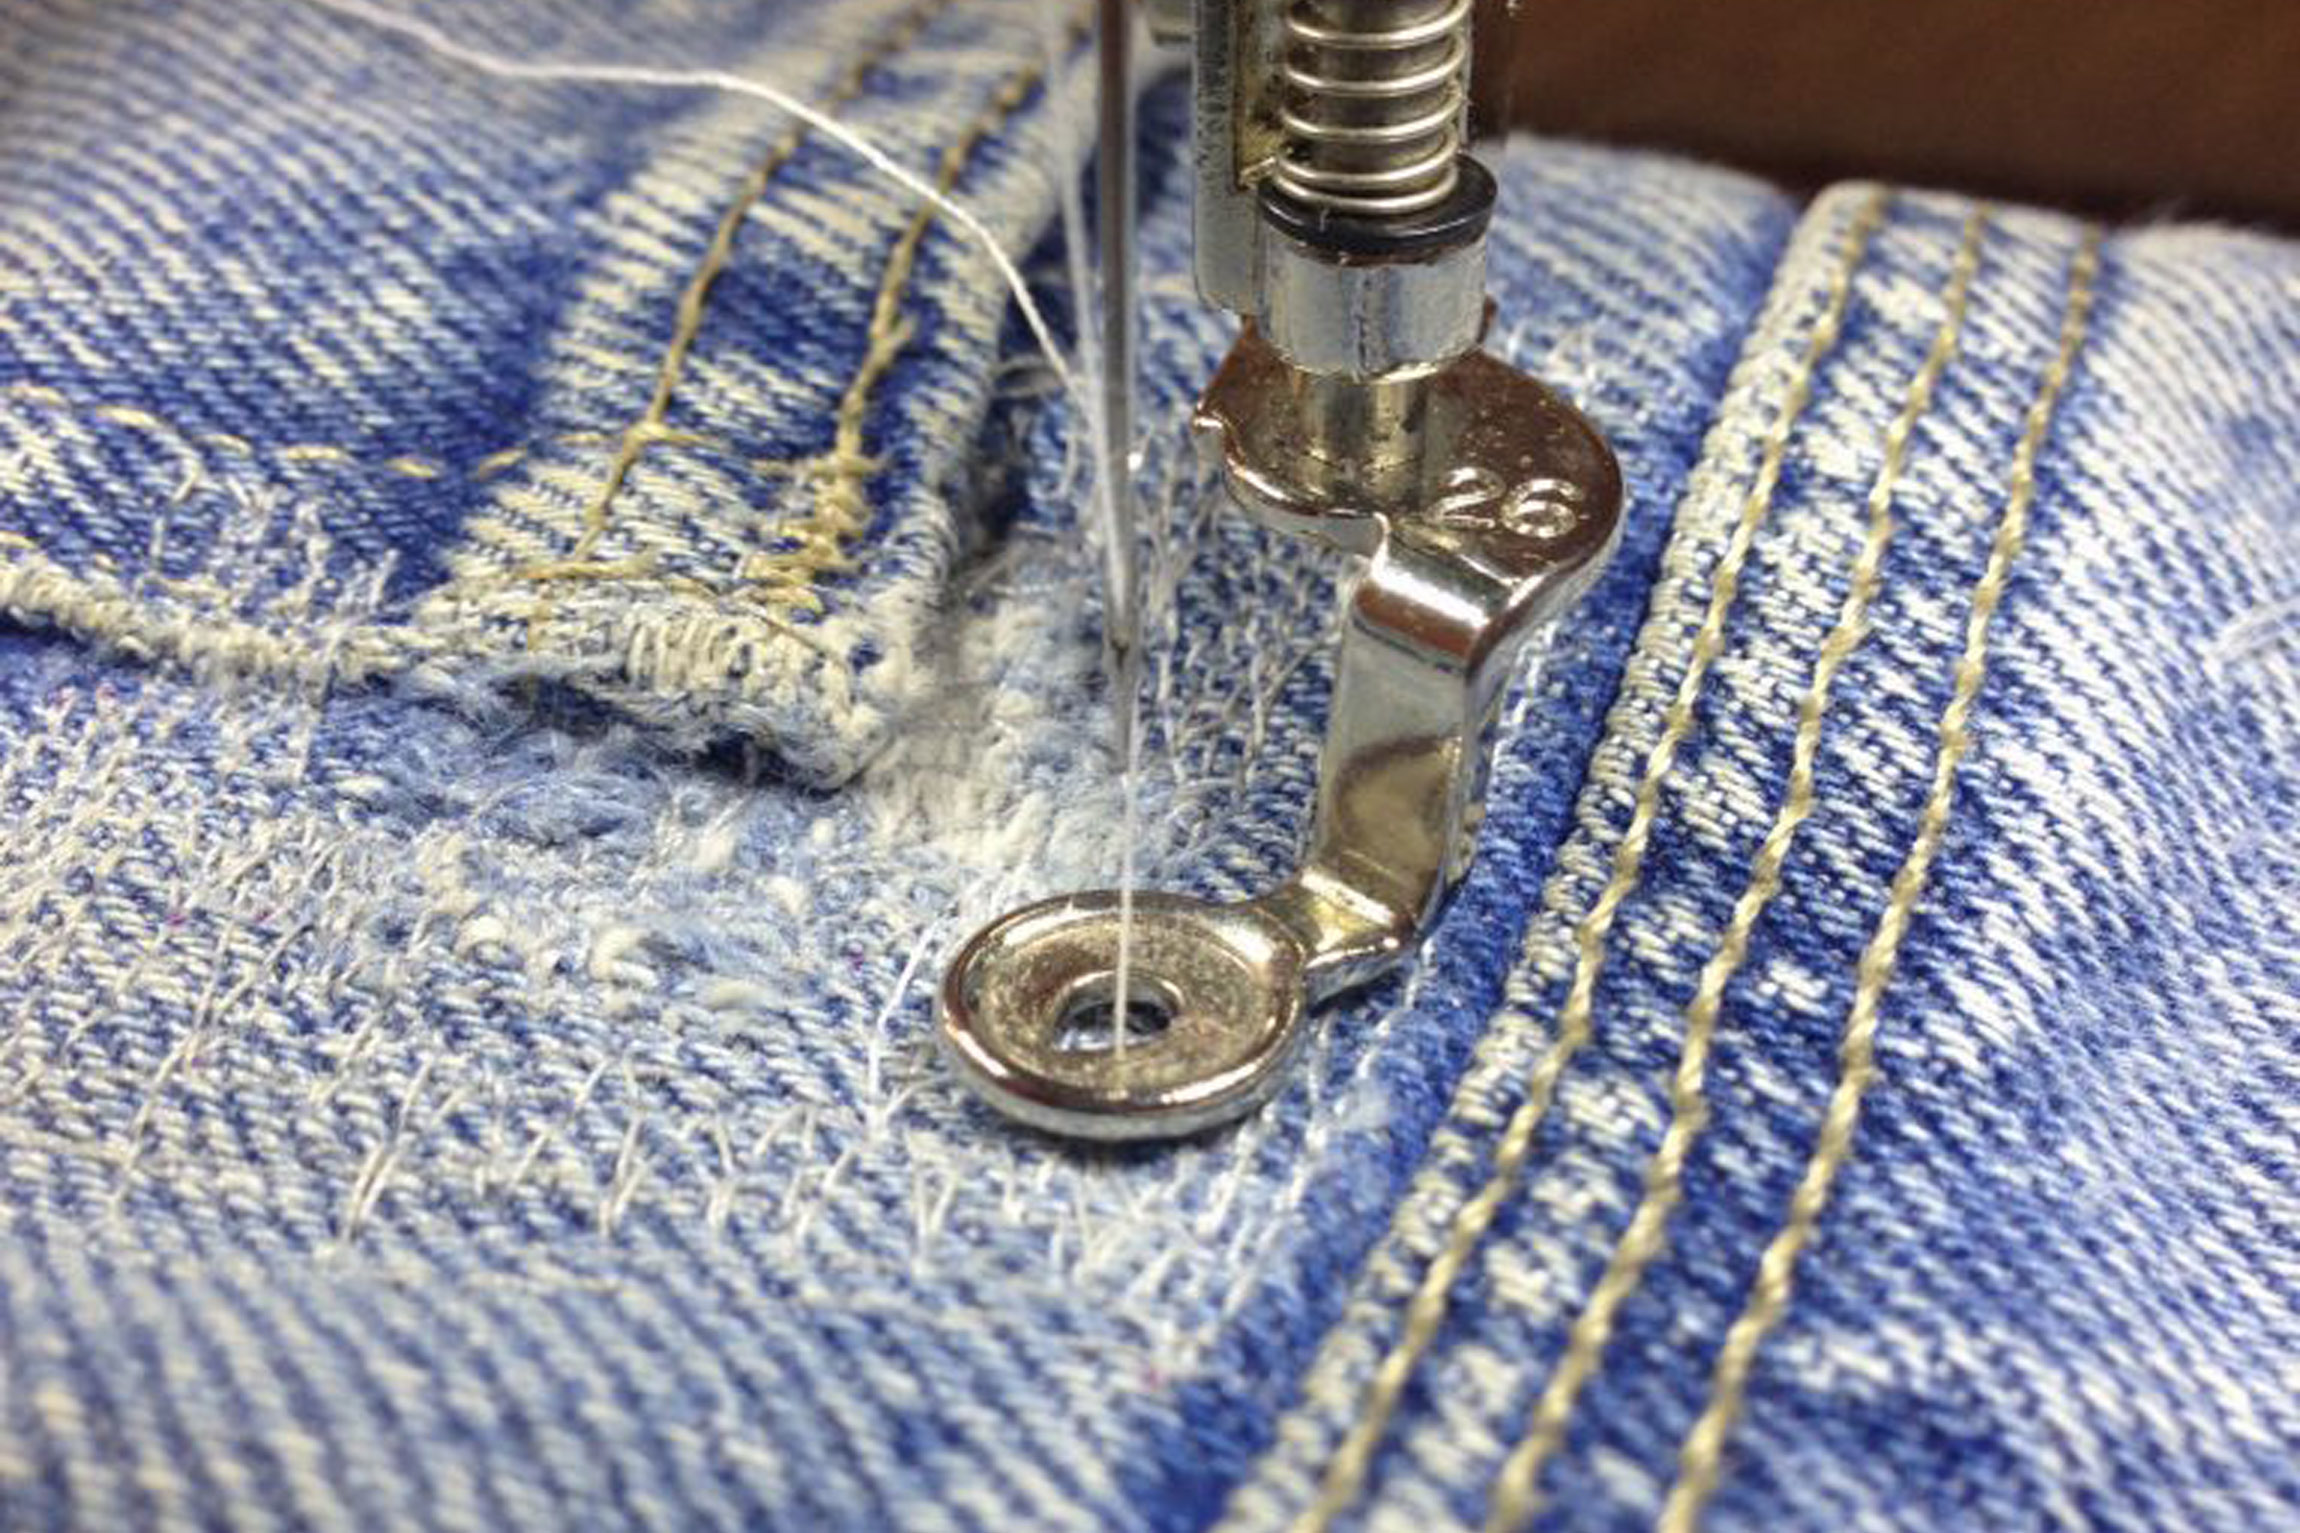
I did this by switching my machine out of embroidery mode and back to regular stitching, which takes less than a minute to do! I used cotton lining and inserted Rigiline Boning to help the bodice maintain structure and shape, and after what felt like 100 grommets later we had a bodice!
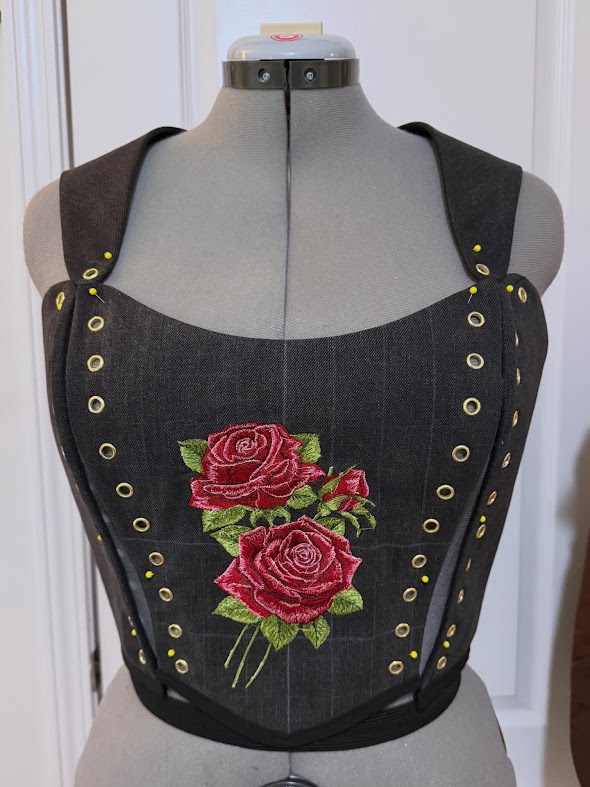
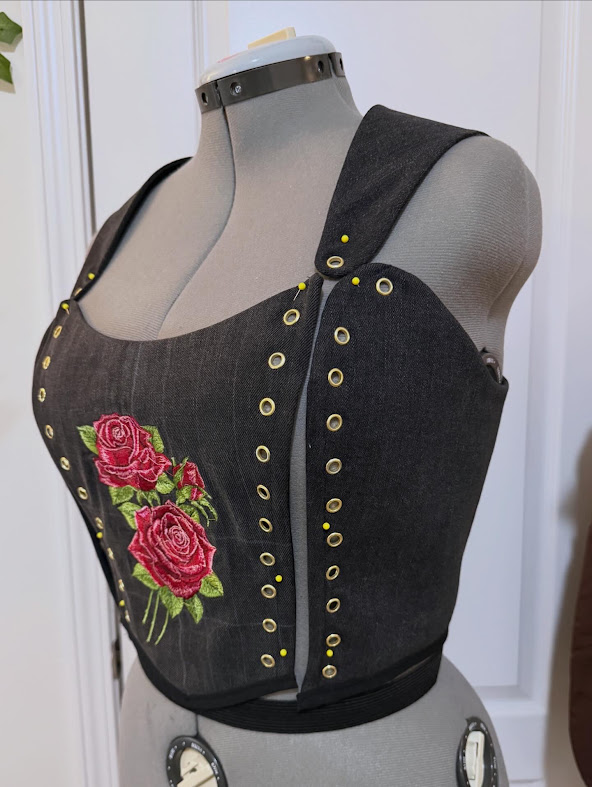
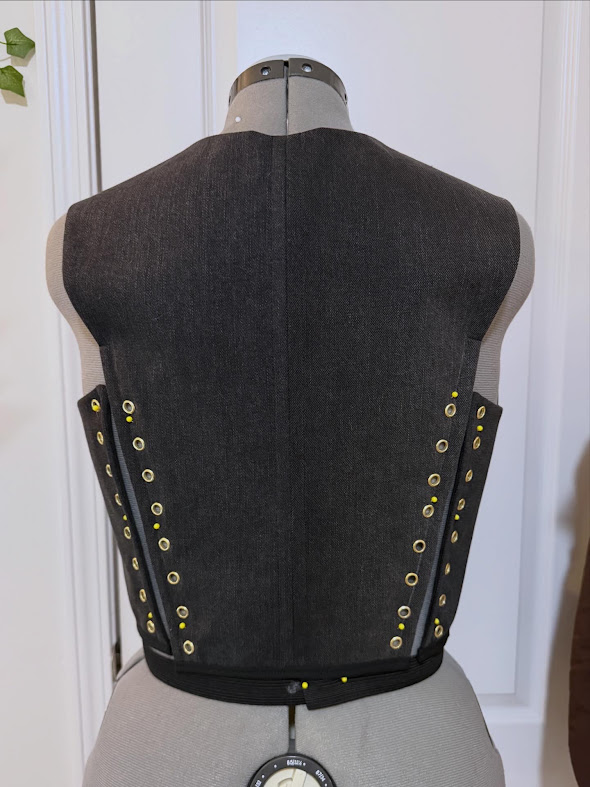
See what I mean about 100 grommets later, haha! I’m really proud of this project, and I have already worn this multiple times–I think I will need to make a few more! It’s a great way to upcycle some denim and a fun way to use your embroidery machine.
Are you incorporating embroidery details into your projects? I’d love to hear about your favorite techniques, tips, and tricks! Find me on all the socials @jesscronindesigns