Quilting Where Life Happens
Quilting where life happens… in my home at the kitchen table.
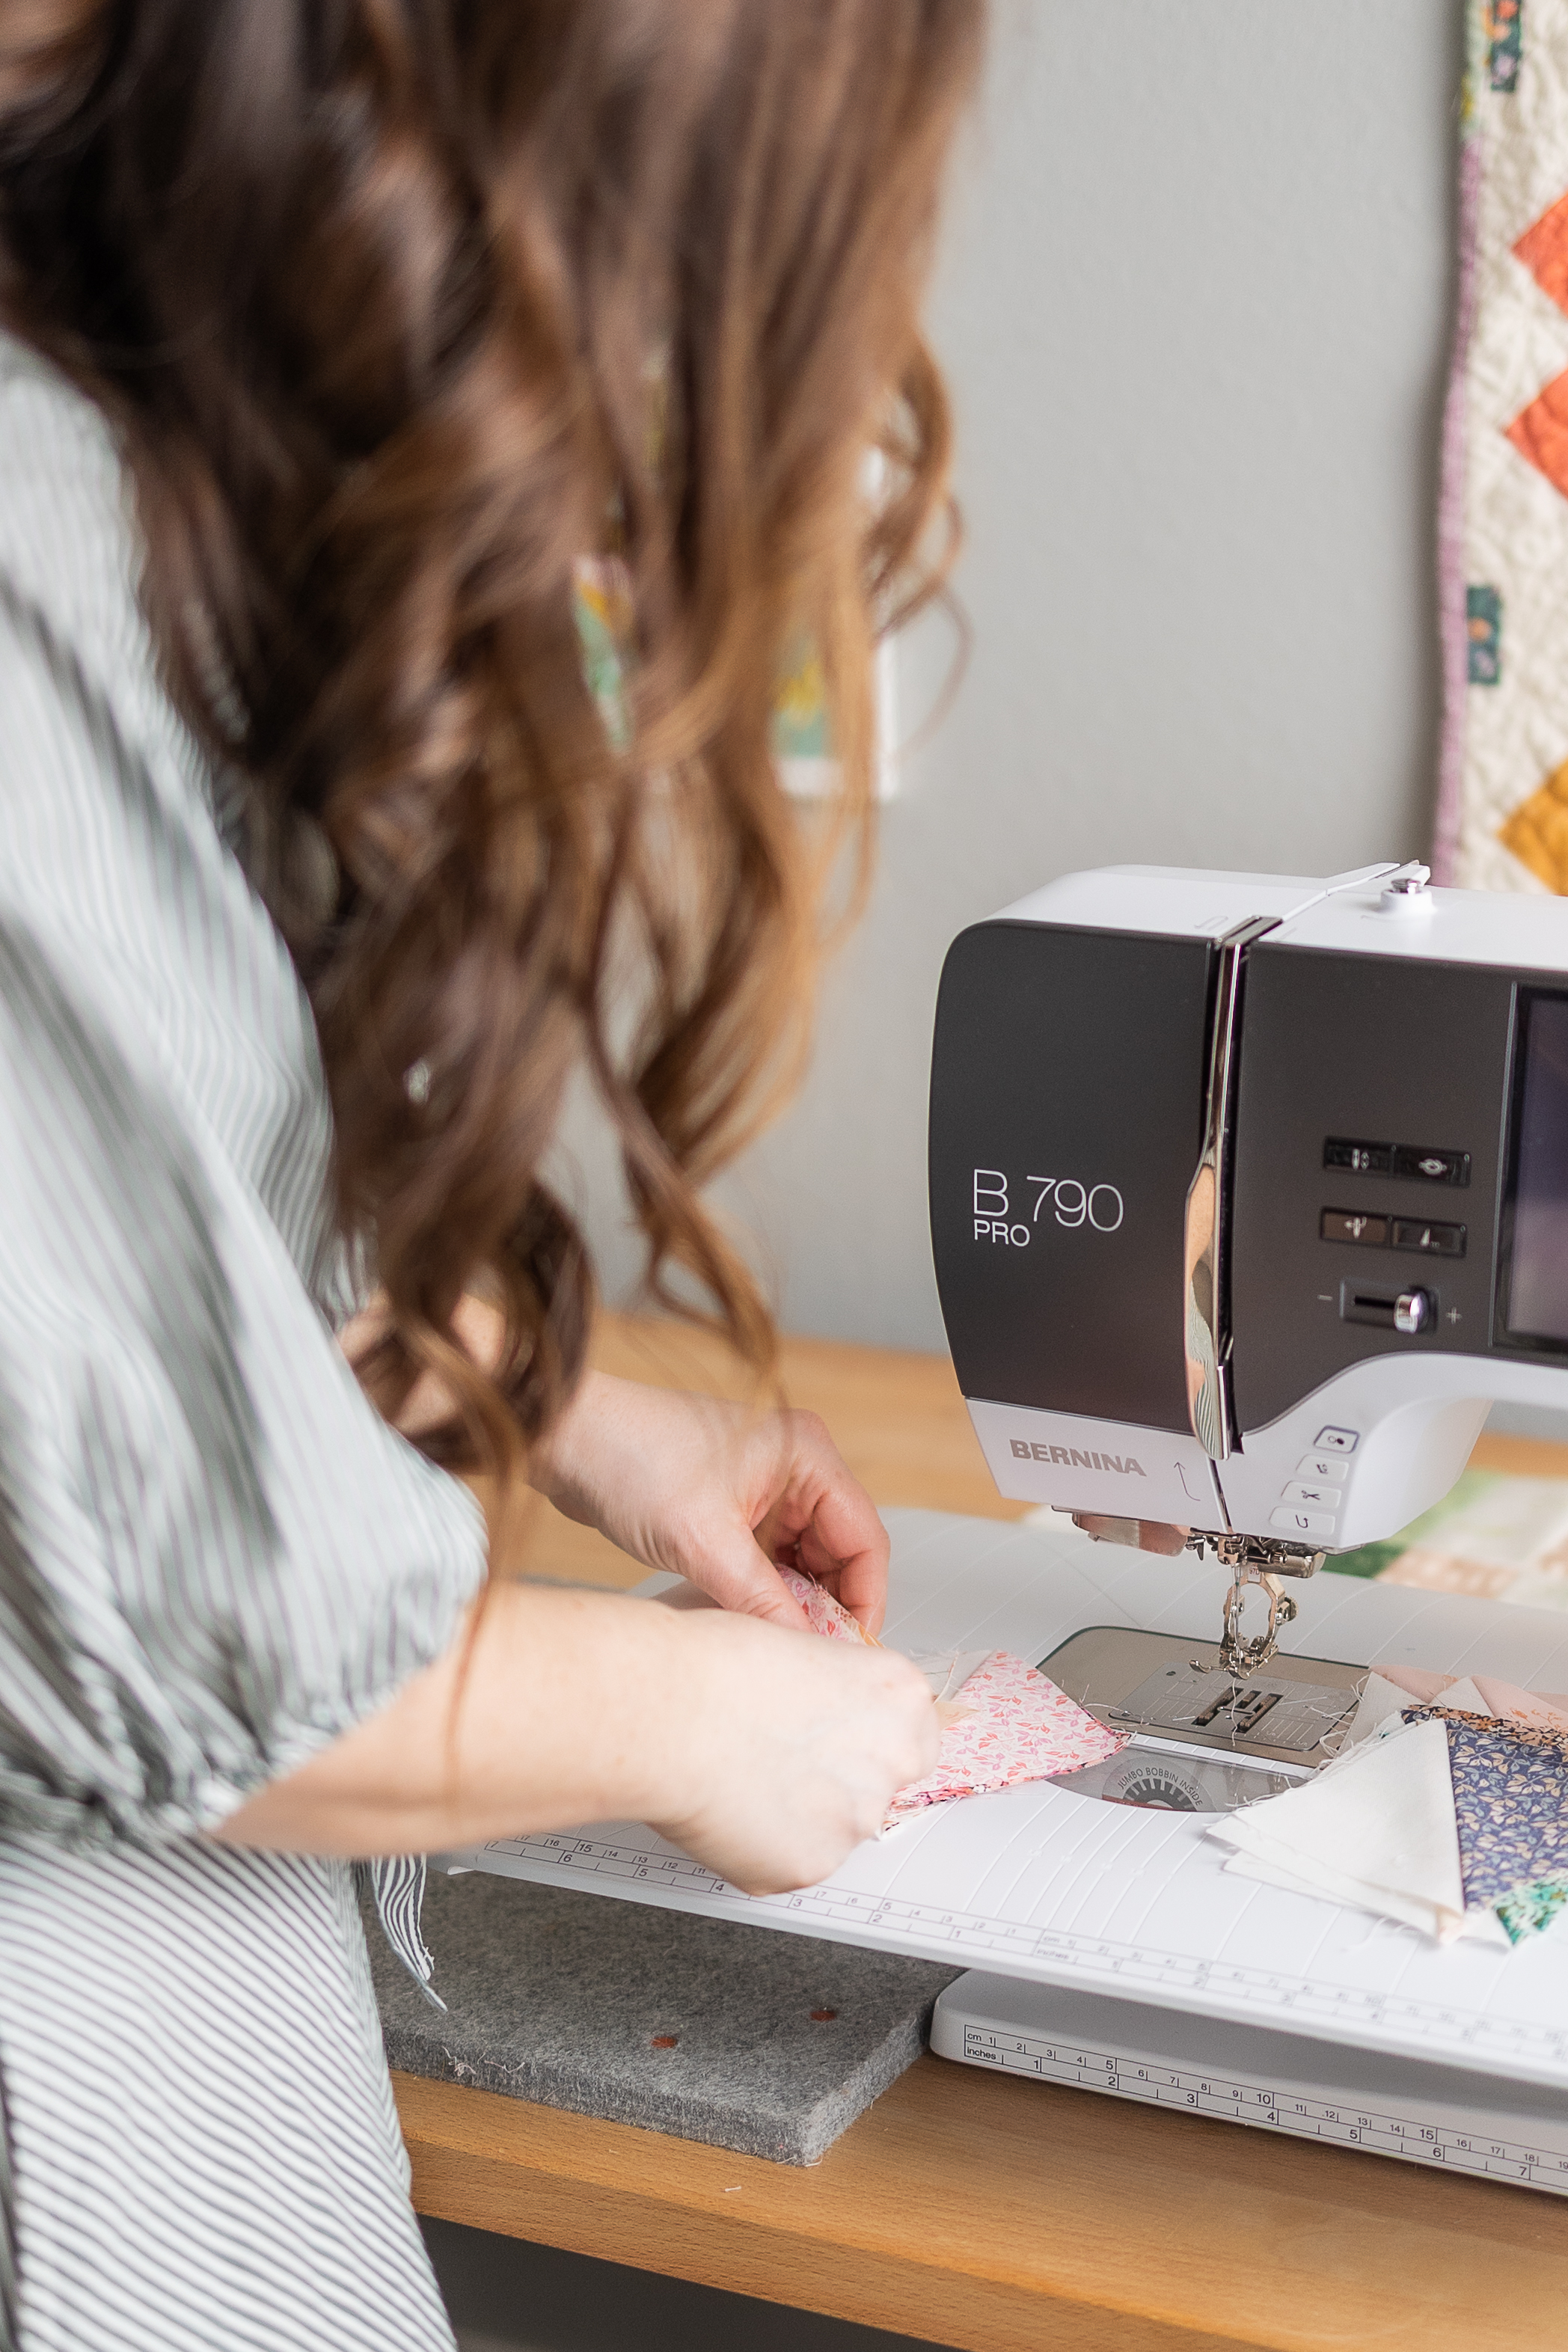
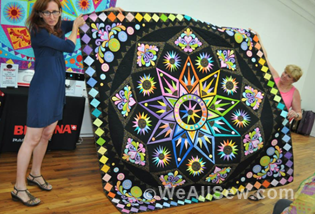
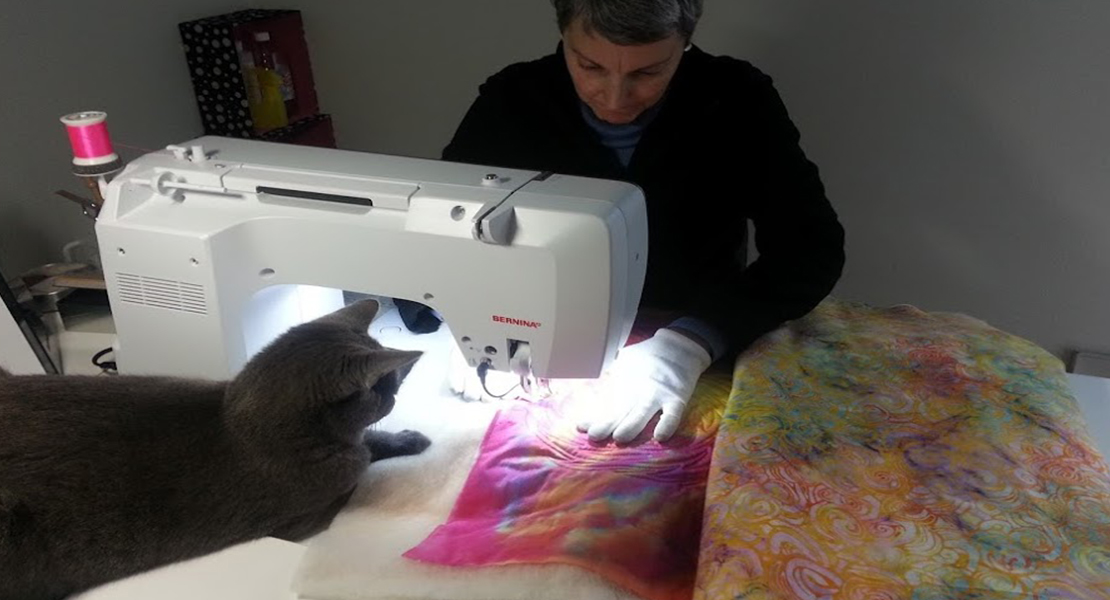
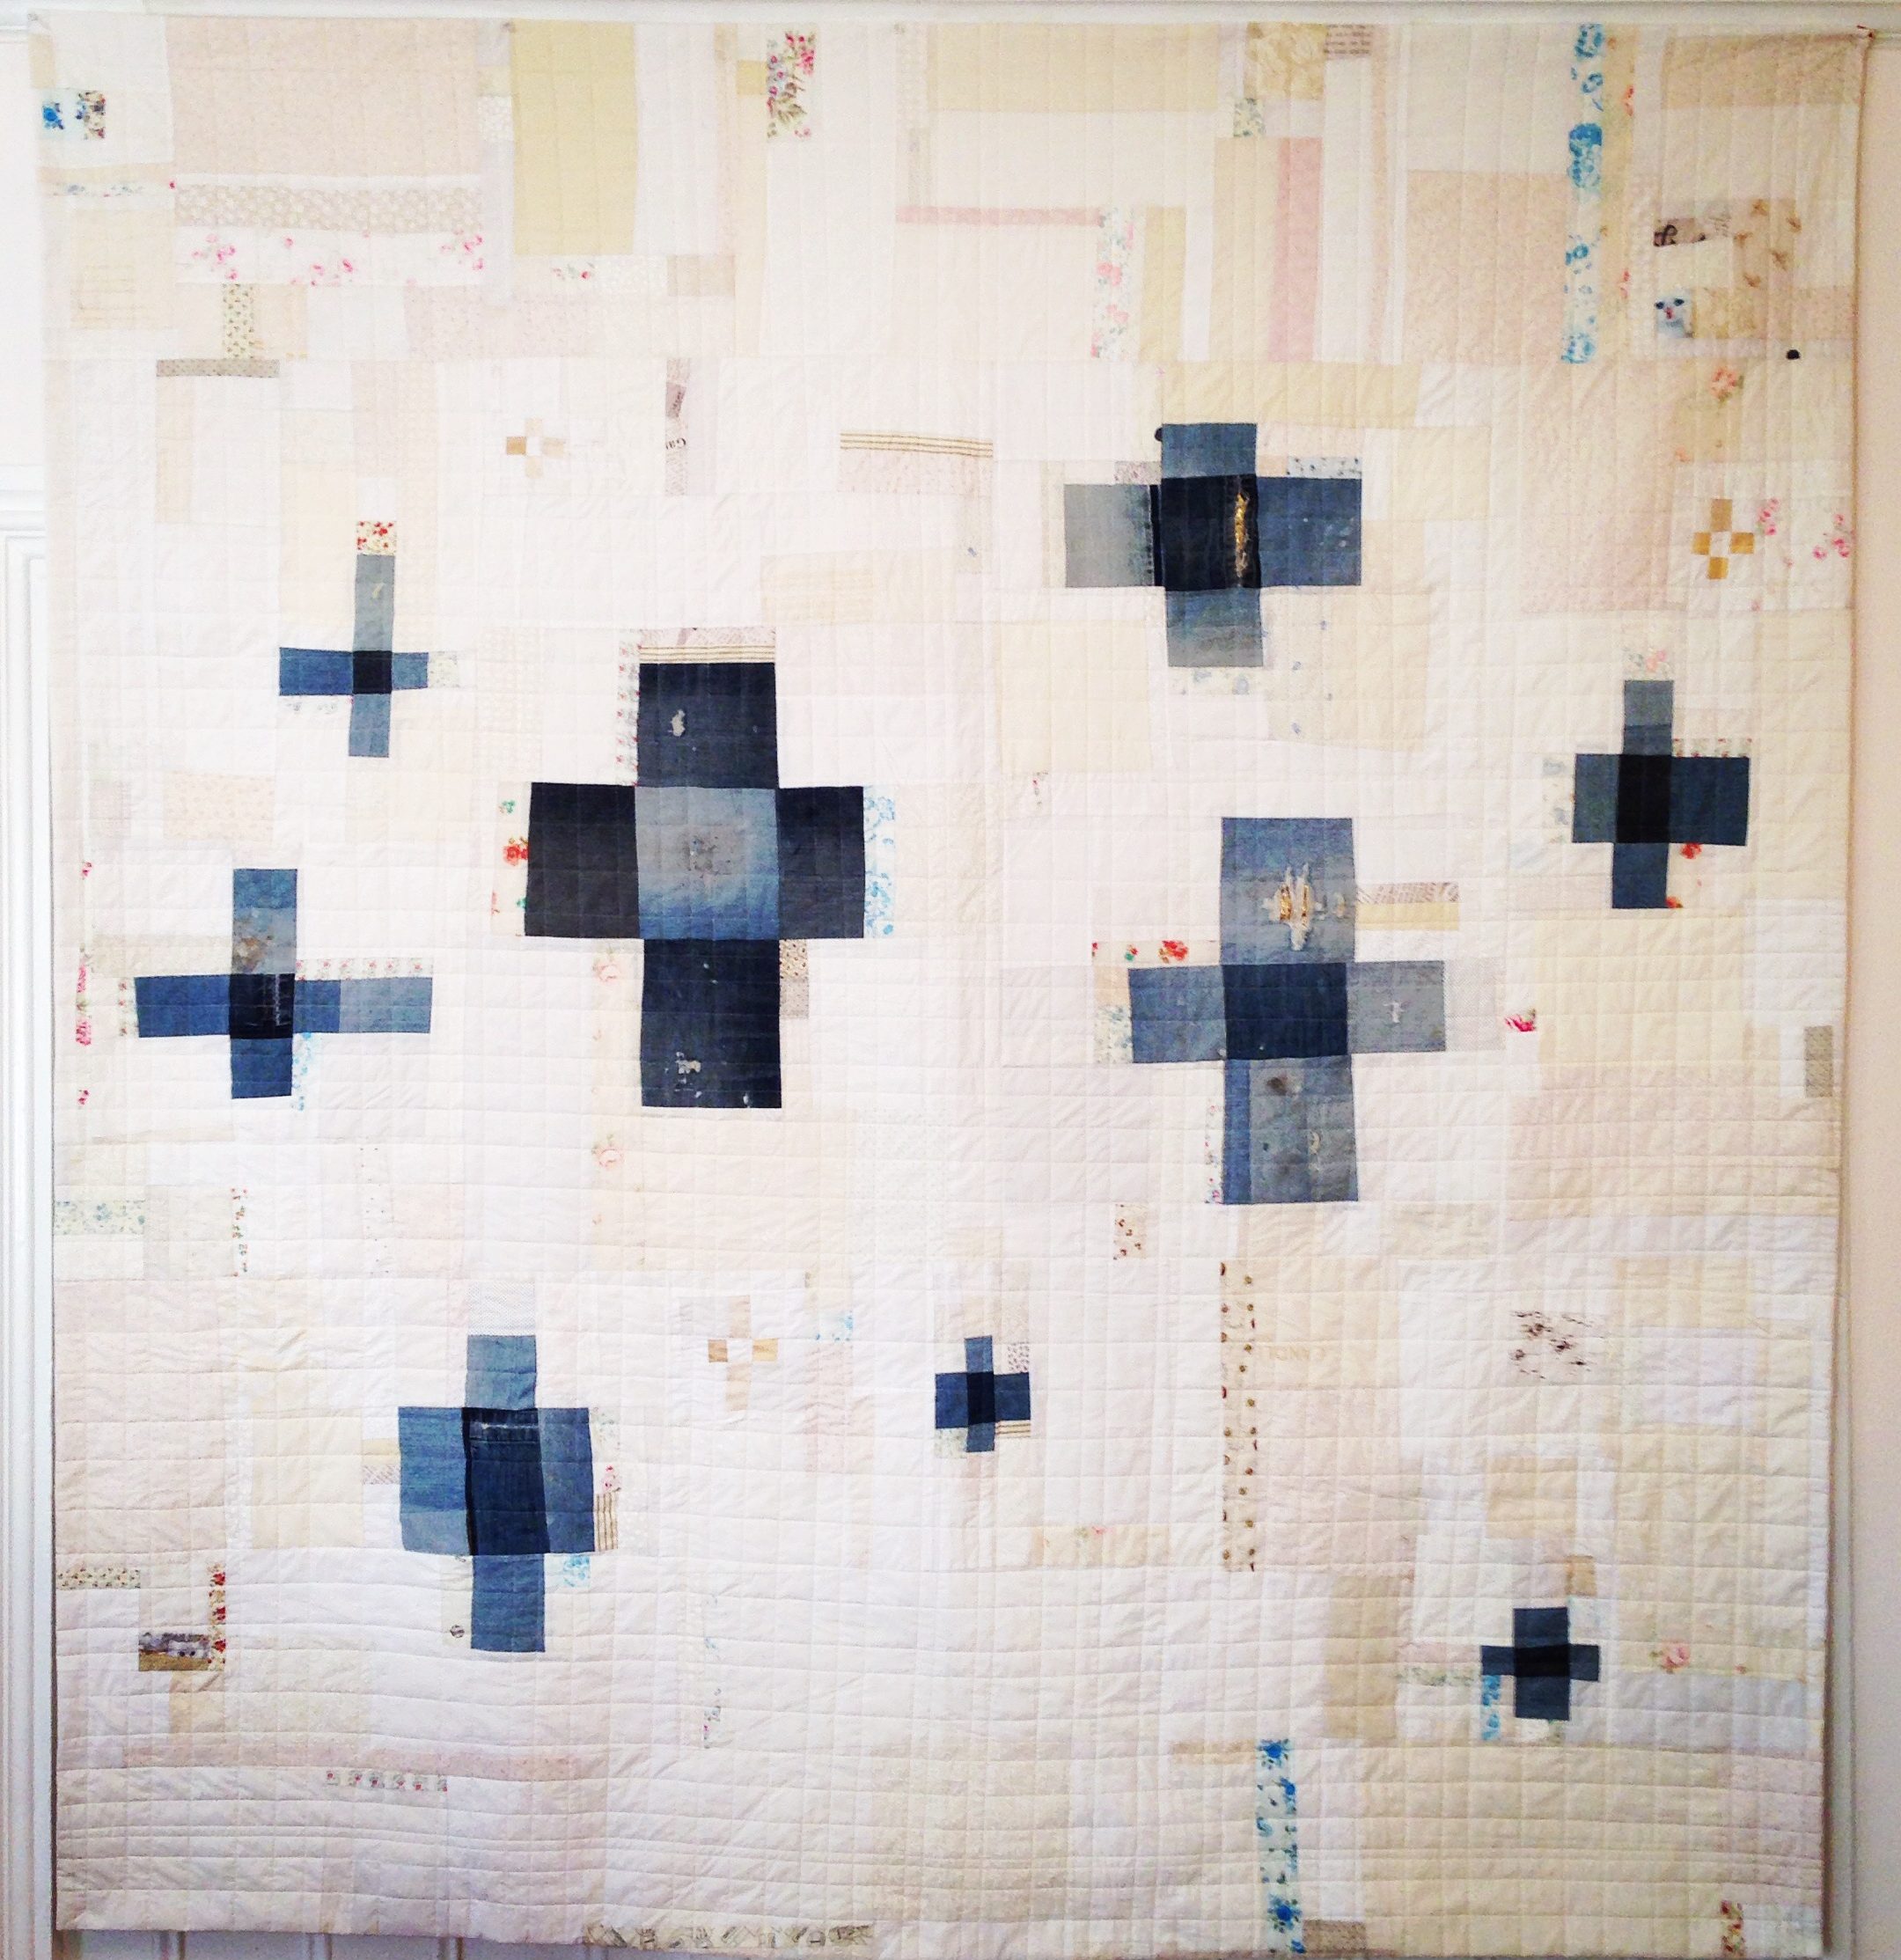
When it came time to quilt my BERNINA Pathways quilt, I made the decision to do something that felt both a little intimidating and deeply familiar. I decided to quilt it at home, right at my kitchen table, using my BERNINA 790 PRO.
This quilt had already been part of everyday life from the beginning, so finishing it in the same space felt fitting. I have a large farmhouse table, and for the first time in a very long time, I cleared it completely off (when was the last time you cleared off your table?!). I placed my sewing machine at the head of the table and gave myself room to spread out.
Setting Up the Space
My biggest concern before starting was tension. When quilting a large throw on a home machine, managing the weight of the quilt is everything. I wanted the quilt to rest as evenly as possible at the same height as the machine so it would not pull forward or backward as I stitched.
The farmhouse table provided a large, flat surface that allowed the quilt to be supported on all sides. This setup made a noticeable difference and gave me the confidence to move forward.
Preparing the Quilt Sandwich
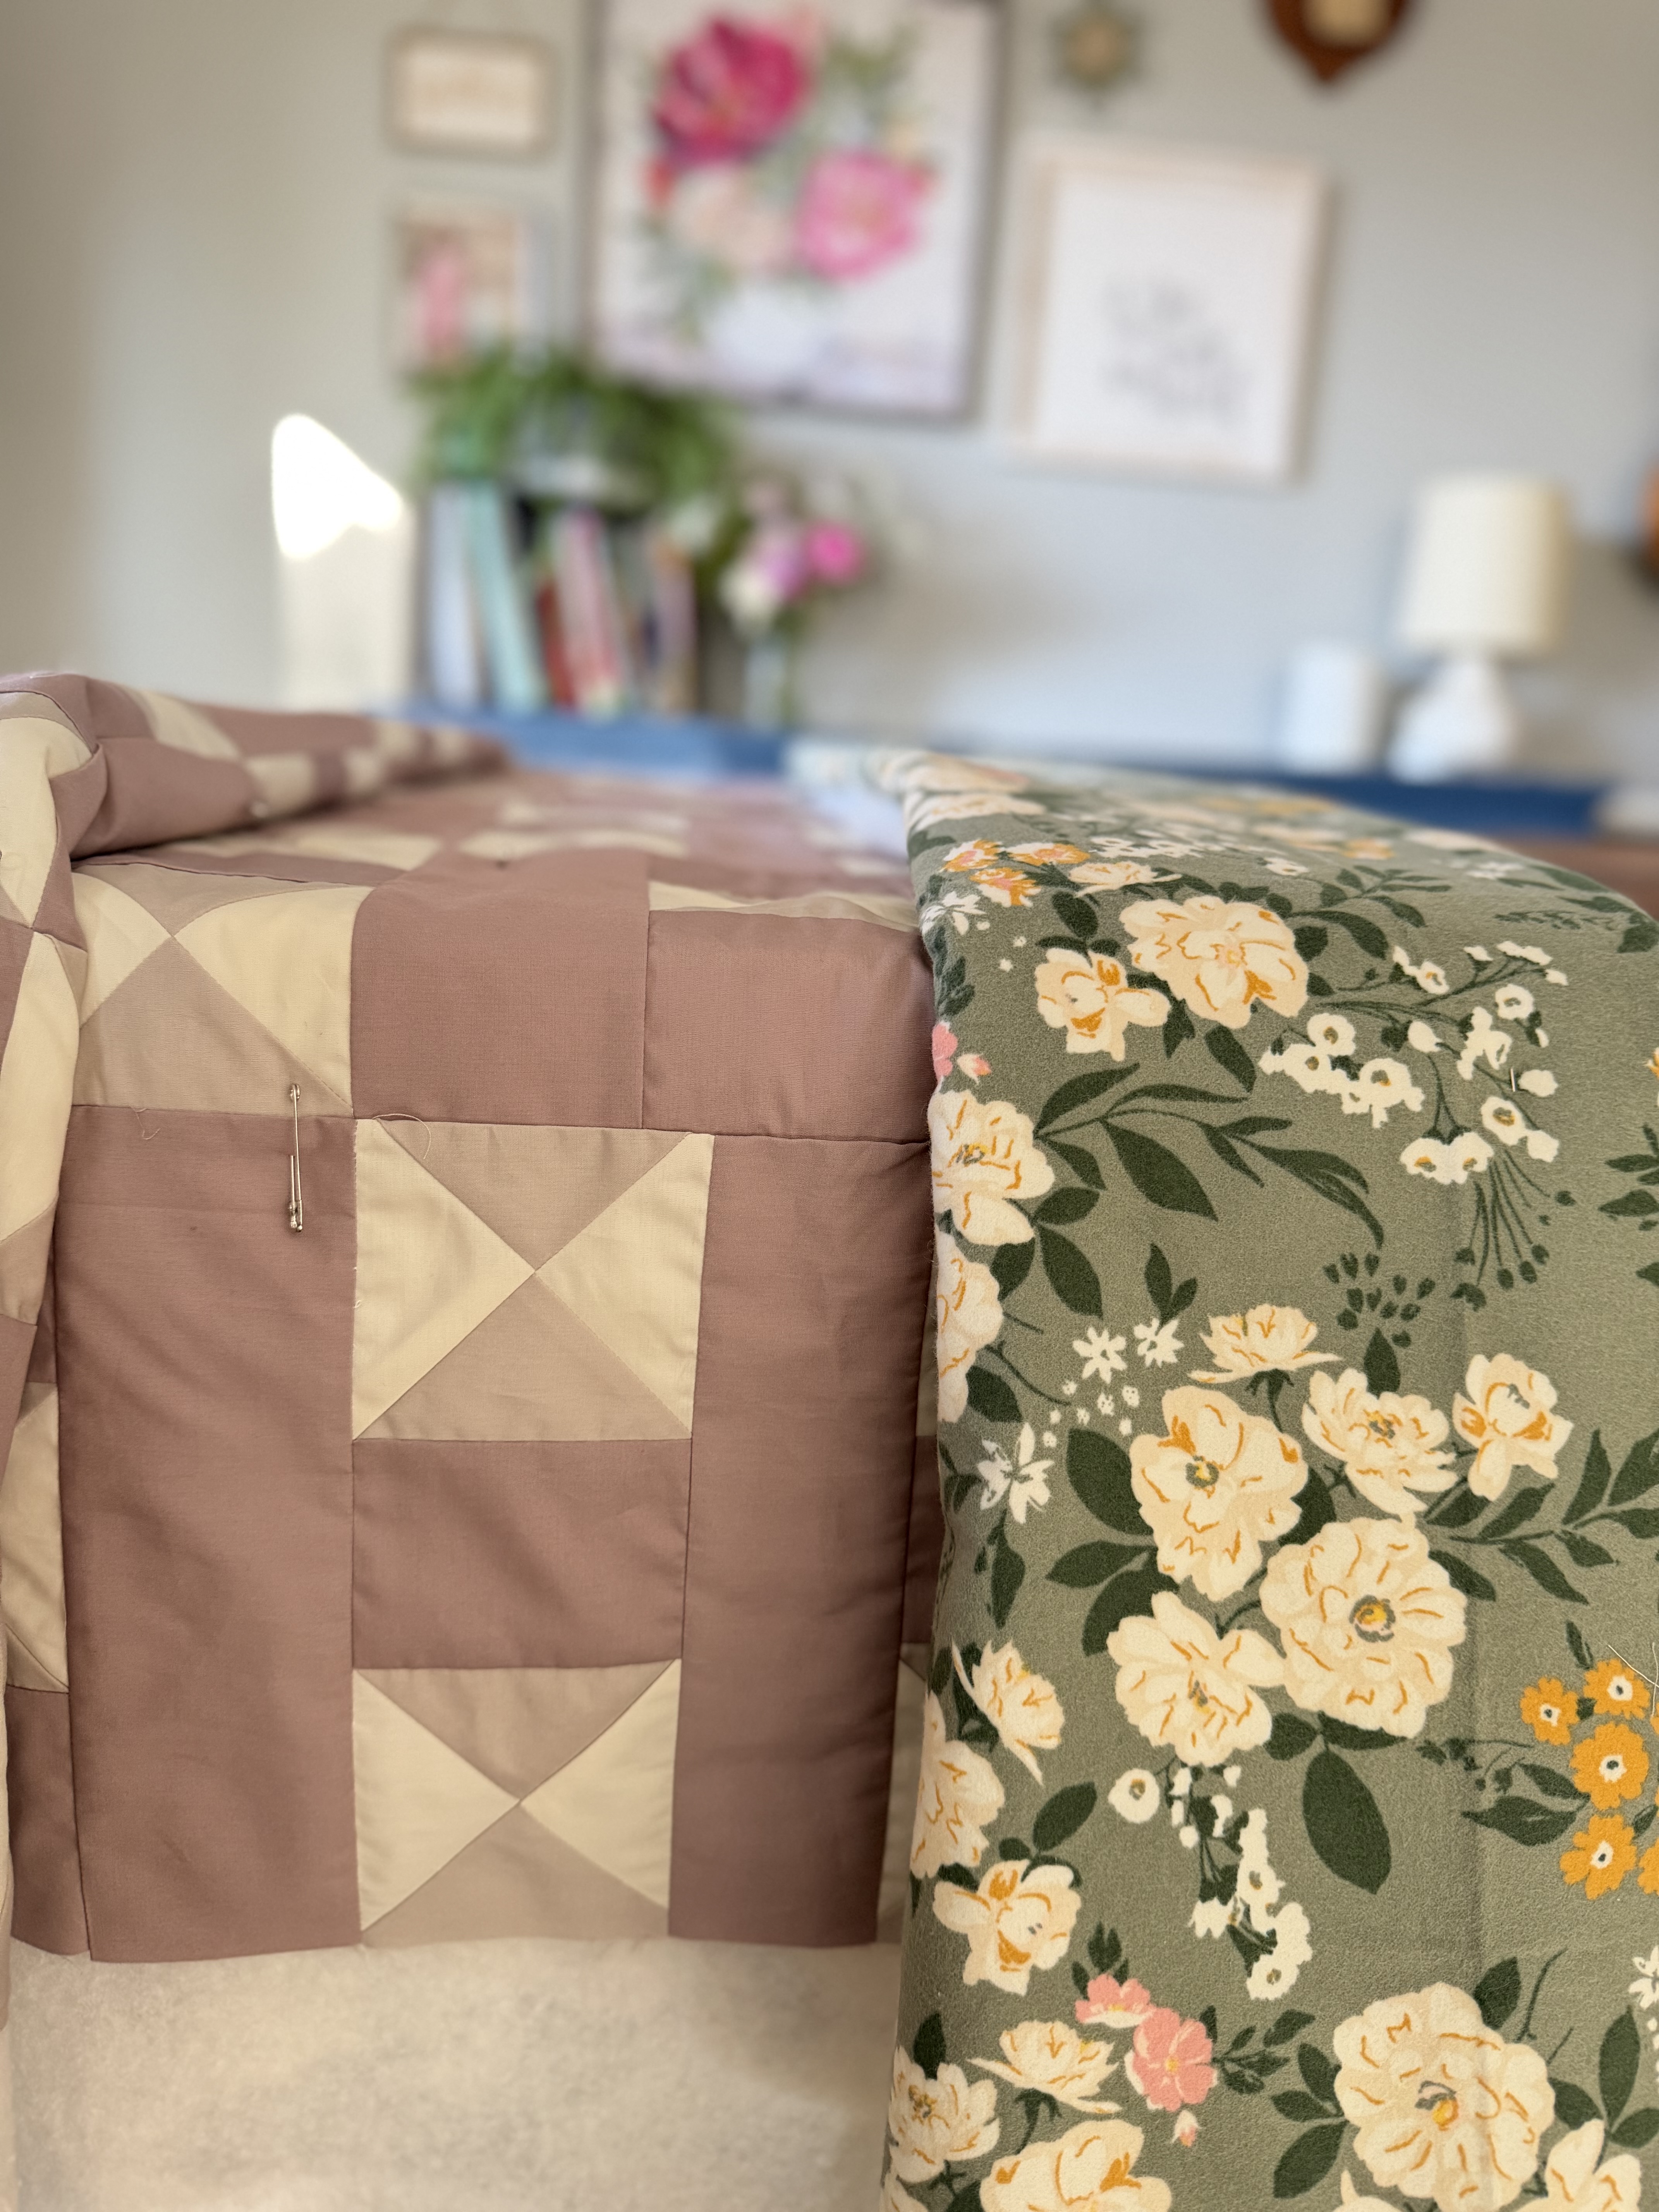
Before quilting, I carefully prepared the quilt sandwich. I laid the backing fabric right side down on the table, followed by the batting, and then placed the freshly pressed quilt top on top, right side up. For this quilt, I used Hobbs Batting, which gave me beautiful structure without too much loft.
I began basting in the very center of the quilt and worked my way outward, placing a basting pin at the corner of each block. As I moved outward, I smoothed the layers carefully, taking my time to make sure everything stayed flat and aligned.
This step was slow and very intentional. It can be tempting to rush through basting, but this is one of those moments where patience pays off. Quilting often asks us to embrace the slower parts of the process, and this is one of them.
As mentioned at the end of the Pathways Quilt-Along, the backing and batting were cut to be four inches wider and four inches taller than the quilt top. That extra fabric allows for minor shifting during quilting and provides a margin of safety as the layers move.
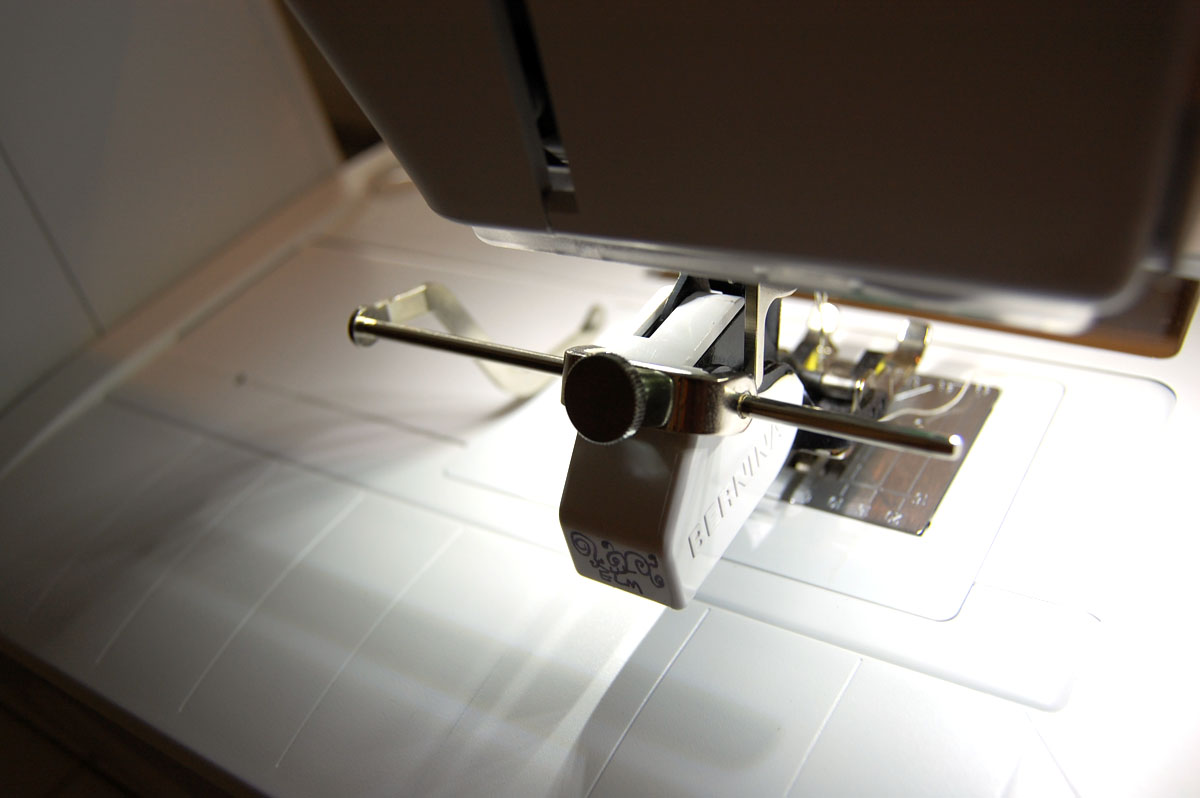
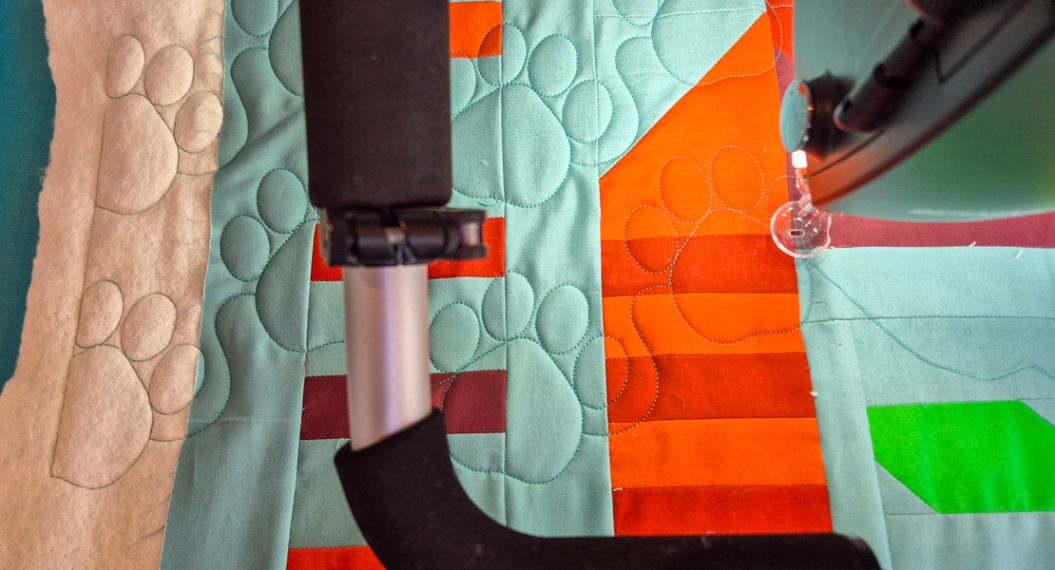
Using the BERNINA Three-Sole Walking Foot with Seam Guide #50
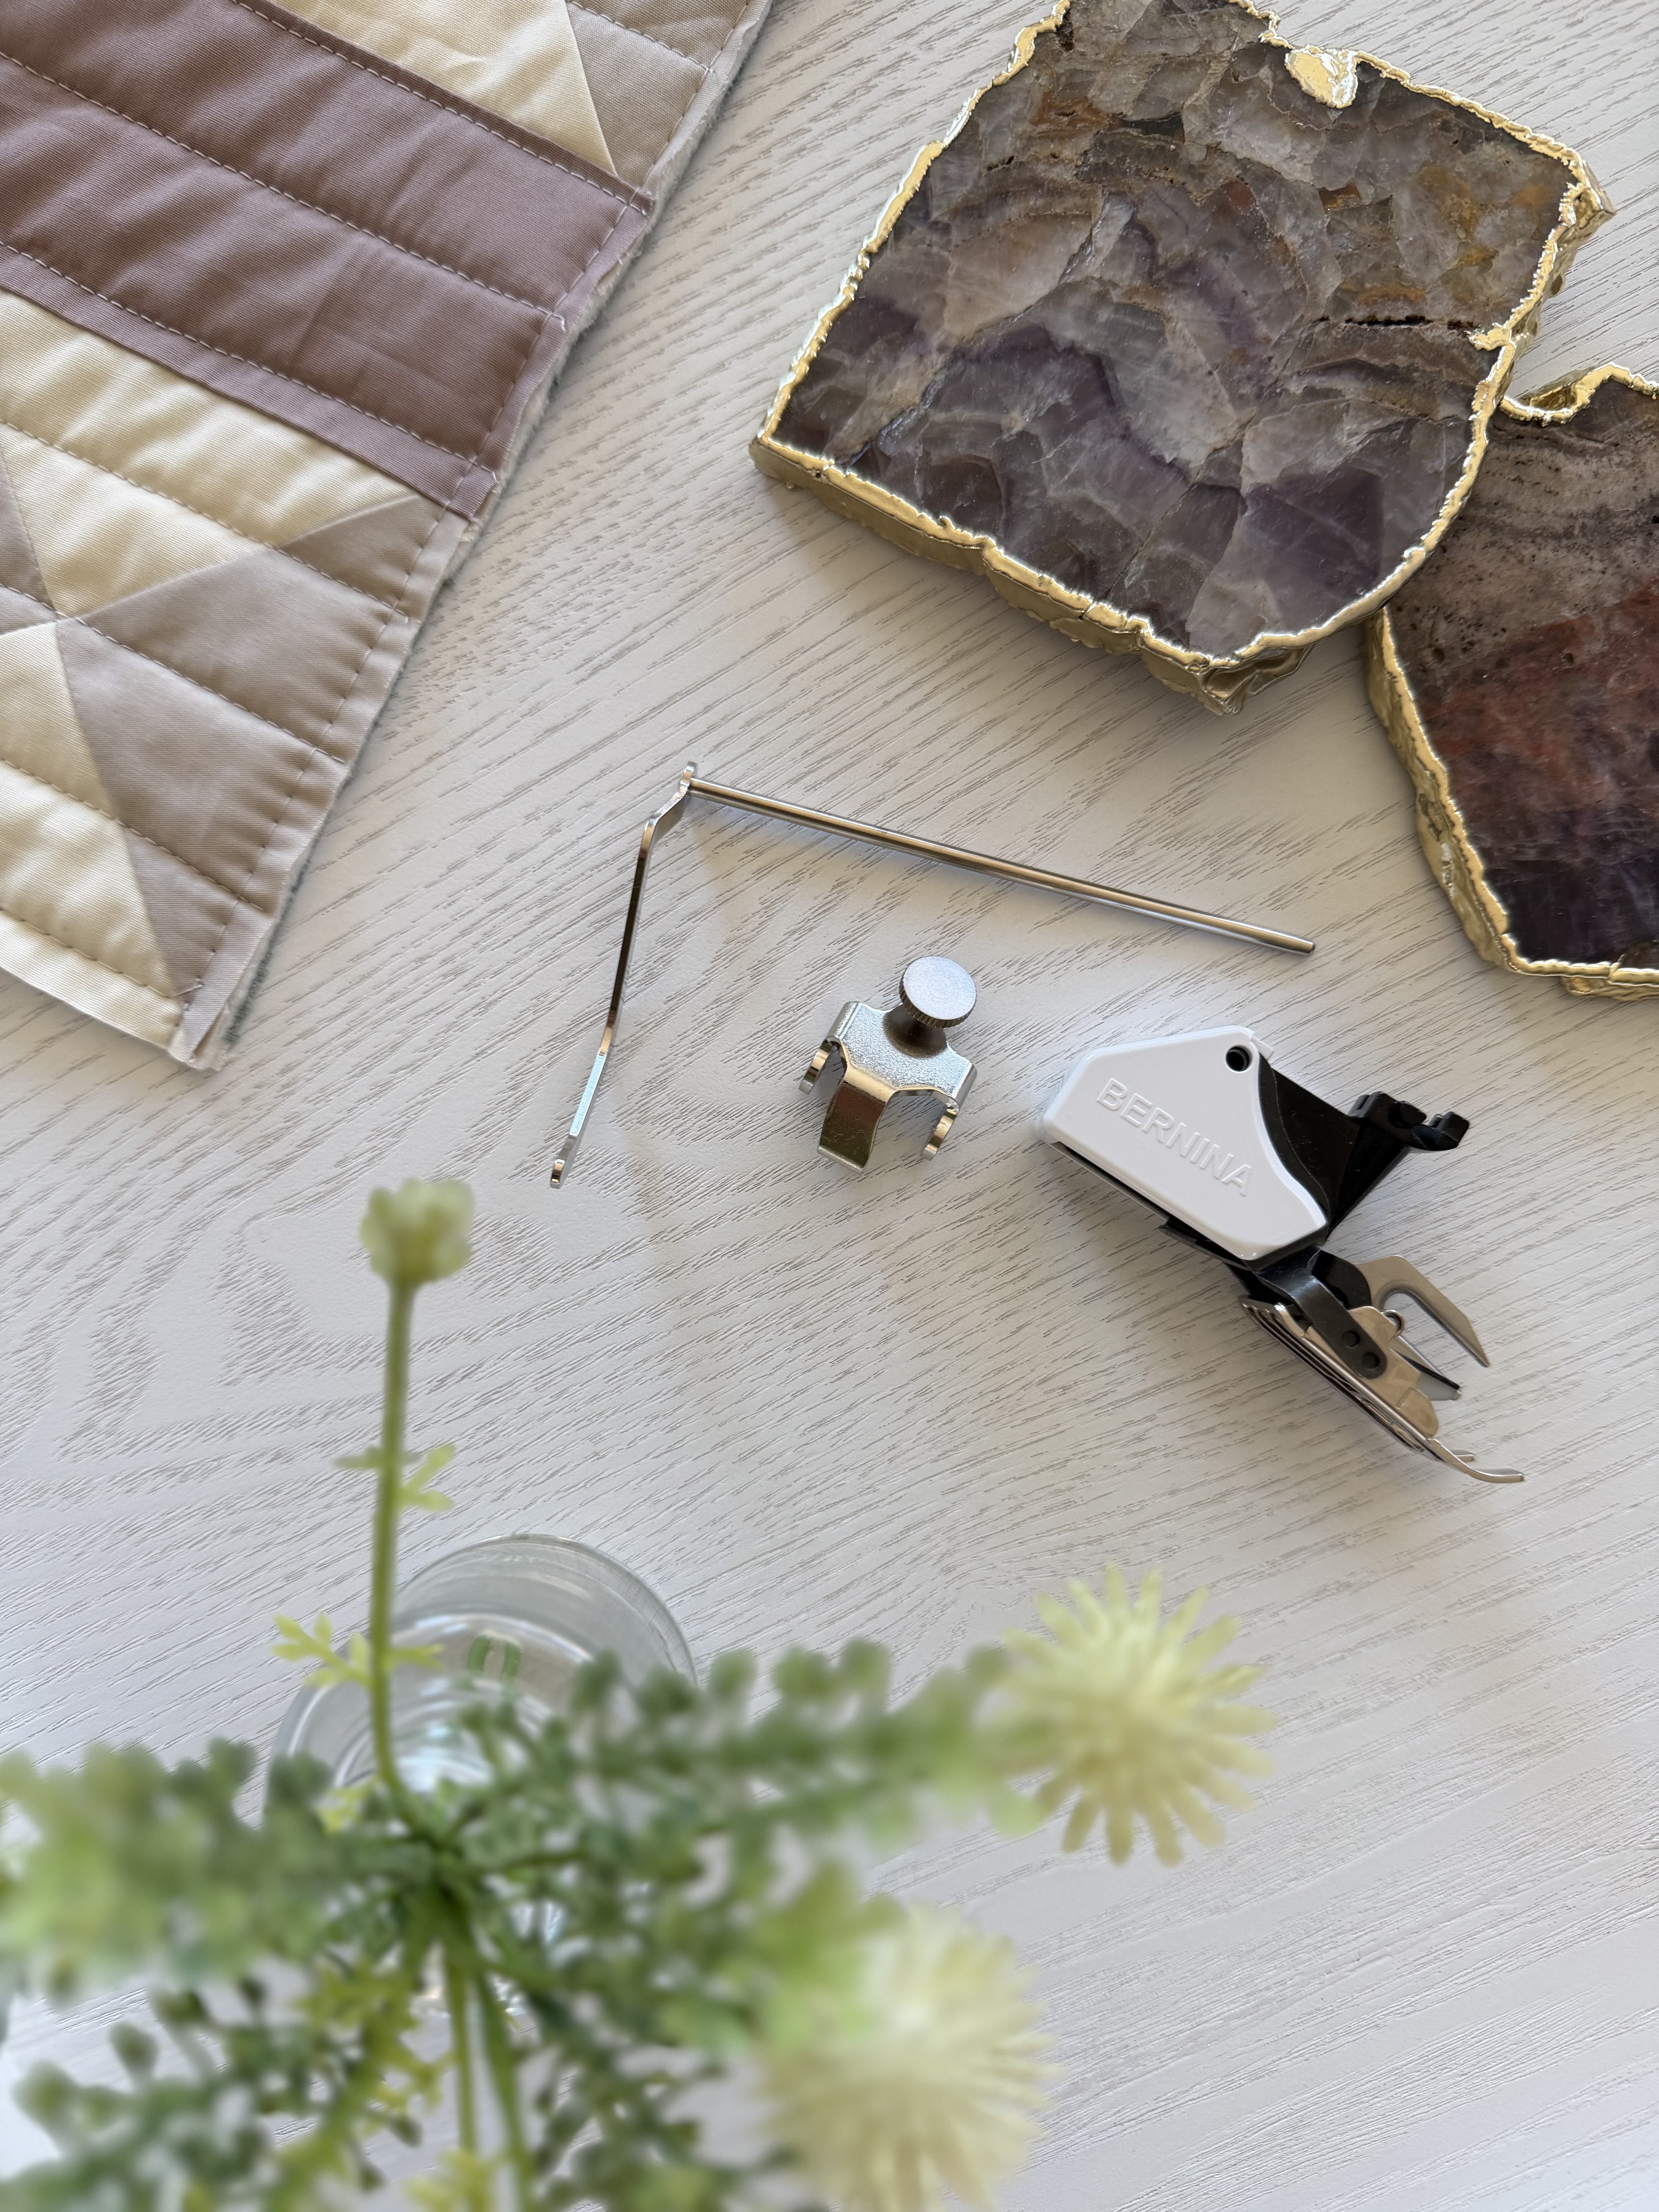
For quilting, I used the BERNINA Three-Sole Walking Foot with Seam Guide #50 with the seam guide attachment. This combination was key to achieving consistent, evenly spaced quilting lines.
If you purchased the walking foot and no longer have the box or instructions, assembling the seam guide is simple. The guide slides into the designated slot on the walking foot and is secured with the small screw included with the foot. Once attached, it can be adjusted to your desired spacing.
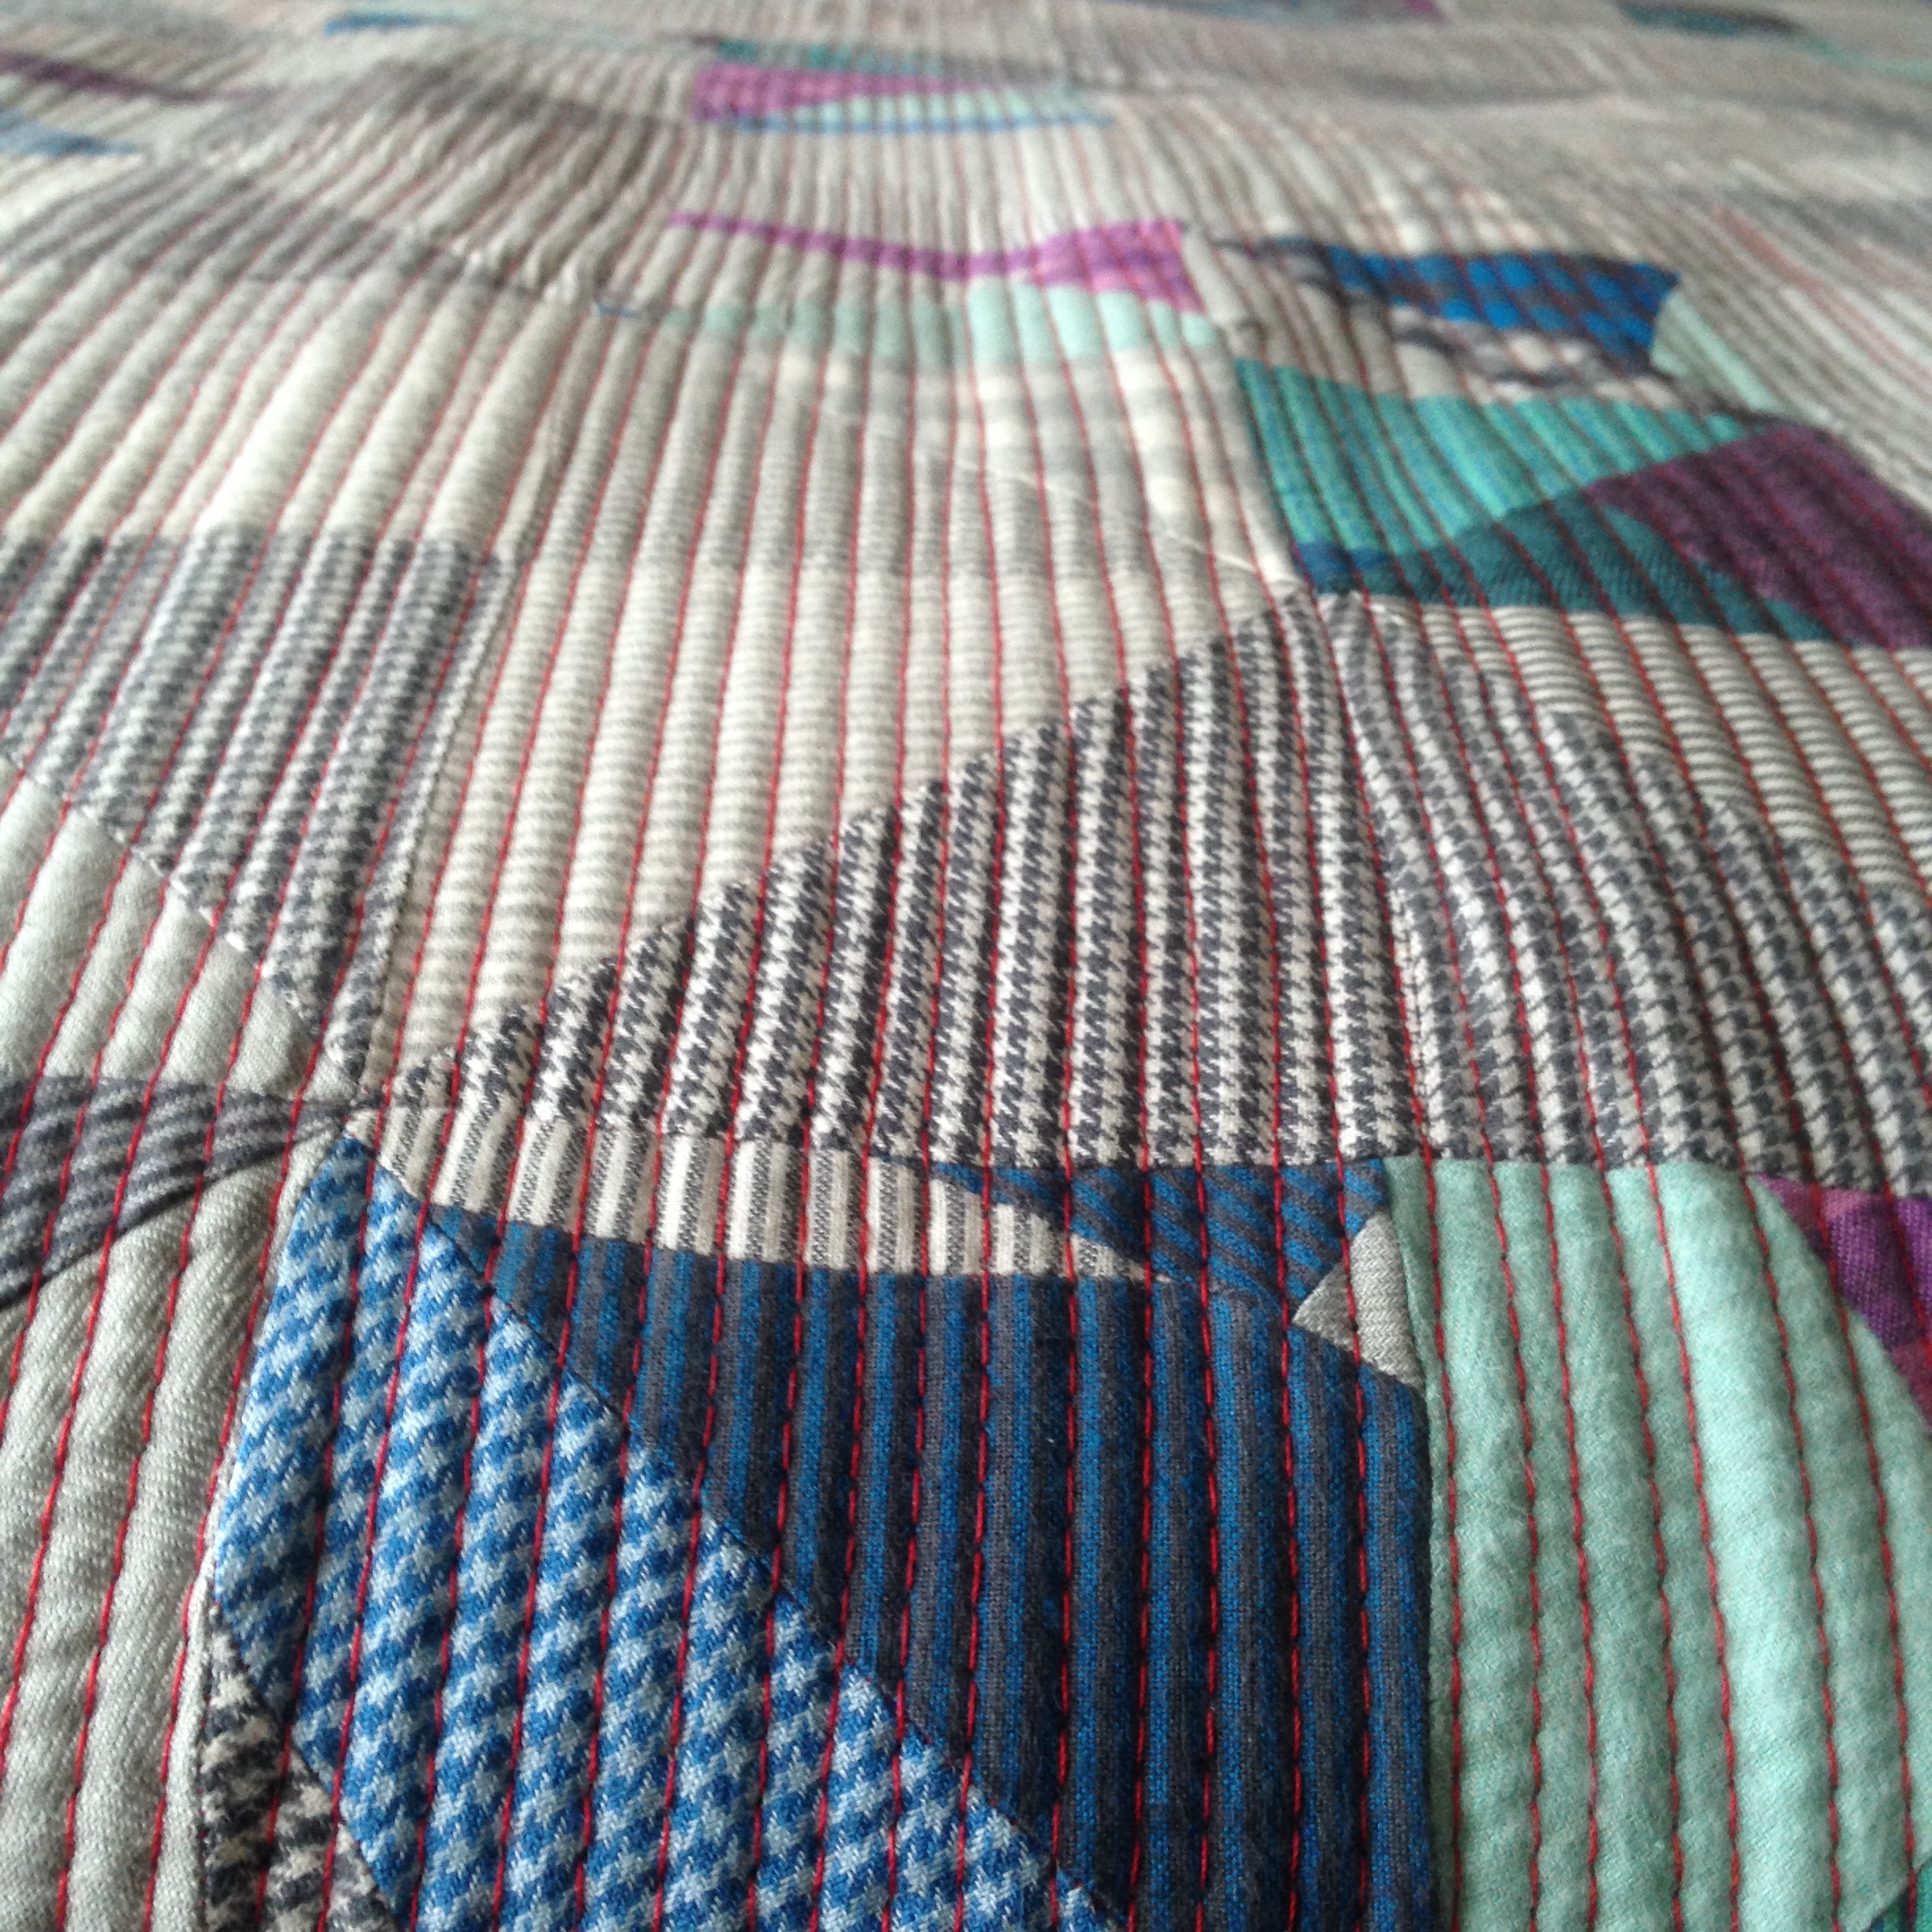
For this quilt, I set the seam guide to one inch on the left side of the needle. I selected a straight stitch and lengthened my stitch length from the standard 2.5 to 3 to better suit quilting through all three layers.
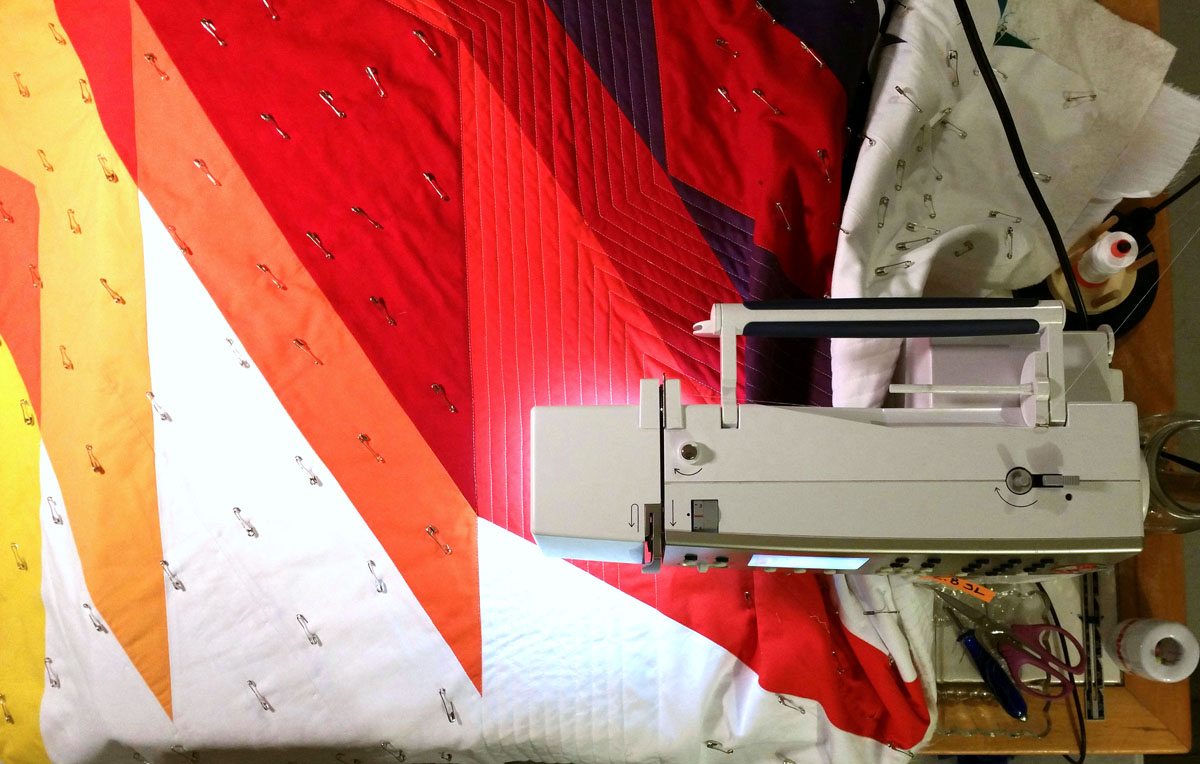
Quilting the Quilt
To manage the bulk, I rolled the quilt from both the left and right edges toward the center, leaving only the center section exposed. I draped the roll over my left shoulder, which helped support the weight and kept the quilt moving smoothly.
I began quilting using the edge of the quilt blocks as my guide for the very first line, stitching from top to bottom. For every line after that, I relied on the seam guide, allowing it to run directly along the line of stitching I had just completed.
I quilted all the way to the right edge of the quilt, unrolling that side as needed and rolling the freshly quilted portion into the left side. Once that half was complete, I flipped the quilt around, returned to the center, and repeated the process, quilting outward to the opposite edge.
When I finally unrolled the quilt completely, I was so excited to see that there were no folds, puckers, or areas of gathering. Slow and steady truly was the name of the game.
Securing the Quilt Before Binding
Before moving on to binding, there is one important final step. I removed the seam guide from the walking foot but continued using the walking foot itself, since I was still working through all three layers.
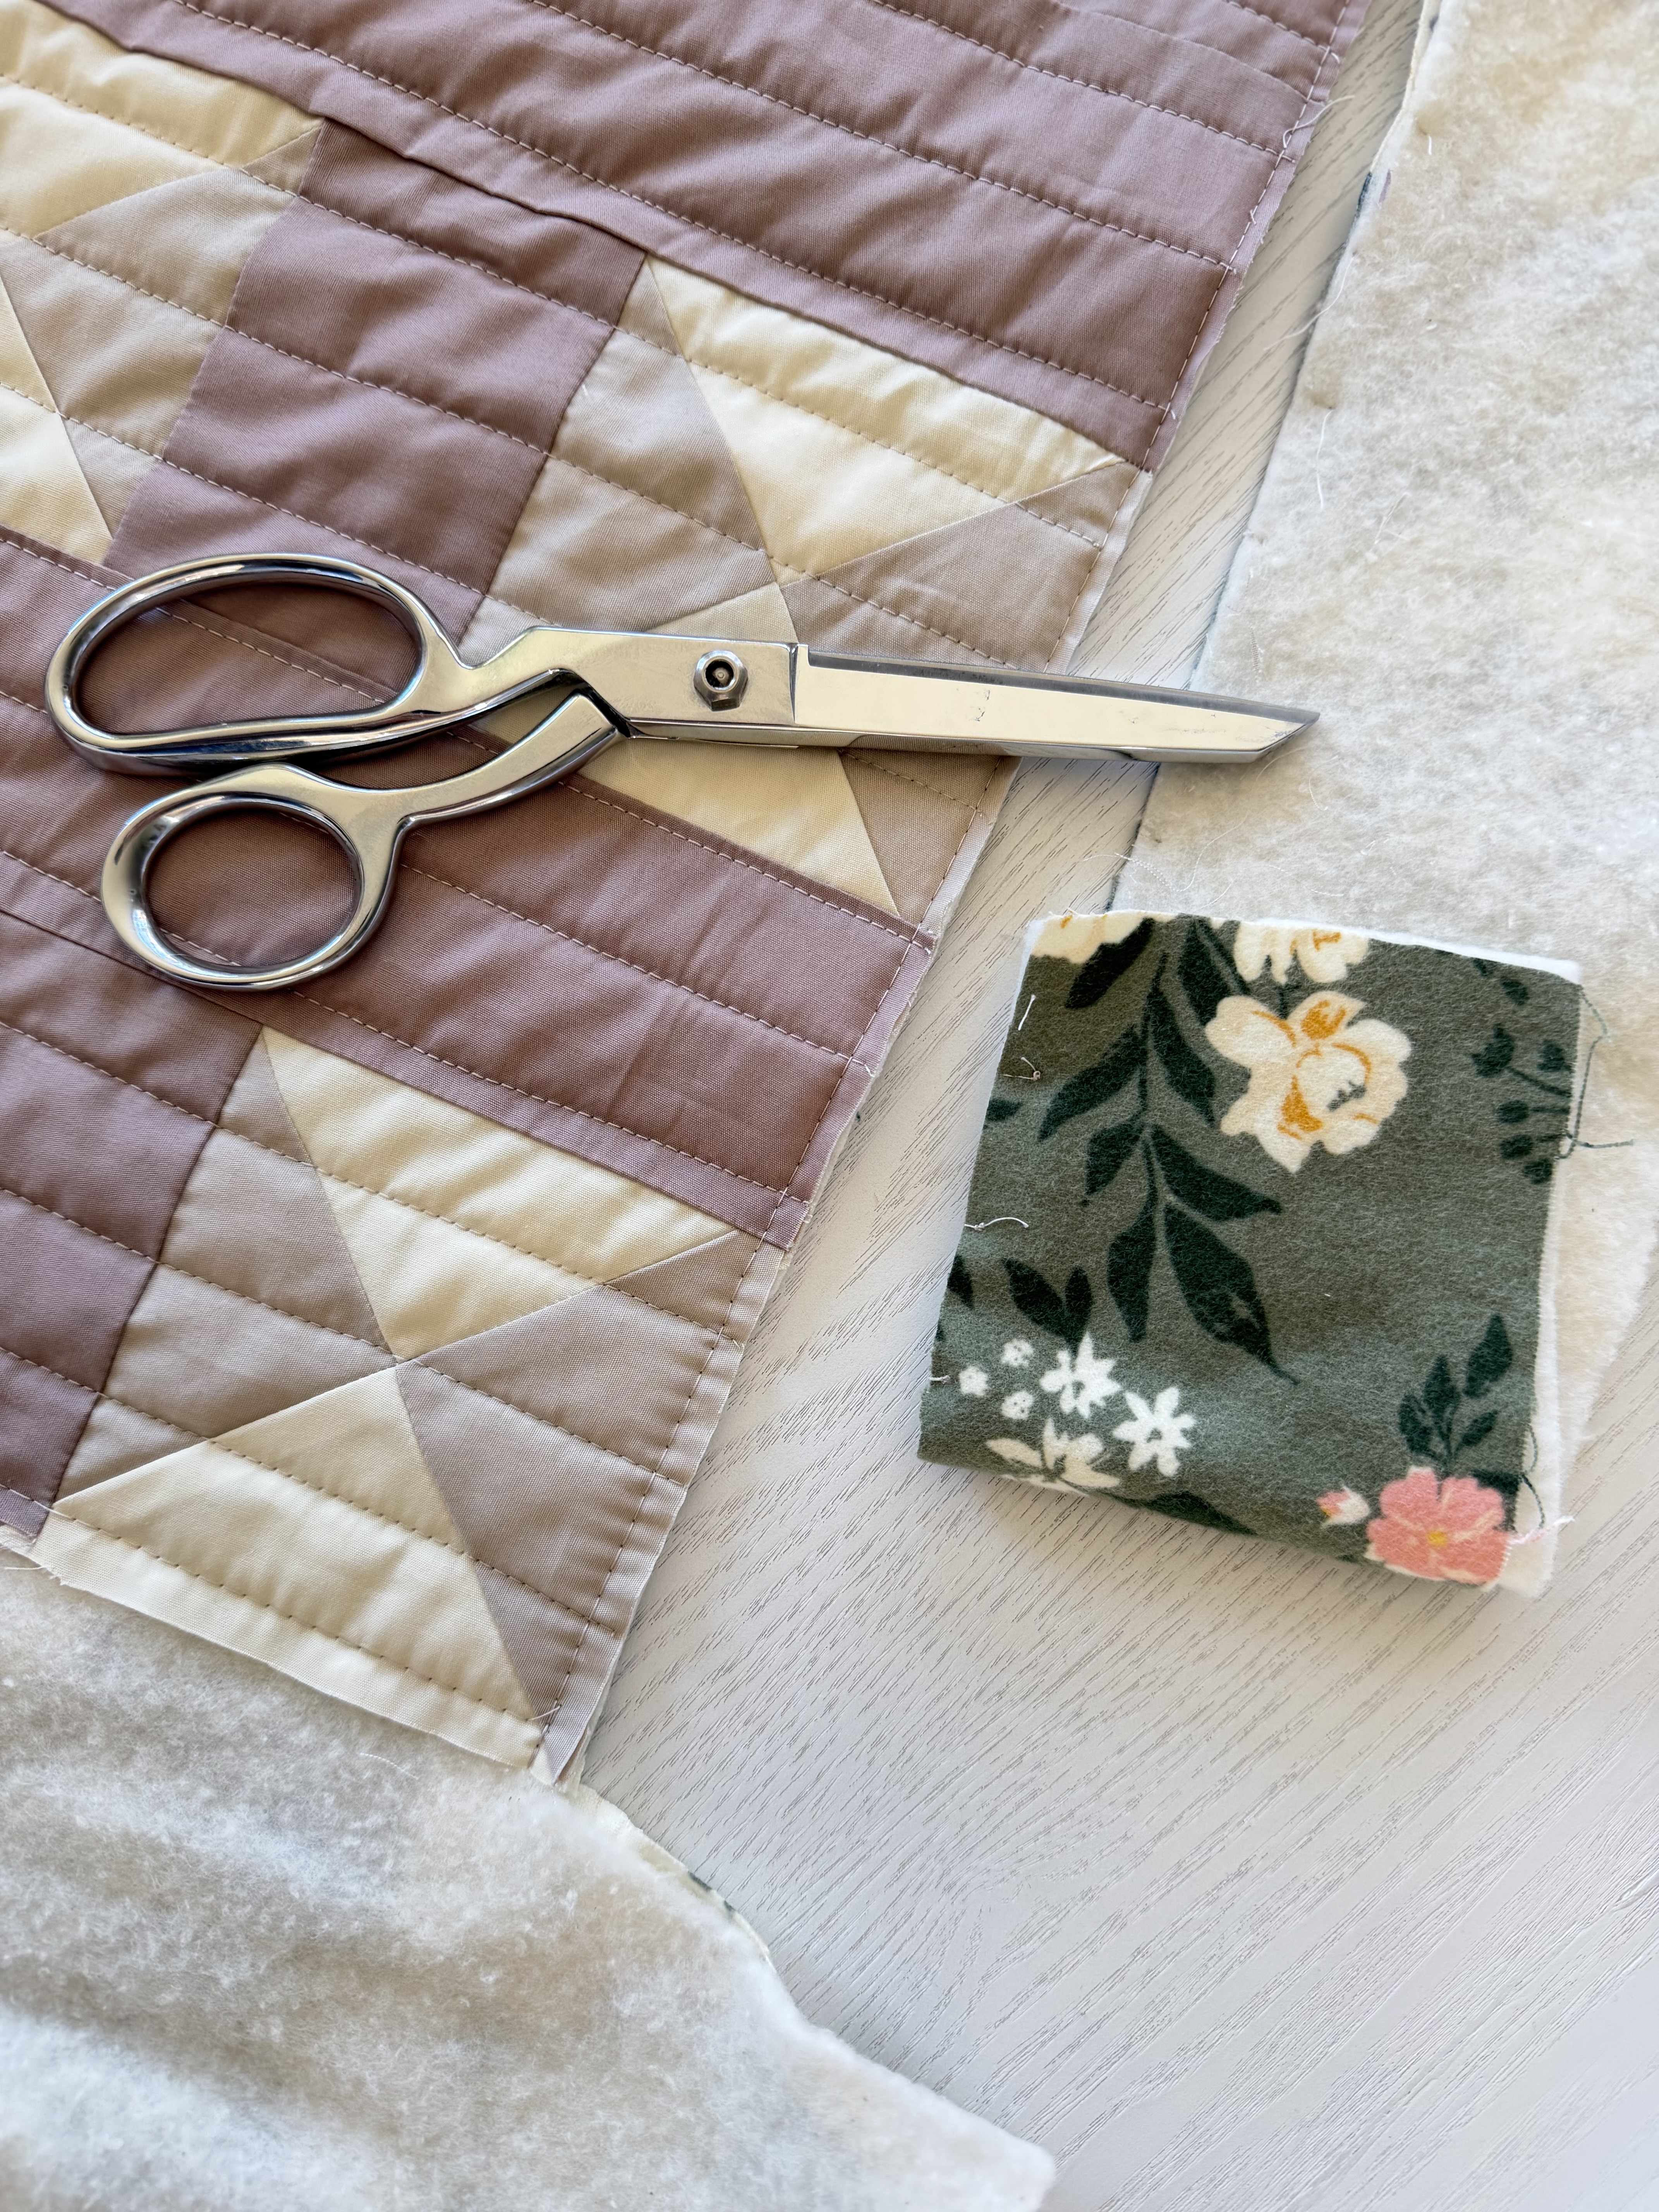
Using a straight stitch, I lengthened the stitch to between 4.5 and 5 and sewed a basting stitch one-quarter inch from the edge around the entire perimeter of the quilt. This step helps stabilize the quilt and keeps the layers from shifting while attaching the binding.
Once the basting stitch was complete, I trimmed away the excess batting and backing fabric, leaving a clean edge and a quilt that was fully prepped for binding.
Final Thoughts
Quilting this large throw at home reminded me that beautiful finishes do not require special spaces or elaborate setups. Sometimes, all you need is a cleared table, a supportive machine, and the willingness to move slowly and intentionally.
This quilt was finished where life happens, and that feels just right! If you are looking for a beginner-friendly pattern to make a quilt top and try quilting at home, come wander through my patterns at Mae Just Sew.