6 Tips for Sewing Pleather
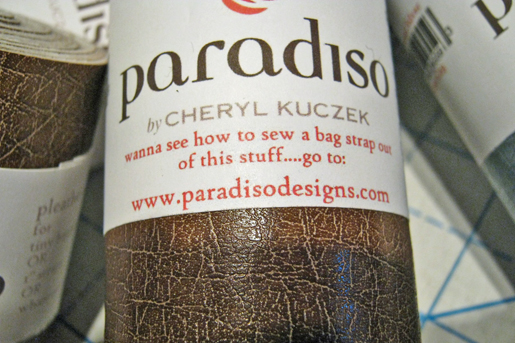
We all love our bags. From purses and handbags to duffles and totes, we all use a variety of bags every day. Designer Cheryl Kuczek loves them, too 🙂 Eight years ago Cheryl started her Independent Sewing Pattern company called Paradiso Designs, featuring fun skirts, dresses, tops, and bags. (You might catch a glimpse of Jackx, her dog, too.)
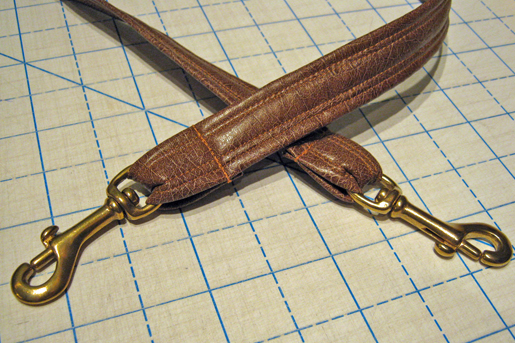
It’s all about pleather! I love designing handbags but don’t want to use fabric for straps, so I developed my own techniques to sew pleather straps. I loved them so much I started using pleather for other details on my handbag designs. You’ll love it, too! But before you begin it is important to know some tips that will give you the confidence to tackle sewing pleather with ease!!
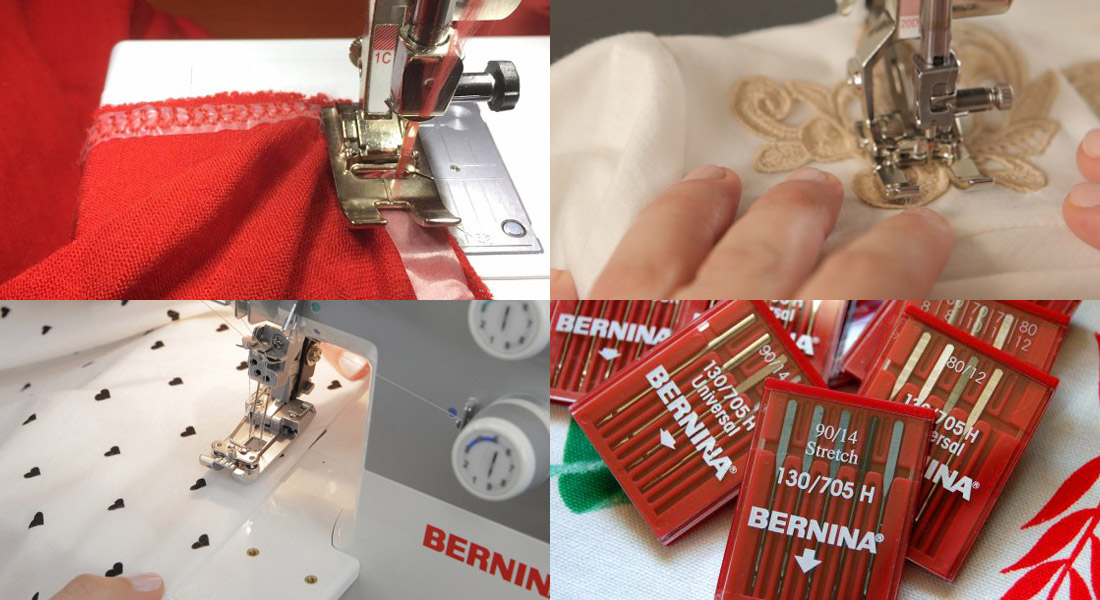
I have sewn on pleather/vinyl (p/v) for many years and still continue to learn new ways to sew with this wonderful material that can give a designer look to any handbag you make. Pleather is a material that is always evolving, and it is important to remember that not all pleathers are alike . . . at all! Because there are many different pleathers, multiple feet are a good bet to have so that you are prepared to sew on each one. Pleather is not slick – it’s sticky – and can be resistant to being sewn with a regular presser foot. But with the right BERNINA machine feet and awesome BERNINA needles, ANY pleather can be sewn!!
1) Select the correct presser foot.
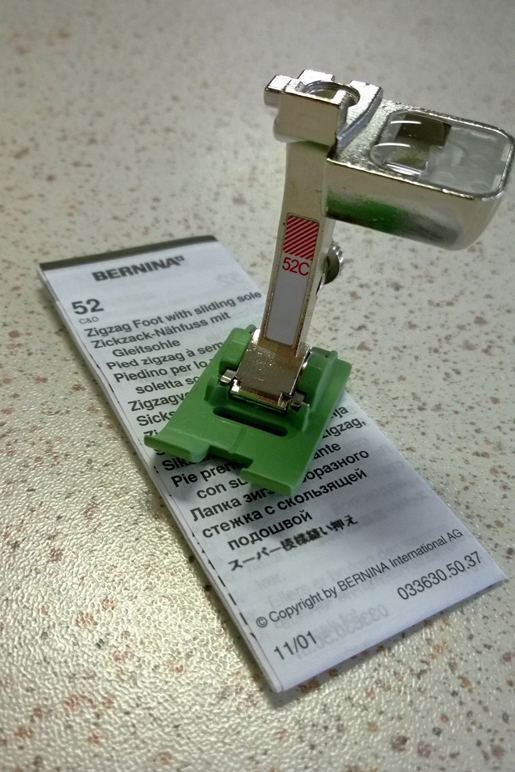
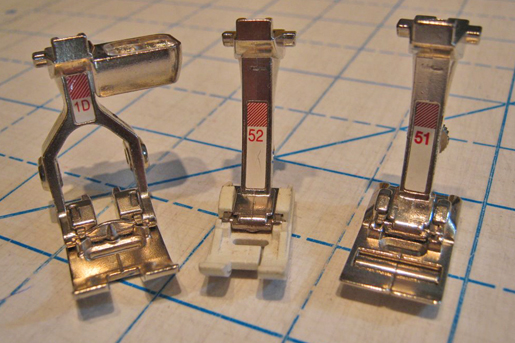
The first foot I will suggest is the Non-Stick Zigzag Foot #52. The green- or white-coated Non-Stick Zigzag Foot #52 is great for pleather because it allows the foot to glide over the surface.
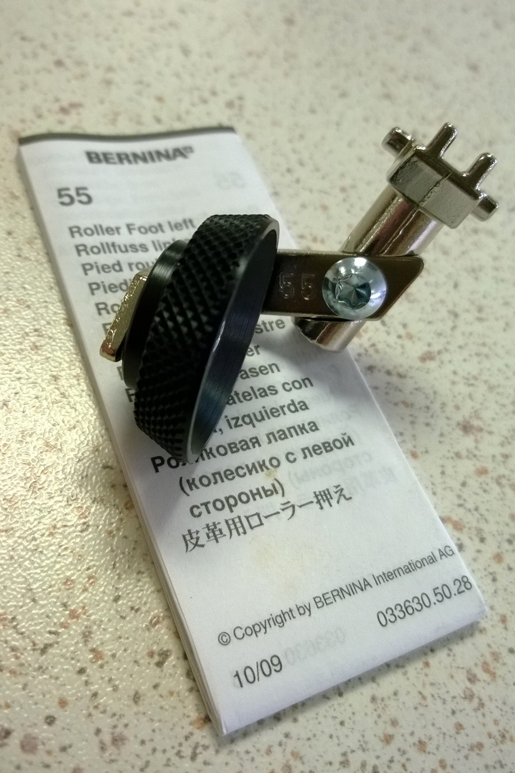
If the pleather still resists being sewn. . .or you are using a patent leather pleather (anything with a shiny surface), then along comes Leather Roller Foot #55. This rolling foot works on any pleather. It allows easy stitching on pleather and leather, and it is also the best for edgestitching, stitching-in-the-ditch, or any sewing that needs to be done close to a defined edge.
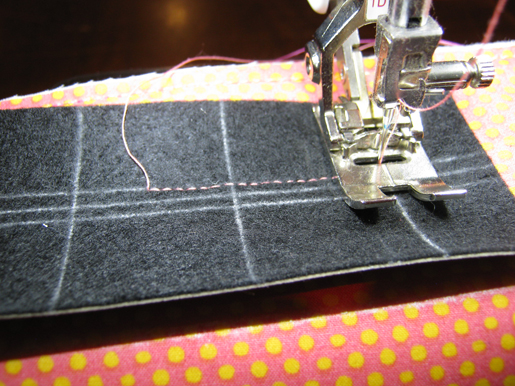
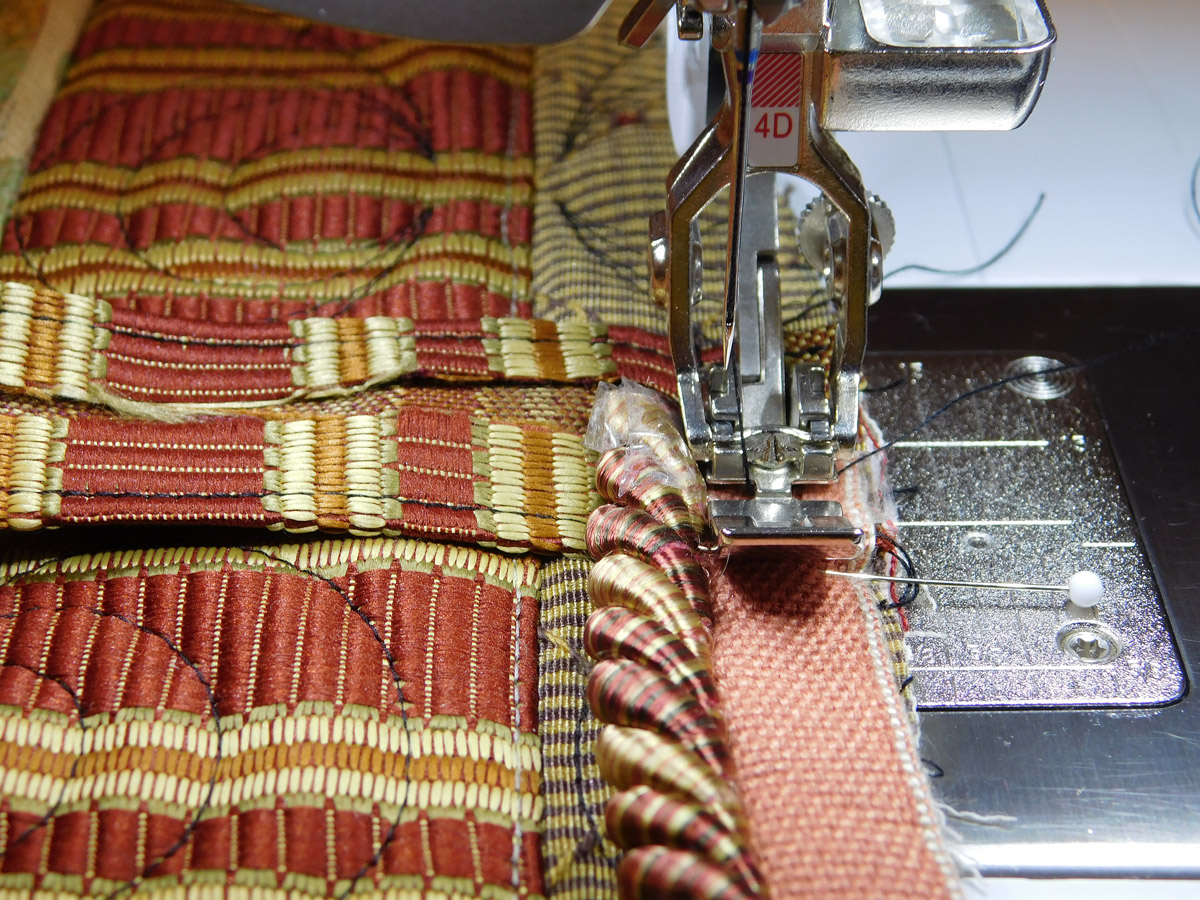
I am very lucky to sew with a BERNINA 780, and I have to mention that this machine sews very well!! Any machine with dual-feed can use the all-purpose Reverse Pattern Foot #1D with the dual-feed engaged to sew pleather, for the closest thing to a regular presser foot. And that is a lovely thing!
Here is a good example of needing these feet. In my Paradiso Pleather Collection I have one pleather that looks like distressed leather – it is my most popular pleather color. The first shipment of this pleather came with a black felted back, and had a firm feel to the material, which made it easy to sew. The next two shipments had a white felted backing, and the pleather was softer and a little more resistant to sewing.
The distressed leather pleather with the black felted backing can easily be sewn with my #1D foot and dual-feed, but I cannot sew on the white-backed pleather this way, as it is too soft and resists letting the foot sew and glide over the material. So . . . back to Leather Roller Foot #55, which works beautifully.
2) Select the right needle.
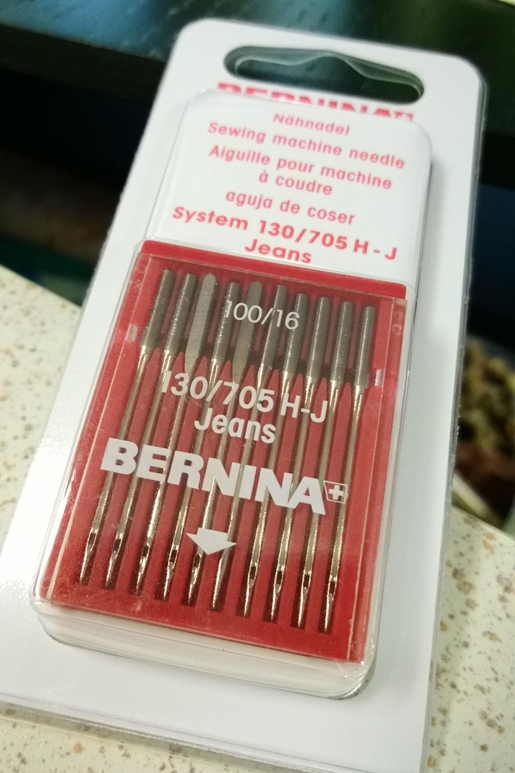
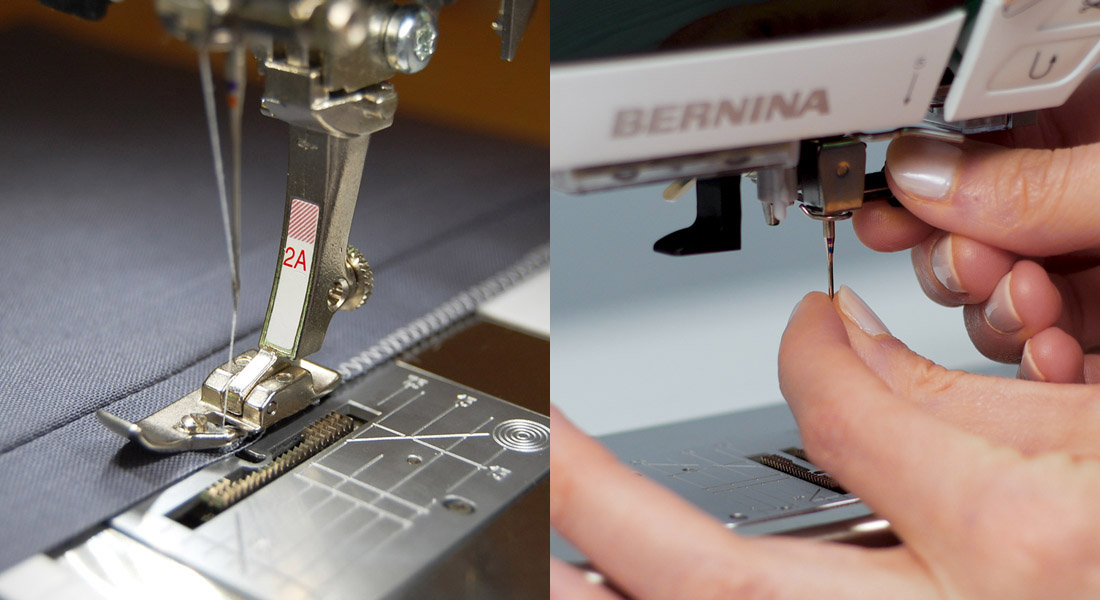
It is very important to sew with a size 100/16 or a 110/18 needle. Sometimes it can be difficult to find those extra-big size 110 needles, so stock up on the 100 needles. You can use either Denim/Jeans or regular/Universal needles just fine.
3) Stitch in just one direction.
Sew only in one direction, as the grain of the pleather can make it twist. This is more apt to happen if you are sewing in one direction, then sewing again in the other direction. One way to remember which side you started or ended on is to leave your threads long where you start to sew, then clip your threads short where you stop.
4) Use a chalk marker.
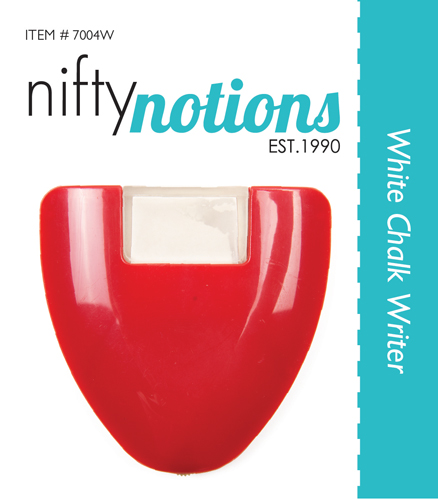
Do not use Sharpies to mark on the back of a pleather as they will bleed through to the right side. I use a roller chalk pencil on the dark backs, and an ink pen on light ones.
5) Use a rotary cutter and mat.
Scissors are a nightmare to try and use and get a straight line, so always cut pleather with a rotary cutter.
6) Select the right pleather for the job.
Use felt-backed or tricot-backed pleathers for straps, as they are strong enough to be sewn and then hold the contents of a big purse.
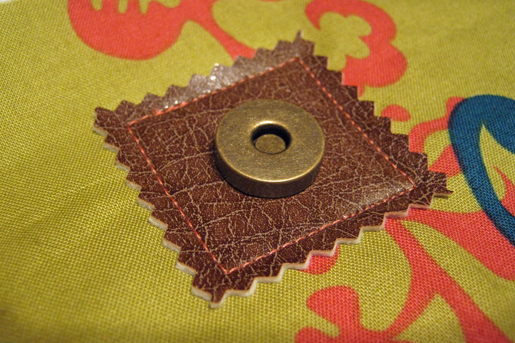
And now . . . drum roll, please . . . I’m here to announce the The Gospel of Pleather Series, starting today on my blog Paradiso Designs, highlighting ways to use pleather in your own handbag designs. Learn how to sew a cool handbag strap out of pleather, how to trim a handbag top with pleather, how to make a strap slot (the best grommet ever), and how to reinforce and insert a magnetic clasp using . . . yes, you guessed it! Pleather!! I just cannot get enough of this stuff, and hopefully you will like it as much as I do!!
Click HERE to link to my Paradiso Pleather Series
The Gospel of Pleather/Vinyl, Day 1 – Strap Tutorial Update
Bonus Tip: Lengthen your stitches when going through not only layers of pleather, as well as thicker layers of any fabric. This will allow the machine to make those stitches more easily!!
The Gospel of Pleather, Day 2 – How to Trim the Top of a Handbag
Bonus Tip: Never start sewing at the start of a seam, where there may be a stress point. Here I started about 1/3rd of an inch away from the corner. By starting here, once I have clipped my threads closely and using a smaller stitch, and not starting at the corner where it will be a stressed area, my thread ends are then “buried,” and will not reveal themselves, because they are far enough away from the corner.
Use this same technique when sewing a seam. Start about a 1/2″ forward from the “real start” of a seam, backstitch to the real start of the seam, then stitch forward, and your thread ends will always be buried.
The Gospel of Pleather, Day 3 – Strap Slot Tutorial
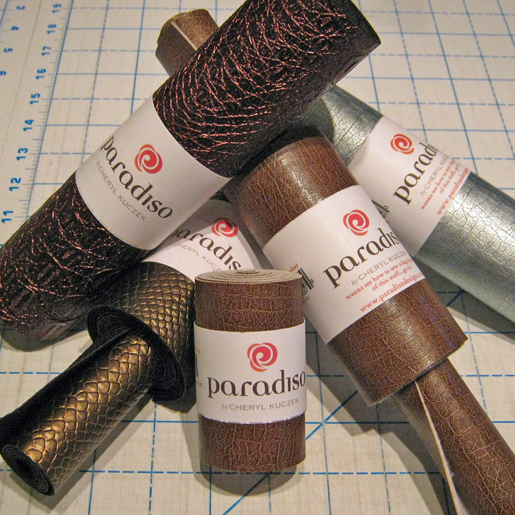
I realize that pleather is not the easiest thing to find for the home sewist, so I looked high and low to find awesome pleather that was exquisite. Introducing the Paradiso Pleather Collection, available in three different kits to use for straps and whatever you want.
What you might also like
2 comments on “6 Tips for Sewing Pleather”
-
-
Pingback: WeAllSew « https://weallsew.com
Leave a Reply
You must be logged in to post a comment.





I love learning to use my Bernina feet for new projects!