Free-motion Quilting Exercise Tips
Annie Smith of simplearts.com shares some “warm-up”free-motion exercise tips.
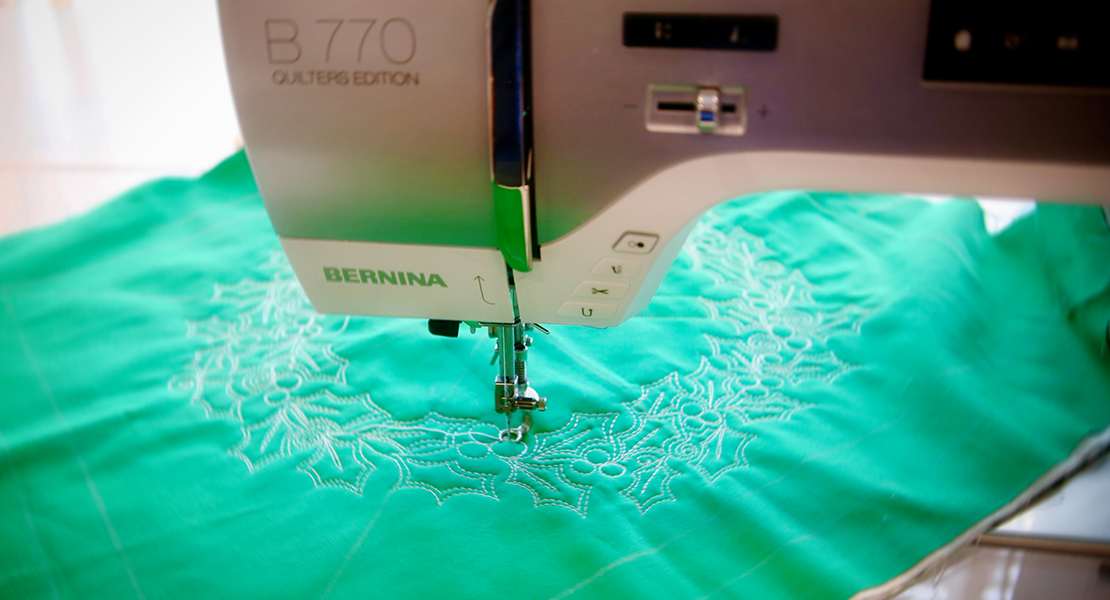
When I prepare to machine quilt a quilt, I like to do a little “warm-up” sample—not only so my hands remember how to move the quilt, but I like to test out how my BERNINA is going to respond to the fabric, batting, presser foot and thread I’ve chosen. Using this little sample piece, I can try out other battings, threads and presser feet options.
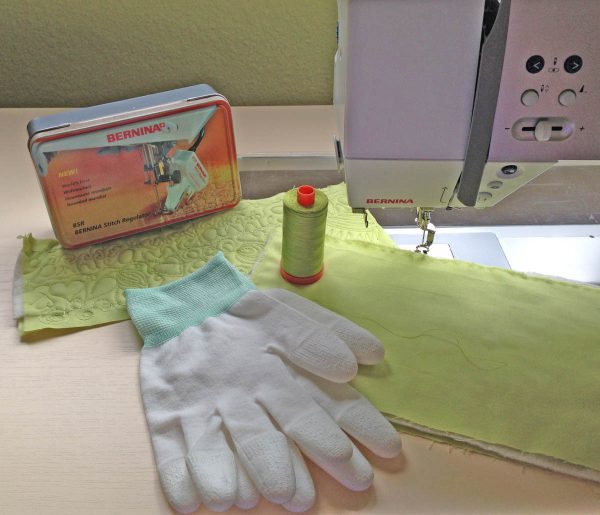
Materials for your free-motion quilting exercise
- Background fabric, I also use it as backing (cut two, 6” x 9 ½” )
- A sample of my chosen batting (Hobbs Heirloom 80/20)
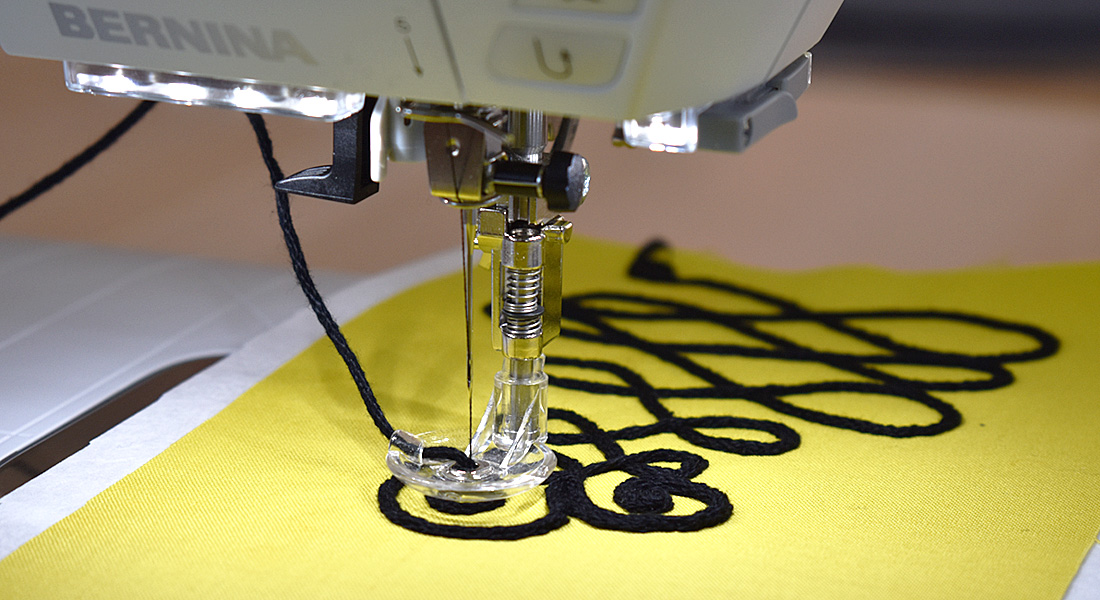
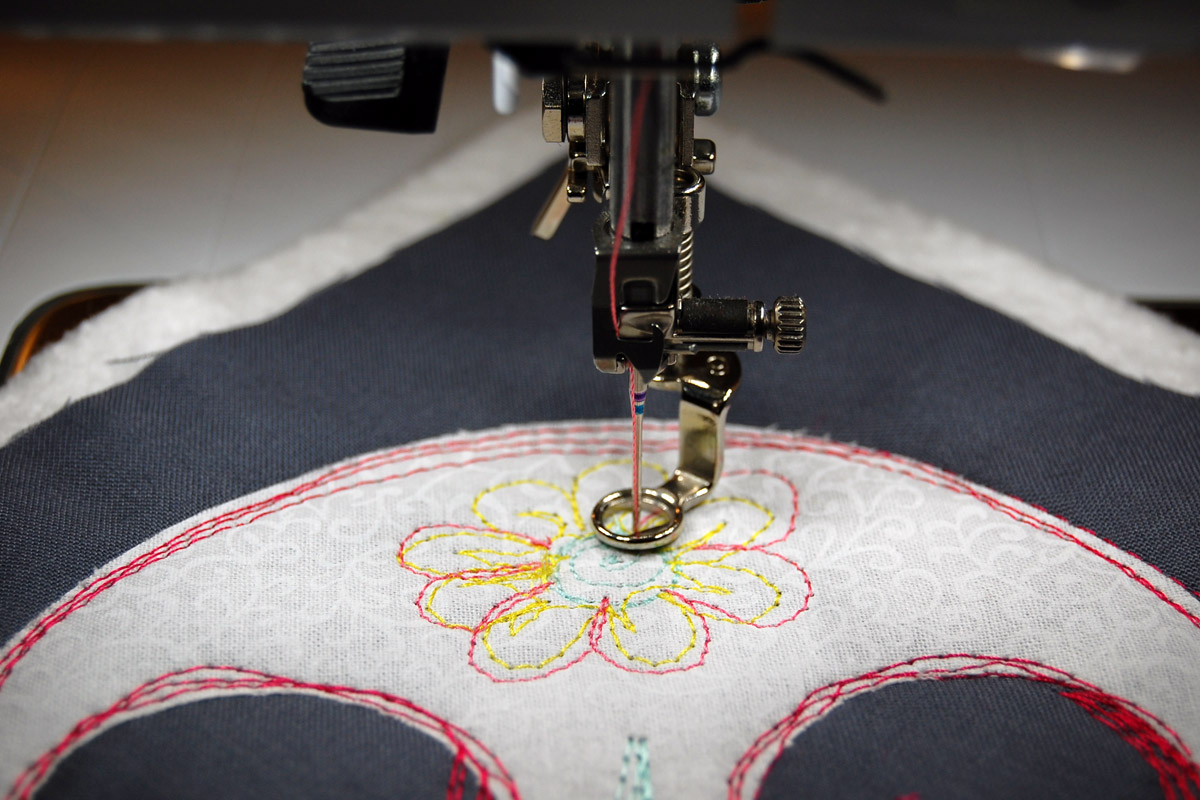
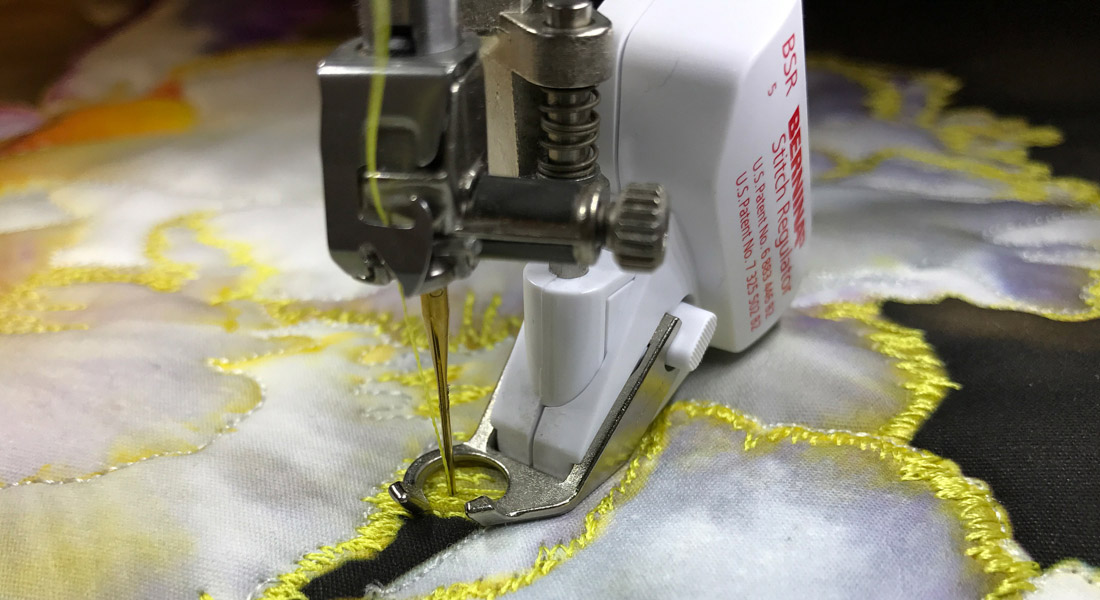
- BERNINA Free-motion embroider foot #24 or BERNINA Stitch Regulator (BSR)
- 50 weight Aurifil thread
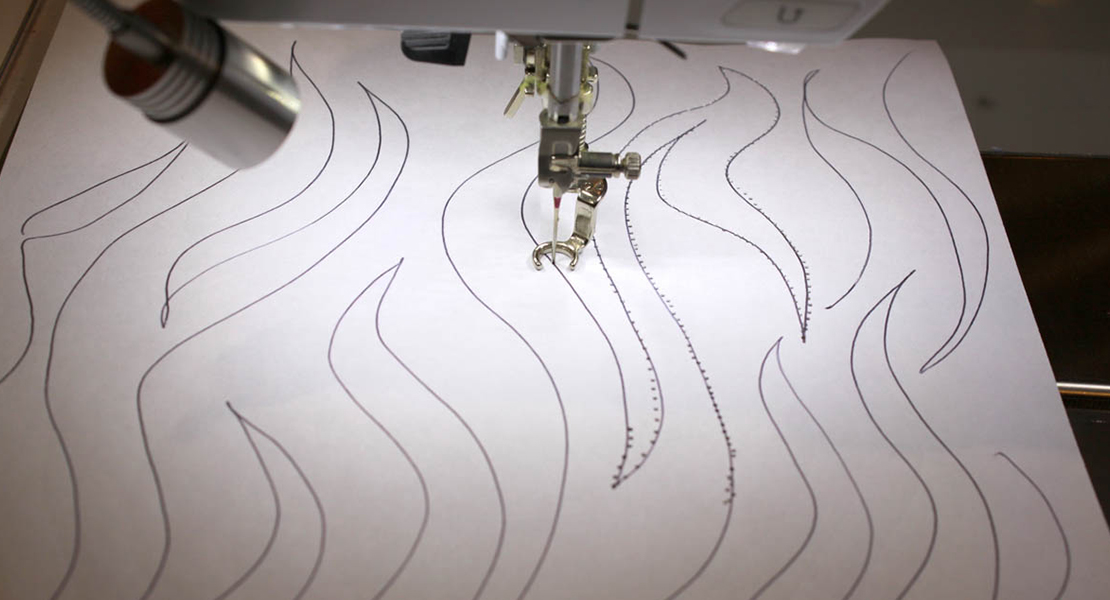
Before you start, lower the Feed Dogs. I begin by quilting my name.
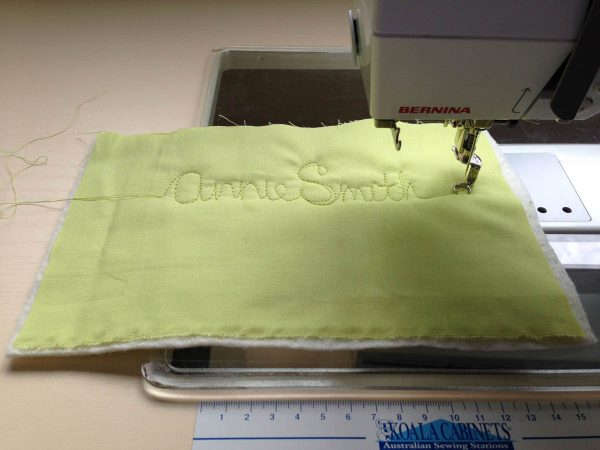
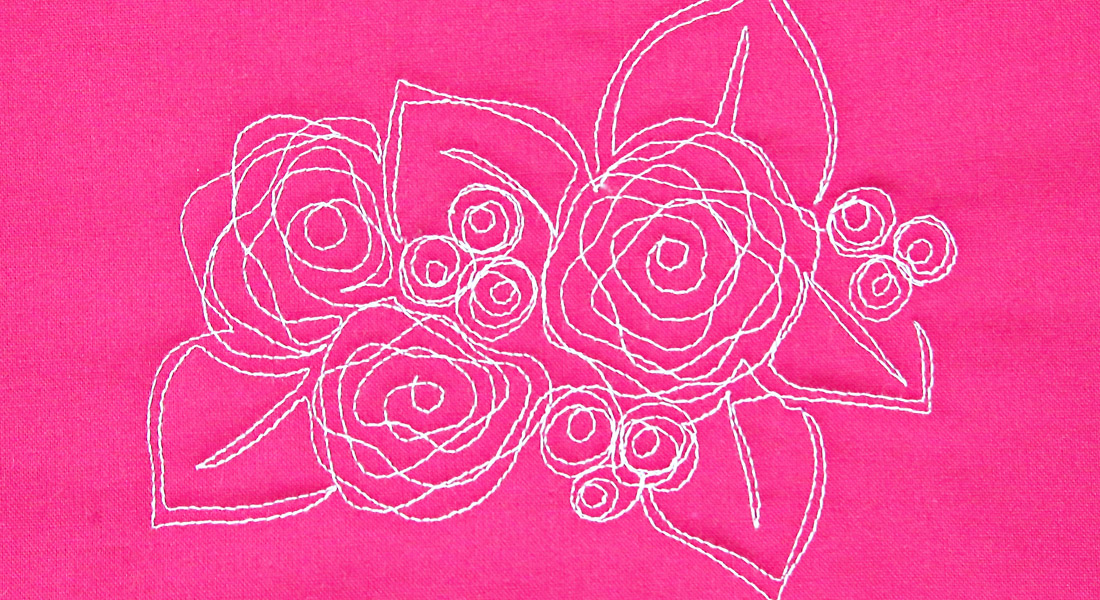
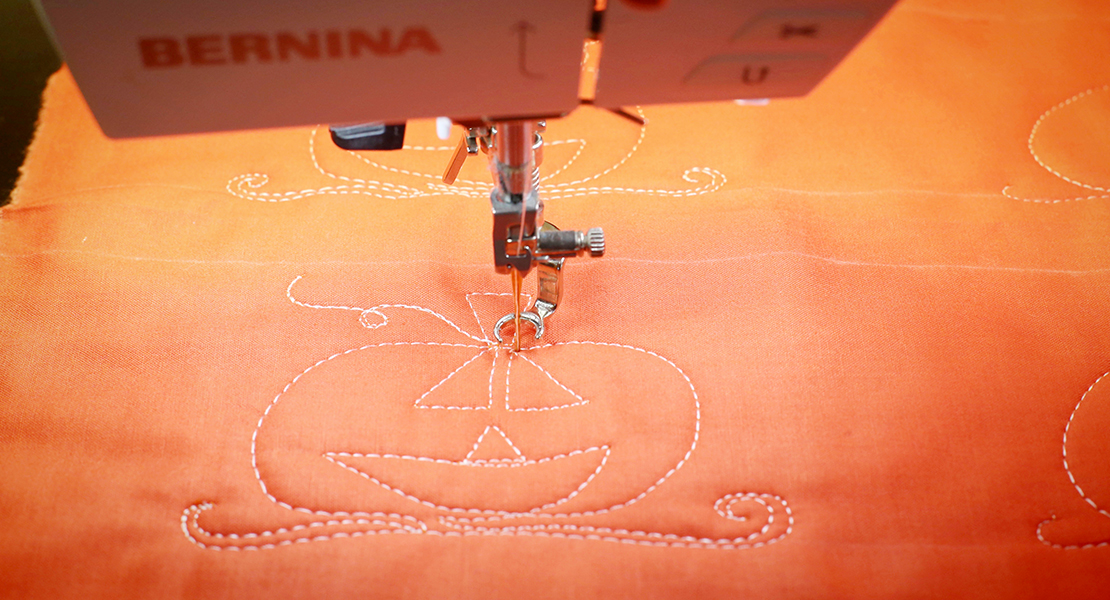
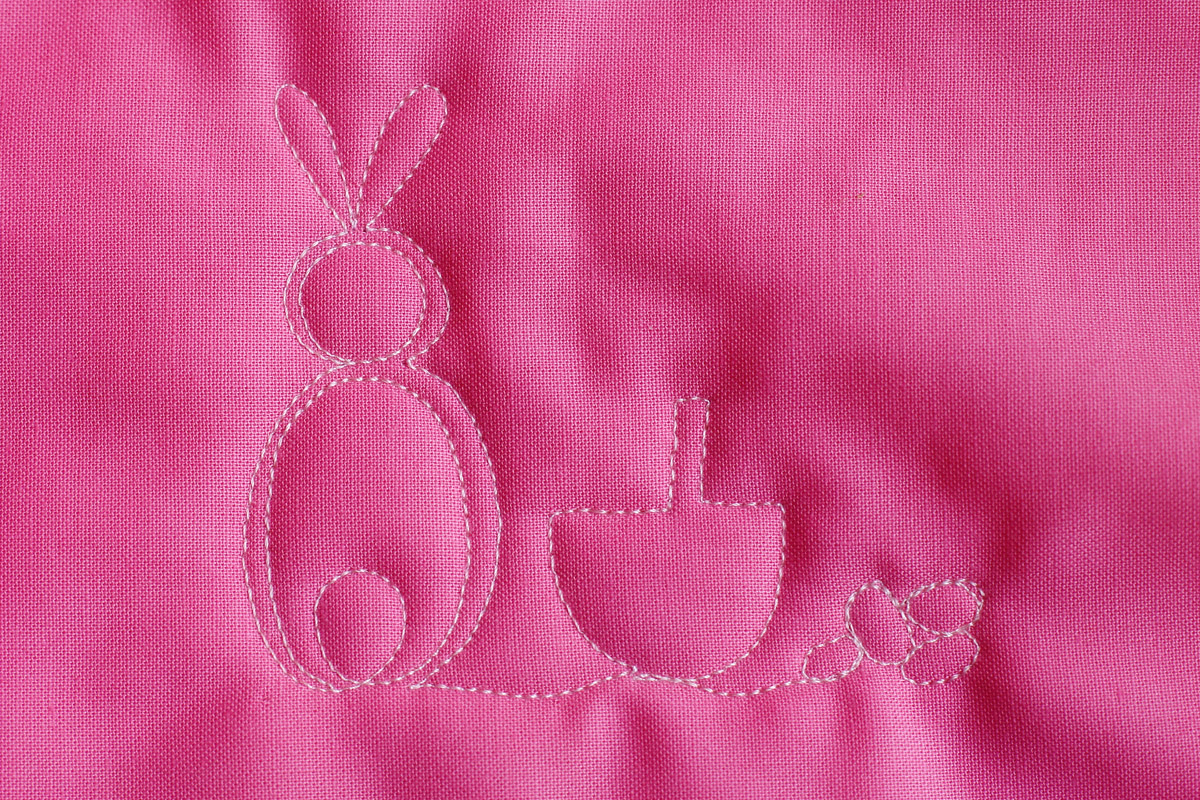
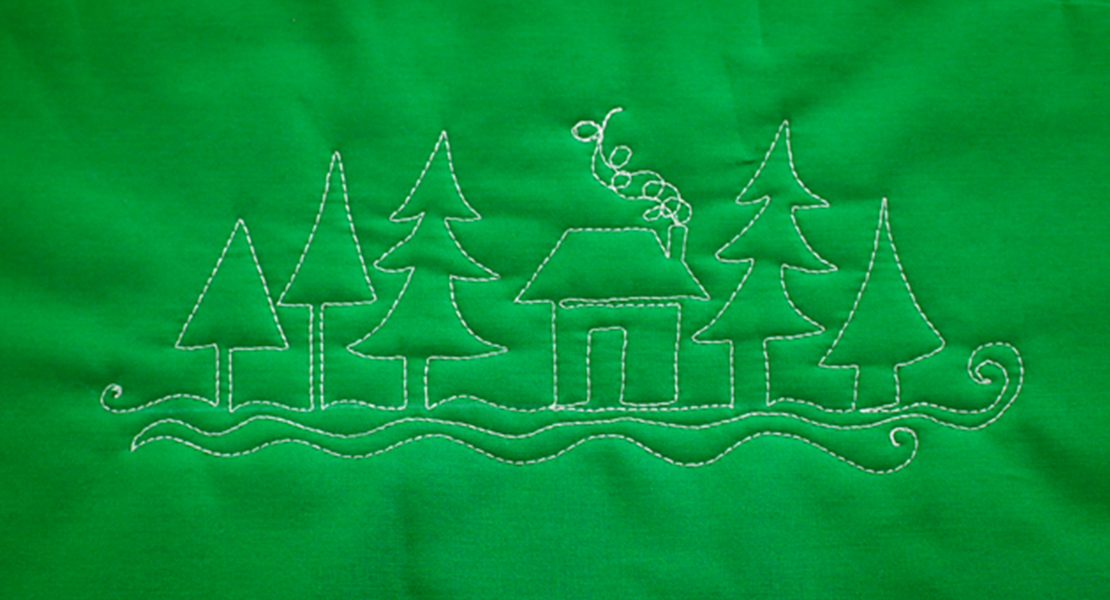
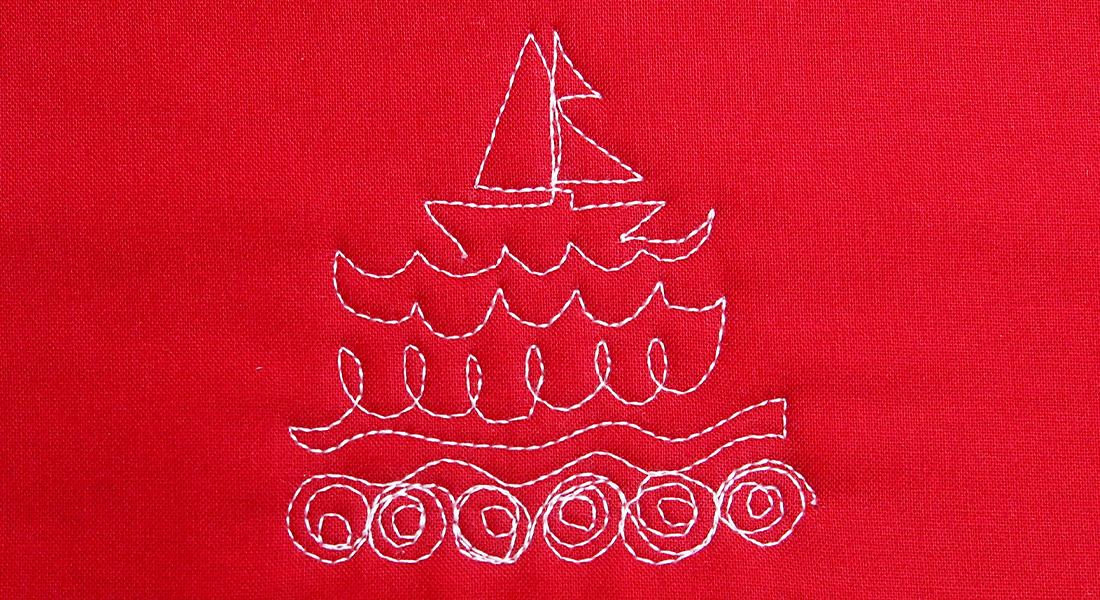
By quilting my name, I will mimic the cursive writing exercises that we learned in grade school, making curly loops and curves that we use so freely in machine quilting. Then I travel around and begin to make the shapes that I enjoy using as fillers.
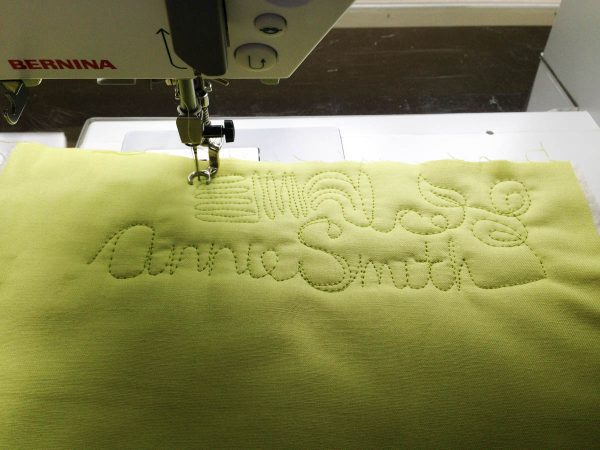
When I finish an area, I turn the sample over to check my thread tension and to practice burying my thread tails to make sure everything is smooth on the back.
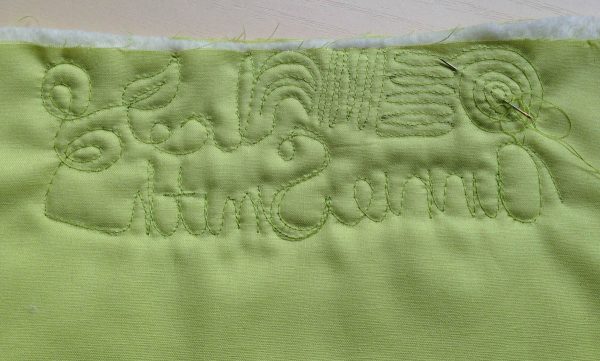
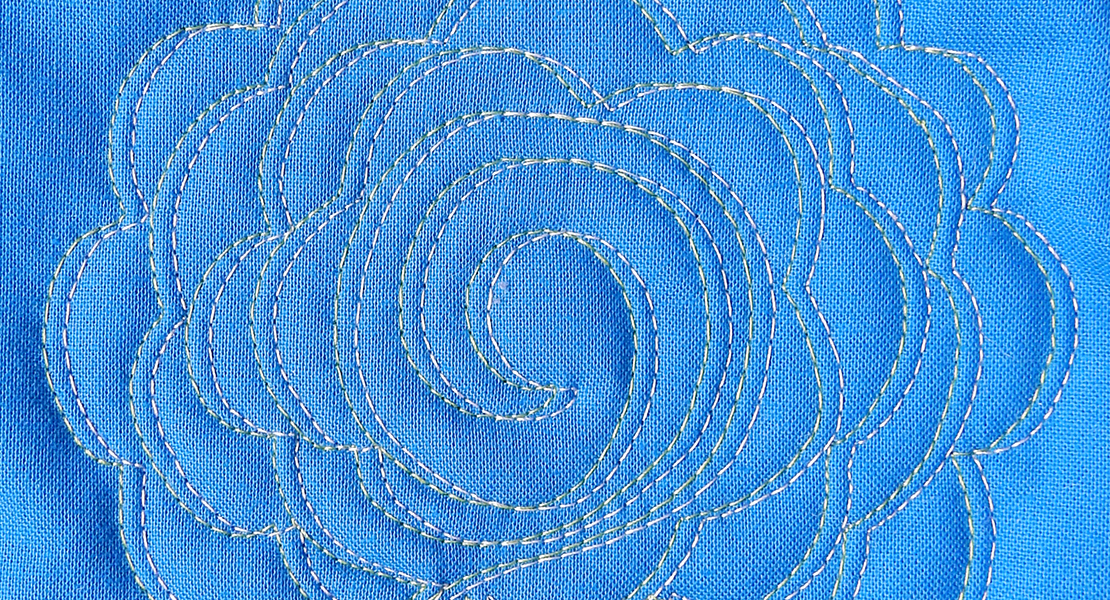
At closer look, I see that the needle is making a bigger hole that I’d like, and that the thread tension is tighter on the back. It’s creating some pull on the curves that I don’t like.
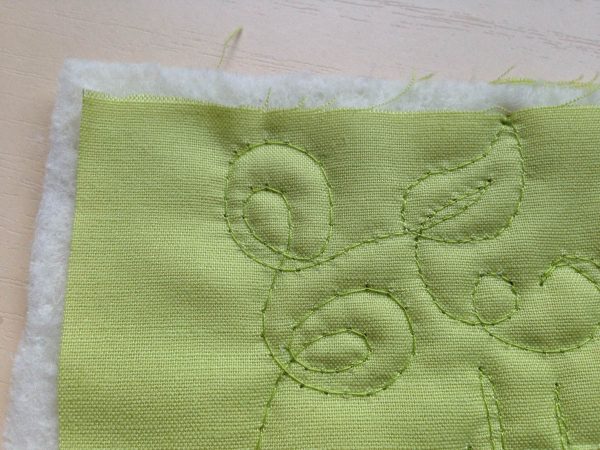
I’m going to switch to a smaller needle, raise the Feed Dogs and stitch some more.
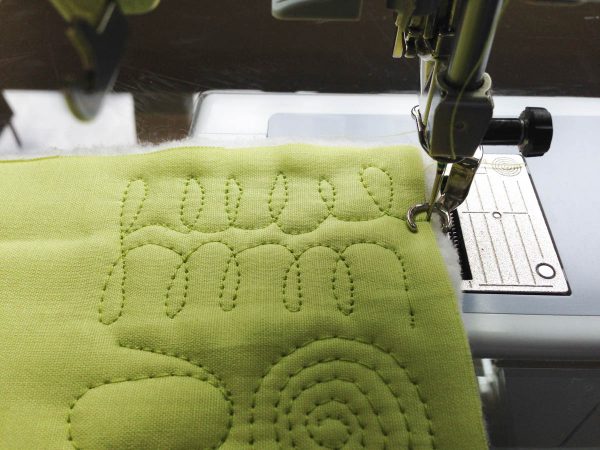
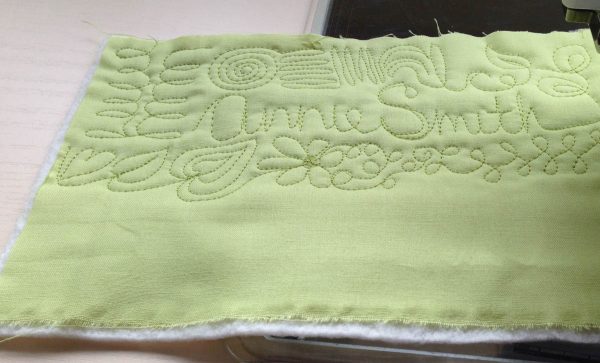
I like the results with the Feed Dogs UP much better. The Feed Dogs UP creates a little bit of “drag” as I stitch, which gives the stitches a more consistent “regulated” look. I prefer to stitch free-motion with the Feed Dogs UP. When the Feed Dogs are DOWN, the slide of the quilt feels too loose to me and I can’t maintain as much control.
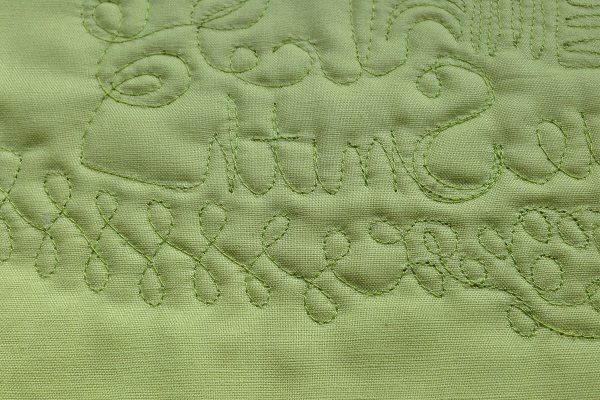
When I flip my sample over, I can see that the thread tension is much better and there’s no pulling at the curves.
Now, I want to switch over to the BSR to see how it responds.
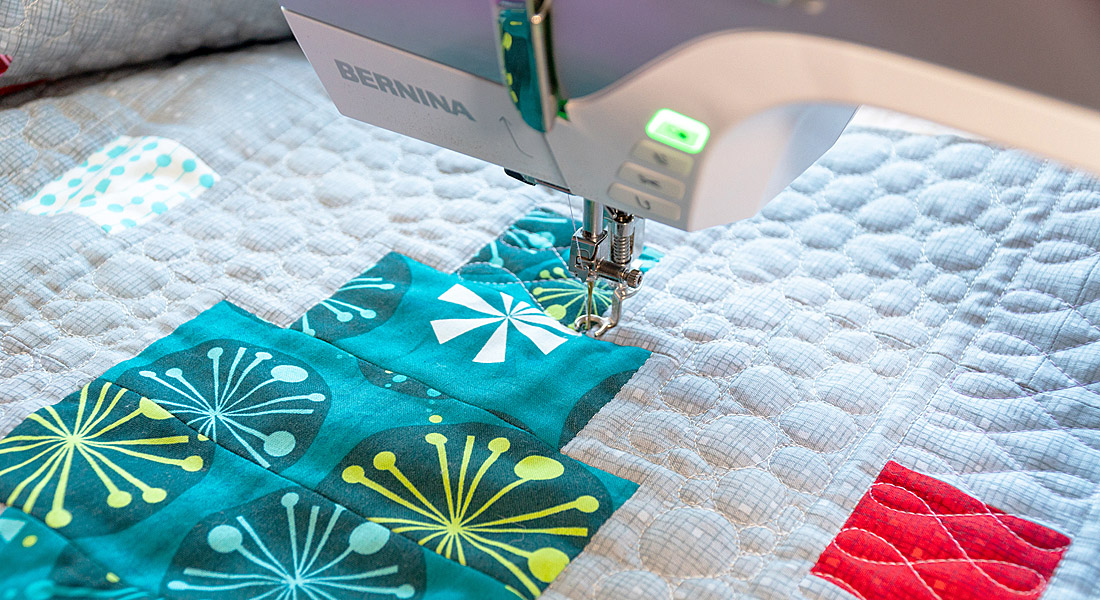
I do a warm-up with my name again and free motion designs. The “feel” with the BSR is different—much less effort in moving the quilt around than using the darning foot, and sometimes that takes a little more stitching to get used to.
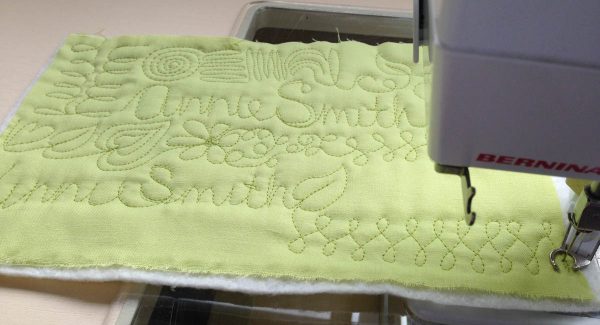
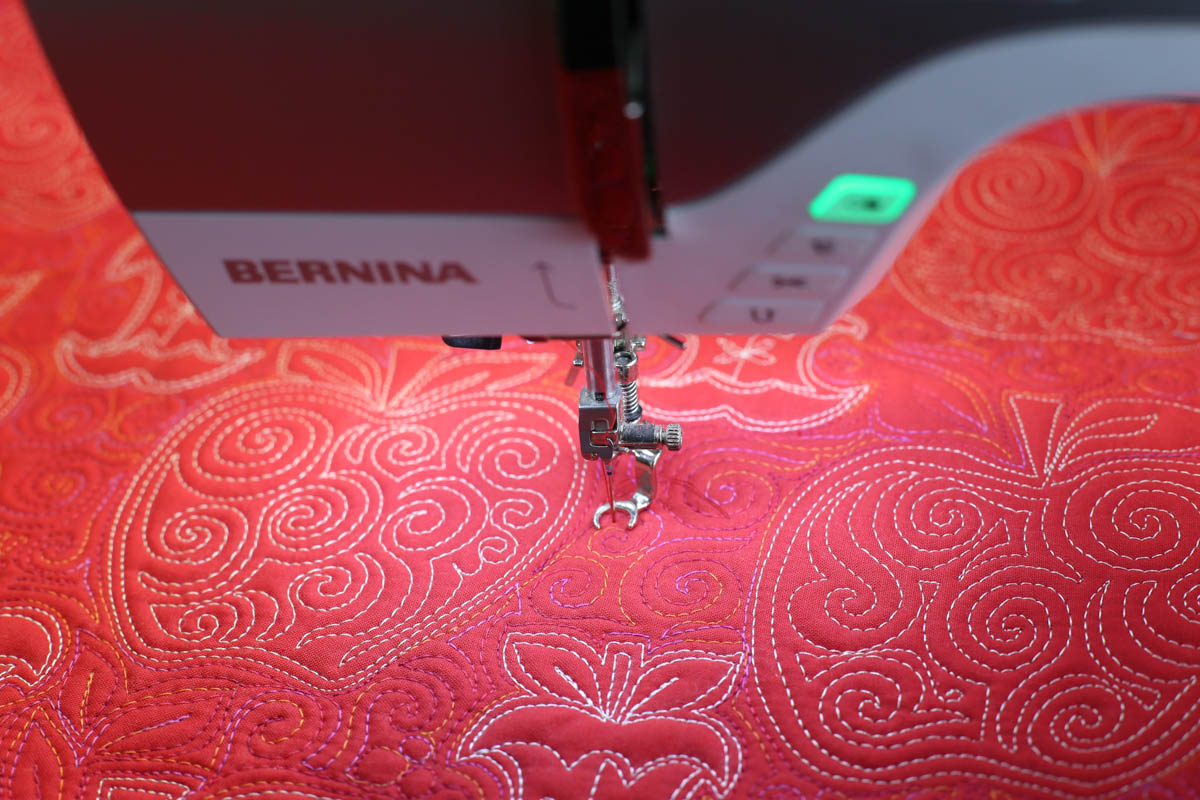
It’s easy to fill up the blank areas of the quilt using the BERNINA Stitch Regulator (BSR). One note: You can’t use the BSR with the Feed Dogs UP. You will get a message on the display to remind you to lower the Feed Dogs.
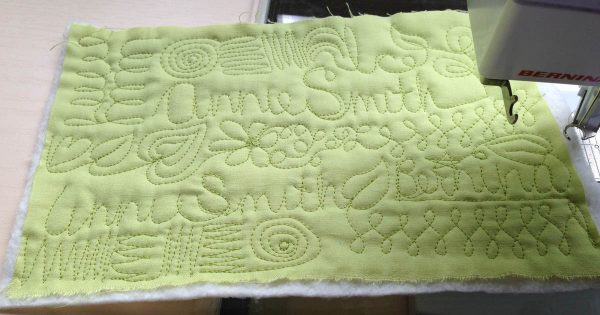
When I flip the sample over to look at the thread tension, I find that the BSR has given me perfect thread tension—better than the BERNINA Free-motion embroidery foot #24 with the Feed Dogs UP.
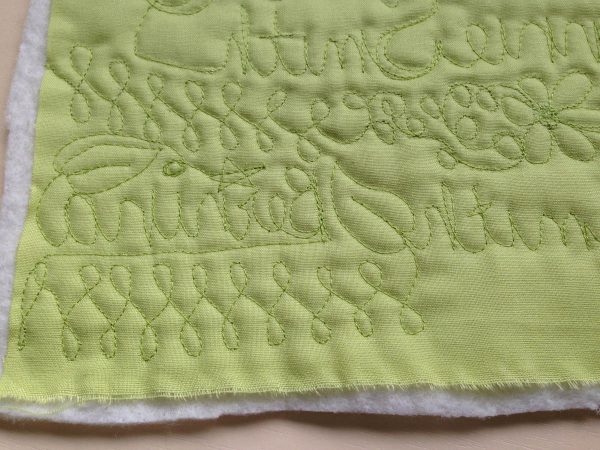
On closer look, I can see how incredibly smooth the stitches are with the BSR.
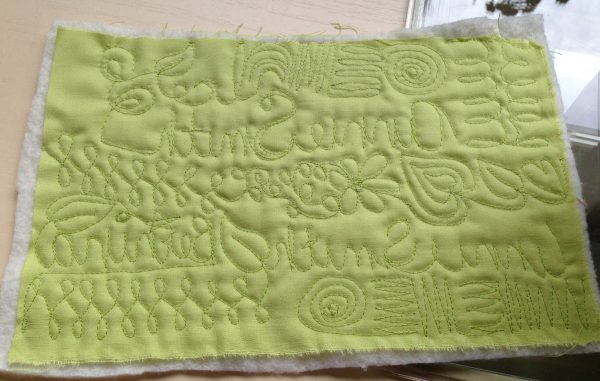
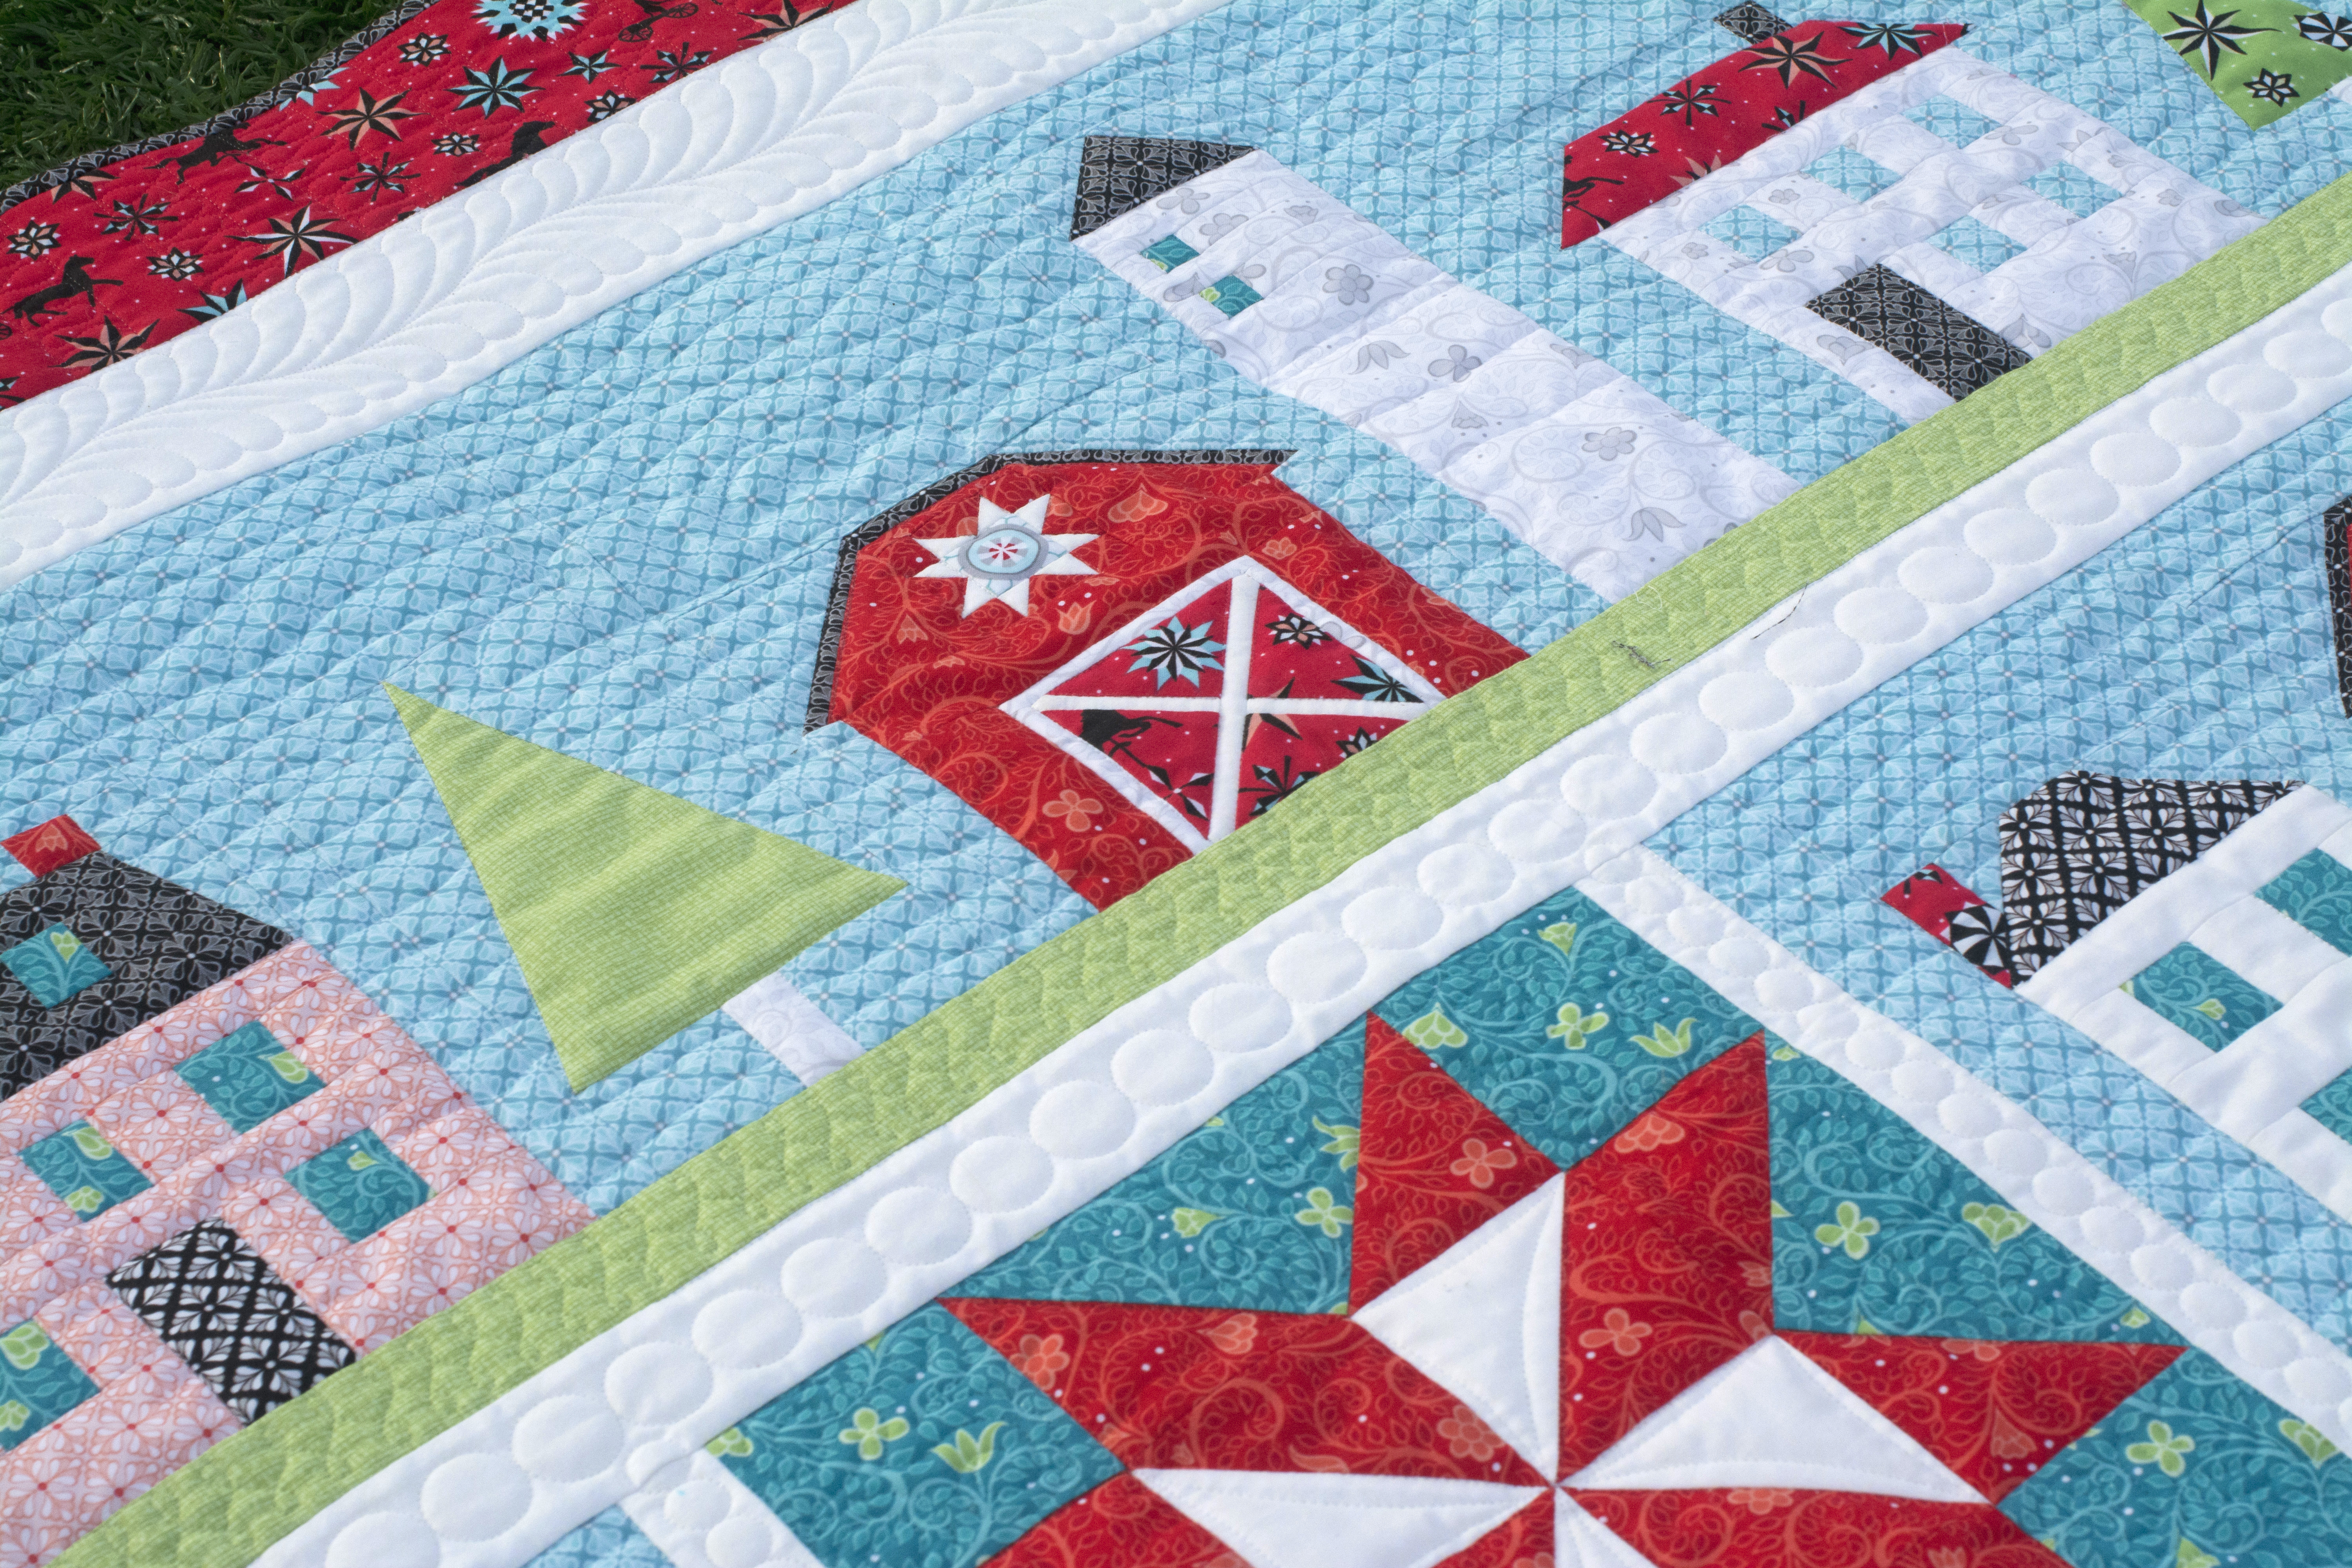
Creating a little sample of what you’re going to quilt will be a huge benefit for you. If I quilted my quilt only with the first steps above, think of the frustration I would have found when the quilt was completed! In creating the sample, I went from good to better to Best.
And Best is where I want to begin every time.
What you might also like
6 comments on “Free-motion Quilting Exercise Tips”
-
-
Omg, this looks like so much fun! I have never used my Bernina 440 BSR. I am going to have to try this. Thanks for the tips.
-
I have a domestic machine and I would love to learn everything I can about free motion quilting
-
Love, love, love! Thank you.
-
I agree.. It always pulls on the curves.. Next time I’ll try free motion with the feed dogs up. thank you.
-
Thanks Annie! I did not know about not dropping your feed dogs with the applique foot. I will have to practice more with my BSR. I
Leave a Reply
You must be logged in to post a comment.



thank you. I appreciate your hints. I’m a newbee:( Looking forward to practicing the stitches you’ve shown.