Paper Piecing Tips: Securing Tools
Hello! I’m Penny Layman, here to share a few tips and hints about paper piecing. This will be a three part series giving you ideas and info for your paper piecing process, read the first post here to find my favorite paper piecing hints and tips. I’ll be pulling out all the stops and letting you in on my best tips that help to keep me sane while I paper piece. I hope they do the same for you!
Anytime I discover a method or tool that makes it easier or more accurate, I am pretty quick to incorporate it into my system. After much trial and error and investigating initially, the only two securing tools I now use are a fabric glue stick and fork pins.
I use Karisma glue sticks which are refillable with an insert. However, they have gotten increasingly hard to find. Once I run out of refills for them, I will probably try out the Fons and Porter fabric glue stick. They also have refillable inserts.
When I first started paper piecing, I used a straight pin to hold the first piece of fabric in a section in place, because that is all I knew. I encountered a few problems with this method, one of them is that the head of the needle oftentimes distorts the fabric so it doesn’t lay flat against the paper pattern and that would affect the overall quality of the block in the end. Secondly, if the first piece of fabric in a section is very small, the pin would get in the way as I sewed the first seam and I would end up frustrated.
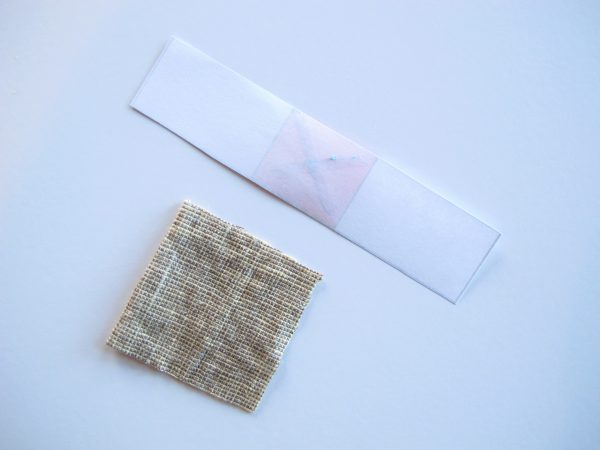
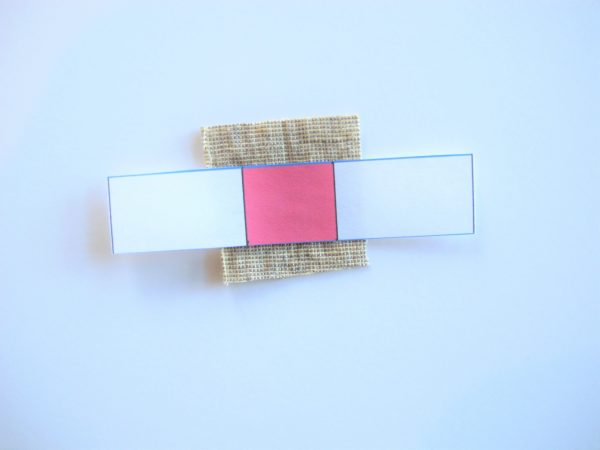
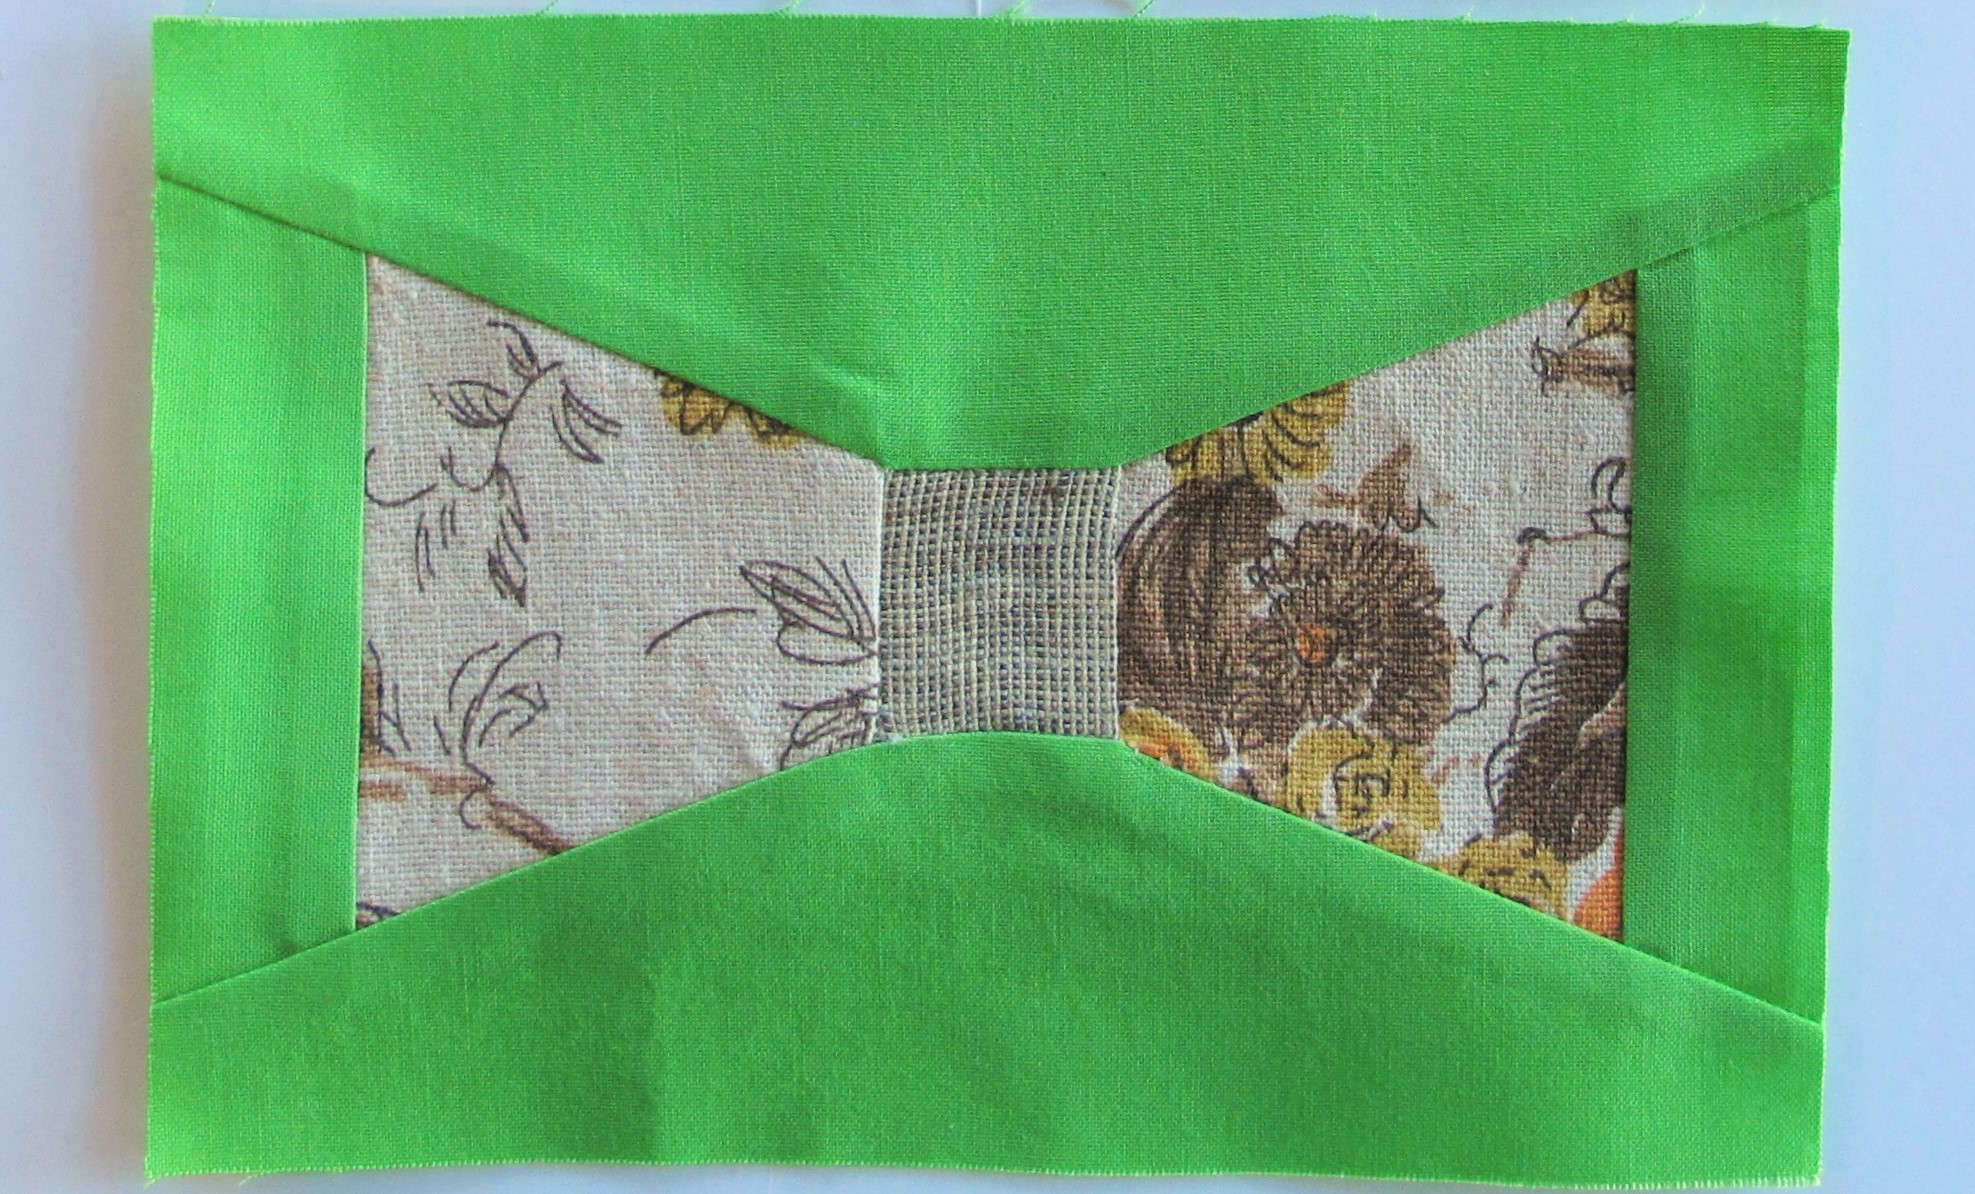
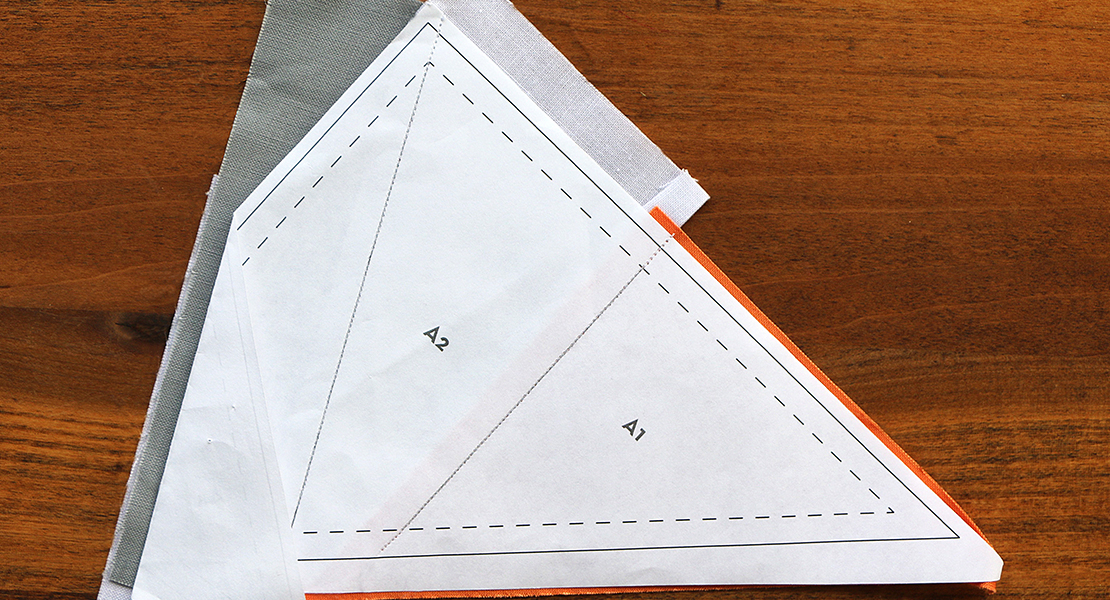
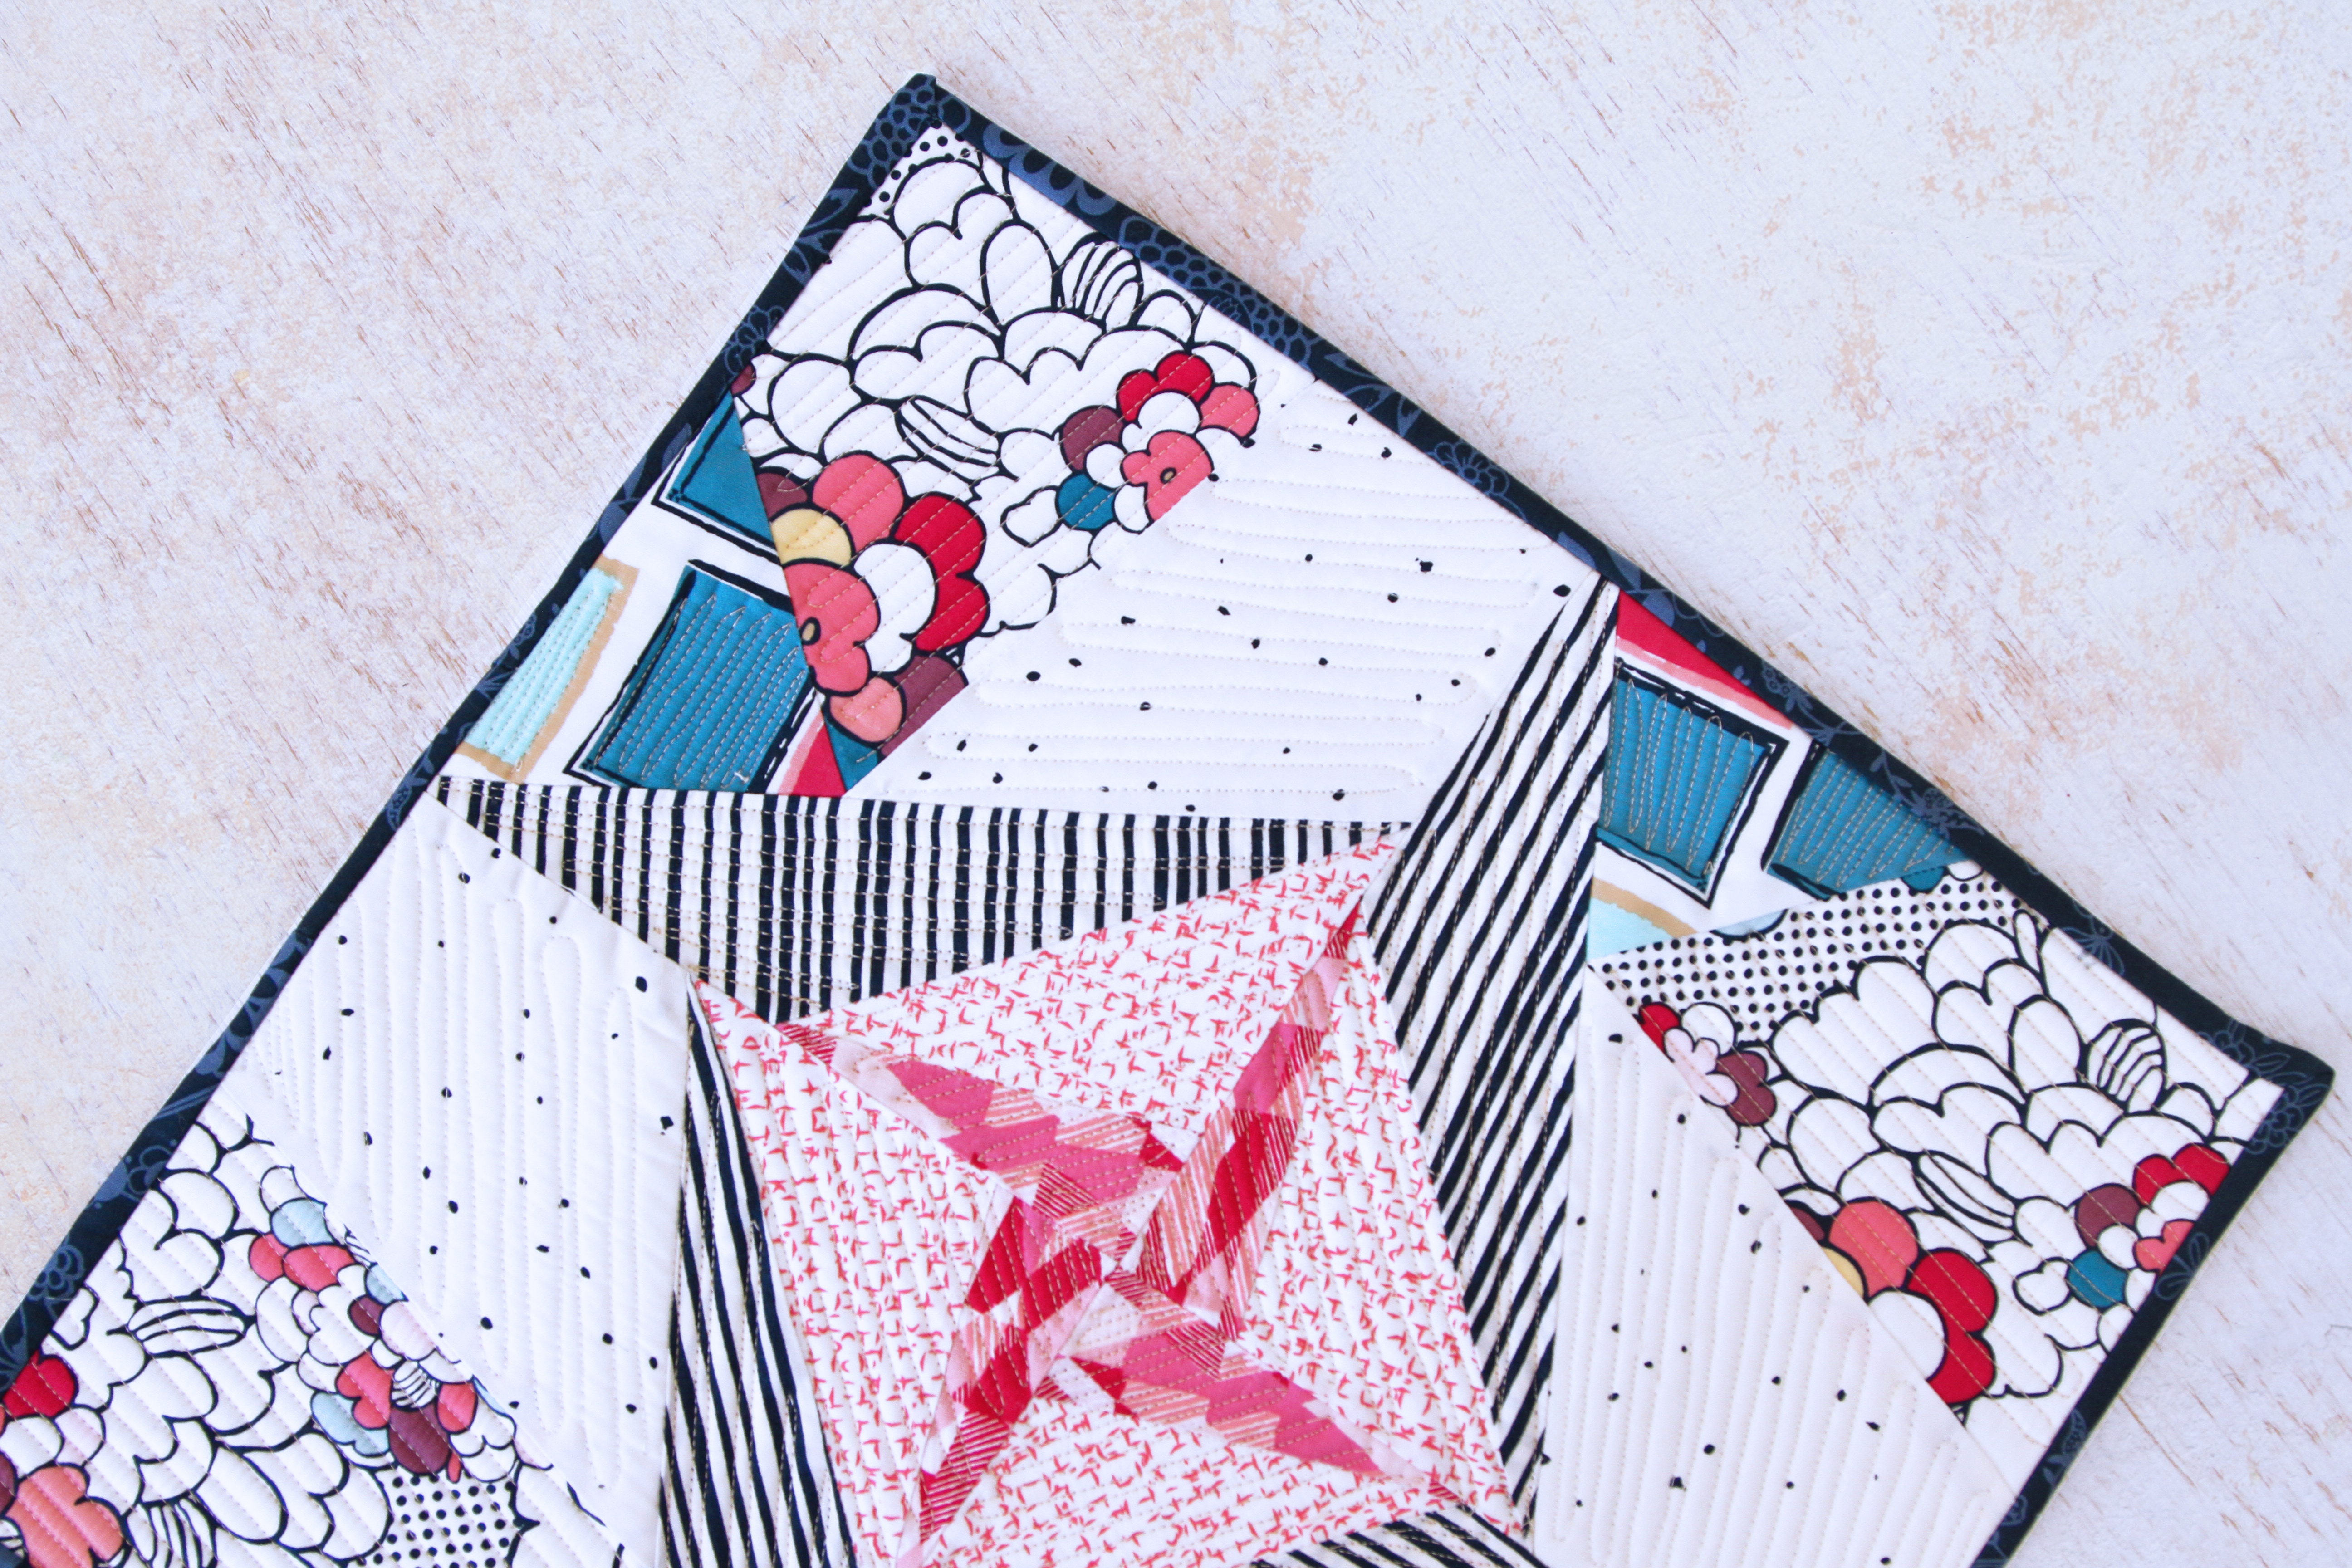
Using a fabric glue stick has eliminated both of these problems. I use it to adhere the first piece of fabric to the pattern area by smearing an X into the first fabric area. (You can see the X smear in the center of this pattern section)
Fabric glue sticks give just enough hold to keep your fabric in place, but not so much that if you need to reposition the fabric that it’s a problem to remove the fabric and start over.
There are two other times I use a glue stick. When I have a section that is a single piece of fabric, and when an area of a section is a large piece of fabric and it flops around as I sew. Attaching it with a bit of glue to the pattern after I’ve sewn it on helps to reduce problems later on.
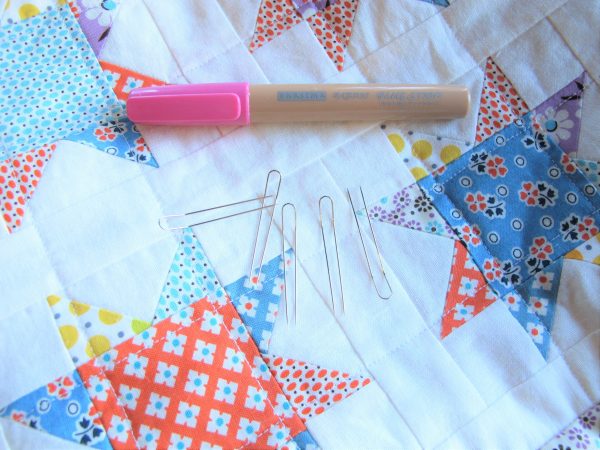
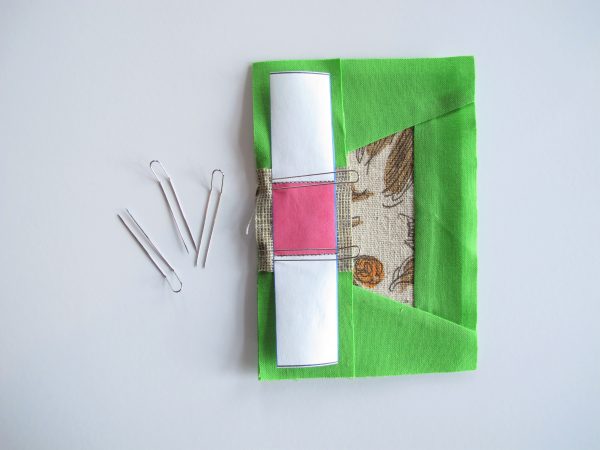
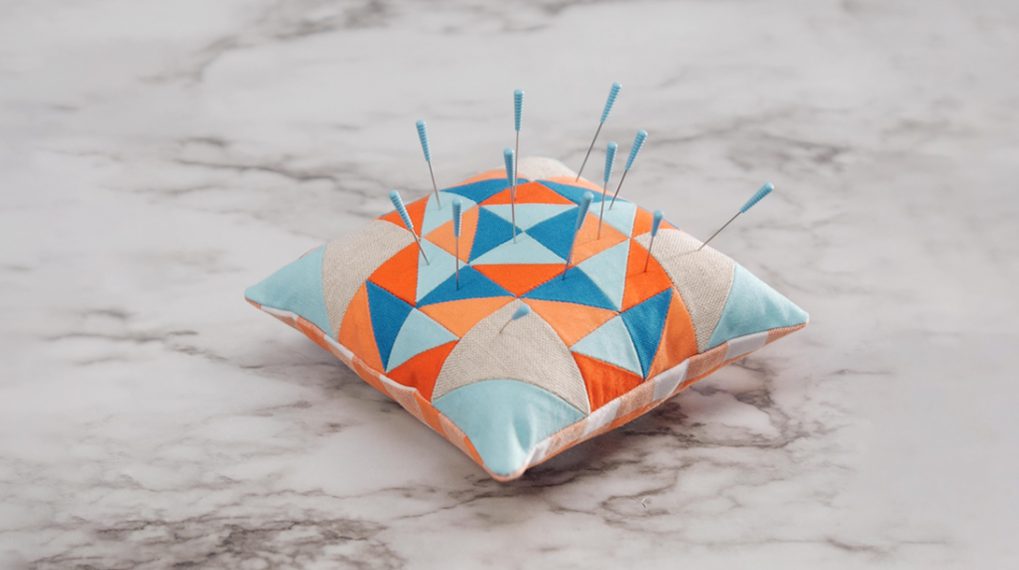
And then there are fork pins. These little guys are just magic. I used to be frustrated with getting my seams to match up perfectly. I would position and pin the seam perfectly with a normal pin, sew the seam and when I opened it up, the seam that was supposed to match would be slightly off. Using fork pins has eliminated that frustration for me. Fork pins have two tines to position on either side of a seam to be matched, and it secures the matching seams so they won’t shift.
It’s tools like these that have helped me to keep a smile on my face as I sew and I hope they do the same for you!
What you might also like
4 comments on “Paper Piecing Tips: Securing Tools”
-
-
I believe they are a Clover product so anywhere where they sell Clover pins.
-
Thanks, I will look for them.
-
-
-
How do you use these pins?? Do you place a straight pin in the seam and then place these pins in place and remove the straight pin?
Never seen these pins..they look like they could be used for other projects as well.
Thank you,
Karen
Leave a Reply
You must be logged in to post a comment.




Where do you find the fork pins? Sounds like a great idea, thanks for sharing.