Embellishing the Blanket Stitch
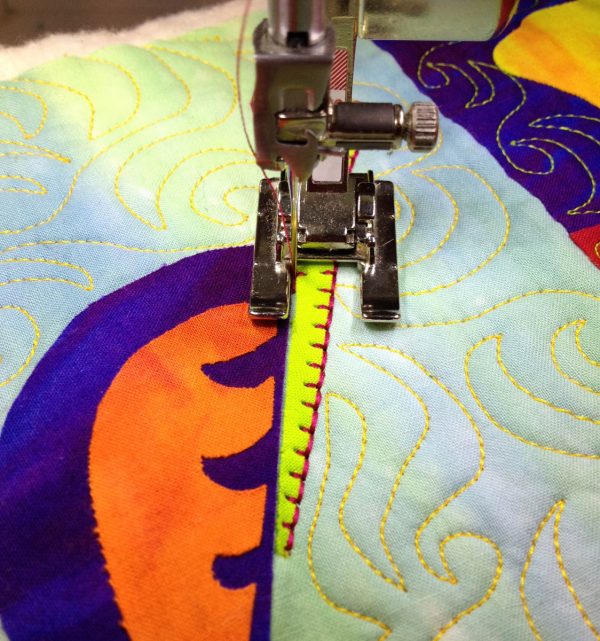
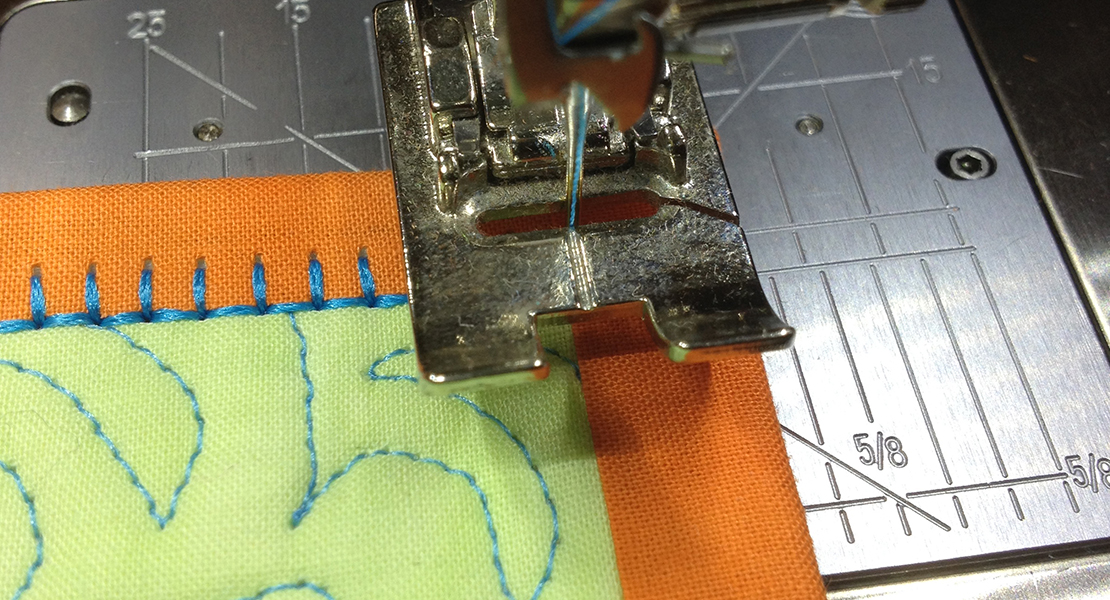
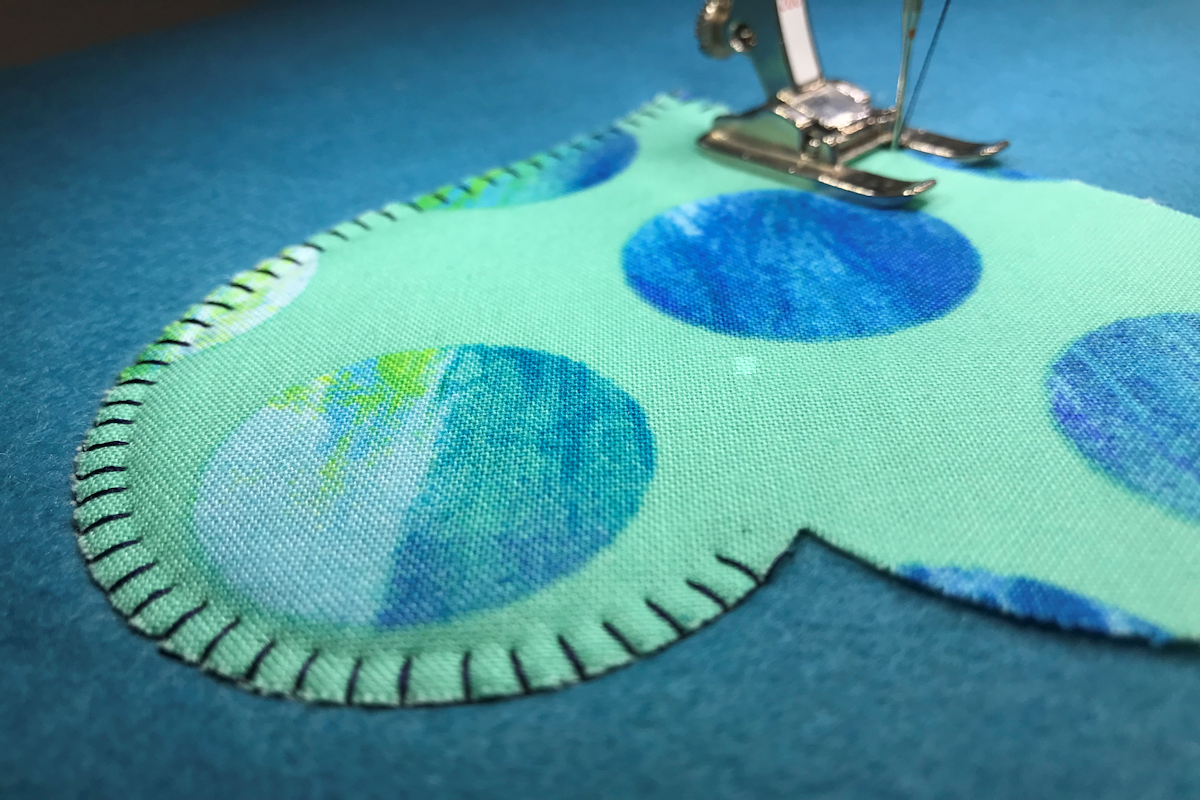
My favorite stitch on my favorite sewing machine is the Blanket Stitch. This decorative stitch neatly finishes the raw-edges on my fused art quilts. (For those of you with a BERNINA 750 QE like me, you know it as stitch #1330.)
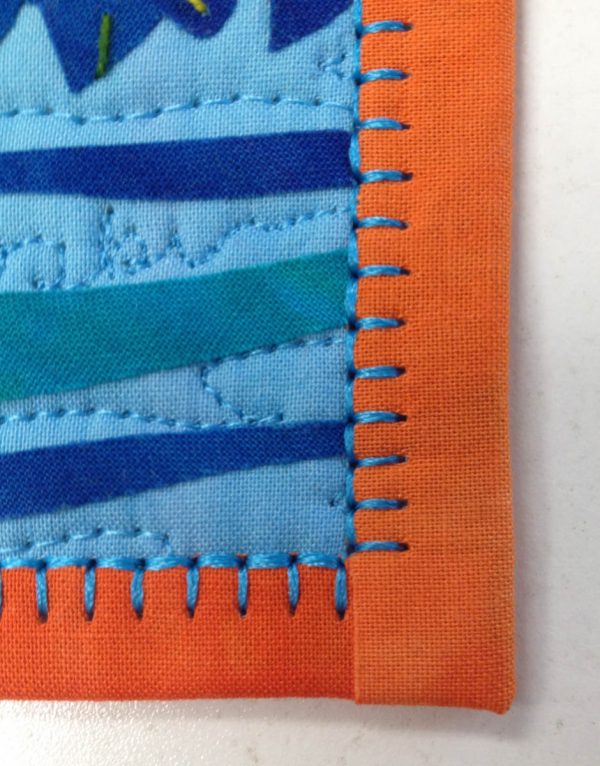
The Blanket Stitch also perfectly trims the fused binding on my art quilts. It adds a colorful, embellished edge to the perimeter of the quilt. And it swiftly secures both the binding and hanging pocket into place. But sometimes I make a mistake. I use the wrong thread color for the Blanket Stitch on the binding.
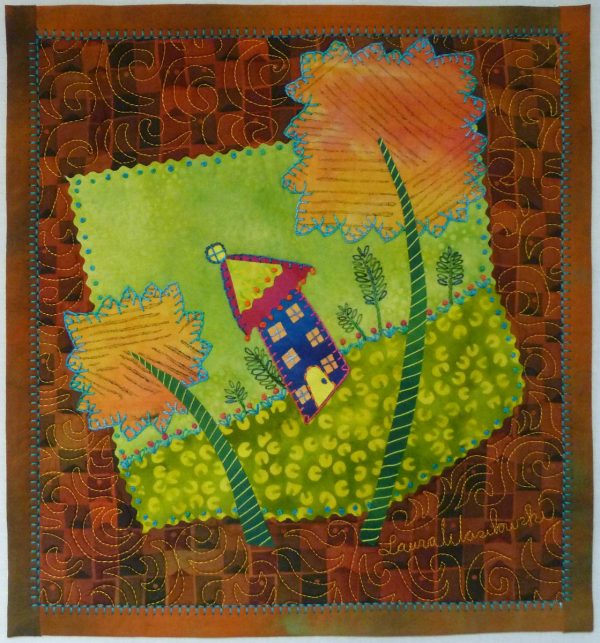
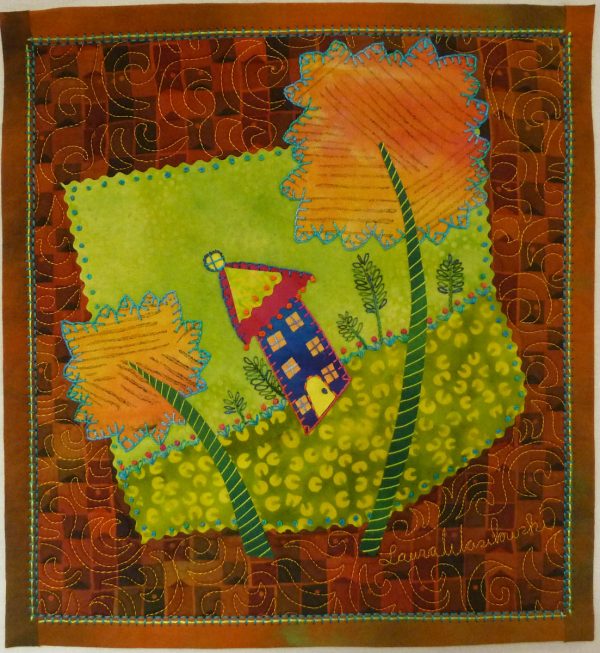
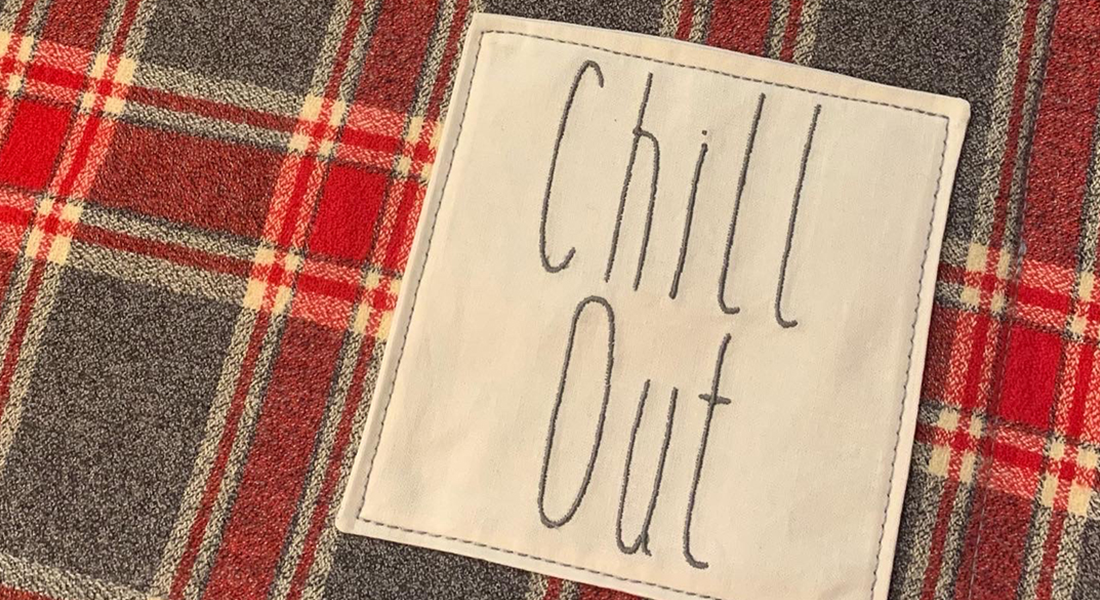
Here’s a good example. This small quilt (10″ x 11″) is hand embroidered, machine quilted, and completed with the Blanket Stitch around the fused binding.
And frankly, that turquoise thread used on the binding does not ring my bell. I wish I had used a lime green thread instead. Lime green would repeat that same color found in the center of the design. Should I remove all that turquoise thread and re-stitch the binding with a green thread? Or is it possible to dress up the turquoise Blanket Stitch and add another layer of color?
The answer is: dress up that Blanket Stitch! Here’s how to save the agony of removing all that thread and add a hit of color to the border of the design at the same time. You’ll need these items:
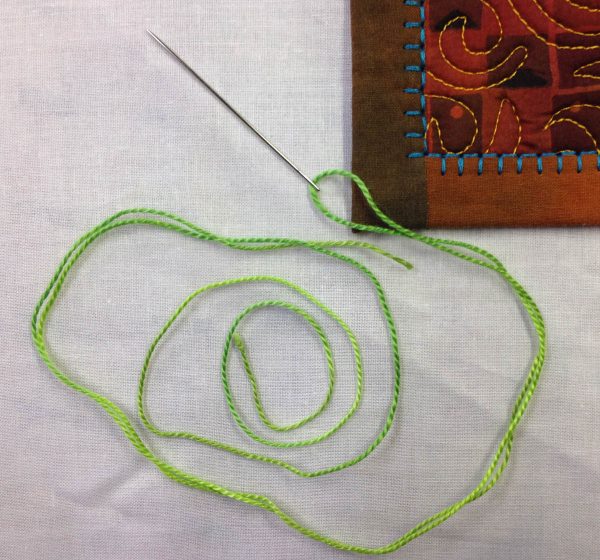
- Four lengths of Size 8 pearl cotton thread, one for each side of the quilt. Add 6″ to each length of thread for knotting and tying off the thread.
- Size 3 or 4 hand embroidery needle
- Thimble
Use the Size 8 pearl cotton thread as a single (don’t double it). Place a knot in one end of the thread.
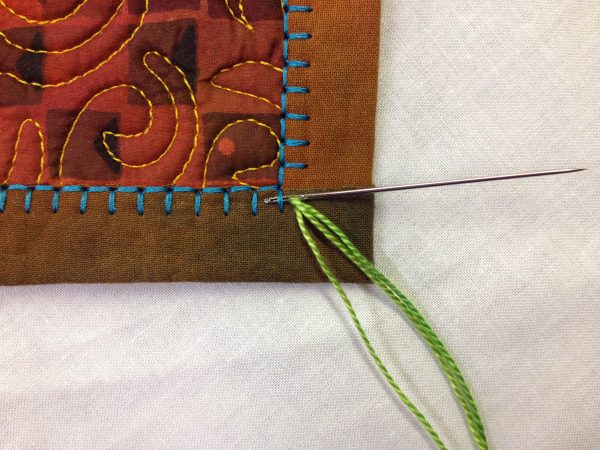
Bring the needle and thread up to the top of the binding at the corner.
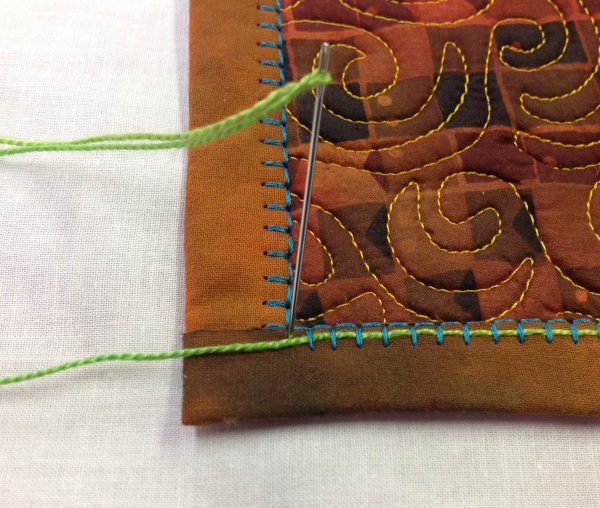
Insert the blunt end of the needle (or eye) under the first Blanket Stitch on one edge of the binding.
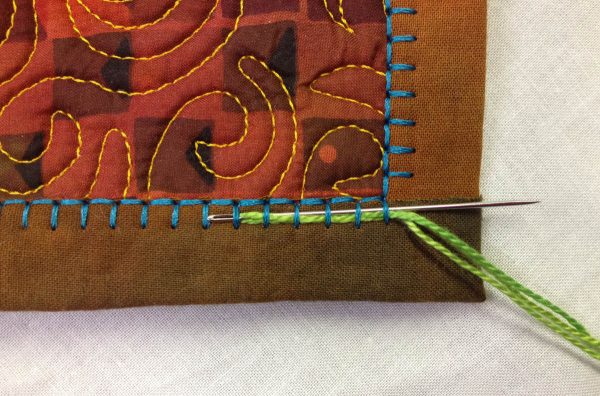
Scoot the blunt end of the needle under 5 – 6 Blanket Stitches. Draw the needle and thread through the machine stitches.
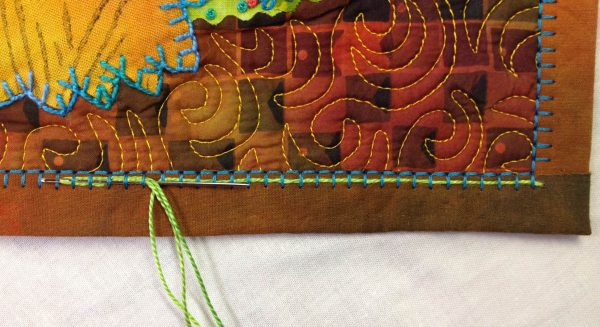
Continue to slide the needle under the remaining Blanket Stitches until you reach the corner of the quilt.
At the corner, insert the needle into the fabric and draw the needle and thread to the back of the quilt. Tie the thread off. Use another length of thread and repeat the above directions on each edge of the binding.
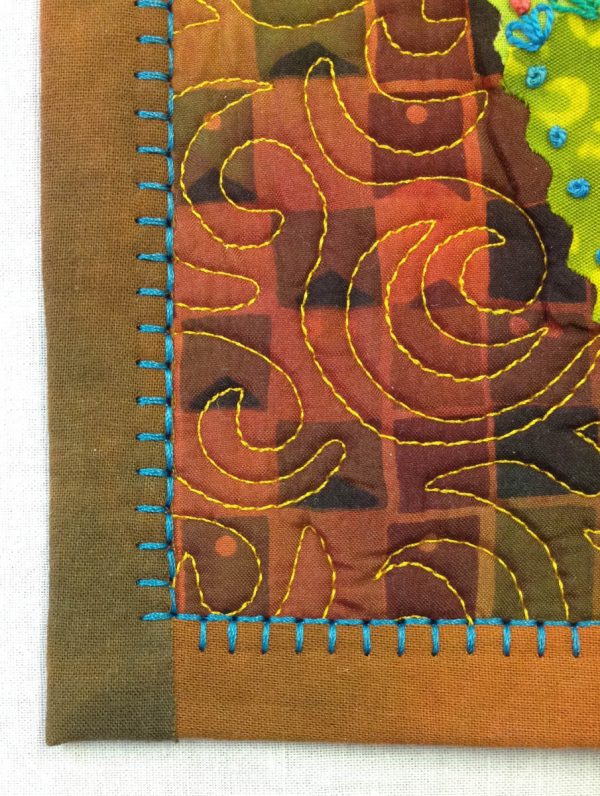
This fast and easy method of embellishing the machine Blanket Stitch solves my problem. Adding the embroidery thread to the Blanket Stitch repeats the color found in the lime green fabric, livens up the border, and enhances the design. I feel so much better now!
What you might also like
9 comments on “Embellishing the Blanket Stitch”
-
-
So glad you enjoyed the article. Thanks for visiting the We All Sew Blog!
-
-
What a fantastic solution!! I don’t believe I would have EVER thought of that, you have an amazing mind. TFS.
-
Thanks Juanita. I think I’ll use this on some other quilts I’ve made in the past.
-
-
What a great use of the blanket stitch! Thanks for the idea and the great sample. Question: What thread are you using, both in the needle and in the bobbin? It looks to be heavier than your quilting thread but not as heavy as the size 8 pearl.
-
Thank you! The thread used through the machine needle and in the bobbin is a 40 weight Isacord thread. It may look thicker than the quilting thread (also a 40 weight Isacord) because it stacks when making the Blanket Stitch.
-
-
Pingback: A Tip for Your Binding | Artfabrik
-
The extra line of green thread framing it all is fantastic… looks even better than it would have with only a lime green blanket stitch alone. Don’t you love when “mistakes” mother a better end result??? Beautiful! I’m going to try this on jeans and if I do, I’ll be sure to credit you and link here.
-
Thank you! It was a happy mistake.
-
Leave a Reply
You must be logged in to post a comment.









Beautiful, great idea. Thanks for sharing.