How to Make an Easy Baby Bib from a Towel
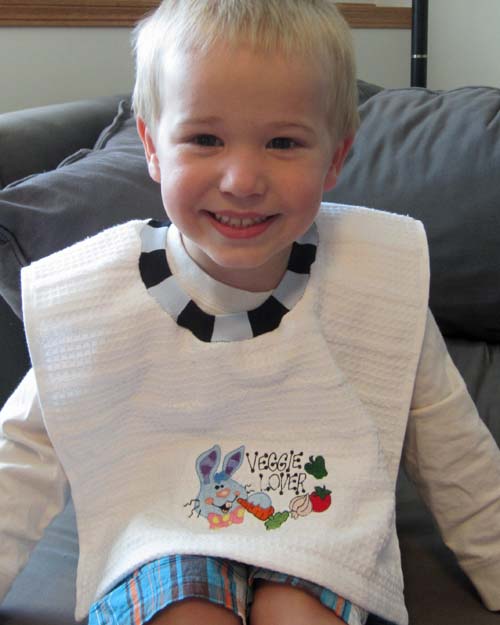
From functional to fun! Transform an ordinary hand or fingertip towel into a stylish baby bib. Use a pre-embellished towel or personalize it by adding some embroidery with your machine. What a practical—but adorable—way to keep baby clean!
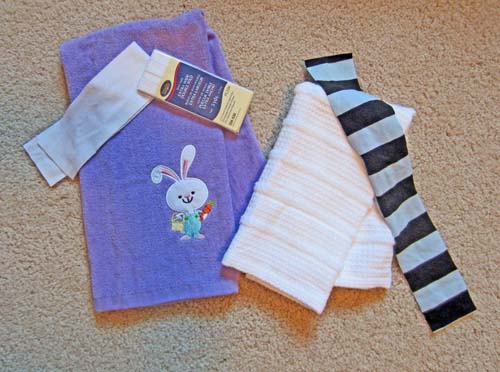
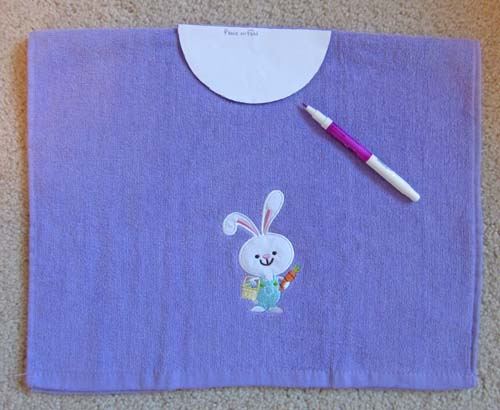
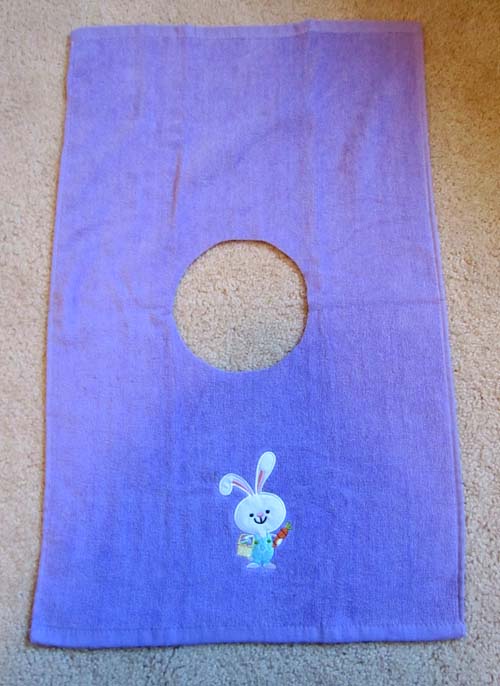
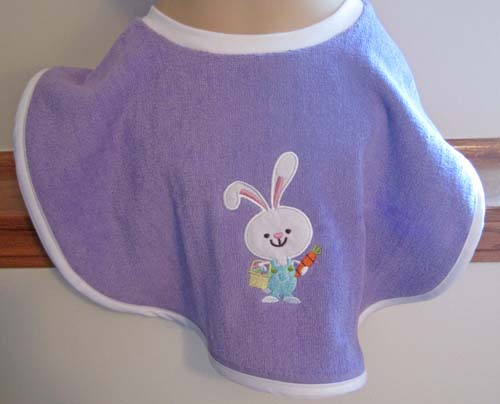
The purple bib is made from an already appliqued purchased towel.
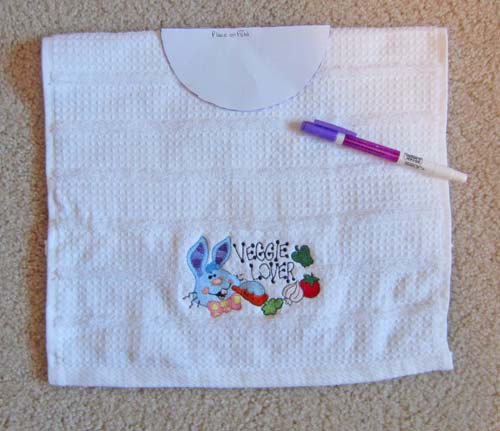
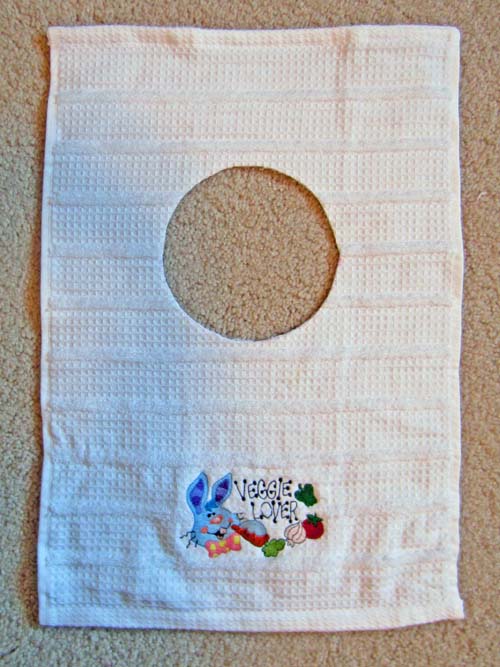
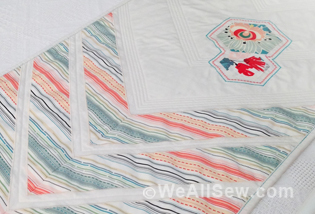
The white bib features embroidery from OESD embroidery pack 12144, Be Hoppy!
Tip: While this project is sized for infants and toddlers, it can be easily modified to accommodate older children and adults who need assistance with feeding. Use a standard towel instead of a hand towel, and use a plate as a template for cutting the neck. Increase the length of the jersey strip accordingly.
Supplies
- One plain or embellished hand or fingertip towel
- 2-1/2ʺ x 15ʺ scrap of rib knit or stretch jersey, with stretch going lengthwise
- Coordinating sewing thread
- Water-soluble marker or tailor’s chalk
- Round plate, bowl, or jar lid (optional, for rounded and bound edges)
- Approximately 2-1/2 yards of bias trim or 1 package of bias tape (optional, for bound edges)
- Download and print the neckline template: Towel_Bib_-_Neckline_template_-_121814.pdf
For optional embroidery
- Cut-away stabilizer
- Water-soluble stabilizer, tulle, or netting
- OESD embroidery pack #12144, “Be Hoppy!”
- Embroidery thread
- Embroidery machine
Step 1) Embroider the towel. (Optional)
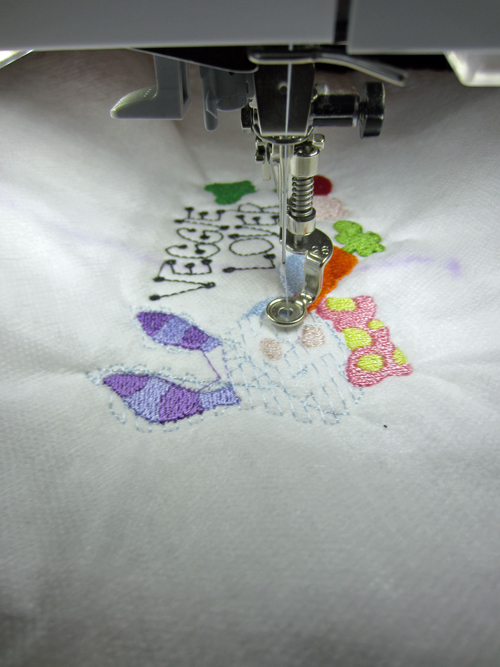
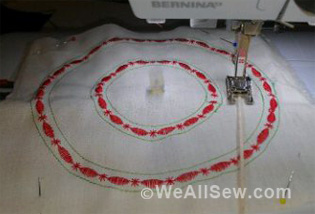
Embroider a design at one end of your towel following the instructions in your embroidery machine manual.
Tip: Use cut-away stabilizer under the towel as this will support the stitches and keep the towel from lifting during embroidery.
Tip: Use water-soluble stabilizer, tulle, or netting on top of the towel to keep the stitches from sinking down into the nap of the towel.
After stitching your design, trim away the excess cut-away stabilizer, leaving about 1/4ʺ all around the stitching. Remove the excess water-soluble stabilizer from the top of the stitching.
Step 2) Cut the neck opening.
Download and print the neckline template: Towel_Bib_-_Neckline_template.pdf
Fold the towel in half lengthwise, or adjust the fold toward the front so the bib covers more of the child.
Center the neckline template on the folded edge of the towel and trace it with a water-soluble marker.
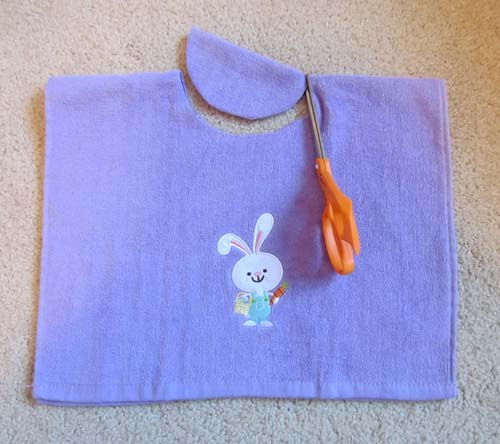
Keeping the towel folded, cut along the traced line.
Unfold the towel, which now has a circle cutout in the center.
Step 3) Bind the neckline.
With right sides together, sew the short ends of the jersey strip together, creating a continuous loop.
Tip: Use a zigzag stitch to keep the seam stretchy. This will prevent the stitches from popping when the bib is pulled over the baby‘s head.
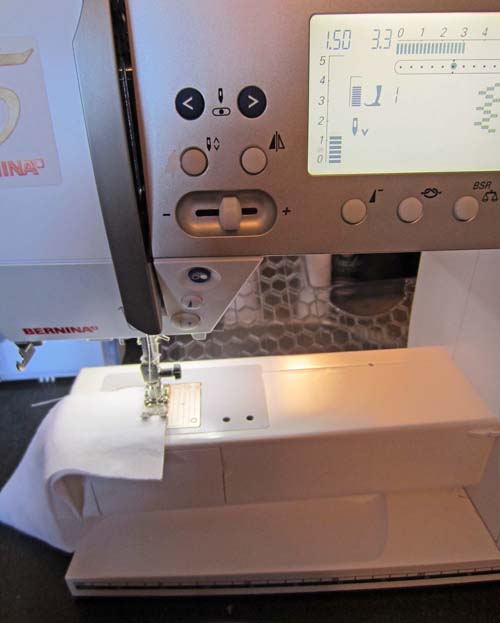
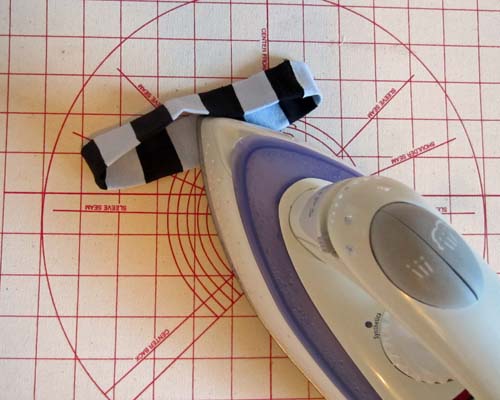
With wrong sides together, fold the jersey strip in half lengthwise, matching seams and raw edges. Press.
If desired, baste the edges together.
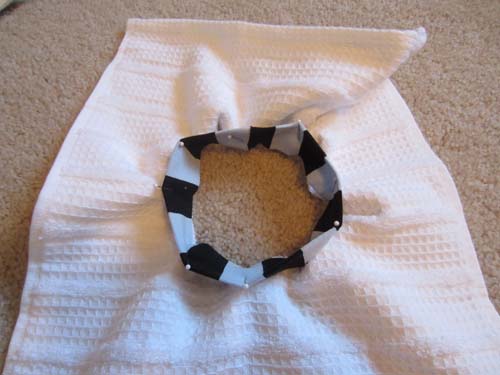
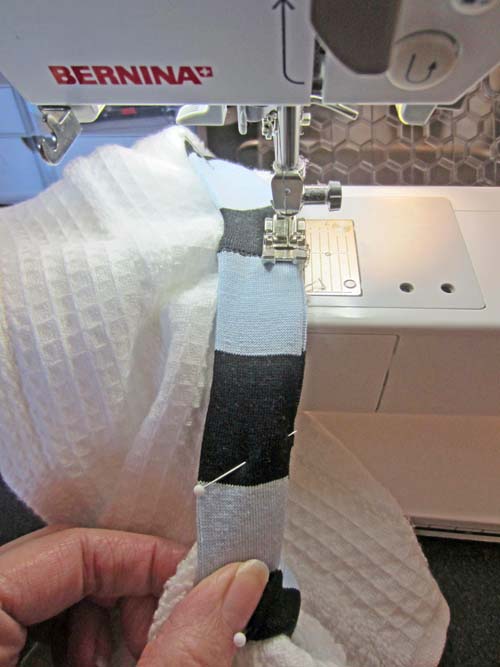
With right sides together, pin the jersey strip around the neckline.
Tip: To distribute the neckband evenly, divide the neckband and the neck opening into quarters and mark them. Match the marks, stretching the neckband to fit as you stitch it to the towel.
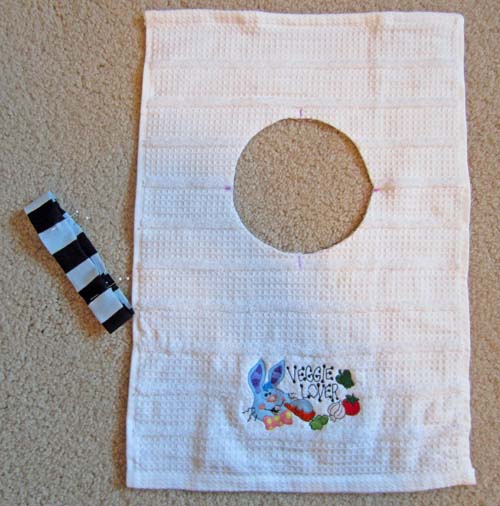
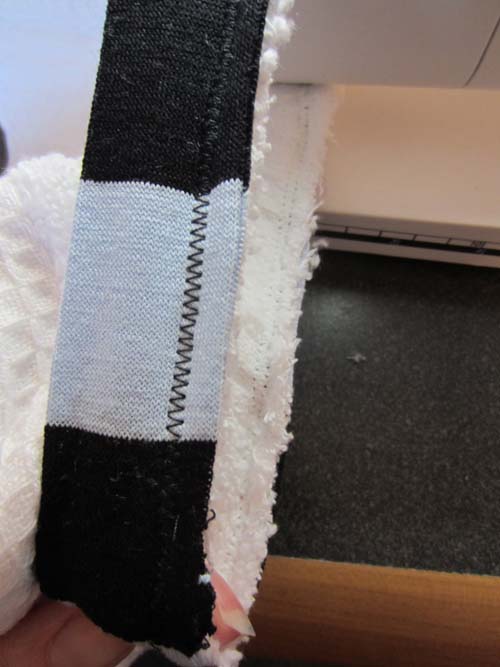
Stitch using a zigzag stitch, stretching the neckband slightly as needed.
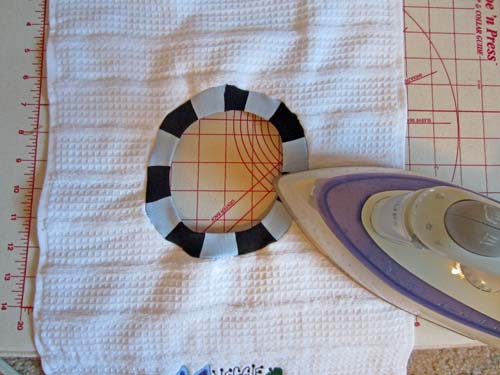
Press the ribbed neckline up.
Step 4) Round off and bind the outer edges. (Optional)
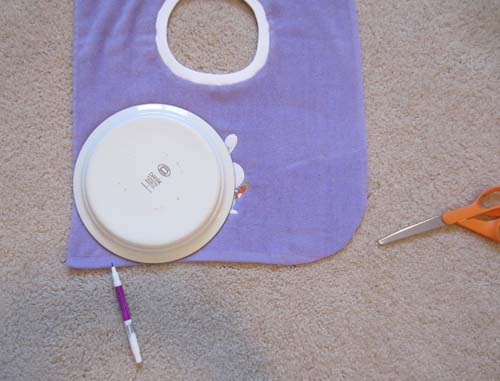
Use a water-soluble marker and a round object (plate, bowl, jar lid, etc.) to draw curved edges on the front and back of the bib.
Cut along the traced lines.
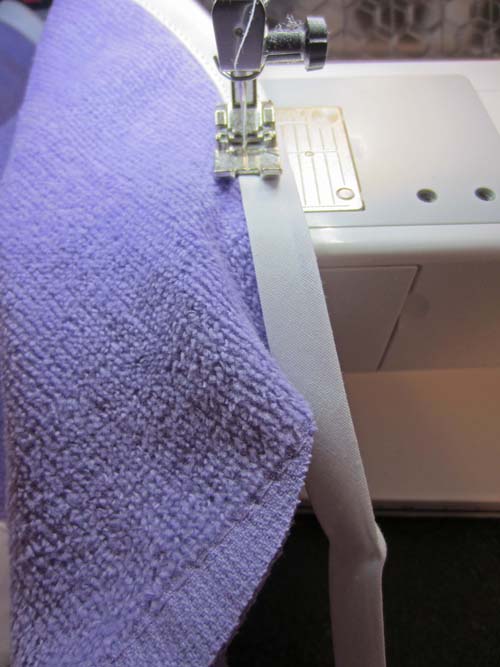
Enclose the raw edges with bias tape following the instructions on the package.








3 comments on “How to Make an Easy Baby Bib from a Towel”
I am so frustrated. I’ve been trying to see this pattern since it was first posted, but all I can ever get when I click on it is a blank screen. Same with the baby moccasins. I’m giving up on Bernina sites.
Hi Bev – Sorry you’re having trouble viewing our project instructions. It sounds like your computer may be timing out, or you may have too many programs open on your computer. Another cause could be that you don’t have a recent version of Acrobat Reader. You can download Reader for free at http://www.Adobe.com. Jo