BERNINA 125th Anniversary Quilt-along: Part 2
Welcome back! I’m BERNINA Expert and Amanda Murphy and I hope you all are excited for Month 2 of the BERNINA 125th Anniversary Quilt Quilt-Along! I hope you have been excited to gather the materials and get started.
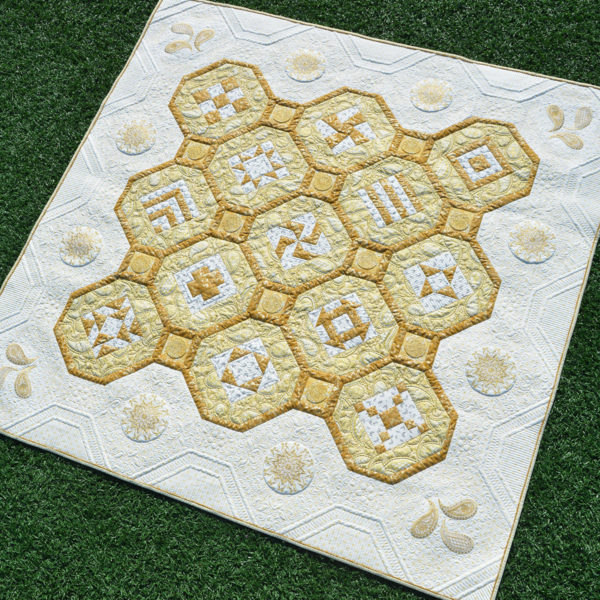
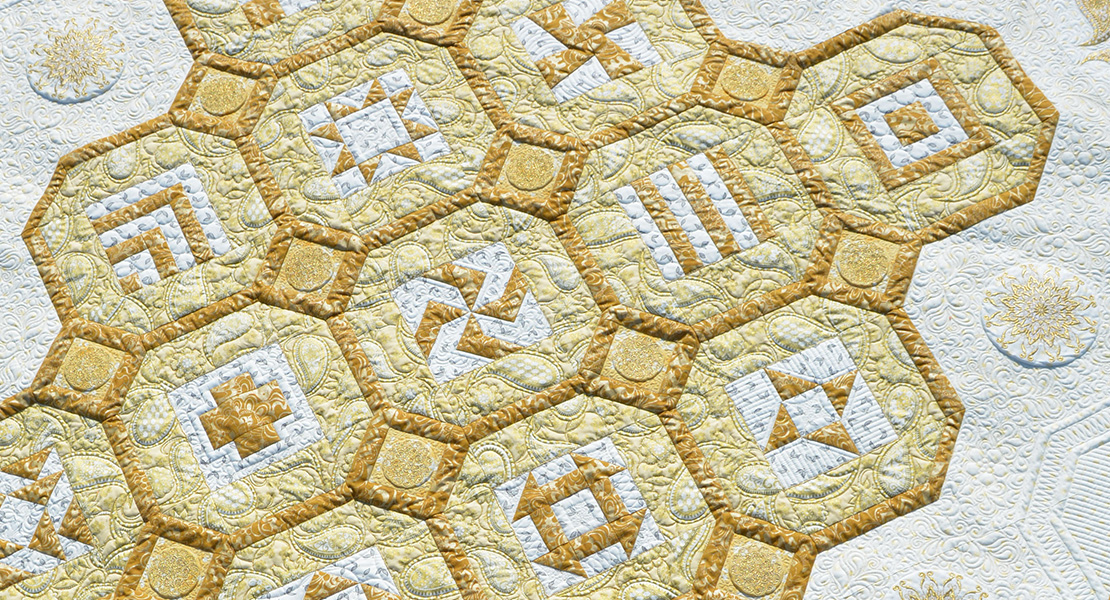
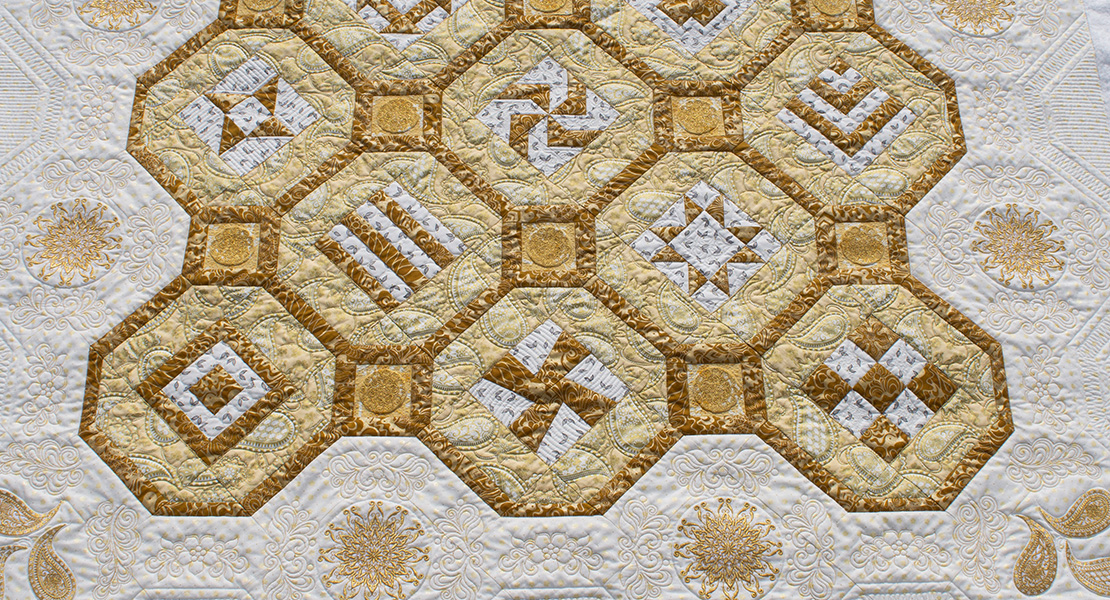
The BERNINA 125th Anniversary Quilt. Kits for this quilt are available from your local BERNINA store and are being bundled with 125th Anniversary Edition Machines.
This month, we’ll keep things simple and piece the remaining half of the feature blocks. You can find the instructions for those blocks here.
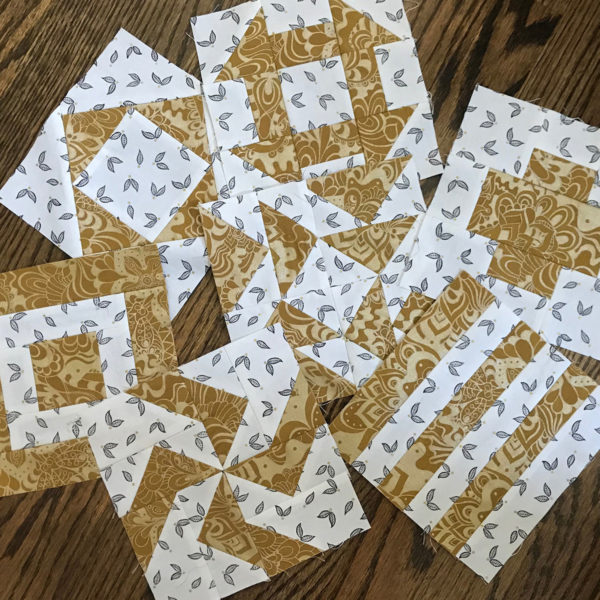
Blocks G-M in gold
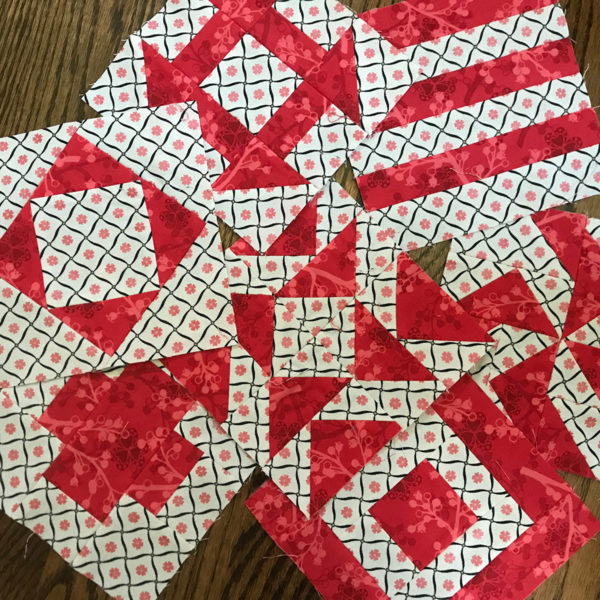
Blocks G-M in red
Blocks, J, L, and M are pretty straight forward, with simple straight seams.
You might find it helpful to reference my video on making half-square triangles which making Block G…
Block F: Half-Square Triangles
And my video about making Flying Geese for blocks I and K…
Flying Geese: Block D: Flying Geese
Block H is typically referred to as an Economy Block. I made a special video for you for this one.
How to make an Economy Block (Block H)
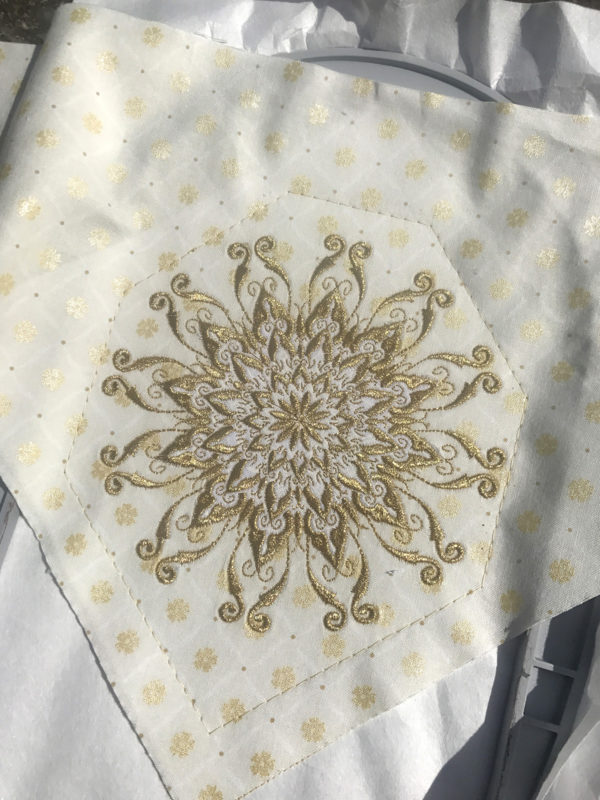
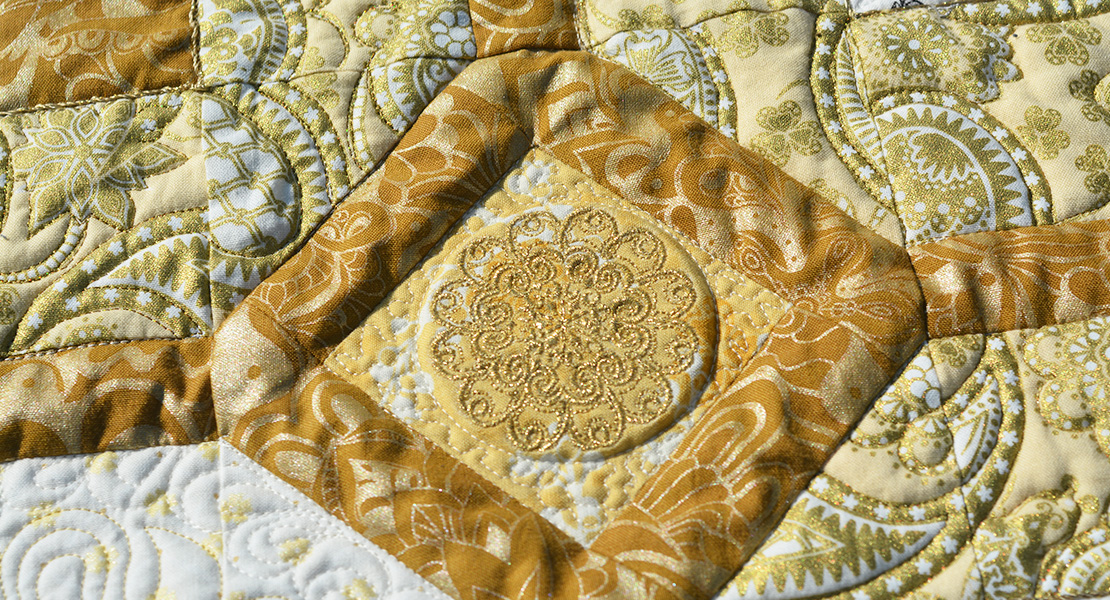
For those of you who are incorporating embroidery, how are your Cornerstones coming? If you missed the post where I show you how I embroidered these with gold thread and also gave you other options, you can find it here. We’ll be piecing the Cornerstone blocks in November, so try to finish those embroideries before the end of this month.
We will also be working on the border embroideries in November.
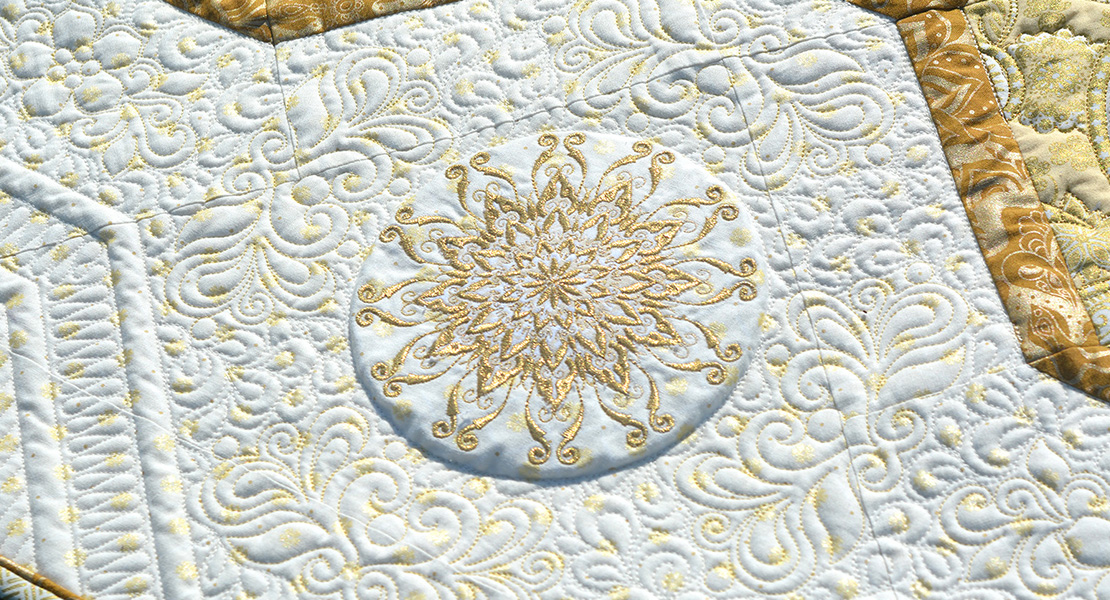
For those who might be working ahead, please note that the centerpoint of these motifs are 3-1/2’’ away (rather than 4-1/2’’) from the edges of the triangles. The placement lines are correct so if you simply lay the edges of the triangle over the placement lines as shown in the photo below you will be fine. Of course, we’ll be posting the free file plus videos showing the whole process on November 7th.”
Right around the corner…. border embroideries! I have a video for you that I’ll be showing you in November to make this easy.
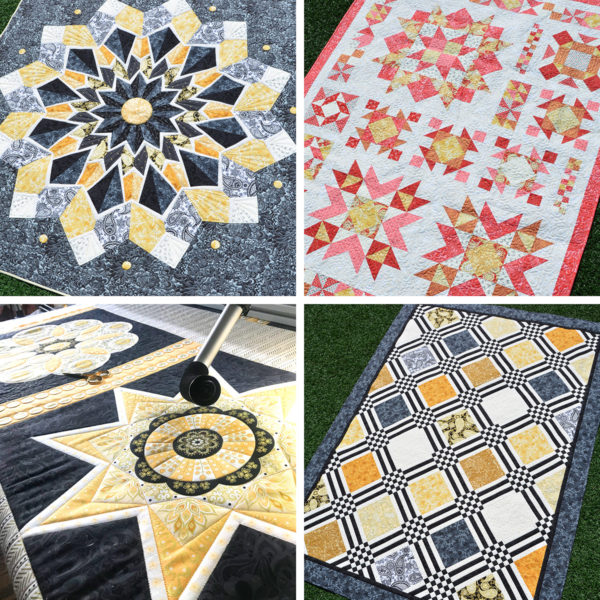
For those of you who have written me regarding the availability of kits for the other quilts in the Jubilee line, please know that, due to popular demand, Benartex is making these kits available to shops. (Benartex does not ship direct to consumer so you must ask your local shop to order.) These should be shipping in October for dealers who ordered at BU and December for other orders. Shops can contact their Benartex rep for more information.
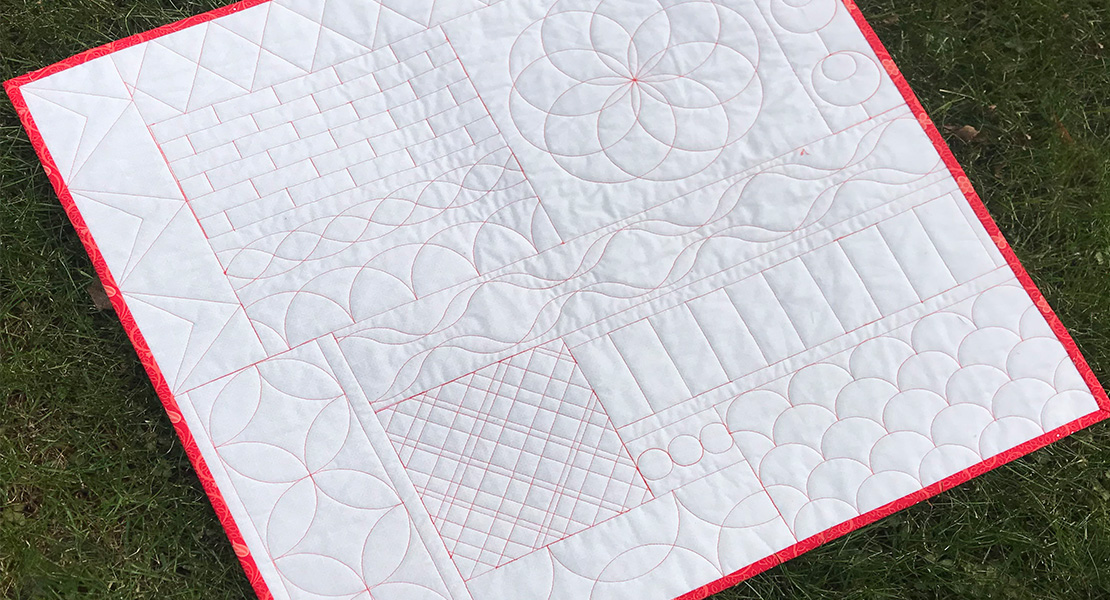
Clockwise from top left: Diamond Jubilee, Ruby Jubilee, Platinum Jubilee, Jubilee Ruler Panel with Guide. Diamond Jubiilee, Ruby Jubilee, and Platinum Jubilee will be offered as kits by Benartex. The Jubilee Ruler is a practice panel that coordinates with the rulers I used to quilt the 125th Anniversary Quilt.
Last but not least, please remember to post your progress in WeAllSew’s Community! You can find the Community Tab at the top of this page. Remember that you have to post your progress six times in order to win one of the amazing prizes so now is the perfect time to start! Show us your fabrics and/or your first blocks— we’d love to see!
Prizes include a grand prize of a soon-to-be-released BERNINA 7 Series machine! Other prizes include a BERNINA L 460, a 125th Anniversary Quilt Kit, a 125th Anniversary Golden Foot #1 in a Commemorative Tin, and a 125th Anniversary Rulerwork Ruler Set (set of 3 rulers.)
We have lots of great prizes in store—you can find contest rules here.
For optional embroidery, participants are eligible for a chance to win different prizes such as a set of Good Measure Quilting Rulers by Amanda Murphy, a bundle of Jubilee fabrics, and a digitized quilting collection by Amanda Murphy for OESD!
That is it! I’ll be back in on November 7th to get you started on the next part of the Quilt-along and later in the month to do some more embroidery. I hope to sneak in some Quilts Market peeks—I have lots to sew before then!
Happy quilting and HAPPY ANNIVERSARY, BERNINA!
Amanda Murphy
What you might also like
17 comments on “BERNINA 125th Anniversary Quilt-along: Part 2”
-
-
Thanks for the suggestion and so sorry that happened to you! It is so frustrating when one has embroidery problems! I hope you are through that end of it and can enjoy moving on with the project!
-
-
Where is a link for the Quilt Along weeks 1 and 2?
Thanks!-
You can find Month 1 here:
https://weallsew.com/bernina-125th-anniversary-quilt-along-part-i/
You can find the Embroidery post for Month 1 here:
https://weallsew.com/bernina-125th-anniversary-quilt-along-part-i-embroidery/
Hope this helps!
Amanda
-
-
Can you get the fabric from a dealer in the UK? I live in Manchester
-
I have requested that information from Benartex but they are dependent on the English distributor to get that information. Hopefully they will be forthcoming, but it can be hard to get that information in the UK unfortunately.
-
-
Amanda,
I notice you do not backstitch or tie off threads. I am worried they will be less secure and come apart. Advice?-
I don’t usually backstitch or tie off threads when piecing. They will be locked in the seams so I’ve never had a problem. The one time I might backstitch is when applying the final border pieces, which won’t be secured by subsequent seams.
-
-
Okay, I`m confused. I stitched out the first triangle block. Now the book said there should be 41/2 inches from the center to side of triangle. On here you said to change that to 3 1/2. My finished design came as 4 1/2 in from the center of the design to the side of the triangle. Is this right or wrong?
-
The file itself is right, so if you lined up the edge of the triangle on the initial placement line as pictured in the second to last picture on this post you should be good. The file stitches the center of the motif 3-1/2” (rather than 4-1/2”) from the placement line. That is why there is a correction from 4-1/2” to 3-1/2” for the measurement as listed in the booklet. I’ll be doing a video on this for next month showing the whole process. If you are using the file with the placement lines you actually don’t have to even mark the center of the motif. You can just place the triangle edges on the placement lines. The only reason you really would need the center marks are if you are replacing the motif with another embroidery design of your choice.
Does this make sense? I am teaching tomorrow but will check back tomorrow night.-
Perfectly. I did follow you when you said use the placement lines, and my motif looks just like yours. I blew up the picture and matched the hoop and motif to it to it and they match, so I guess all is good. Thanks
-
-
-
Will you be leaving the videos and info on this site for quite awhile? I still have not received my fabric kit from my dealer and Christmas is coming so I can not start until late Jan.
-
Everything will be up in perpetuity so no worries!
-
-
Hello Amanda,
I just received my fabric kit so will try to catch up. One question before I start cutting — is the final block size 6″ or 6 1/2″? It would be so helpful if the length of each side was included.Thanks so much for a great project!!!
Nancy Ellen
-
Nancy,
The final block size is 6-1/2”, although once pieced into the quilt they finish at 6” if that makes sense. If you are cutting from the printed booklet make sure you have the corrections. You can find them at https://www.amandamurphydesign.com/Jubilee125_CORRECTIONS.pdf.-
Thank you — I just needed to make sure before I started cutting!!
-
-
-
Trying to find out— I screwed up one of the embroidery triangles for Fabric D. I have 32” left after cutting everything in the cutting instructions. Are there more borders, bindings to cut later? Or, am I good to redo this block?
Leave a Reply
You must be logged in to post a comment.




I tried very hard to cut all the pieces out as per the instructions in the fabric kit, and the accompanying corrections, plus a couple more corrections provided by my lovely dealer, and STILL managed to screw up. I cut out the 19.5″ square for the side embroidered triangles, and even though I kept re-reading the instructions, didn’t figure out that I was supposed to make quarter square triangles, not half-squares, and compounded the problem by doing it again so that I would have the required 8 triangles to embroider. Happily, my dealer saved my bacon by giving me her leftover fabric from the kit she made up. But just a gentle suggestion, Amanda, perhaps you could clarify the instructions for the two kinds of triangles, using the keywords half-square and quarter square. (I know I could have used the ones I created if I hadn’t already embroidered 7 of them, and totally destroyed the eighth by having an embroidery meltdown on my machine that involved lots of thread tangles, lint balls, broken needles and holes in the fabric)