Colossal Blocks Quilt-along Part 1: Materials and Cutting
Last year I visited the Serious Play: Design in Midcentury America exhibit in Milwaukee. Designers like Charles and Ray Eames, Irving Harper, and Jay Doblin were creating everyday objects using bright colors in bold, simple, geometric shapes. One color combination that stood out was the repeated use of pink with bright yellows, blues, and greens throughout the exhibit (a combination I would never think to use!).
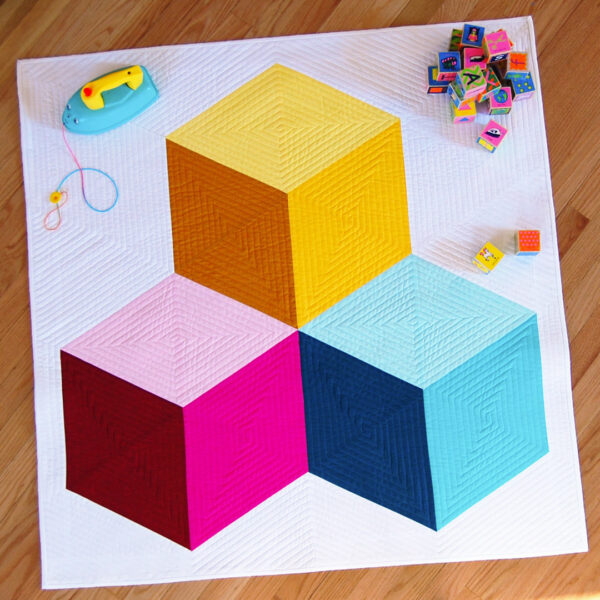
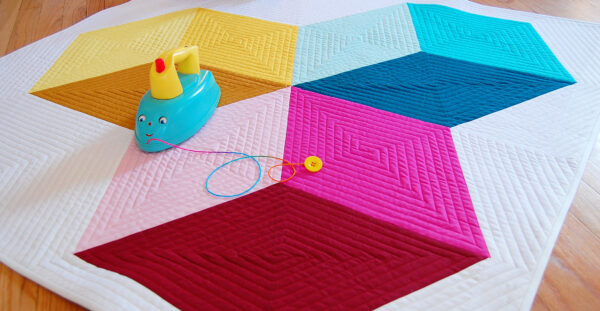
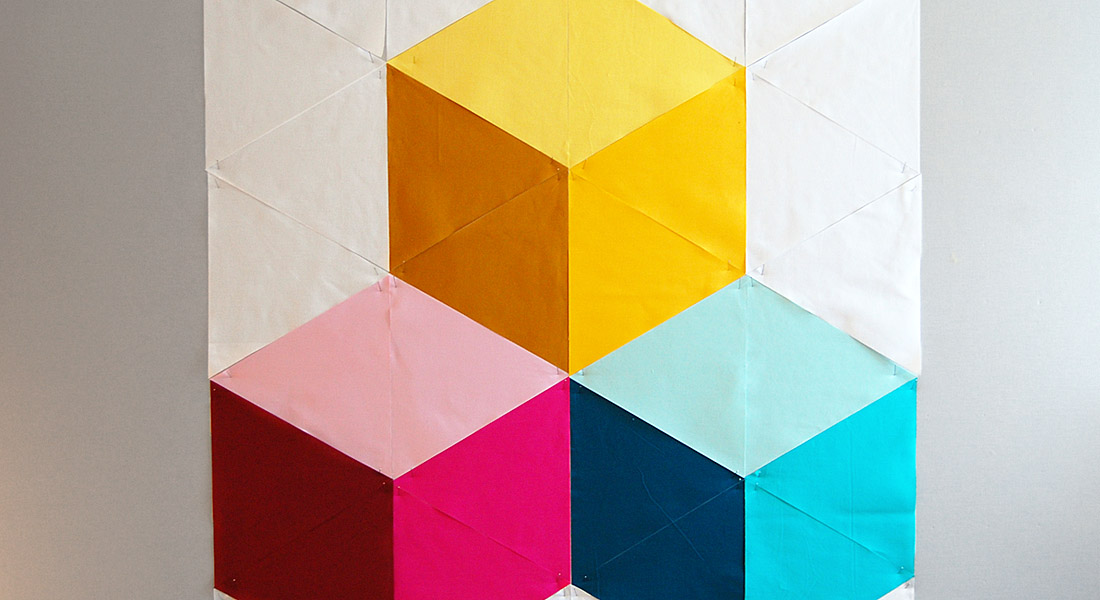
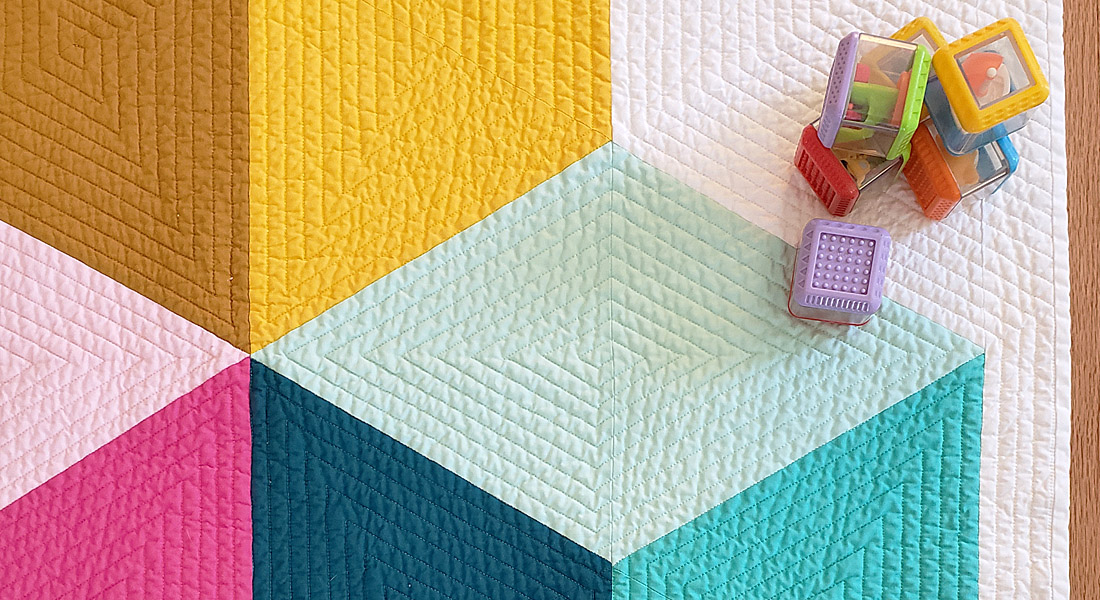
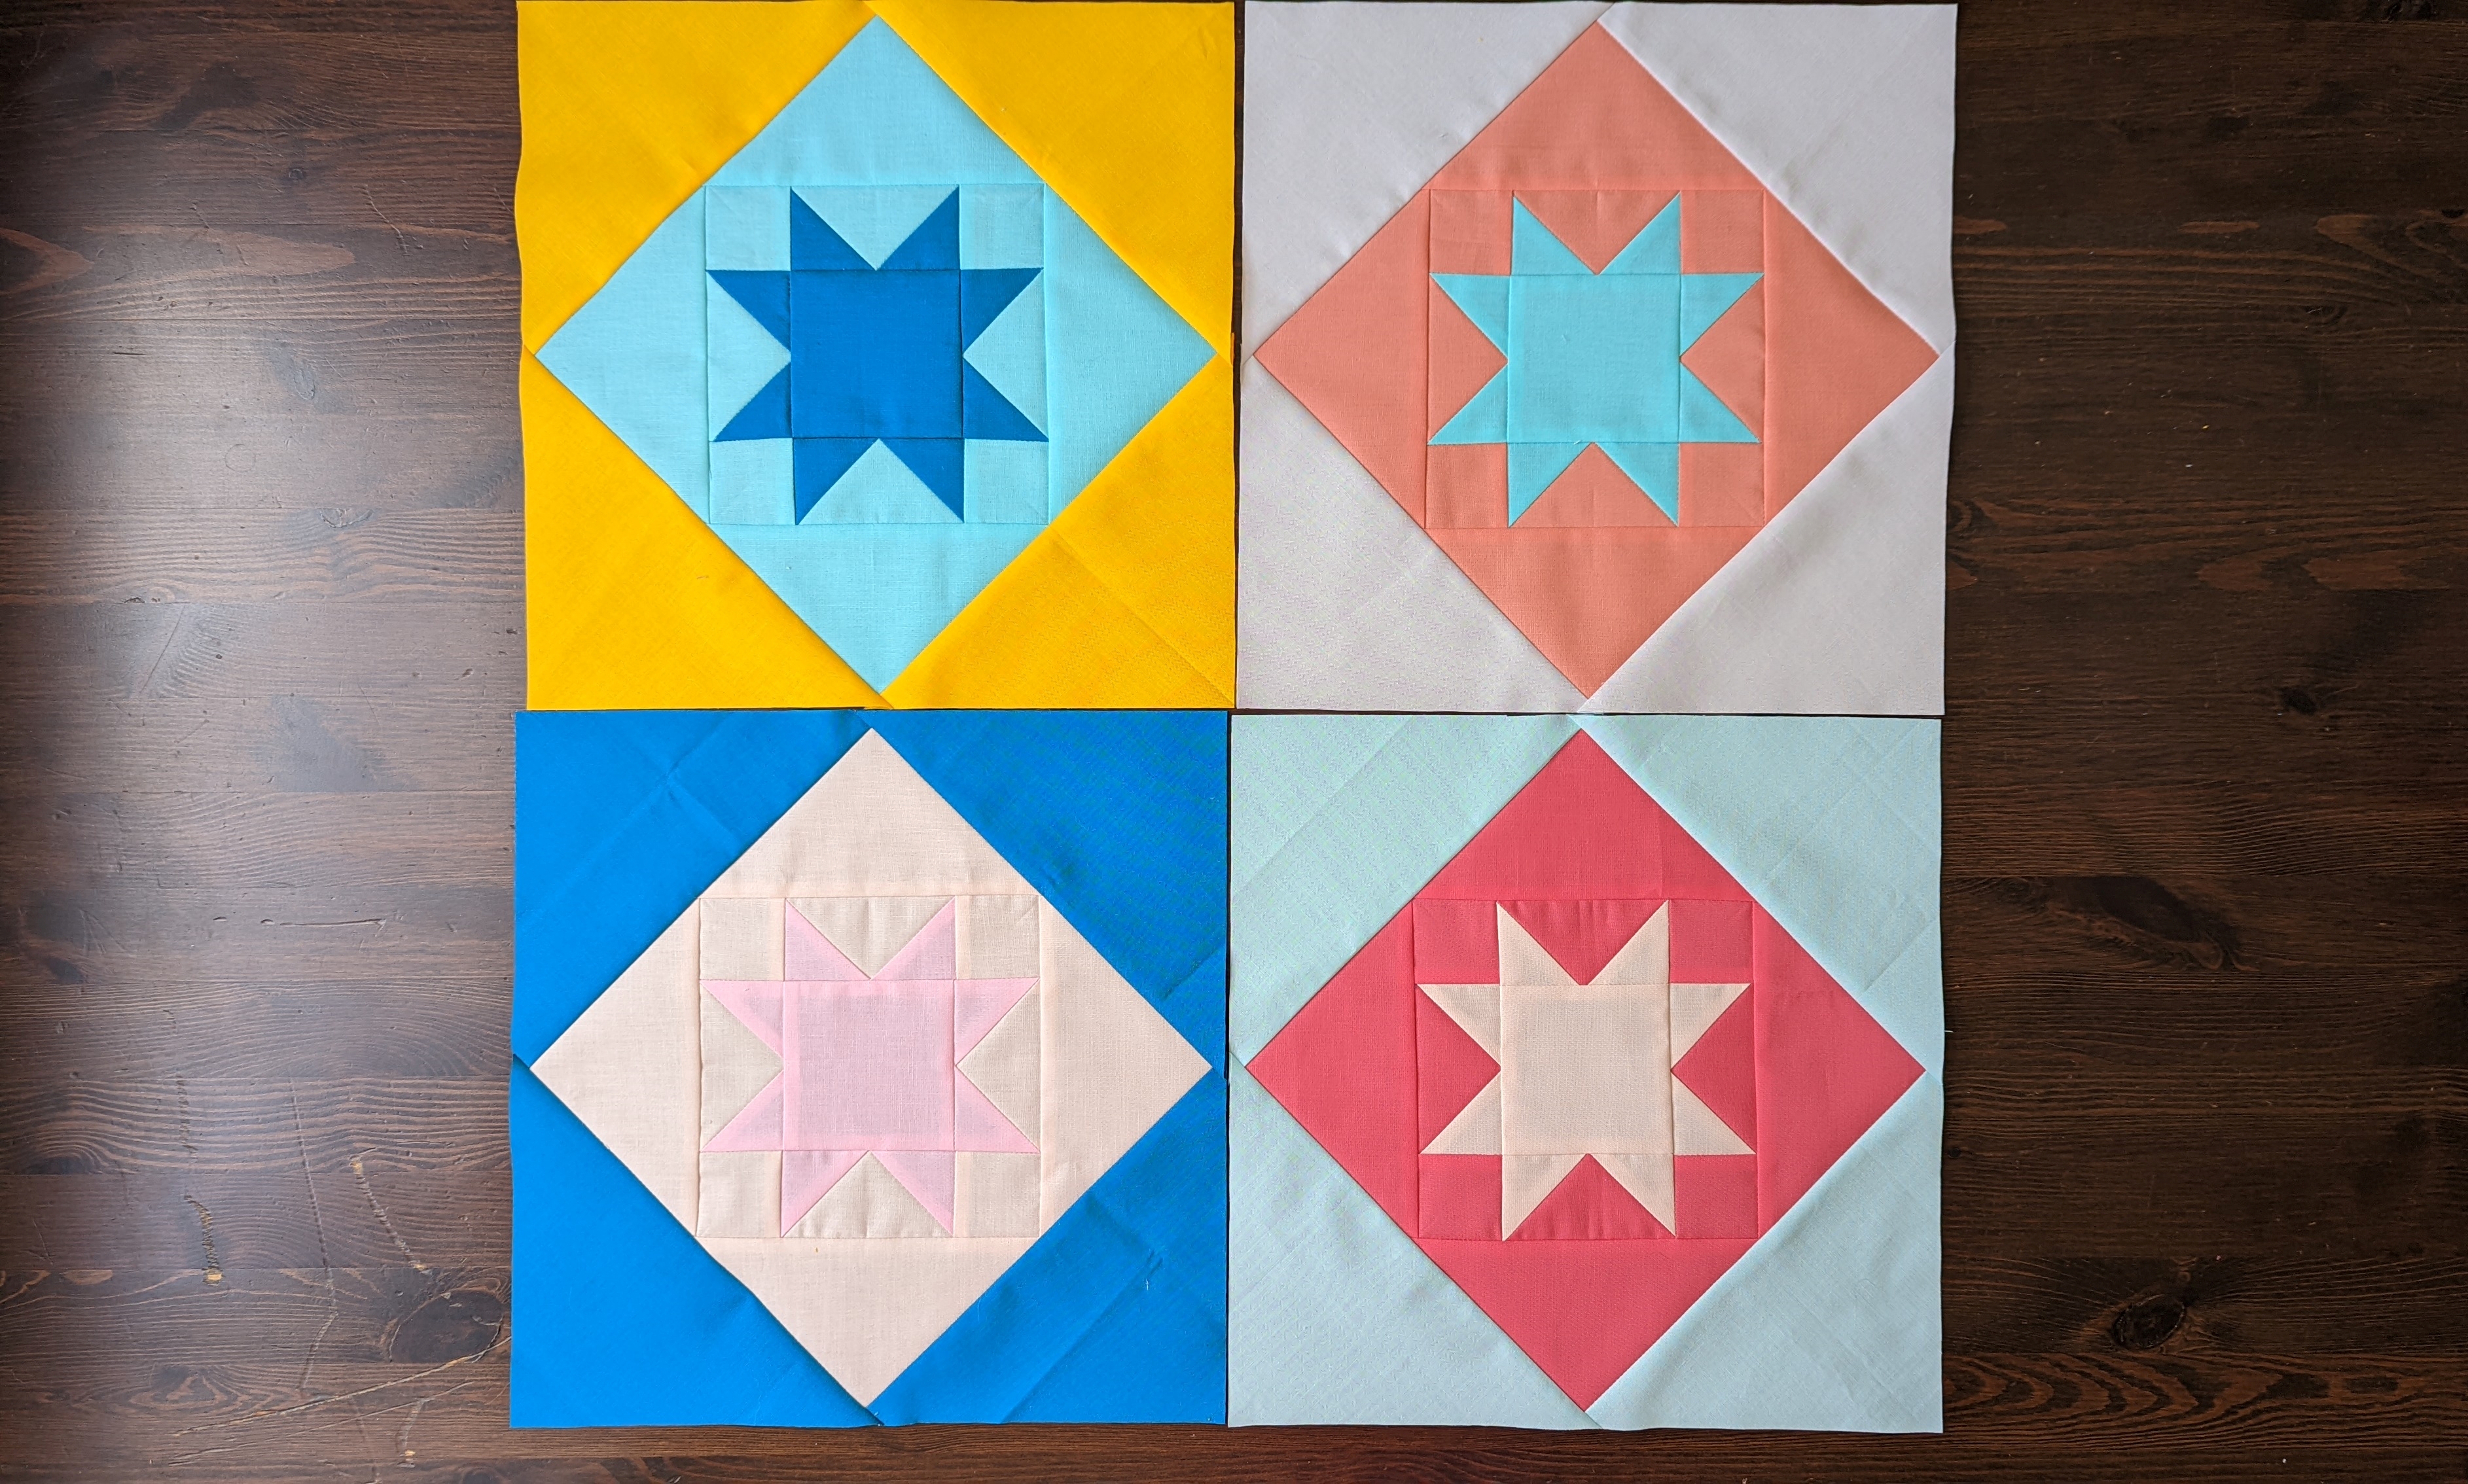
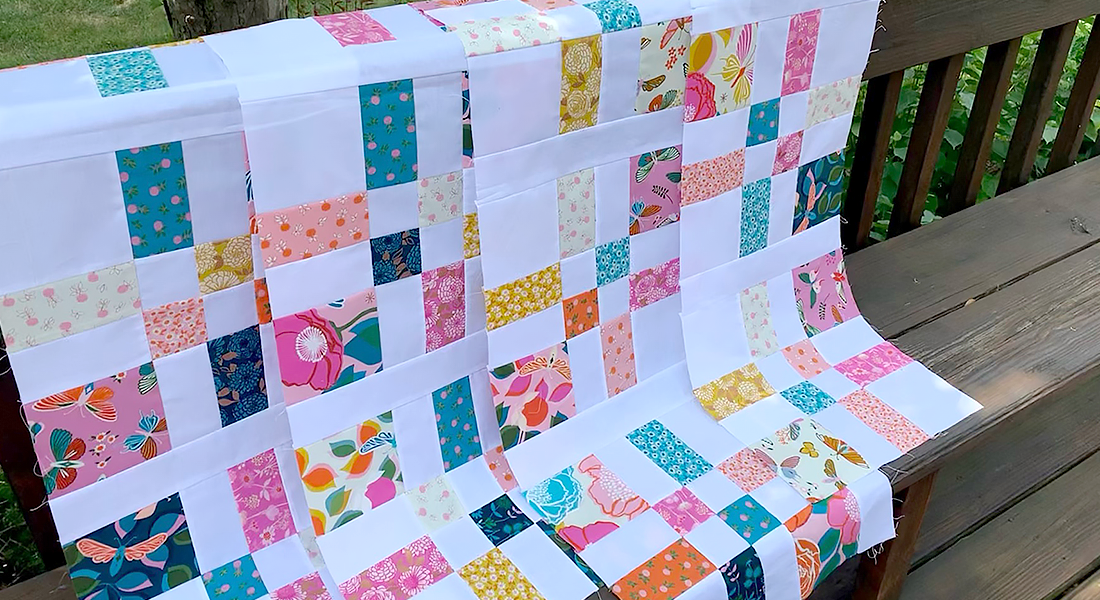
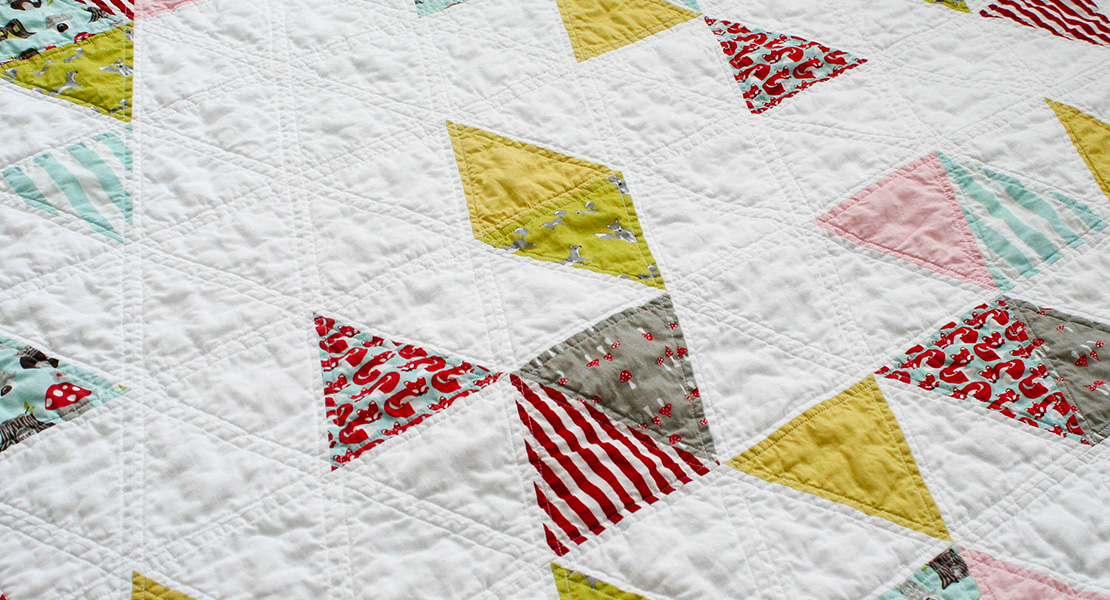
I made the Colossal Blocks baby quilt with giant tumbling blocks, featuring those bright colors inspired from the Serious Play exhibit. Usually tumbling blocks means lots of “Y” seams, but not this time! Follow along with the Colossal Blocks quilt-along to learn how to make this baby quilt using simple patchwork shapes with no “Y” seams!
In Part 1 of the quilt-along we’ll look at a list of tools and materials you’ll need to complete the quilt. I’ll also share some tips for preparing your fabrics to be cut before we start sewing.
Colossal Blocks Quilt-Along Schedule:
Part 1: Materials and Preparation
Part 2: Cutting and Layout
Part 3: Piecing the Top
Part 4: Quilting and Binding
Before moving on, I may be using some materials in this baby quilt you aren’t used to seeing in a quilt. When I make a baby quilt I expect it to be used, which includes the expectation of trips through the washing machine and dryer. For this type of quilt that will see lots of love and wear, I use polyester threads that will stand up to frequent washing (not to mention hugging, tugging, and possibly some fort-making!). I use an all-purpose polyester thread to piece the quilt (Mettler brand), and polyester embroidery thread to quilt (Isacord brand). If you prefer to use different threads in your quilting practice, go for it!
Materials to Make the Colossal Blocks Quilt
Finished quilt measures approximately 41″ x 41″
Fabric requirements (you will need 3 different major color blocks for each block A, B, and C)
- Block A (I used yellow)
- One light, 1/3 yard or one fat quarter
- One medium, 1/3 yard or one fat quarter
- One dark, 1/3 yard or one fat quarter
- Block B (I used pink)
- One light, 1/3 yard or one fat quarter
- One medium, 1/3 yard or one fat quarter
- One dark, 1/3 yard or one fat quarter
- Block C (I used cyan blue)
- One light, 1/3 yard or one fat quarter
- One medium, 1/3 yard or one fat quarter
- One dark, 1/3 yard or one fat quarter
- Background and binding fabric (I used white)
- 1 1/3 yard
- Backing fabric (I used a white/gray print)
- 55″ or wider, 1 1/2 yard
- Or, piece your backing if needed to be at least 2″ wider than quilt top
Other Materials
- Quilt batting (I use Warm & Natural 100% cotton)
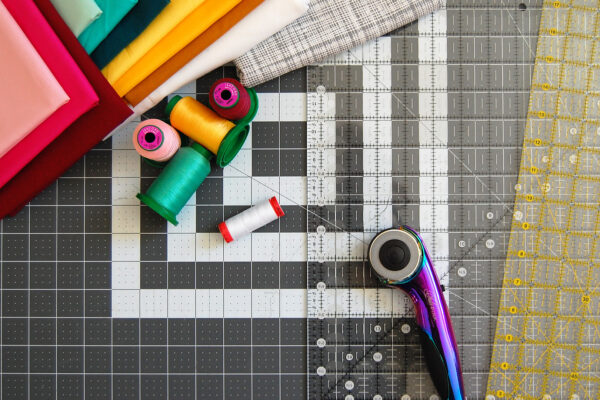
- Coordinating thread to piece quilt (I used Mettler Metrosene in white)
- Quilting thread of choice (I use Isacord in various colors)
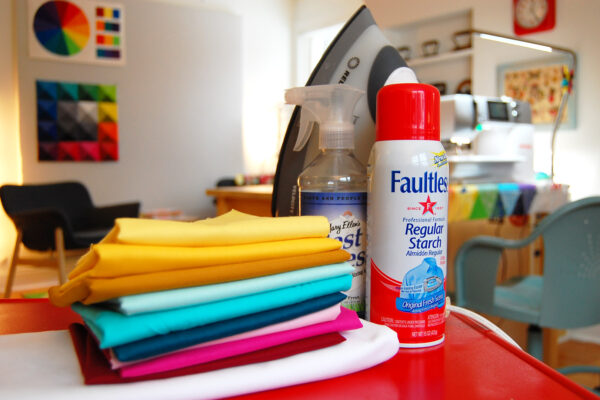
- Iron/pressing surface/spray starch
- Cutting mat with 30° angled lines/rotary cutter/6″ x 24″ acrylic ruler
- OR a cutting mat/rotary cutter/equilateral triangle acrylic ruler 12″ or larger
- Straight pins
- Fabric shears/thread snips
- Quilt basting pins or basting spray
- Quilt binding clips
- Hand sewing needle/thread
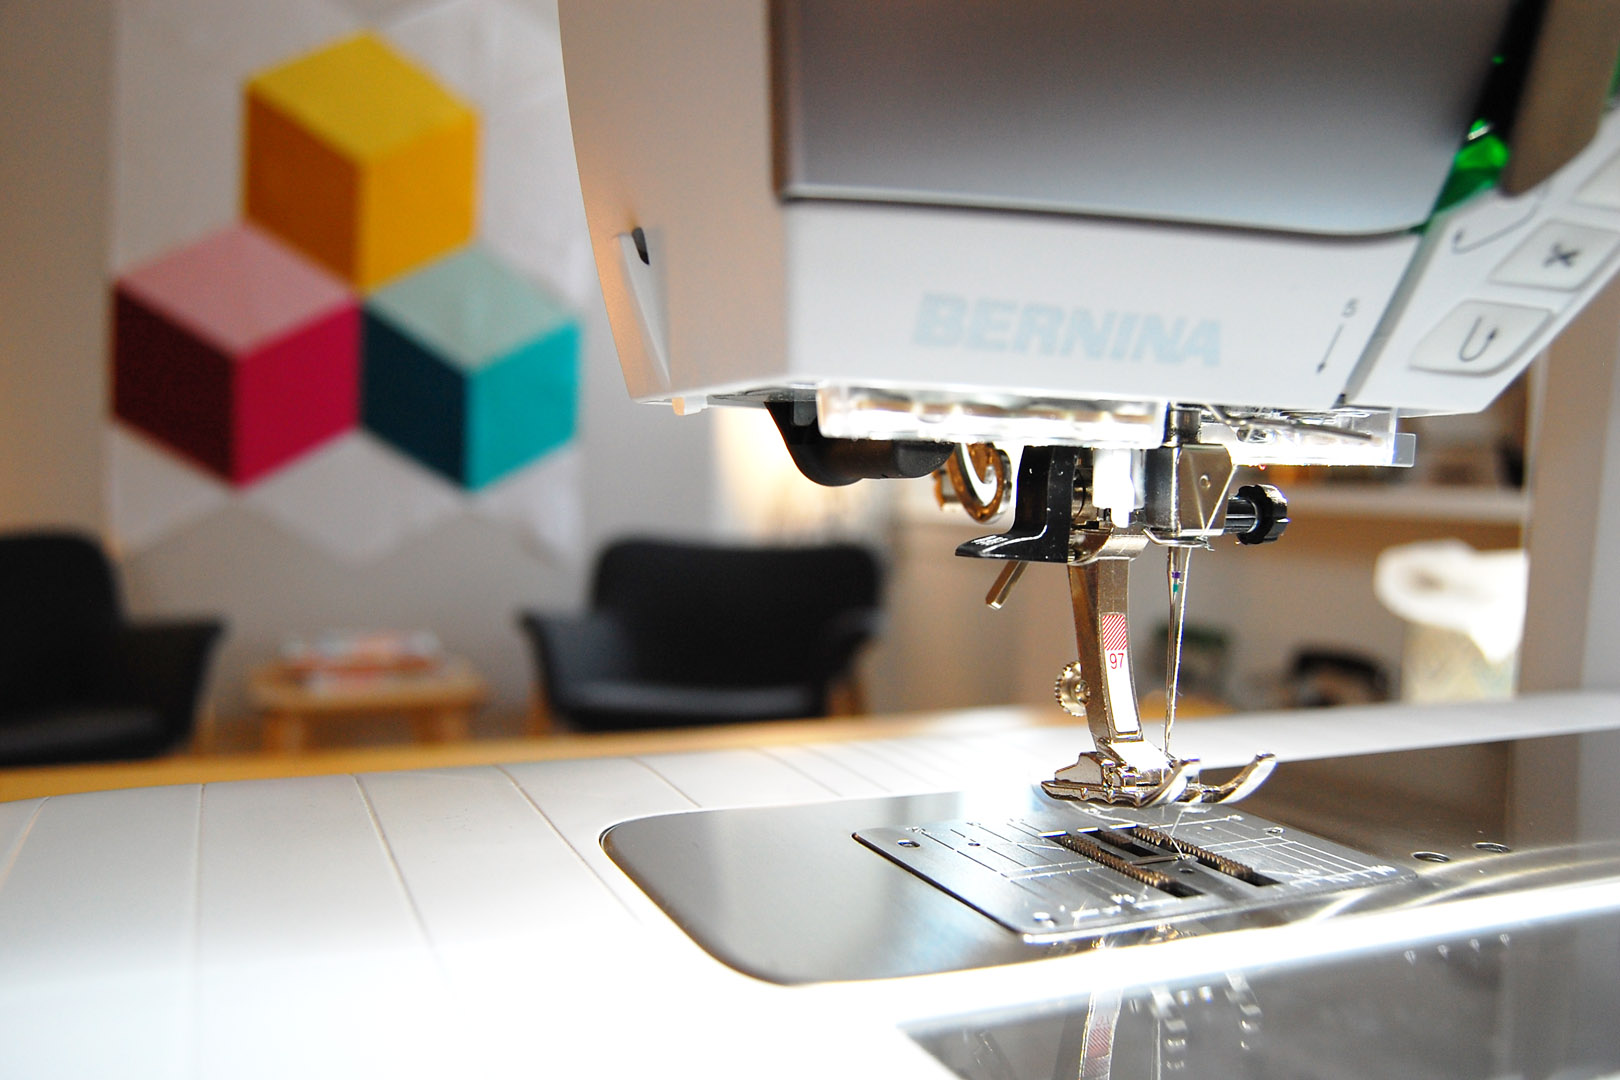
- Sewing machine (I use a BERNINA 570 QE)
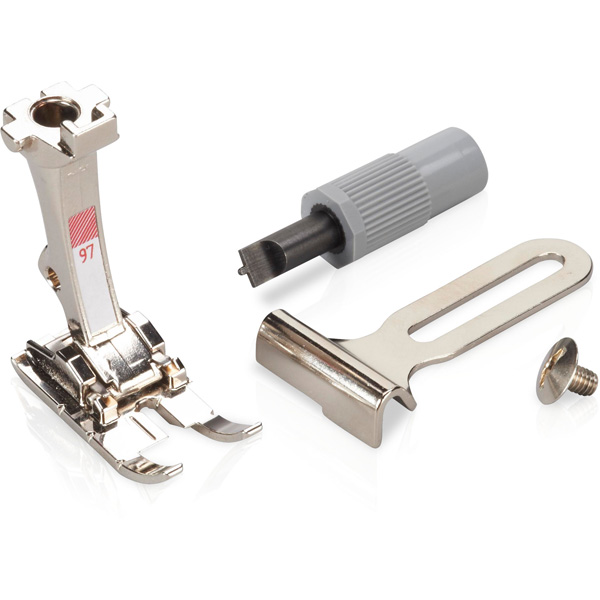
- Patchwork foot (I use Patchwork foot #97)
- Quilting foot of choice (I use the Walking foot #50)
Fabric Prep
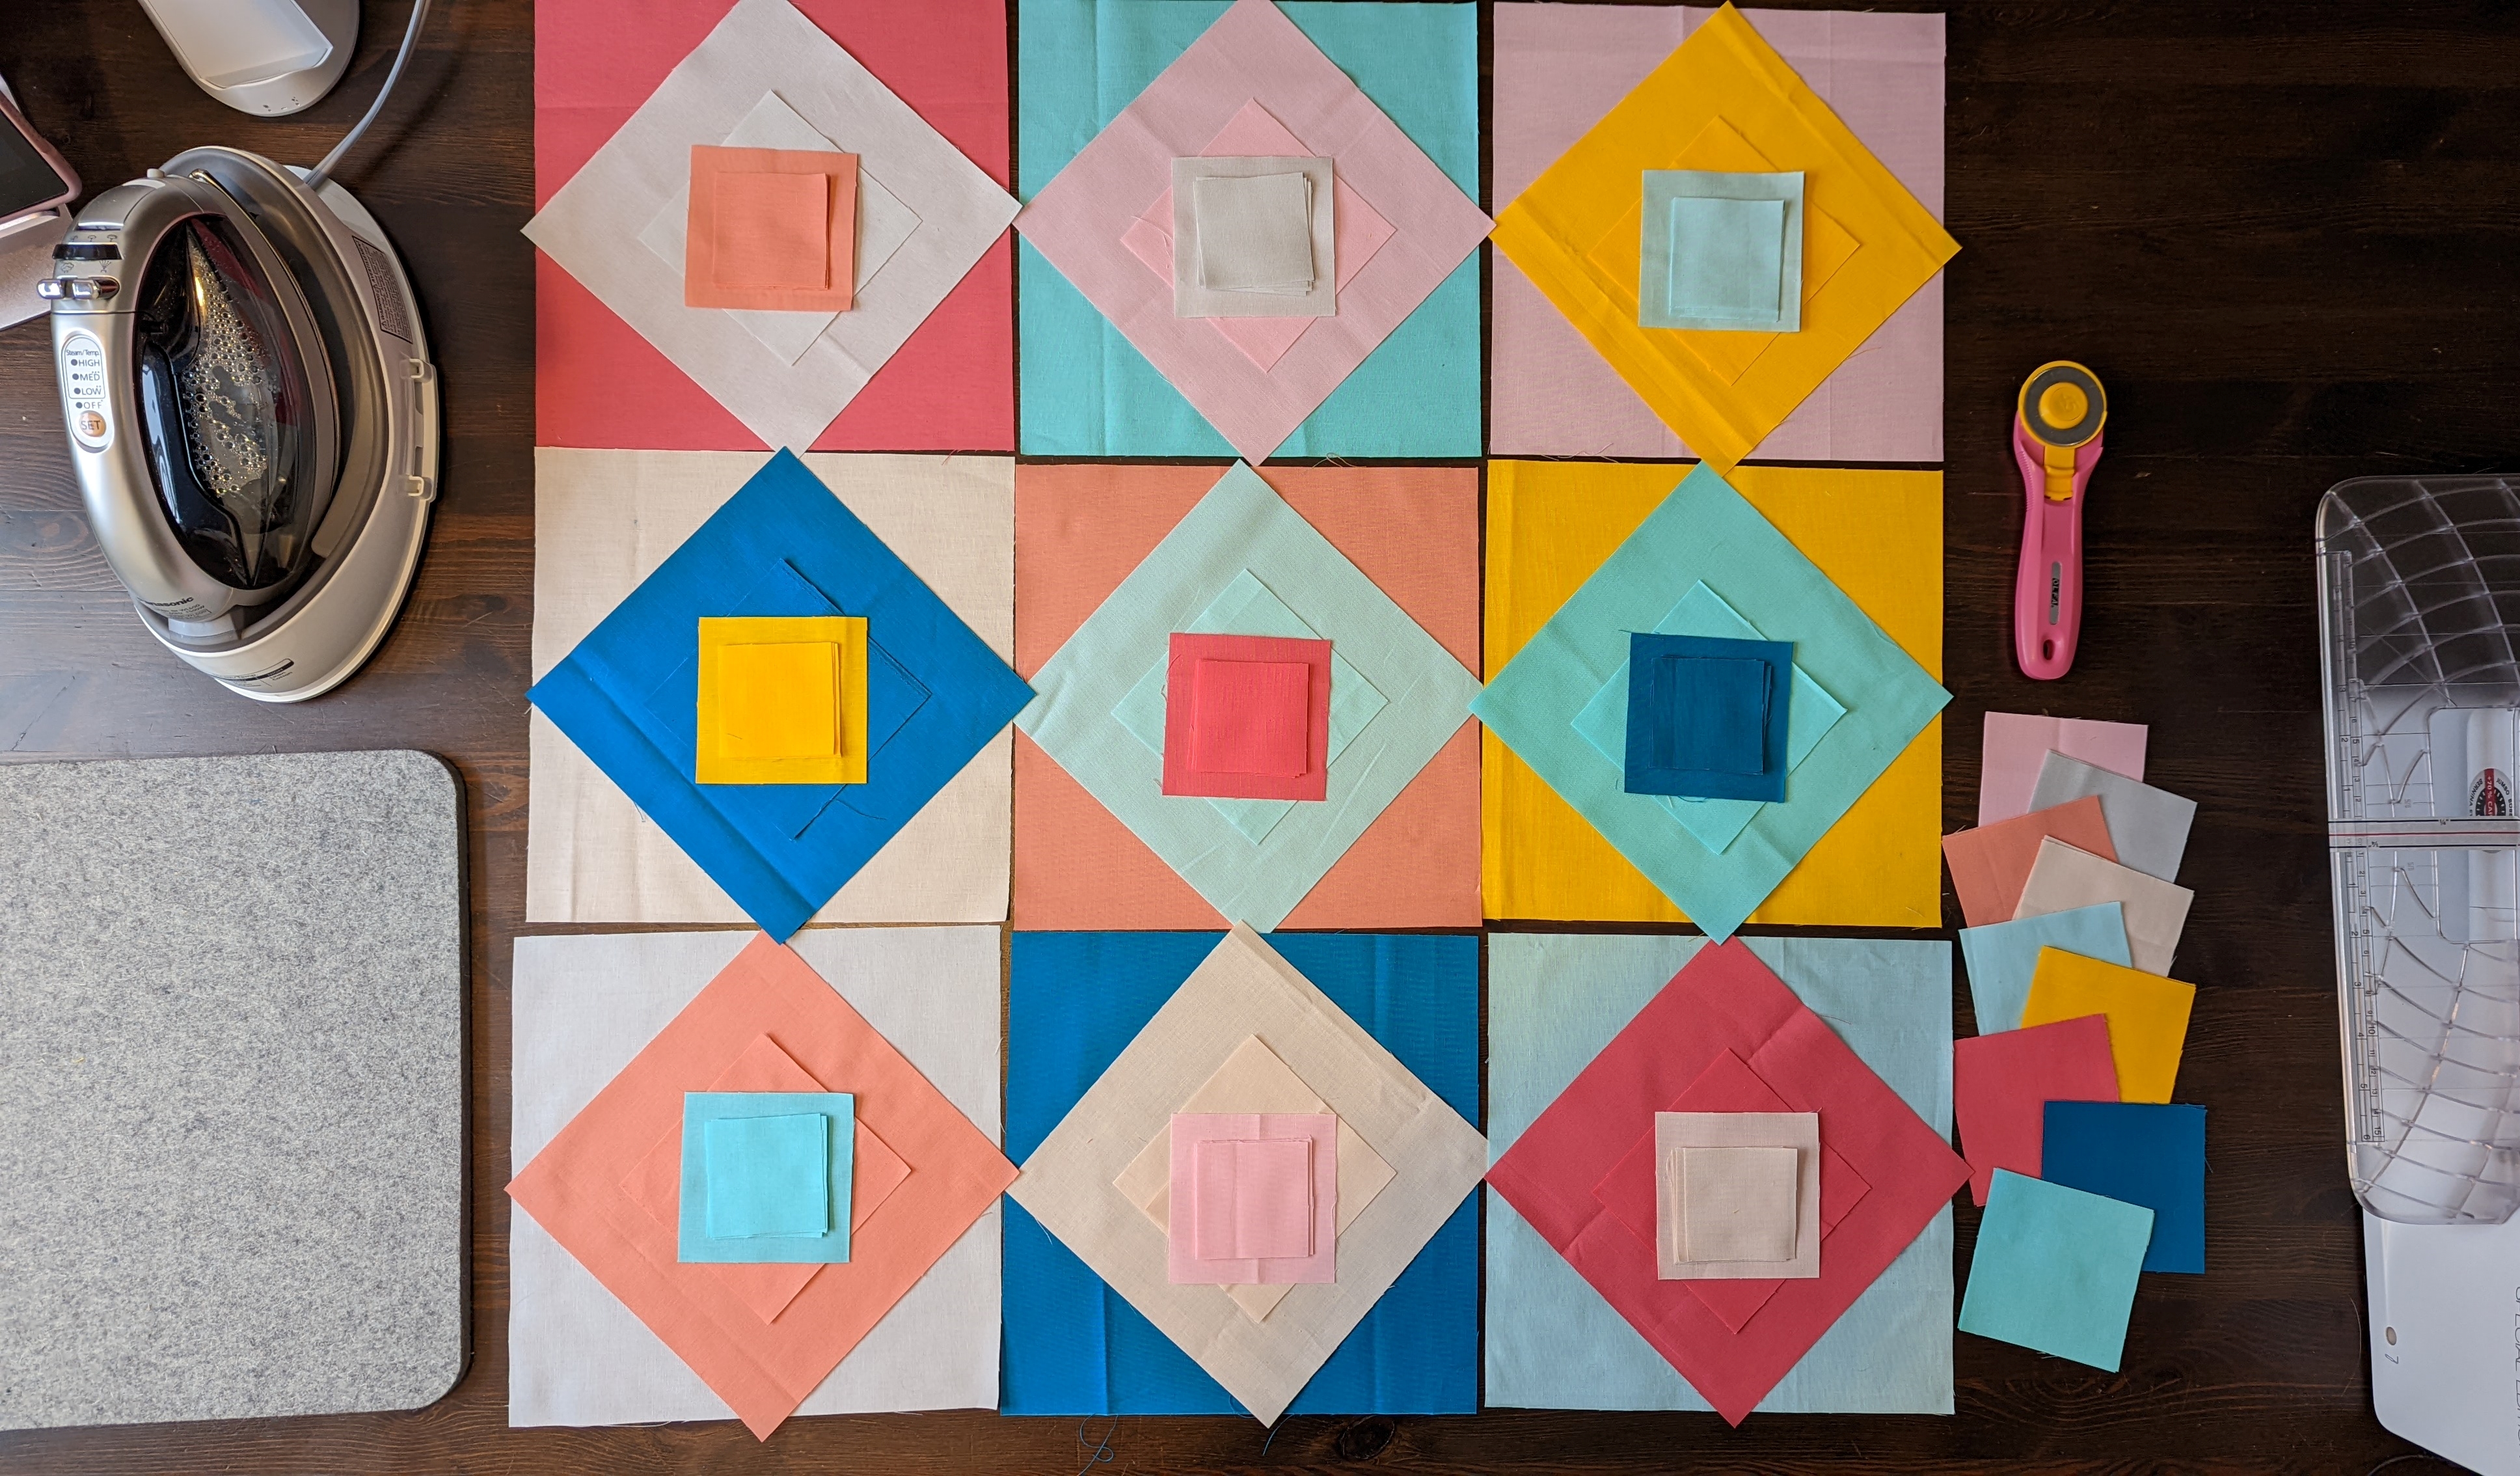
We’ll be cutting and sewing large pieces for this quilt, and some of the angles will be cut on the fabric bias edge. The bias edge of woven cotton fabric is stretchier than the straight grain, and can stretch and warp when your cutting and sewing if you’re not careful. To cut down on the stretch of the bias edge, I heavily starch and press the fabric before cutting. Since my last step when making a baby quilt is always to pre-wash it, I know that the heavy starch will be washed away, leaving a soft, cozy quilt for the final recipient of the quilt.
If you’re using fat quarters for the blocks, you can starch and press the pieces as they are. If you are using 1/3 yard of fabric, you don’t need the full 12″ x 44″ (or width of your fabric) piece to cut the patchwork for the blocks. Cut the 1/3 yard pieces in half to create two 12″ x 22″ pieces, and you will only need to prepare one each of these pieces to make the blocks.
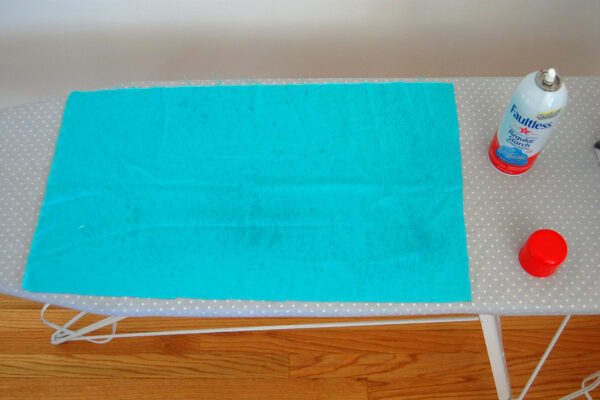
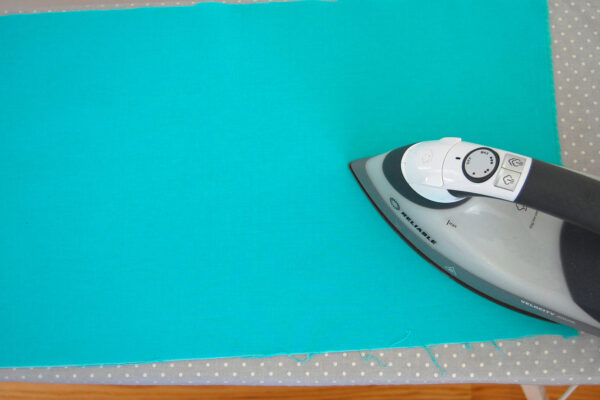
As a first step, I lightly starch both sides of each piece of fabric. This means just a light spray, and not a total soak! Let each piece dry completely after starching.
Once dry, press each piece with a hot steam iron. Store the smaller pieces flat (don’t fold them up again) until you are ready to cut.
Next week in Part 2 of the Colossal Blocks quilt-along we will cut the patchwork and lay out the quilt top. Until then, make sure you have all of your fabrics and materials ready to go!
What you might also like
7 comments on “Colossal Blocks Quilt-along Part 1: Materials and Cutting”
-
-
Hi @aneka, it is cute, right? It’s a vintage toy I picked up at a flea market years ago, and usually sits on a shelf in my sewing space. 🙂
-
-
@ErikaMulvenna this is such a cute idea. I would think those colors are good together, especially for a kids room or as a play floor mat. Love, love, love that quilting, it is what makes the blocks pop in my opinion.
-
Thanks so much @sewfuntoys!
-
-
I made this quilt following your directions and instructions. I love it! Is there a place where we can submit photos? Thanks for a wonderful experience!
-
Hi @bredf331, that is awesome! Yes, please share photos with us! You can post directly to the WeAllSew Community section, share via Instagram by tagging @berninausa, and share via Facebook by posting directly to the BERNINA USA page or tagging @berninausa in your own post. I can’t wait to see your version of the quilt! Happy stitching – Erika
-
-
Where did you get the pretty fabric. I don’t have a fabric store where I live and order online sometimes.
Thanks, omalo
Leave a Reply
You must be logged in to post a comment.







Where did you find that cute blue iron????