Locker Organizer
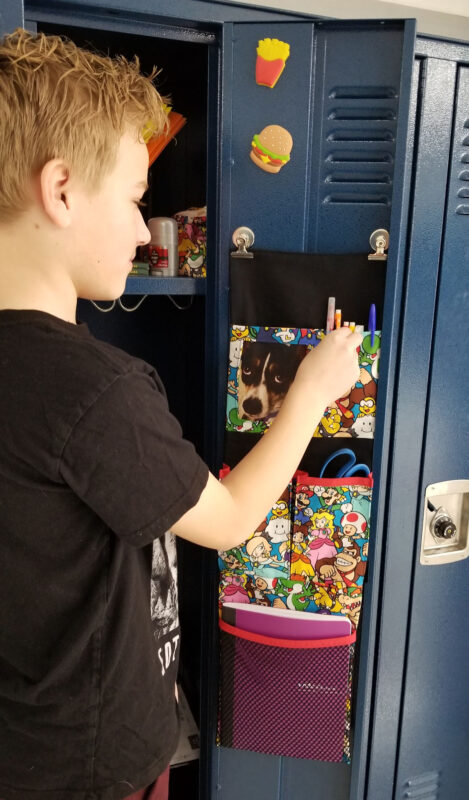
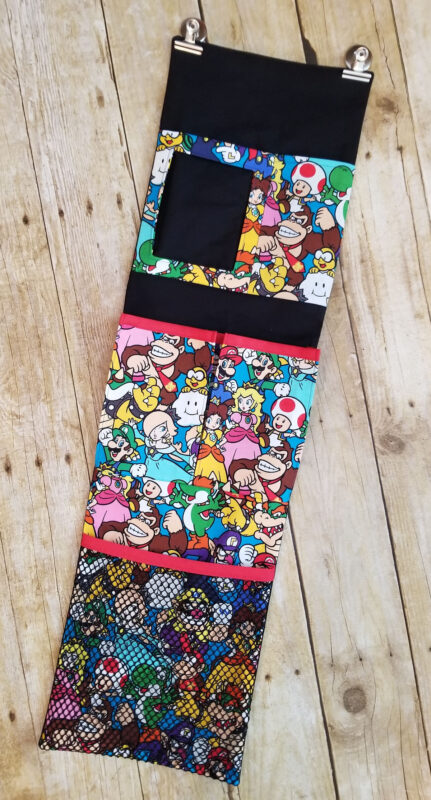
The hardest part of having a locker is keeping it organized throughout the year, but you can make it a bit easier by making your student personalized locker organizer. This project is loaded with plenty of pockets for storage, pencil\pen holder, and even a frame that can hold your favorite photo or small mirror. The finished size is 8 1/2 ” x 30 1/2″ and is hung with magnetic clips, so it should fit almost any locker size.
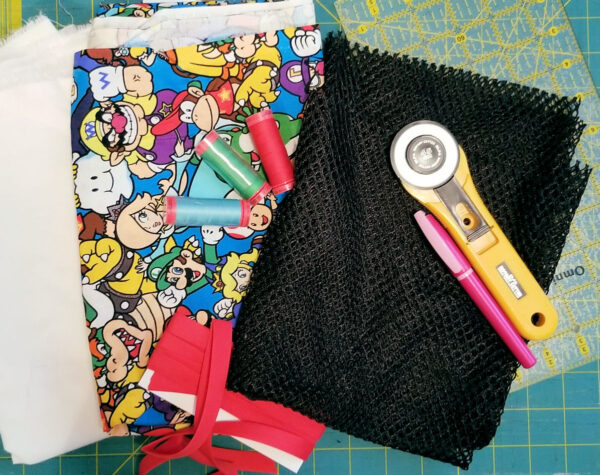
Materials to Make a Locker Organizer
- 5/8 – 1 yard cotton fabric
- 3/8 yard of contrasting fabric for pocket backings (optional)
- 1 yard interfacing
- 1/3 yard cargo netting
- 1 yard of 1/2″ wide double fold bias tape or self made binding
- Mettler thread to match
- Rotary cutter and mat
- Ruler
- Water soluble marker
- Hand sewing needle
- 2 Magnetic bull clips
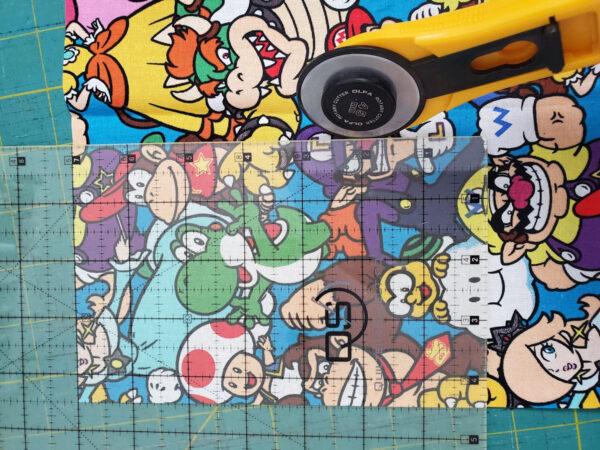
Cutting:
Cotton Fabric:
- Cut 2, 6″ x 7″ rectangles for Frame
- Cut 1, 4 1/2″ x 7″ rectangle for Pencil Pocket
- Cut 1, 7″ x 15 1/2″ rectangle for Expandable Pocket
- Cut 1, 9 1/2 x 11″ rectangle for Frame\Pencil Pocket Backing
- Cut 1, 9 1/2″ square for Expandable Pocket Backing
- Cut 1, 9 1/2″ x 13″ rectangle for Cargo Pocket Backing
- Cut 1, 9 1/2 x 31 1/2″ rectangle for Organizer Backing
Cargo Fabric:
- Cut 1, 9 1/2″ square
Interfacing:
- Cut 2, 6 x 7″ rectangles for Frame
- Cut 1, 7 x 15 1/2″ rectangle for Expandable Pocket
- Cut 1, 9 1/2 x 11″ rectangle for Frame\Pencil Pocket Backing
- Cut 1, 9 1/2″ square for Expandable Pocket Backing
- Cut 1, 9 1/2″ x 13″rectangle Cargo Pocket Backing
- Cut 1, 9 1/2″ x 31 1/2″ rectangle for Organizer Backing
Once cut, fuse interfacing to the wrong side of cotton fabric.
Making the Frame:
All seam allowances are 1/2″ unless otherwise specified.
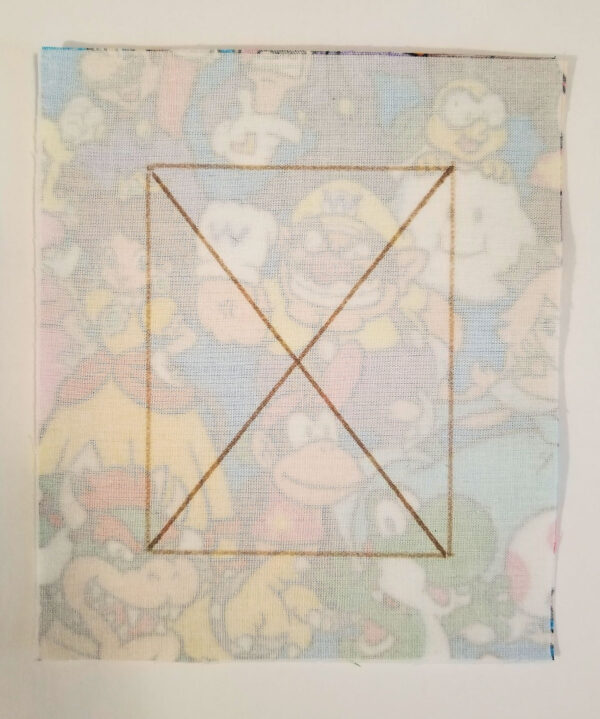
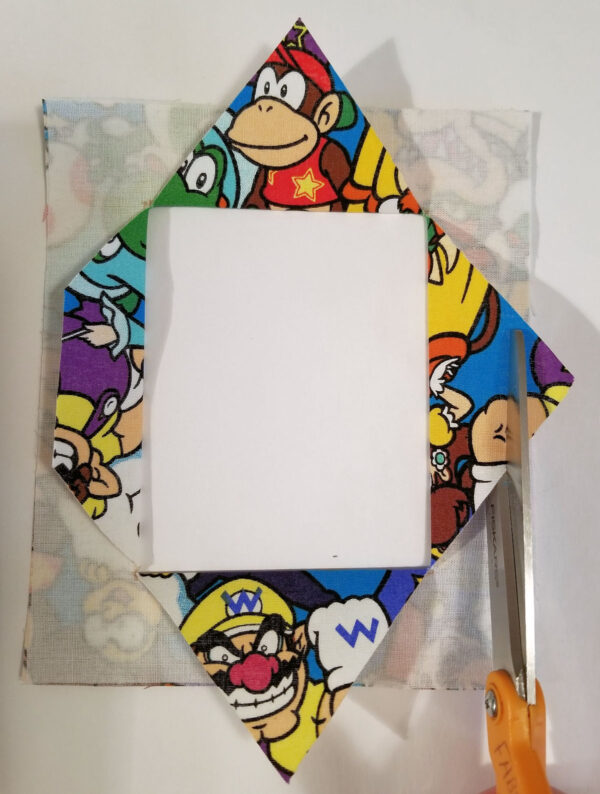
Measure 1 1/4″ away from all edges and mark, creating a square. Mark the center with an “X”
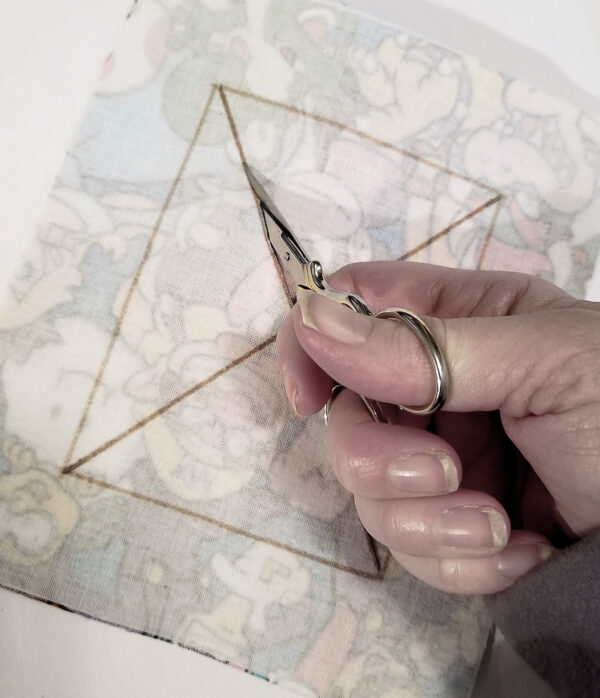
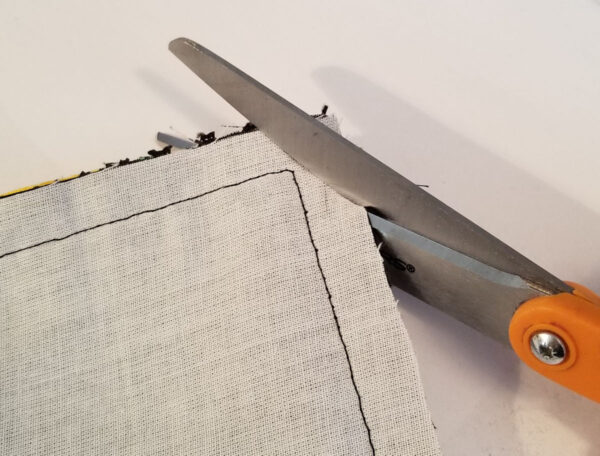
Cut across the “X” from each corner of the square. Do not cut out the square.
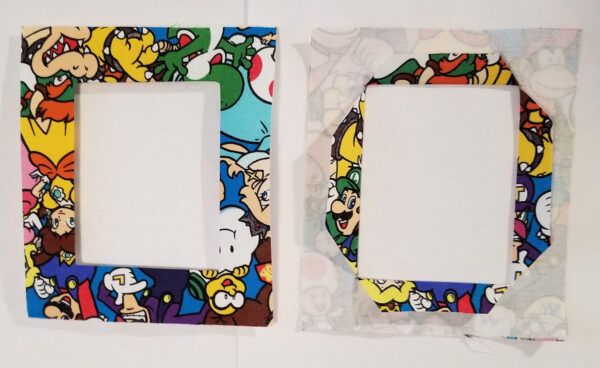
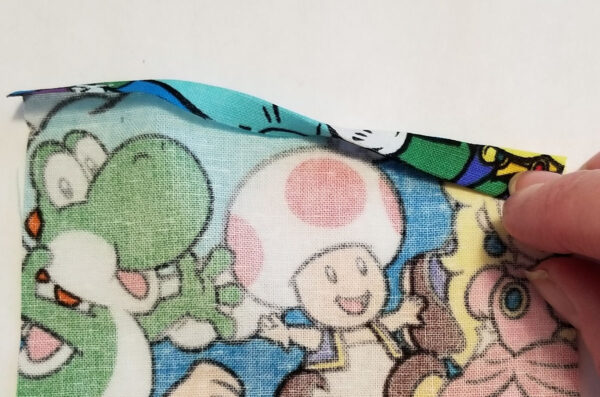
Press and fold back the triangle flaps to the wrong side of the frame. Remove any excess fabric that hangs outside the edge of the frame.
Repeat the above steps for the second frame piece.
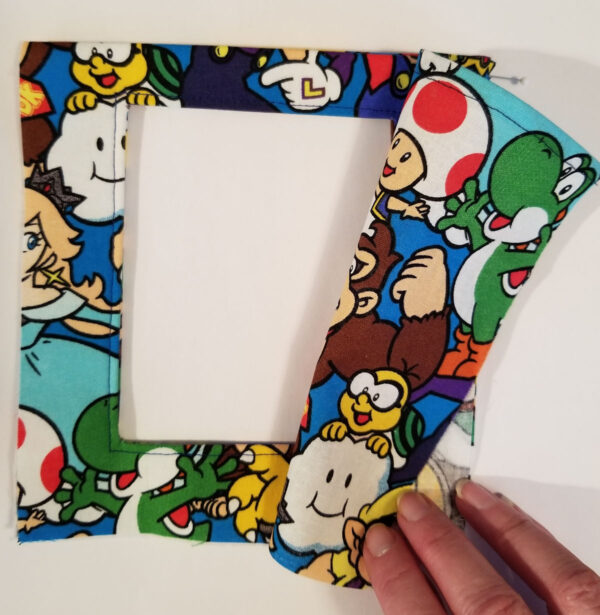
Place the two frames pieces right side together and sew the TOP edge only (the side that measures 6″).
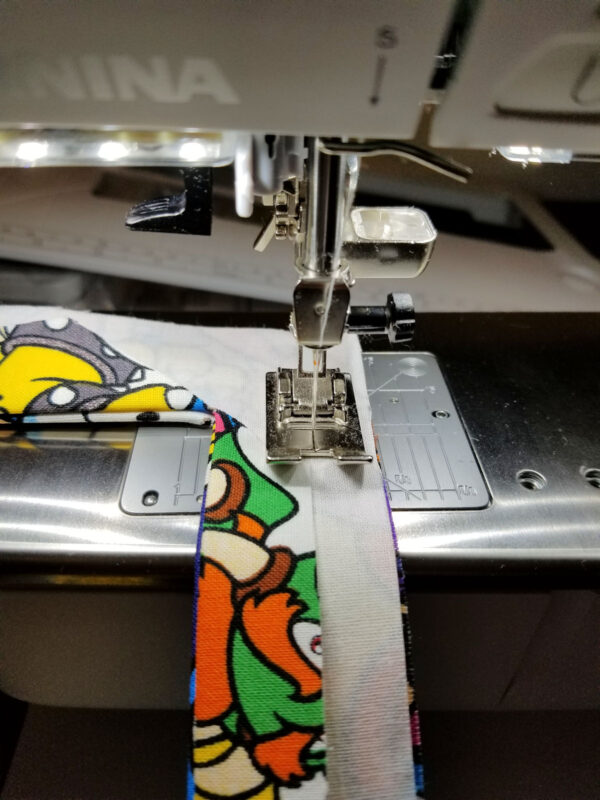
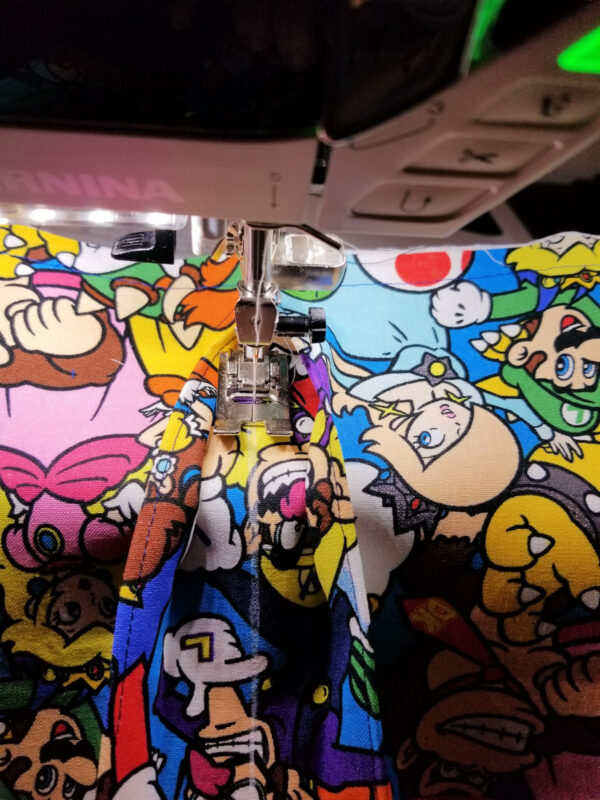
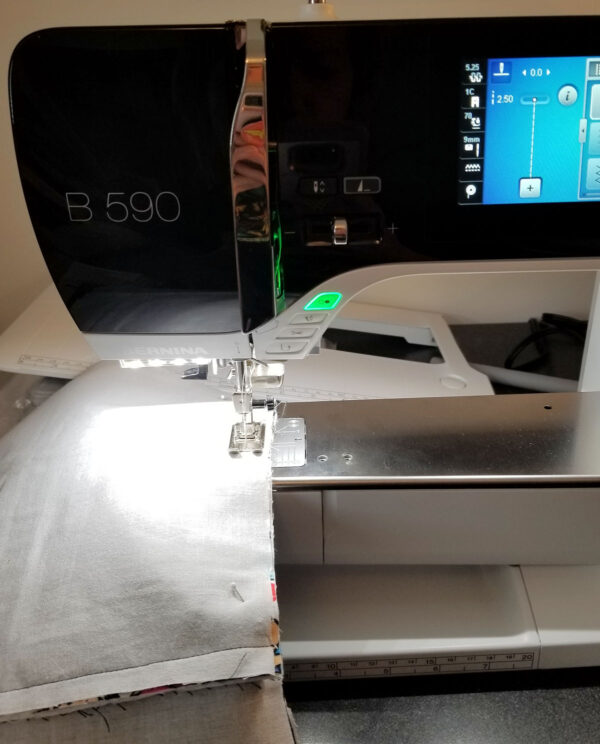
Fold back the frame pieces so that they are wrong sides together and press. Match the finished inner edges and edgestitch around the inner opening only as pictured below. If desired, baste the raw edges of the outer frame. Set aside.
Making the Pencil Pocket:
For the top edge of the pencil pocket (4 1/2″) under 1/4″ and press. Fold again by 1/4″, creating a narrow finished edge. Edgestitch close to finished edge.
Sew the Top Row:
With right sides together, place the frame and pencil pocket together, so that the finished edges are at the top and sew along the side. Press seams toward the pencil pocket.
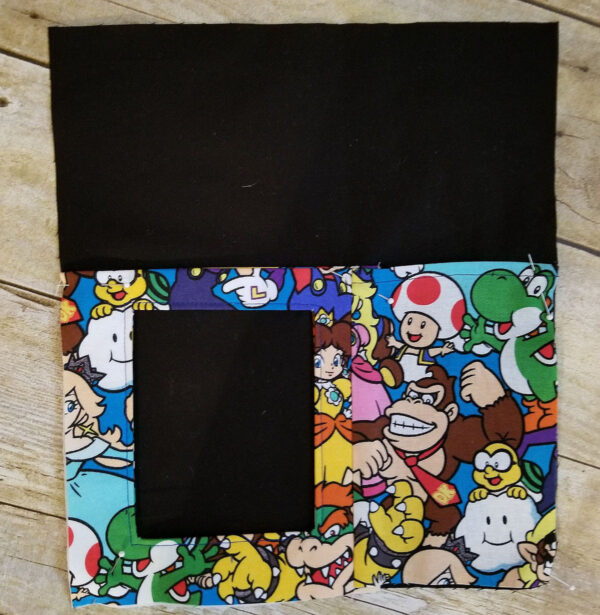
Place the frame\pencil pocket on top of the right side of the Frame\Pencil Pocket Backing (9 1/2″ x 11″ rectangle), matching the bottom raw edges. Baste the side and bottom edges, leaving the top edge free.
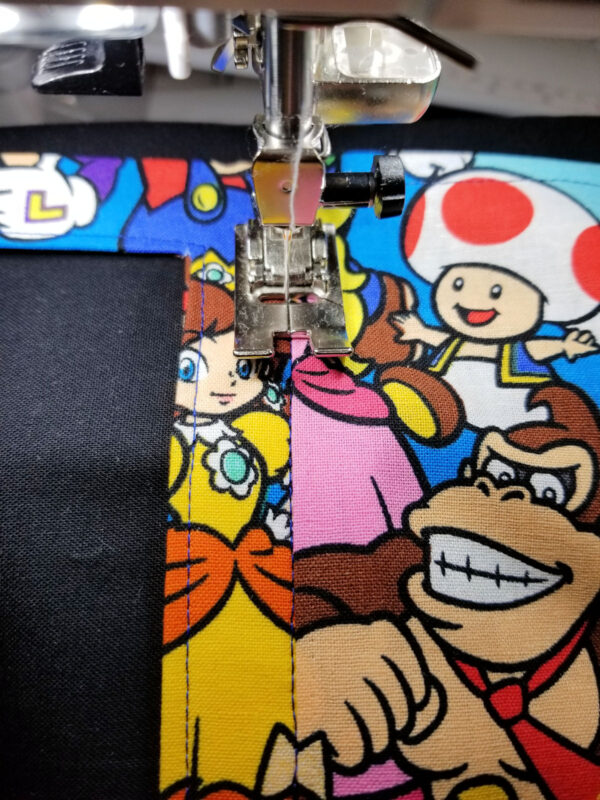
Stitch down the center seam line of the frame\pencil pocket, through all the thickness. This will create a pocket to hold a photo and a pocket that can be used to hold pencils, pens, or markers.
Sew the Expandable Pocket:
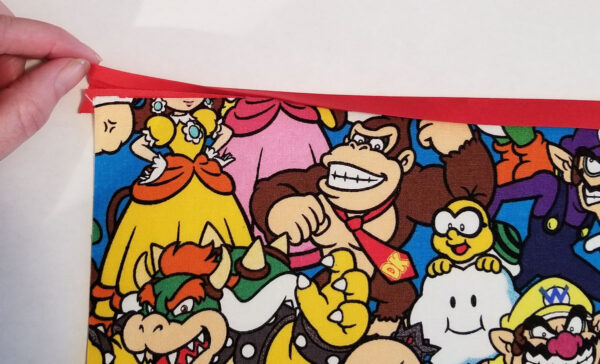
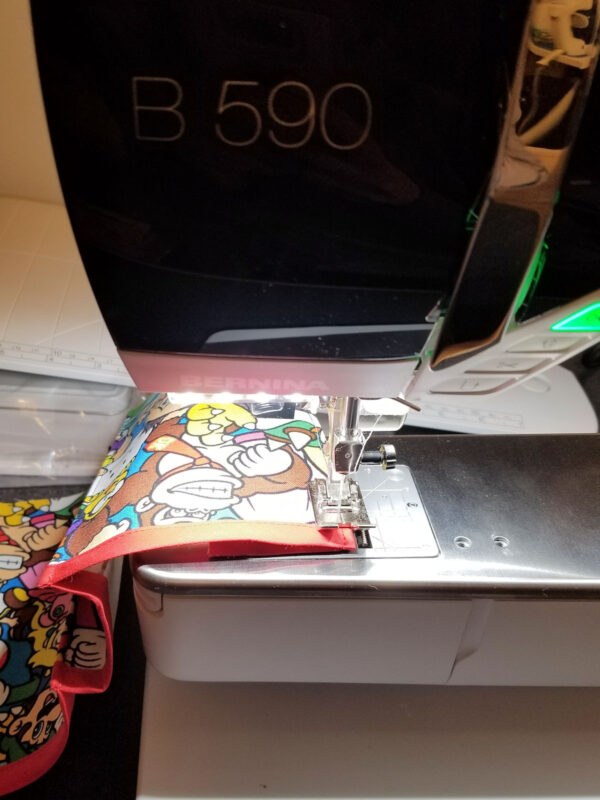
Apply binding\bias tape to to the longest edge of the Expandable Pocket (15 1/2″).
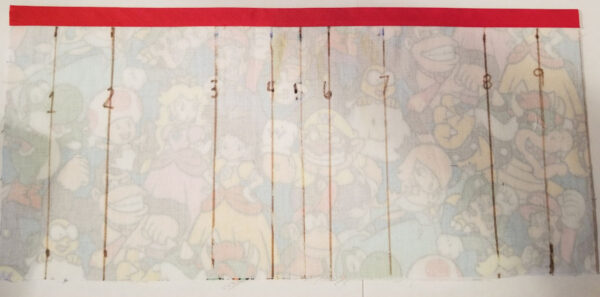
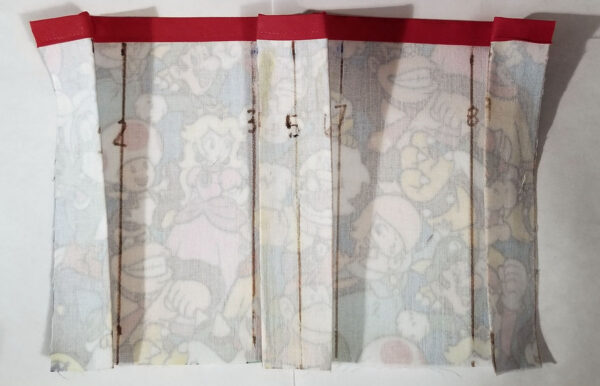
Using the ruler, mark the pocket starting from the left side at 1 1/4″ (line 1), 2 3/4″ (line 2), 5 1/2″ (line 3), 7″ (line 4), 7 3/4″ (line 5), 8 1/2″ (line 6), 10″ (line 7), 12 5/8″ (line 8), 14 1/4″ (line 9)
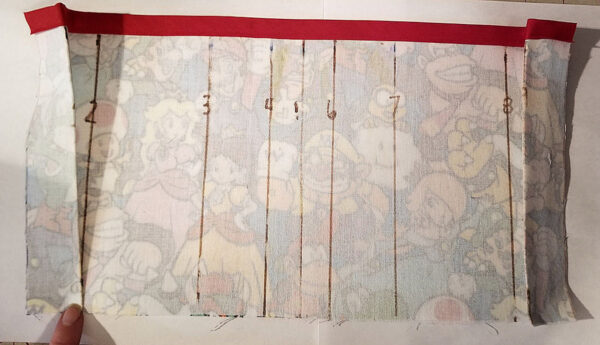
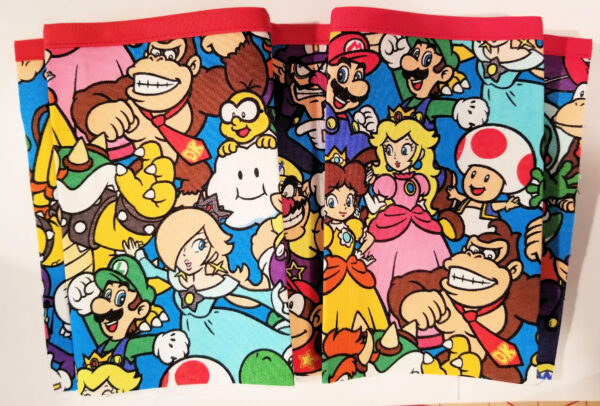
Bring line 1 to line 2 and line 9 to 8. Crease in place, then fold back lines 1 and 9 again in an accordion fold so that the raw edges are brought back to the front.
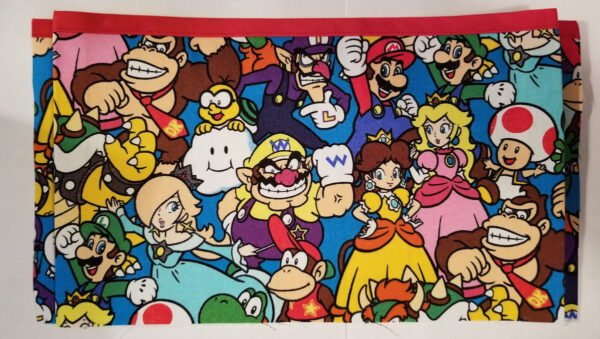
Bring line 4 to 3 and line 6 to 7. Your pocket should now look like this from the wrong side and from the right side.
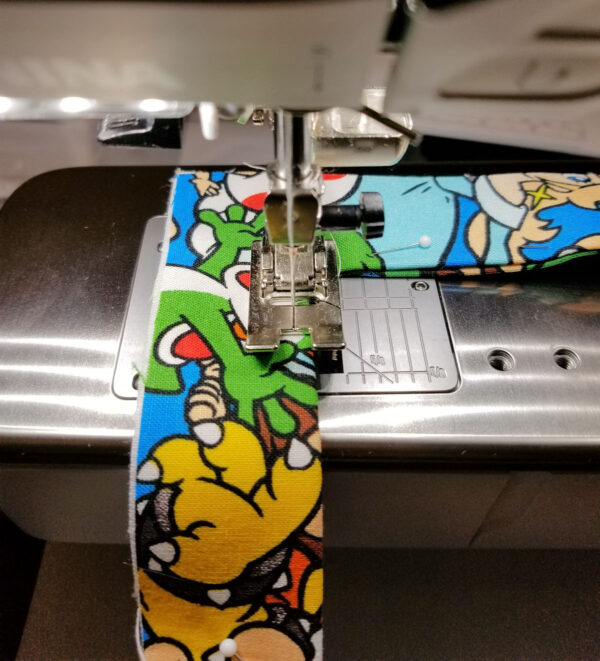
Edgestitch the side of each pocket to help the it retain it’s shape. (Optional, but recommended)
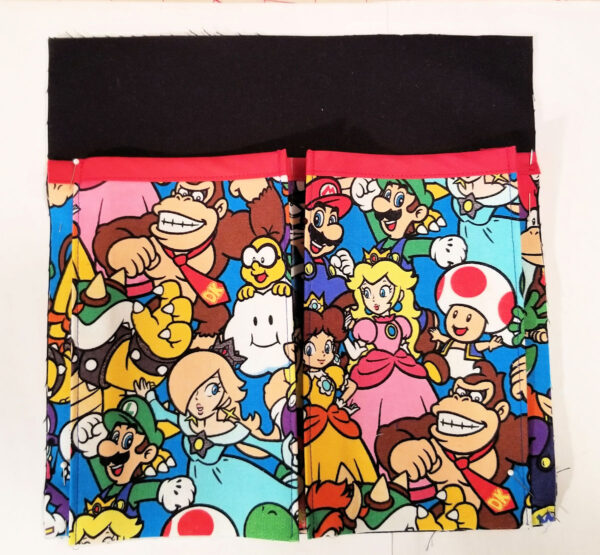
Place pocket on the Expandable Pocket Backing (9 1/2″ square). Baste sides and bottom edges together, being sure to keep the pockets free from stitching.
Sew down the middle of the pockets (line #5), through all the thickness. Set pocket aside.
Sewing the Cargo Pocket:
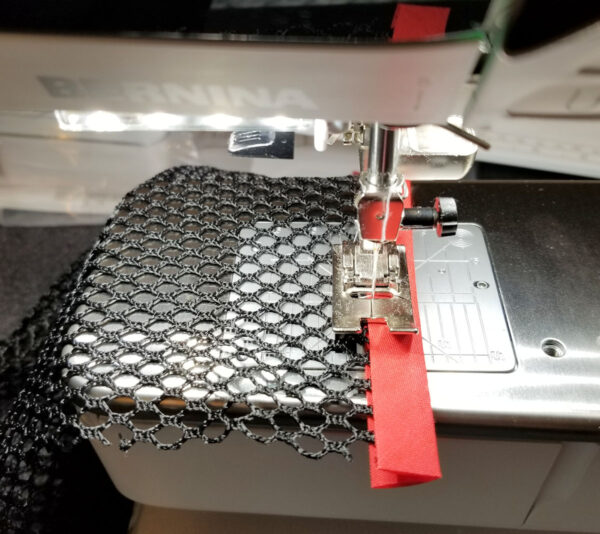
Place bias tape on top edge of the cargo netting and sew.
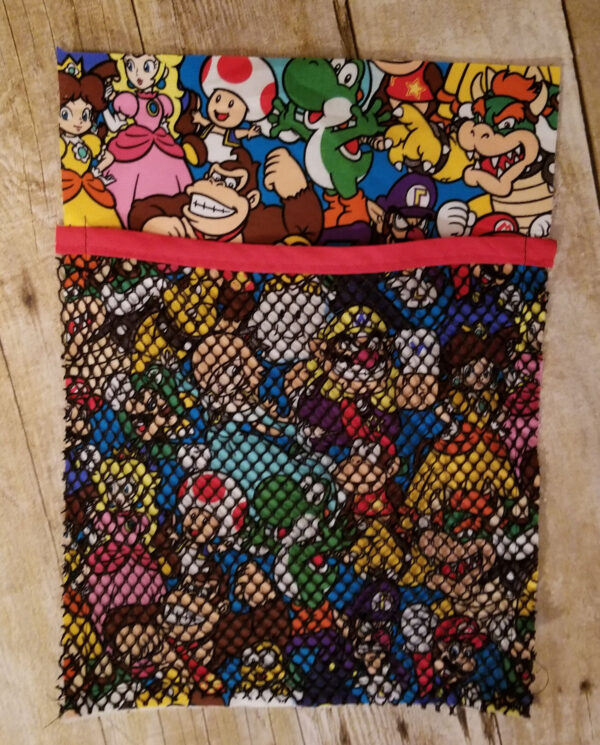
Place the cargo netting on top of the Cargo Pocket Backing, so that the bottom raw edges and sides are lined up. Baste around side and bottom edges, leaving top free.
Sewing the Organizer:
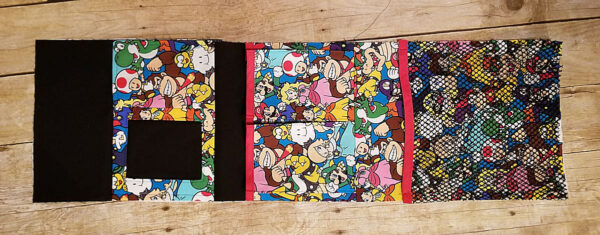
With right sides together, sew the bottom edge of the frame\pencil pocket to the top edge of the expandable pocket. The sew the bottom edge of the expandable pocket to the top edge of the cargo pocket.
With right sides together, place the front of the organizer to the backing fabric. Sew around all edges, leaving a 5-6″ opening for tuning.
Clip corners and turn the organizer right side out through the opening. Slipstitch the opening closed using a needle and matching thread.
Place the magnetic bull clips on each top edge of the organizer and hang!




![Have a habit of misplacing your keys. Losing your iPod? Forgetting your coupons? Now, with this handy organizer, all your little necessities are in one convenient spot when you're ready to head out the door - right on the door knob! How to Make a Door Organizer Supplies 1/3 yard or heavyweight fabric such as twill, canvas, or denim 1/3 yard of fusible interfacing Coordinating thread Scissors Water-soluble marking pen or tailor's chalk Ruler 1/4" presser foot (BERNINA Patchwork Foot #37 or Patchwork Foot with Guide #57) Download and print the keyhole template: [download id="88"] Step 1) Prepare the fabric pieces. Cut from the heavyweight fabric: Two 5" x 11" rectangles for the organizer body One 5" x 12" rectangle for the large pocket One 5" x 7" rectangle for the small pocket One 6" x 7" rectangle for the hanging pocket Fuse interfacing to the wrong side of both 5" x 11" fabric rectangles following the manufacturer's directions. How to Make a Door Organizer Cut the keyhole: Measure down 1" from the top edge of one 5" x 11" rectangle. Center the top of the keyhole template on this mark. Trace the template. Cut along the traced line. Repeat for the second 5" x 11" rectangle. How to Make a Door Organizer Step 2) Make the large and small pockets. With wrong sides together, fold the large pocket in half to create a 6" x 5" rectangle. Topstitch close to the folded edge. How to Make a Door Organizer Place the large pocket on top of the right side of one 5" x 11" rectangle, matching the raw edges along the sides and bottom edges. Baste in place. How to Make a Door Organizer With wrong sides together, fold the small pocket in half to create a 3 1/2" x 5" rectangle. Topstitch close to the folded edge. Place the small pocket on top of the large pocket, matching the raw edges along the sides and bottom edges. Baste in place. How to Make a Door Organizer Step 3) Make the hanging pocket. With wrong sides together, fold the 6" x 7" rectangle in half lengthwise. Press. How to Make a Door Organizer Unfold the strip and then fold the long raw edges to the center fold line. Press. Refold the strip along the center crease. Topstitch close to both long edges. How to Make a Door Organizer Fold under 1" on both edge of the finished 7" strip. Measure up 1-1/4" from the lower edge on the right side of the second 5" x 11" piece. Center the bottom of the strip on this mark. How to Make a Door Organizer Sew close to the folded ends of the strip, then again 1/2" away from the first stitching. How to Make a Door Organizer Step 4) Construct the door organizer. With right sides together, place the two 5" x 11" rectangles together, matching the raw edges and the keyhole opening. How to Make a Door Organizer Stitch around the entire rectangle, leaving the keyhole open. Do not stitch around the keyhole area! Clip the corners. How to Make a Door Organizer Turn the organizer right side out through the keyhole opening. Press. How to Make a Door Organizer Topstitch close to the finished edges. How to Make a Door Organizer Baste the raw edges of the keyhole opening together. How to Make a Door Organizer Satin stitch close to the keyhole edges. Position the fabric so the needle goes just barely to the right of the raw edges and encloses them in stitches. Tip: A satin stitch is a zigzag stitch with a very short stitch length, so the stitches are very close to each other. How to Make a Door Organizer How to Make a Door Organizer Fill your organizer with keys, pens, letters, etc. so you never leave home without your essentials! How to Make a Door Organizer](https://weallsew.com/wp-content/uploads/sites/4/2011/10/How-to-Make-a-Door-Organizer-WeAllSew.jpg)
