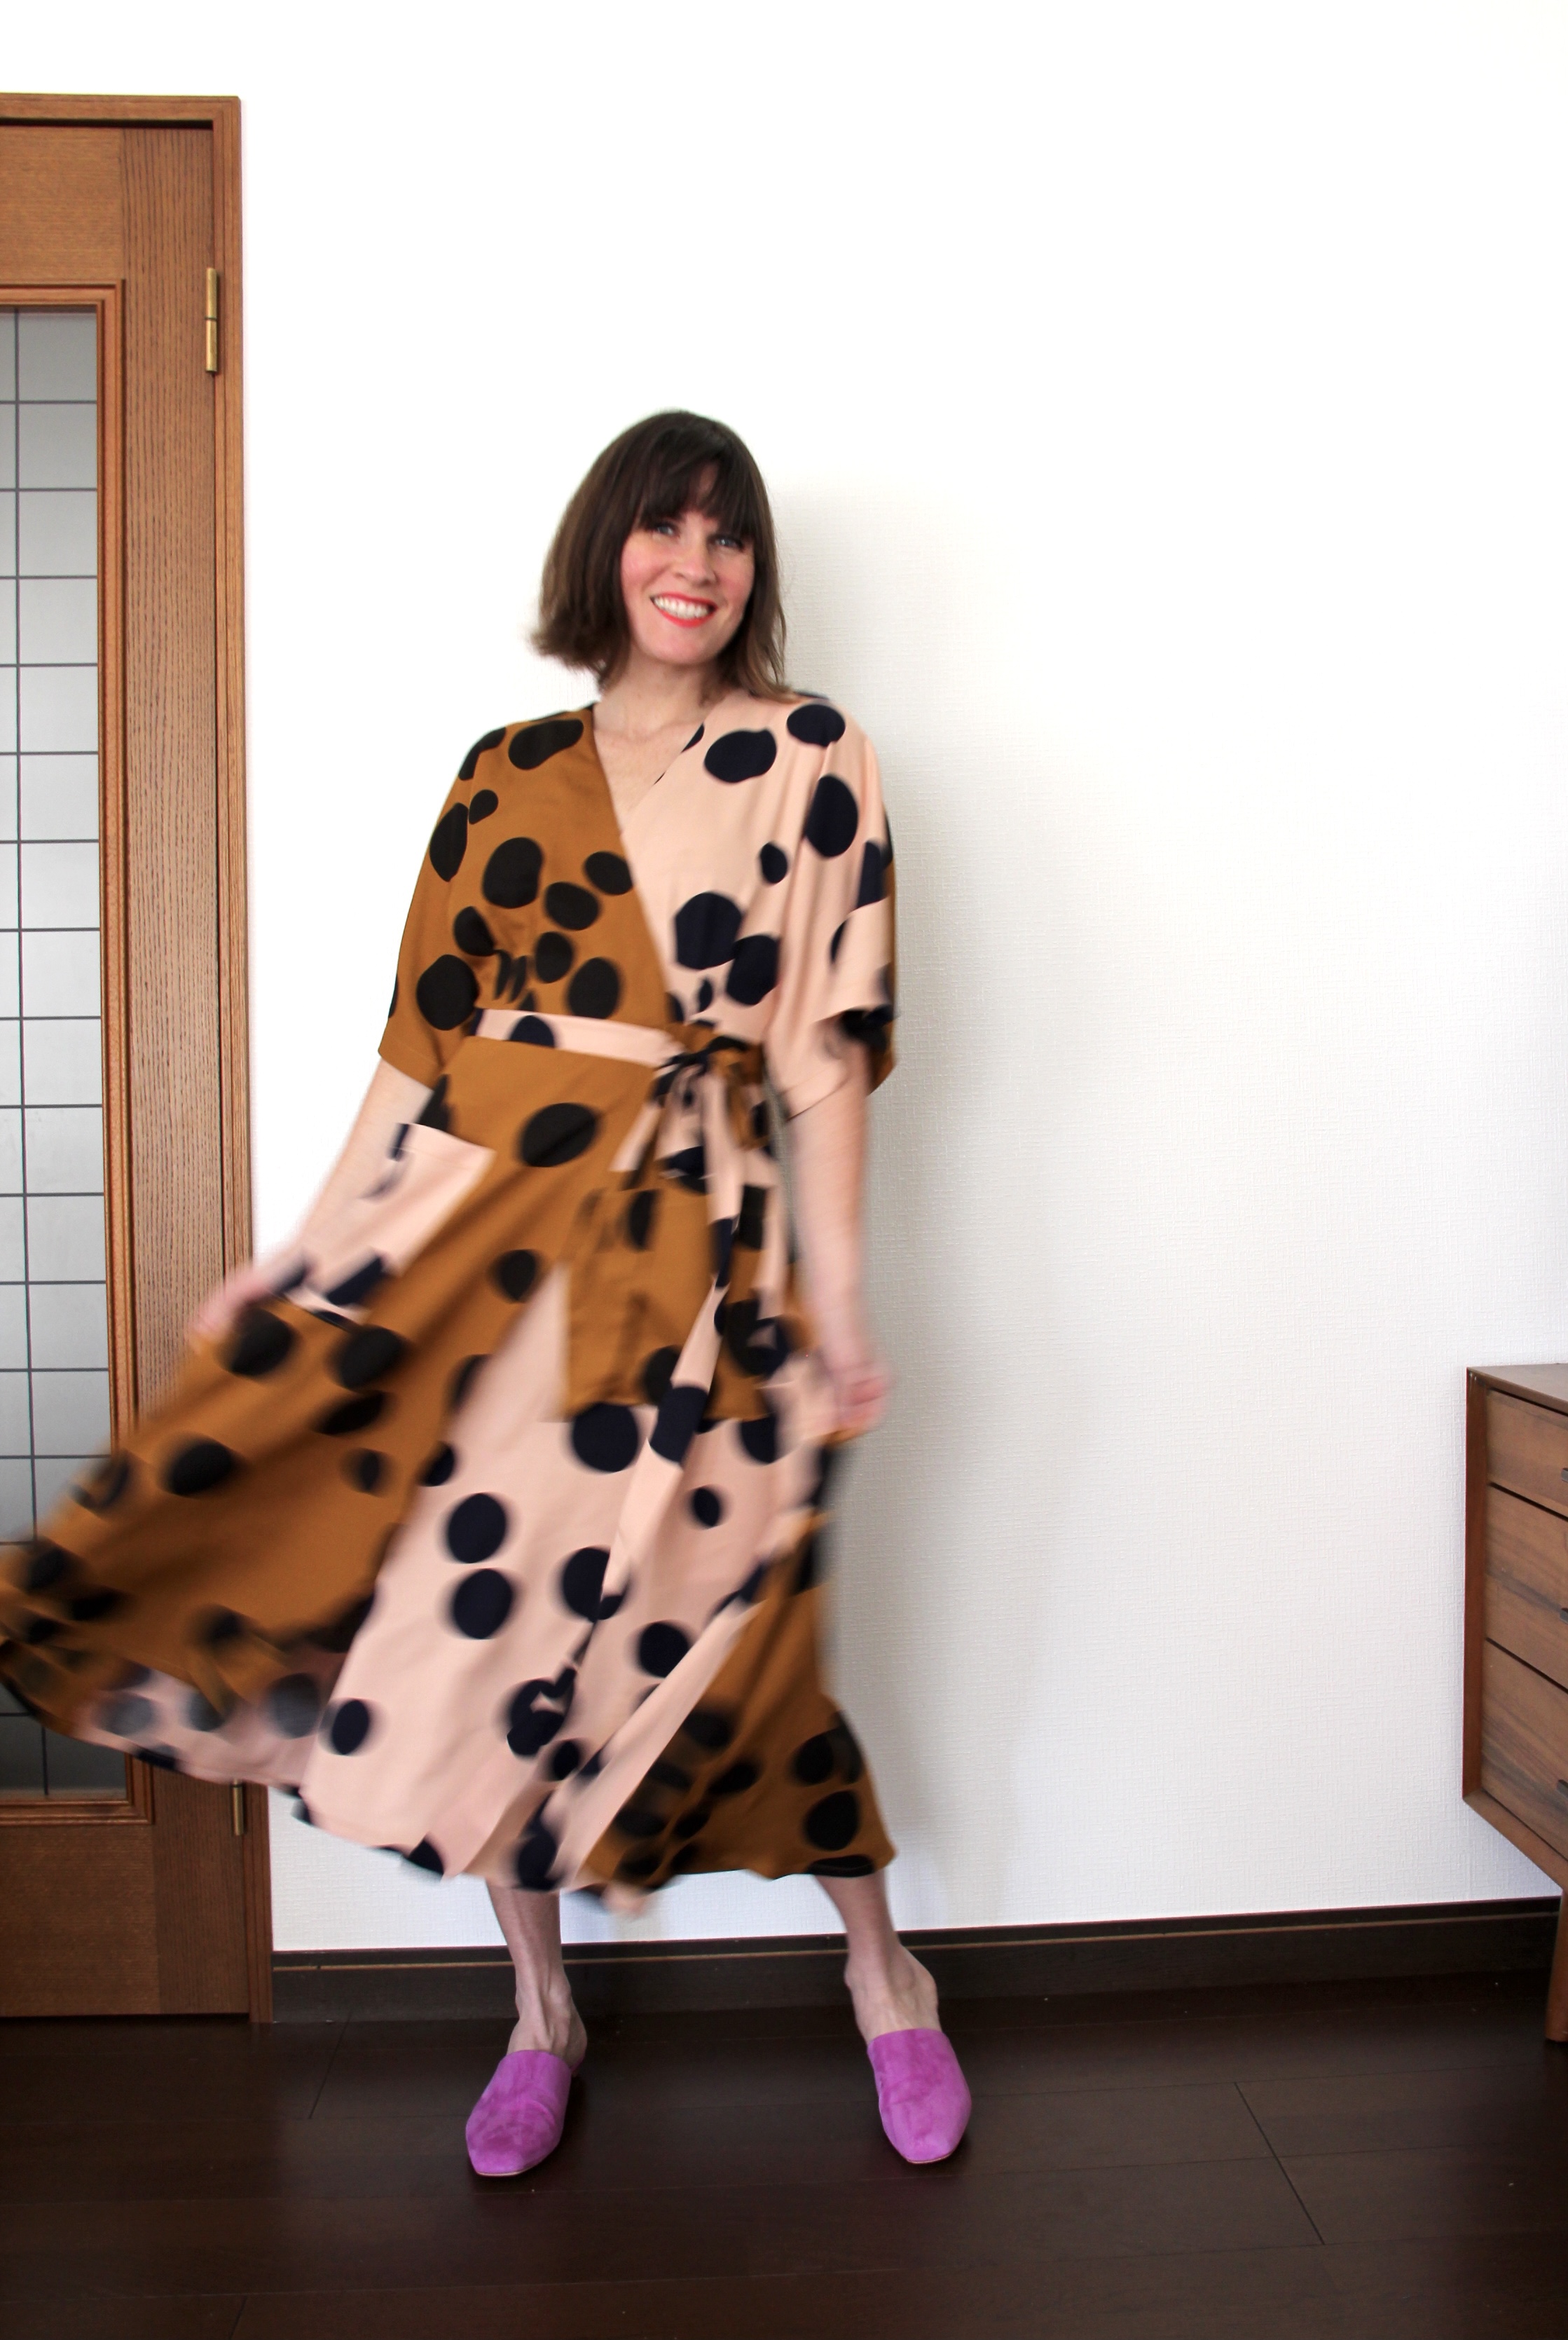
Tips for Sewing Rayon, Viscose and Tencel Fabrics
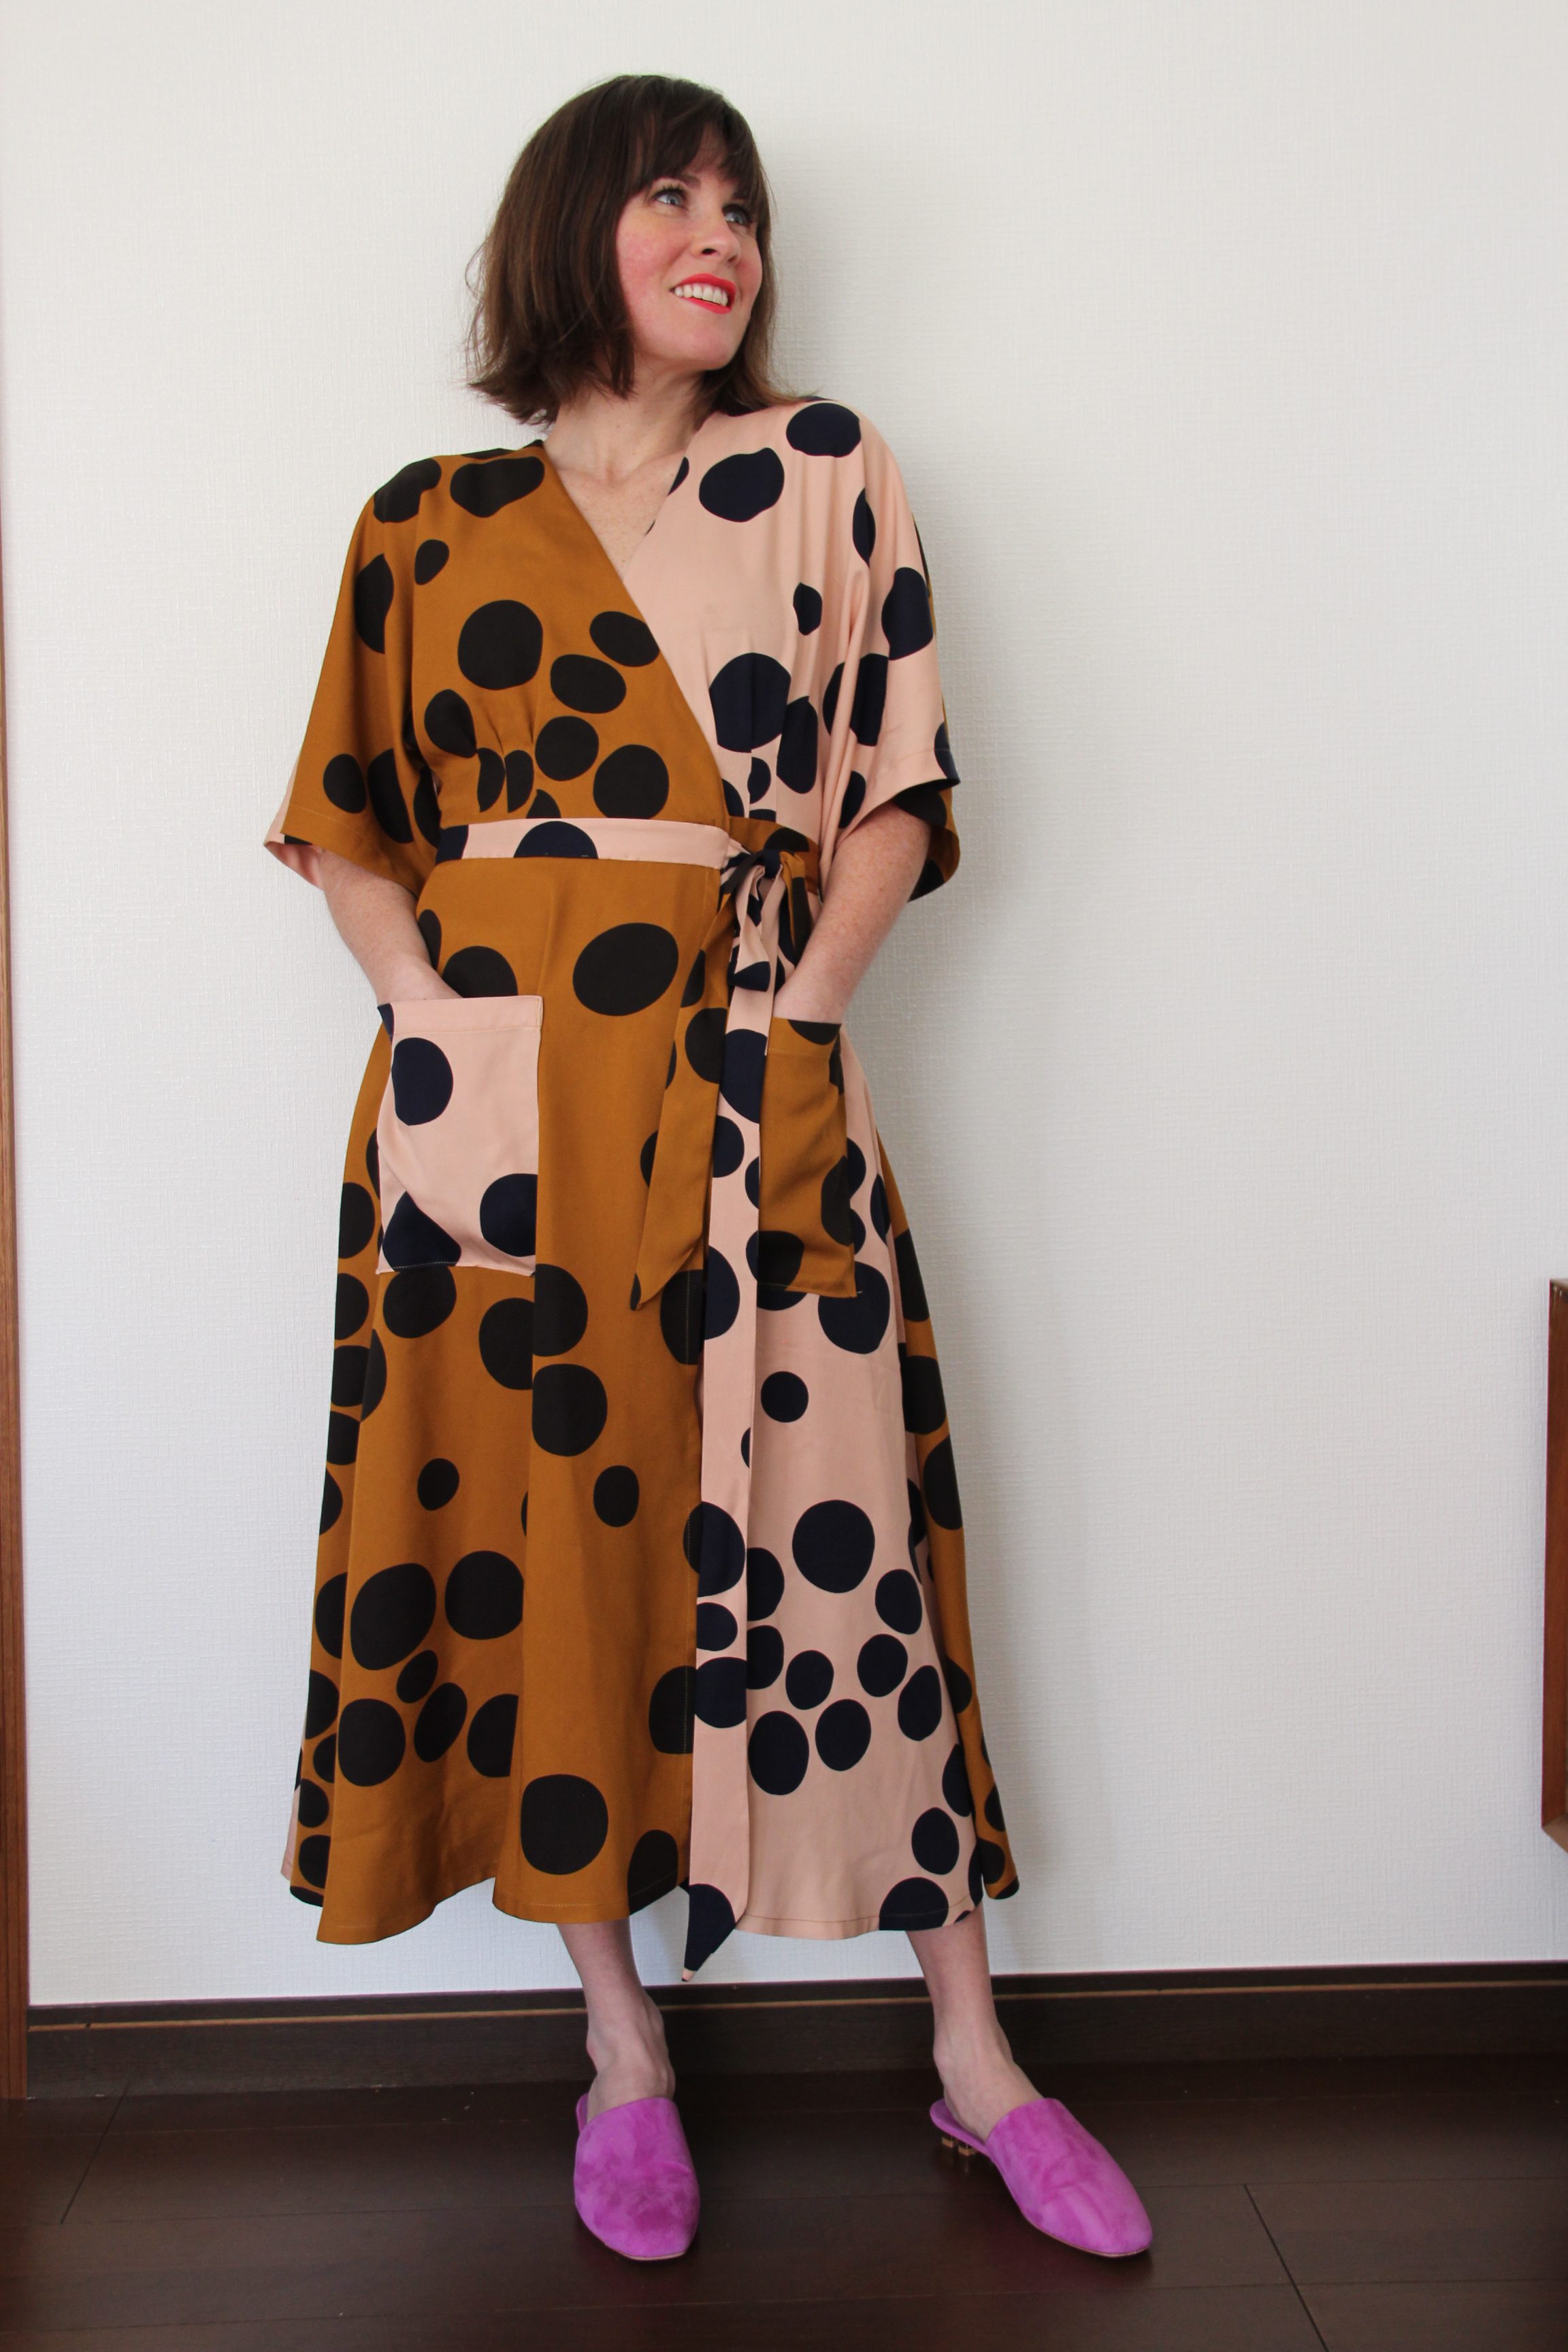
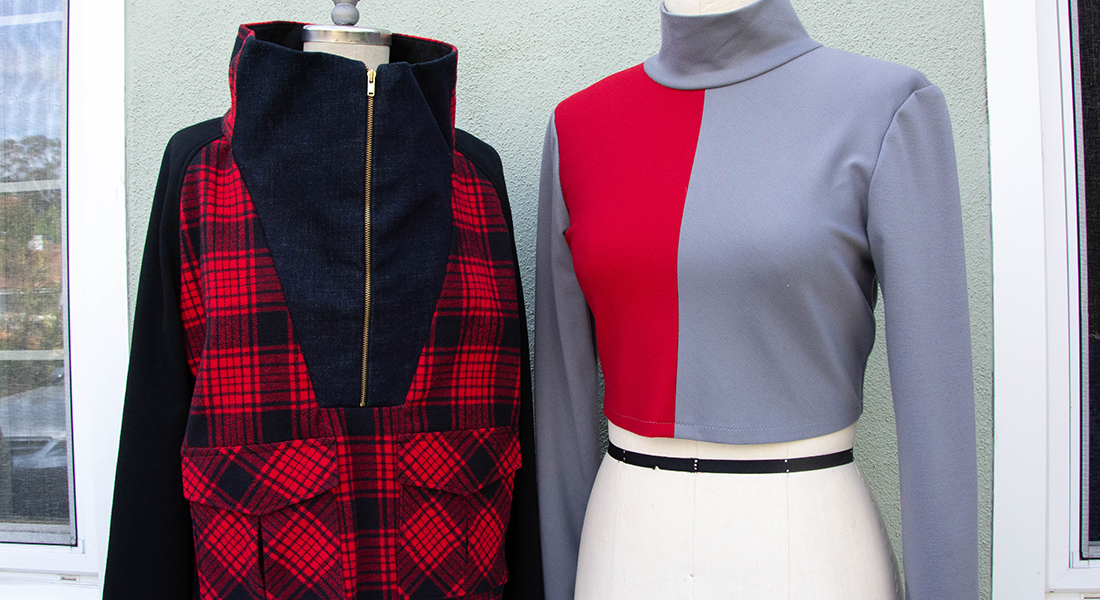
This is the Elodie Wrap Dress by ClosetCore Patterns
Wanting to sew a garment with some lovely fabric with drape? Viscose, Rayon Challis, and Tencel are all fabrics that feel like a lovely second skin on your body and many sewists use them to make dresses, shirts, and skirts. The only problem is… they can be a little tricky to get neat seams and finishes. The fabric will ripple or move unevenly and end up skewed or wonky.
Recently, I sewed the dress above in the nicest viscose twill from Meter Meter and took lots of notes to share with you. With these tips and tricks, you can have the swishy, twirly dress that feels like a dream without a rippled hemline or wonky seams.

Tip #1: Stay-stitch, Stay-stitch, Stay-stitch
Sure, I’ve read patterns telling me to stay-stitch before, and sometimes I listened. With most sturdier fabrics I didn’t notice a huge difference, or I could just do some careful pinning and everything was fine. Viscose, Rayon, Tencel, and other slinky fabrics are NOT the fabrics to skip this step on. I would go so far as to say you should stay-stitch every edge. You want to stitch it just within the seam allowance so that it really does cause the fabric to “stay.” If your SA is 5/8” then do it at 1/2” (4/8”). Unlike basting, stay-stitching is a normal stitch length of about 2.5.
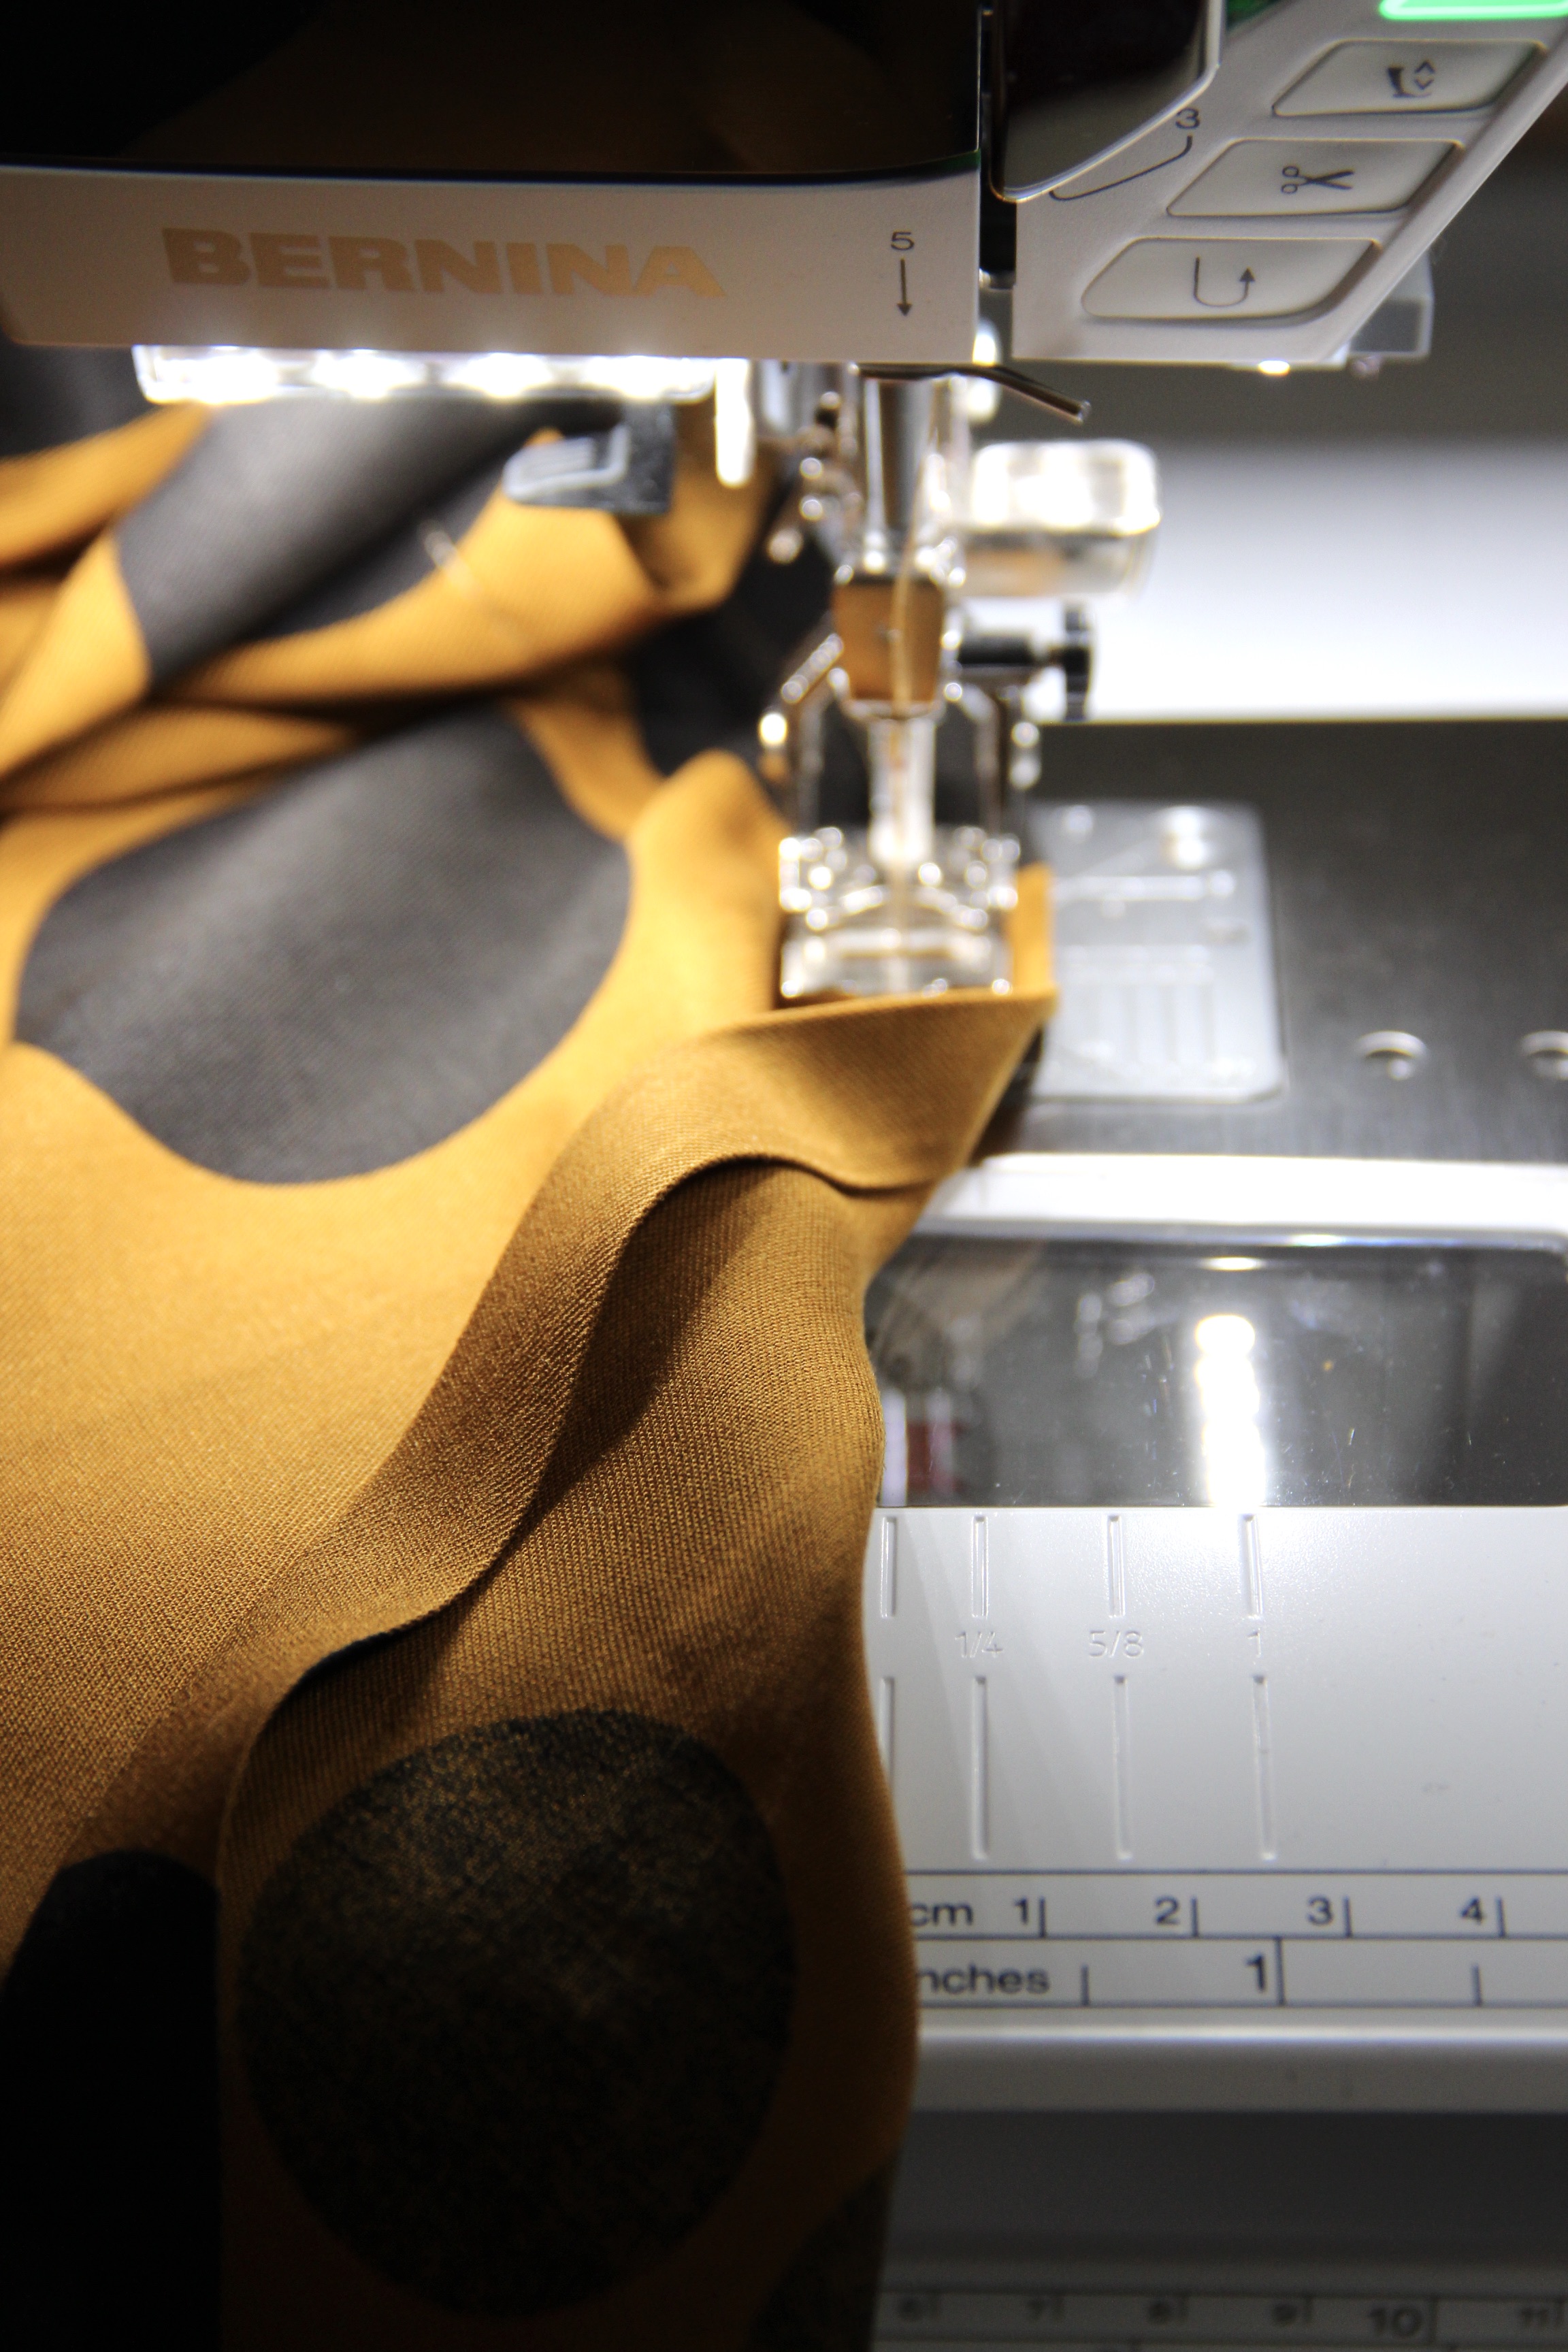
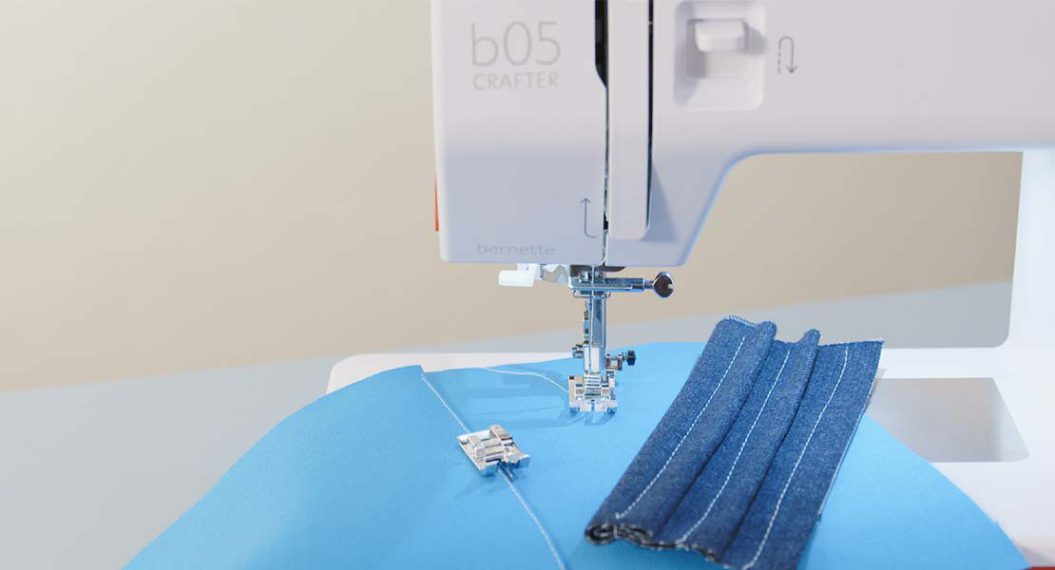
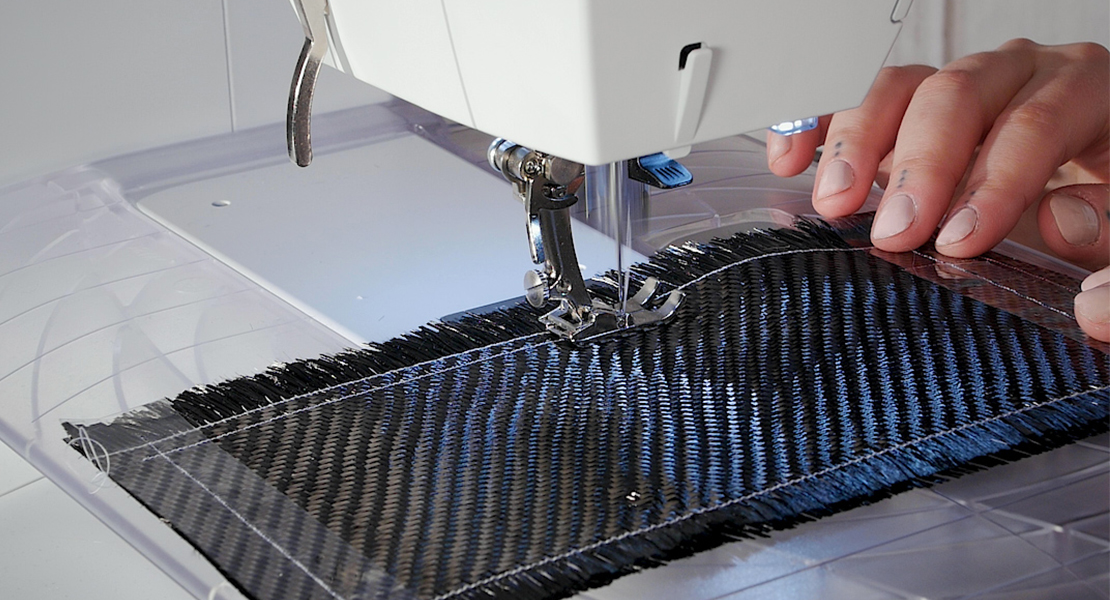
Tip #2: Use a Foot with Dual Feed
One of my very favorite features of my B 590 E is the Dual Feed. I can pop on foot 1D and have the top layer of the fabric moving together along with the bottom layer (moved by the feed dogs) so that I have fewer issues with rippling or one layer of a seam being moved more than the other layer. (For more info about Dual feed vs. A walking foot, see this post. ) This feature was VERY helpful when sewing the viscose twill. The stay-stitching plus dual-feed really made a nice, non-rippled seam.
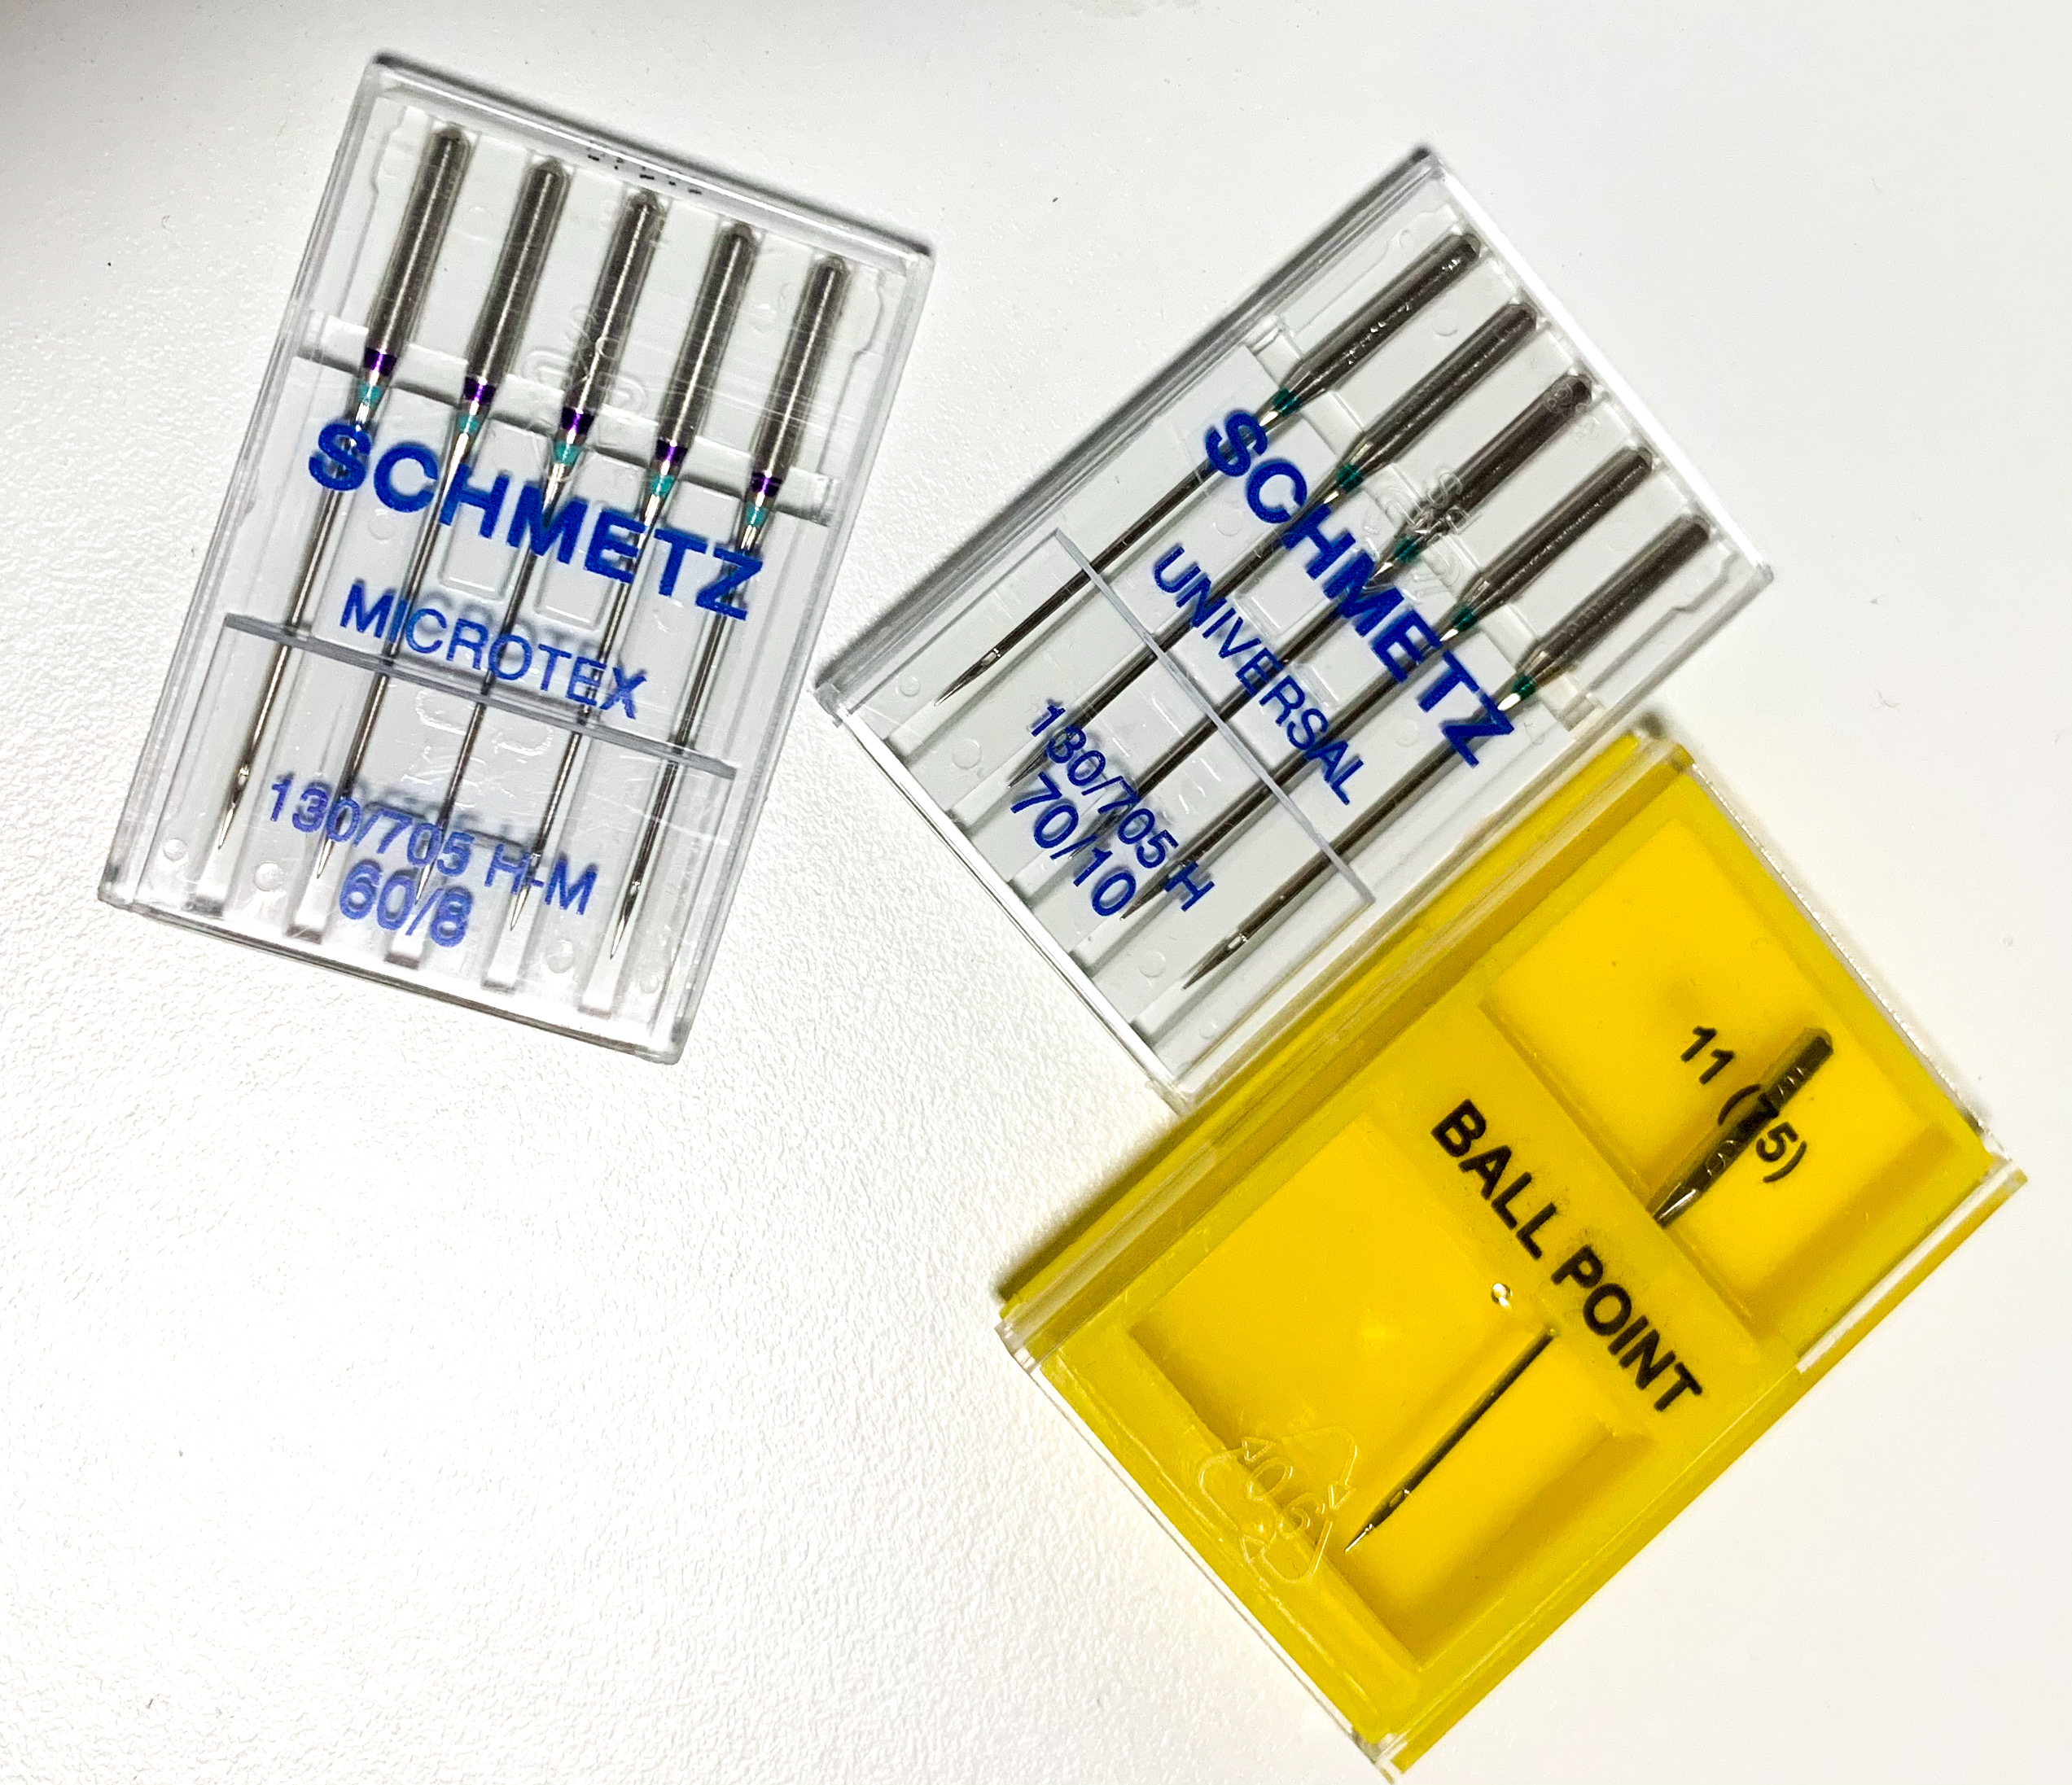
Tip #3: Use Brand New, Sharp Needles and a 0mm Plate
It took me years of sewing to realize that brand new, sharp needles made a huge difference. You want the needle to pierce and release. A dull needle doesn’t pierce as well and can cause an array of problems, including pushing the fabric down into the plate. You also want to use the right needle when possible (if not just go with a standard 90/14 needle, but a sharp one!). I like the 70/10 for these fabrics. (I included microtex and ballpoint needles in the photo because they can be useful too. Microtex can help with precise edge-stitching (and are good on silk), and ballpoint is also recommended sometimes.)
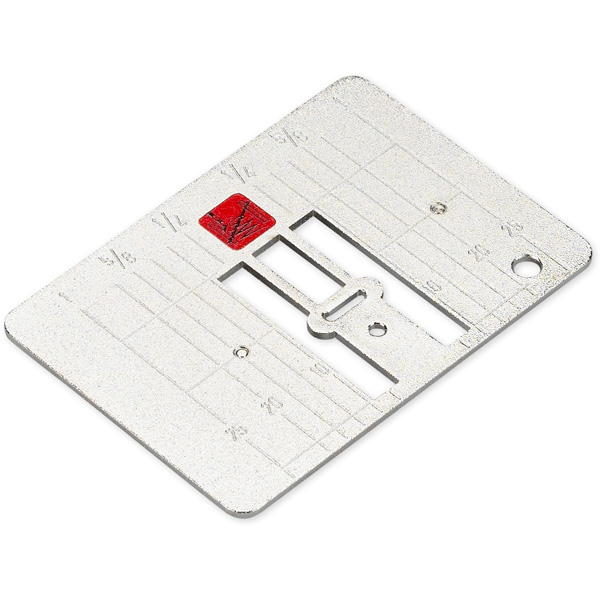
I also recommend the 0mm plate when you don’t have any zig-zagging to do. It helps the fabric not get sucked down when you begin a row of stitching. The 0mm plate is one of my favorite things to use for thin fabrics and jersey knits, who love to just go in the hole of the plate when you start sewing! (Solution: sharp needle, 0mm plate.)
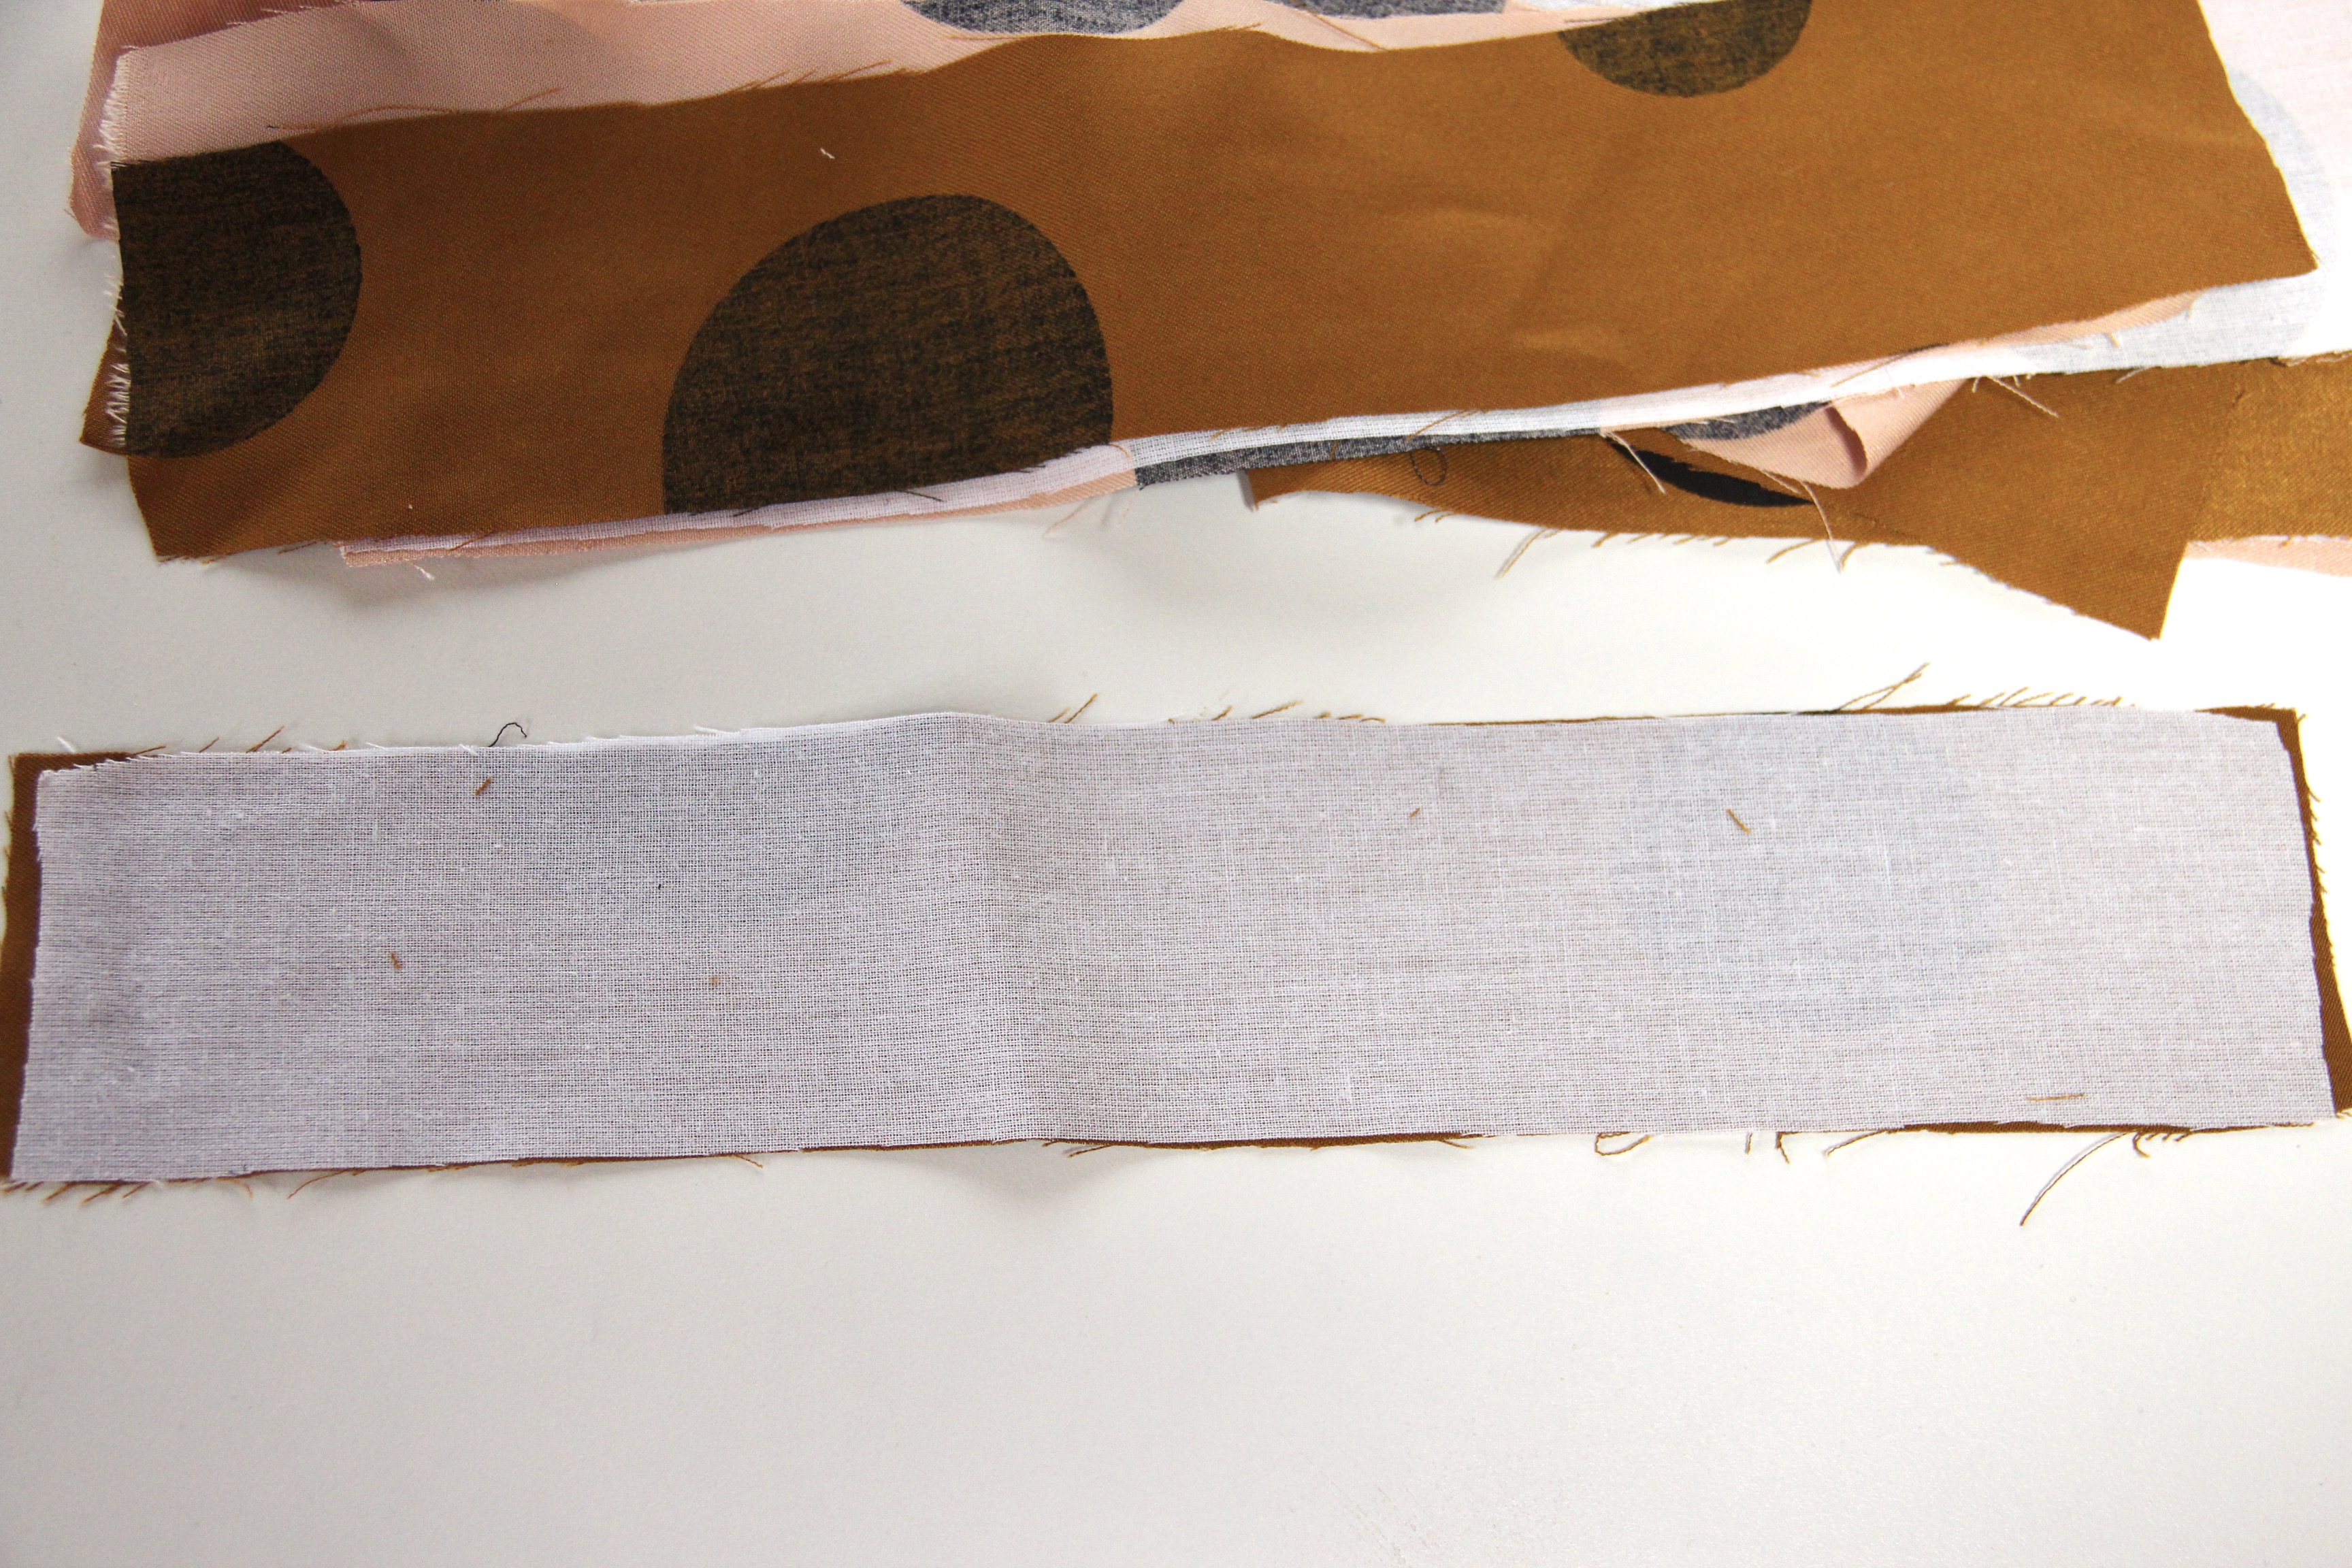
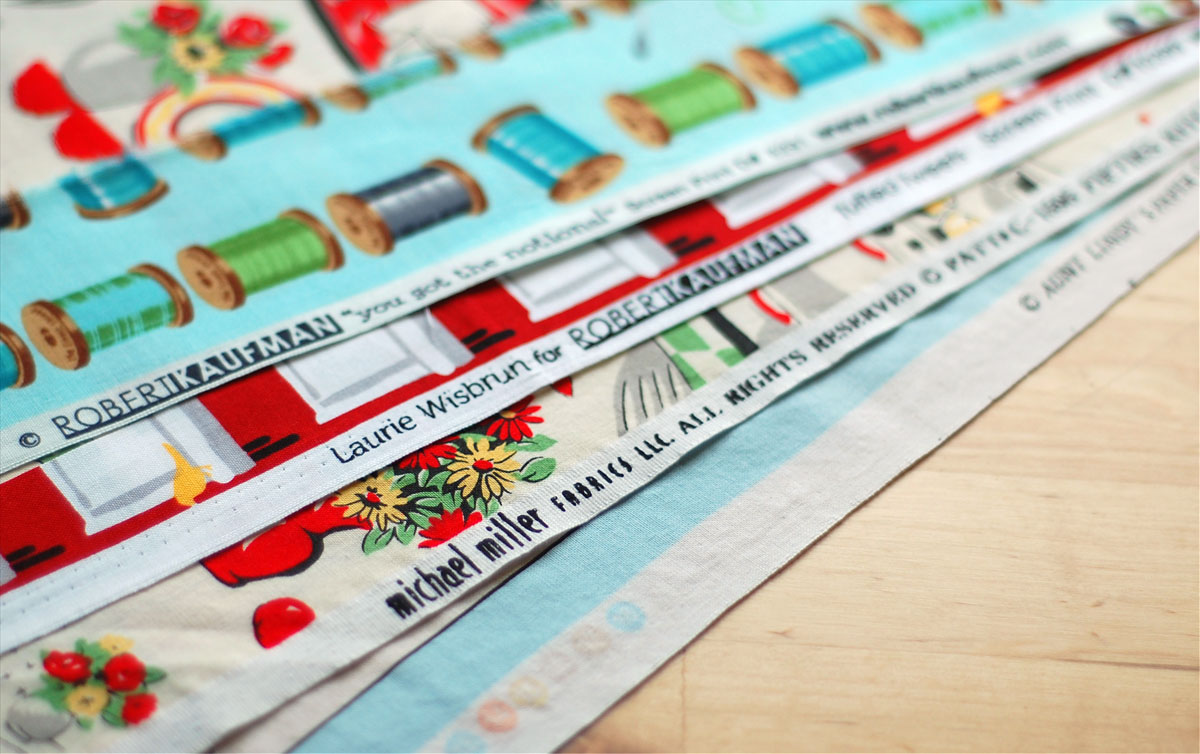
Tip #4: Use Woven Interfacing
I used standard bonded fusible interfacing for the past 18 years of my sewing life, until 2020. I discovered woven fusible interfacing and haven’t looked back. Different projects warrant different types of interfacing, but for most garment projects, this is my preferred type. You do need to cut it with the grainline, as you would the main fabric. I find that it gives nicer results after you’ve washed the garment, unlike the other kind (which is made of… I have no idea what?) Woven interfacing provides structure to collars, waistbands, and cuffs, and looks crisp and clean even when washed.
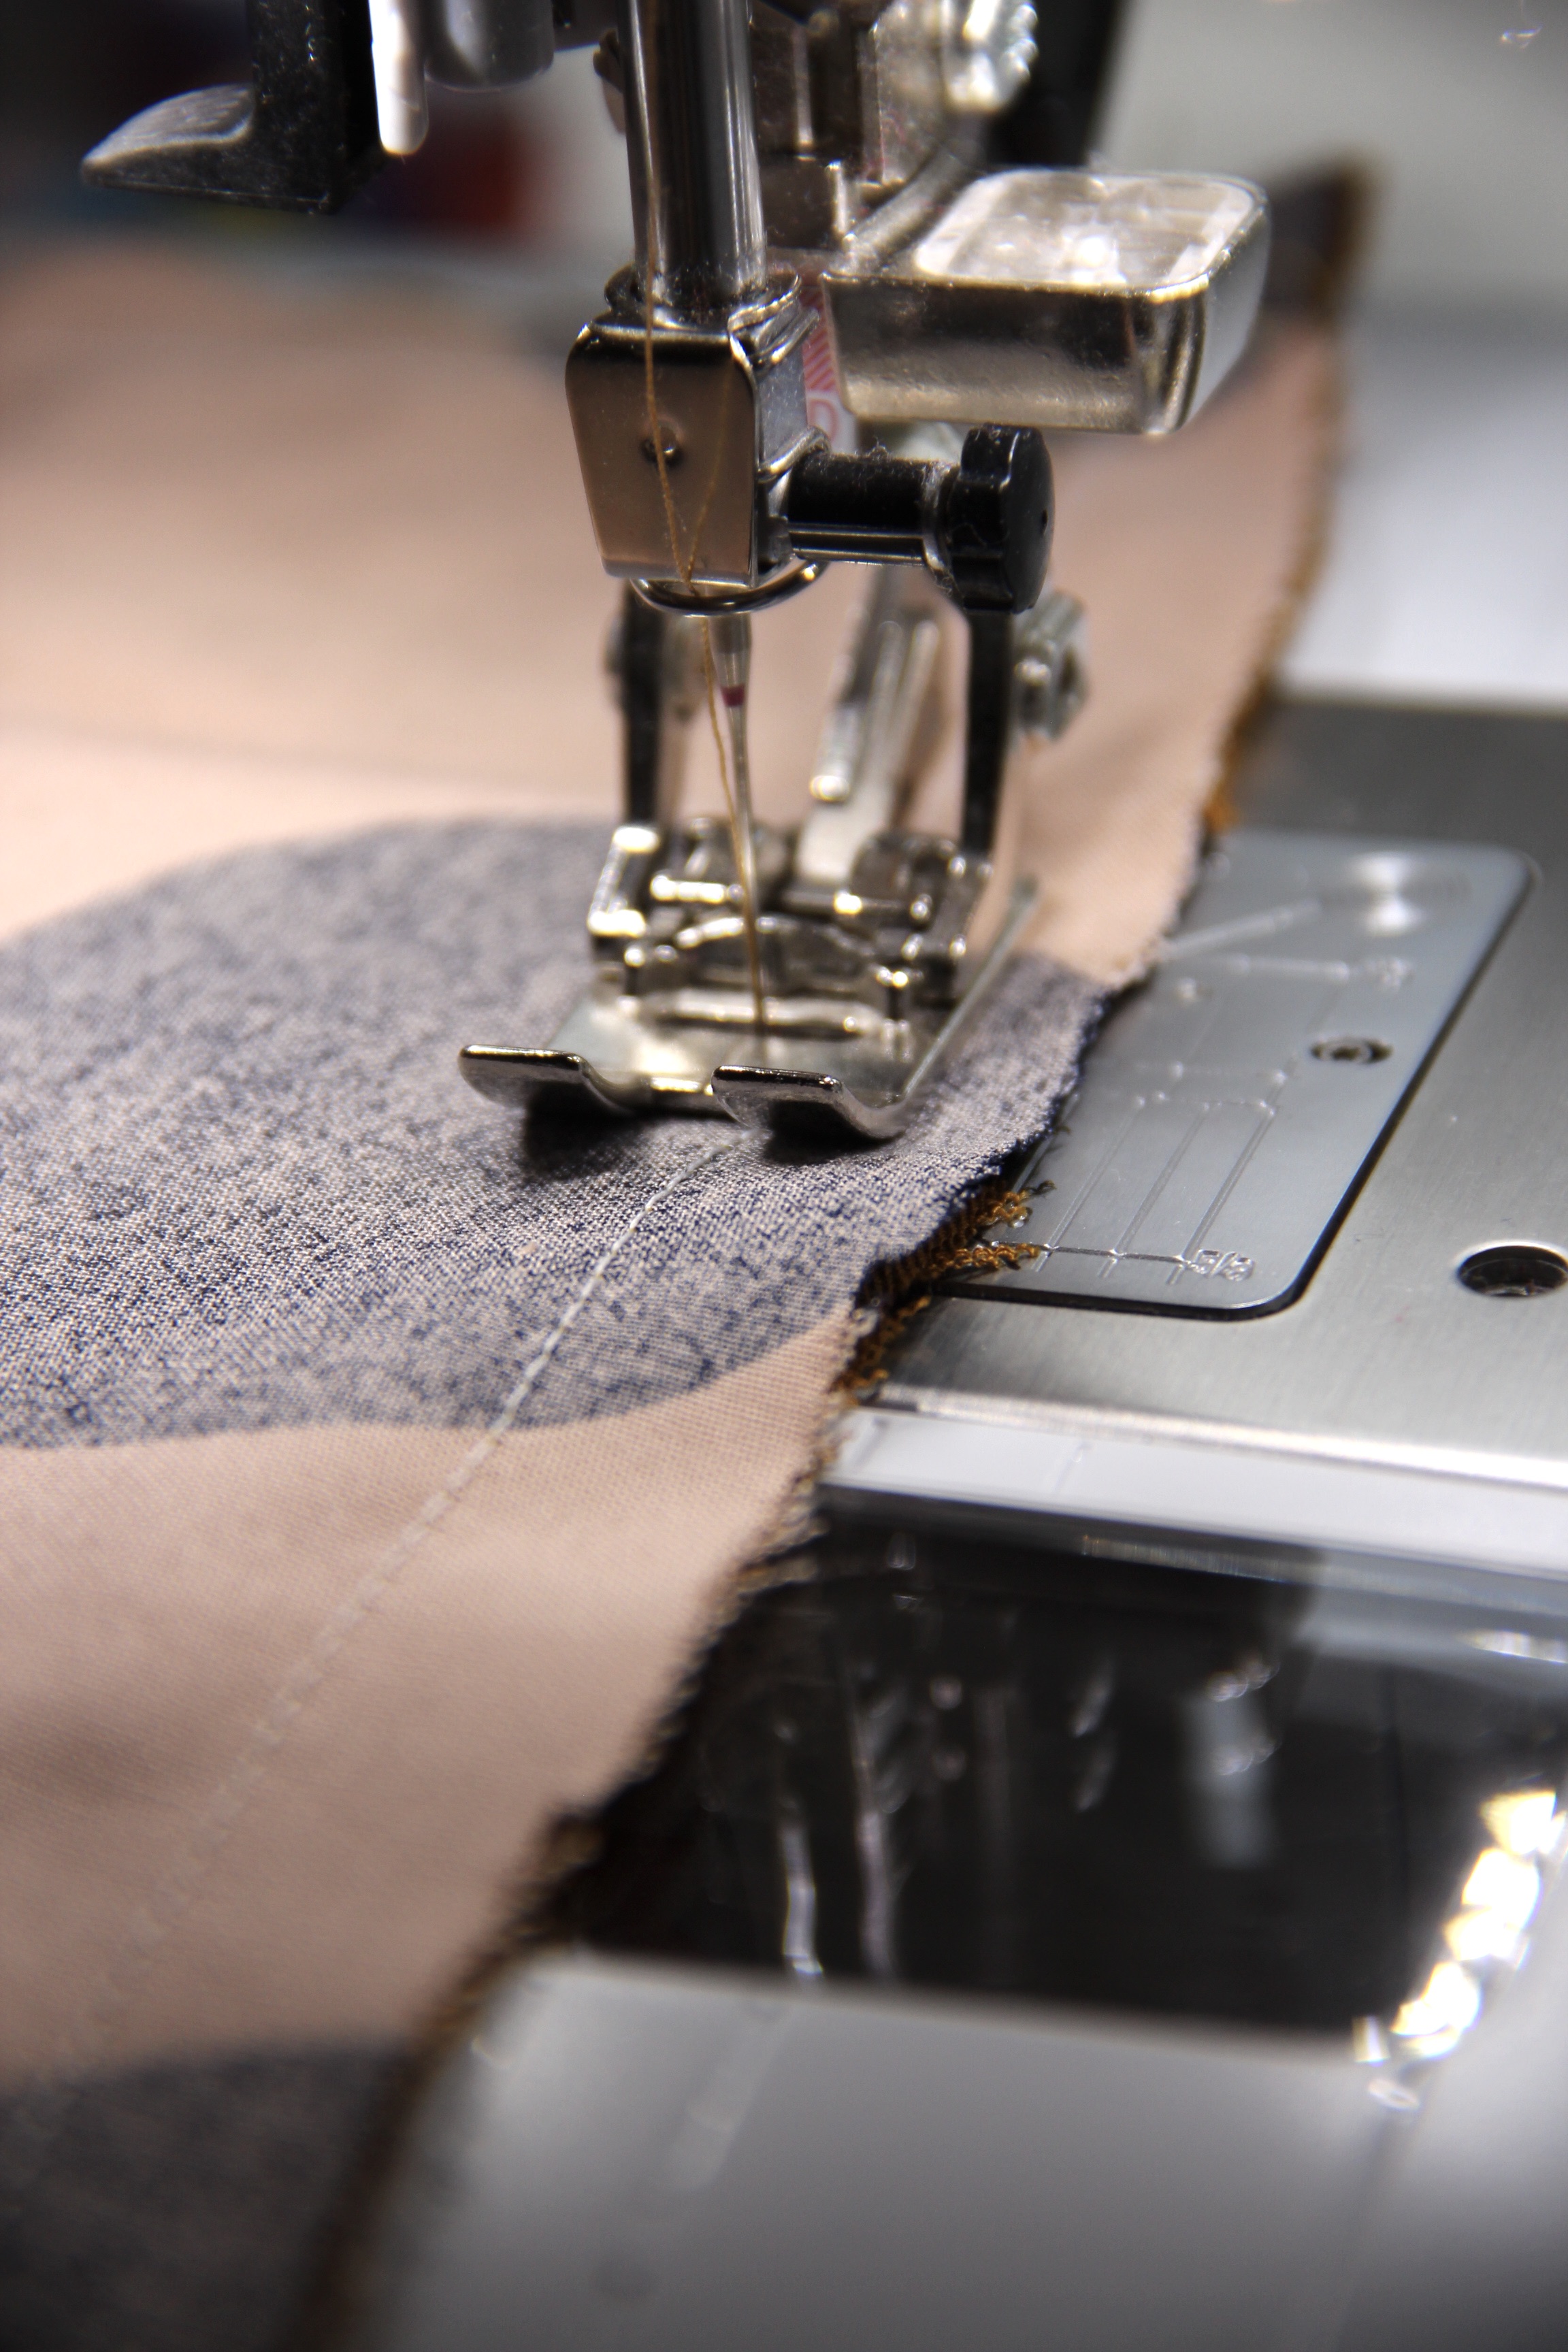
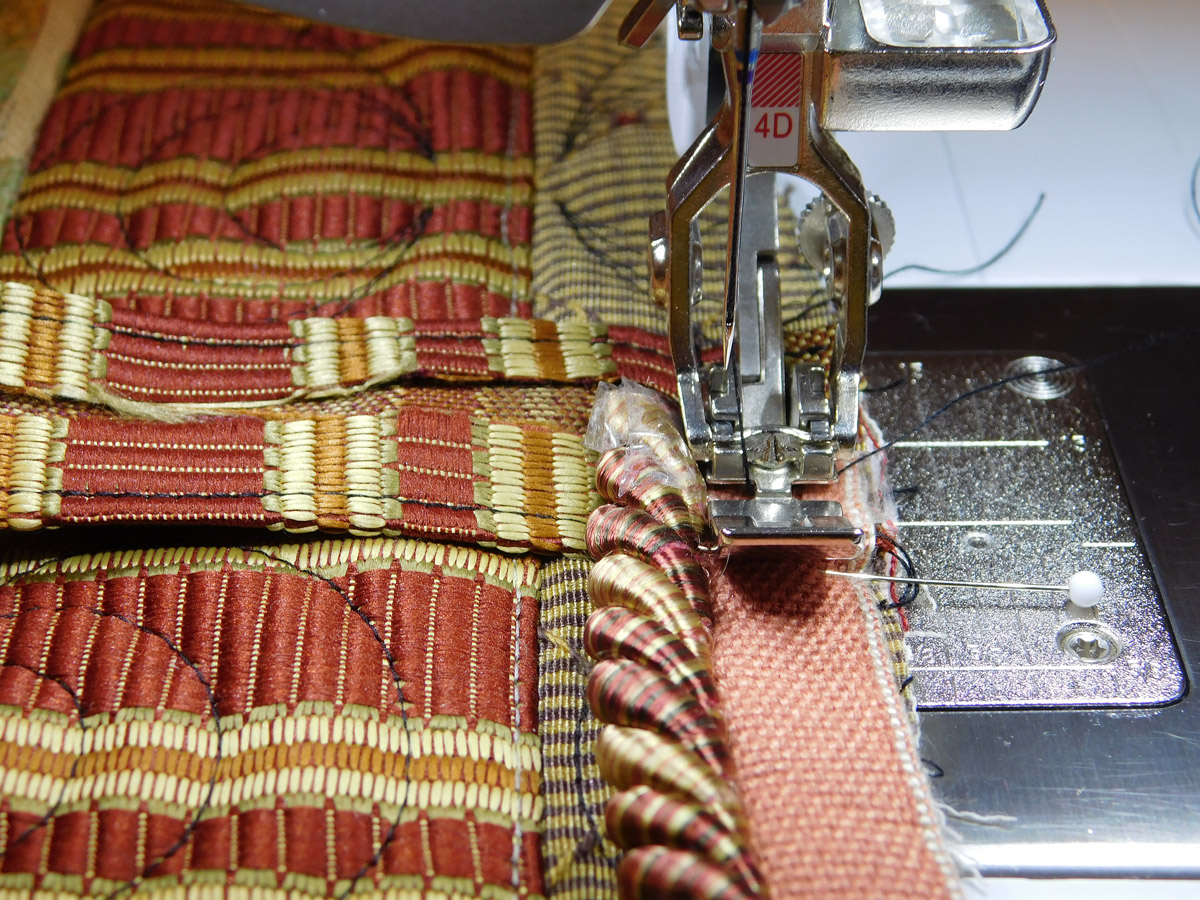
Tip #5: For beautiful edges use an Edge-stitch Foot (Dual Feed!)
I use foot 10D (or 10 if you don’t have dual feed) for beautiful edges on my seams. The photo above was from a different project because I actually forgot to use my edgestitch foot! Don’t be like me, use it. Look how pretty that is!

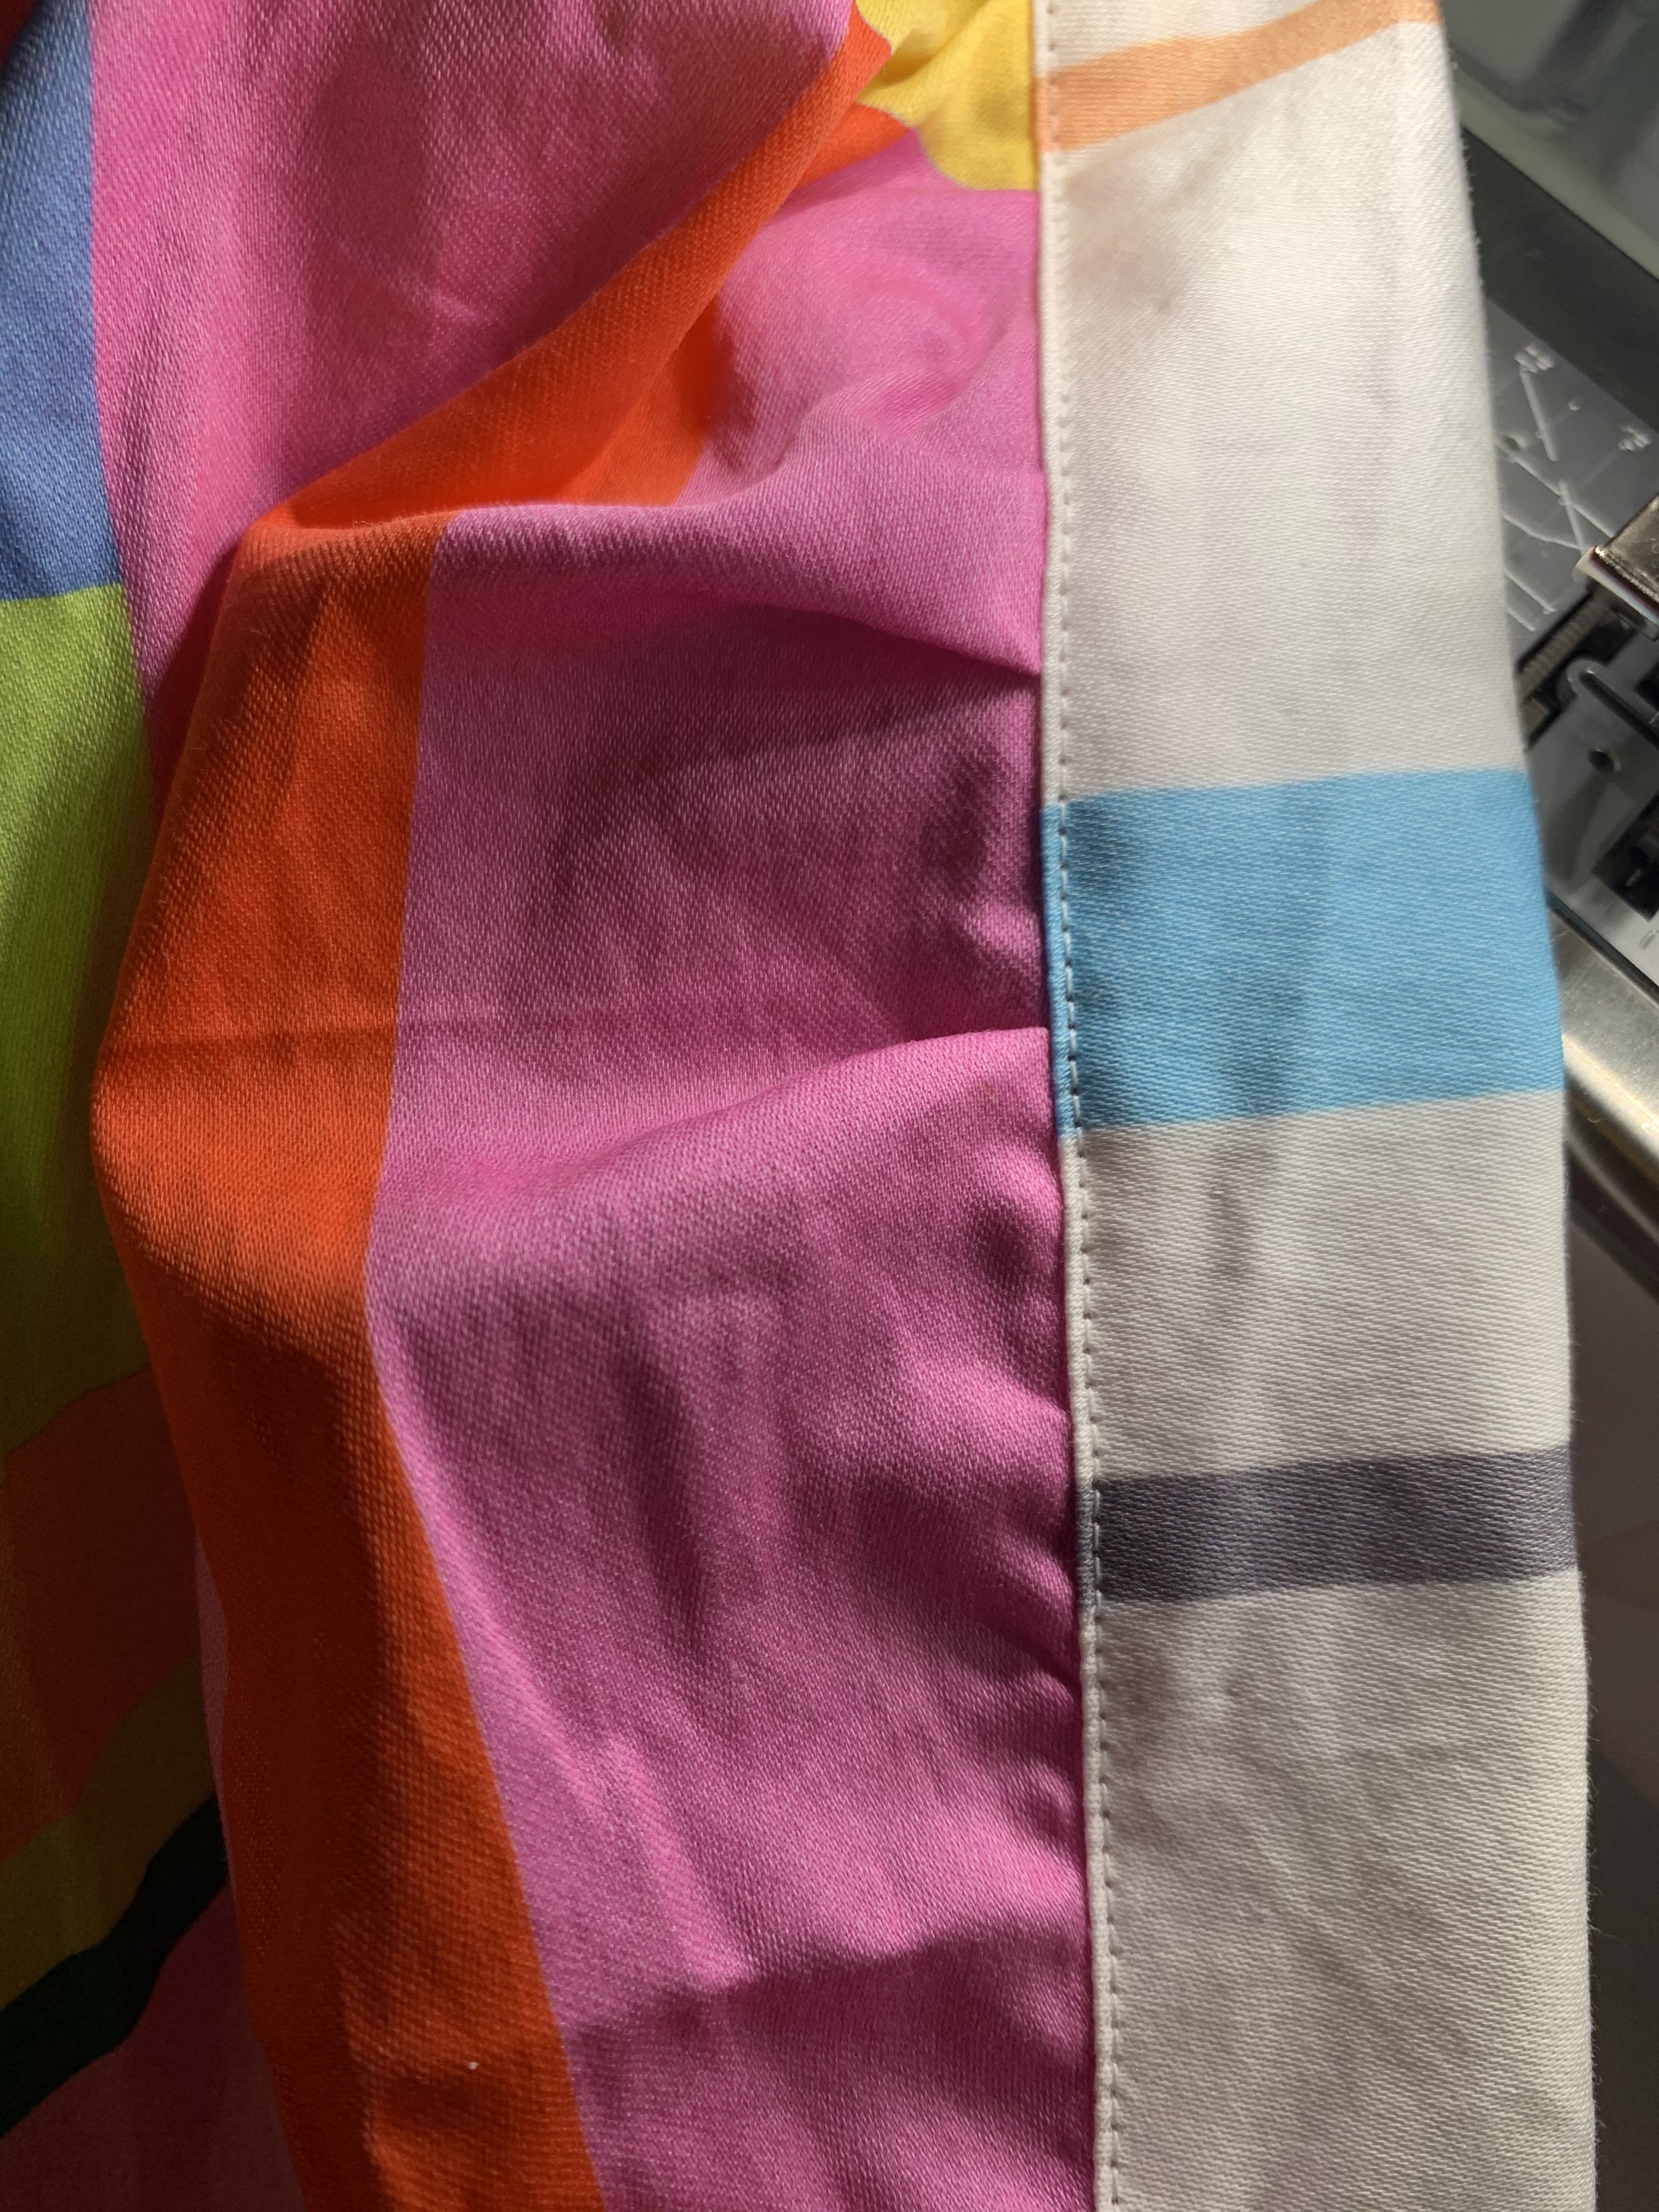
Tip #6: Sew a Line of Stitching Before Pressing a Hem
Whether it’s the hem of a sleeve or a skirt, or the edges of a pocket, pressing a neat line with just the iron is not easy with slippery fabrics. A line of stitching where you want to turn the hem makes it easy to get a nice crisp, straight (or curved) line.
Tip #7: Rather Than Just Pinning, Press Seams First
This is a simple tip, rather than just pinning your hems, do the whole thing with the iron, so that they don’t ripple or move as you sew them. The hem above was done by doing a line of stitching at 3/8” and pressing that under, and then flipping it over another 1/2” for a nice, crisp hem without using pins!
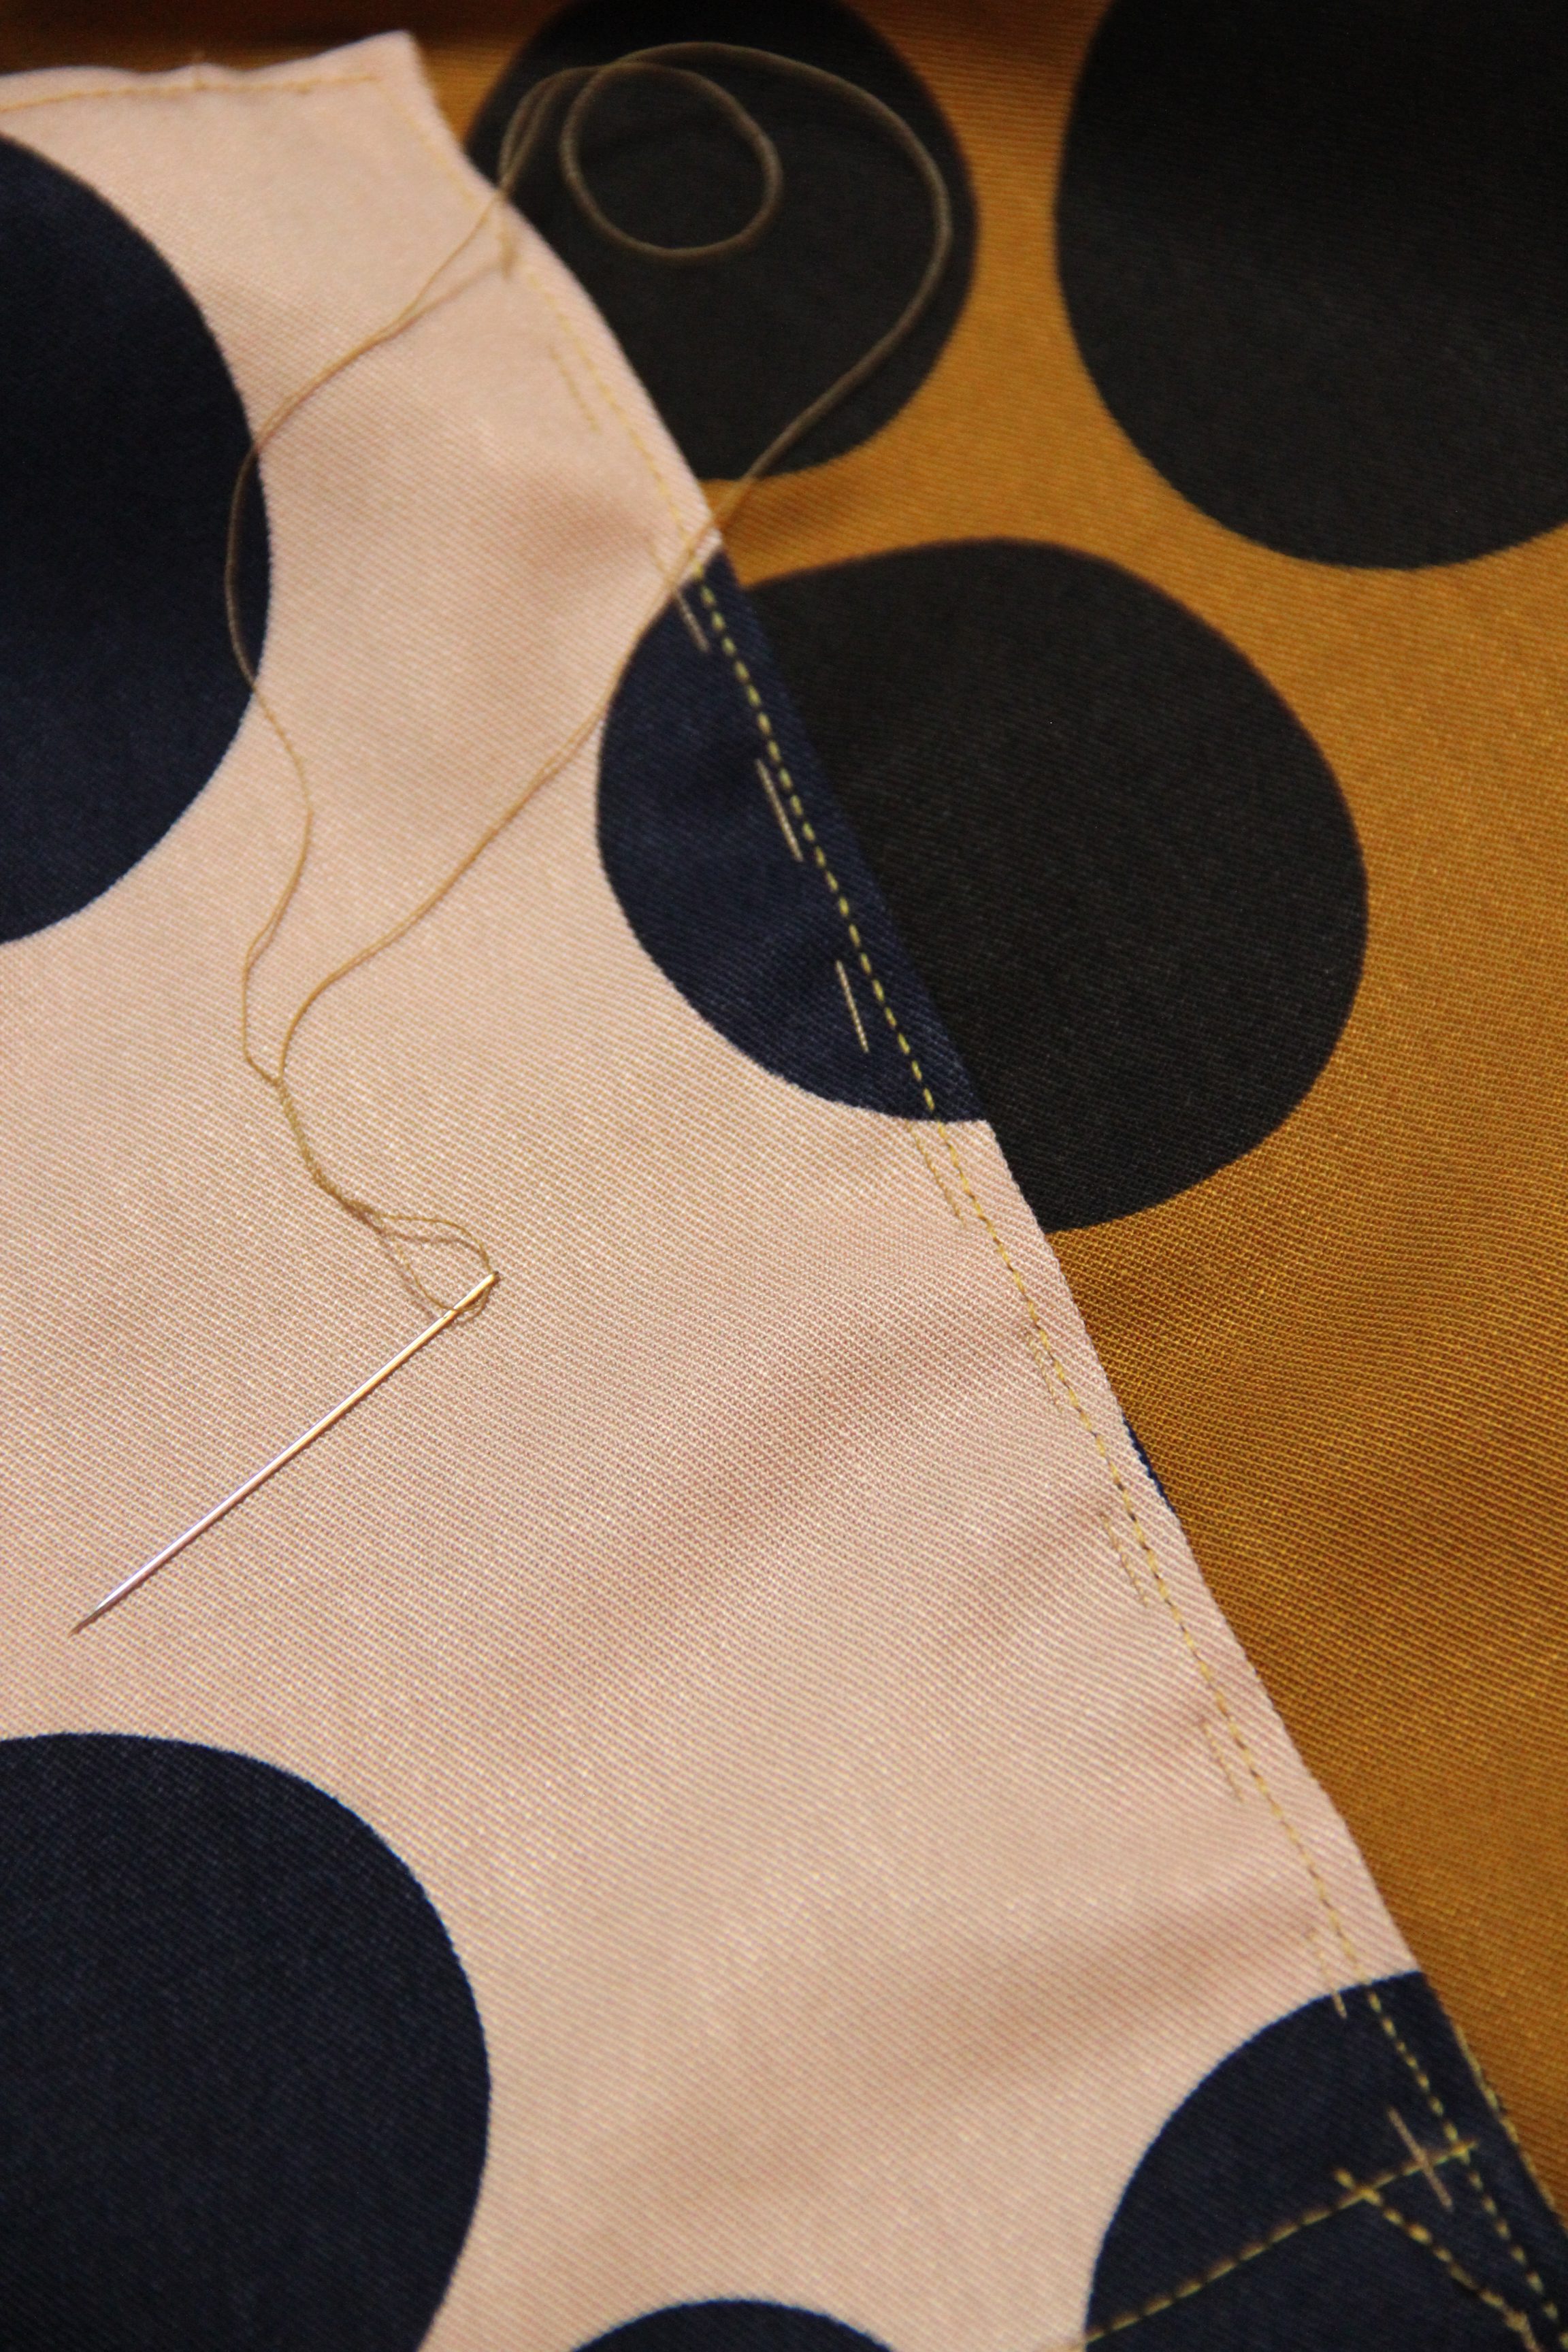
Tip #8: Hand-Baste Tricky Areas, Such as Pockets, Cuffs, and Collars
The idea of adding a patch pocket with fabric that likes to move… can leave you contemplating just making that dress without pockets. That is blasphemy! This is why we make our own dresses! Pockets, pockets everywhere! In addition to that stitch-line pre-pressing trick, the next tip is to HAND-BASTE that pocket. I’ll admit I like projects to be fast, and hand-basting seems like the opposite of fast. I promise, it’s worth the few extra minutes it will take. In the end it will save you time because if you machine baste that fabric, it is more likely to need some unpicking. (Here is where I should’ve really used my edgestitch foot 10D for the finish.)
And that’s All folks! I hope that now you will be ready to sew those dreamy fabrics with these tips and tricks and make some garments suitable for the spring and summer months ahead!
Used Products


What you might also like


2 comments on “Tips for Sewing Rayon, Viscose and Tencel Fabrics”
-
-
Thank you. Lots of good tips and perfect timing as I’m about to start my first project using this fabric. I also enjoyed article on dual feed vs walking foot in how they work.
Leave a Reply
You must be logged in to post a comment.

Difficulty sewing nylon curtains the needle won’t catch material ???