BERNINA Overlock Foot #2/2A
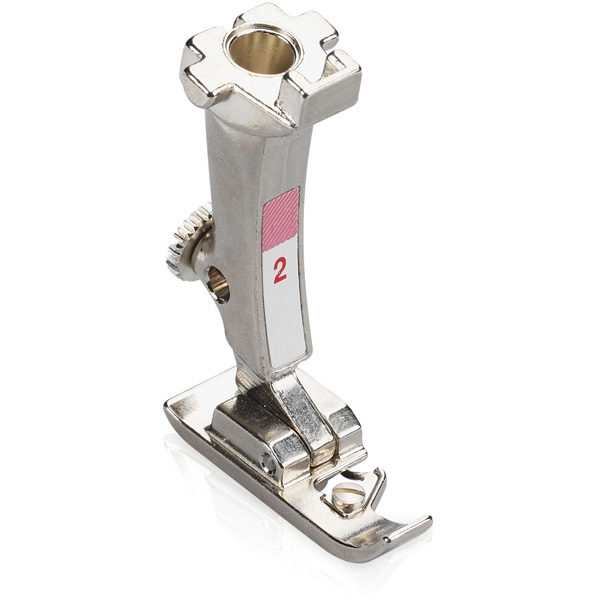
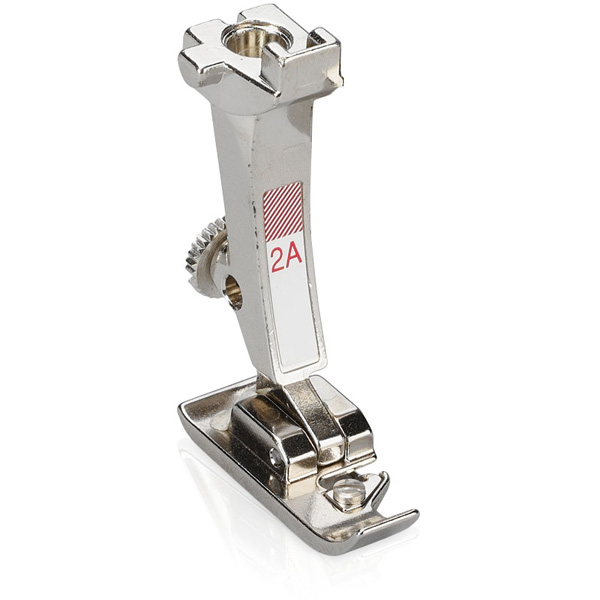
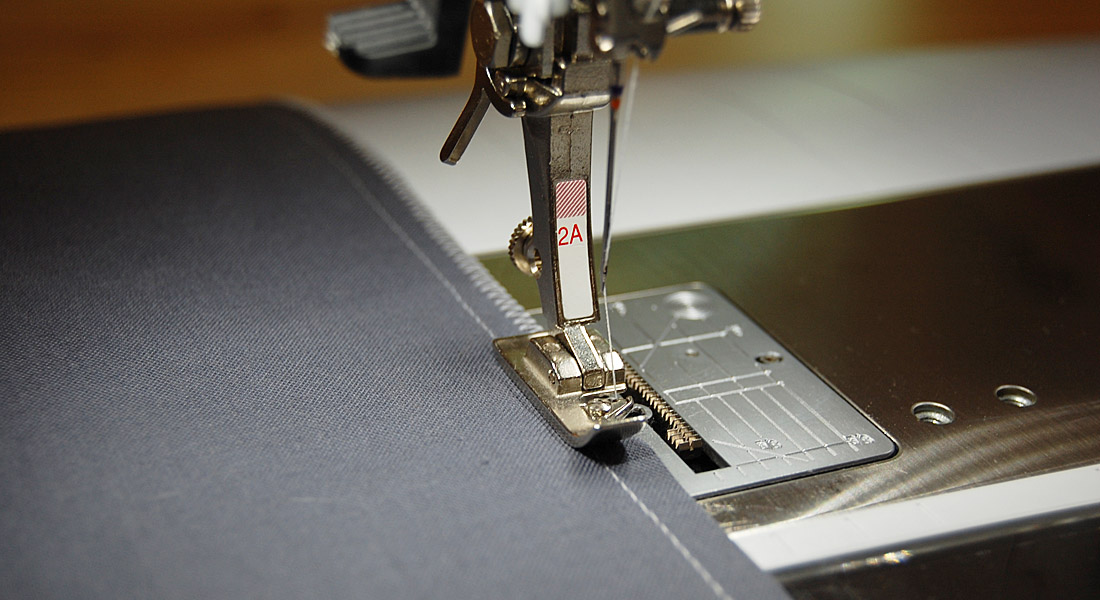
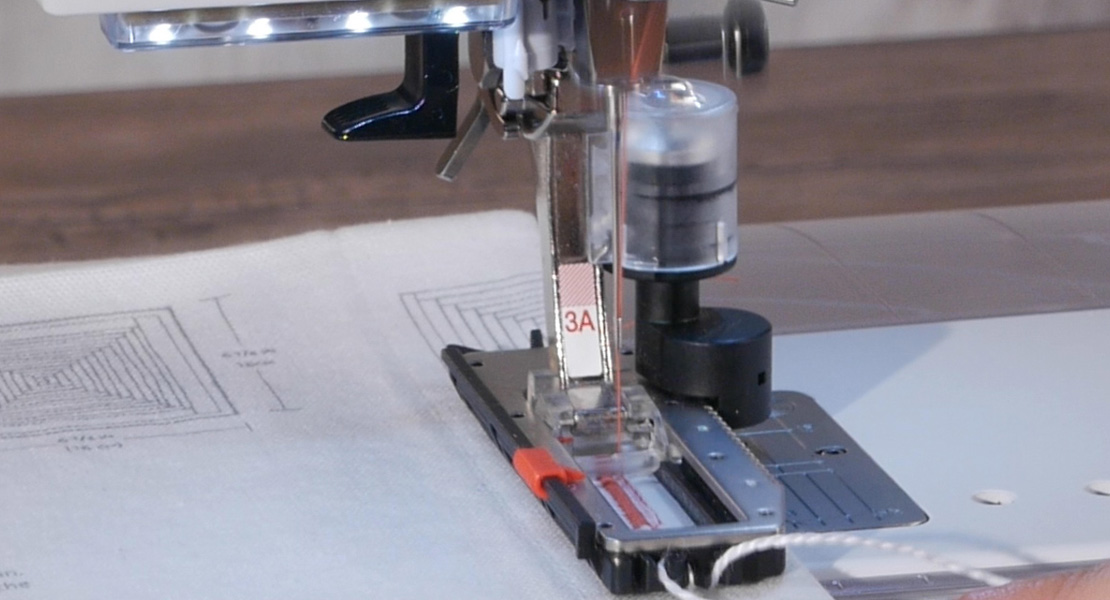
Overlock Foot #2/2A is a useful little presser foot that is included with some BERNINA models and available as an optional accessory with others. It comes in two versions. One for BERNINA machines that have a maximum stitch width of 5.5 mm and one for the larger machines that will sew with a 9 mm stitch width. Foot #2A has a wider sole so that it works with the larger feed teeth to move the fabric under the needle. It does not have a sensor and does not stitch a 9mm wide stitch but the techniques you’ll use with it do not call for wide stitch widths.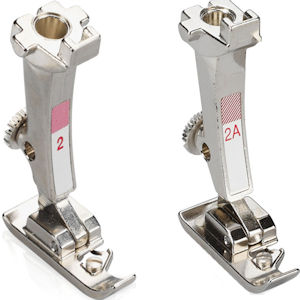
Vari-Overlock Stitch
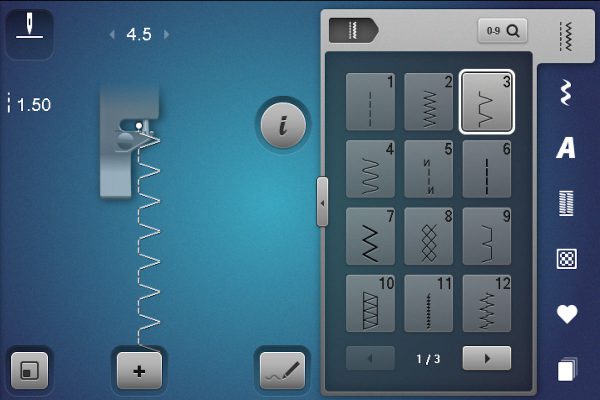
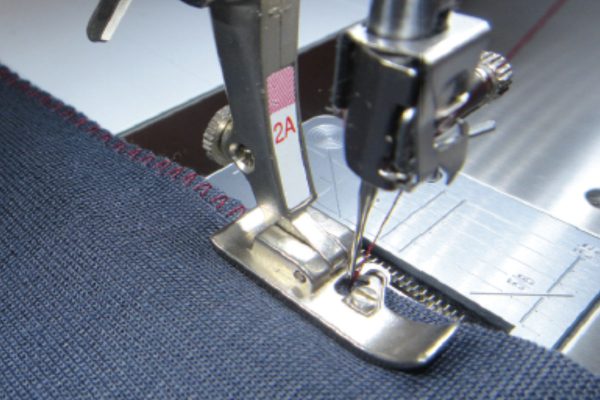
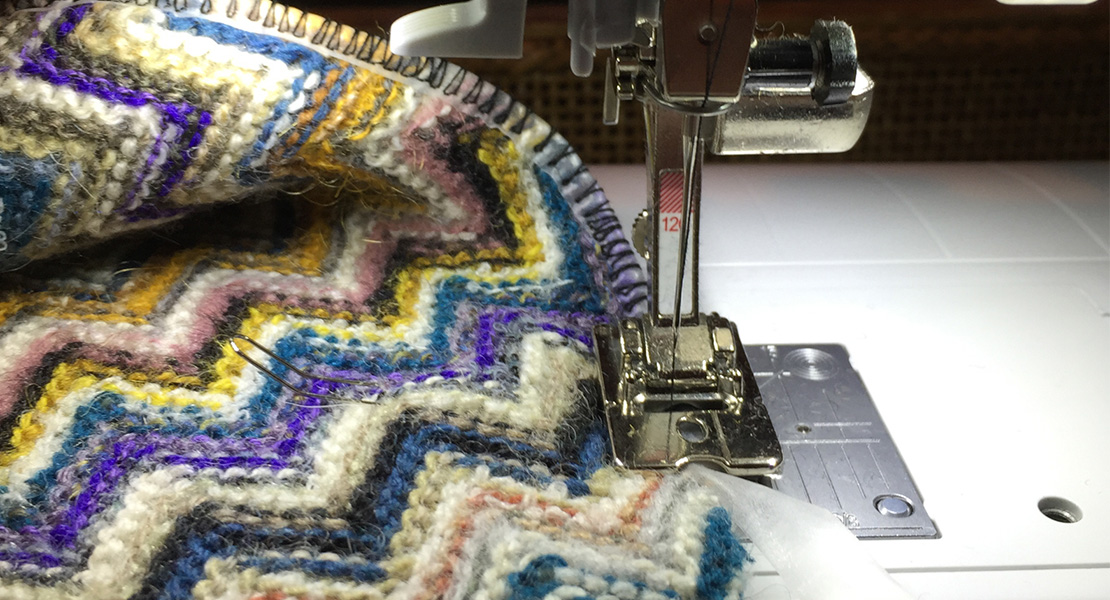
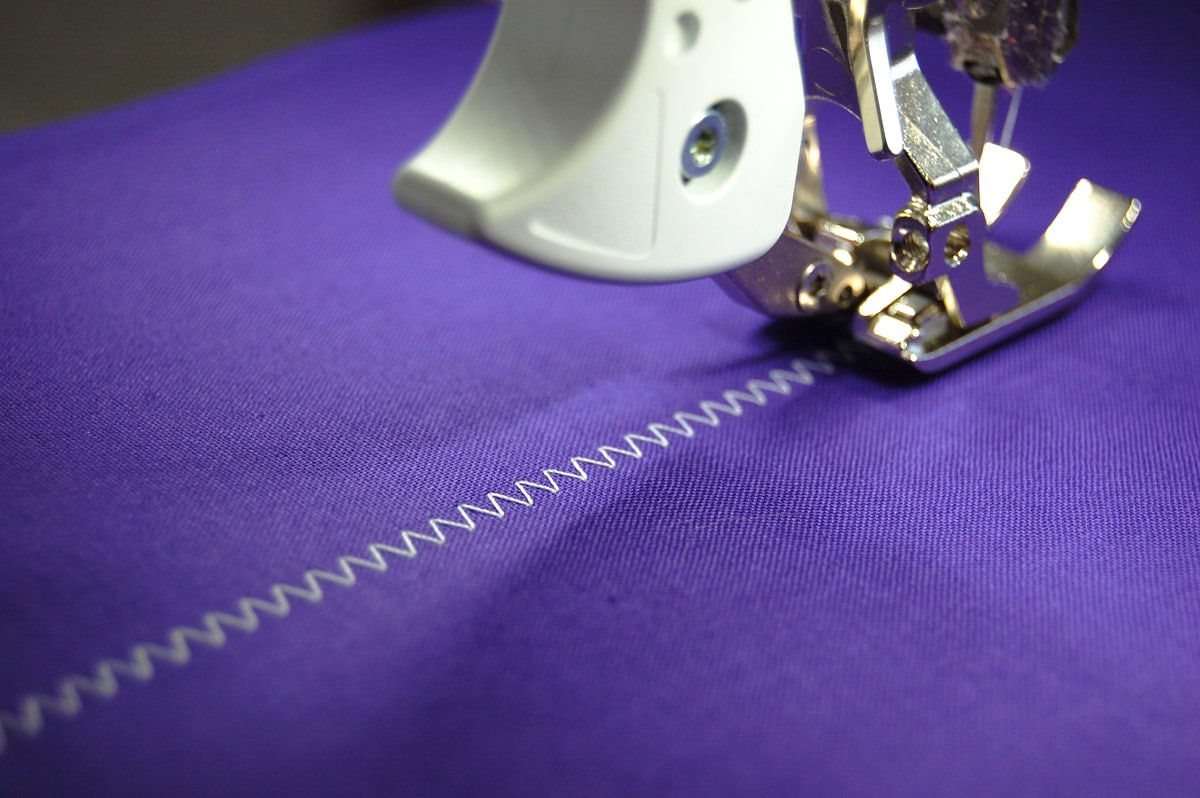
Foot #2 is designed to sew on the edge of fabric, stitching narrow seams and finished edges. The foot has a pin along the right edge that you position on the fabric edge. Select the Vari-Overlock Stitch, which is #3 on most BERNINA machines. As you sew along the edge, the stitch forms over the pin, wrapping the edge of the fabric with thread. The pin holds the fabric flat, so the edge is not pulled up as it is stitched. Other overlock stitches intended for use on knits may also be used with this presser foot. Try Stretch Overlock stitch #13 and Reinforced Overlock stitch #19 for medium to heavy weight knit fabrics. Tricot stitch #14 works well for stitching tricot as well as other lightweight lingerie knits.
Knit Seams
This is a perfect foot to use for seaming knit fabrics. As the stitch forms over the fabric edges, it is also creating a narrow seam. From the outside of the garment, the seam has a traditional look, and the inside is neat and tidy. It also has a lot of stretch so it will move with fabric without breaking any threads. The seam allowances should be pressed to one side. This technique is good for most types of knit fabric, including lightweight single knits and tricot.
Finishing Seams
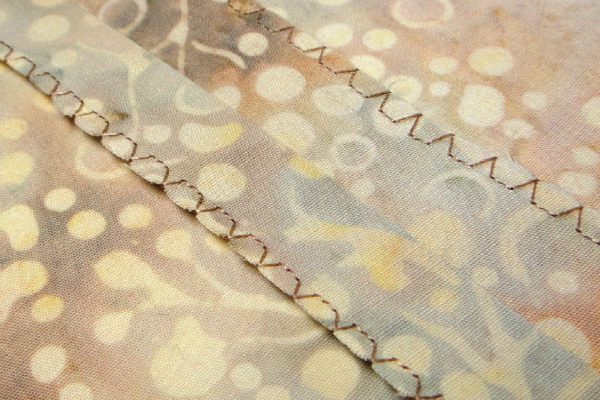
When sewing woven fabrics that have seams that are pressed open, use Foot #2 to finish the raw edges of the seam allowances. Stitch the seam with a straight stitch and press it open. Fold the project away from the seam allowance and stitch along one of the raw edges. Repeat for the opposite seam allowance.
Quilt Edges
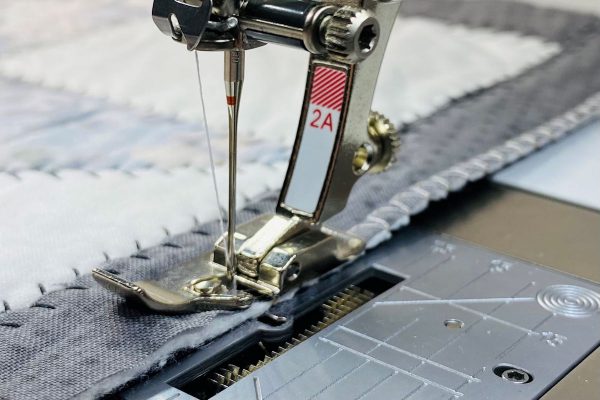
Another great way to use Foot #2 is on the edges of a quilt before attaching the binding. This “seals” the edges and flattens them so they are easier to work with as you finish the quilt.
These techniques using Overlock Foot #2/2A are utilitarian and may not be as fun as some of the creative embellishment techniques that are stitched with other presser feet. However, they contribute to the overall professional look of your finished project, and Foot #2 makes it easy to get that look.
For more information on BERNINA presser feet and accessories, see The Big Book of Feet at your local BERNINA store. Click here to find a BERNINA dealer near you.
What you might also like
2 comments on “BERNINA Overlock Foot #2/2A”
-
-
Can I use this foot for the armhole seam and hem of a hooded vest that is made with single sided polar fleece? Polar fleece cannot be iron but if I fold it will that work. The polar fleece has 4 way stretch so does that mean I should use stitch 13 with the 2A foot on my 570QE?
Leave a Reply
You must be logged in to post a comment.



I would like to learn how to replace the knife.