How to Bind a Quilt using Double Fold Binding
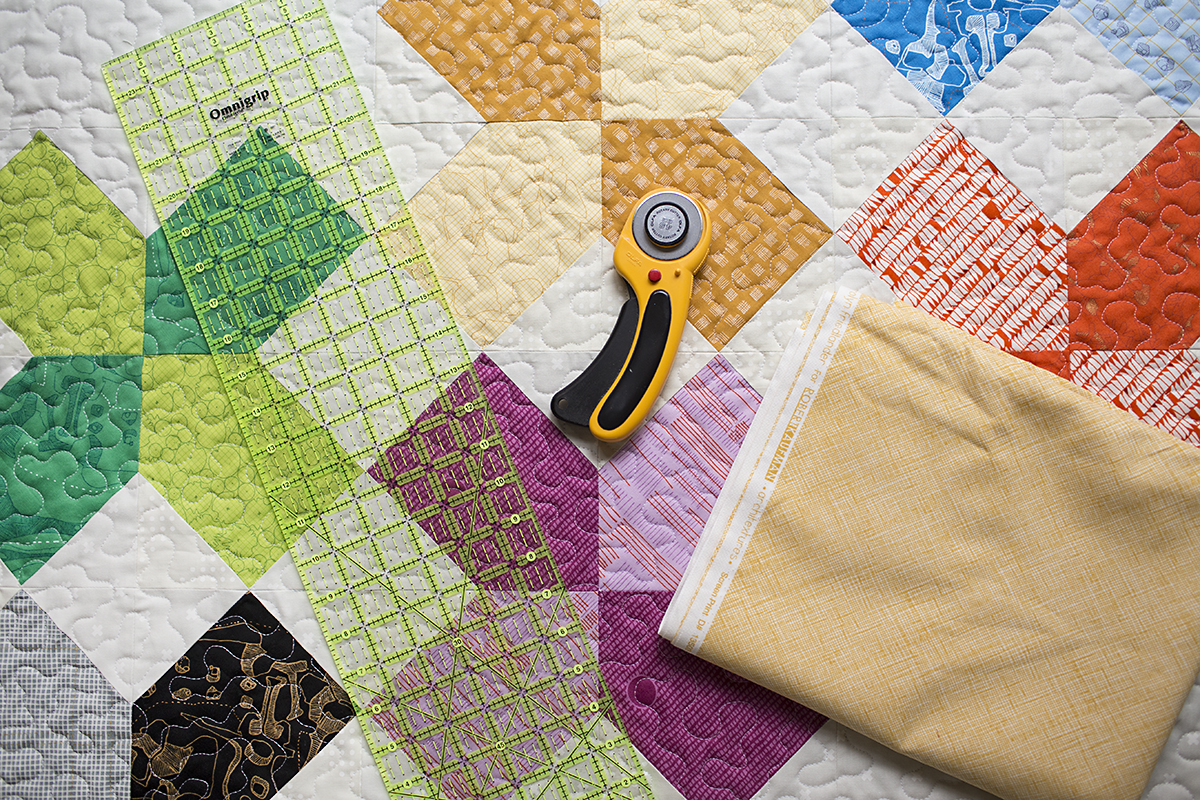
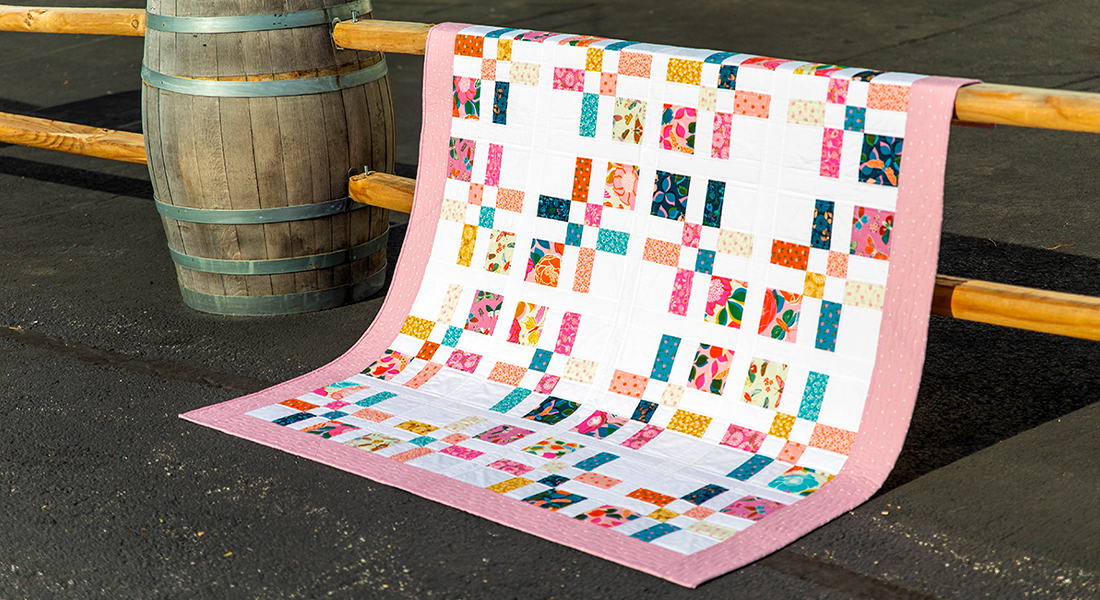
Once you have pieced, basted, and quilted your quilt, there is one more step before enjoying your finished work of art—adding the binding. There are so many binding options, it can seem overwhelming: single fold, double fold, cutting on the grain, cutting on the bias, wide, and skinny. I encourage you to try various techniques and find the best fit for you and your particular project. For most quilts, I create double fold binding cut straight on the fabric grain. Today I’m going to share my technique with you to bind a quilt using double fold binding.
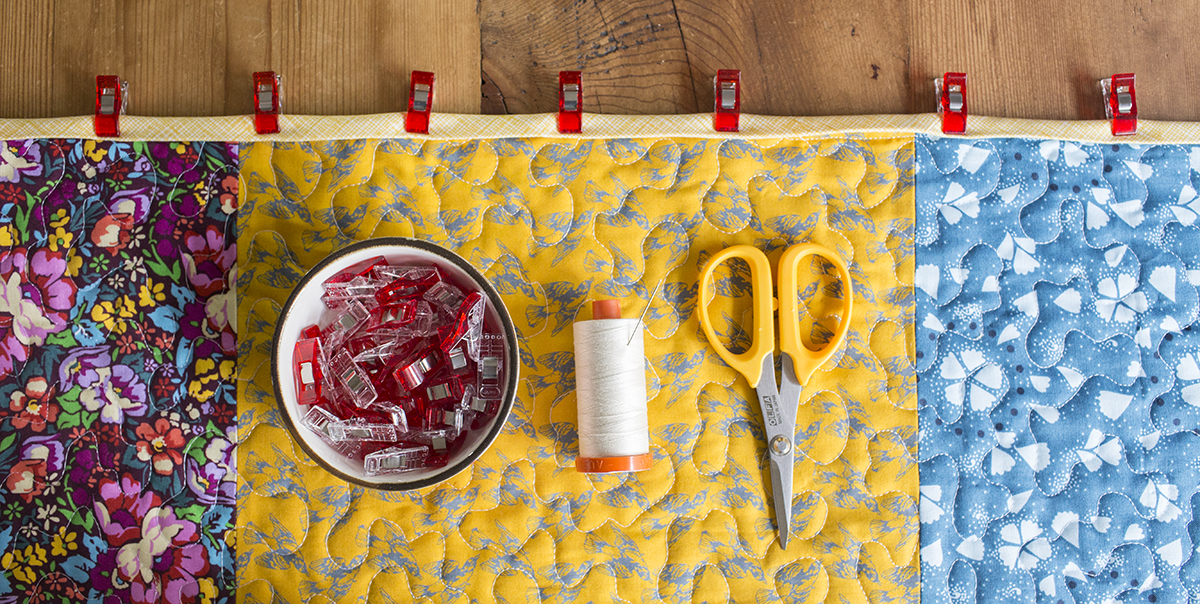
Materials to Bind a Quilt
- Quilt
- Binding Fabric*
- Marking tool such as a water soluble marker
- Rotary Cutter
- Quilting Ruler
- Cutting Mat
- Pins or Wonder Clips
- Needle
- Thread
*Calculating Binding Fabric: If you are sewing from a pattern, it may specify the amount of fabric needed for your binding. If not, use the below equation to determine the amount of fabric needed. The equation is based on 42″ wide fabric, cut straight on the grain, and 2-1/2″ wide binding. I add 10″ extra length to allow for seam allowances, corners, and just the feel-good relief of knowing I will not be short of binding.
( (Length of all sides of quilt + 10″) / 42″ ) x 2.5″ = Amount of fabric needed for binding
For example, my quilt is 36″ on all sides. To determine how much binding I need:
(36″ + 36″ + 36″ + 36″) = 144″ + 10″ = 154″ of binding needed
154″ / 42″ = 3.42 strips of binding needed (I just round this up to 4 strips)
4 strips x 2.5″ wide = 10″
So I need a piece of fabric that is 10″ x 42″ for my binding for this quilt.
If the math is overwhelming, you can always just cut a few strips, lay them out on your quilt, and guesstimate the number of strips you will need.
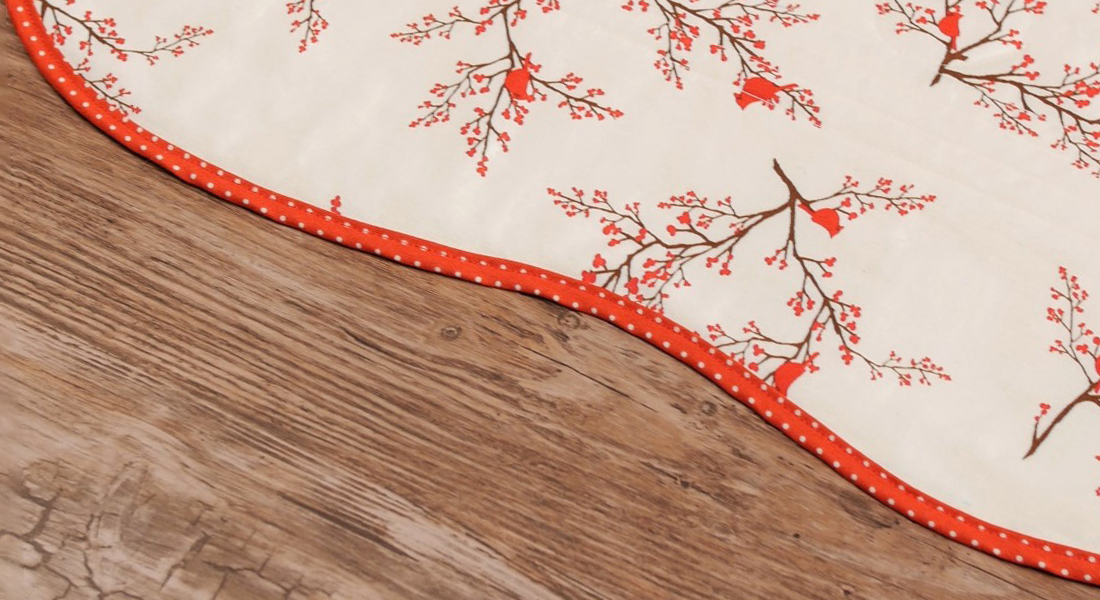
NOTE: If your quilt or item you are binding has curved edges or corners, you need to cut your binding on the bias, at a 45 degree angle. Some quilters also prefer bias cut binding for straight edged quilts.
Instructions to Double Fold Bind a Quilt
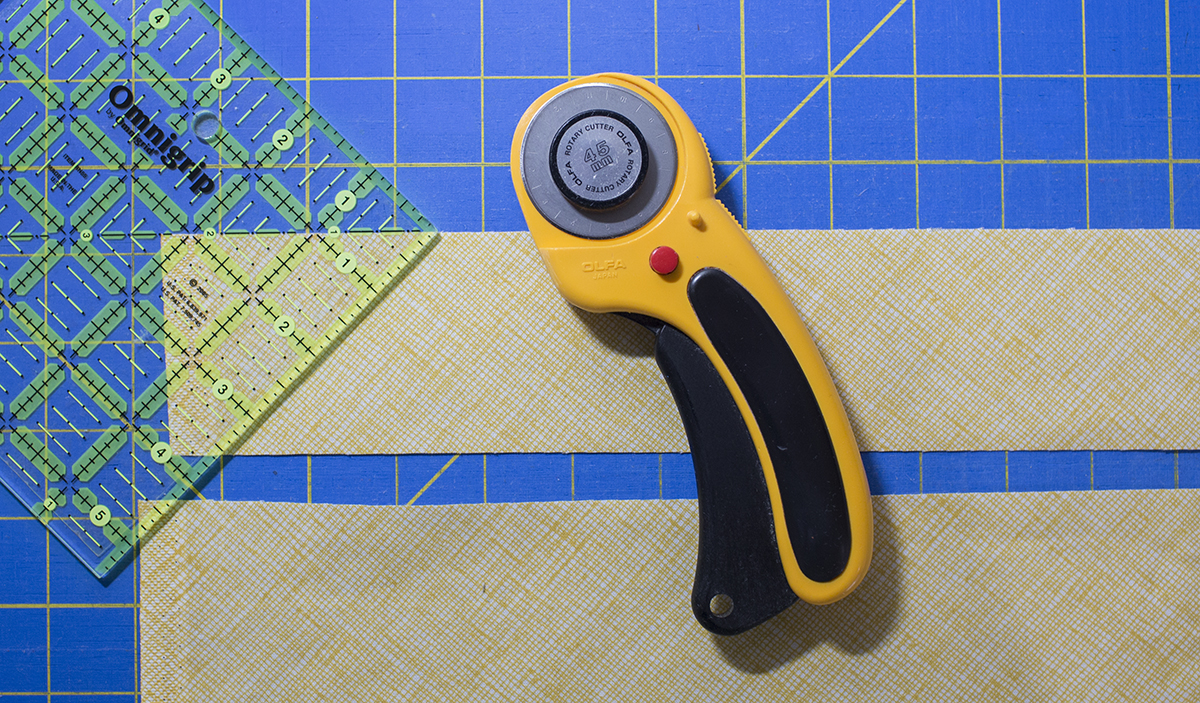
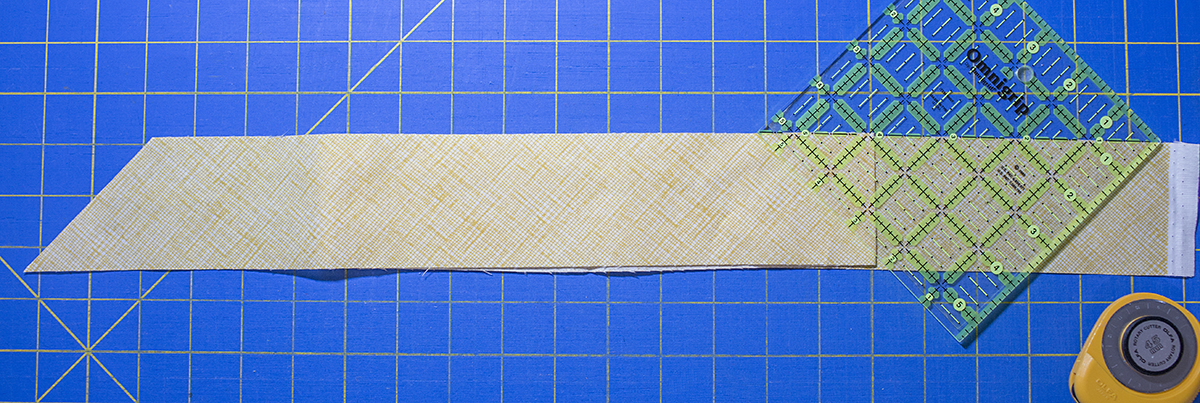
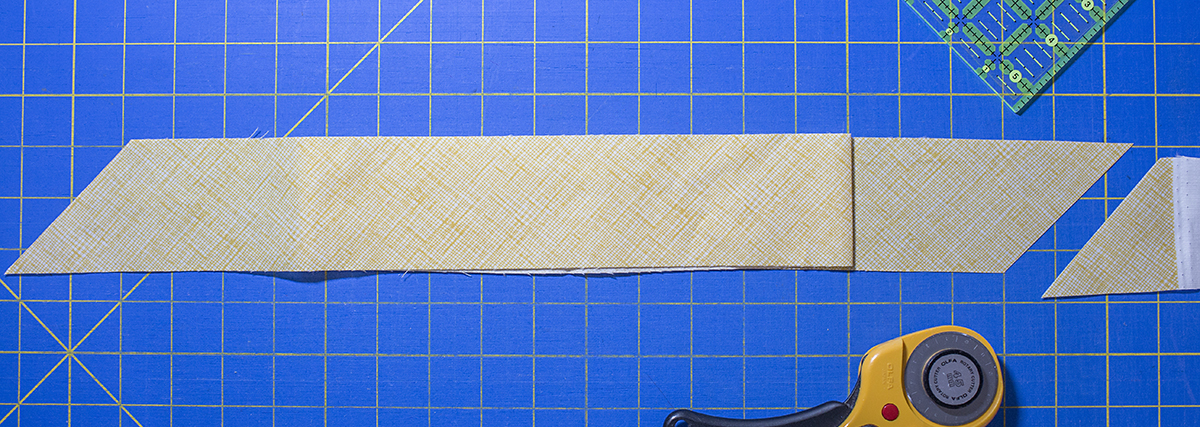
Step 1. Cut the number of required strips of binding, according to your pattern or calculations. My 4 strips are 2-1/2″ x 42″ (the width of the fabric). Using your quilting ruler, trim the end of your binding strips at a 45 degree angle, as shown below.
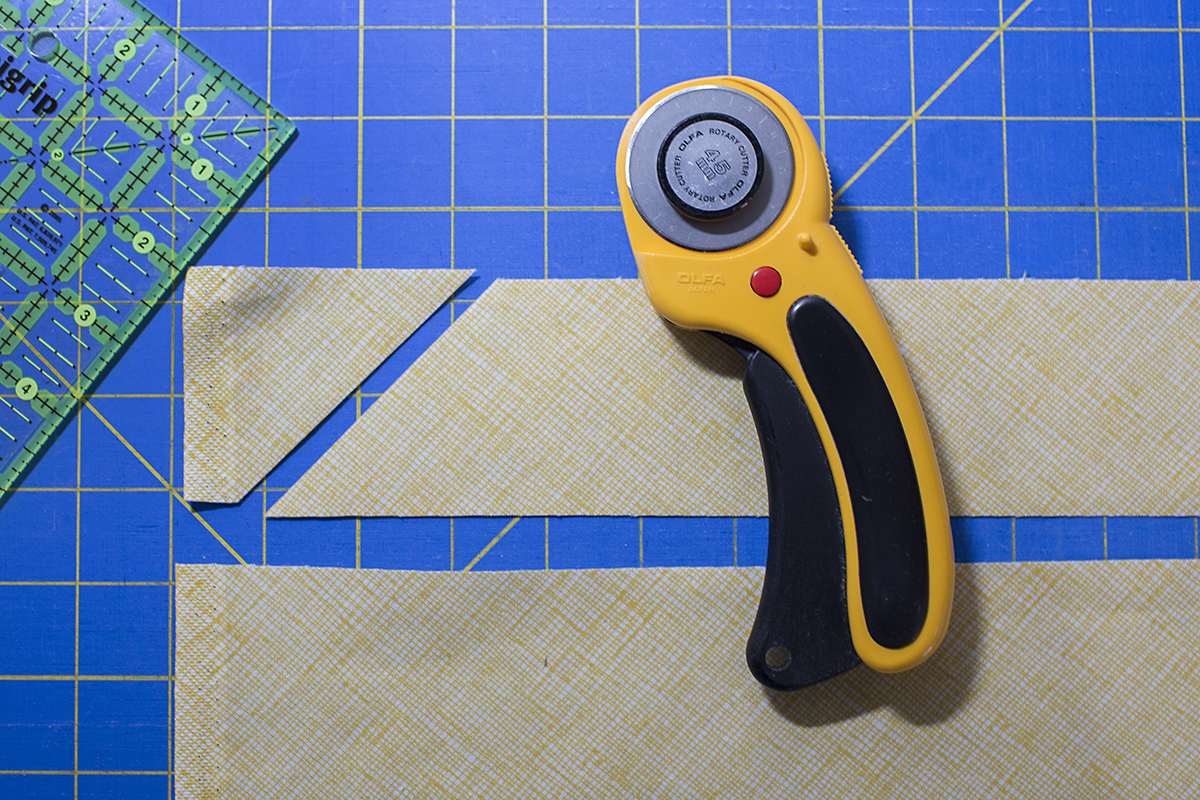
Step 2. Using your quilting ruler, trim the opposite sides of your binding strips at a 45 degree angle, as shown below.
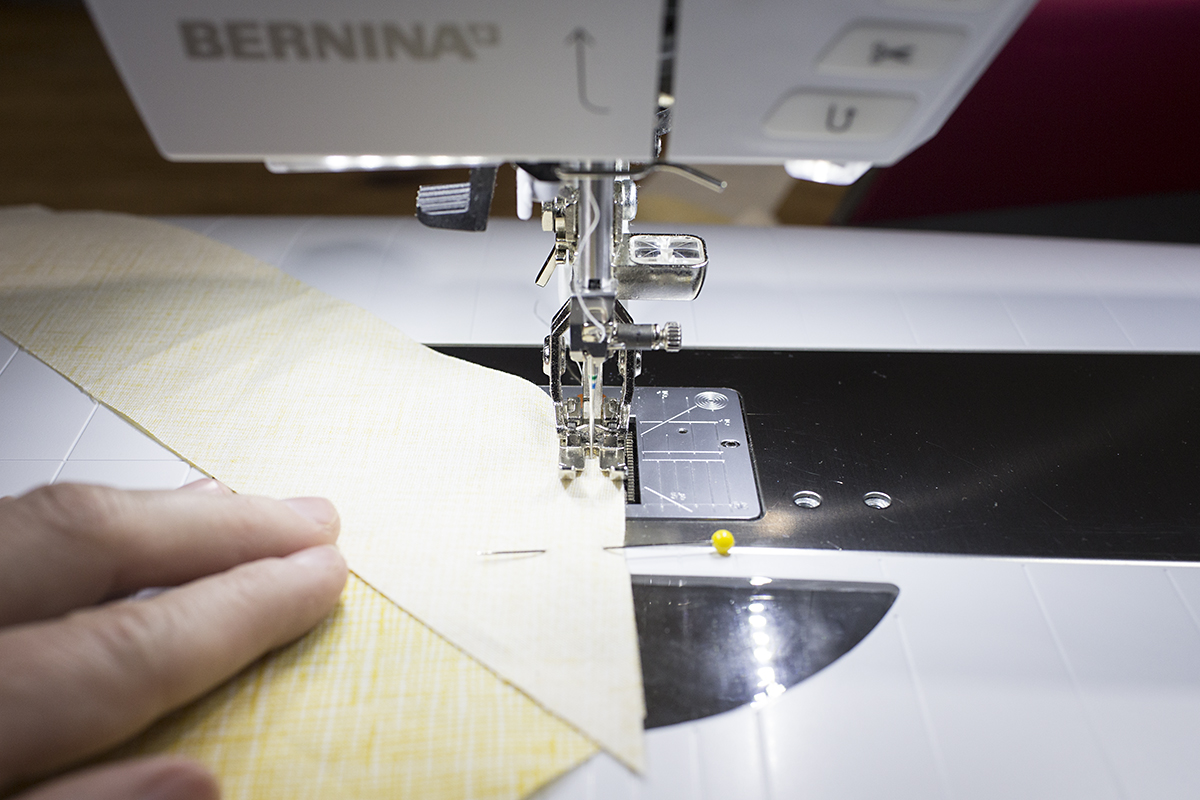
Step 3. Select your first two binding strips. Place right sides together as shown below. You will have 1/4″ fabric triangle overhangs on the top and bottom.

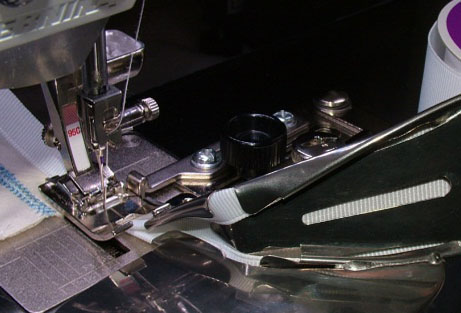
Step 4. Using a 1/4″ seam allowance, stitch along the diagonal cut and join the two pieces of binding together. I use my BERNINA Patchwork foot # 37D foot for sewing perfect 1/4″ seams. Press as desired.
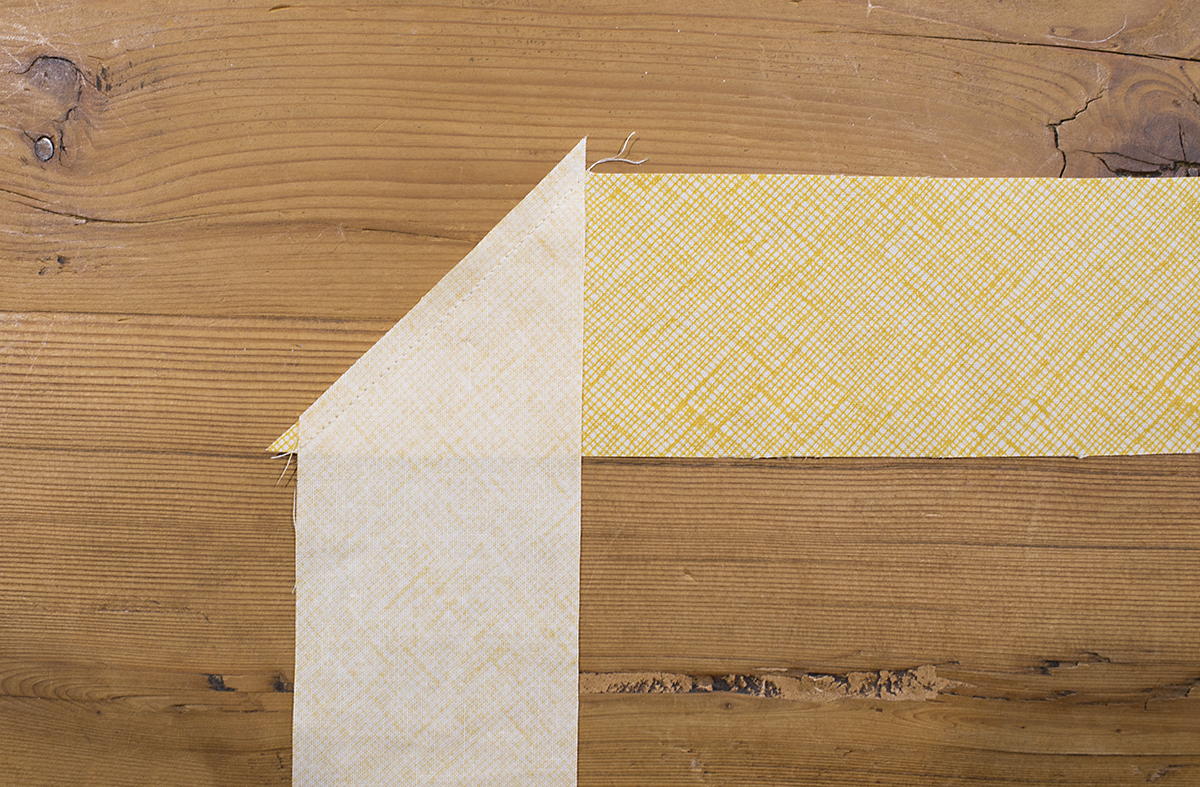
Step 5. Repeat Step 4 until all your binding strips are sewn together.
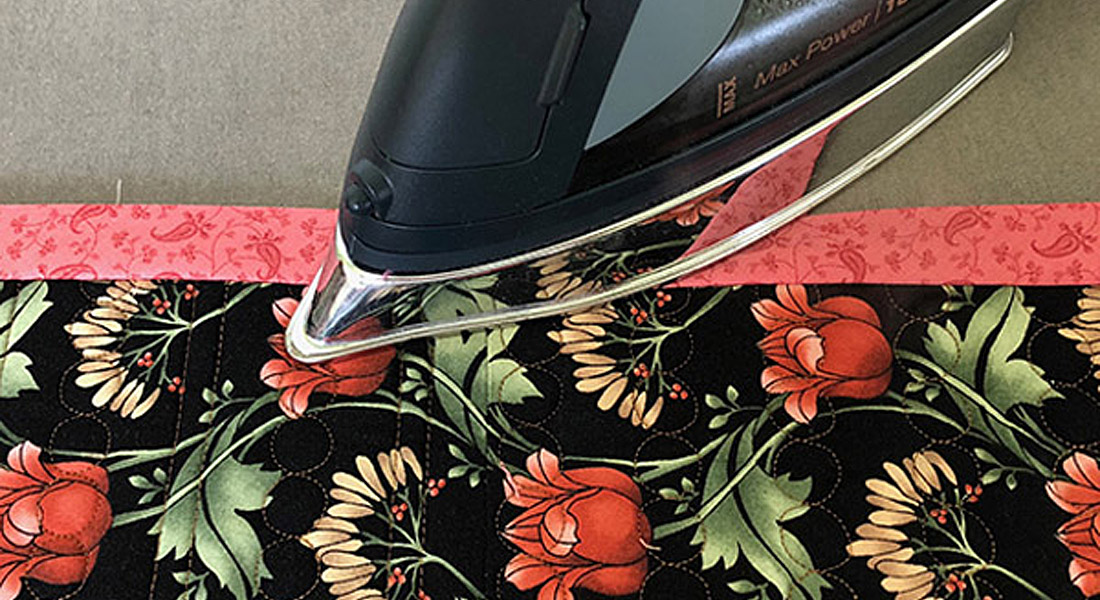
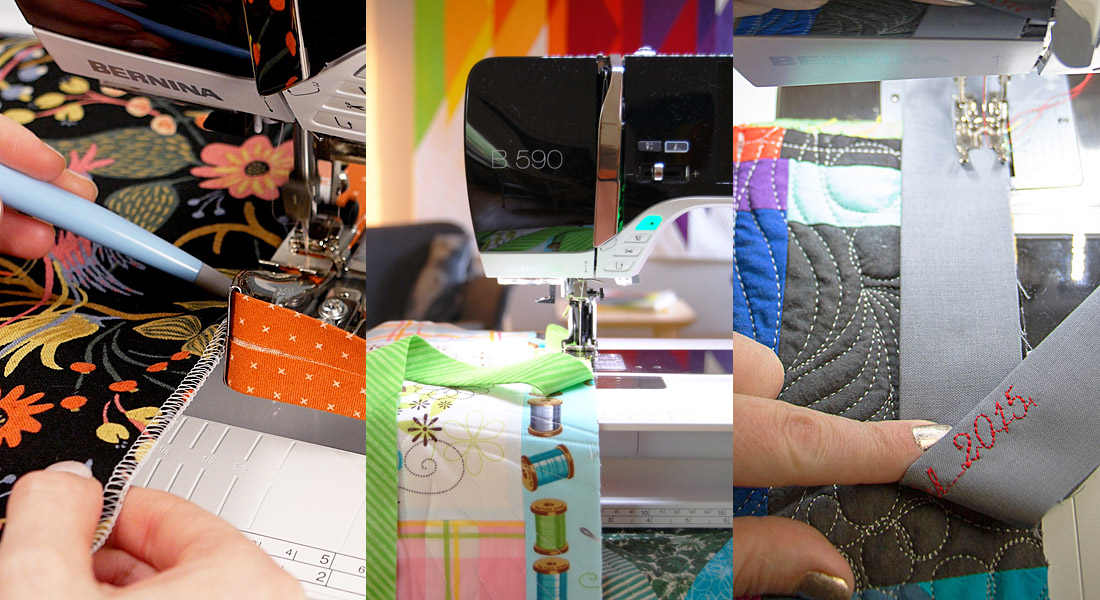
Step 6. Fold your binding in half lengthwise, wrong sides together, and press to create your double fold binding.
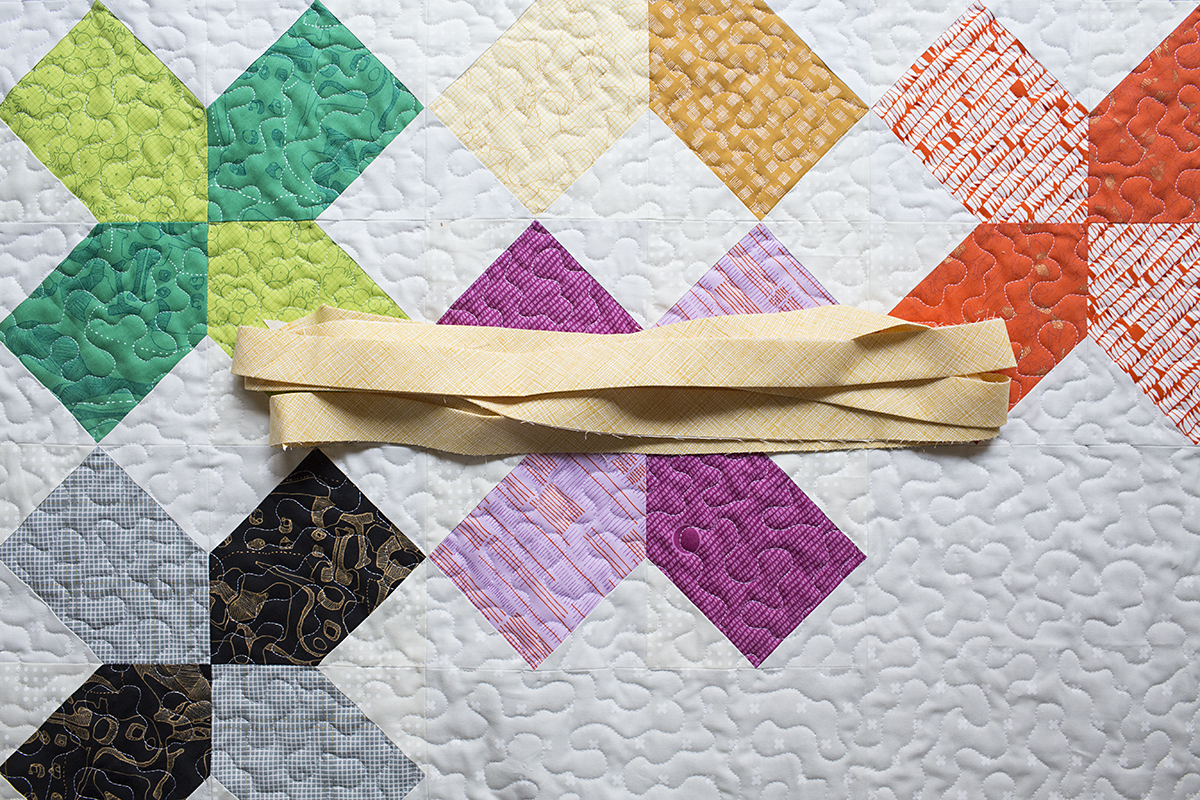
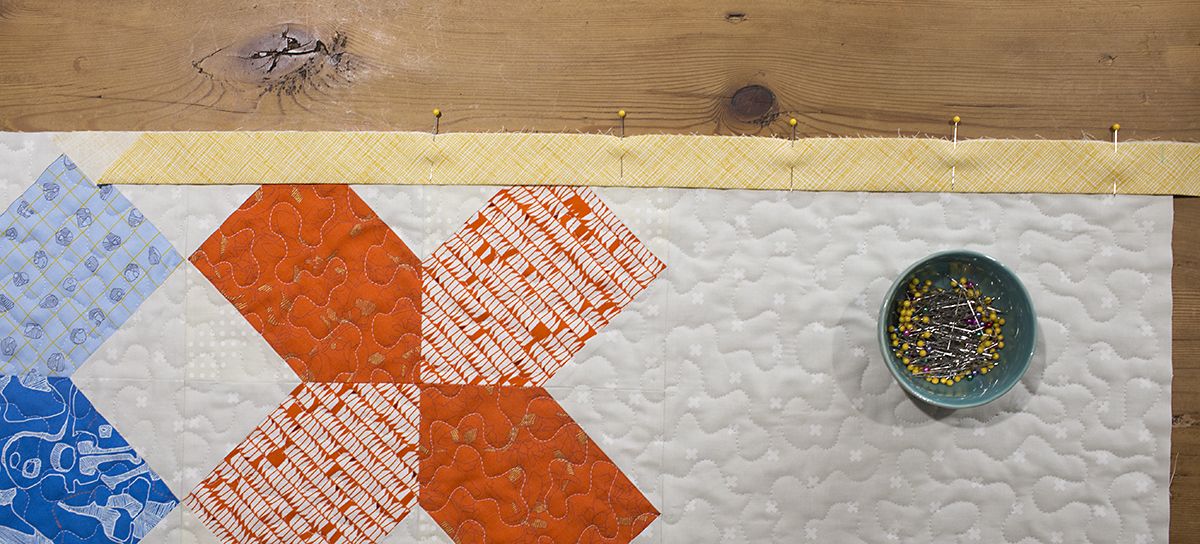
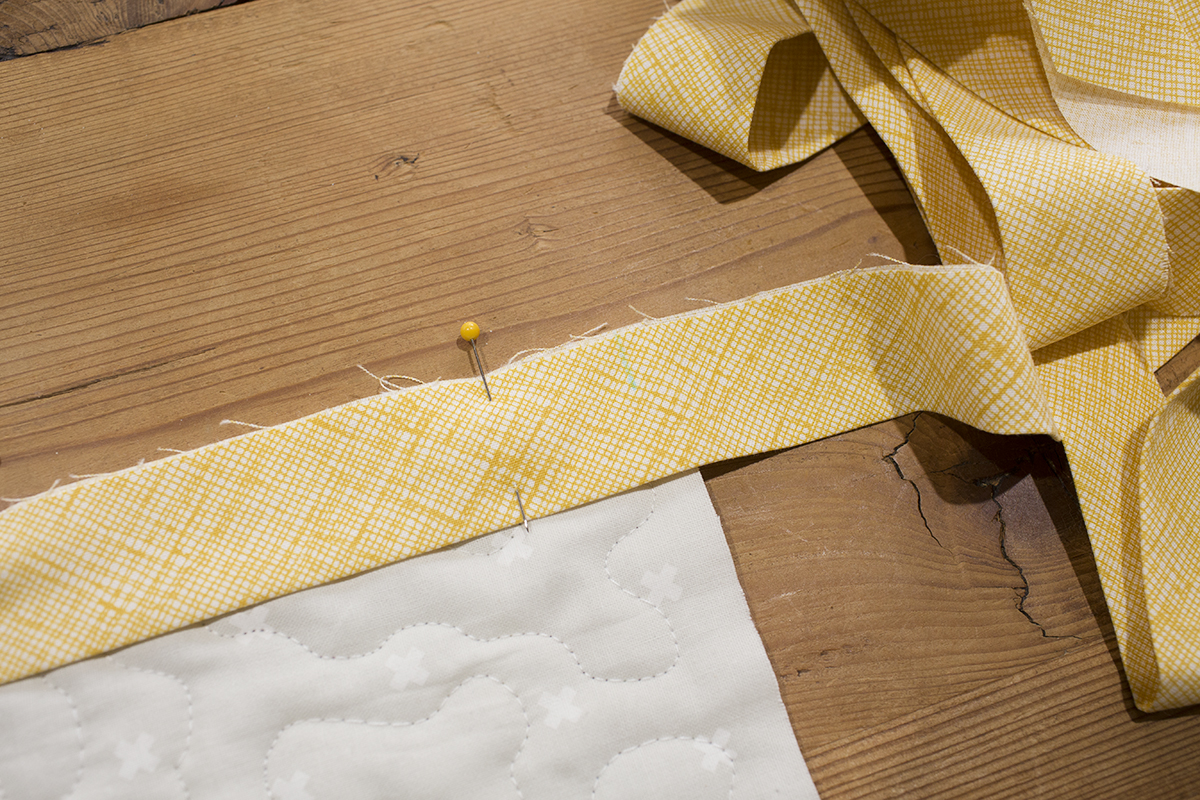
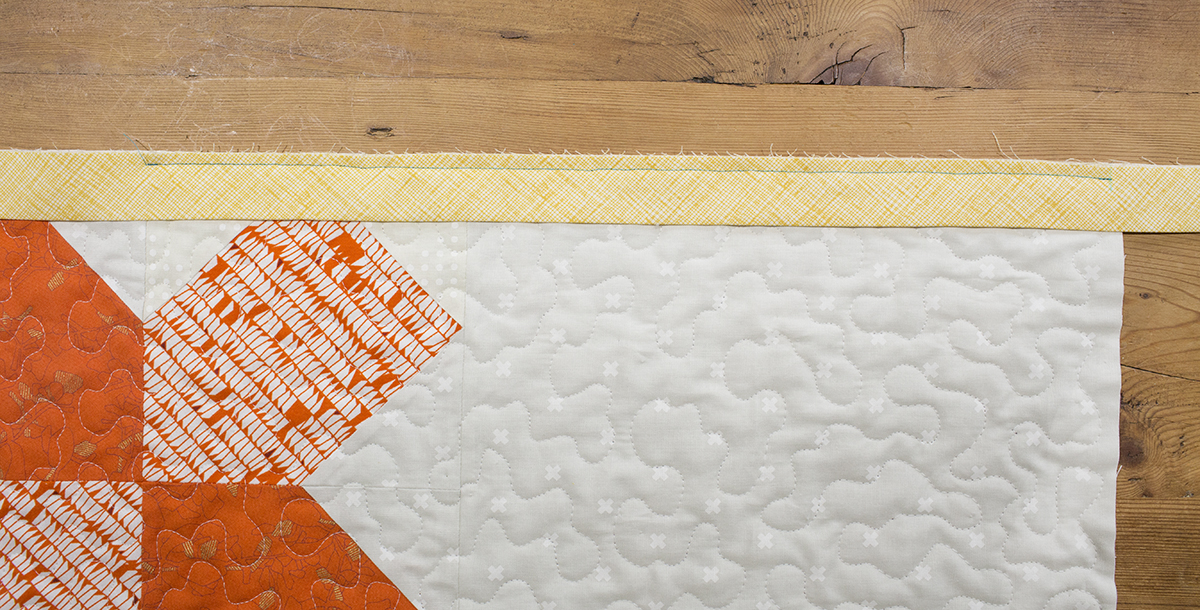
Step 7. Lay out your quilt on a flat surface. I like to start my binding around the middle of a quilt side. Place the raw edge of the binding along the raw edge of the quilt, and pin into place.
Step 8. Begin stitching your binding to the quilt about 10″ to 12″ away from the start of your binding. We will use this unsewn binding to connect the beginning and ending of the binding strips later in the tutorial.
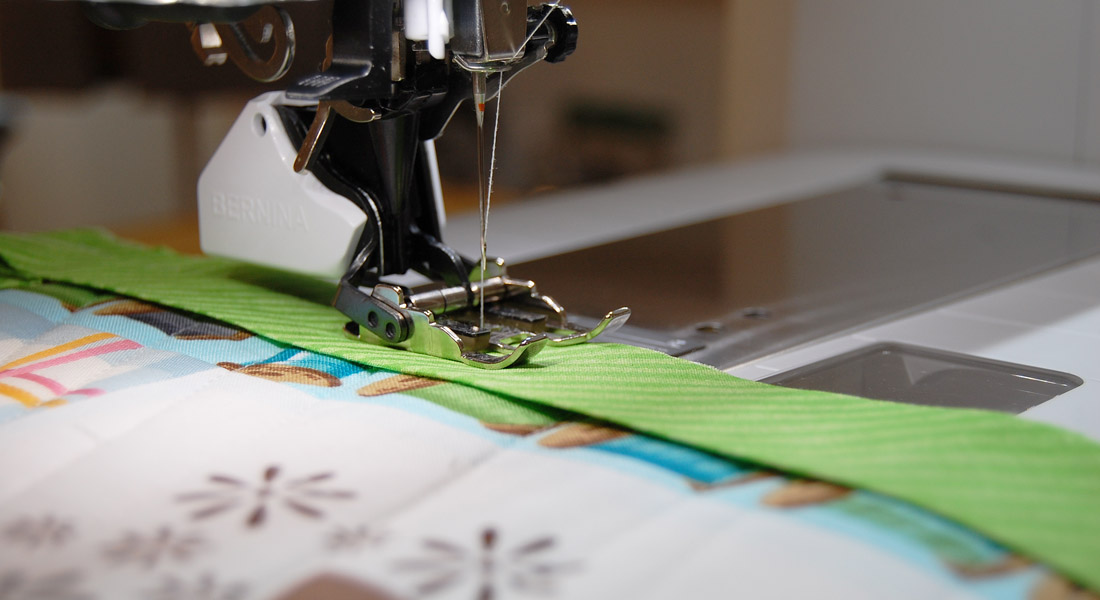
Using a 1/4″ seam allowance, sew the binding onto the quilt, stopping 1/4″ before the corner of the quilt. You may want to mark the stopping point with a pin or marking tool.
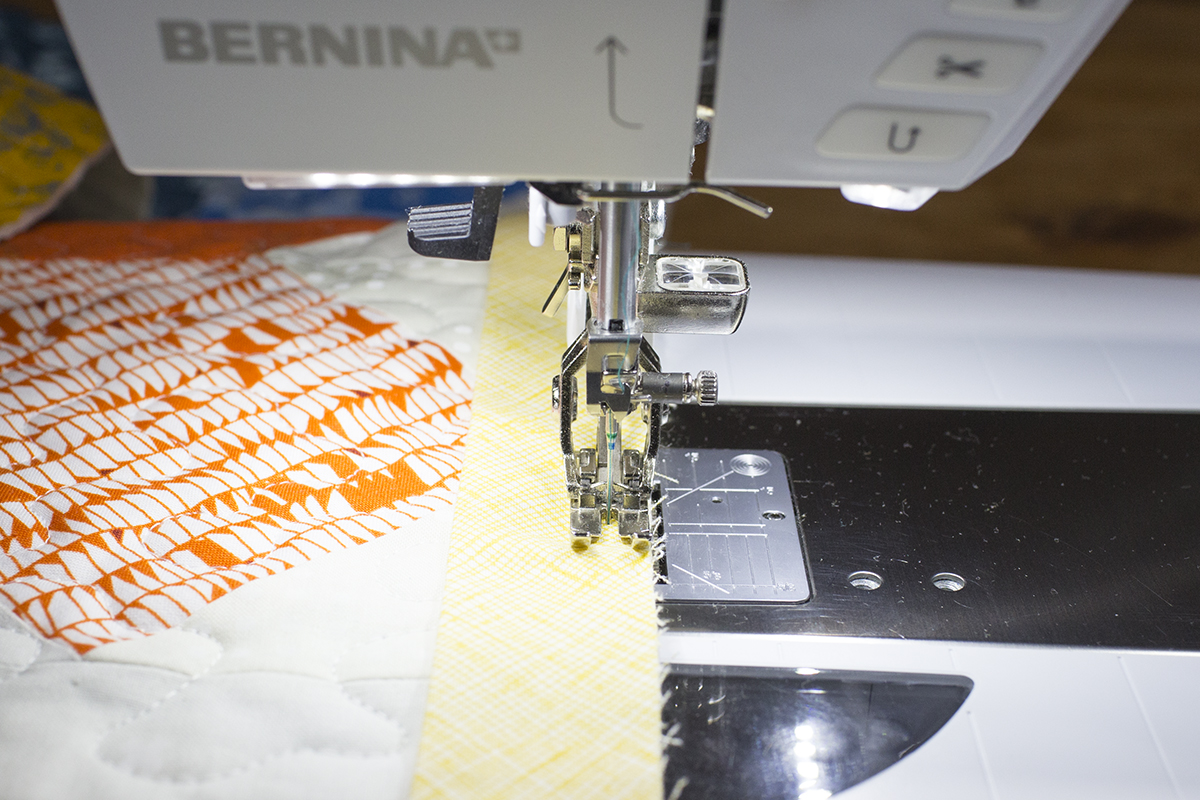
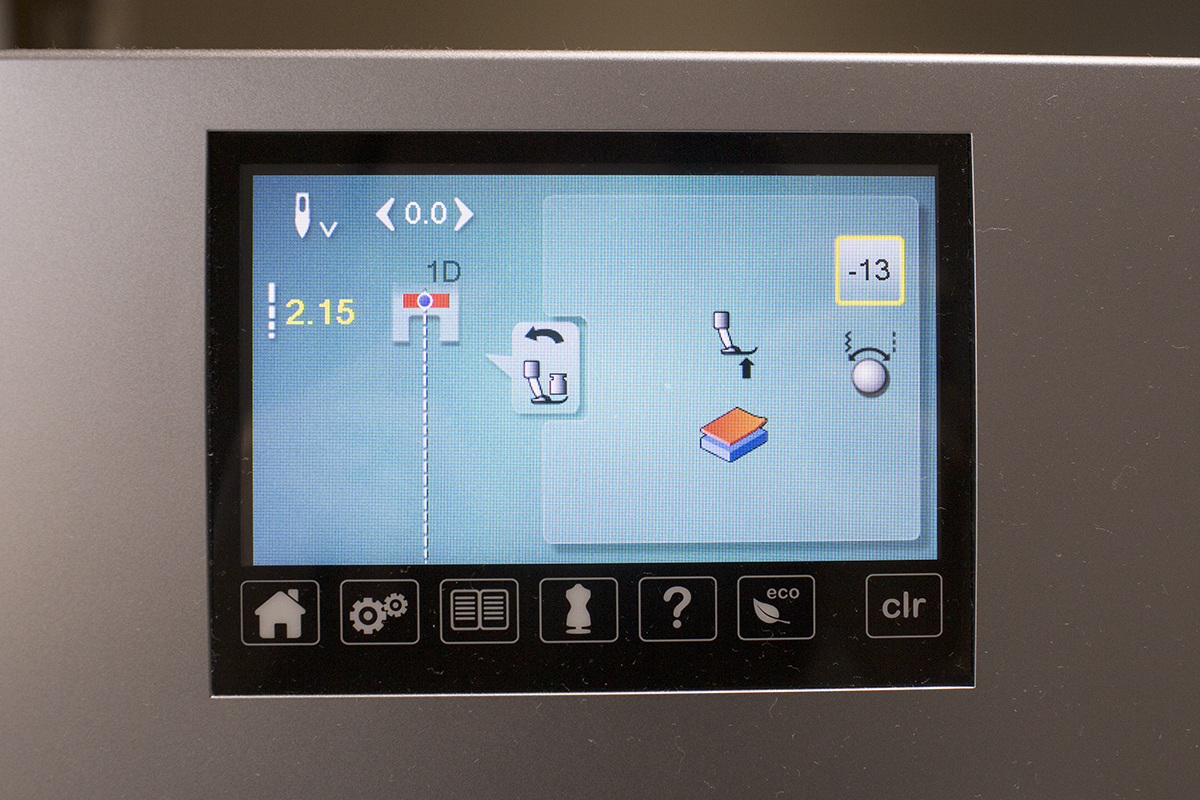
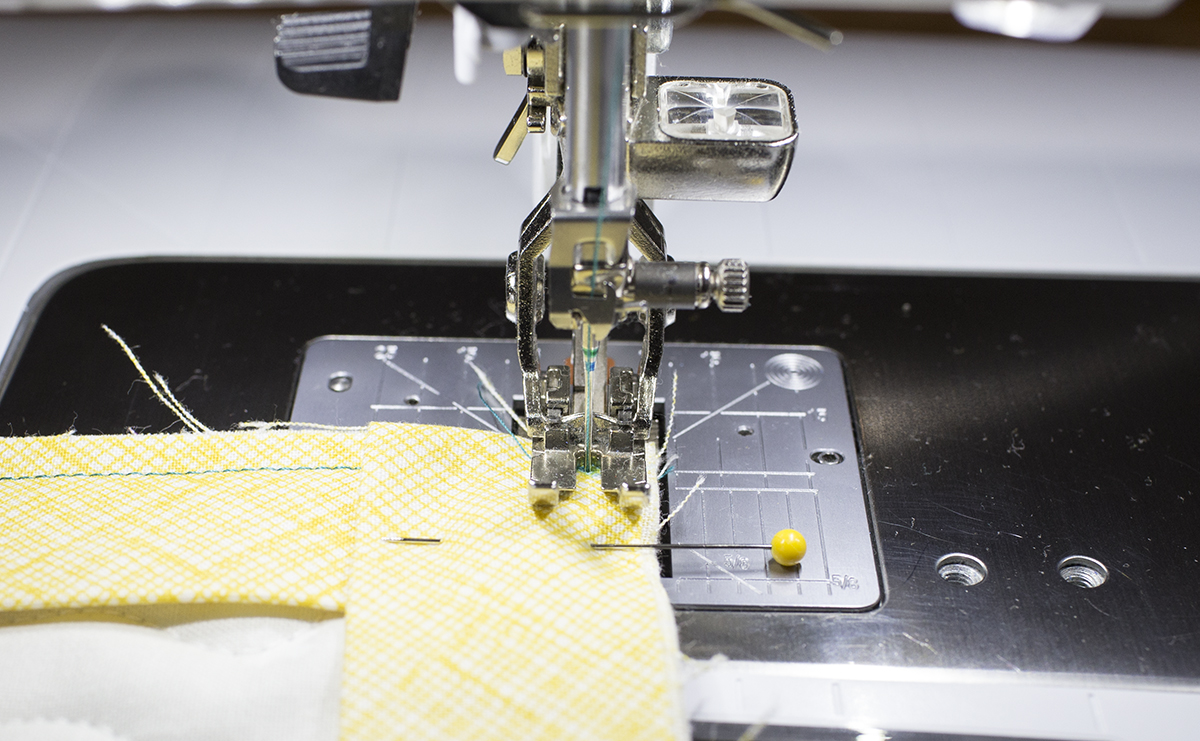
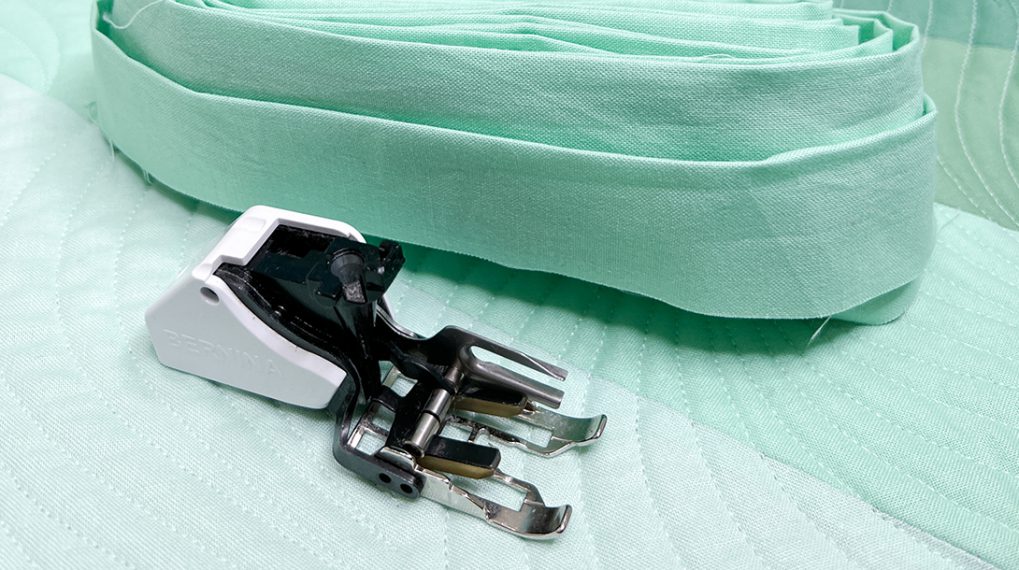
TIP: I used my BERNINA Patchwork foot # 37D foot with the Dual Feed engaged, as it makes sewing 1/4″ seams very simple and accurate. You may need to decrease your pressure foot setting, as a finished quilt can be quite thick. I used around a -13 setting on my BERNINA 750 QE.
Alternatively, you can use your BERNINA Walking foot # 50. When I use my walking foot, I find I do not need to decrease my pressure foot setting.
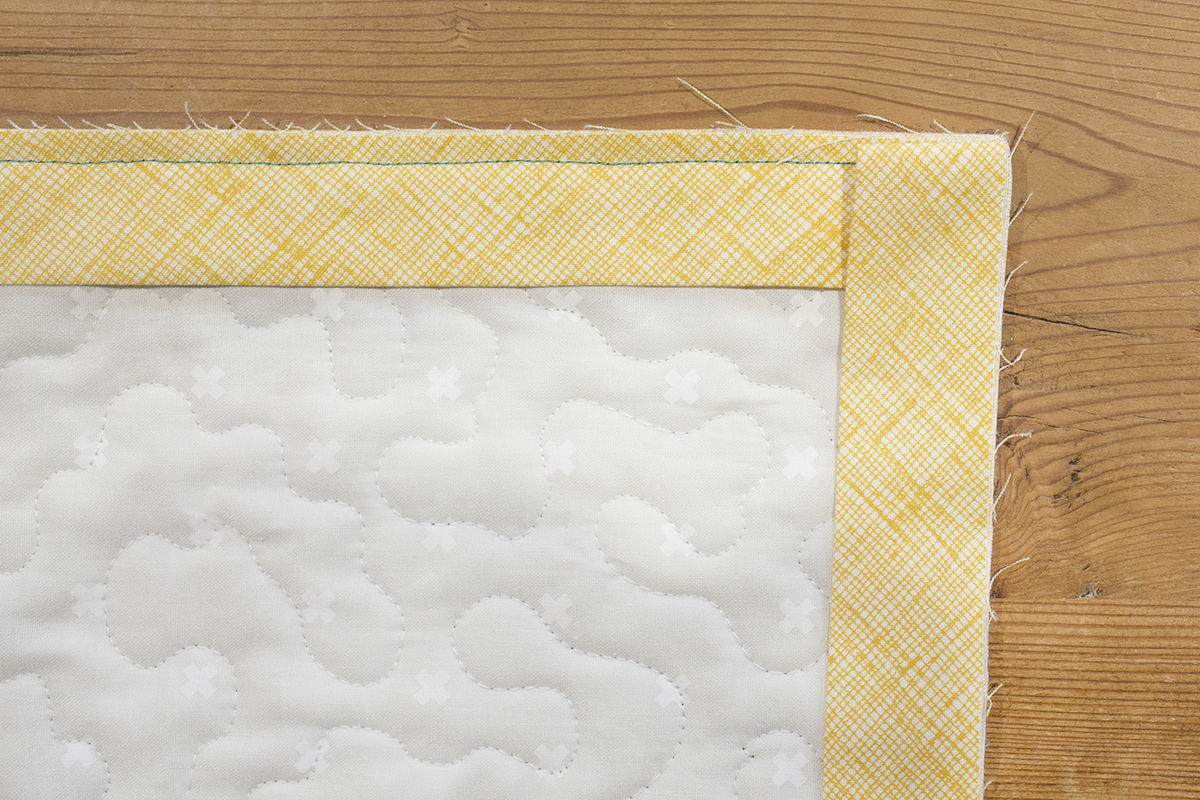
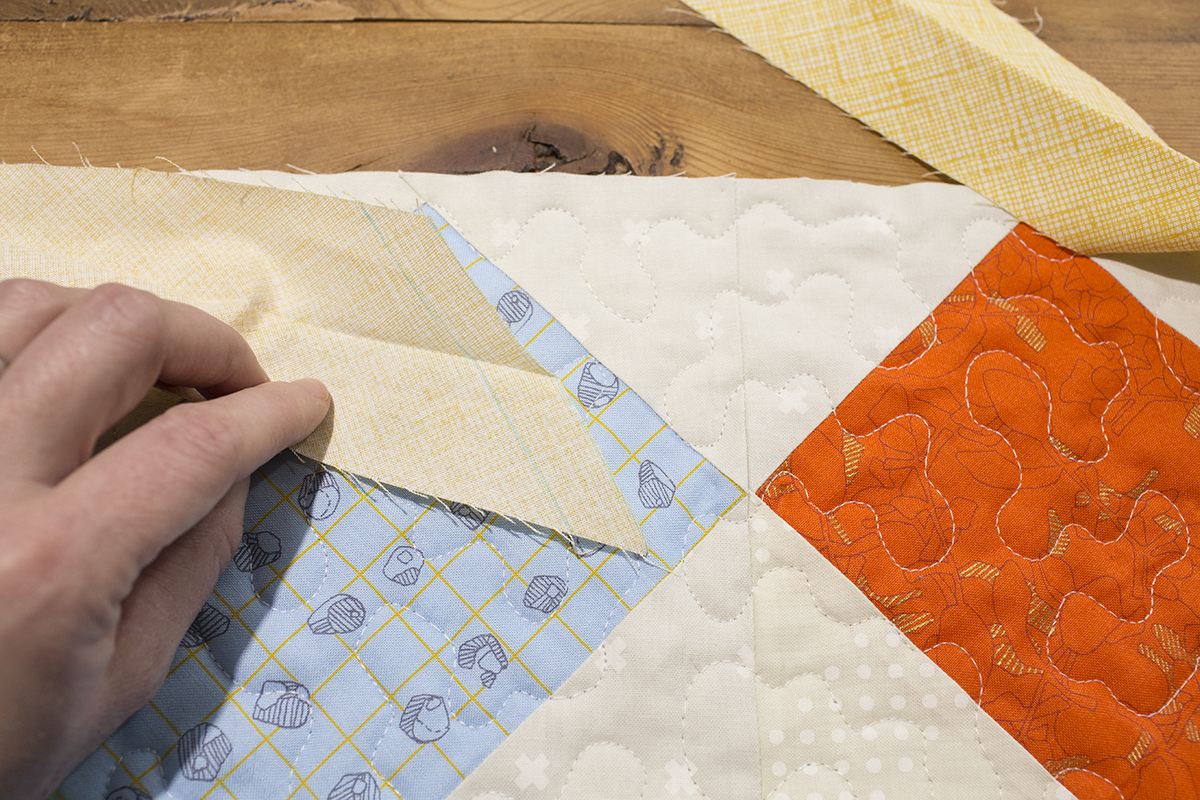
Step 9. Once your have sewn on your binding and stopped 1/4″ from the corner, your quilt should look like the quilt shown below.
It’s time to fold the corner of the binding. First, fold your binding up as shown, creating a 45 degree angle fold.

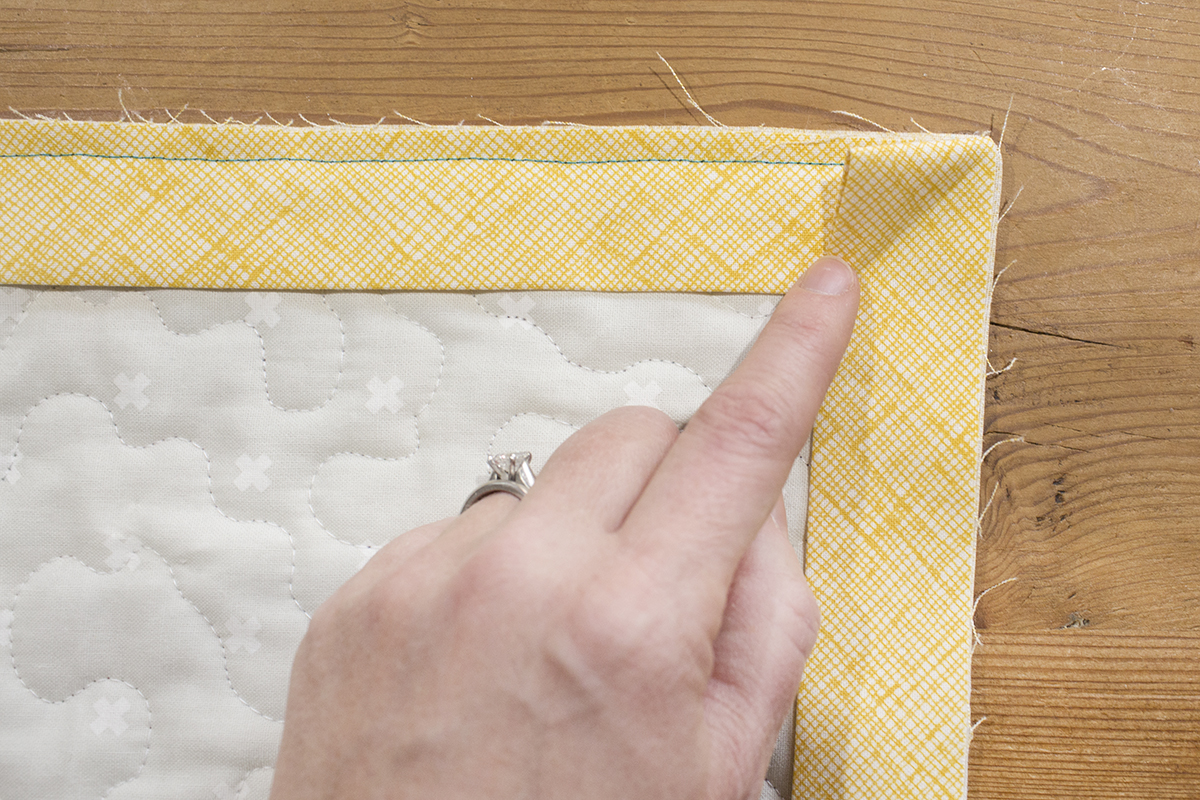
Second, fold the binding strip back down, aligning the raw edge of the binding to the raw edge of the quilt.
You will be left with a little triangle of fabric as shown below.
Step 10. Starting 1/4″ away from the corner of the quilt and using a 1/4″ seam allowance, stitch your binding to the quilt as you did on the first side in Step 8. Once again, stop 1/4″ from the next corner of your quilt.
Step 11. Continue to stitch your binding to all sides of the quilt. When you reach the last side, stop about 10″ to 12″ before the end so that you can join your binding strips together.
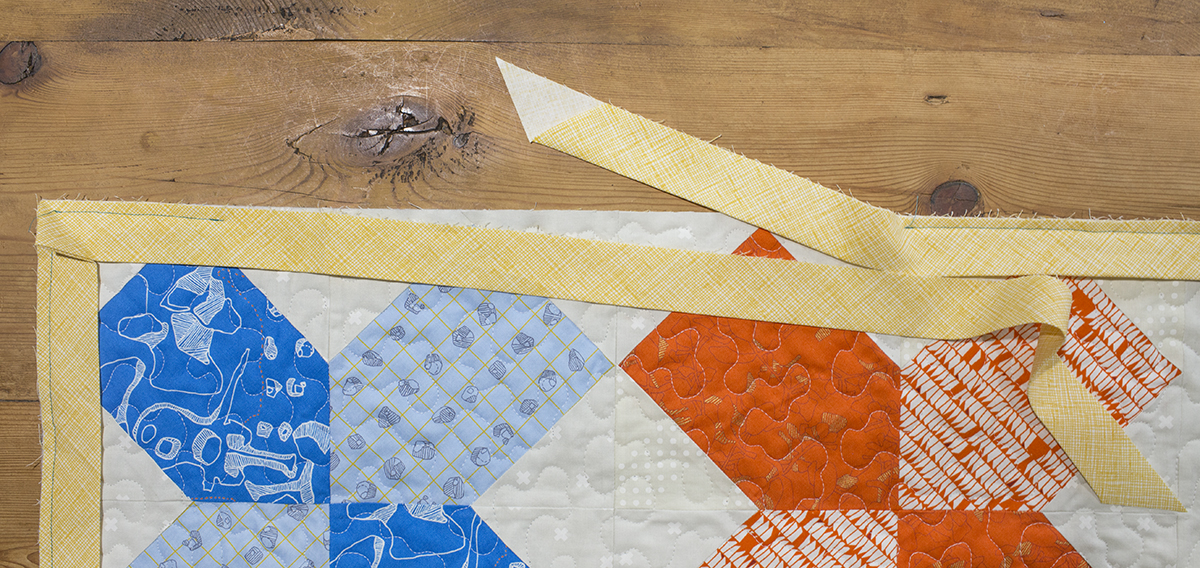
Step 12. This is where the magic happens! If you have a lot of excess binding fabric, feel free trim the ends a bit to make it more manageable.
Starting with the end of the binding, open the fabric and pin the binding strip into place along the edge of the quilt, as shown.
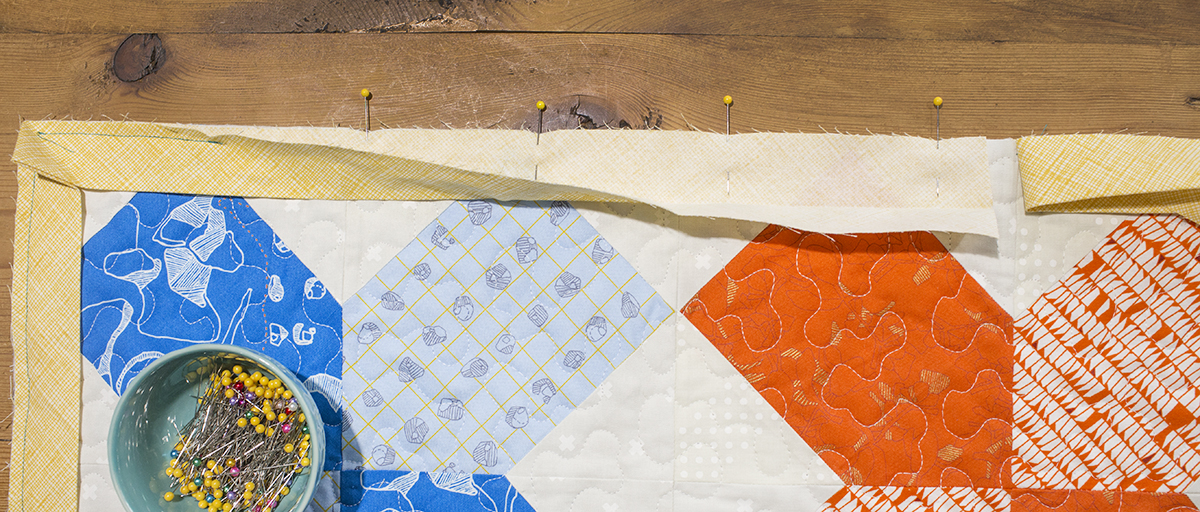
Step 13. Take the unsewn beginning binding strip, open the fabric, and lay it on top of the pinned ending binding strip, as shown.
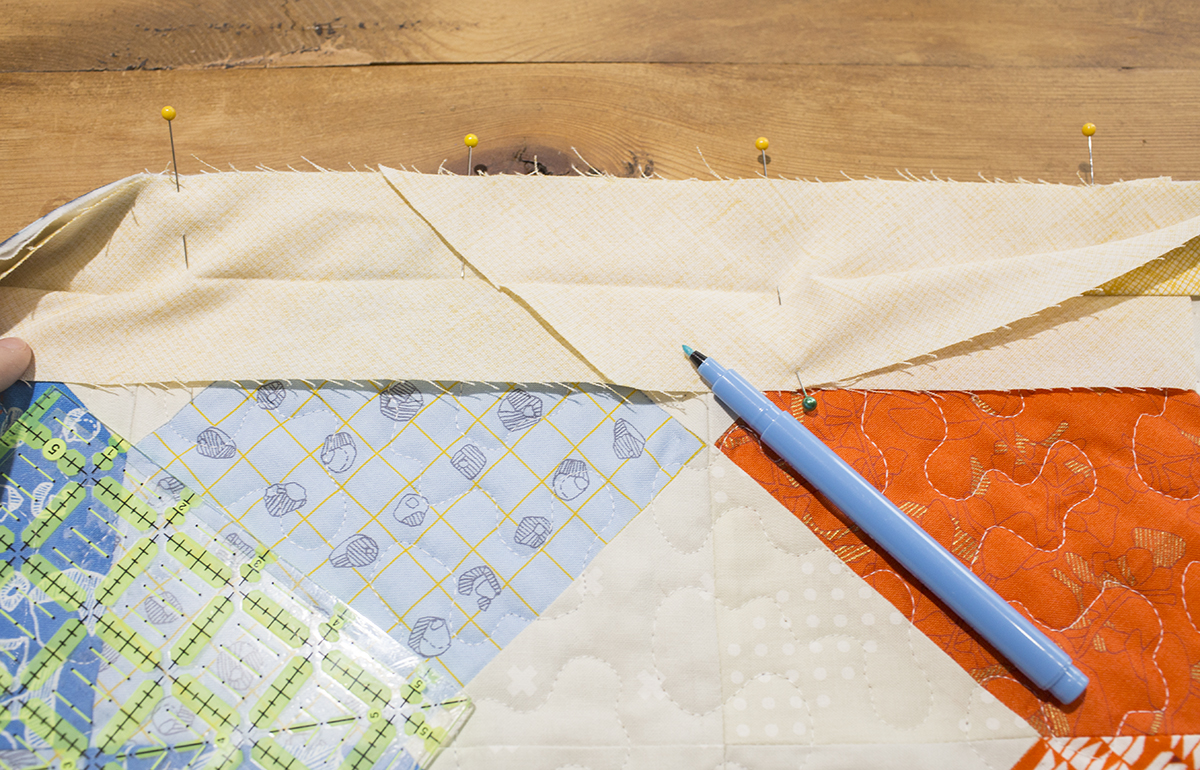
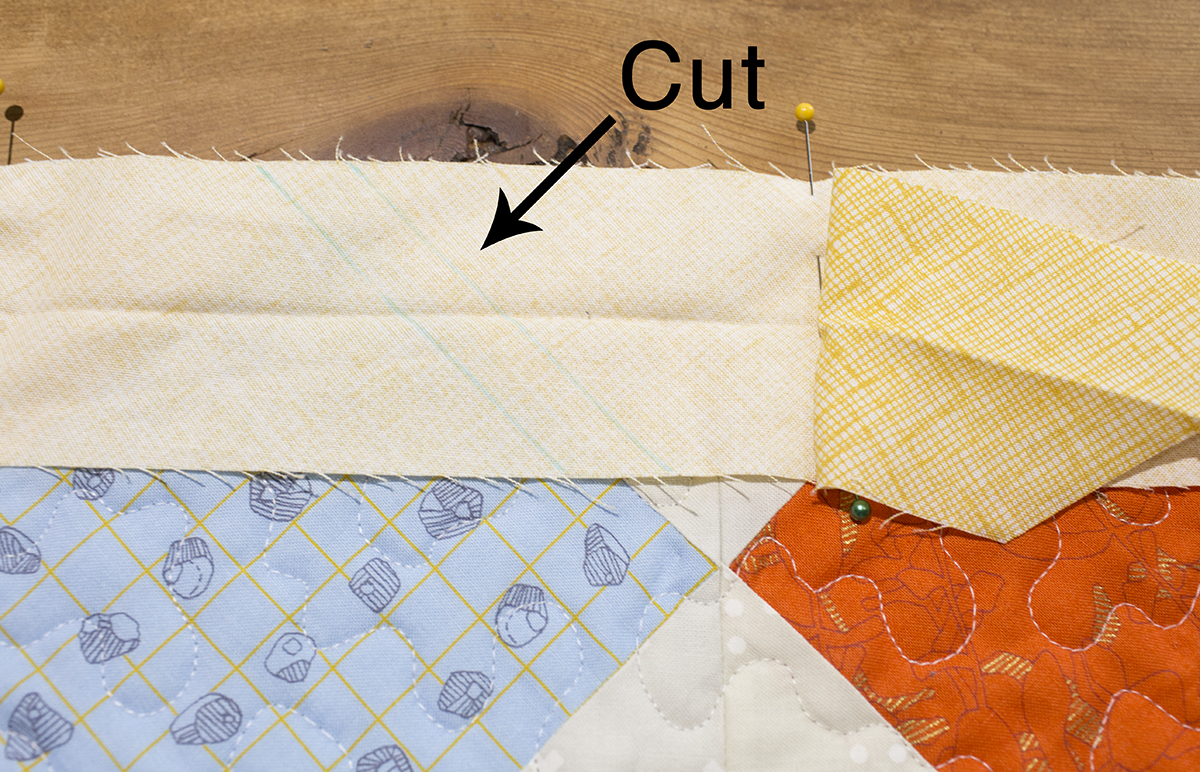
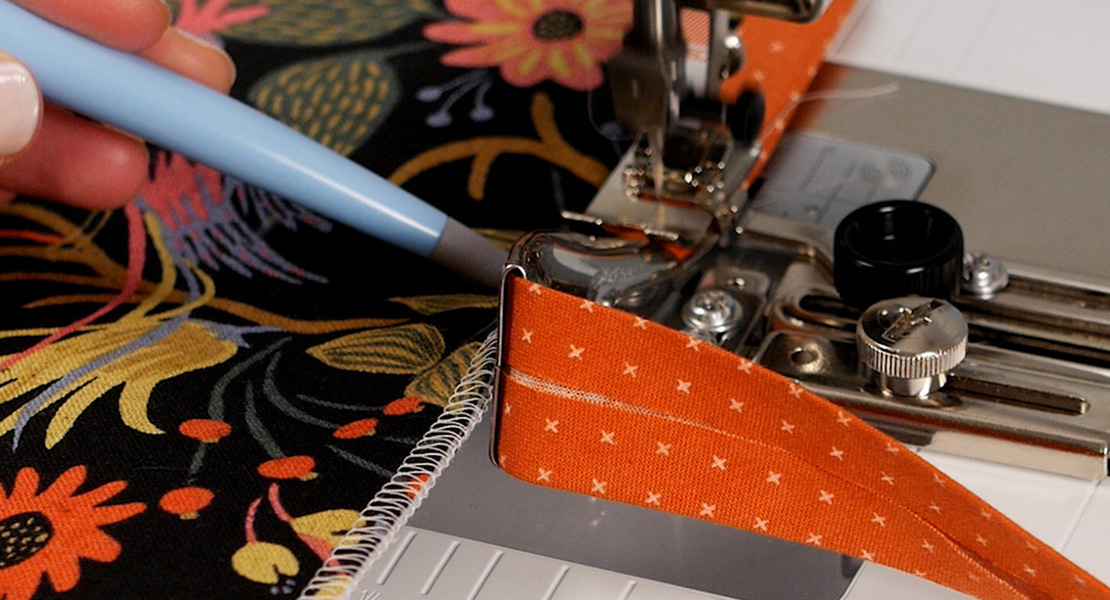
Step 14. Using a marking tool, trace the 45 degree angle from the beginning binding strip onto the ending binding strip.
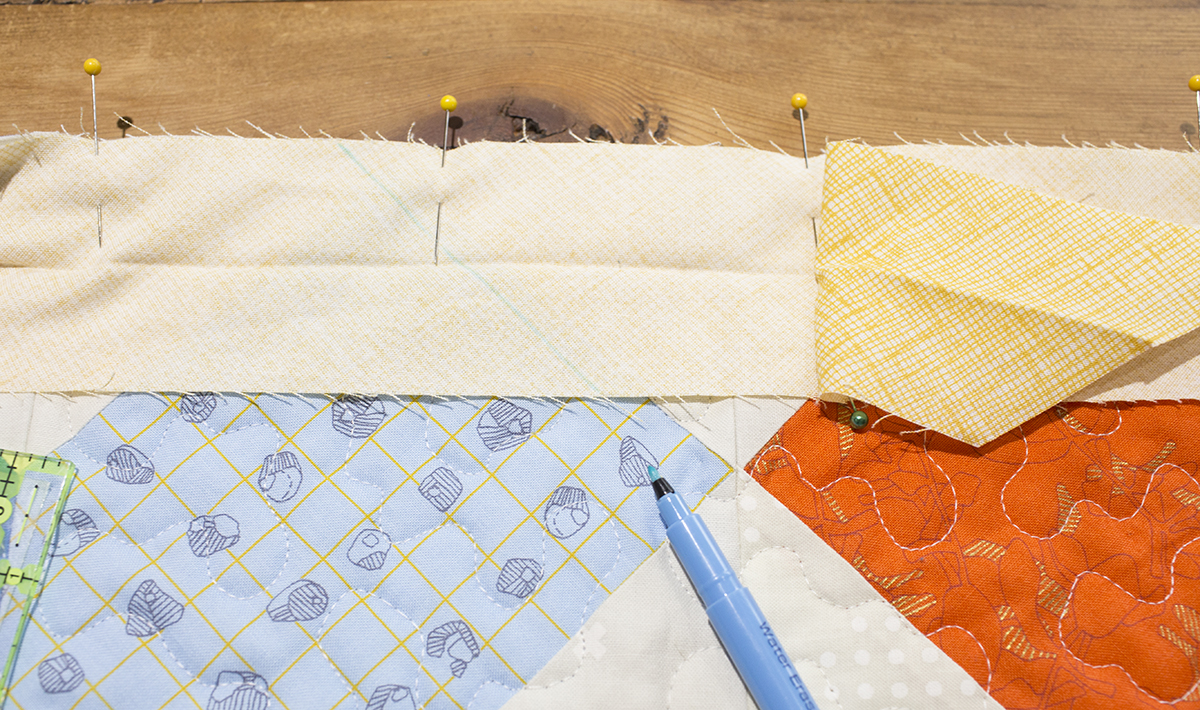
Step 15. Using a quilting ruler, draw a second 45 degree line 1/2″ past the first marked line. This will take into account the 1/2″ of fabric we will lose into the seam allowance when we sew the two strips together.
Unpin the ending binding strip and cut it along the second marked line.
Step 16. Using the same method as Step 4, sew your beginning and ending binding strips together.
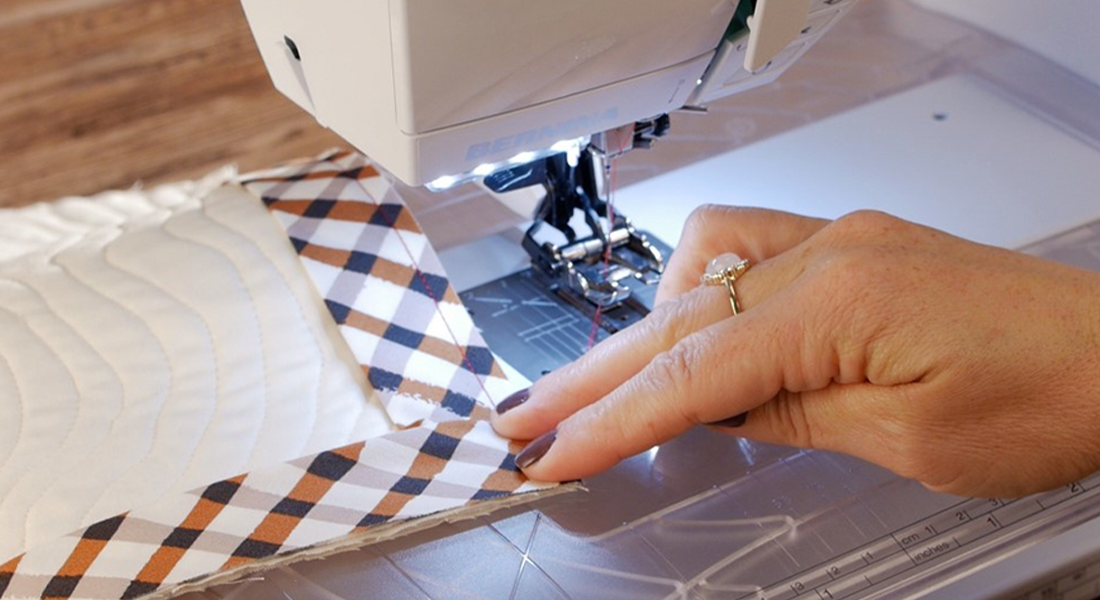
Step 17. Pin remaining unsewn binding to your quilt and stitch on using a 1/4″ seam allowance.
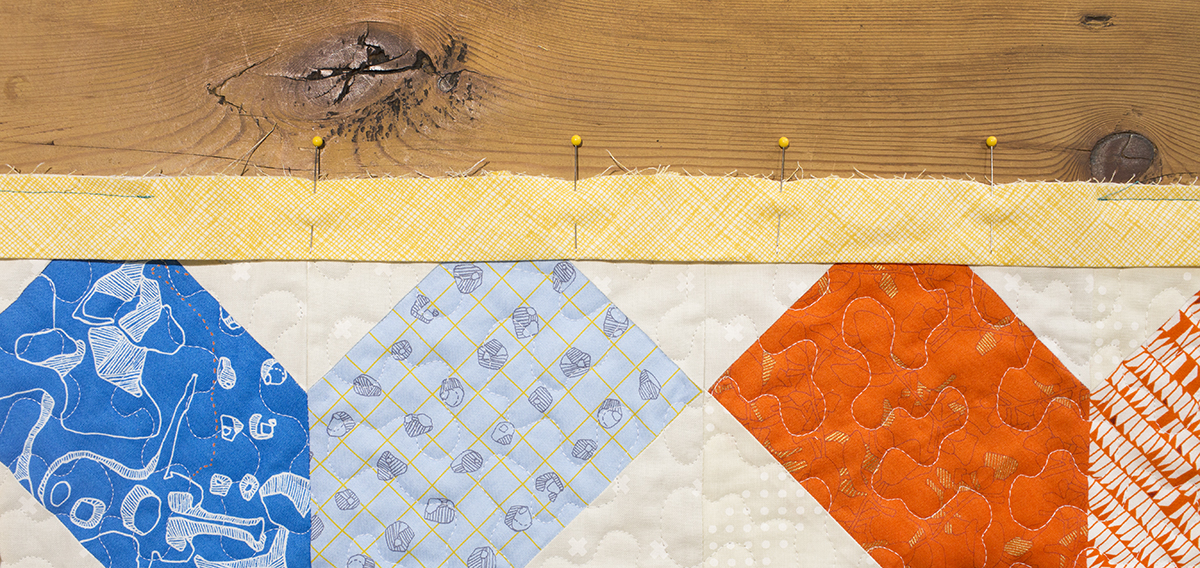
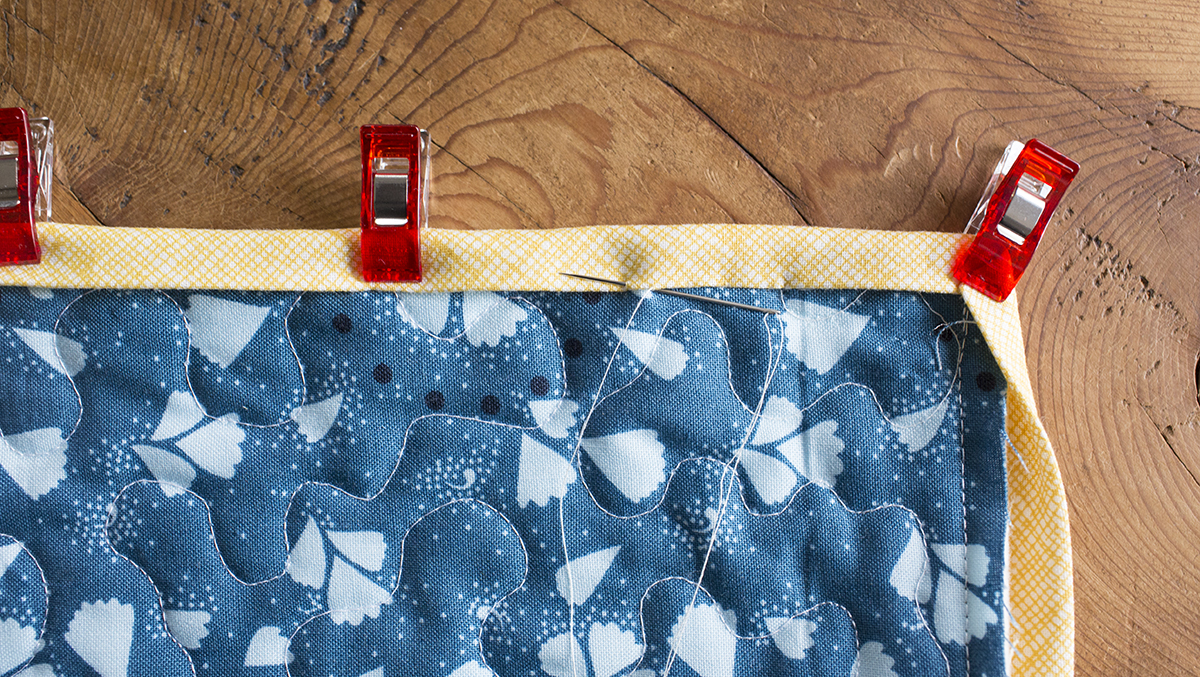
Step 18. Fold your binding over to the back of the quilt. Pin or clip into place. I love using Clover Wonder Clips for this process.
Step 19. Using small, close stitches, hand stitch your binding to the back of the quilt. For me, this is a perfect “relax on the couch” activity.
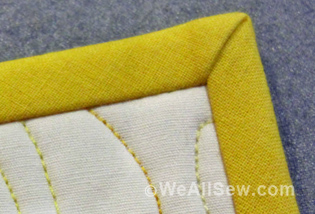
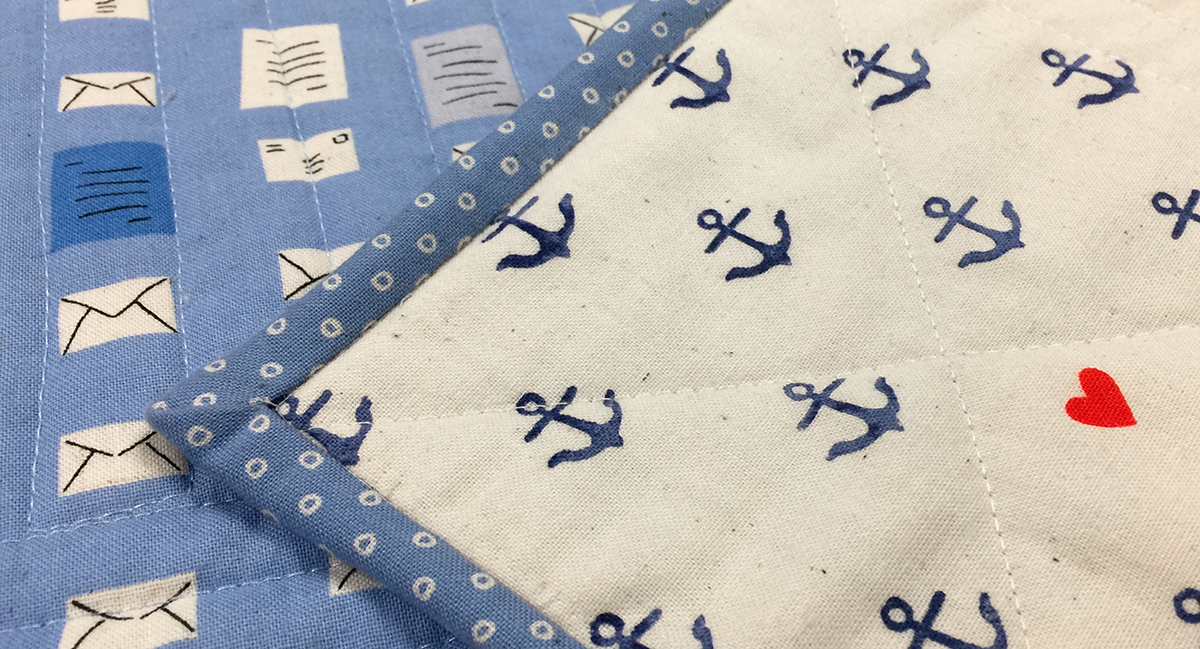
When you reach the corner of the binding, stitch up the back 45 degree angle and down the front 45 degree angle.
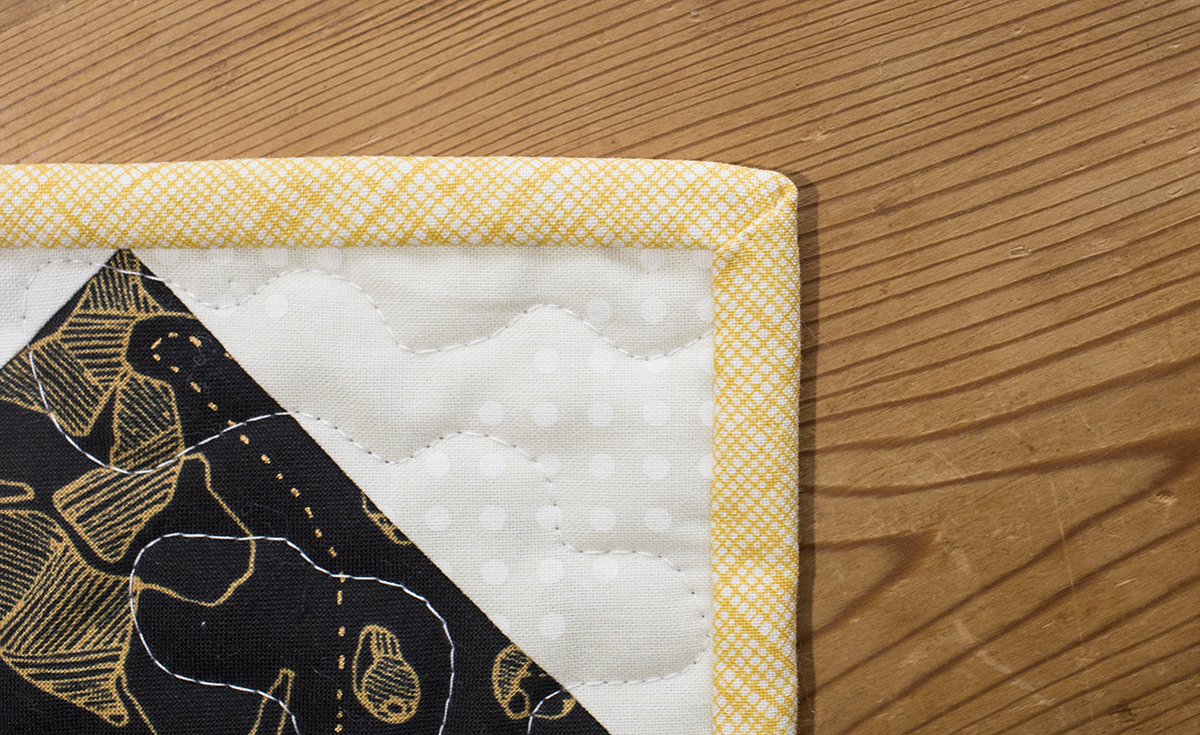
Congratulations! You have bound your quilt!
Used Products


What you might also like


8 comments on “How to Bind a Quilt using Double Fold Binding”
-
-
After the top has been quilted, lay it out and press lightly. Then take a ruler and measure 3/8″ from the edge of the quilt top only (not the batting and backing) and trim off the excess batting and backing. When attaching the binding, match binding open edge to the quilt top edge and sew on using a 1/4″ seam. This method will fill the quilt binding nicely when you turn it to sew the binding down to the back of the quilt.
-
Thanks so much for your clear directions. Genie
-
-
Can you tell me where I can find the quilt pattern you used here?
What is the name of the quilt pattern?
Thank you!-
Hi there! You can find the details on this quilt here -> https://www.freshlemonsquilts.com/journal/mayflower?rq=mayflower%20quilt
-
-
What is a good resource to learn how to hand stitch to apply the binding on the back? I find when I’m hand stitching my thread is super long and gets tangled. (I’m a very new sewist!)
-
When I was at school, we were allowed our thread to be only as long as from the tip of the nose to a hand outstretched to one side. Hold your thread on the tip of your nose while measuring. That’s plenty long enough without tangles (about a metre).
-
Please can you explain step 6 a bit more? How do you get from what it looks like in the image above step 5 to the later images?
Leave a Reply
You must be logged in to post a comment.

This was very helpful. I have one question, when putting on a 2.5″ double fold binding, where do you trim the quilt sandwich, so as to allow for filling in the binding? Right next to the quilt top edge? 1/4″ beyond the top edge? Thanks,, Genie