Bunny Snack Bag
Hello friends,
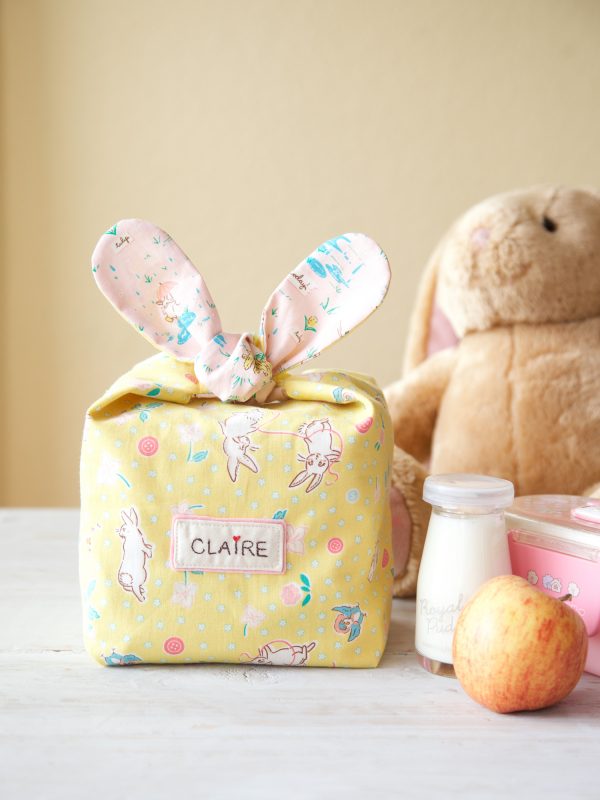
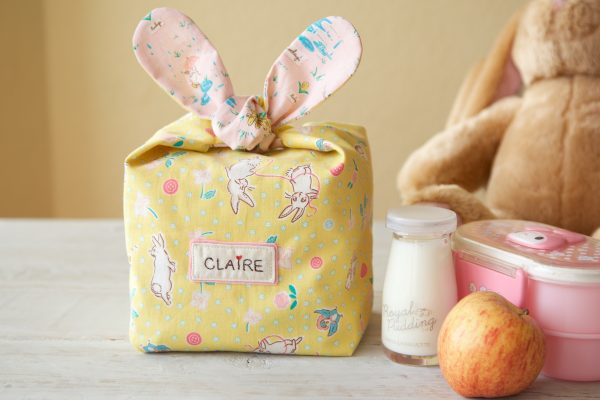
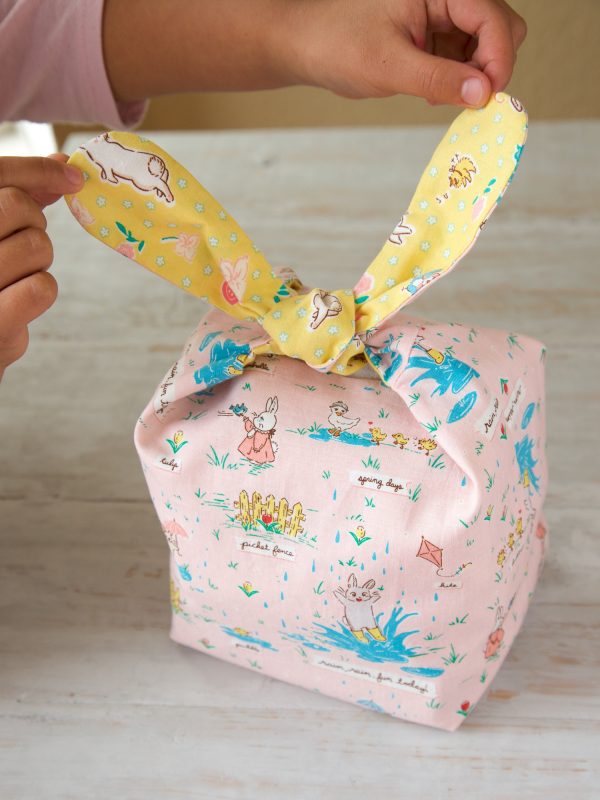
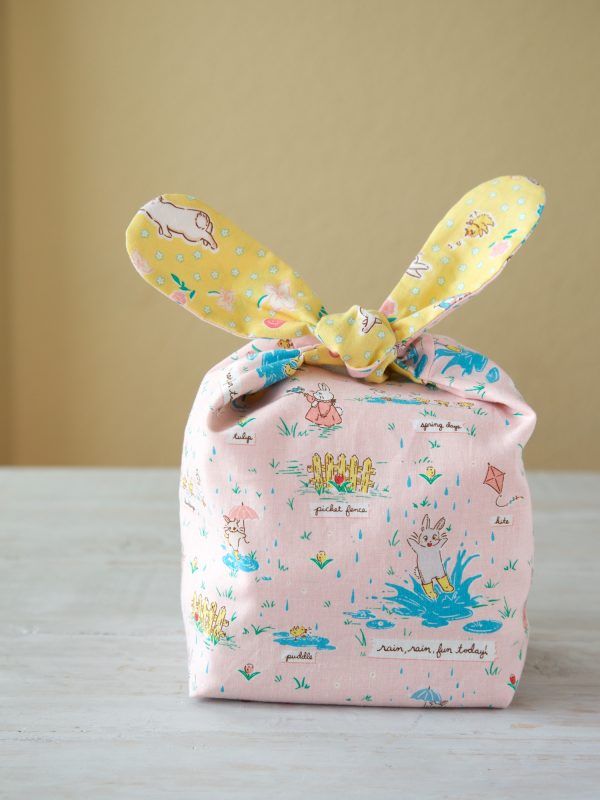
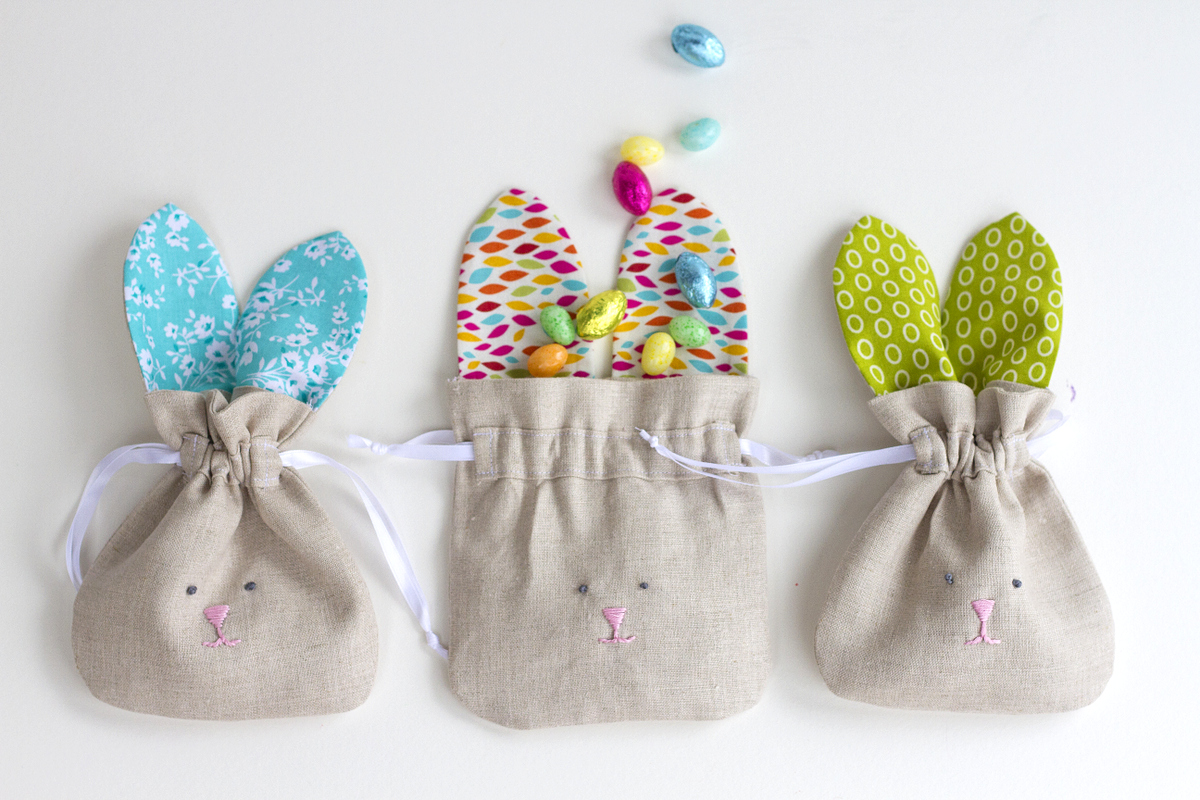
It’s Minki from Minkis’s Worktable. Spring is just around corner and this bunny snack bag is perfect for the season!
It’s reversible, so you can enjoy two different bags within one bag!
Finished size: 6” x 4 3/4” x 8” (without bunny ears)
Materials to Make a Bunny Snack Bag
- 20 3/4” x 11”, Two (2) 10” x 2 1/2” yellow bunny print
- 20 3/4” x 11”, Two (2) 10” x 2 1/2” pink bunny print
- 2 1/2” x 2 1/2” white solid
- 2 1/8 x 1 1/8” pink felt
*fabric used: Bunnies and Blossoms by Lauren Nash for Riley Blake Designs
*no interfacing used in the bag
How to Sew the Bunny Snack Bag
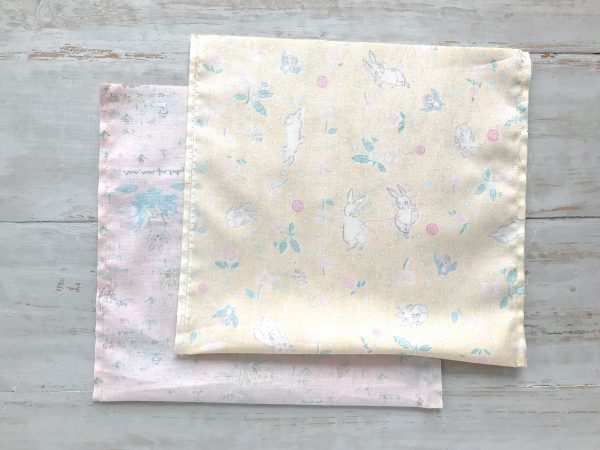
1. Fold 20 3/4” x 11” rectangle bunny print in half with right sides facing and sew both sides with a quarter-inch seam. Make two, one for the outside of the bag and one for the lining.
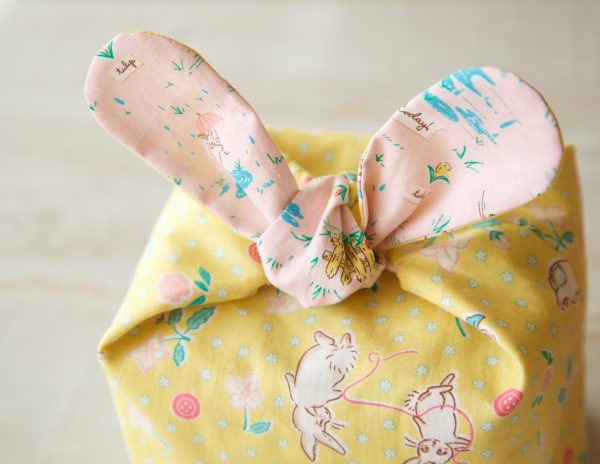
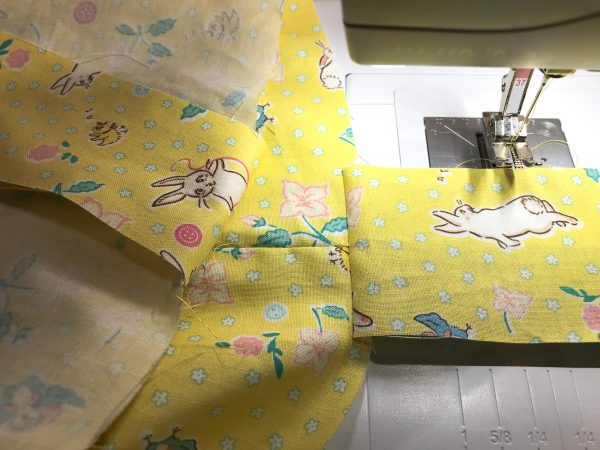
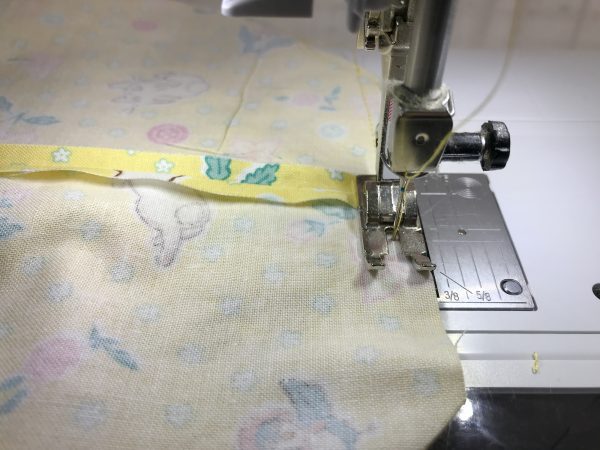
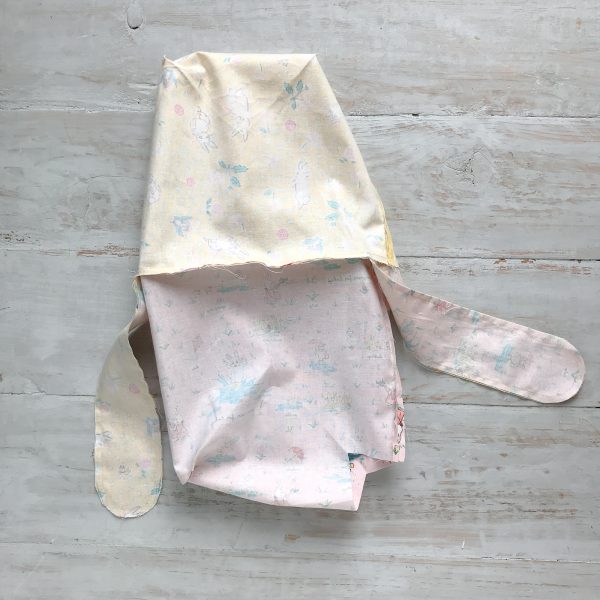
2. Round off one end of each of the 10″ x 2 1/2″ strips to become the bunny ears. Pin one flat end of 10” x 2 1/2” yellow bunny-ear-print to match centered with the bag side-seam. Sew the bunny ear as shown with a quarter-inch seam. Sew the other ear as well.
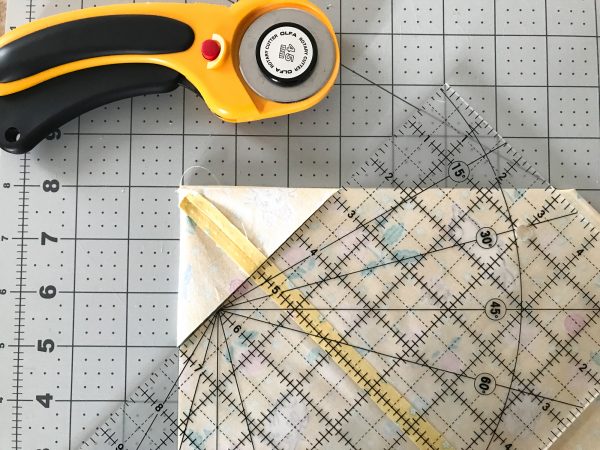
3. Fold the bag bottom as shown and place it on the cutting mat. Draw a diagonal line and cut. Repeat the step for pink lining.
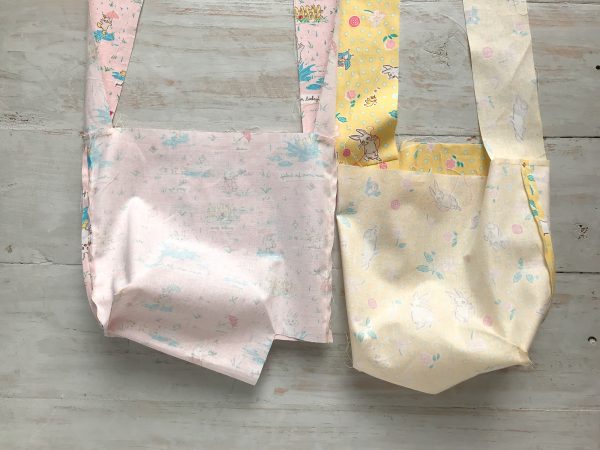
4. Sew the bag bottoms with a quarter-inch seam.
5. Repeat the steps for the bag lining, except, sew only one bottom side of bag lining (the other will be left open to turn the bag inside-out).
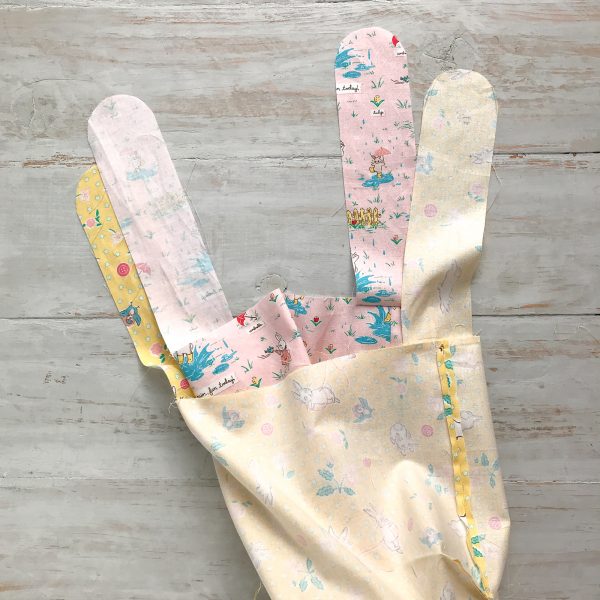
6. With the right sides facing, place the bag lining inside of the outer bag and pin in place.
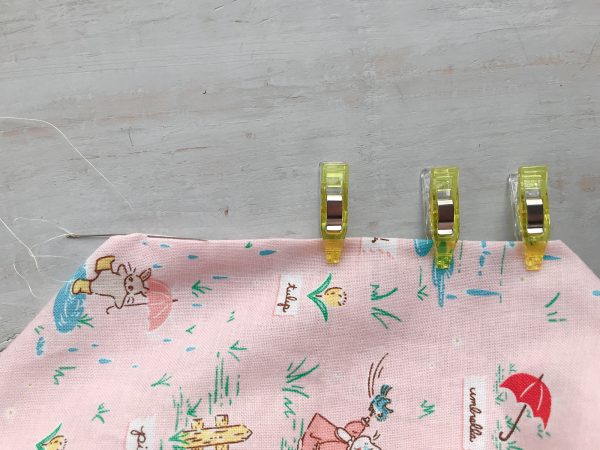
7. Sew all the way with a quarter-inch seam.
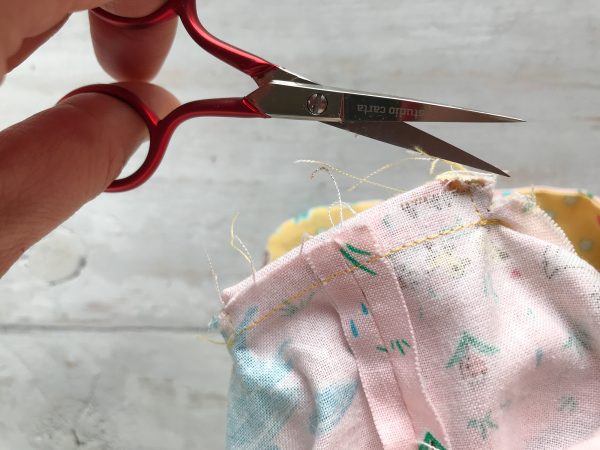
8. Clip into the seam allowance where the ears join the bag, being careful not to snip into the stitching.
9. Turn the bag right side out through the lining opening. Sew the opening closed by hand using a blind stitch.
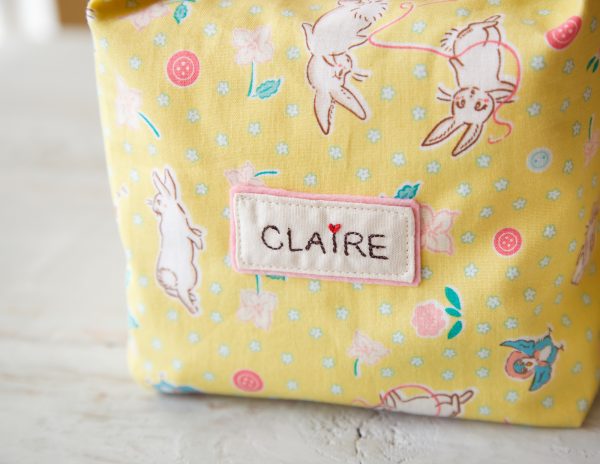
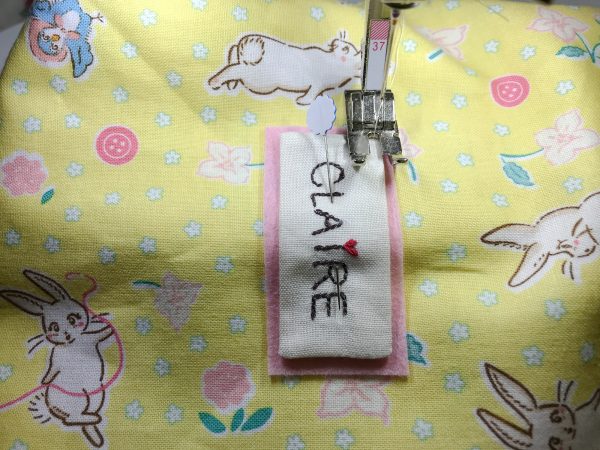
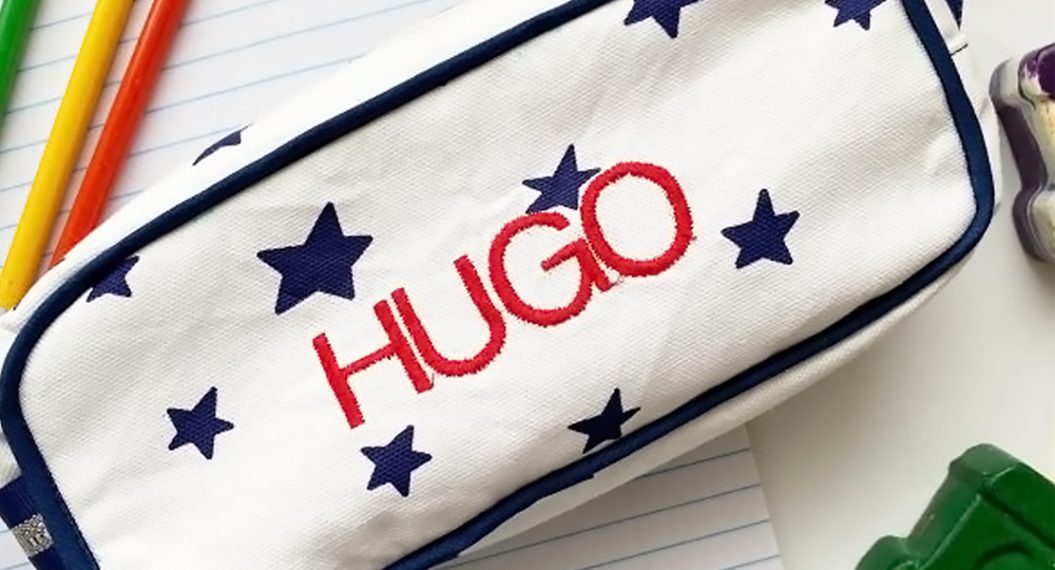
10. By hand or by machine, stitch your kid’s name on the white solid fabric. Make a name tag and sew together with pink felt (optional).
I hope you enjoy making this cute bunny bag. Enlarge or reduce the size for your purpose.
What you might also like
16 comments on “Bunny Snack Bag”
-
-
Thank you so much!
-
-
I believe you need to cut TWO pieces 10″ x 2 1/2″ from each fabric. These are the ears, there are two ears. Step 2 needs to be done twice for each fabric.
-
I agree! Thanks!
-
Thank you for the correction! I have made changes!! I appreciate it.
-
-
if you use the measurement for that material that bag will be a lot bigger than 6X4 3/4 x 8. I think your missing a step or some thing is not right.
-
Thank you for checking. I have corrected cutting sizes and directions. I appreciate for your comment.
-
Glad I decided to take one more look at these directions as I already made this bag before the updated cutting measurements were posted. I was disappointed at how it looked when finished because there was no way I could tie those ears and make it look like the photos. Also, wondered if there should have been some batting used as mine was really floppy and photo looked like it had some shape to it. Maybe I’ll try it again with new information.
-
I made two different size of bags and the one you made is bigger version.
Here’s my blog post for bigger bag. http://www.minkikim.com/sunnyside-ave-lunch-bag/
I didn’t use any batting for this bunny bag. I put square container for the photo shoot. 🙂
For bigger bag, I sewed Insul Bright with lining fabric.
-
-
-
I can’t believe BERNINA published this pattern. Not only are the directons poor but they are incorrect. As was already mentioned, you need two off each strap to make ears. There are easier ways to attaché handles (ears) and finish bags. Very disappointed.
-
Thanks for the checking. The corrections have been made.
-
-
I’m sorry people have to be so bitter and leave negative messages. I tried the bag today and it’s adorable. Thank you for sharing your beautiful talent! I love Japan! We lived there for 5 years total. I loved being able to visit Nippori fabric district on Tokyo. I miss it. My youngest son was born in Sasebo.
-
Thank you so much for your kind words! It made my day!!
I am actually from Korea. 🙂
I wish to visit Nippori fabric district someday.
Thank you for sharing your story with us!!
-
-
Just finished 4 of these!! Thank you so much for your pattern & instructions.
-
Made mine to fit a Lions (Eye Bank Fundraiser) Chocolate Easter Bunny Box 11x10x1!! Easy to alter. Thanks for the excellent (and helpful) photos!!
-
These were so cute that I made them for my 2 little granddaughters. On the second one, I did add a 5” x 11” piece of Decor Bond about 1/4” from the cut edges. I like the structure much better -not stiff but stands up nicely.
Thanks for the pattern!
Leave a Reply
You must be logged in to post a comment.





cute, easy bag.