Circular Appliqué the Easy Way
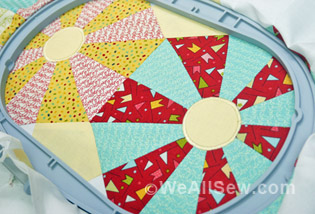
Making a perfect turned edge appliqué circle by hand can be a bit daunting. You have to turn the edge, which is longer in circumference than the finished size of the circle, which can cause some unpleasing pleating to occur. There is also the risk of an irregular finished edge if you don’t turn in the raw edge in small enough increments.
Lucky for us, there is a simple, easy and surefire way to create perfect appliquéd circles. Sound too good to be true? Get ready for the sweetest sound, because it is true. Plain and simple.
Oh, and as a bonus, this appliqué is fusible, so it will stay put as you stitch down the edge. What could be easier?
How to Create Perfect Appliquéd Circles: The Basics of the Technique
NOTE: We’ll be using a fusible material in this process, so it’s important to only fuse at the right stage and not before. Look for the fusing stage in red below.
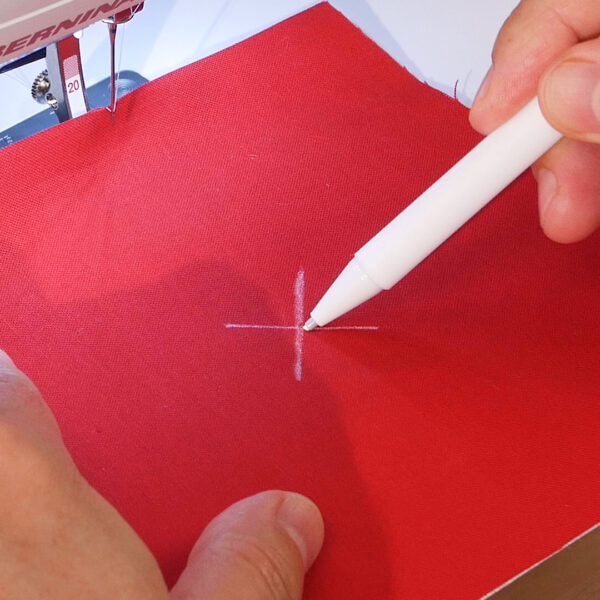
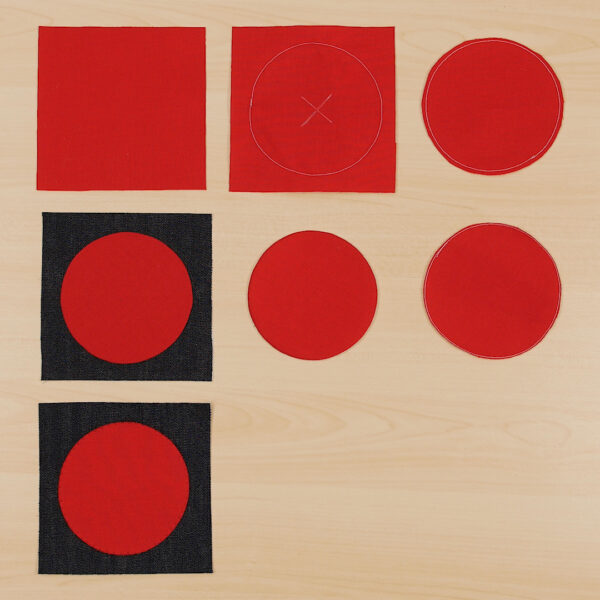
- Cut a square of the appliqué fabric larger than your intended circle’s finished size. Mark the center on both the wrong side of the fabric.
- It helps to cut the fabric large enough that you have a couple of inches extra fabric in the margins as that will make rotating the fabric easier, giving you something to hold on to.
- Layer your appliqué fabric with a square of non-woven fusible interfacing.
- Place the right side of the fabric and the fusible ‘dots’ of the interfacing together. The fusible dots are against the ‘fashion’ side (right side) of the appliqué fabric. (Don’t worry, everything will be turned right side out later so that the interfacing’s fusible side will end up on the bottom of the appliqué with the dots on the outside and in the perfect position for fusing later.)
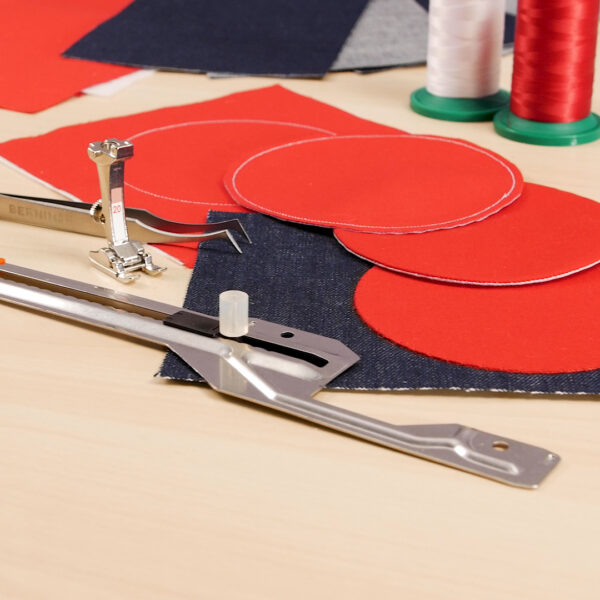
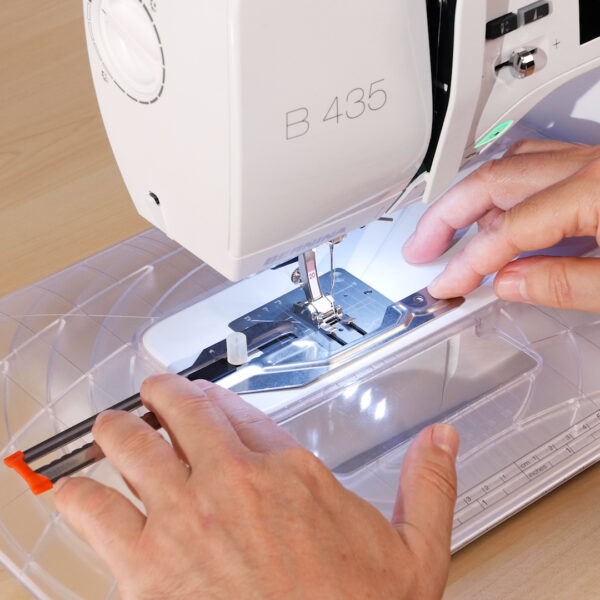
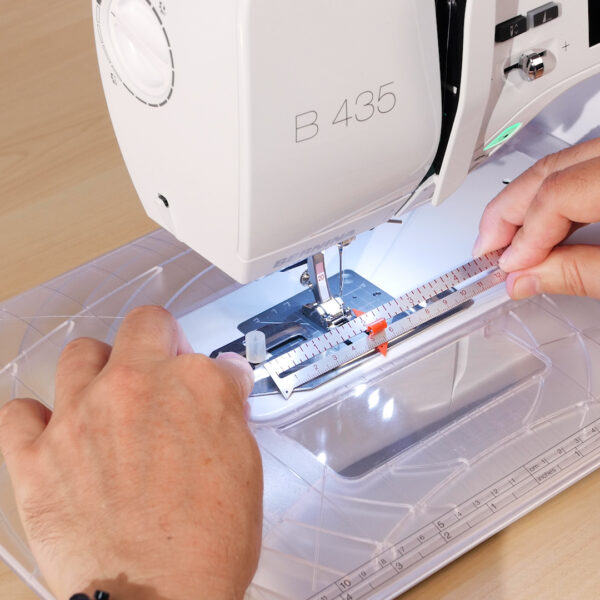
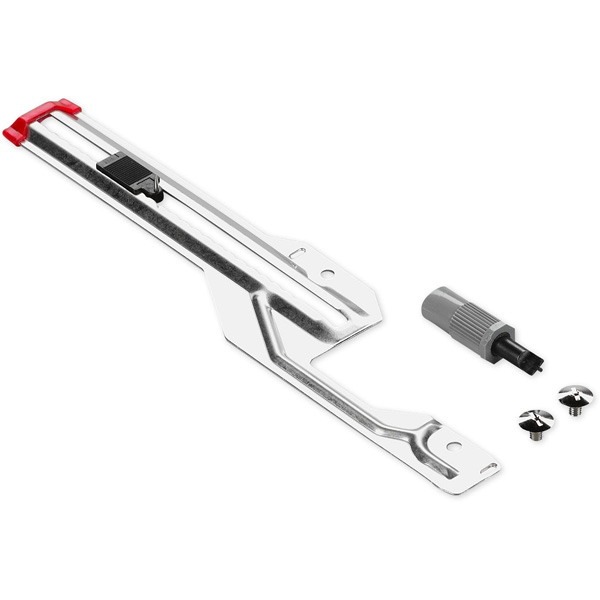
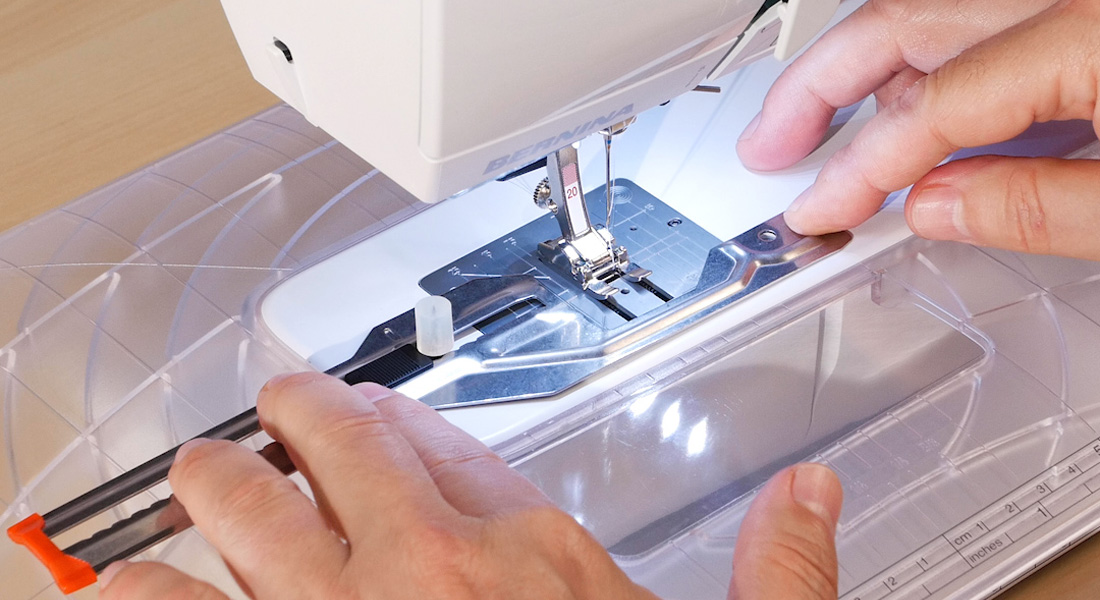
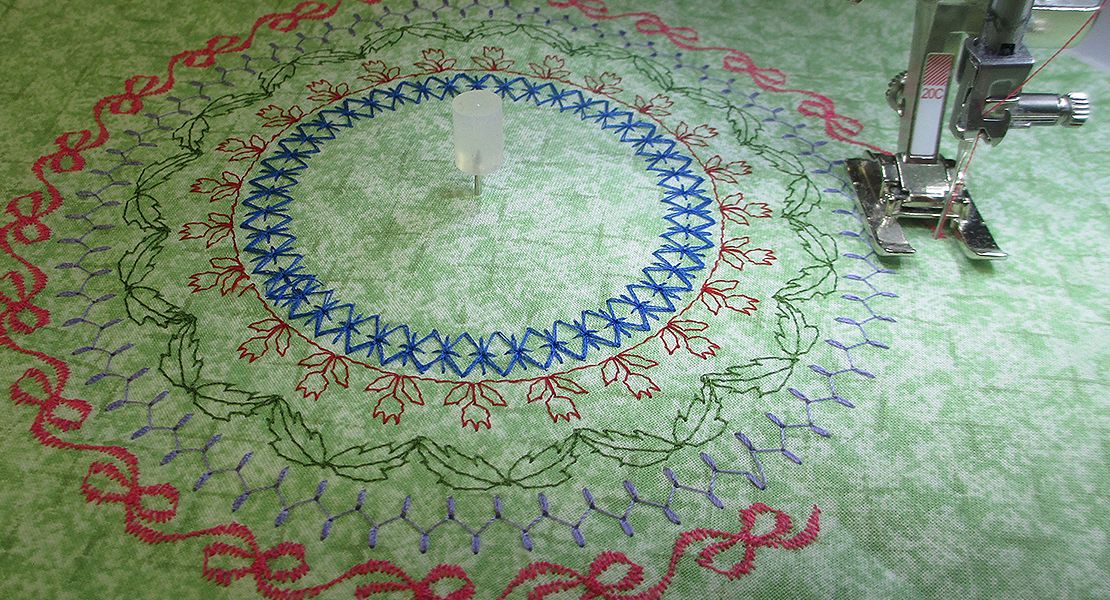
TIP: Use a medium weight interfacing for medium-to-heavy appliqué fabrics, and use a lightweight interfacing for lighter weight appliqué fabrics. - Attach the BERNINA Circular Embroidery Attachment #83 following the instructions included with the Circular Embroidery Attachment.
- Place the right side of the fabric and the fusible ‘dots’ of the interfacing together. The fusible dots are against the ‘fashion’ side (right side) of the appliqué fabric. (Don’t worry, everything will be turned right side out later so that the interfacing’s fusible side will end up on the bottom of the appliqué with the dots on the outside and in the perfect position for fusing later.)
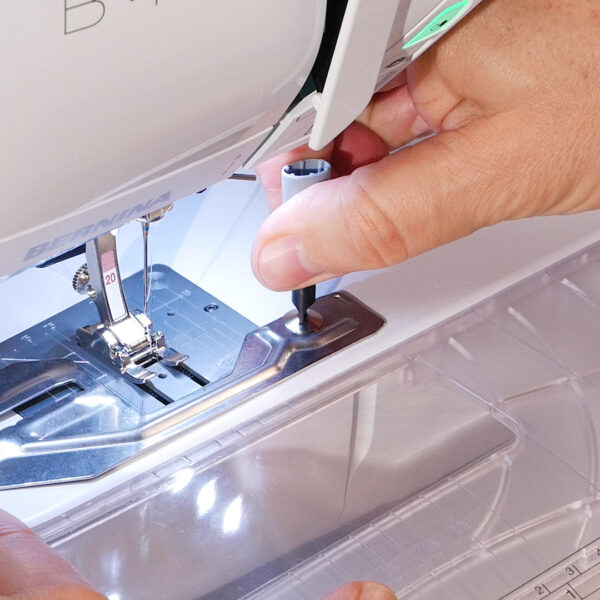
- Set the pin at the desired distance for stitching the circle. Note: The distance between the center pin and your machine needle is the radius of your desired finished circle.
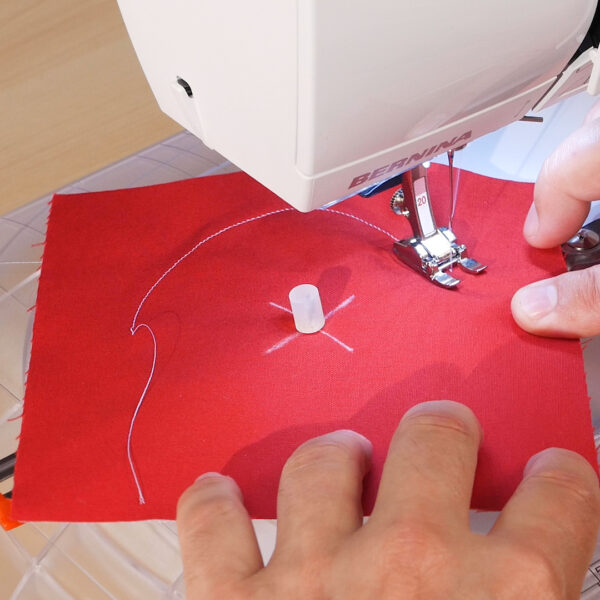
- Once the attachment is secured to the machine, place the appliqué fabric/interfacing on the attachment with the wrong side of appliqué fabric facing up and the attachment pivot pin going through the center mark on your fabric
- Be sure to replace the protective plug on top of the pivot pin! It is very sharp! However, do not push the pin so far down so tightly that it inhibits the movement of the fabric.
- Select a straight stitch and set a short stitch length (1.75 to 2 mm) and stitch the circle.
- A shorter stitch will give you a stronger seam edge and join between the layers. This also will help in getting a smoother finished circle.
- There is no need to secure stitches at the start of your circle. Simply overlap the seam as you sew past that beginning point when you are ready to complete the circle.
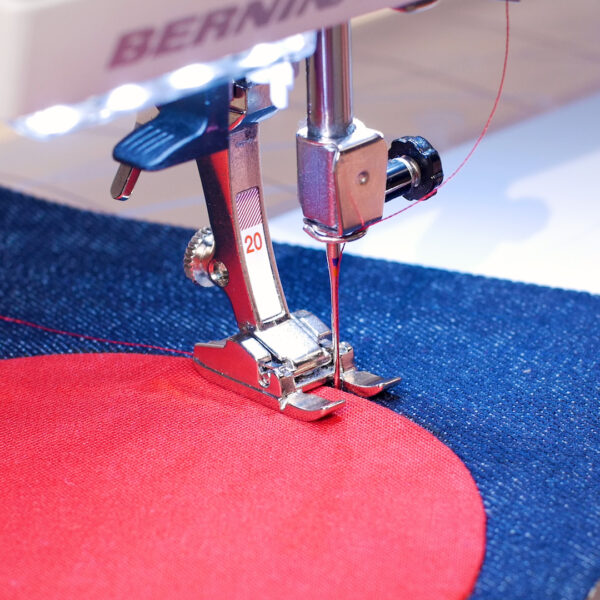
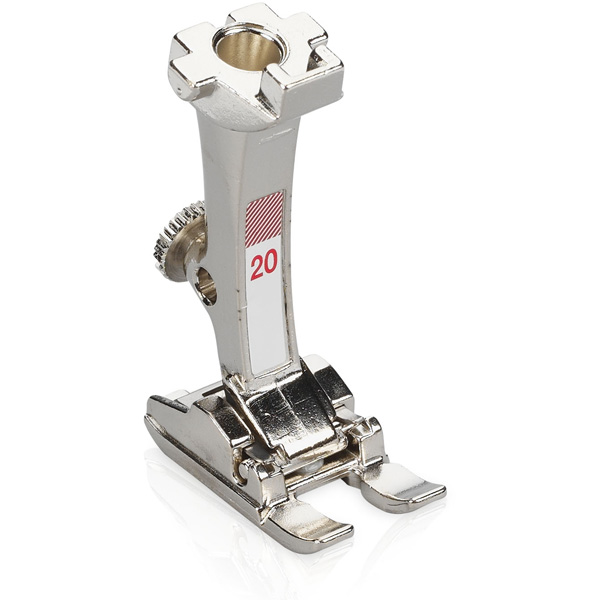
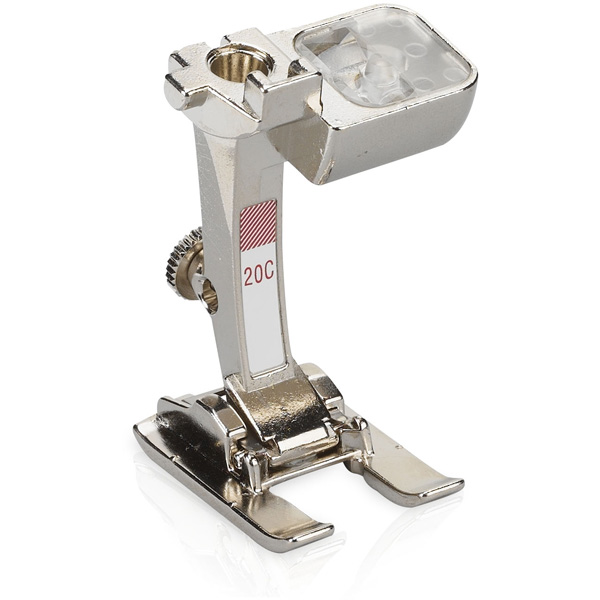
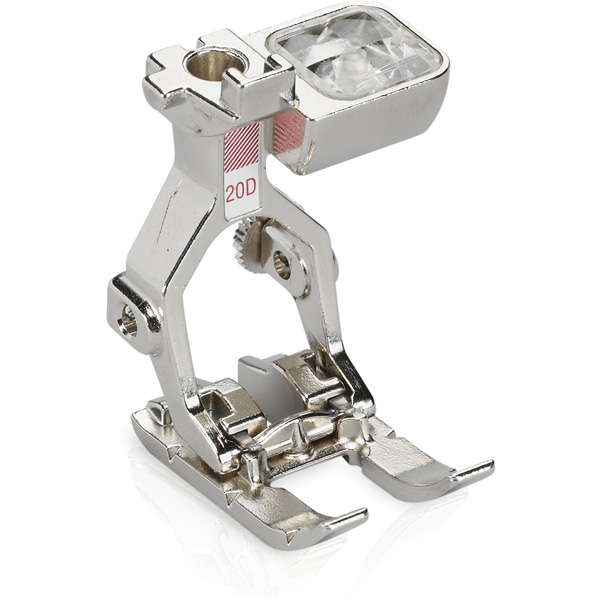
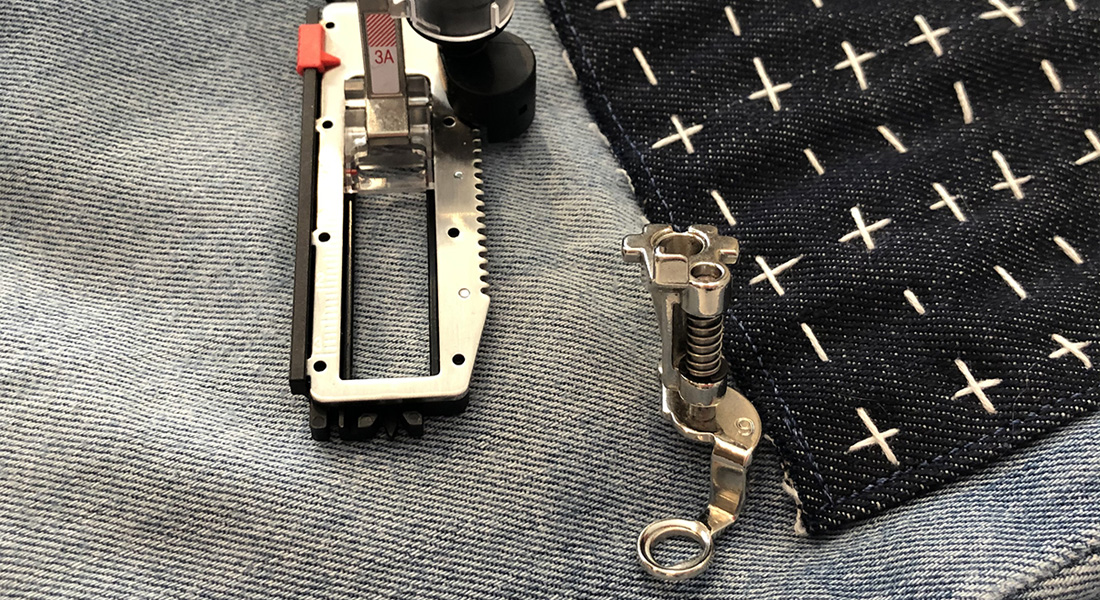
TIP: Use #Open Embroidery Foot #20/20C/20D for good visibility as you stitch around the circle.
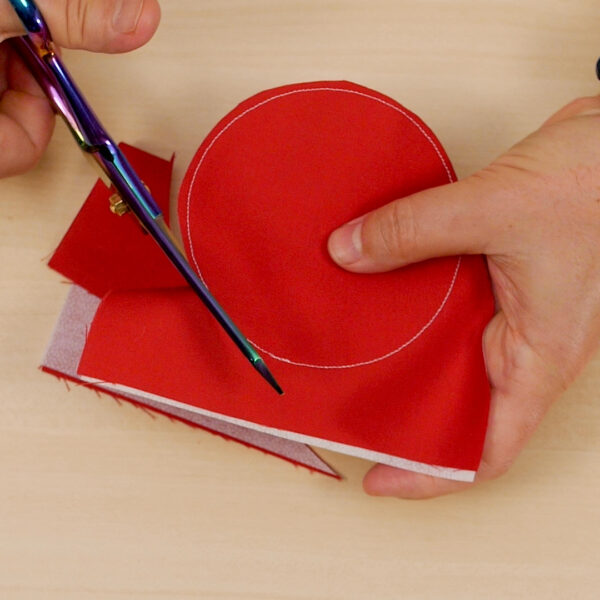
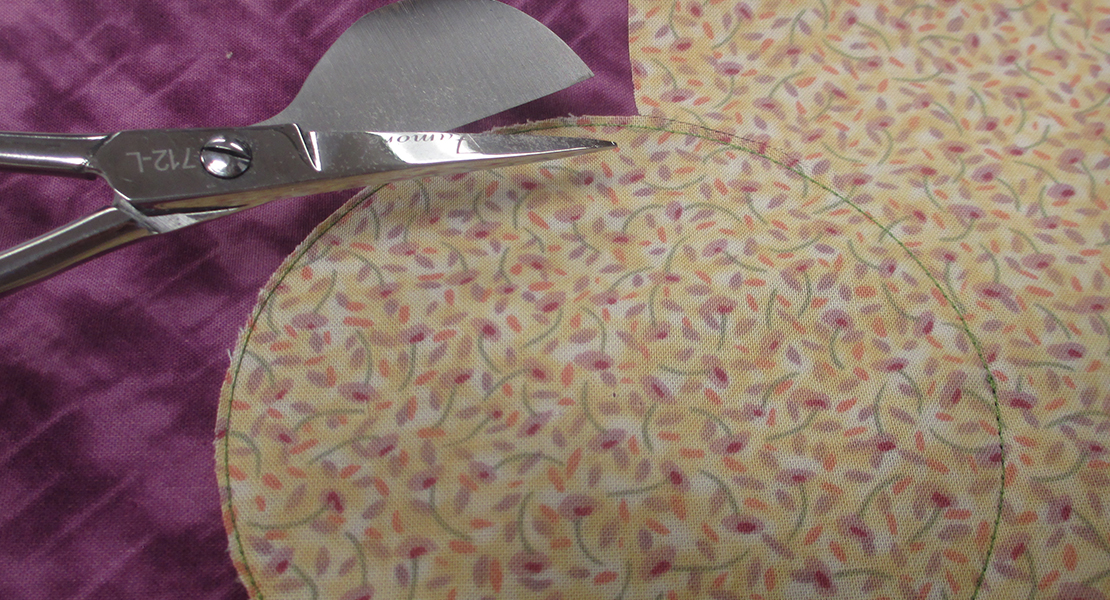
- Remove the fabric from the pin and trim the stitched layers to a scant 1/8th inch (or even a 1/16th of an inch) seam allowance.
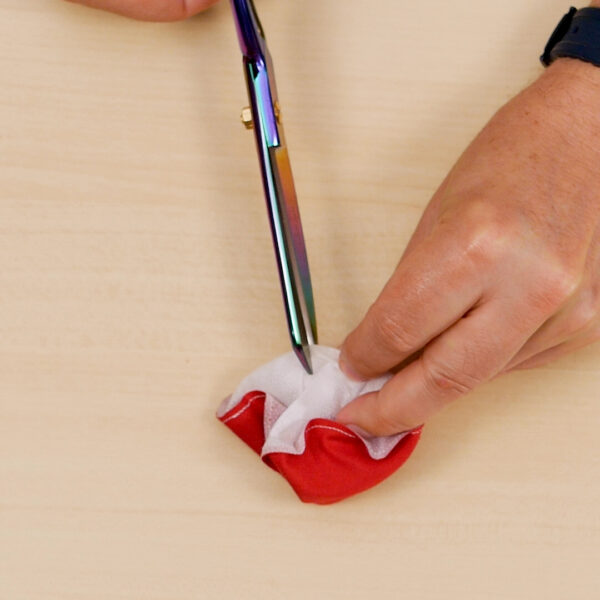
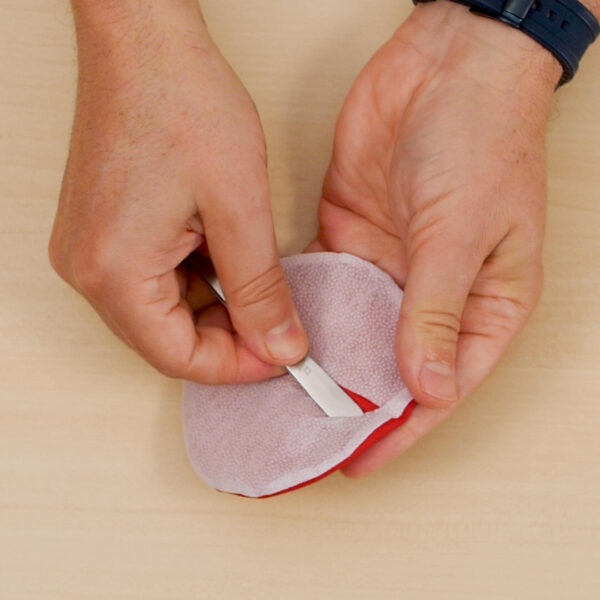
- Slit the interfacing layer only.
- Pinch the fabric and interfacing each with one hand and pull the centers away from each other to get a ‘pinch’ on the fusible layer.
- Cut a vertical slit in the interfacing, stopping about 1/2 inch from the seam line.
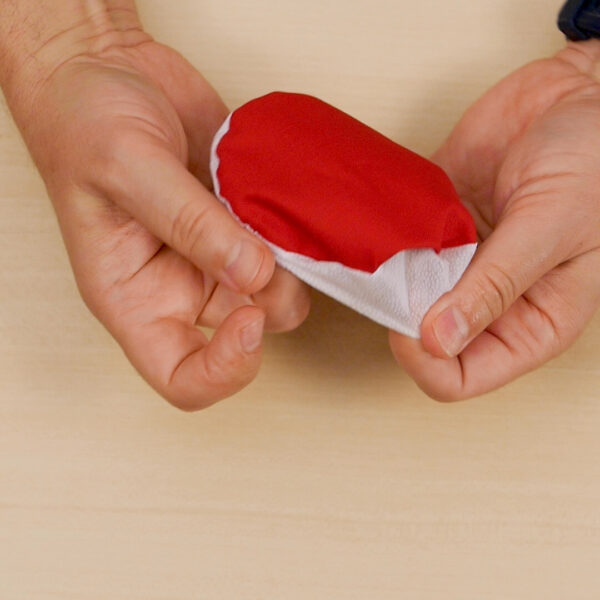
Turn the appliqué right side out through the slit in the interfacing.
- Hand press the seam using the blunt end of a point turner.
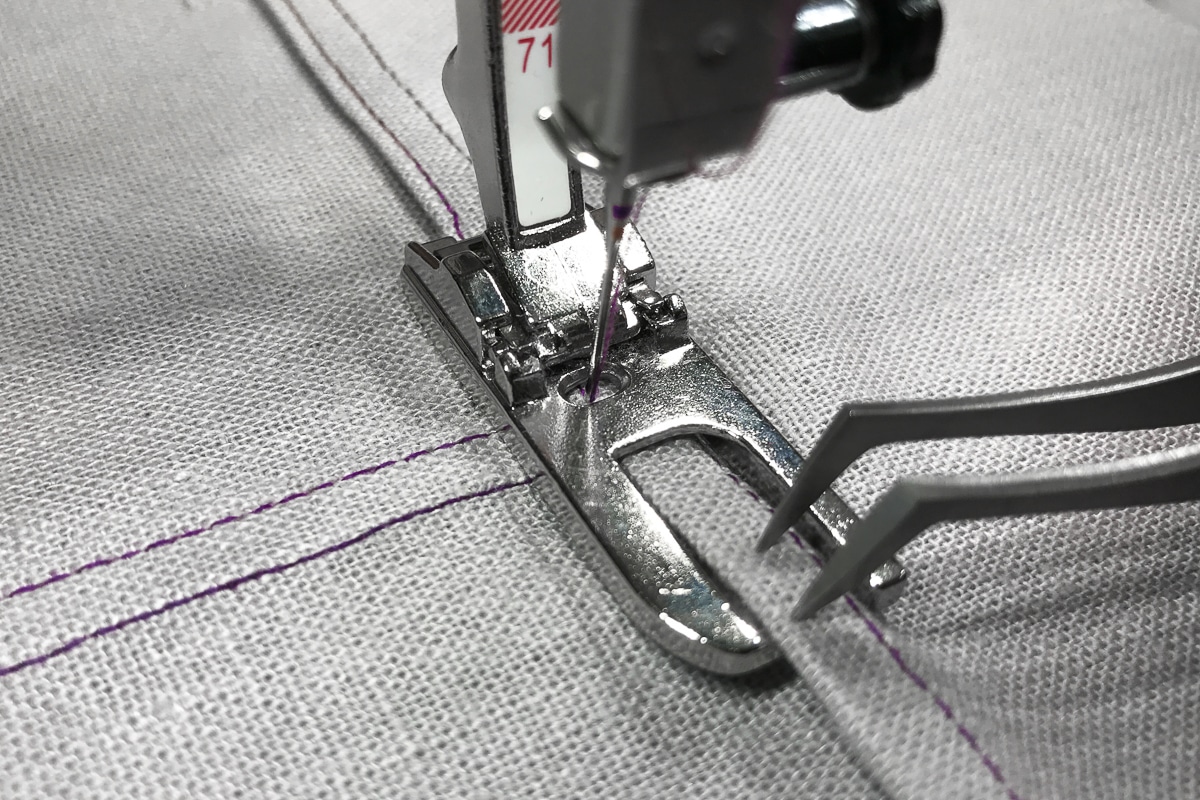
TIP: I used the blunt end (handle) of my BERNINA Tweezers to press out the seam. Since it is slightly curved and smaller than a point turner, it let me go around the seam gradually and easily to get the perfect edge.
- Place the appliqué on the base fabric with the fusible layer against the base fabric in the position where you intend to affix it.
- Fuse the appliqué following a simple 1-2-3 process.
- Heat baste the appliqué by touching the tip of the iron to the center of the circle. This will make sure your appliqué doesn’t shift from the area you placed it.
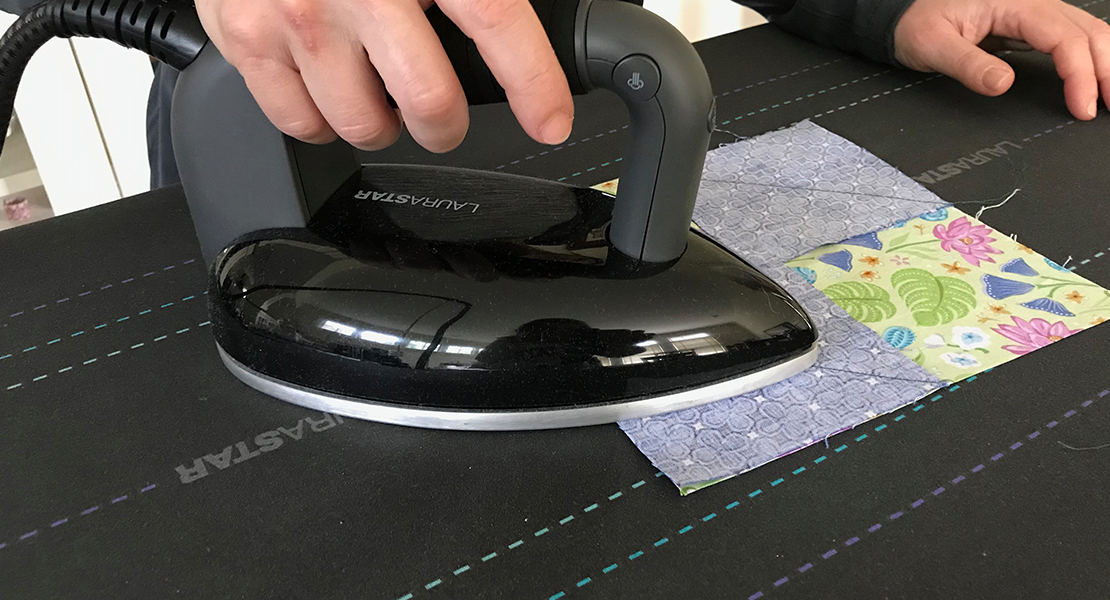
- With your iron set to moderate steam, use an ironing motion from the center out to temporarily fuse the appliqué down as you press out and smooth down the edges. This will also help prevent the fusible layer underneath from peeking out at the edge.
- Permanently fuse the appliqué.
- Use a pressing cloth.
- Set your iron to full steam (usually between wool and cotton setting).
- Fuse for the duration recommended by the fusible interfacing manufacturer (usually 10-15 seconds).
- When the appliqué is fused, remove the pressing cloth, and press briefly one more time without steam to set it.
- Stitch around the edge of the appliqué (optional).
NOTE: Since the appliqué is fused, you don’t have to stitch around the edge if you choose not to. Not stitching can yield a very smooth edge effect, suggestive of floating circles. There is no need to worry about the appliqué coming undone, since its edge is securely turned under and permanently fused to the base fabric. However, if you like the traditional look of a handpicked stitch at the edge, this is easily done with the steps below.
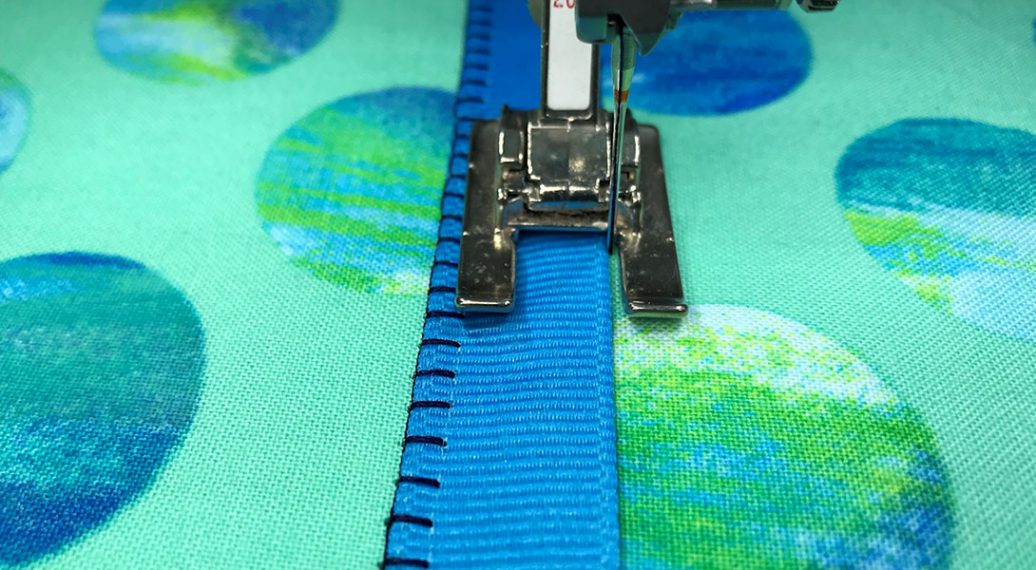
- Use Open Embroidery Foot #20/20C/20D which should still be on your machine. The open toes will let you see and guide your project so that you can follow the appliqué edge more easily.
- Thread the machine with your appliqué thread.
TIP: I like to use Isacord thread for my appliqués. The wide color palette lets me get an exact match with my appliqué fabric every time.
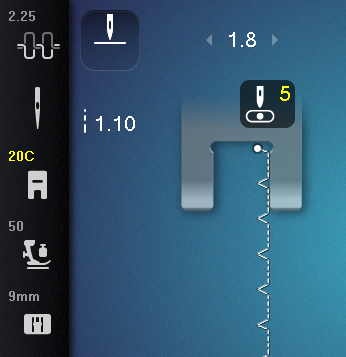
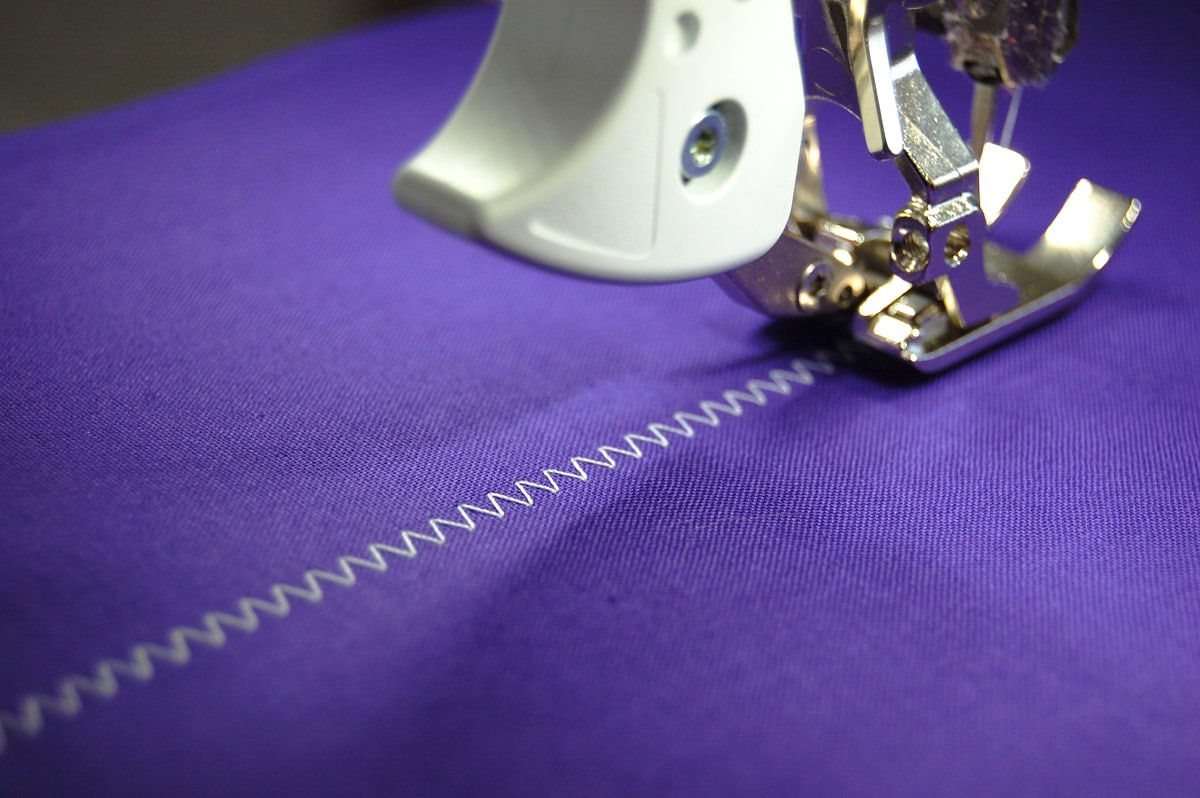
- Select Stitch #1331 (blind stitch narrow) on your machine (aka the invisible appliqué stich). This is located in the Quilting menu on most BERNINA machines. It is a miniature version of the blindhem stitch and commonly used for appliquéing.
- Move the needle position to the far right so that you can follow the edge and guide the fabric more easily (visibility is key).
- Stitch around the edge of the appliqué, securing the stitches at the start and end of the stitching.
TIP: You can set the straight stitch to a length of 0.5 mm with the needle position moved to the far right (+5, same as for your appliqué stitch) to secure the beginning and the end of the stitching. All BERNINA machines remember the settings and the changes you made to them for each stitch you use. This feature is called Temporary Altered Stitch Memory…a mouthful but the best of features! So as long as your machine remains turned on, you can toggle between these two stitches to secure and sew the appliqué.
That’s it!
Although somewhat detailed, the steps above really only take minutes to complete. These steps will shorten the time it takes to make circular appliqués, especially compared to manually turning under the edge of each circle. Your appliqué will also be securely fused, and thus easier to stitch around.
Faster. Easier. Simpler. Great Results. Sign me up!
What you might also like
2 comments on “Circular Appliqué the Easy Way”
-
-
Thank you, We All Sew for this super tutorial for Bernina Circular Sewing Attachment. Soon as i have new
sewing projects never done before with the help of new Bernina feet my first port of call is to We All Sew to
get the perfect outcome for my project. Help from you is a massive time saver and ALWAYS turns out PERFECT. I am amazed at the ability of my 880 Plus and doing well using this machine with all the help We
All Sew provides on the site provides me with increased confidence and a very happy sewing experience.
Thank you to all at We All Sew.
Leave a Reply
You must be logged in to post a comment.




Is this attachment available for the 1230 old style machine?