Custom Pocket Tool Roll
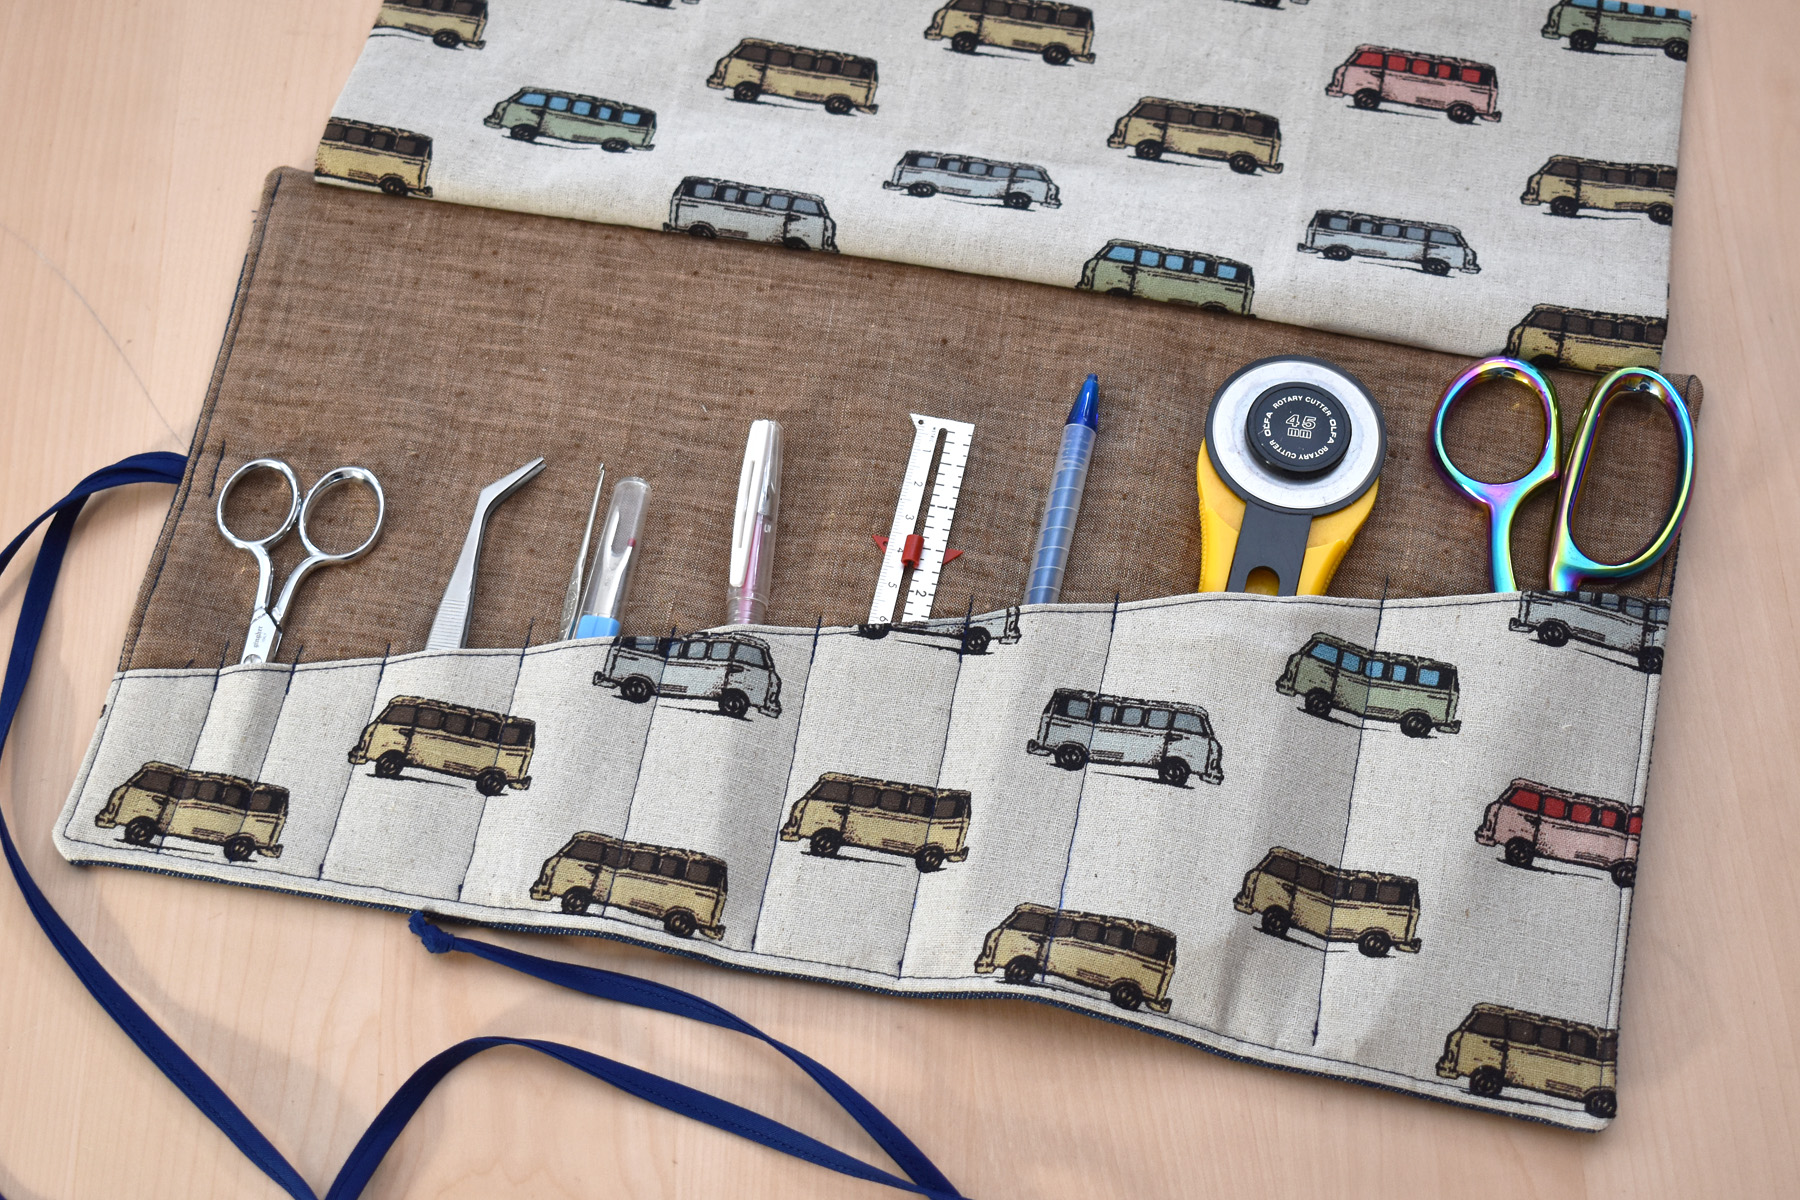
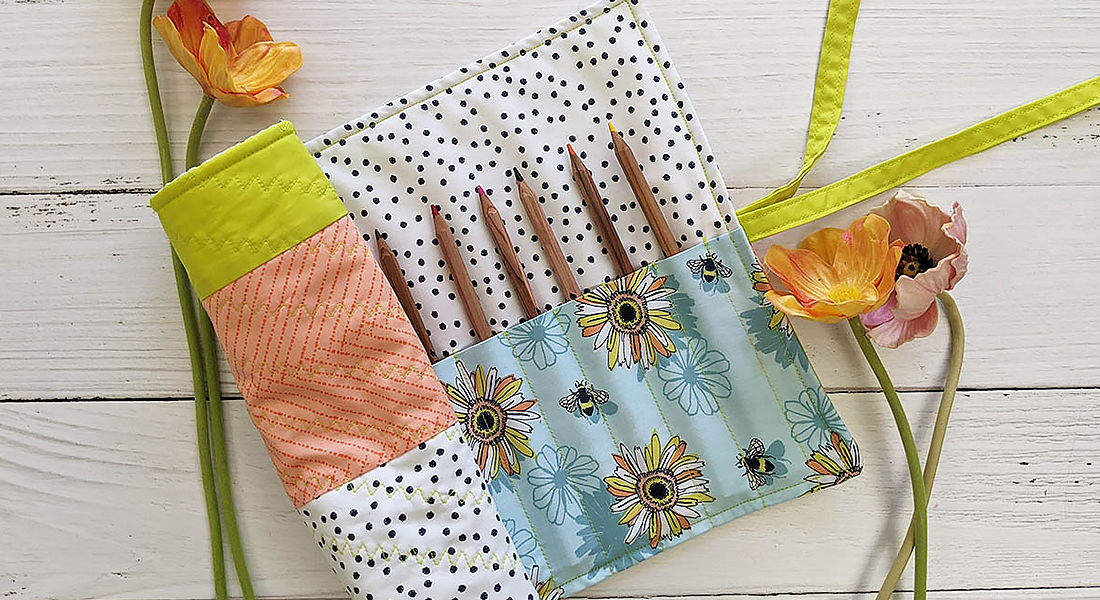
Make a custom pocket tool roll with inner pockets designed especially to fit your favorite tools and long ties keep the roll tidy. The finished tool roll measures 16″ wide and 8 1/2″ tall, perfect for holding almost any tool or gadget. You won’t worry about losing tools when carrying this roll, an inner fabric flap secures everything in place keeping tools from slipping out when in use.
Quick and easy to stitch, this project makes a great customizable gift that you can personalize to any hobby or pastime (gardening, quilting, painting, hand stitching, sketching, motorcycle maintenance, sketching, etc.).
Materials to Make a Custom Pocket Tool Roll
- Medium-weight cotton fabric for lining, pocket, and flap; 3 fat quarters , 1/3 yard of 3 different fabrics, or large scraps (see cutting instructions below)
- One fat quarter or 1/3 yard heavy-weight cotton for outer tool roll (denim, canvas, twill, or similar)
- Pellon 808 Craft-Fuse fusible stabilizer: 1/3 yard
- Pellon Fusible Fleece: 1/3 yard
- Tool roll ties: two yards of 1/4″ – 1/2″ wide grosgrain ribbon or twill tape
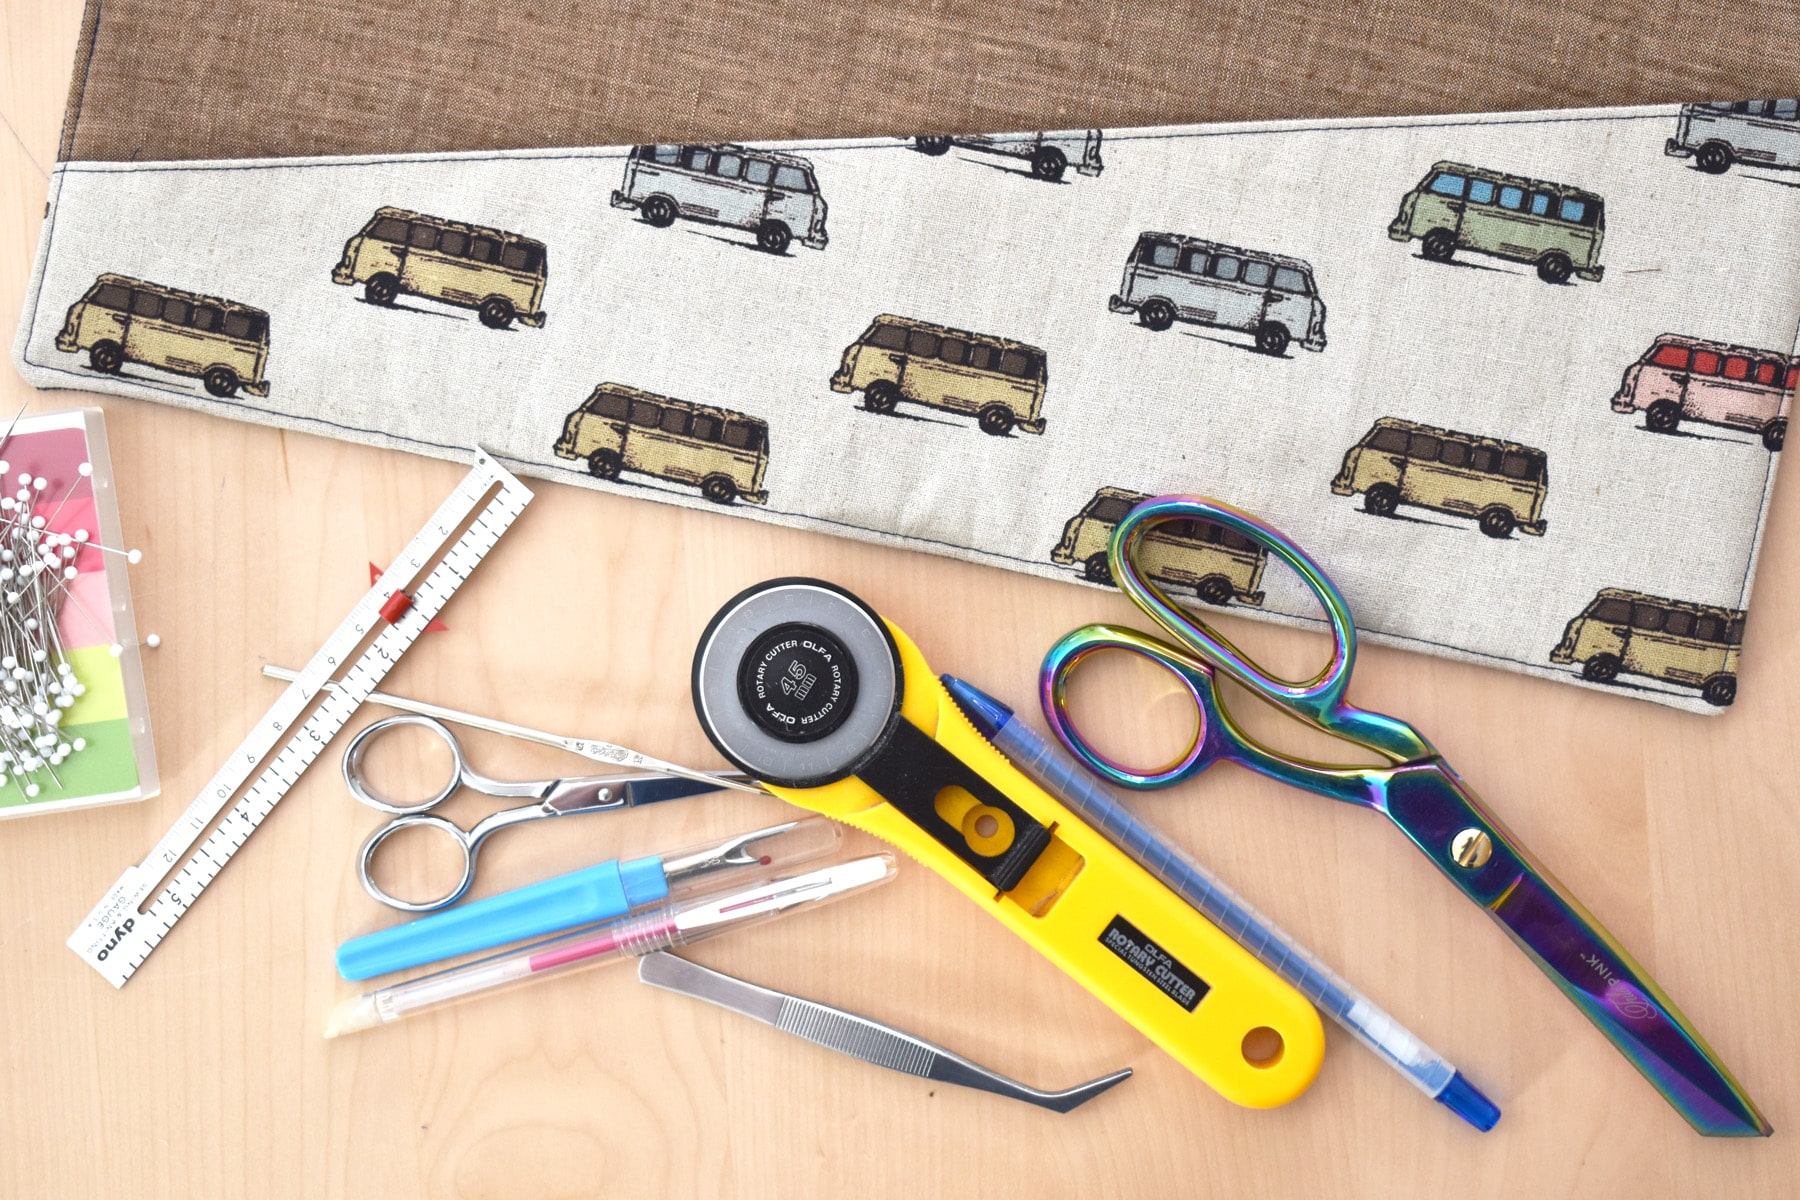
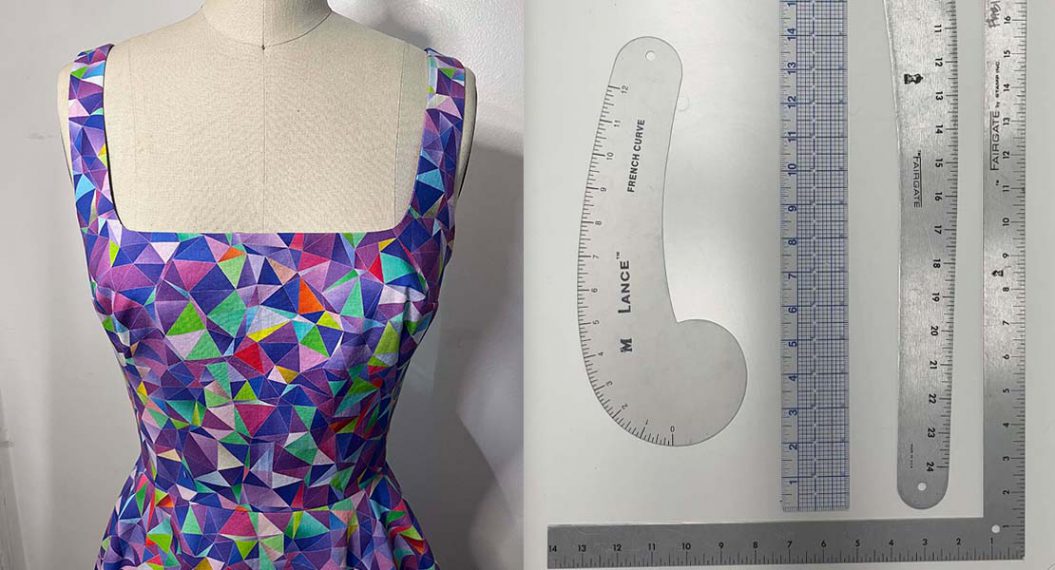
- Rotary cutter, cutting mat, and clear acrylic ruler
- Iron and pressing surface
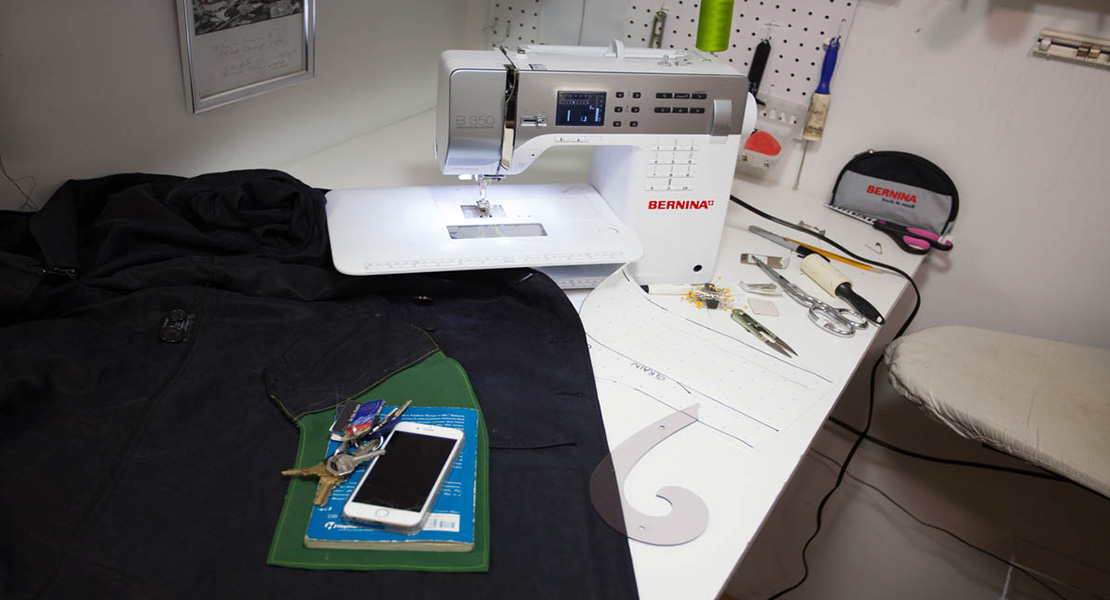
- Sewing machine (I use a BERNINA 570 QE)
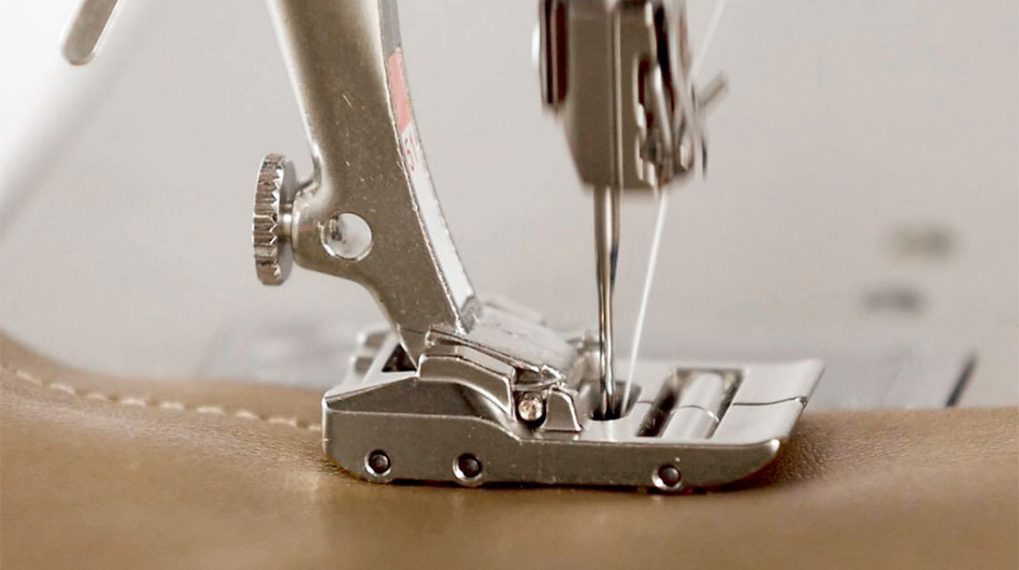
- Reverse Pattern Foot #1D
- Coordinating all-purpose polyester 40 wt thread
- Basic sewing supplies
Step 1: Cut fabrics and materials to size.
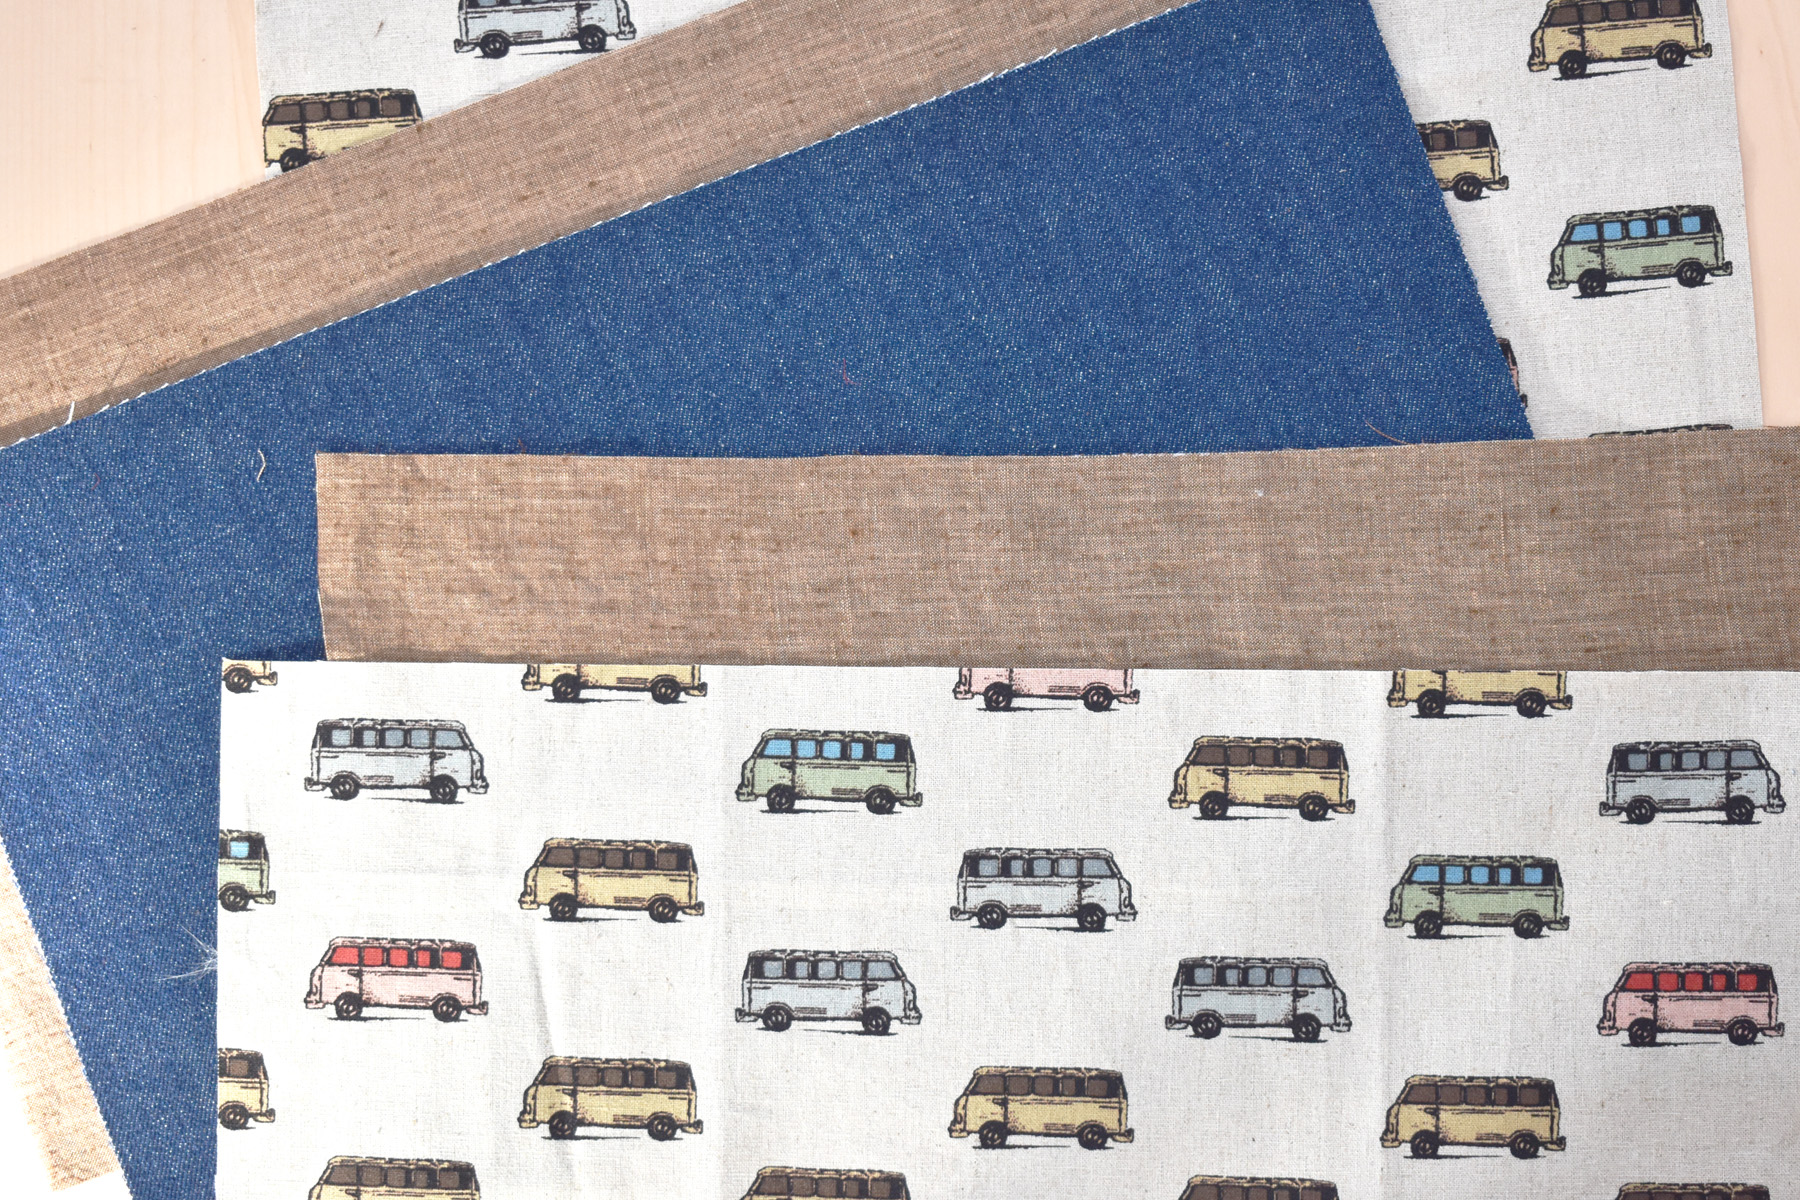
I am using a heavy 12 oz denim for the outer tool roll, a medium-weight cotton for the flap and outer pocket, and medium-weight linen for the tool roll lining and inner pocket. The outer tool roll is interfaced with Craft-Fuse to give the fabric stiffness and shape when rolled up. The tool roll lining is interfaced with Fusible Fleece to add a soft layer for cushioning the tools. If you want a tool roll that isn’t as stiff, leave out the Craft-Fuse. If you want a tool roll that is stiff but not as puffy, leave out the Fusible Fleece.
From the outer tool roll fabric, tool roll lining fabric, Fusible Fleece, and Craft-Fuse, cut each piece to 9 1/2″ x 17″. Following the manufacturer’s instructions, fuse the Craft-Fuse to the wrong side of the outer tool roll fabric, and fuse the Fusible Fleece to the wrong side of the tool roll lining.
Cut the inner flap fabric 12 1/2″ x 16″.
Cut two pieces for the inner pocket 7″ x 17″. I cut one 7″ x 17″ piece from the same fabric as the lining for the inside of the pocket, and one 7″ x 17″ piece from the same fabric as the flap for the outside of the pocket.
Step 2: Sew the pocket and inner flap.
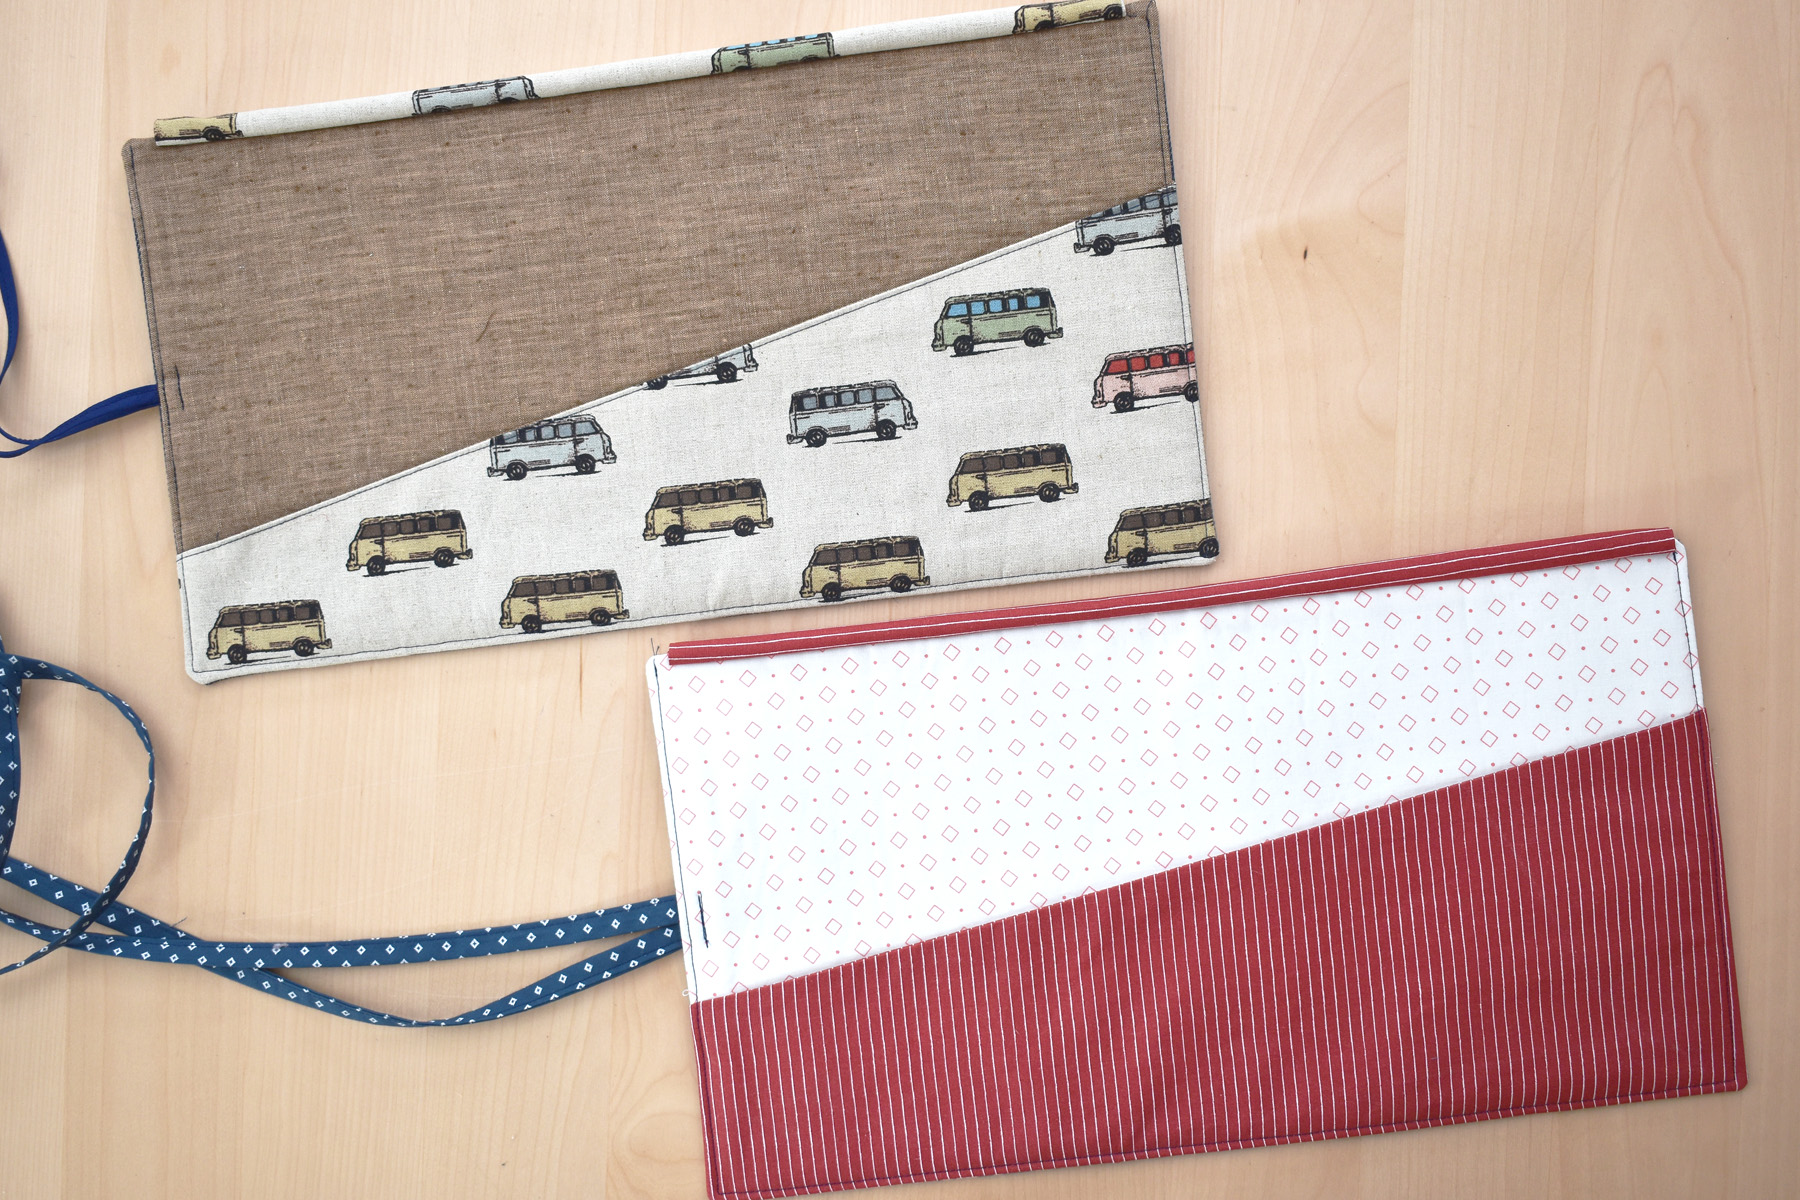
The pocket height and angle can be customized to fit the length of tools used in the tool roll.
- Sewing the pocket without cutting at an angle will result in a finished pocket approximately 6 1/2″ tall. This works well if all your tools are longer than 6 1/2″ so they don’t fall below the top edge of the pocket.
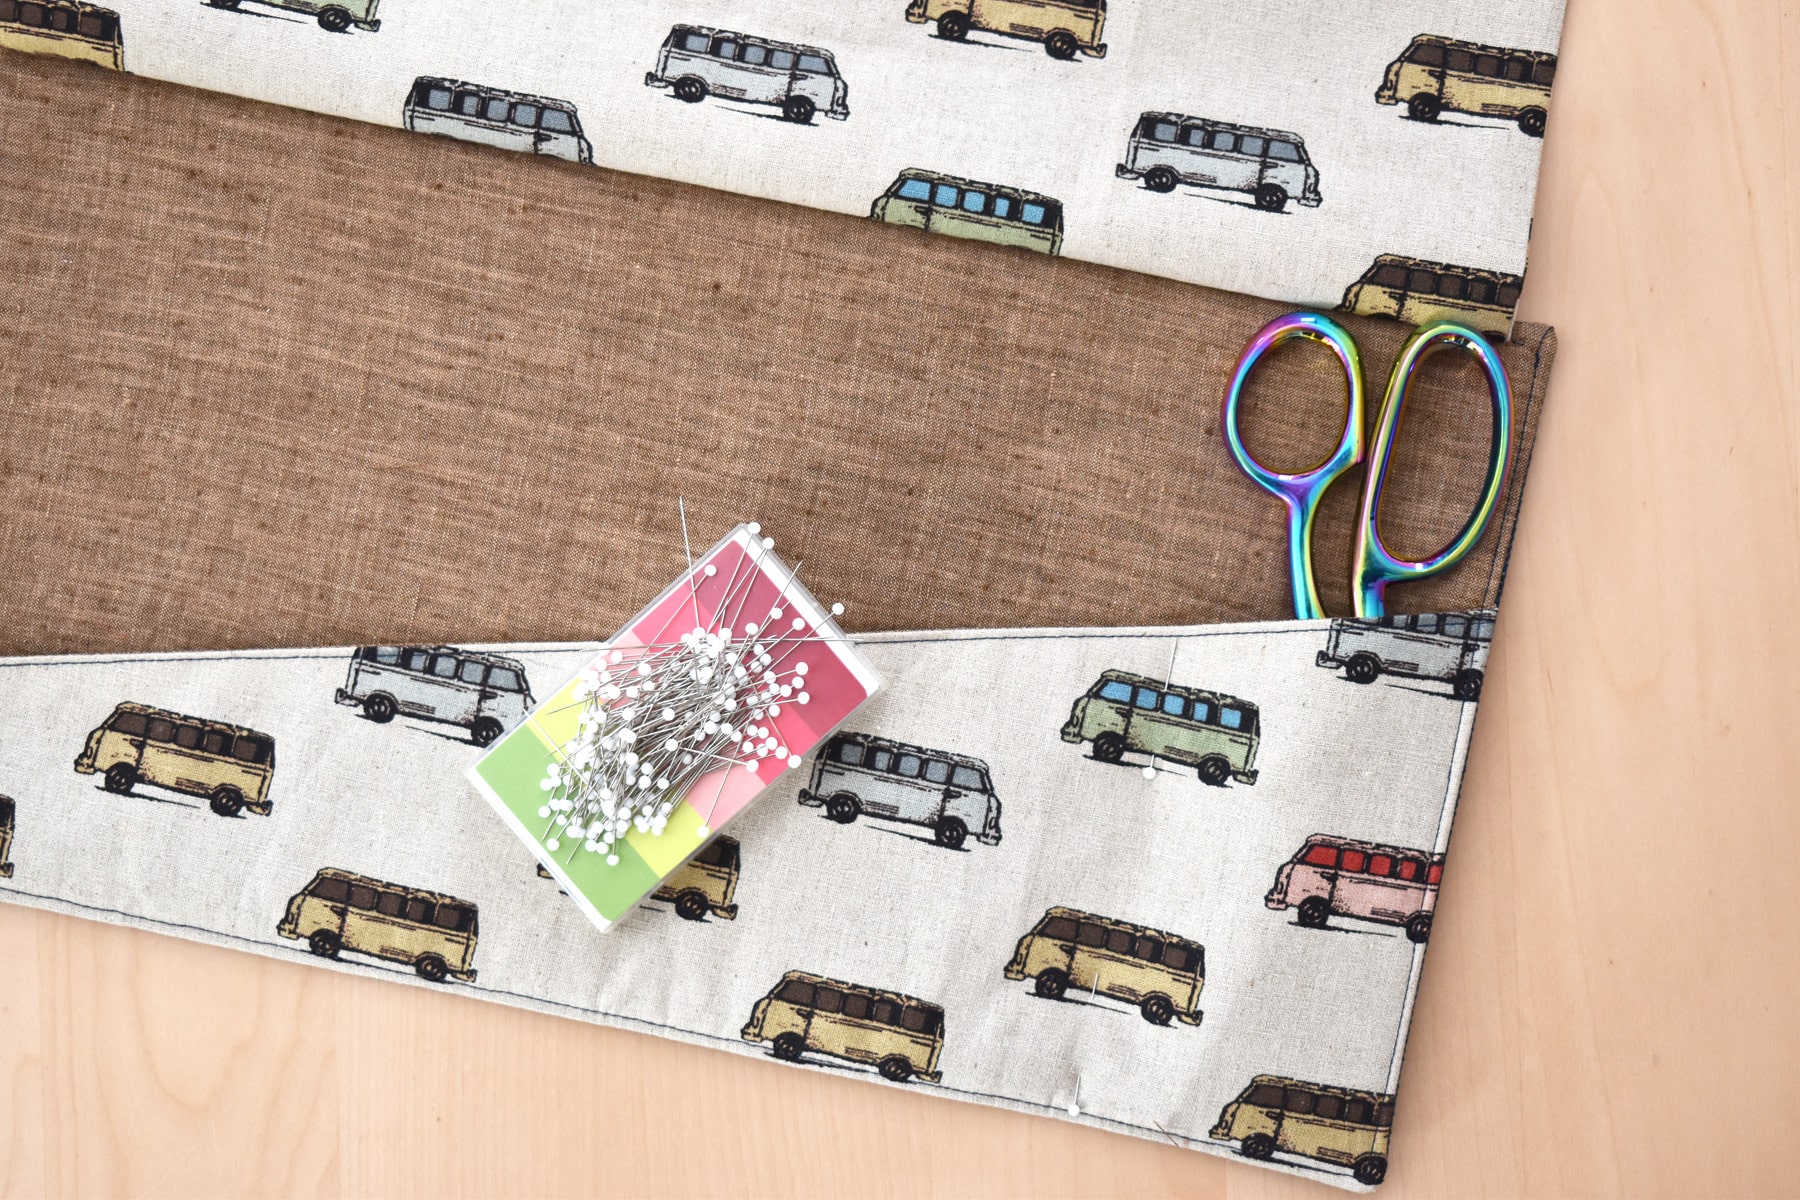
- Cutting an angle to the pocket gives you the flexibility to add shorter tools to the tool roll without the tools falling below the top edge of the pocket. Cutting a steeper angle results in a shorter pocket at the short end; the pocket on the top tool roll is about 2 1/2″ tall on the short end, while the pocket on the bottom tool roll is about 3 1/2″ tall on the short end.
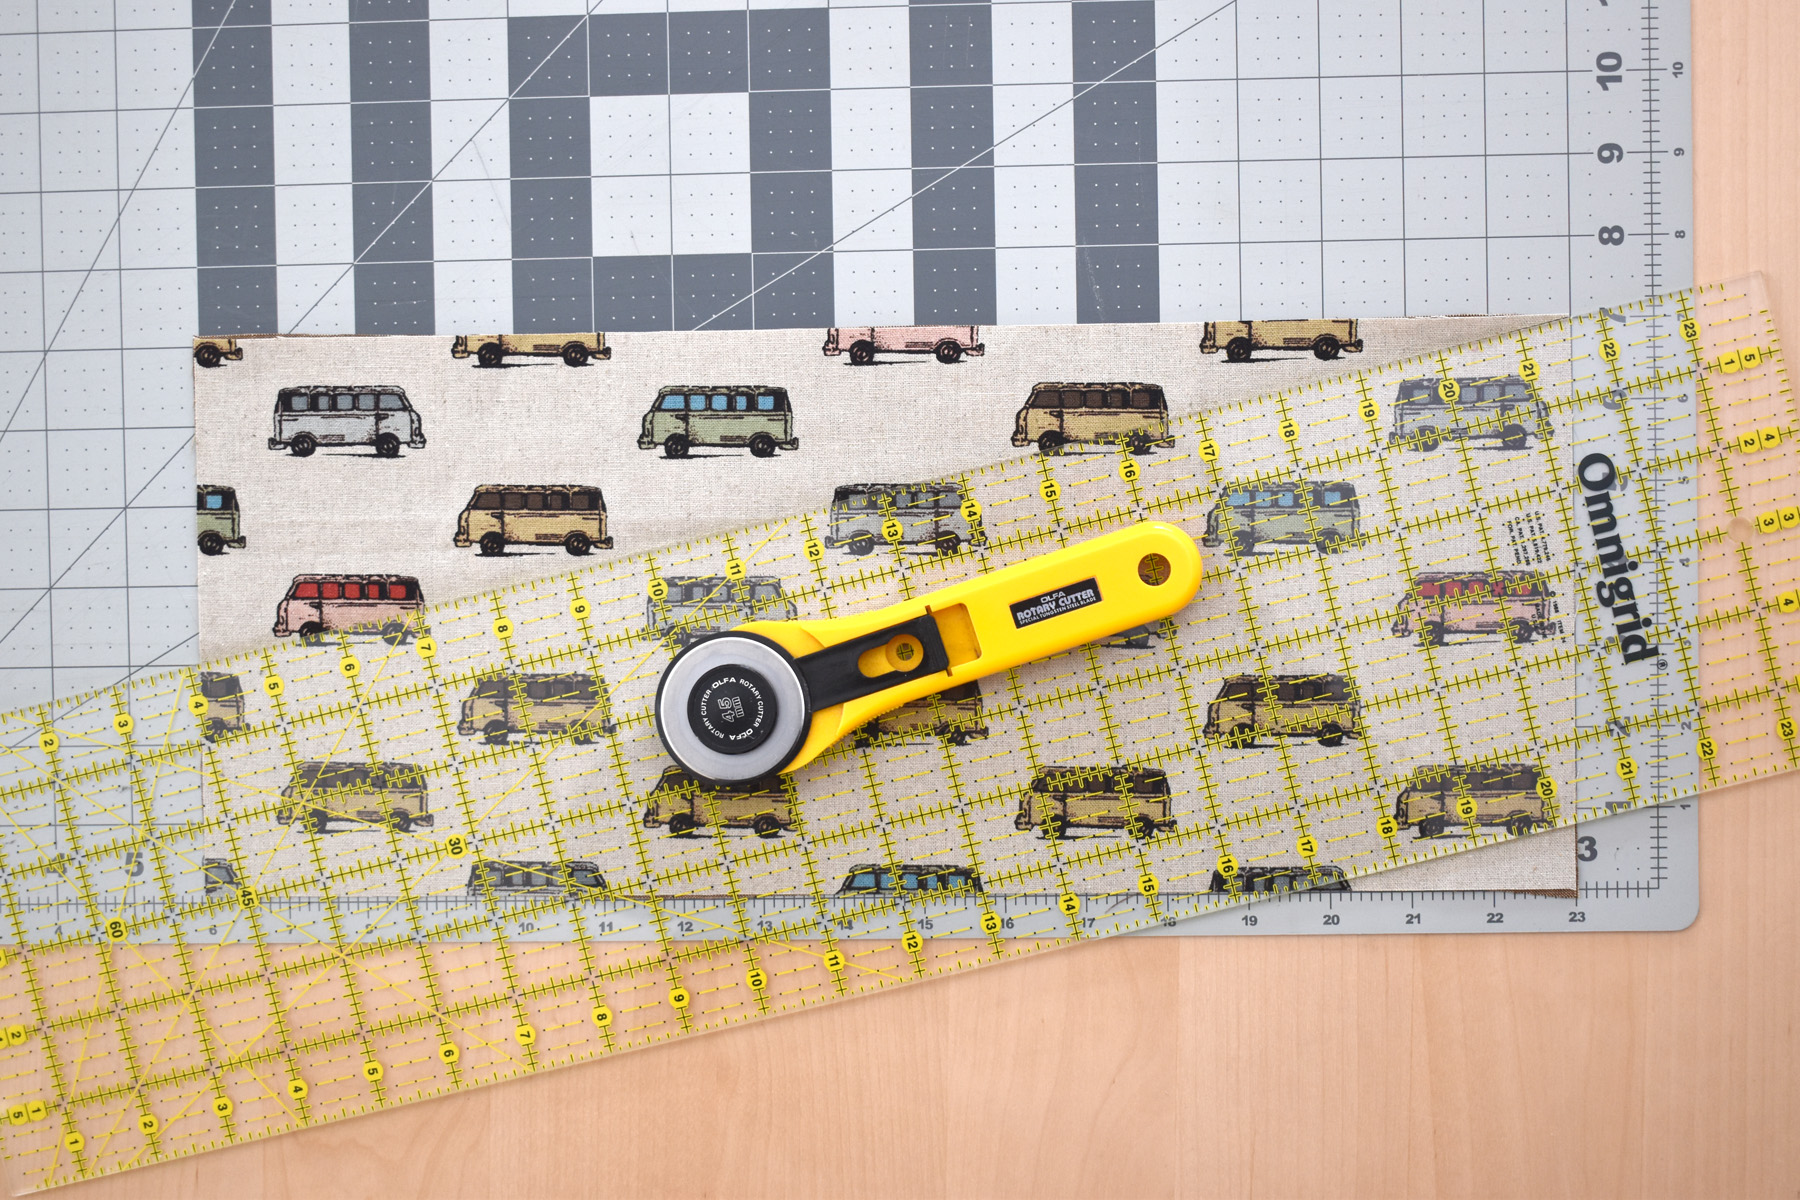
To cut an angle for the pocket, stack the two pocket pieces wrong sides together on the cutting mat. Angle the ruler from the top right corner of the pocket down to the left side, using the markings on the cutting mat to measure up from the bottom edge. Measuring 3″ up from the bottom left edge and cutting from the top right corner down will result in the shortest side of the pocket finishing at 2 1/2″ tall (pictured above).
Measuring 4″ up from the bottom left edge and cutting from the top right corner down will result in the shortest side of the pocket finishing at 3 1/2″ tall.
Measuring 5″ up from the bottom left edge and cutting from the top right corner down will result in the shortest side of the pocket finishing at 4 1/2″ tall.
Cut your pockets to best fit your custom pocket tool roll.
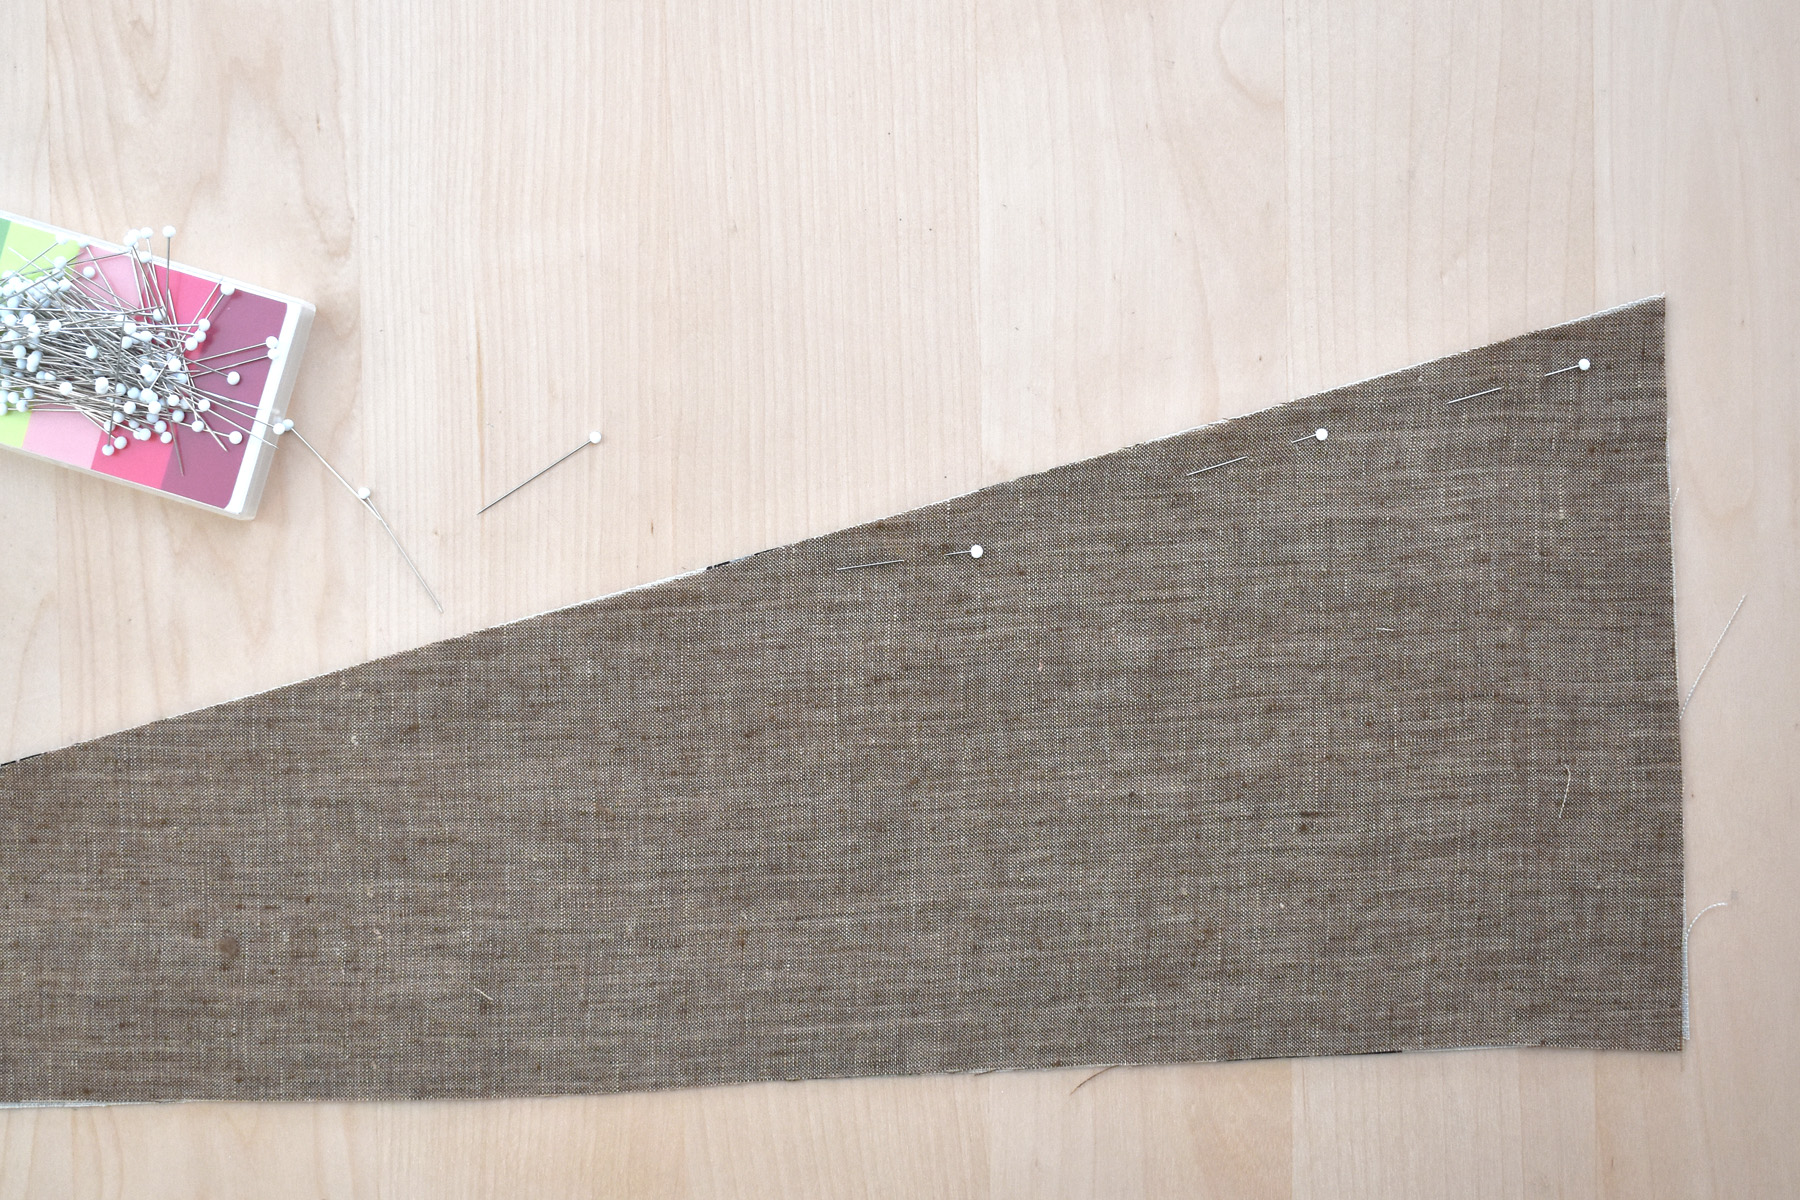
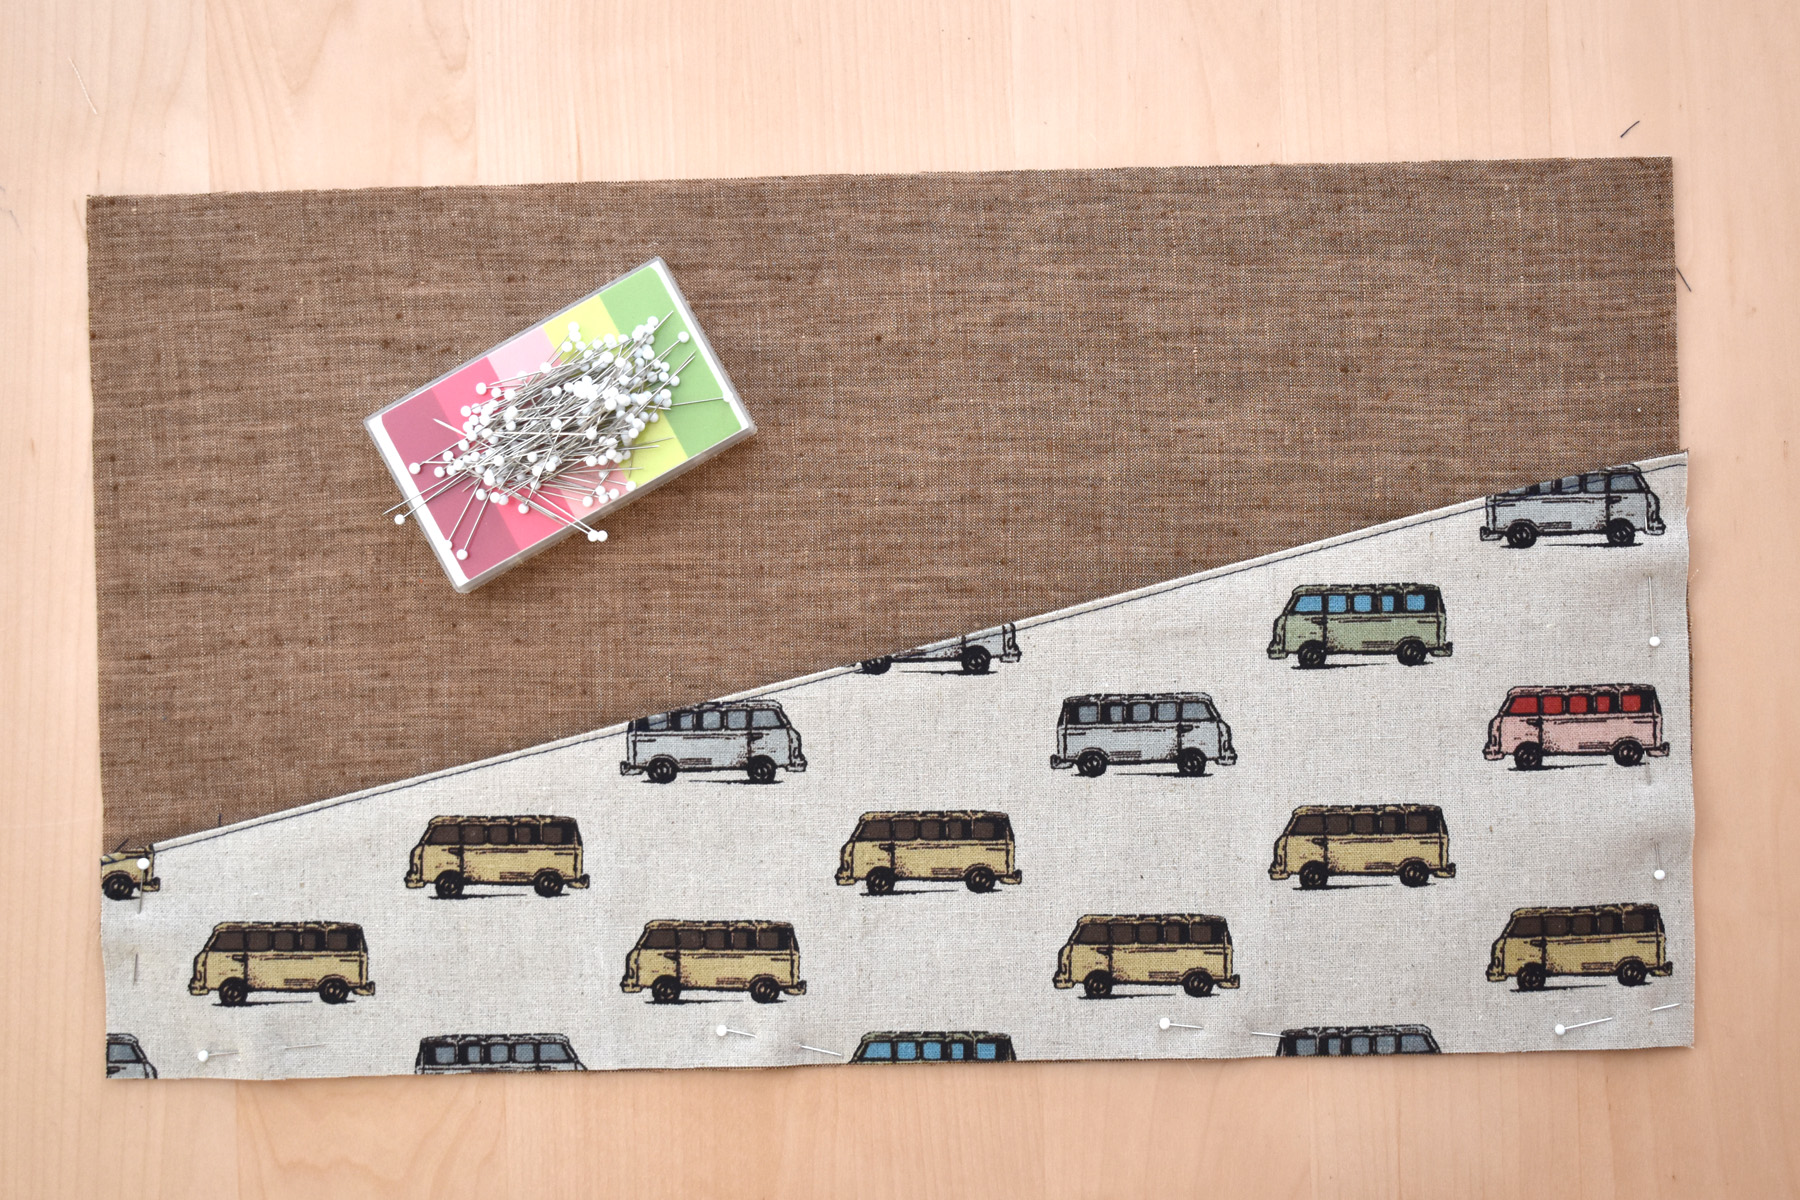
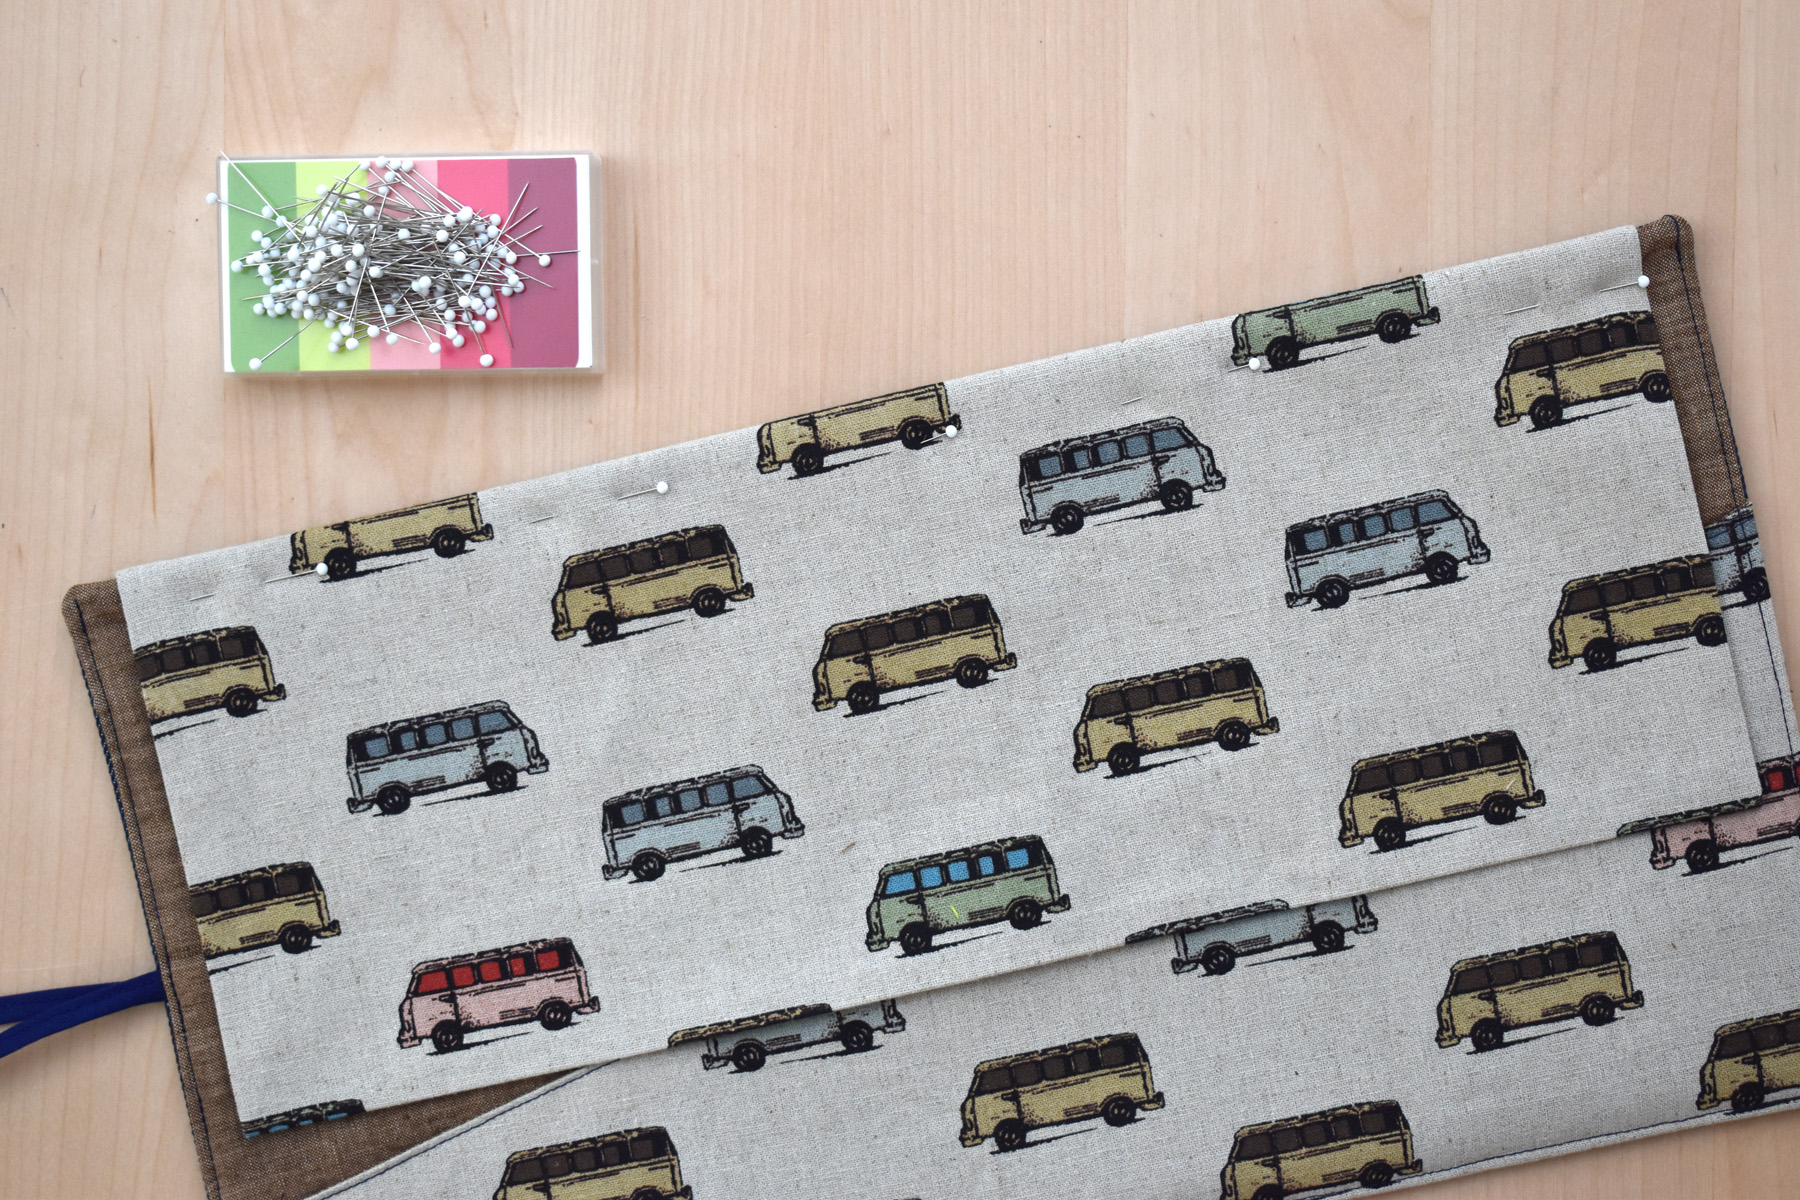
Get ready to sew the top edge of the pocket. Place the two pocket pieces right sides together and pin across the top edge.
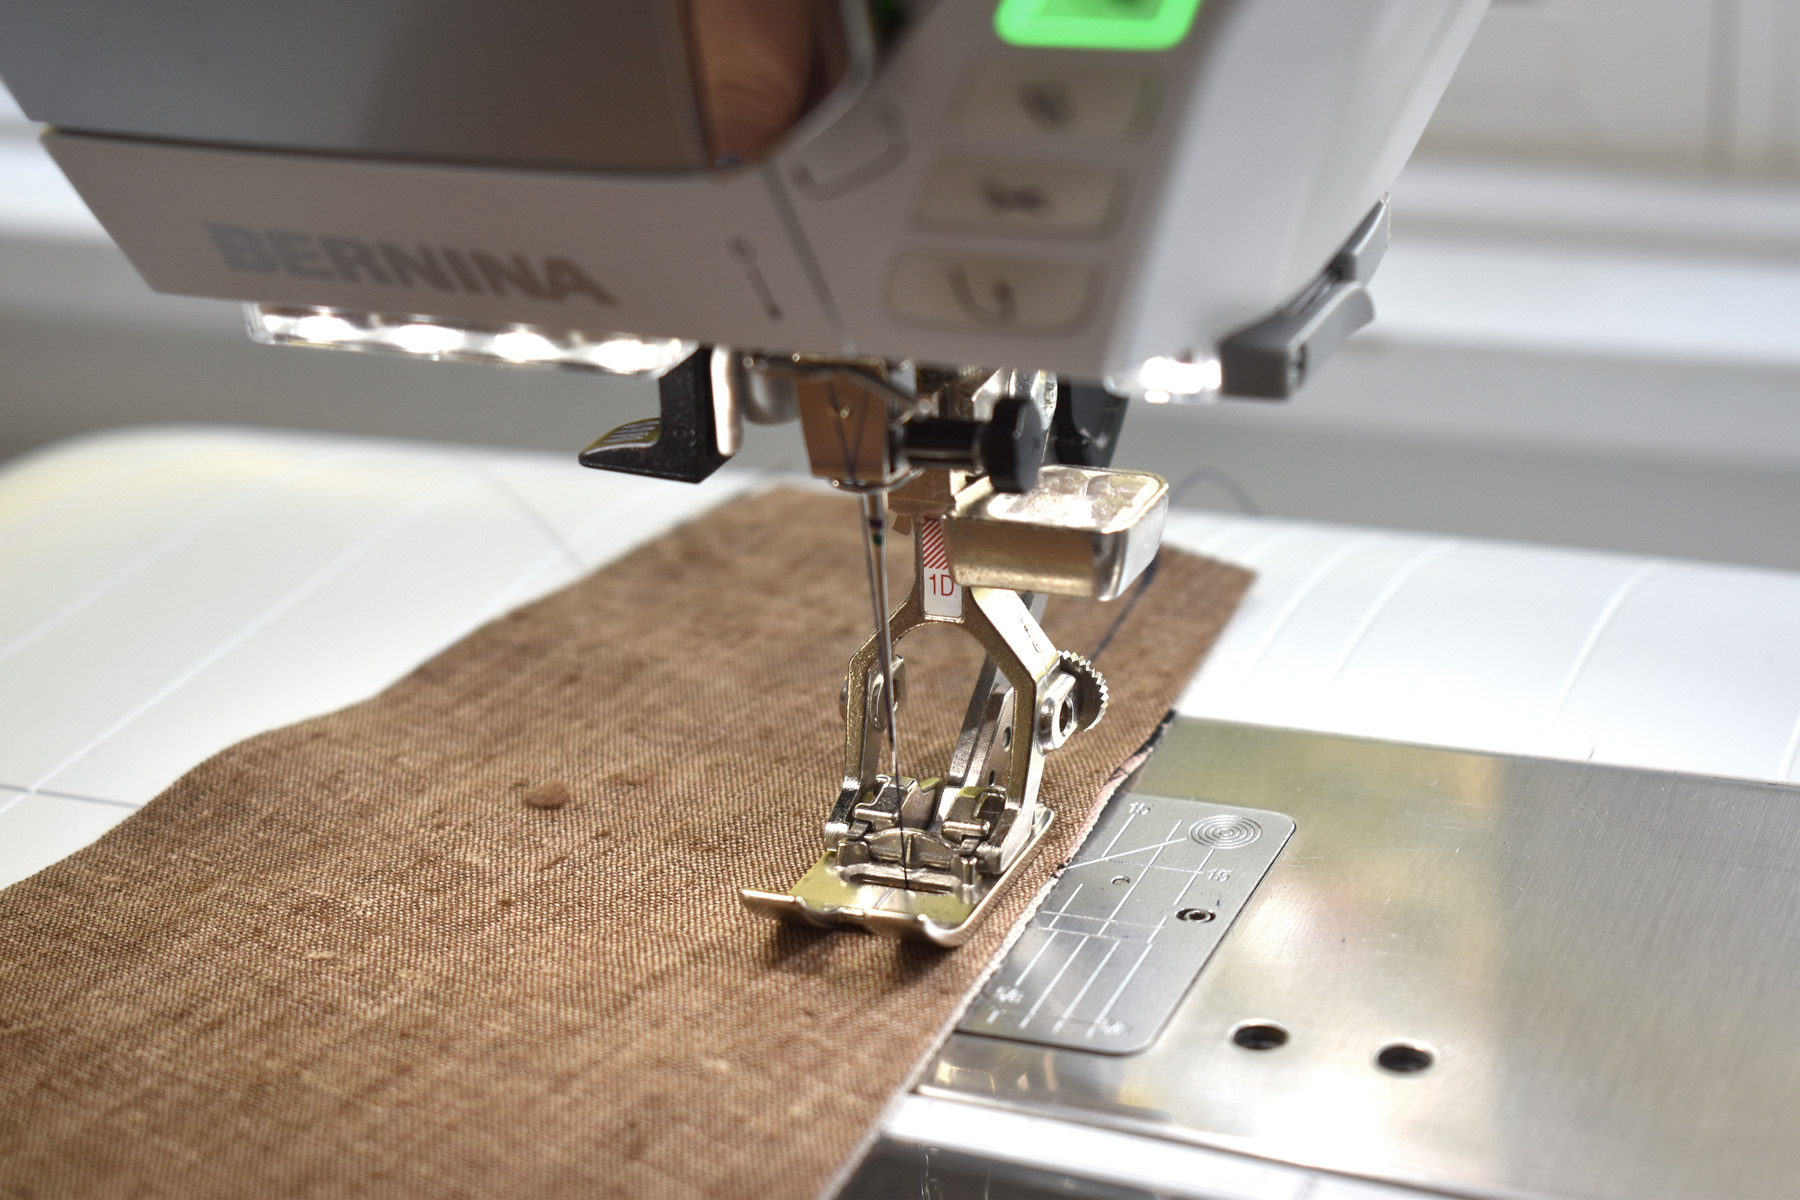
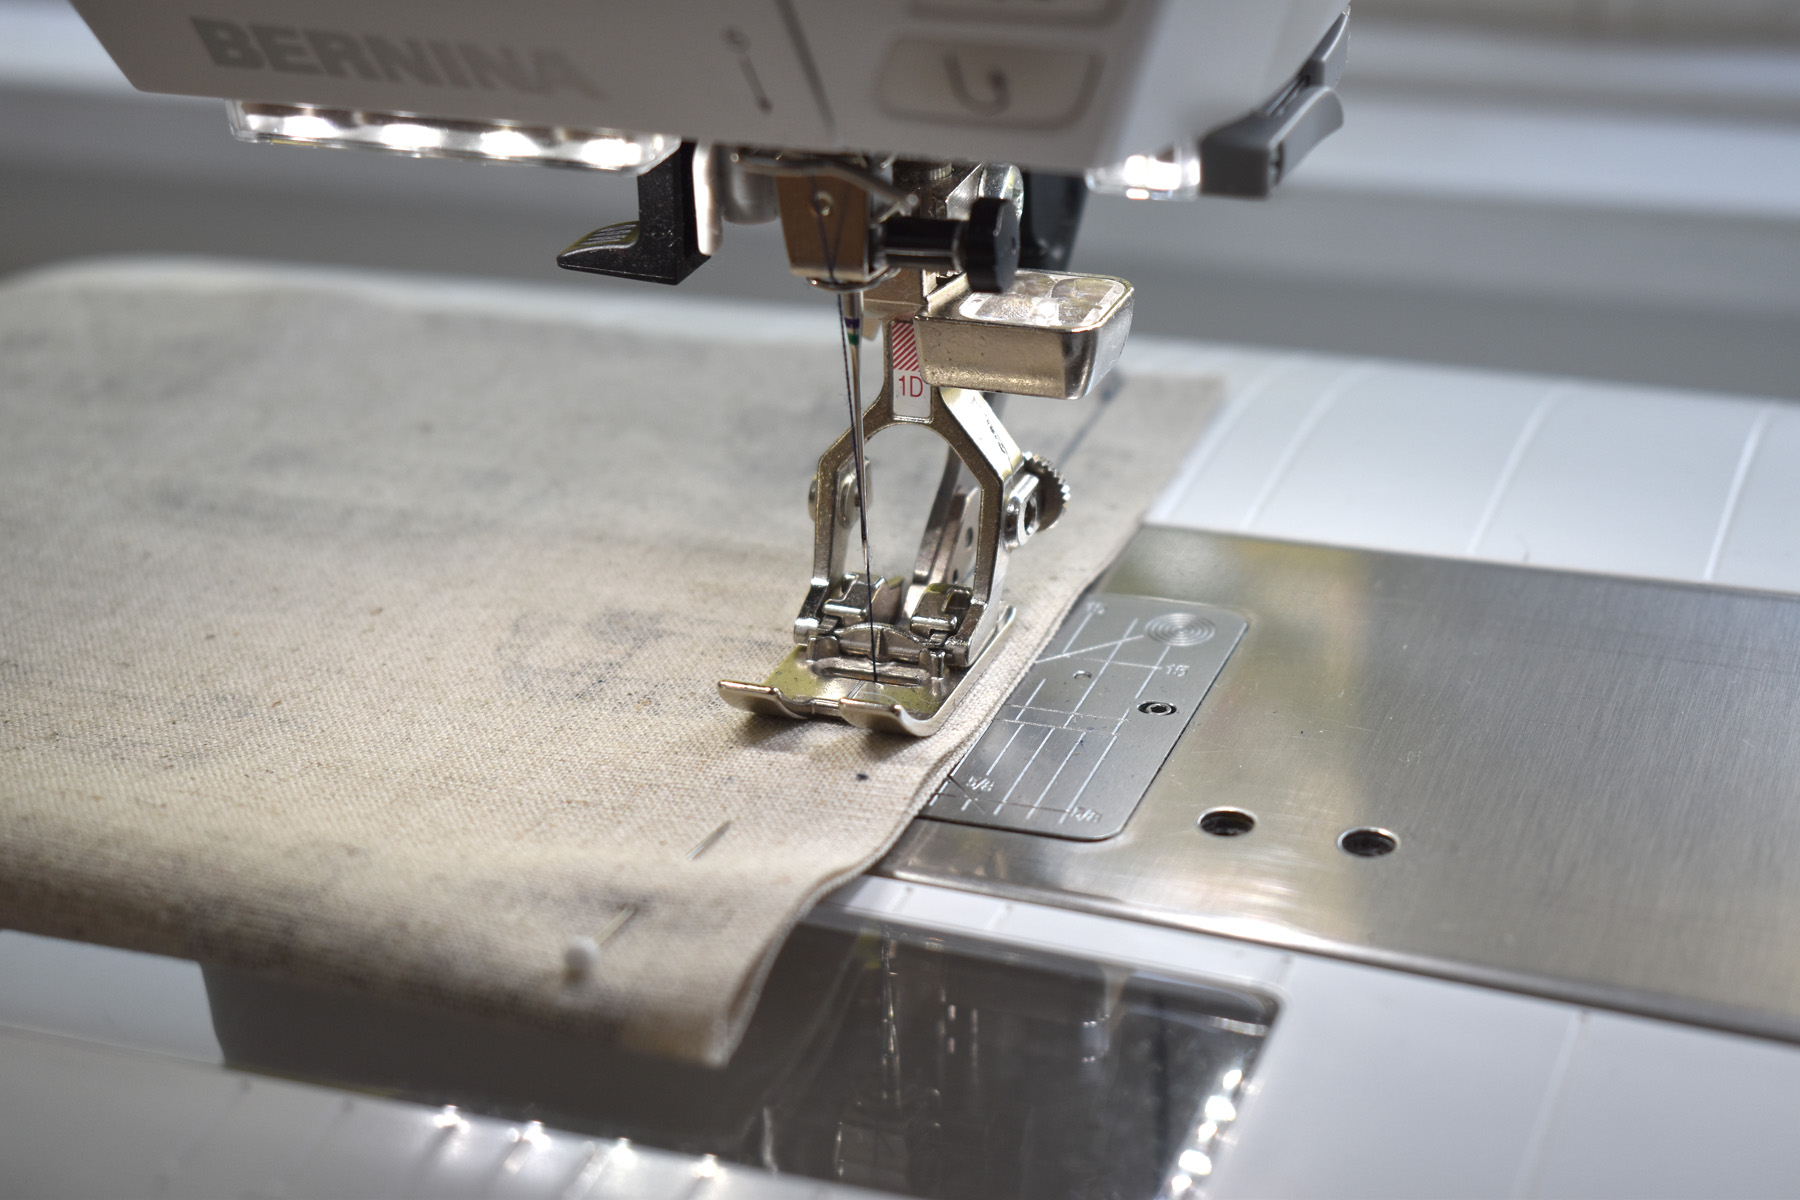
Stitch along the top edge with a 1/2″ seam allowance, backstitching at the beginning and end of the seam.
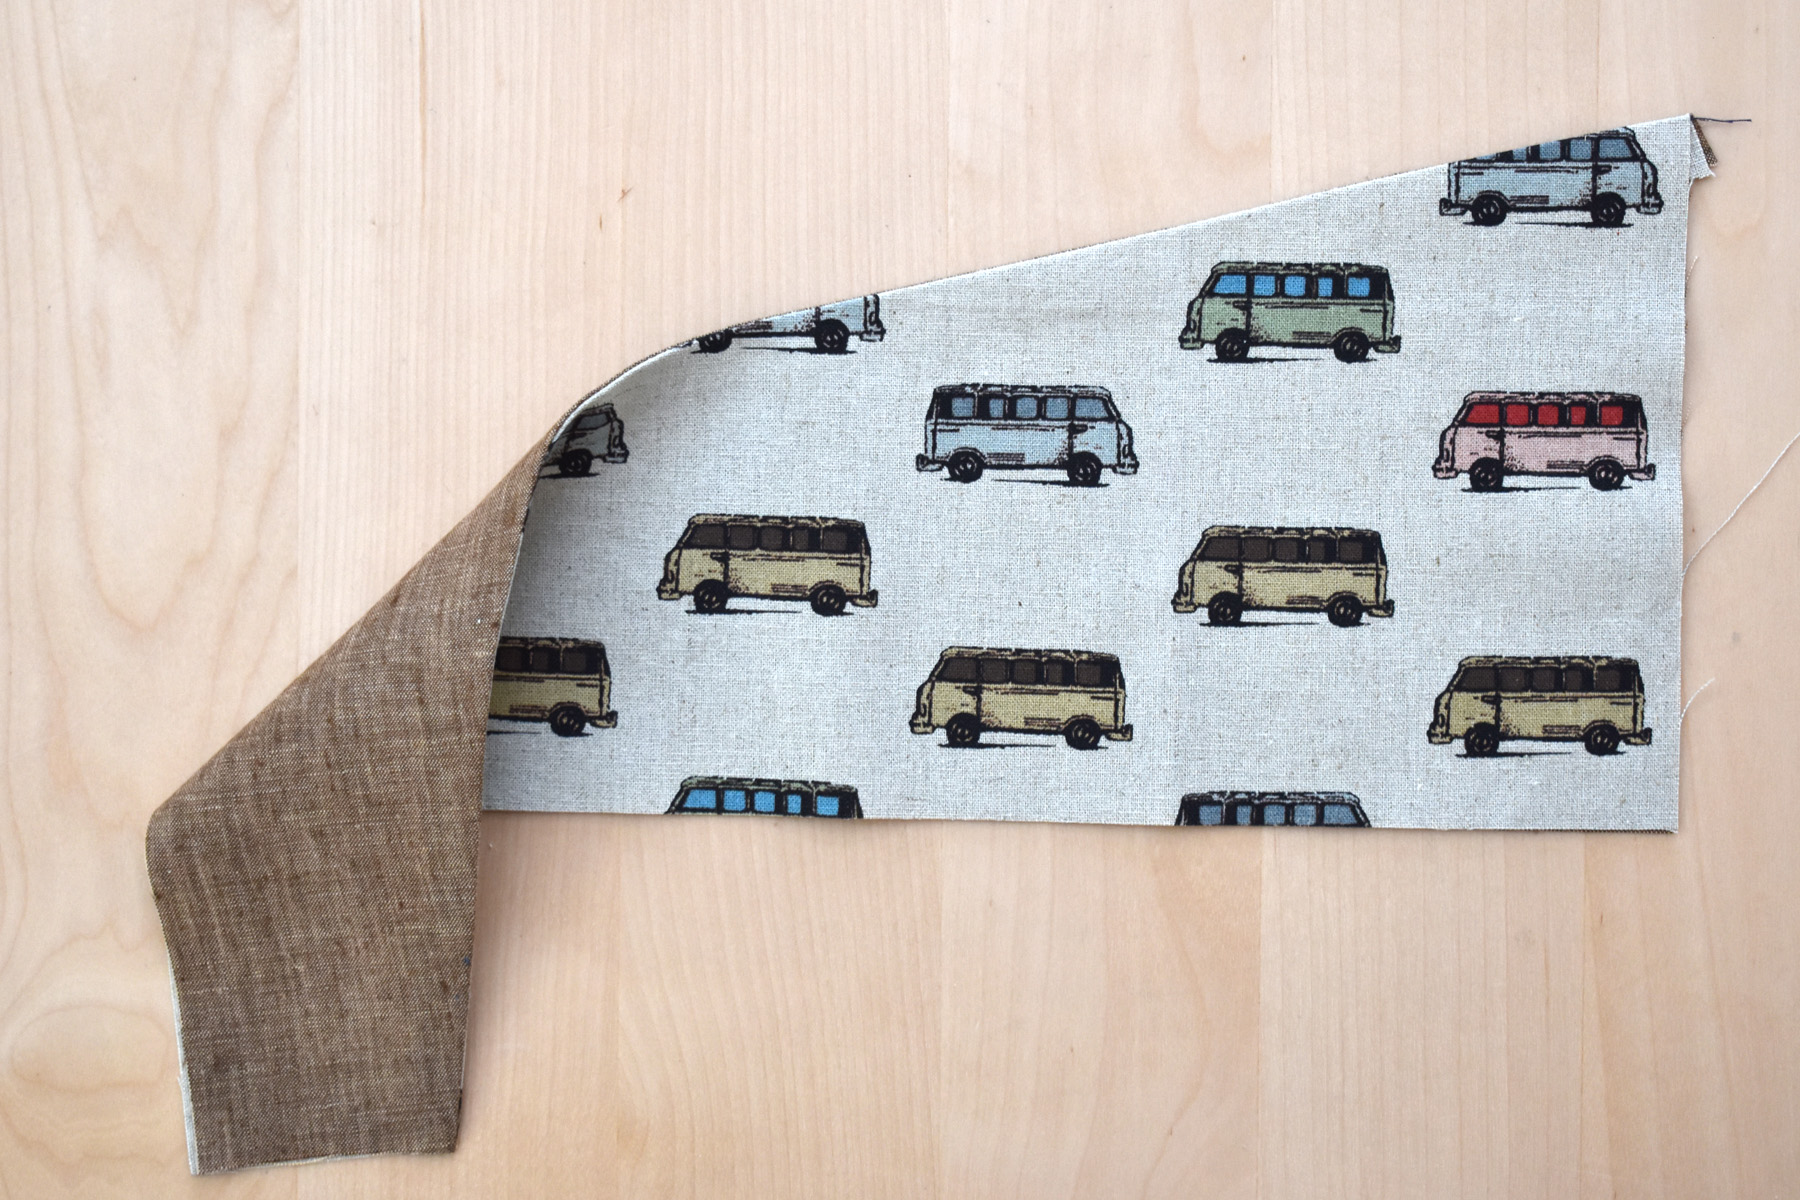
Press the finished seam open, then fold the pocket in half along top seam and press flat. Finish the top edge by top stitching across the folded over seam edge about 1/8″ to 1/4″ away from the edge. The stitching will reinforce the top edge of the pocket.
Prepare the top flap. Fold the piece of flap fabric over, right sides together, so the long 16″ edges meet at the top. Pin both sides and stitch sides together with a 1/2″ seam, backstitching at the beginning and end of the seam.
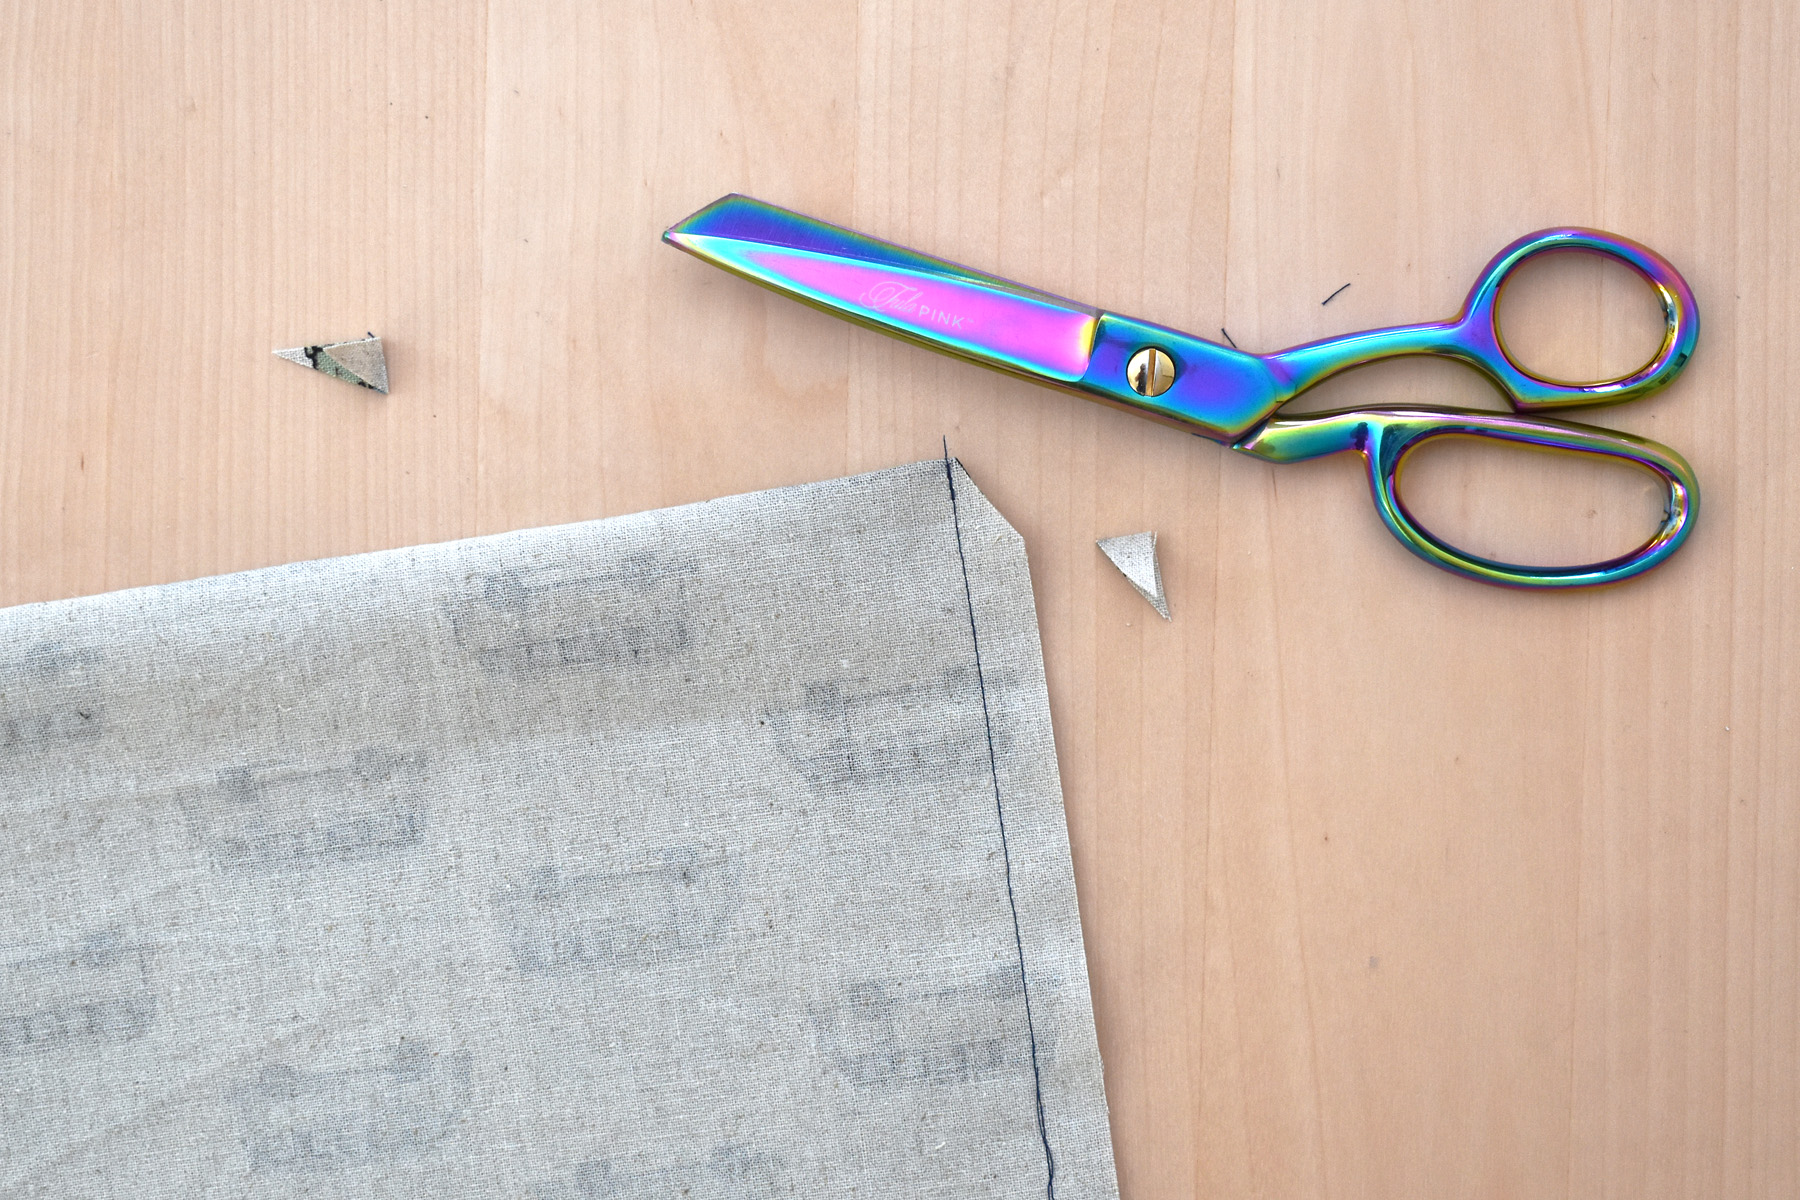
Clip corners near the fold close to the stitching, turn the flap inside out, and press it flat.
Step 3: Assemble the tool roll.
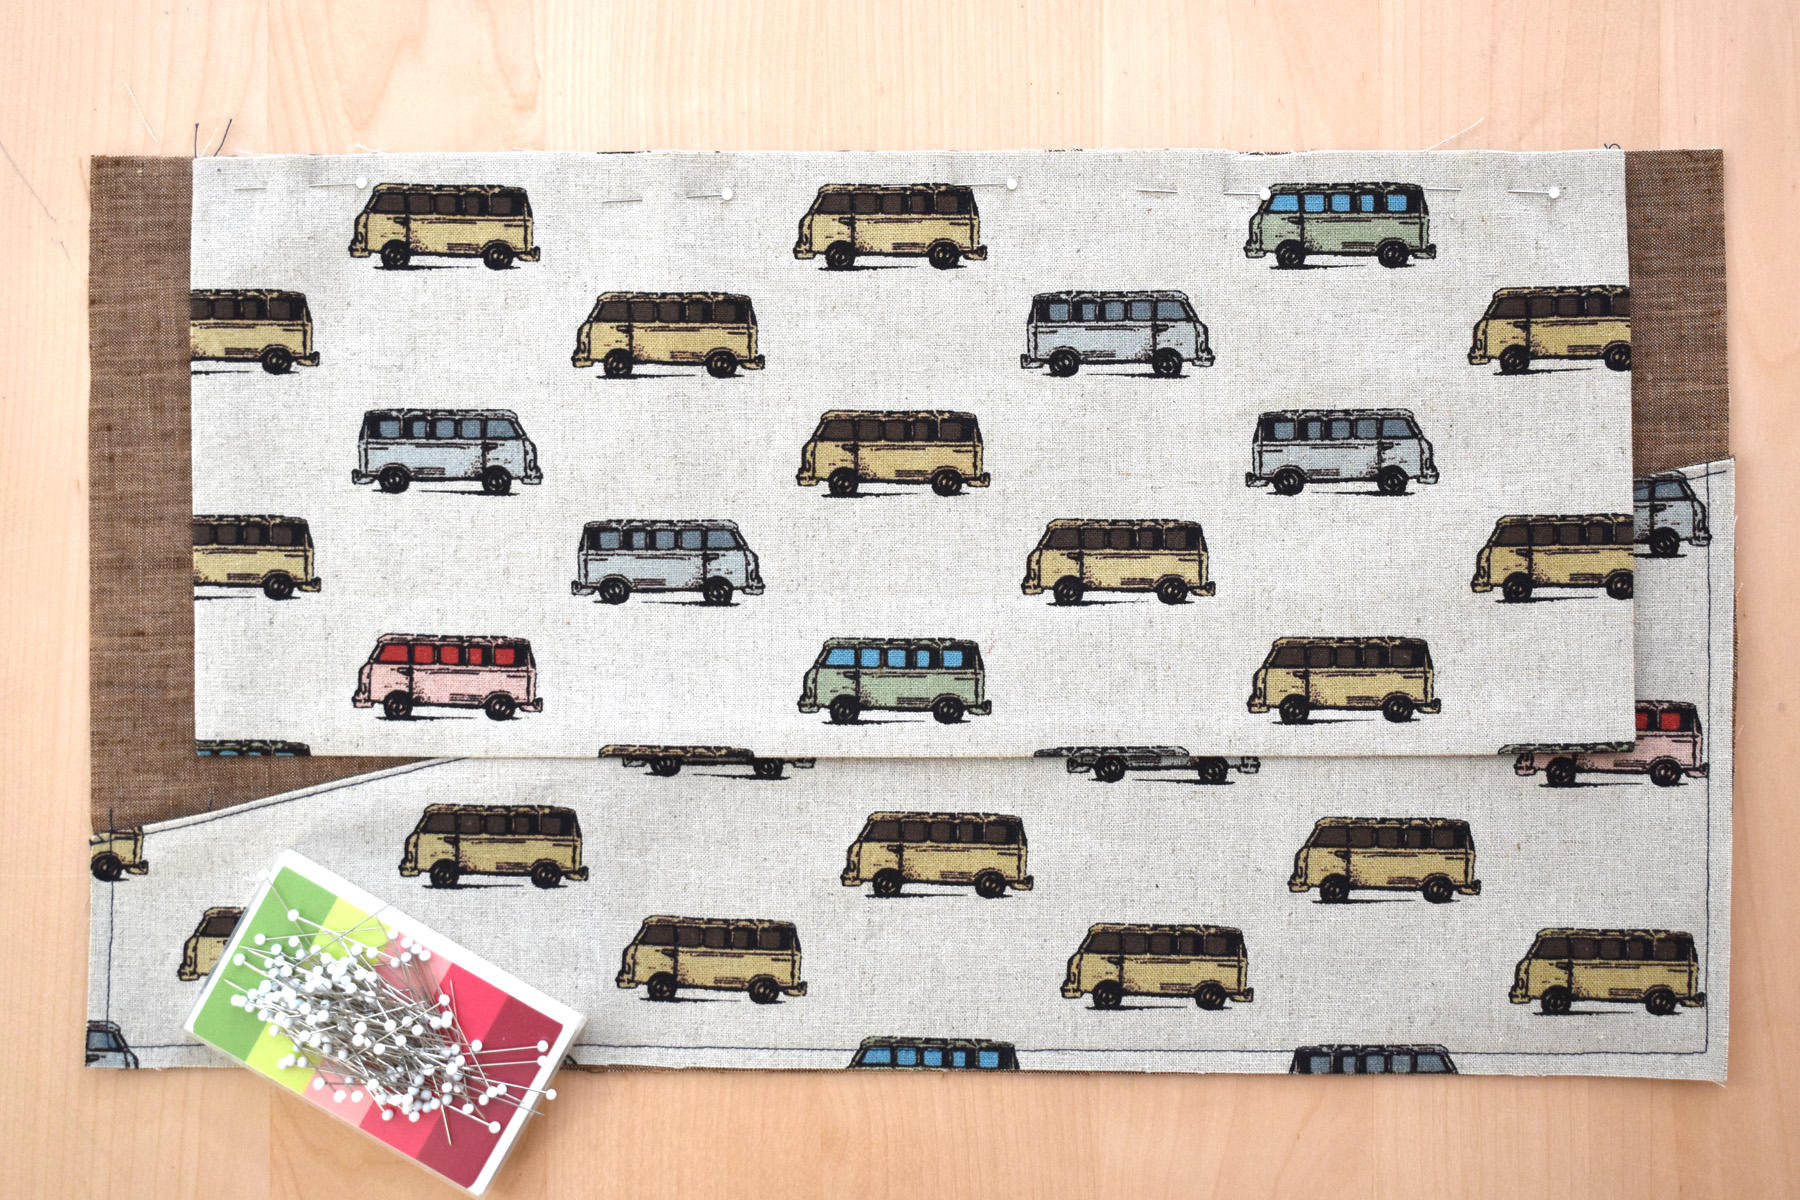
Baste the pocket and flap in place before sewing all the layers together. First, place the tool roll lining right side up, and add the pocket piece on top, matching raw edges on the sides and bottom. Pin the pocket sides and bottom to the lining below. At the sewing machine, baste-stitch the sides and bottom of the pocket to the lining with a 1/4″ seam allowance.
Then lay the tool roll flap along the top edge, matching raw edges and centering the flap between the two sides of the tool roll. Pin in place and baste stitch across top edge with a 1/4″ seam allowance.
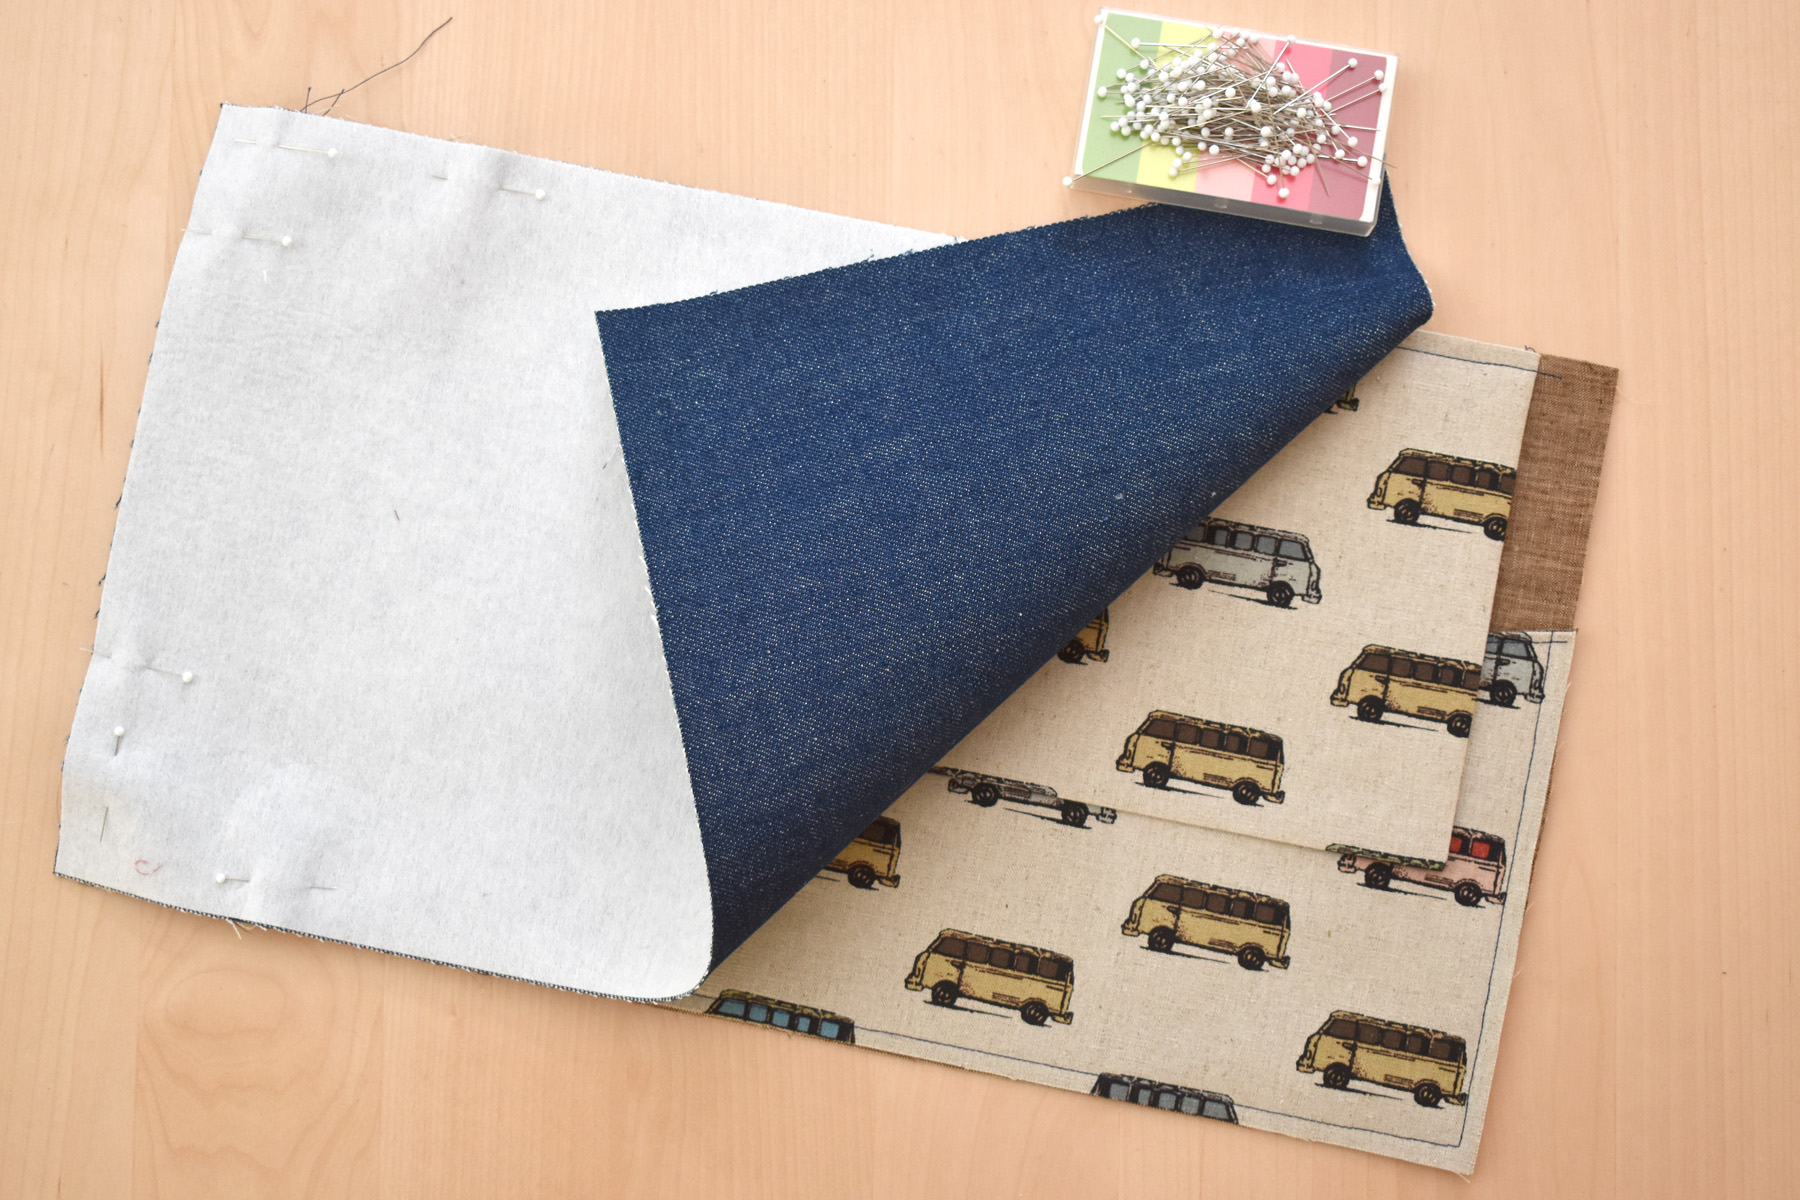
Lay the outer tool roll on top of the basted lining with the pocket and flap, right sides together. Leave an opening in the middle of the left side approximately 4″ – 5″ wide for turning inside out after stitching. Pin the layers together, matching raw edges all around.
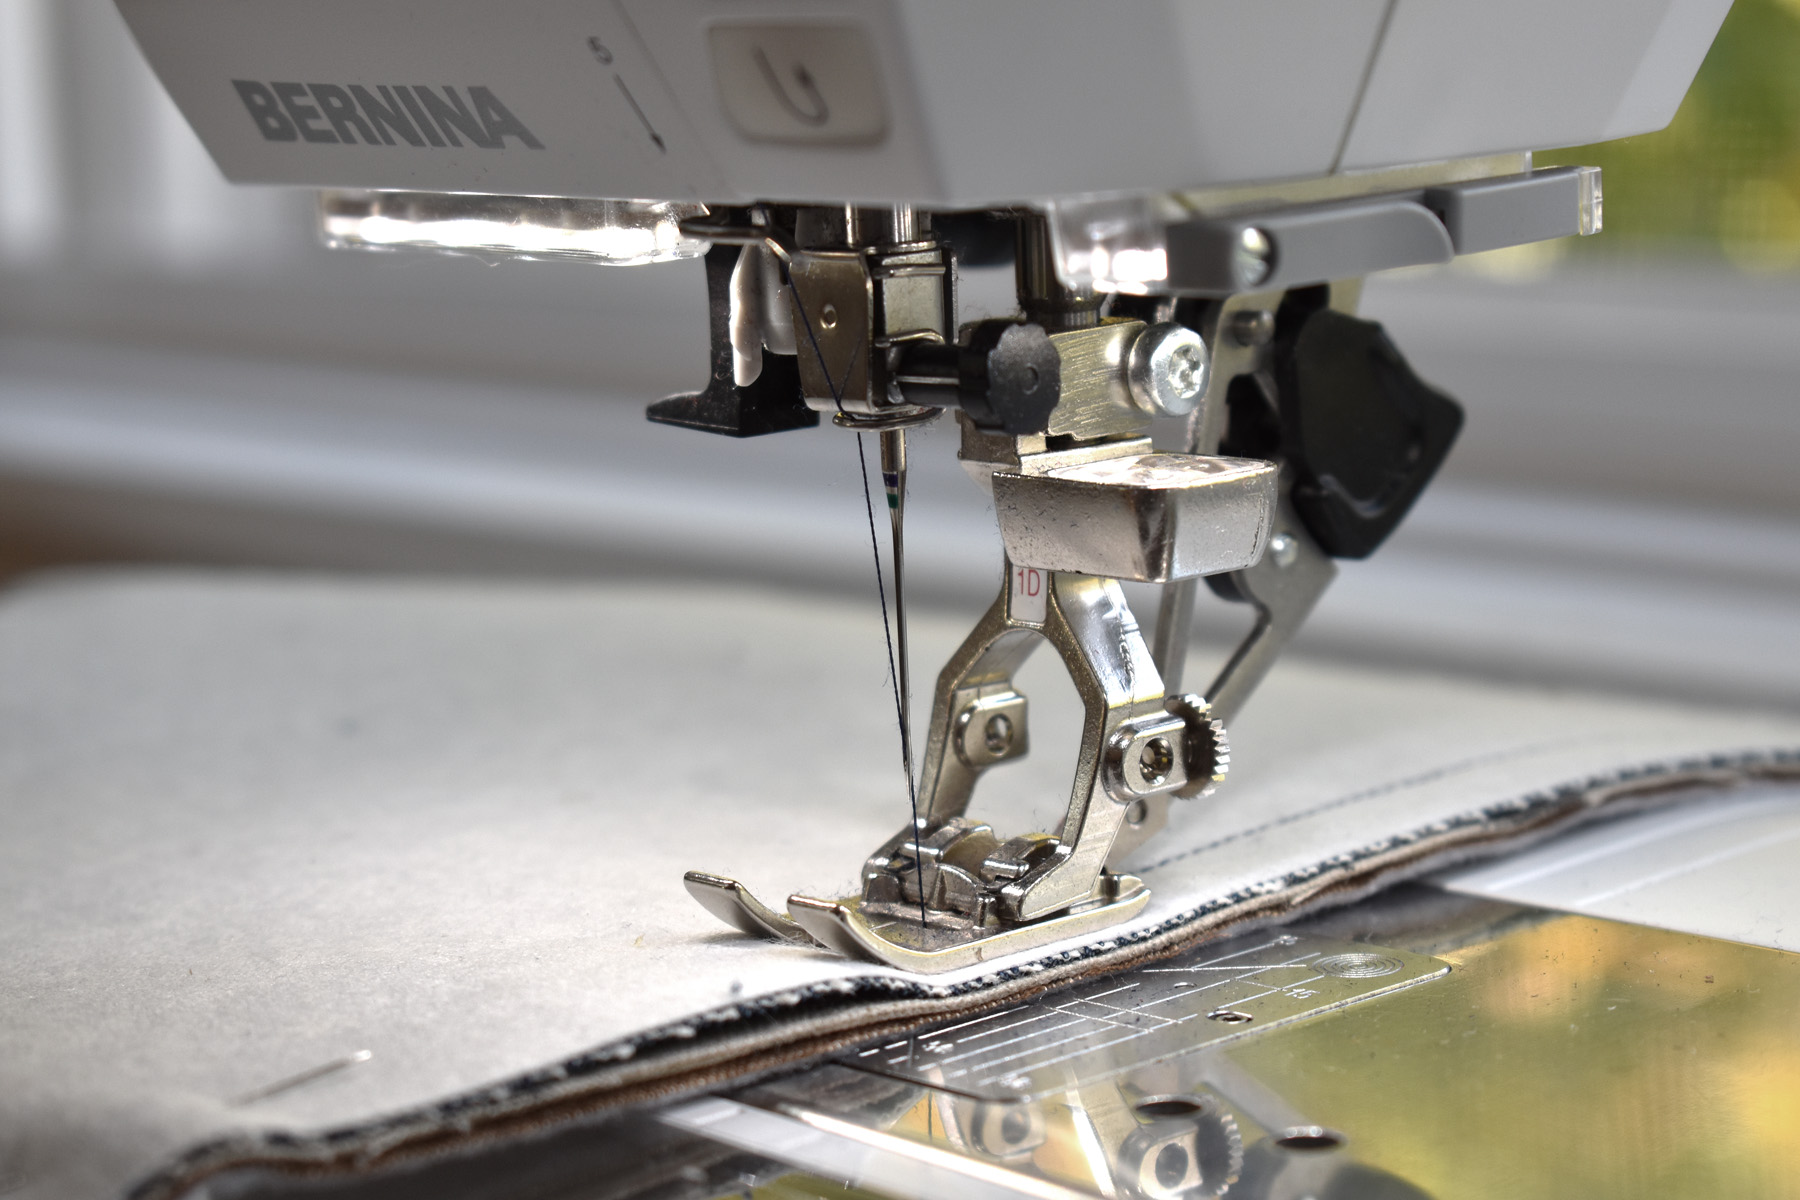
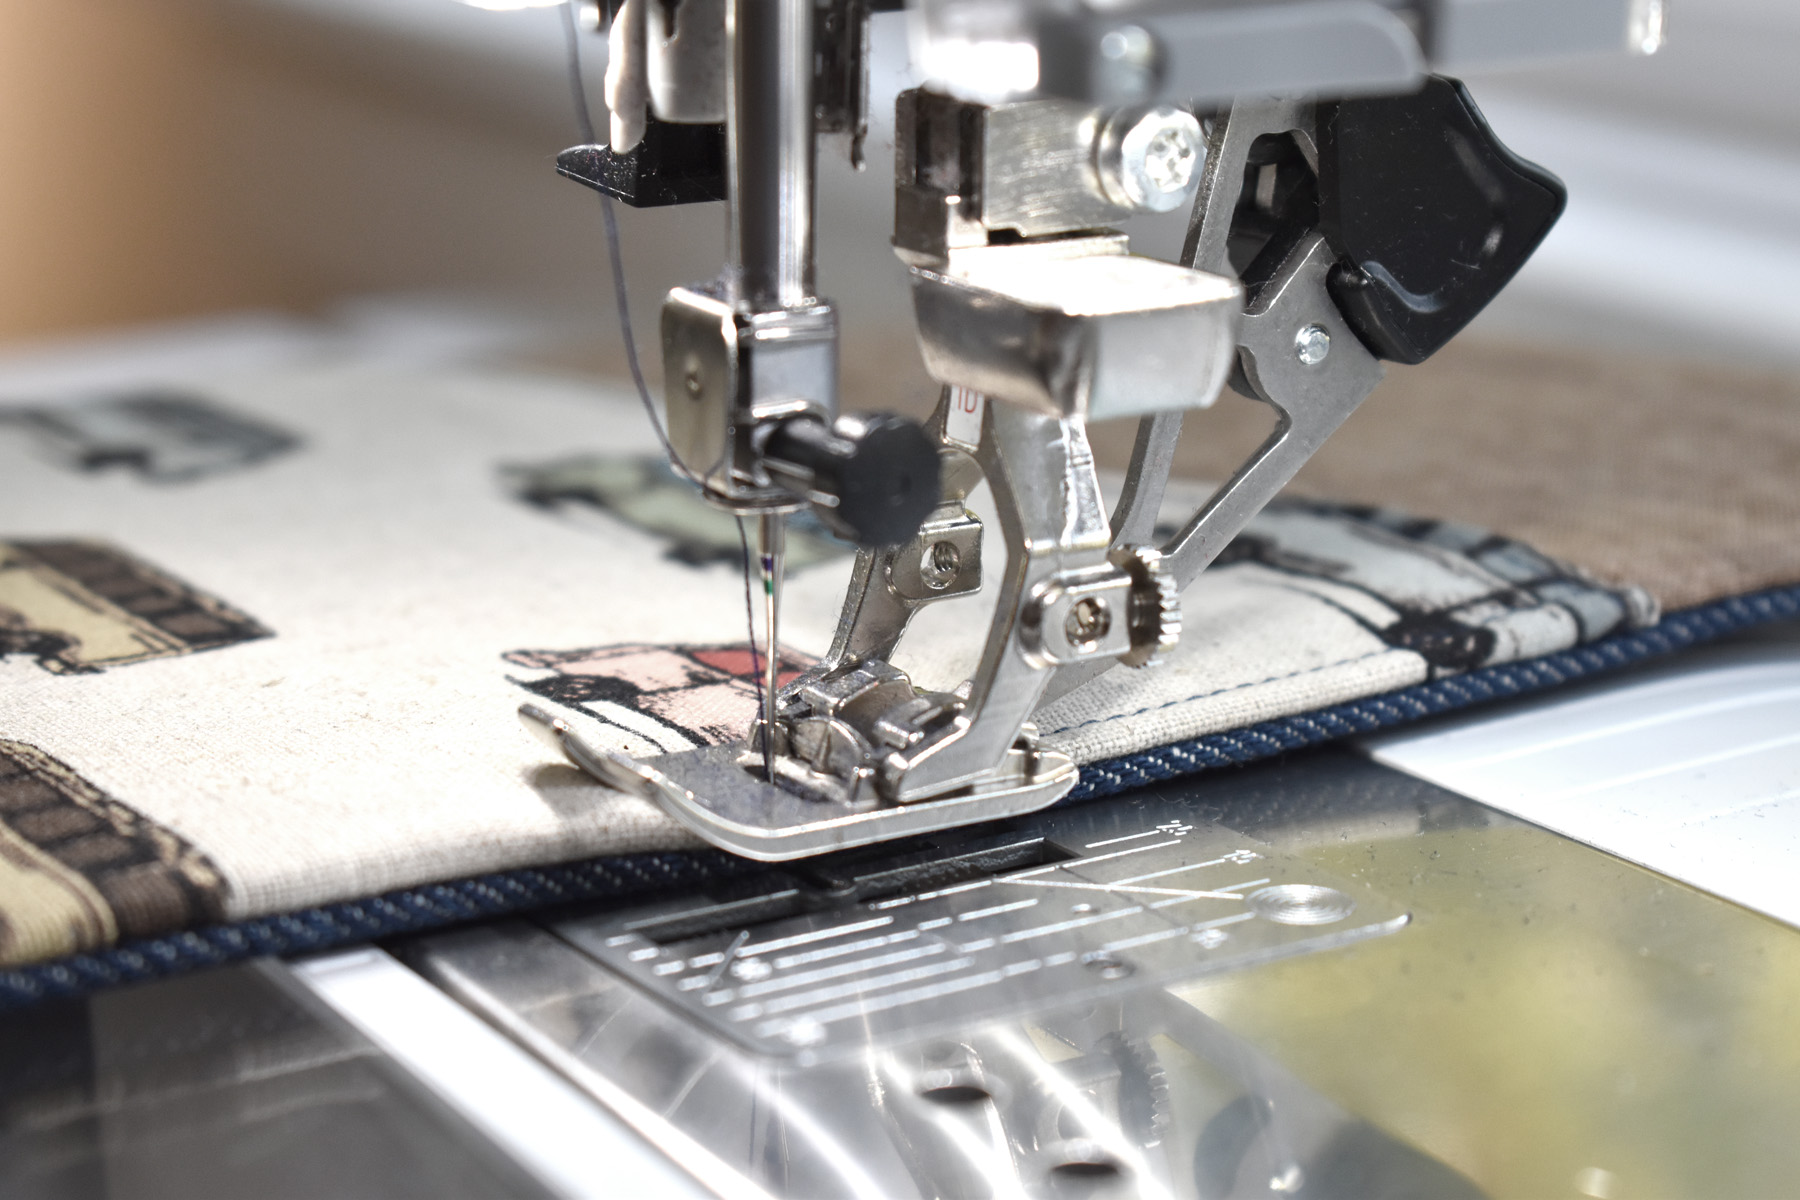
Stitch around the outside edge with a 1/2″ seam allowance, sewing from one side of the opening to the other. Sew slow and steady to keep the multiple layers feeding evenly through the sewing machine (the Dual Feed really helps here!).
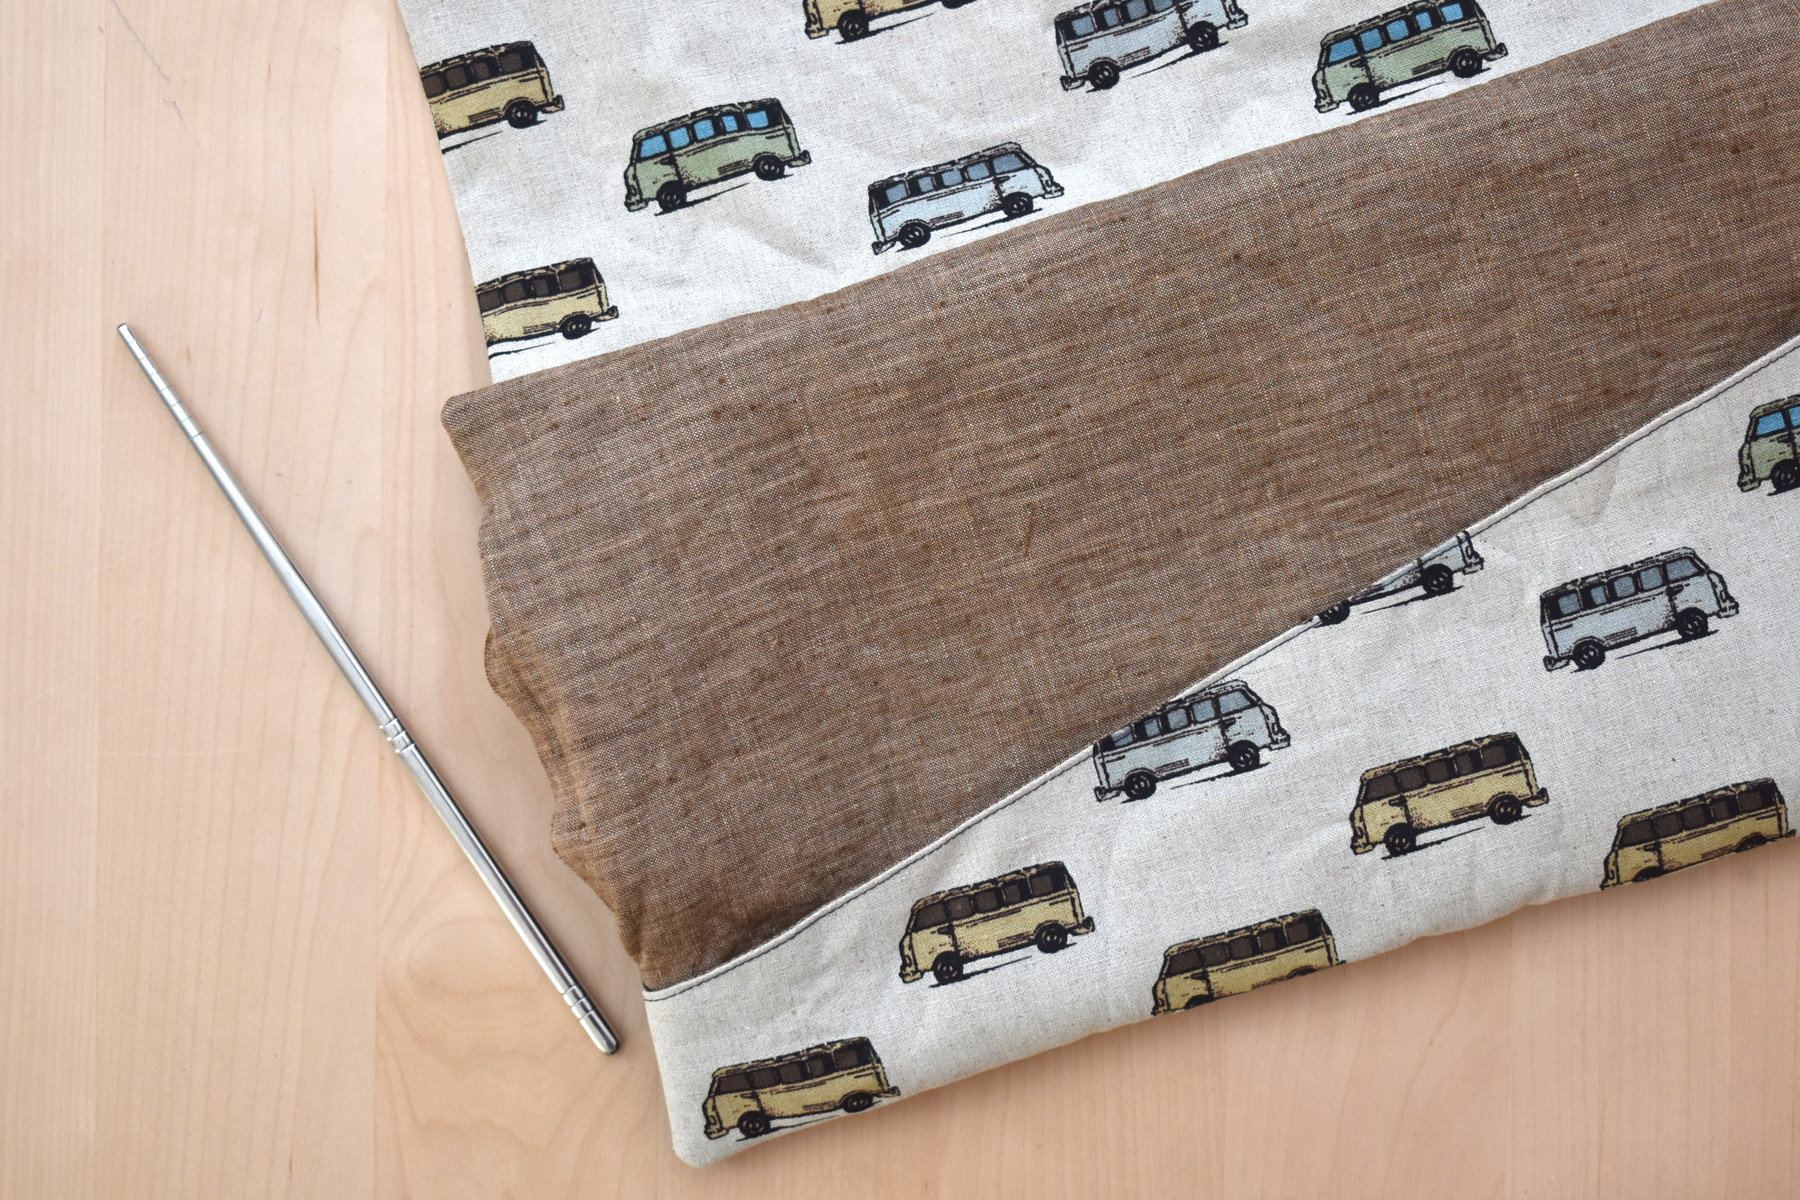
Clip the corners close to the stitching. Turn the tool roll right side out through the opening, making sure that the pocket stays on the lining side of the tool roll. Use a point turner or chopstick to gently push out the corners.
At the opening, press the seam allowance to the inside, flush with the edges of the seams. Give the outer edges a good pressing, using the chopstick or point turner to force the seams or corners out when needed.
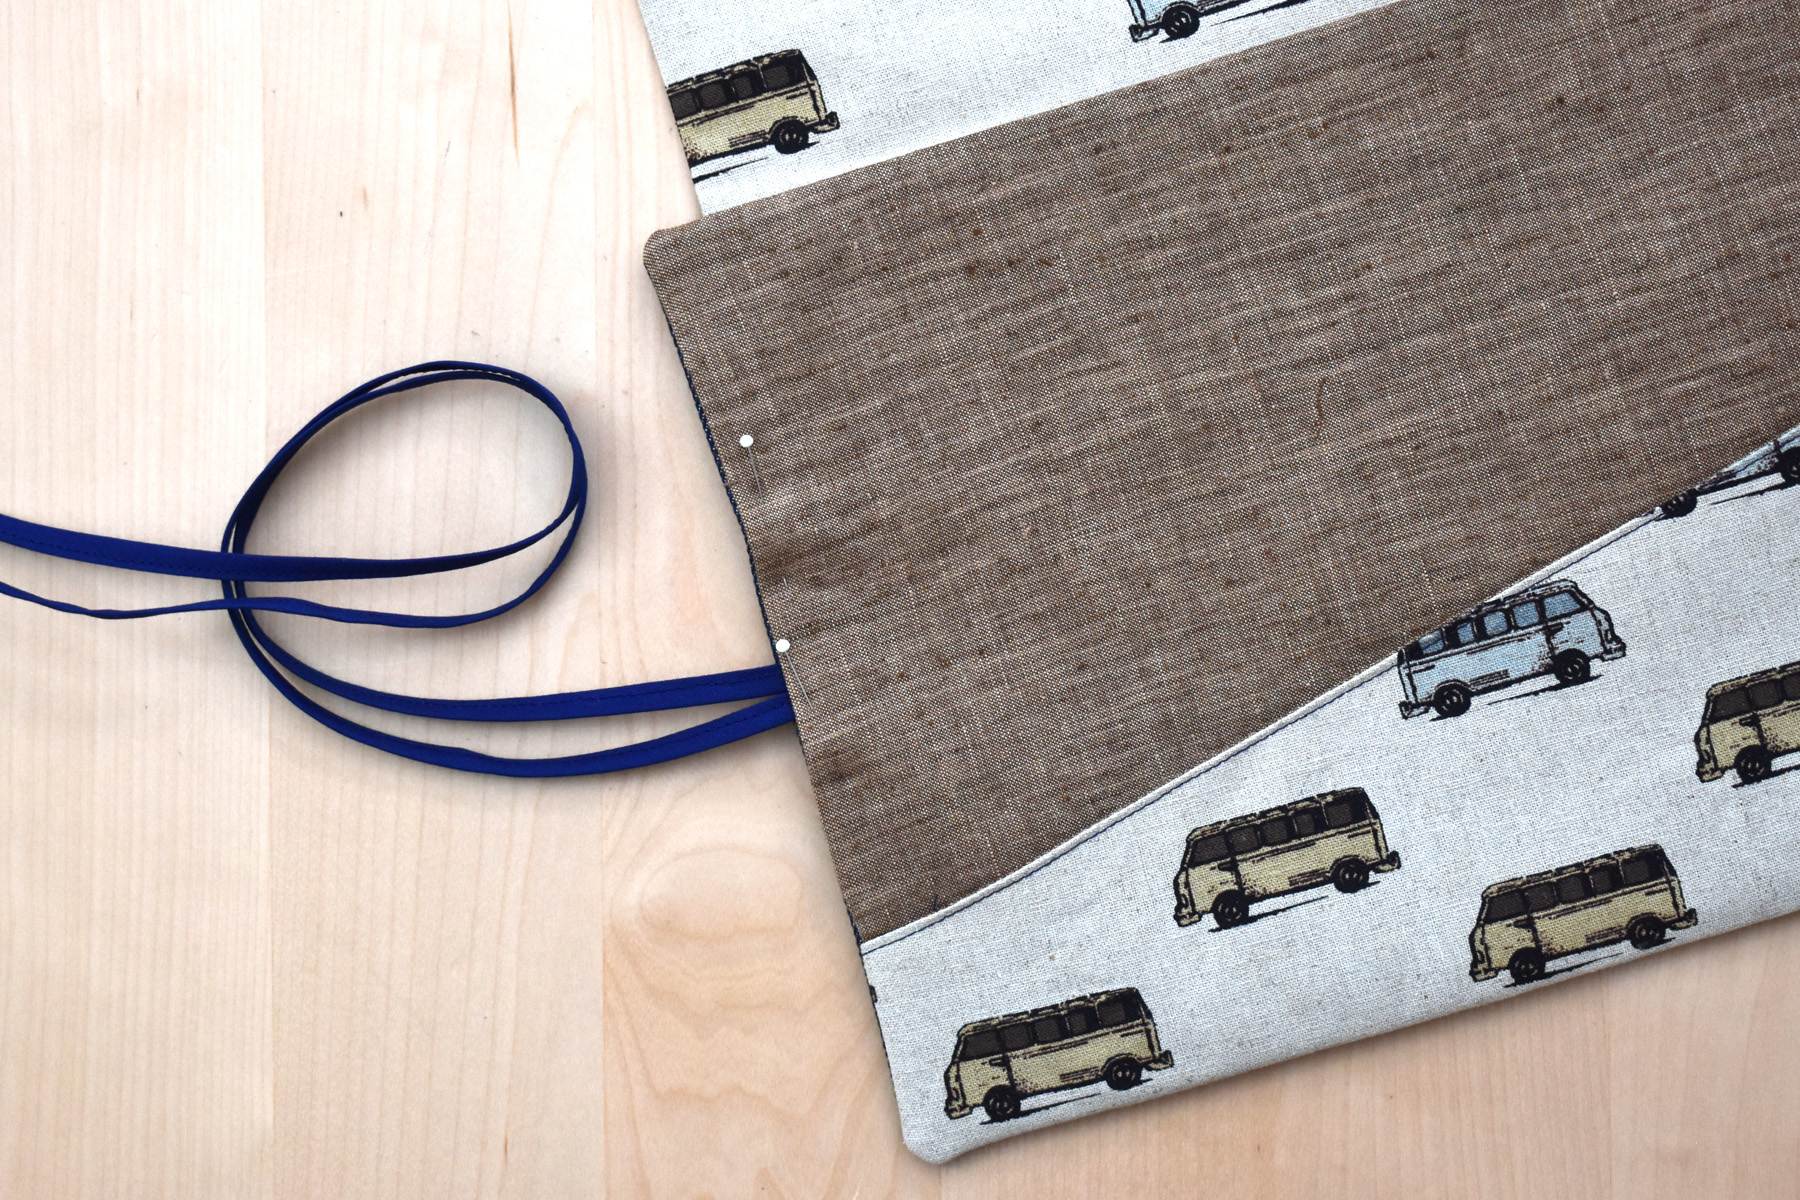
Fold the 2 yard piece of ribbon or tape in half and pin the ends to the center of the side seam opening. Pin the entire opening closed.
Top stitch around the sides and bottom of the tool roll, beginning at the top corner on one side and ending at the other top corner (do not stitch across the top by the flap in this step). Sew a scant 1/4″ from the edge (just a little less than a quarter-inch). The opening will be stitched closed in this step; backstitch when sewing over ties to reinforce the stitches. If you want extra protection for keeping the ties stitched in place, sew another short line of stitching over the tie ends about 1/8″ – 1/4″ from the top stitches.
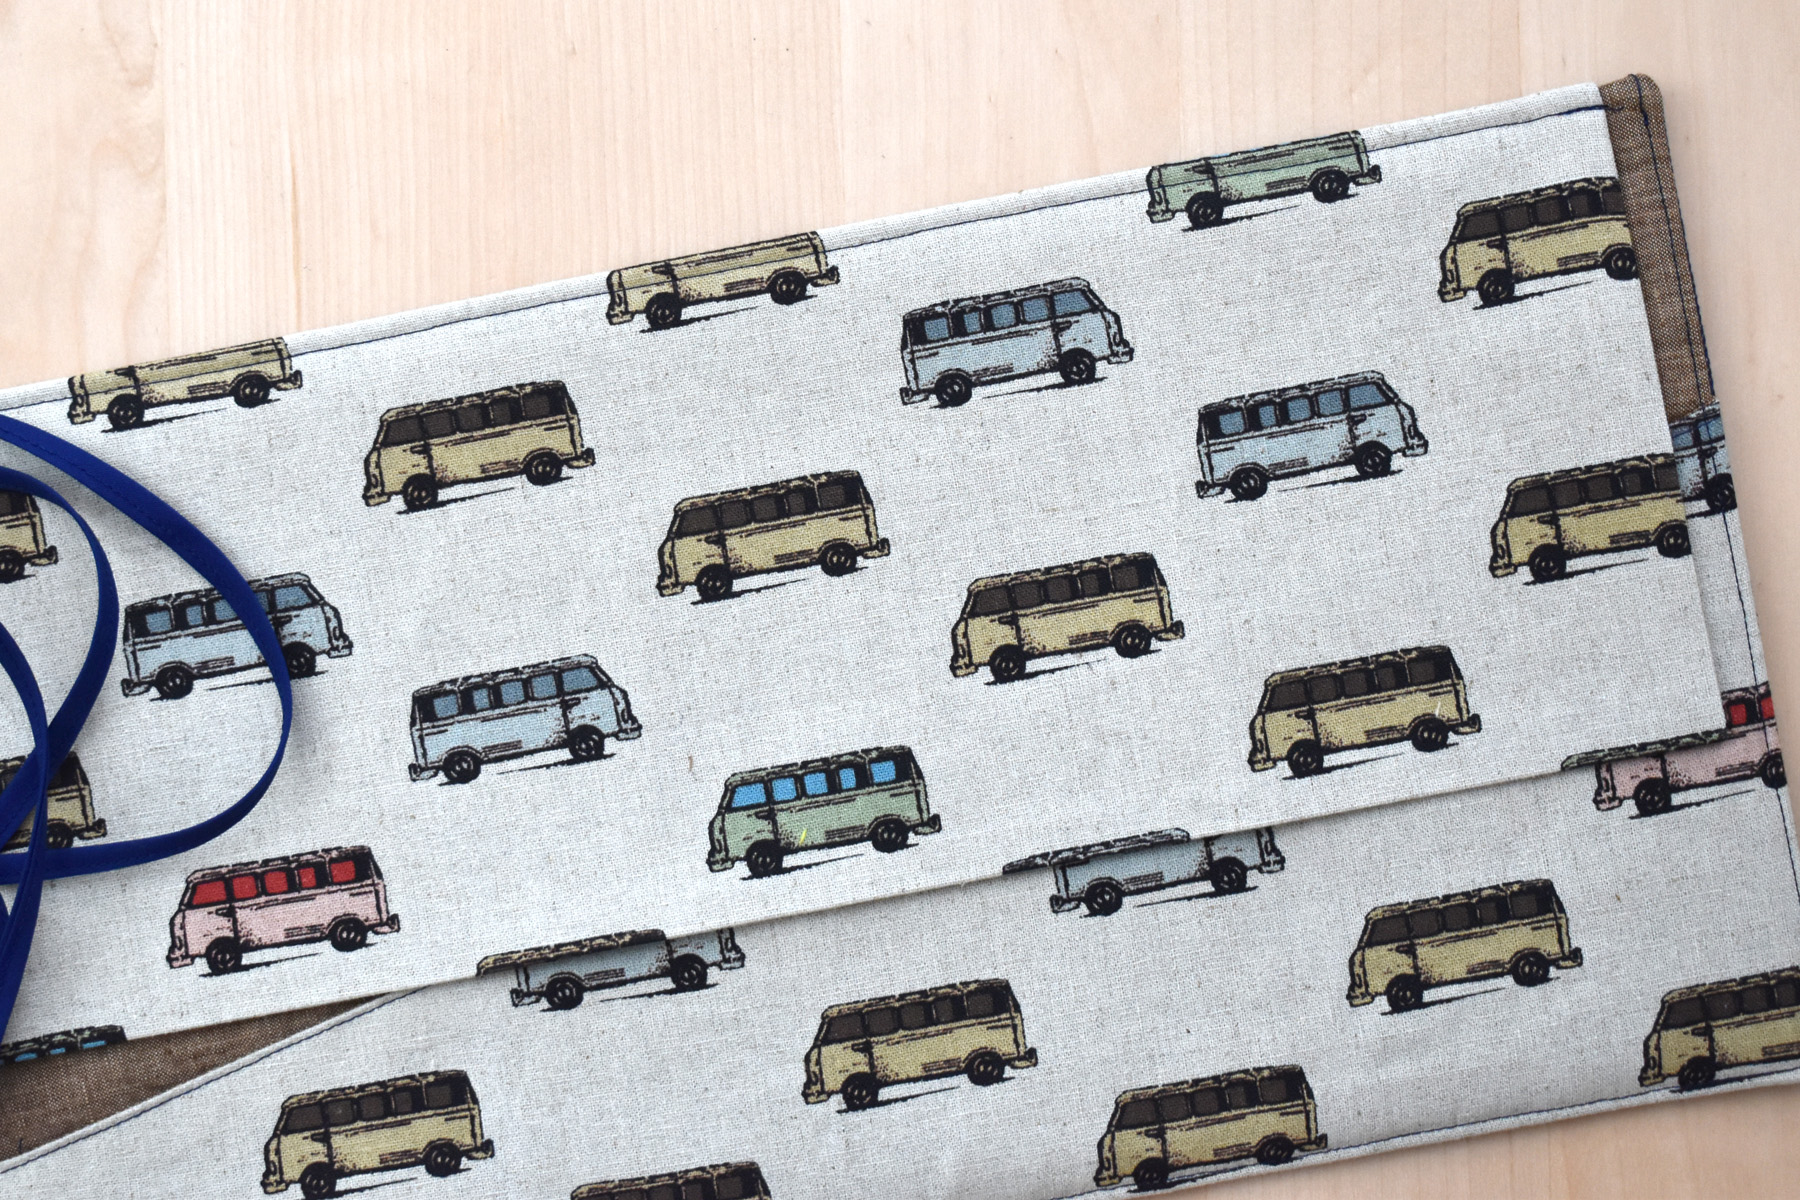
Next, press the flap down over the top edge and pin in place.
Top stitch along the top edge of the flap a scant 1/4″ from the edge, backstitching a few stitches at the beginning and end. Start and stop sewing a few stitches on either side of the flap to keep the stitches secure.
Step 4: Create the custom pockets.
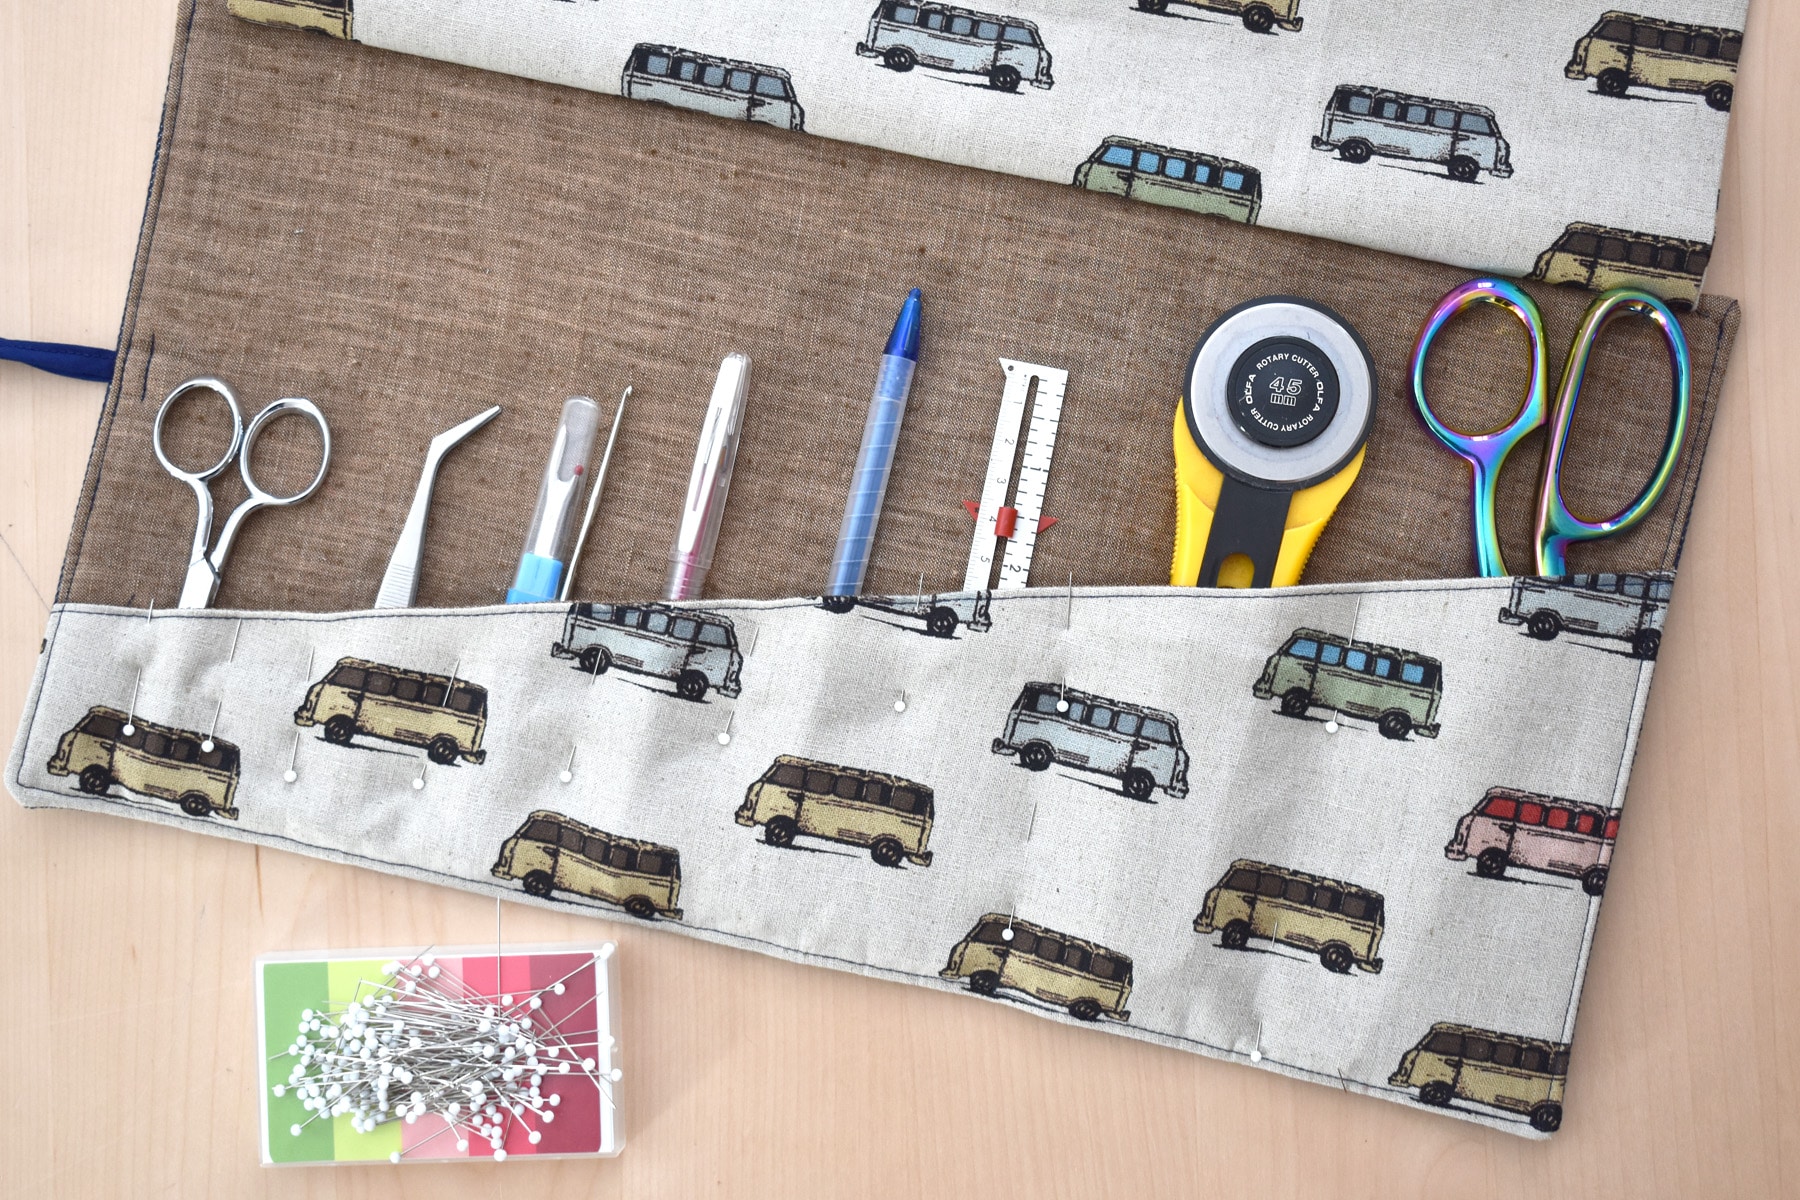
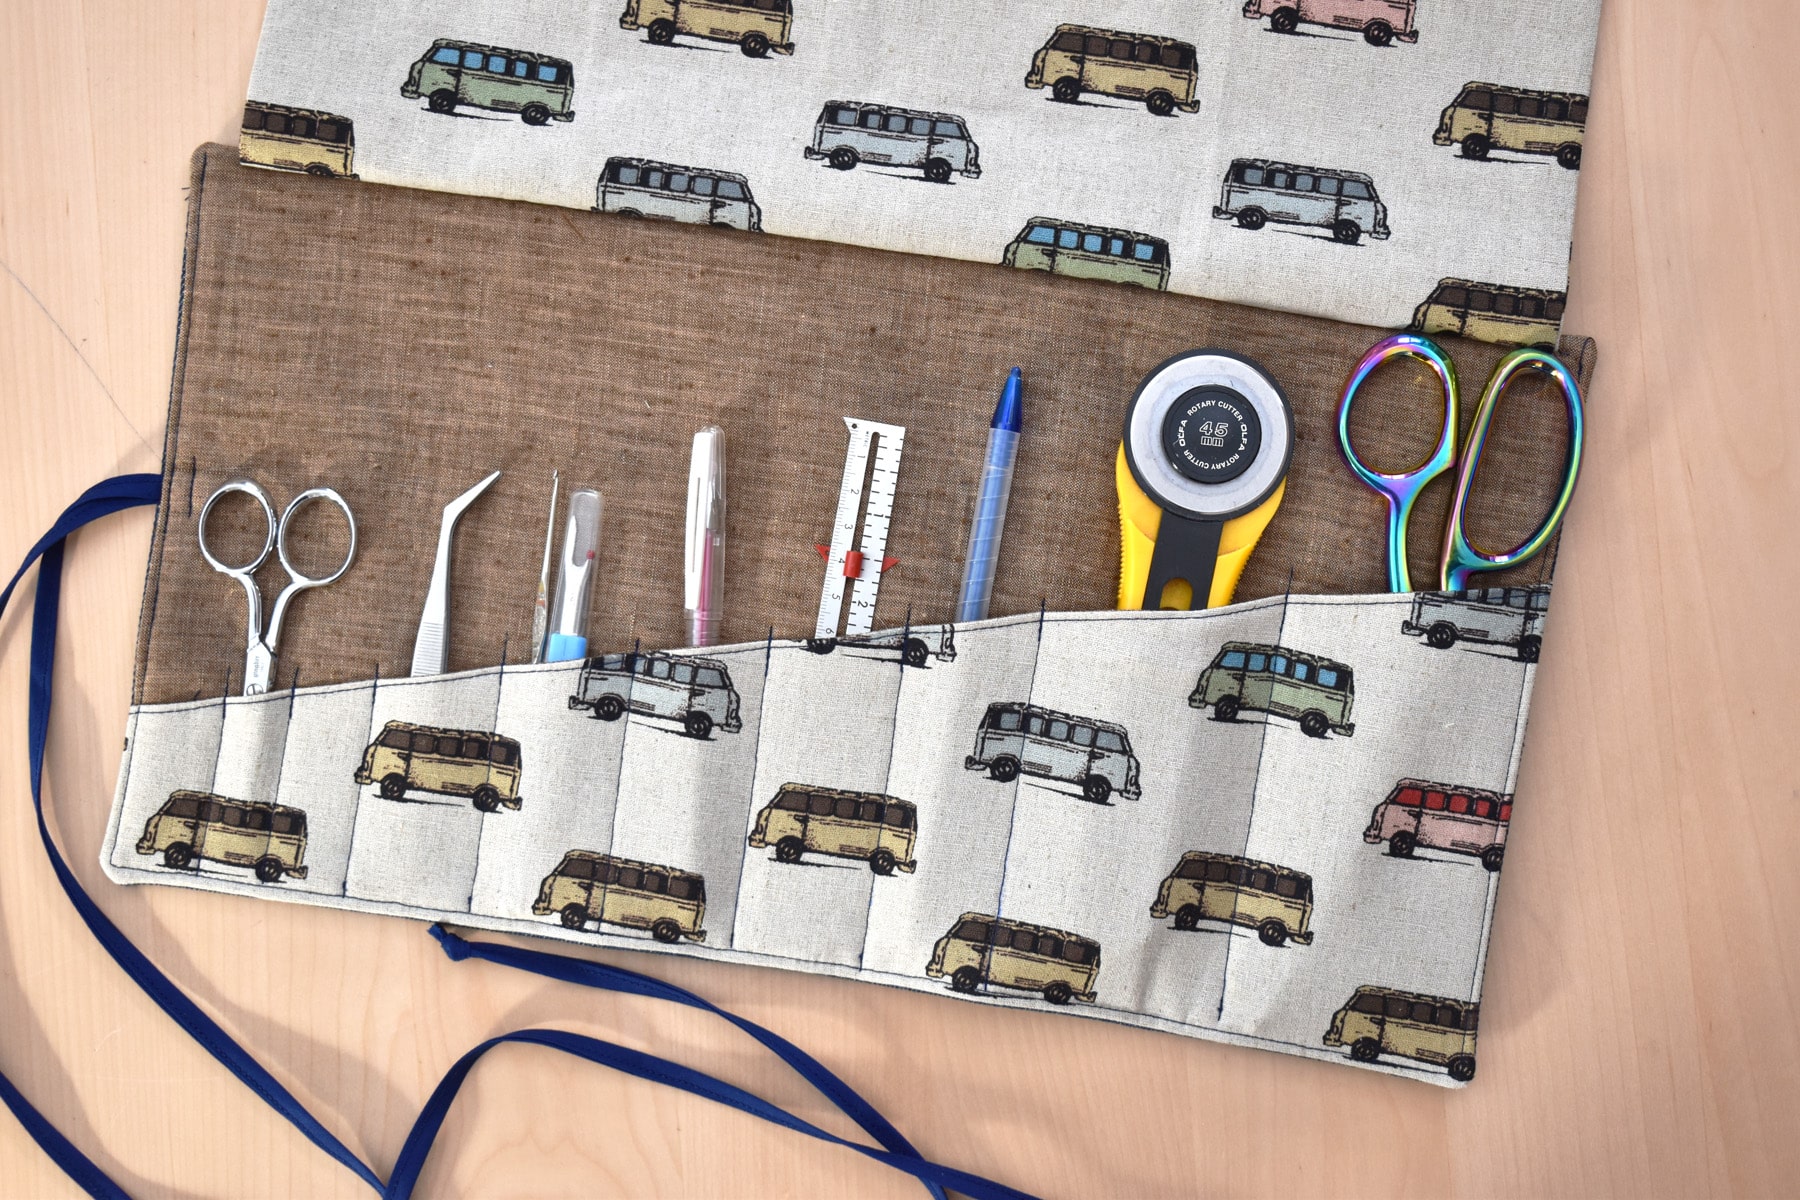
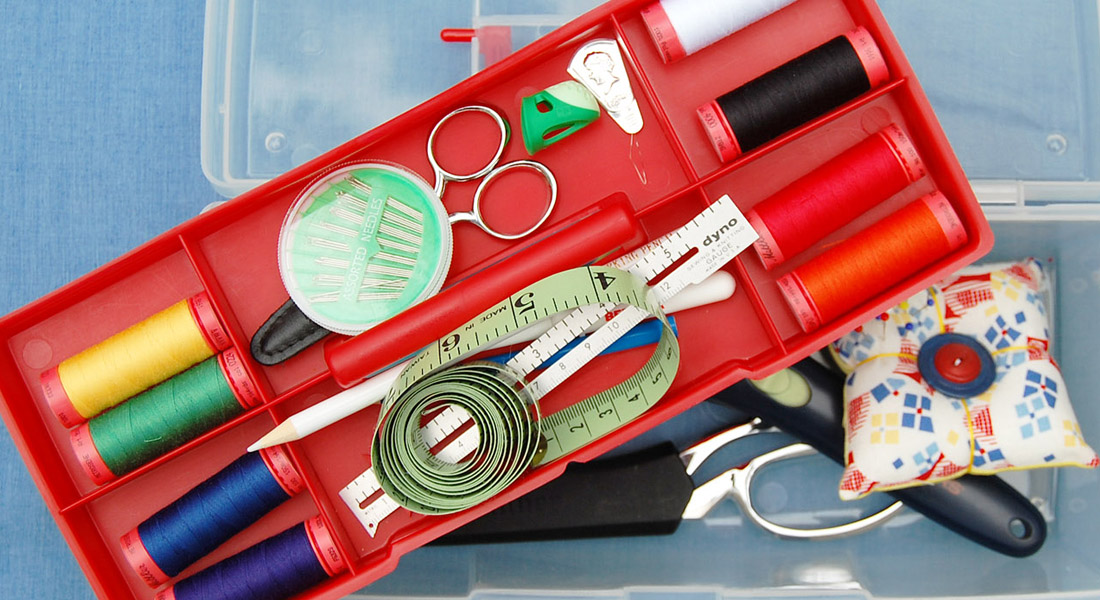
Gather together the tools you plan to store in the tool roll, straight pins, a small ruler, and a fabric marking pen or pencil. I plan on making a sewing tool roll with all the basic stuff I need to carry for sew-in days or retreats.
Test-fit the tools in the pocket until you find a good fit. Notice how tools that are thicker will need a wider pocket than thinner or flatter tools, and may need more space on each side to accomodate a good fit.
Pin through all layers to mark the pockets, making sure the tools have enough space to easily slip out of the pocket.
Continue to fit the tools and pin the pockets in place until you have a layout that works well for all the tools.
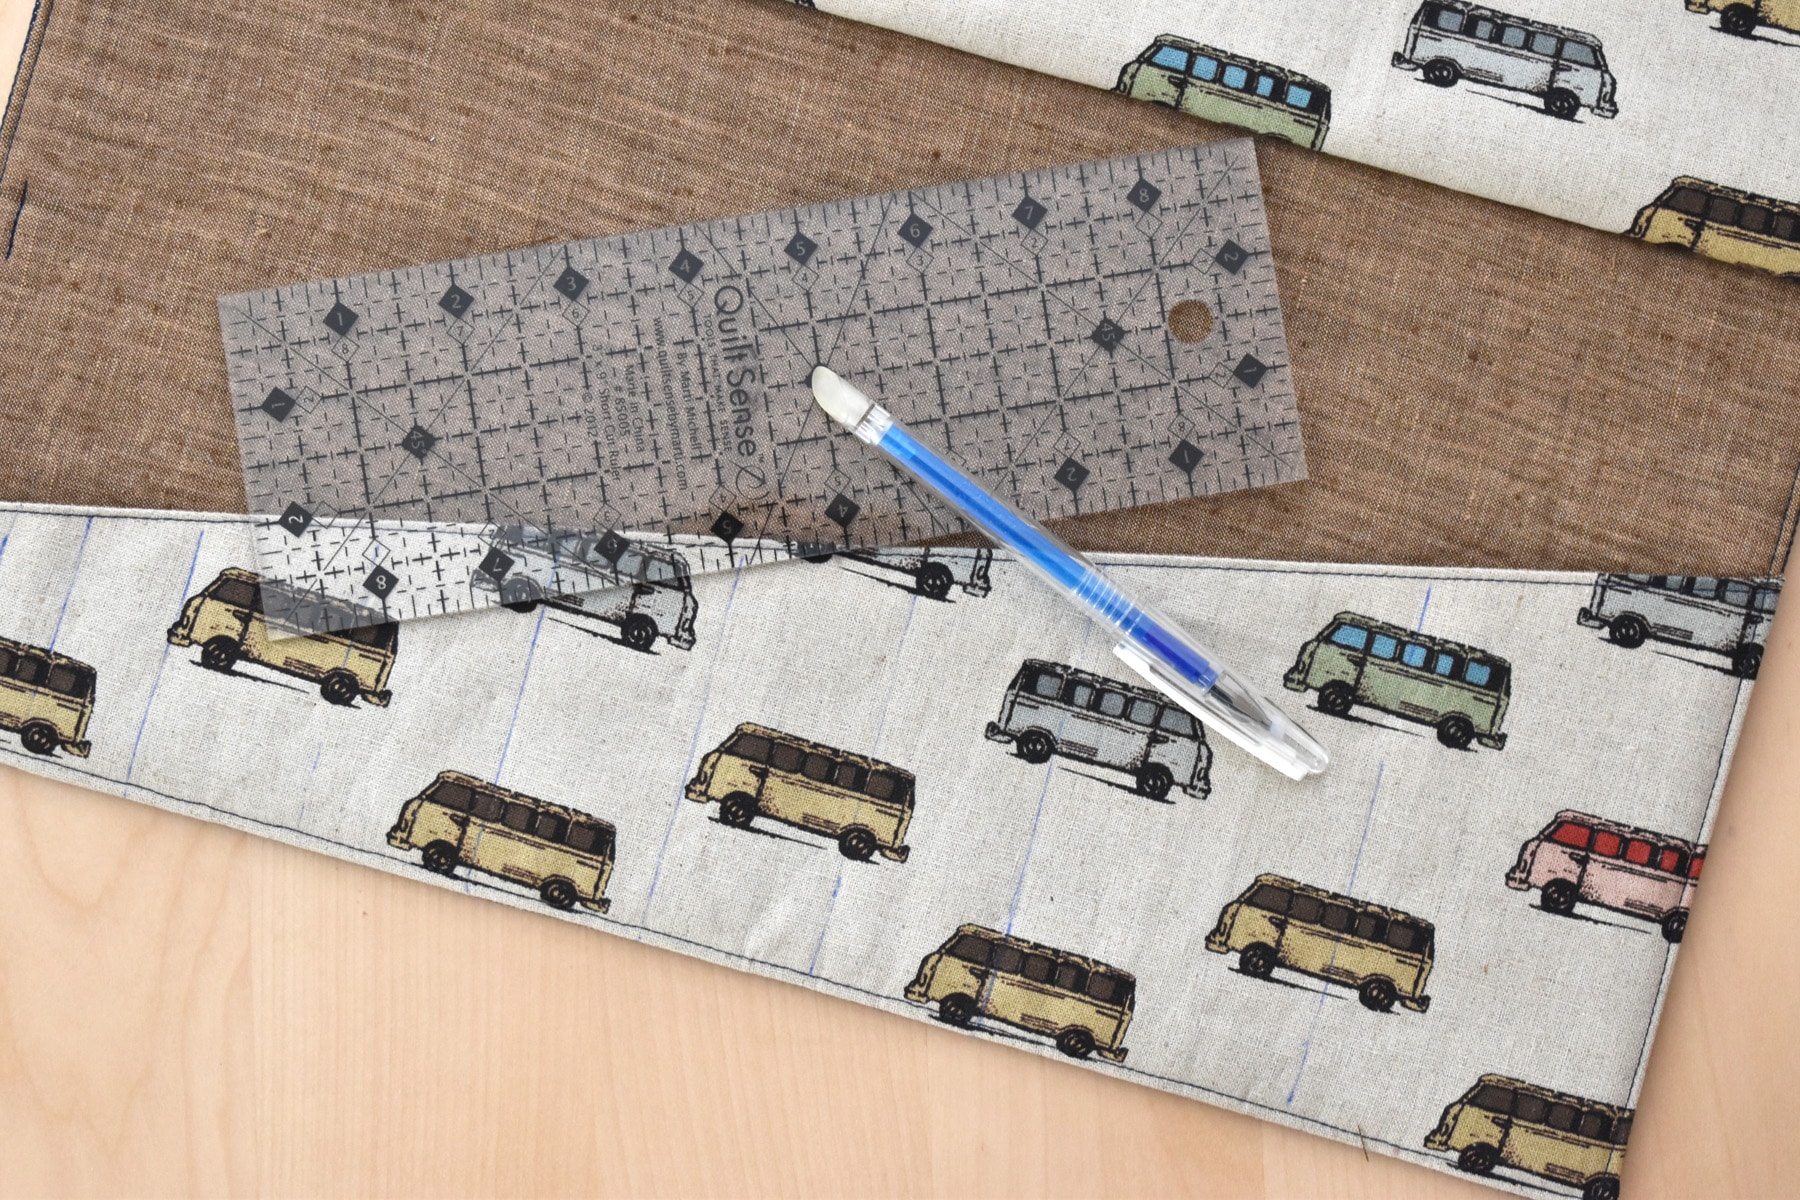
Remove the tools from the pocket and use the ruler and fabric marking pen to draw straight lines where each pocket is pinned. These will be the stitching lines to create the pockets, so be sure your lines are straight and marked from the bottom to the top edge of the pocket.
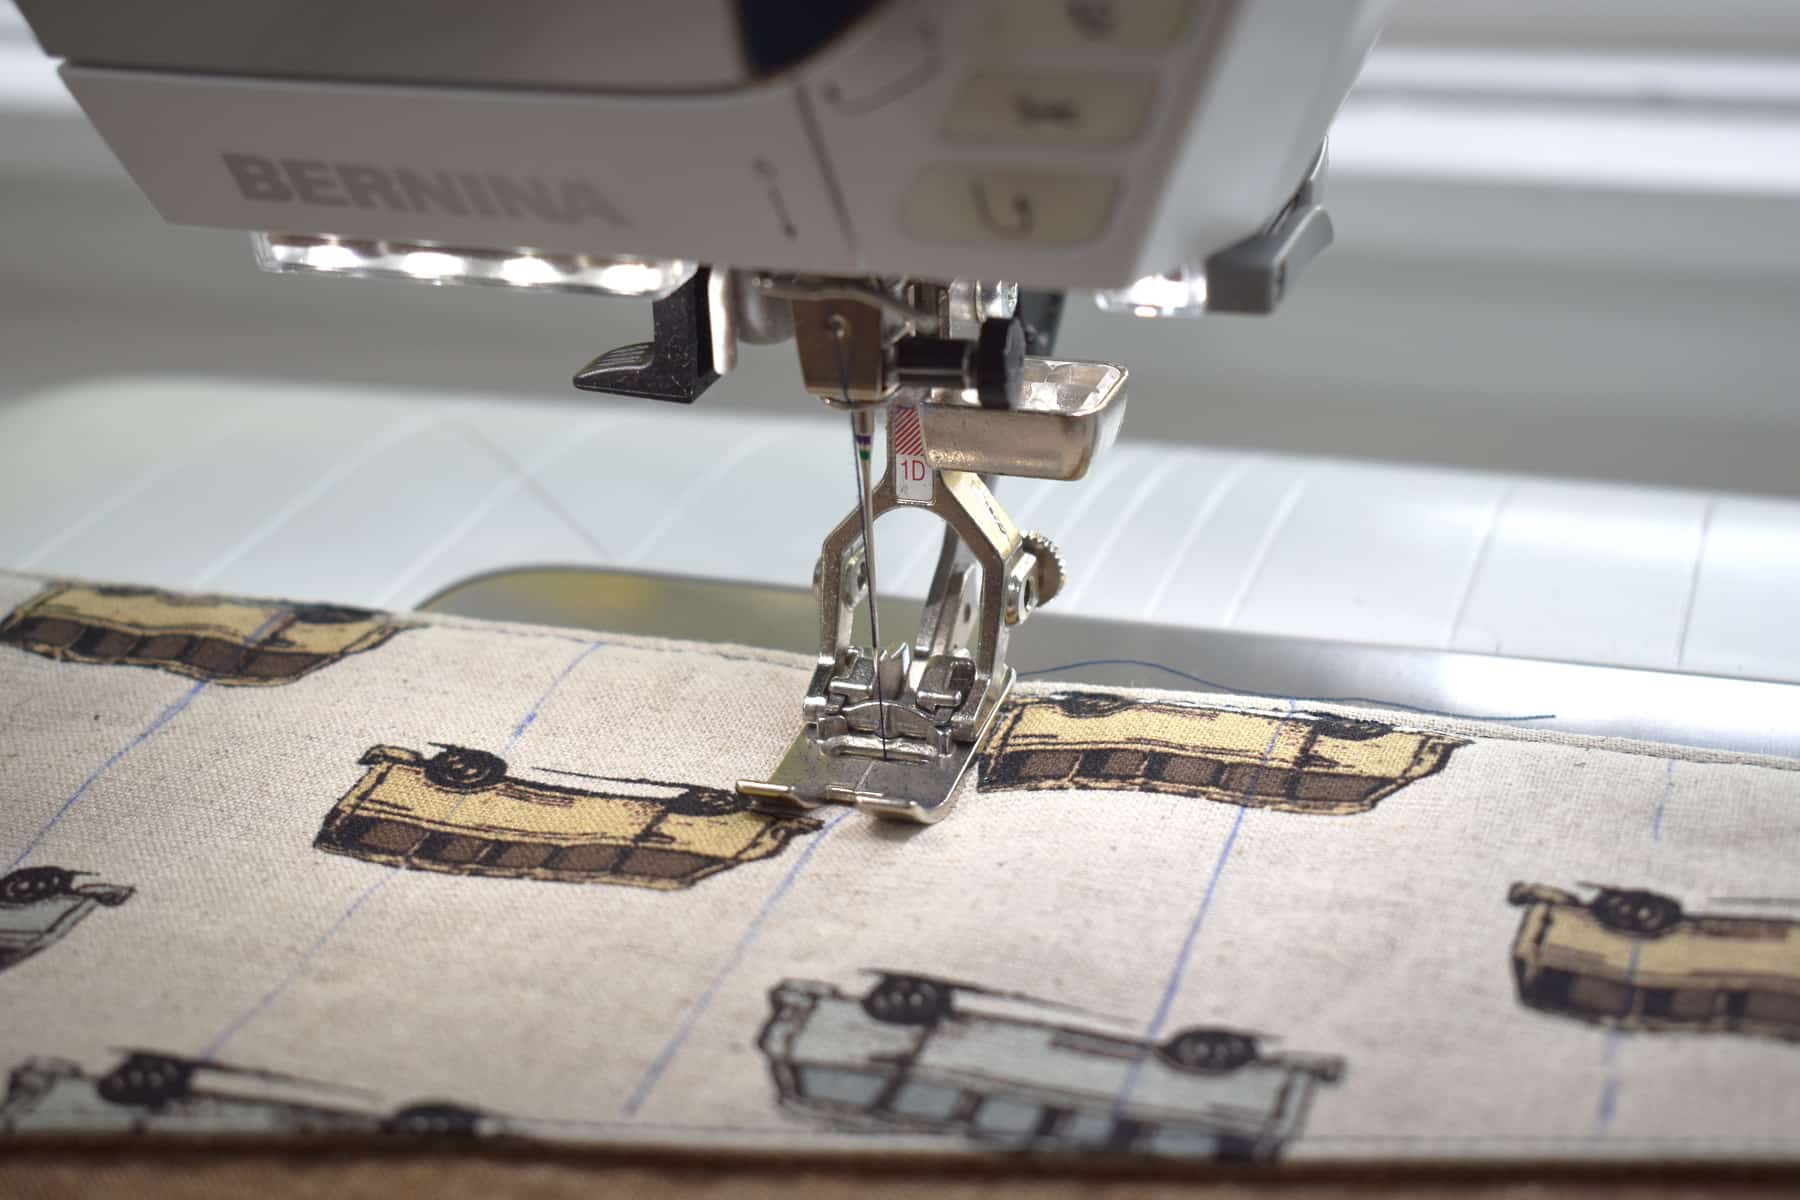
Begin stitching the pocket lines with the line closest to the center of the tool roll first, and stitch the other pocket lines out from the center on each side. Sew from the bottom of the pocket to the top edge, backstitching at the beginning and end.
Fill the tool roll with your tools, and you are ready to roll it up!
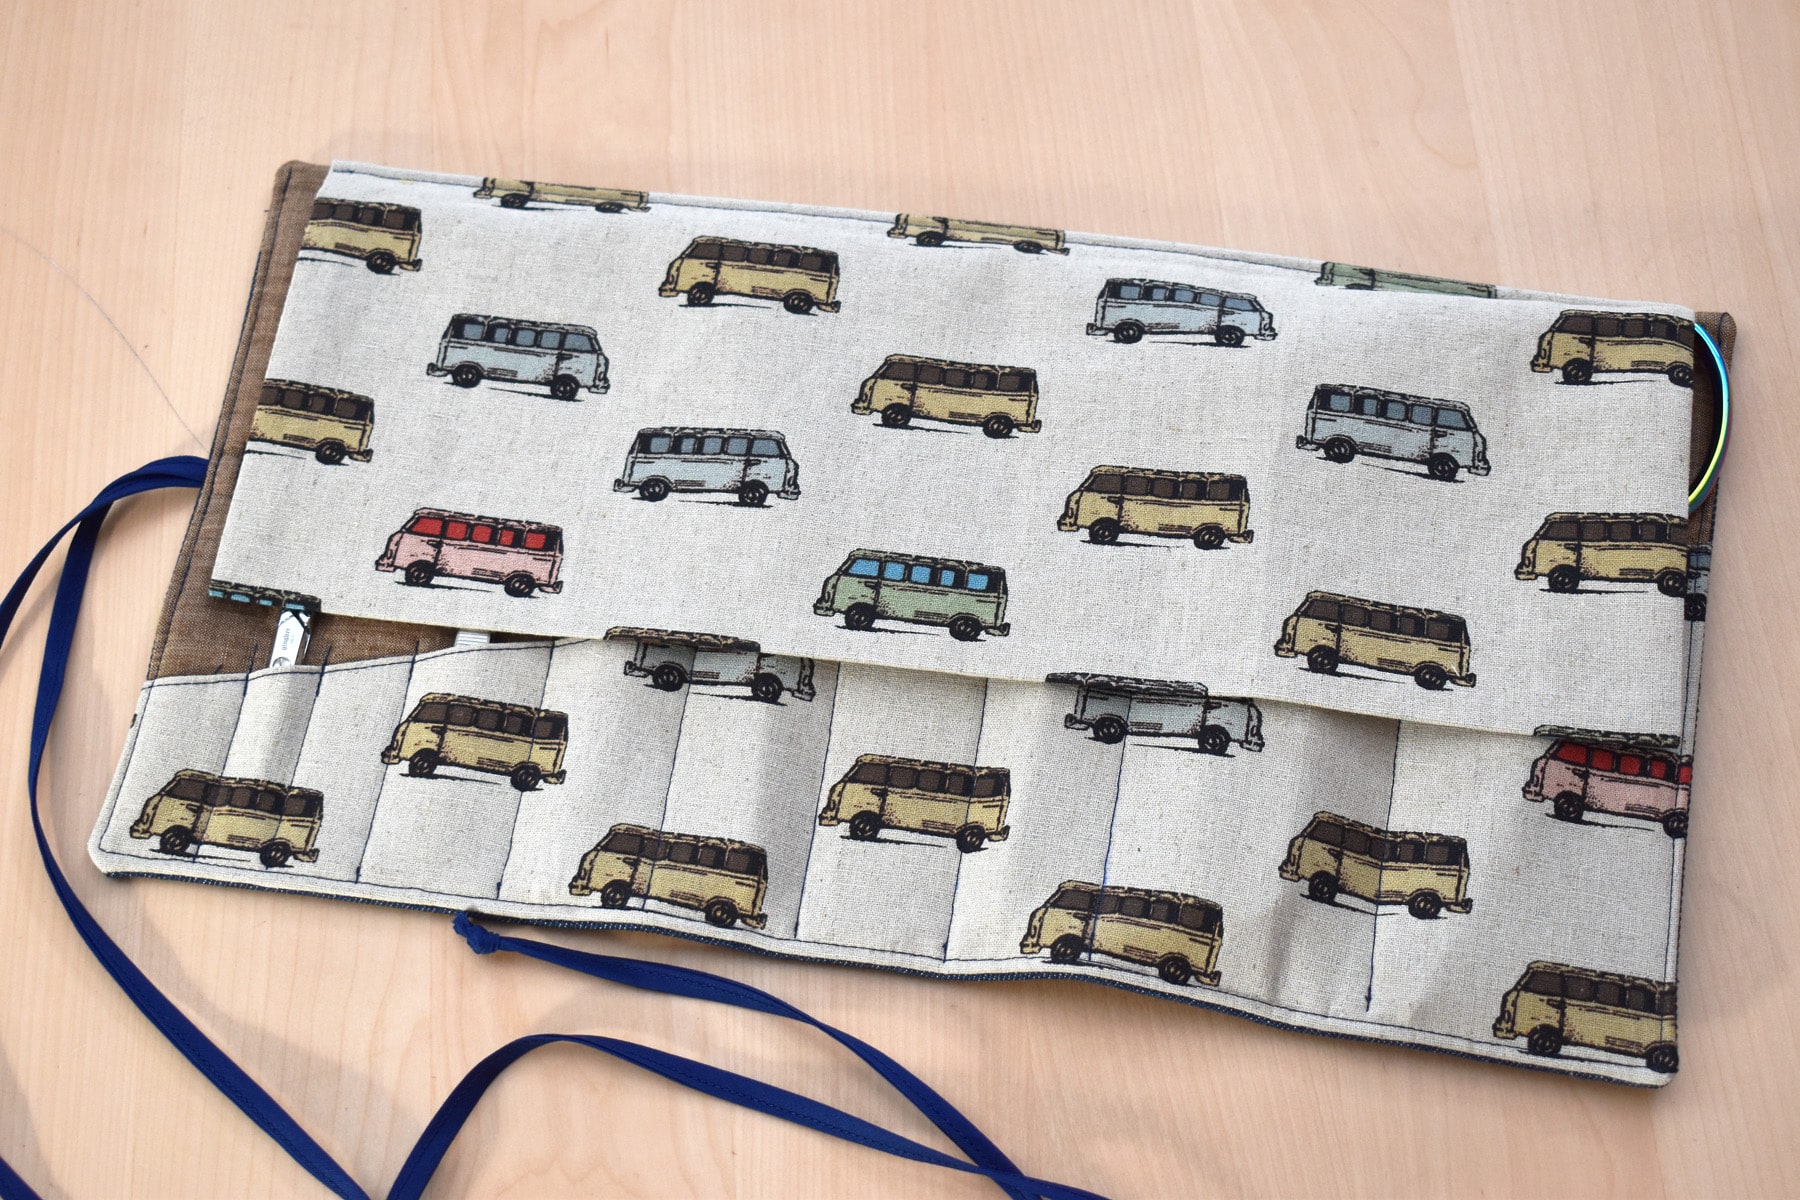
Flip the top flap down over the tools to help keep them in place and from falling out once the tool roll is tied up.
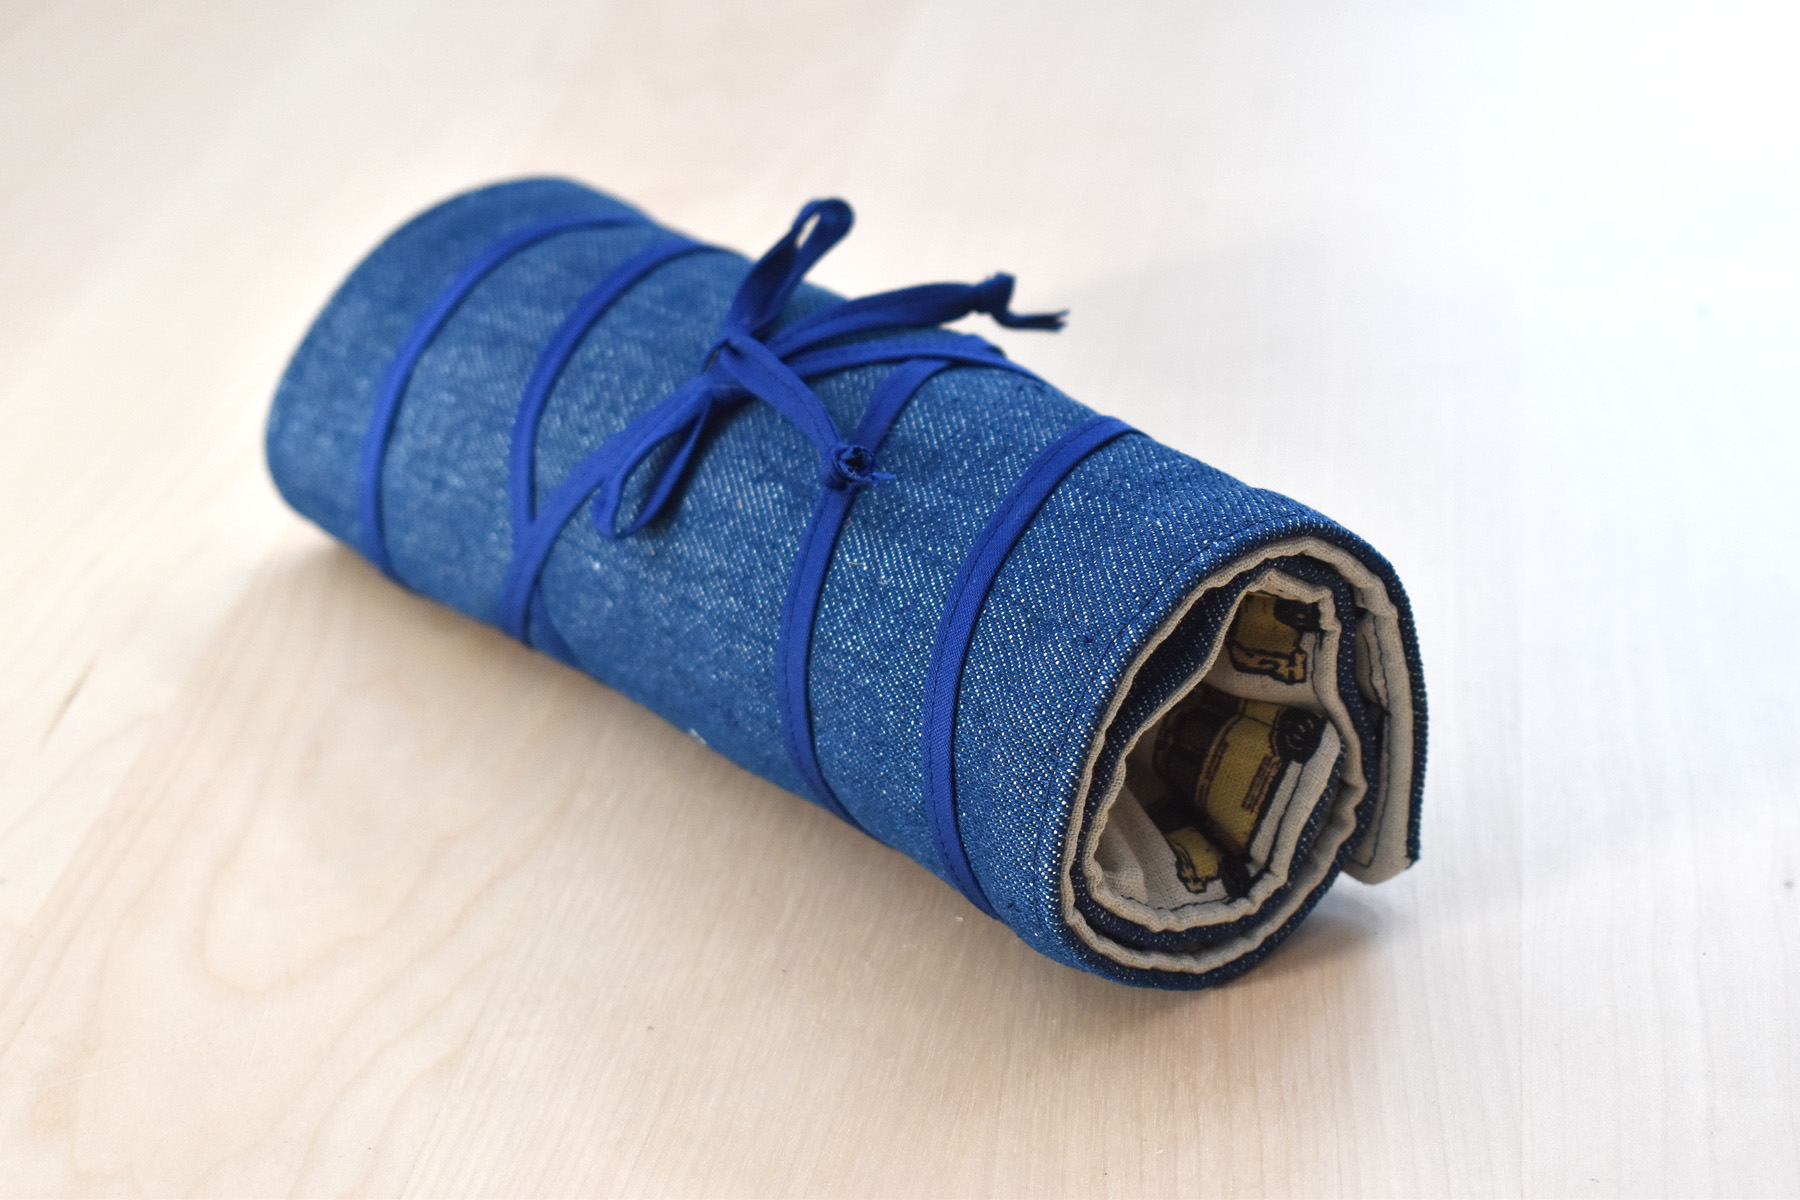
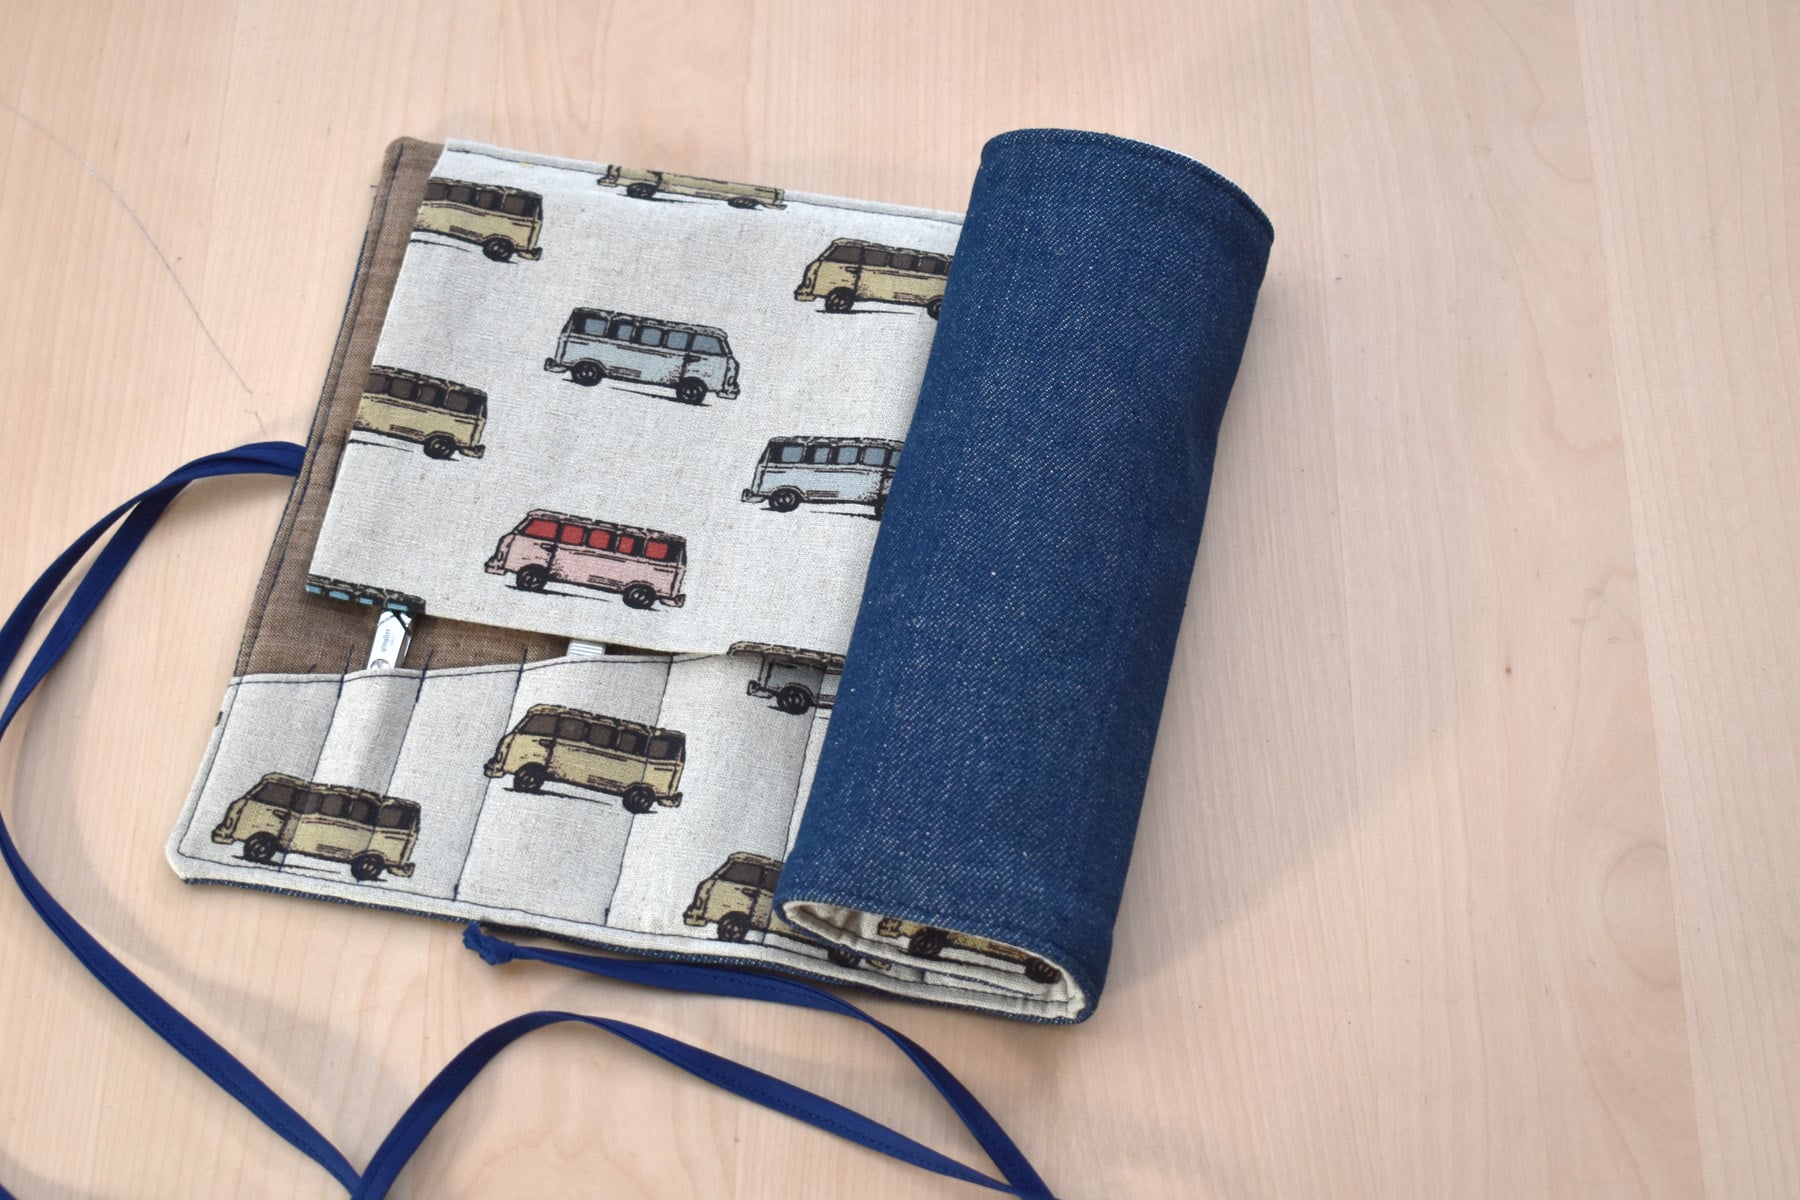
Begin rolling the tool roll up from the end opposite the ties.
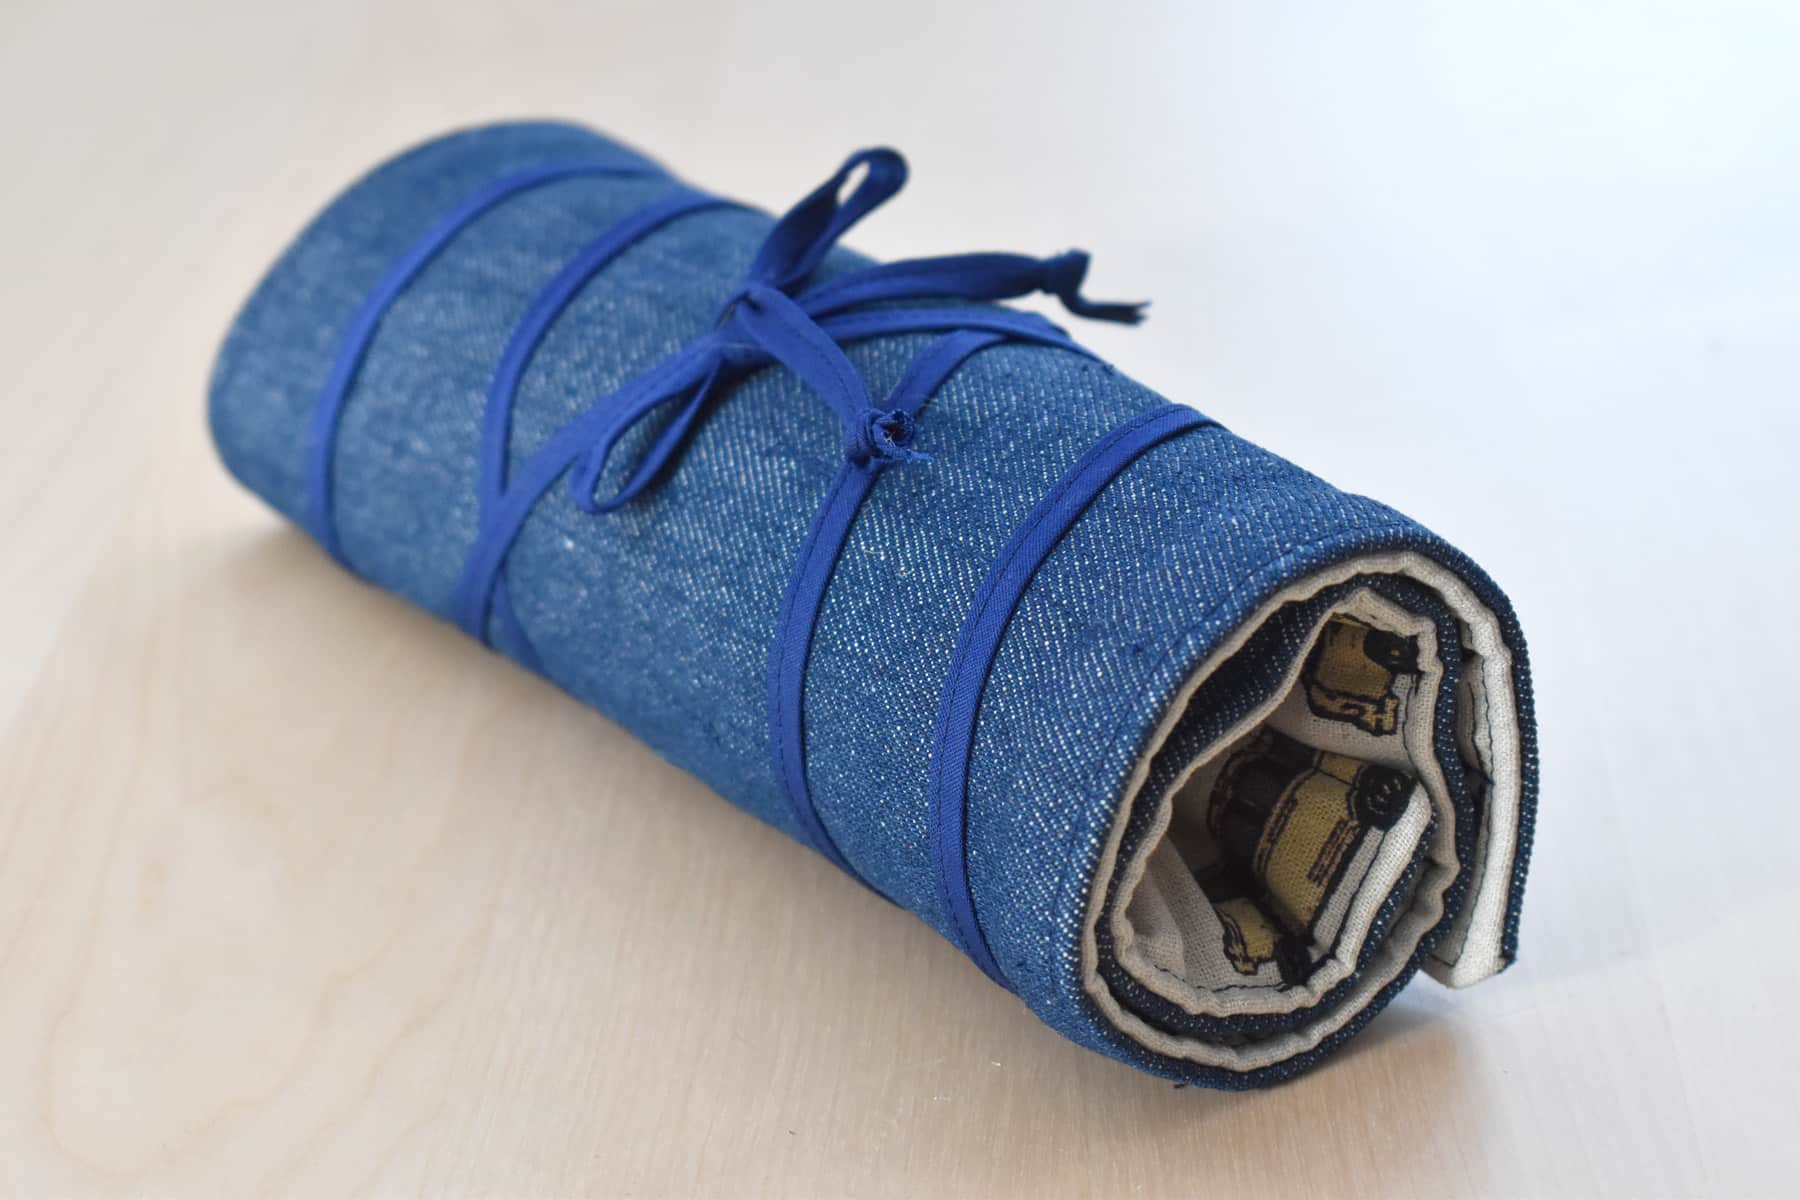
Wrap the ties several times around each side of the tool roll and secure with a quick tie. Now your tools are secured and ready to travel!
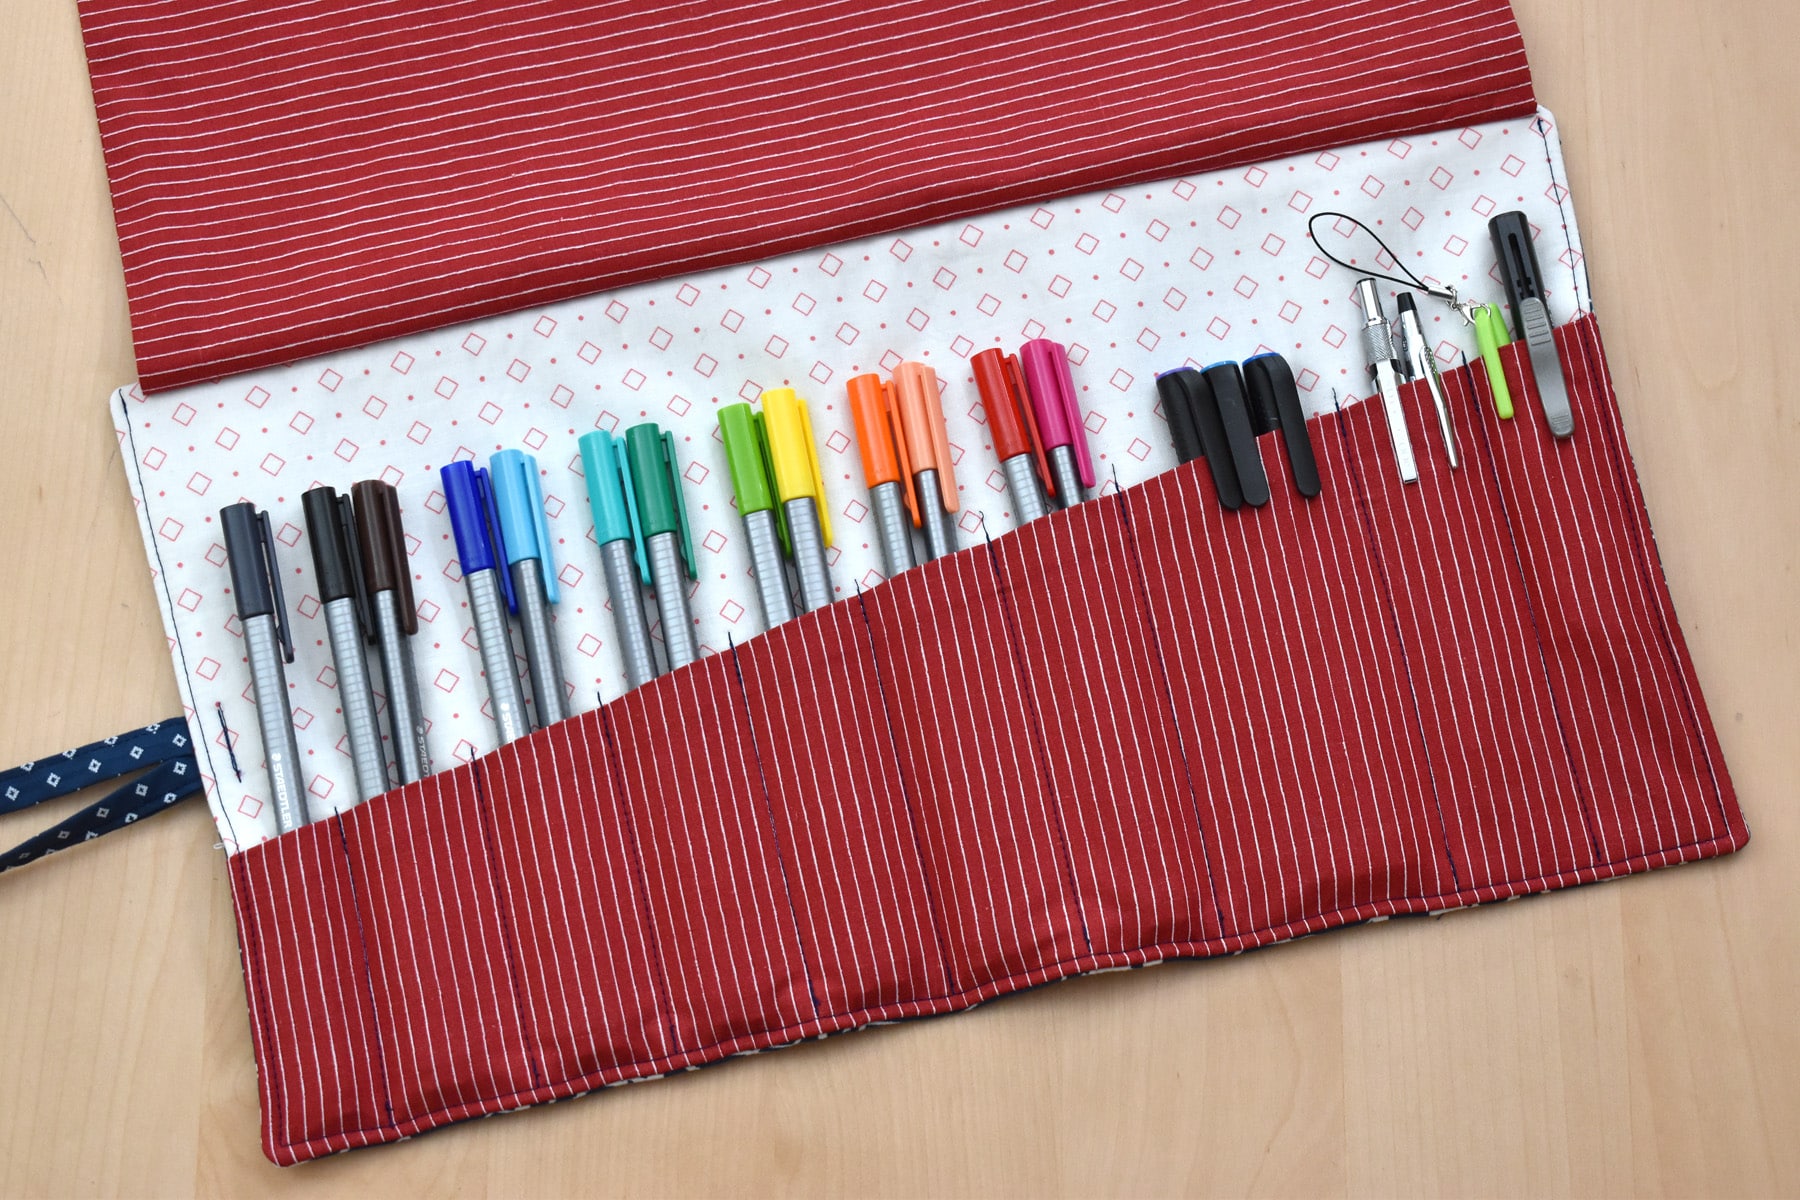
I made a tool roll to hold favorite sketchbook pens and pencils.
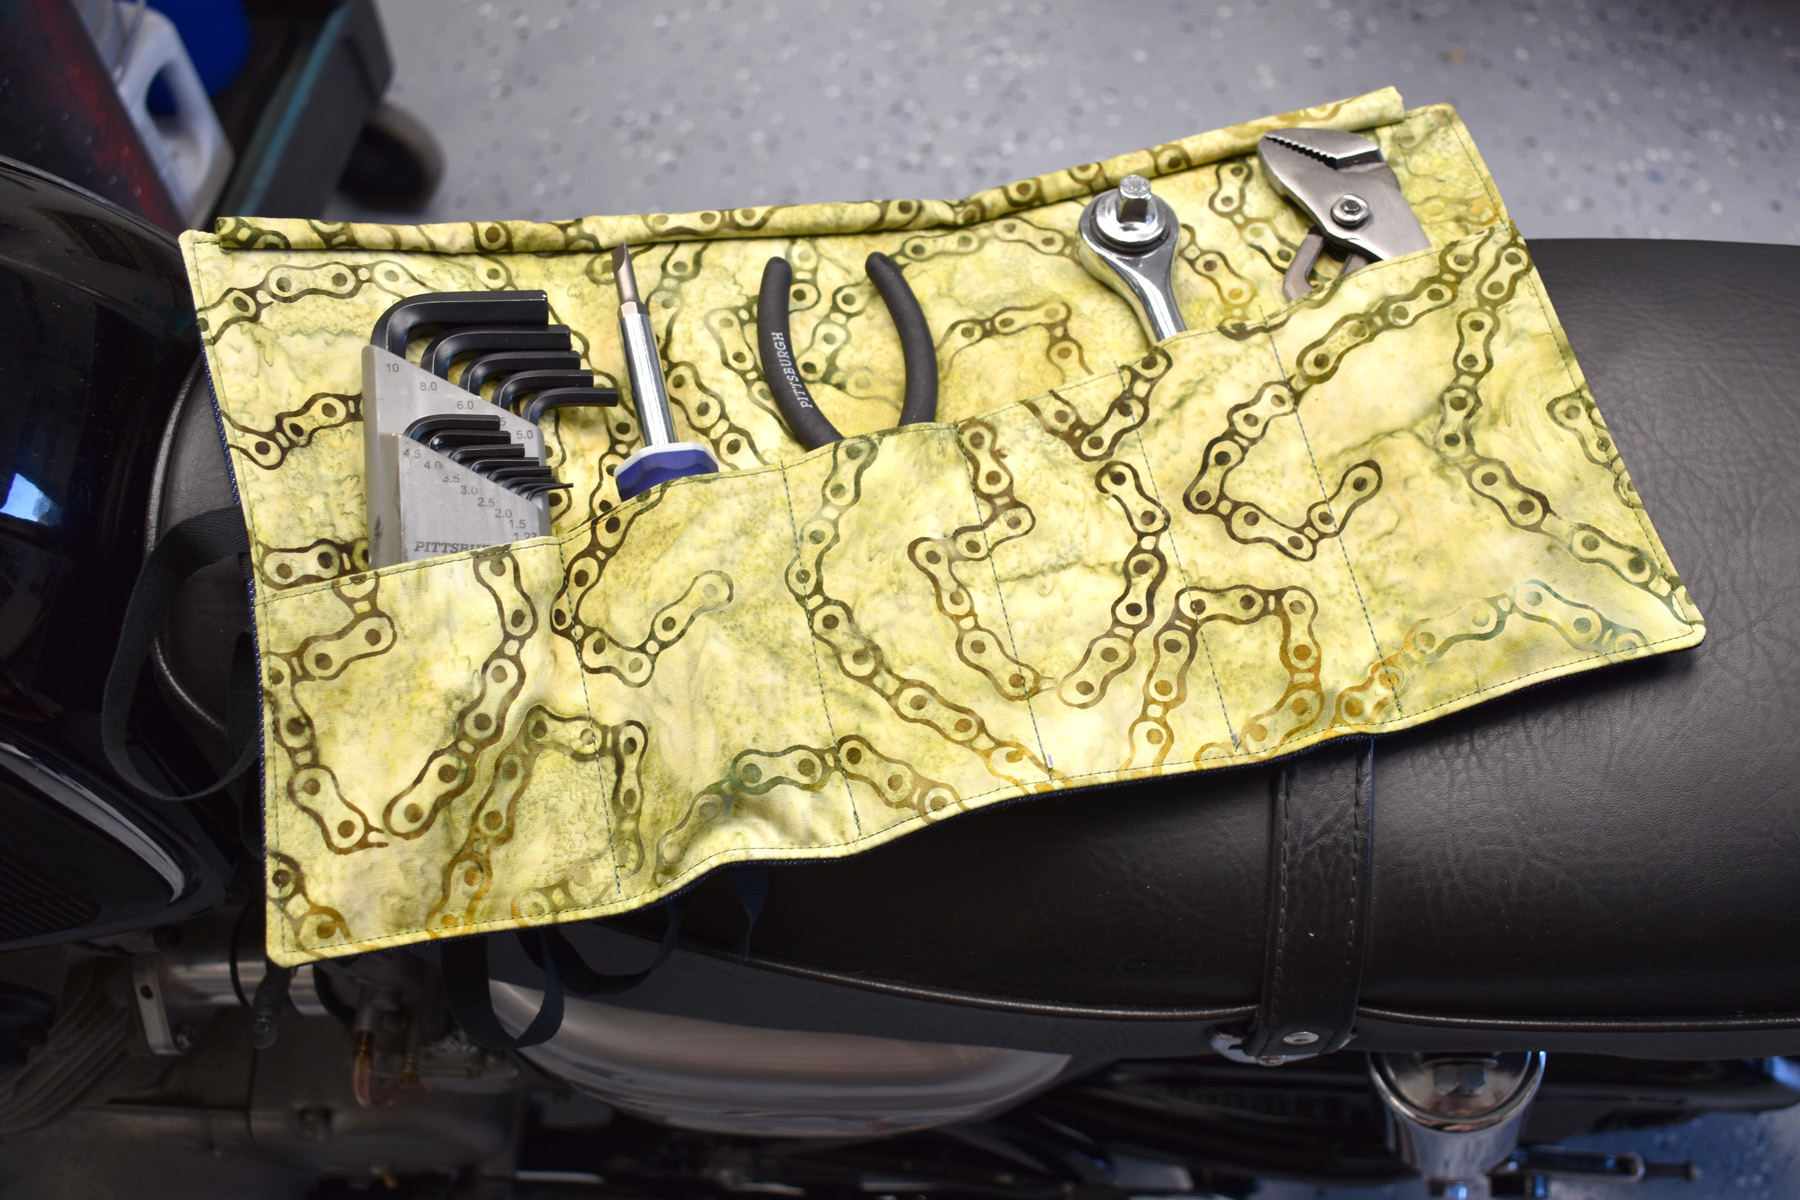
And I made a tool roll that holds basic motorcycle maintenance tools, just small enough to fit in the little motorcycle storage compartment. I hope you enjoy making your own custom tool roll!
What you might also like
2 comments on “Custom Pocket Tool Roll”
-
-
Hi @patchouli, thanks for checking out my project! That is a great idea, I did notice the flap does fit nicely behind the tool roll when open and in use. Cheers!
-
Leave a Reply
You must be logged in to post a comment.



You could slide the flap under your sewing machine and have those tools ready at hand when you are sewing too. Such a great tool holder! Thanks.