DesignerPlus Pet Quilt
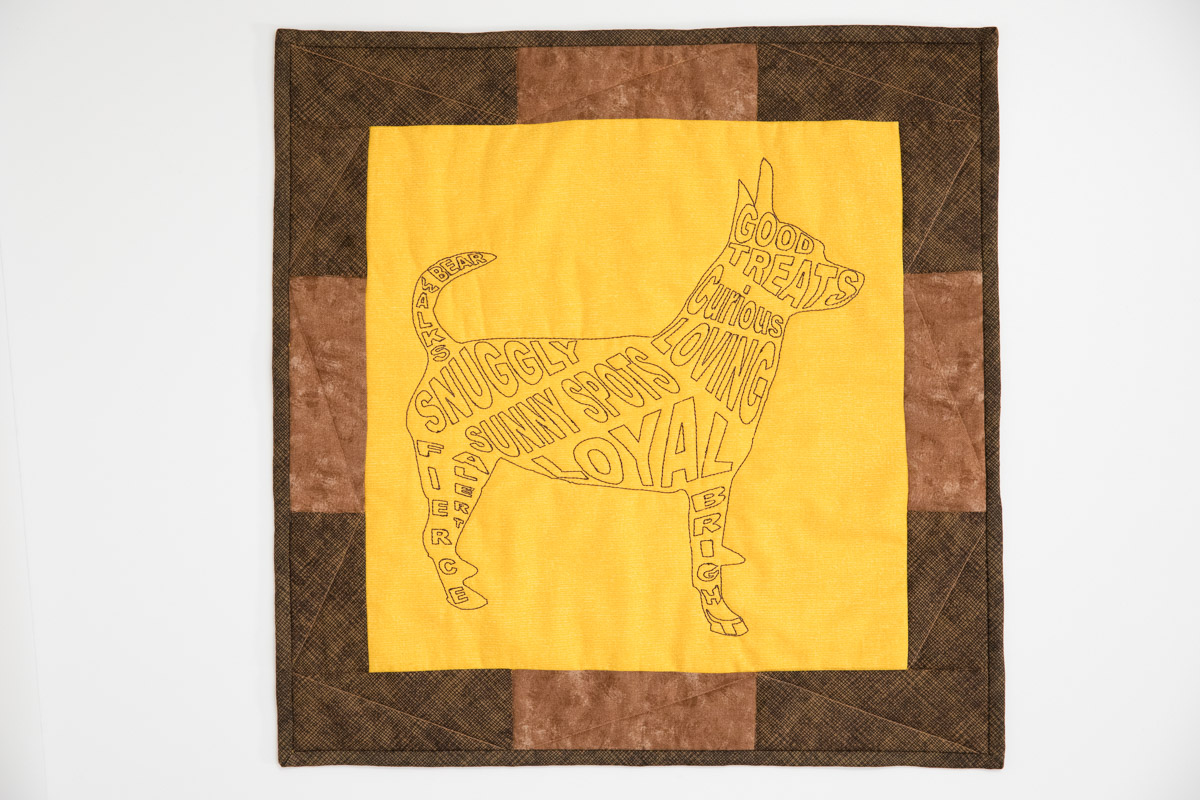
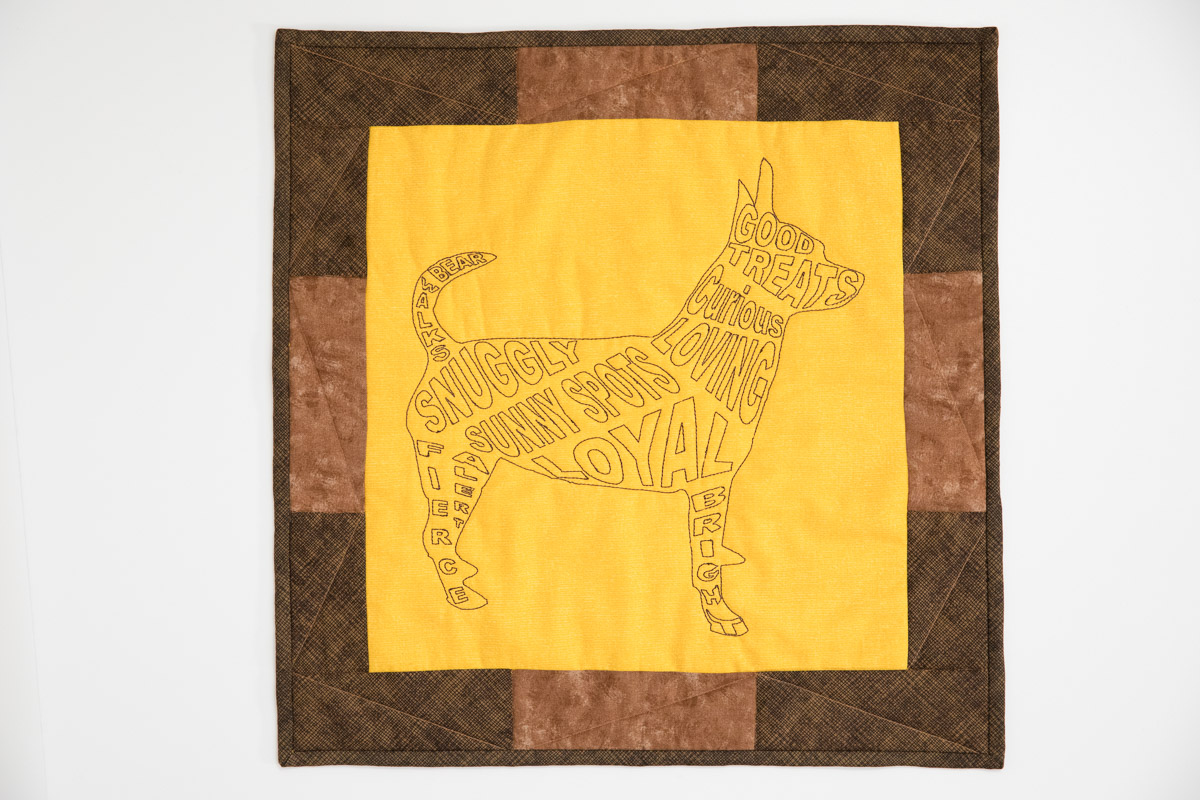
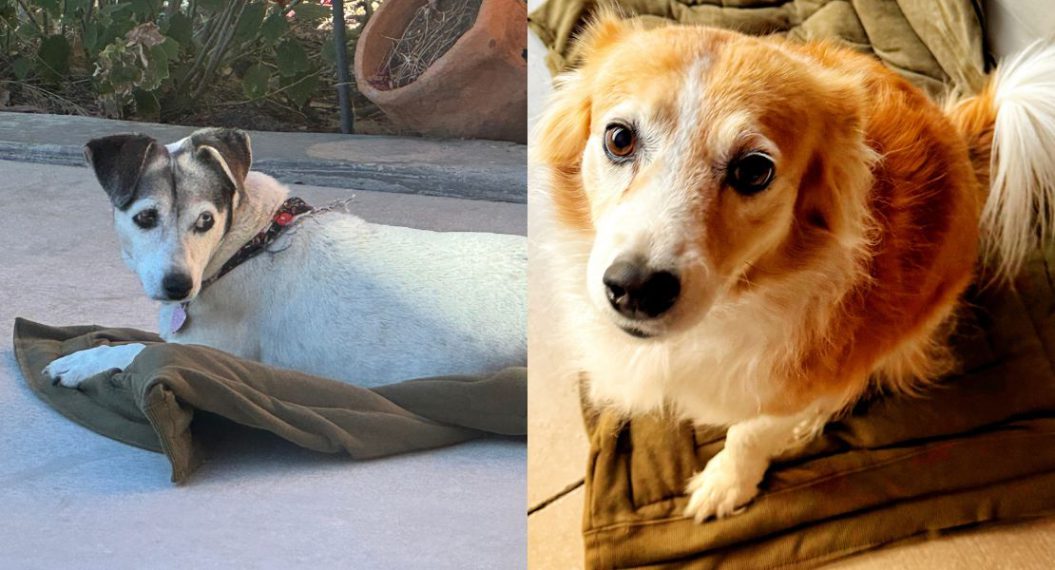
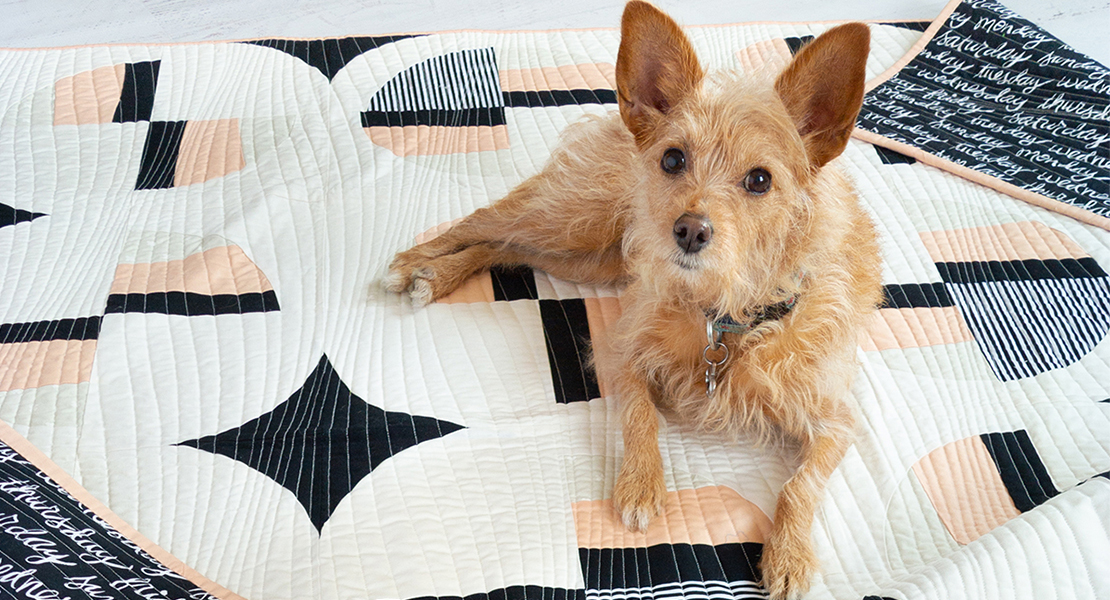
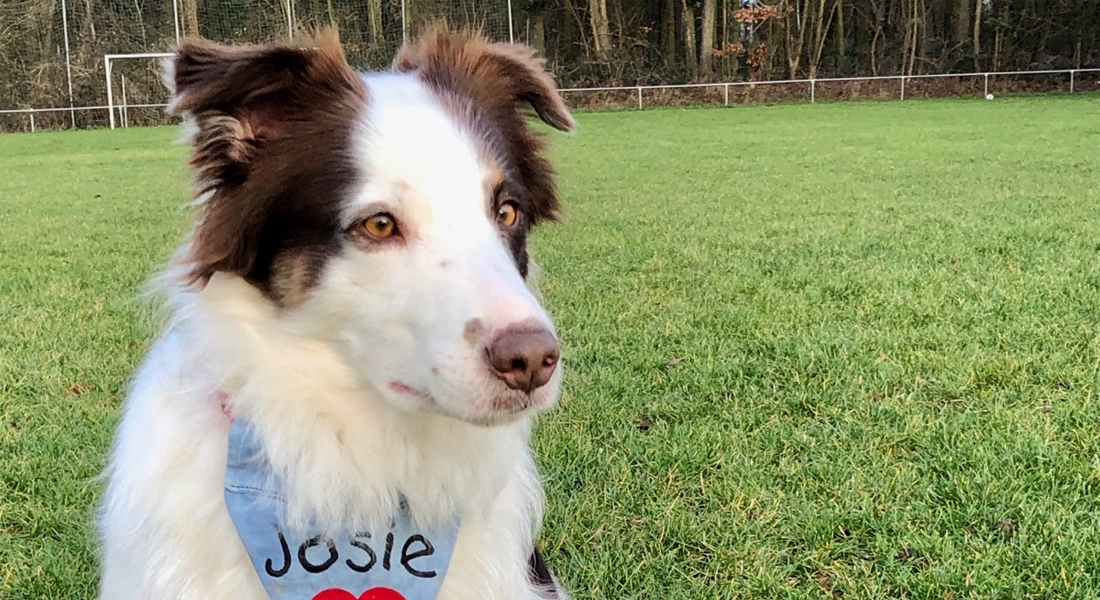
Create a special quilt honoring that exceptional pet in your life! Make a list of all the words that describe your pet, then snap a picture of him or her to create this unique quilt. Use that photograph to generate a silhouette of your pet using Artwork Canvas and then you will fill the inside by embroidering the descriptive words. All this is created using BERNINA DesignerPlus Embroidery Software and your embroidery machine!
Materials for Making the DesignerPlus Pet Quilt
- BERNINA DesignerPlus Embroidery Software
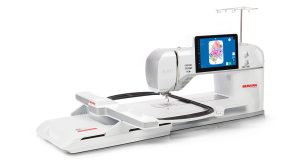
- BERNINA 990
- Giant Hoop
- Patchwork Foot # 97D
- Walking Foot # 50
- Fabric:
- Main Fabric: Plain fabric, 20″ x 24″ for Giant Hoop
- Backing: 18″ x 18″
- Center Border: (4) 2 1/2″ x 6″ strips
- End Border: (4) 2 1/2″ strips x approximately 6″ and (4) 2 1/2″ x approximately 7″ strips. Cut the end pieces slightly longer and then trim to fit after sewing to the center embroidered design. This allows for variations in the size of the center embroidered piece.
- Binding Fabric: 2 1/2″ strip, approximately 72″ long
- Isacord Embroidery Thread
- Batting: 20″ x 24″
- Water erasable marking pen
- Rotary cutter, ruler, and mat
- A picture of your pet
Step 1: Create the Embroidery Design in BERNINA DesignerPlus Software
Download the instructions for creating your pet silhouette embroidery design HERE.
Step 2: Embroider the Design
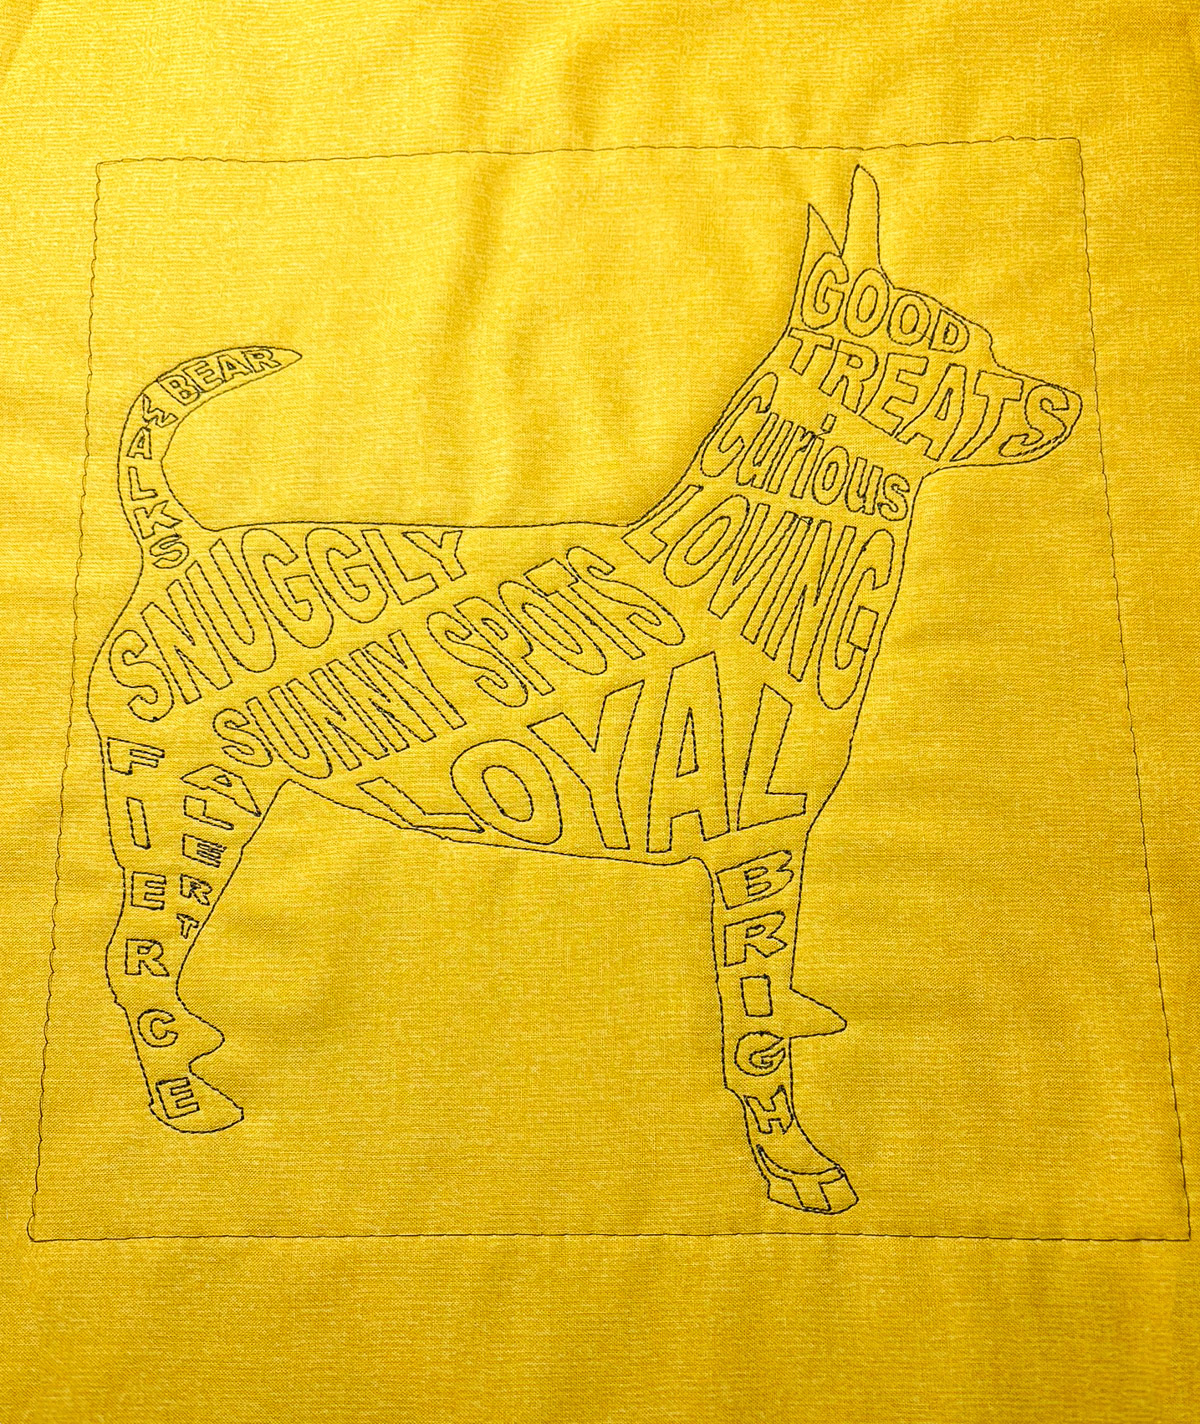
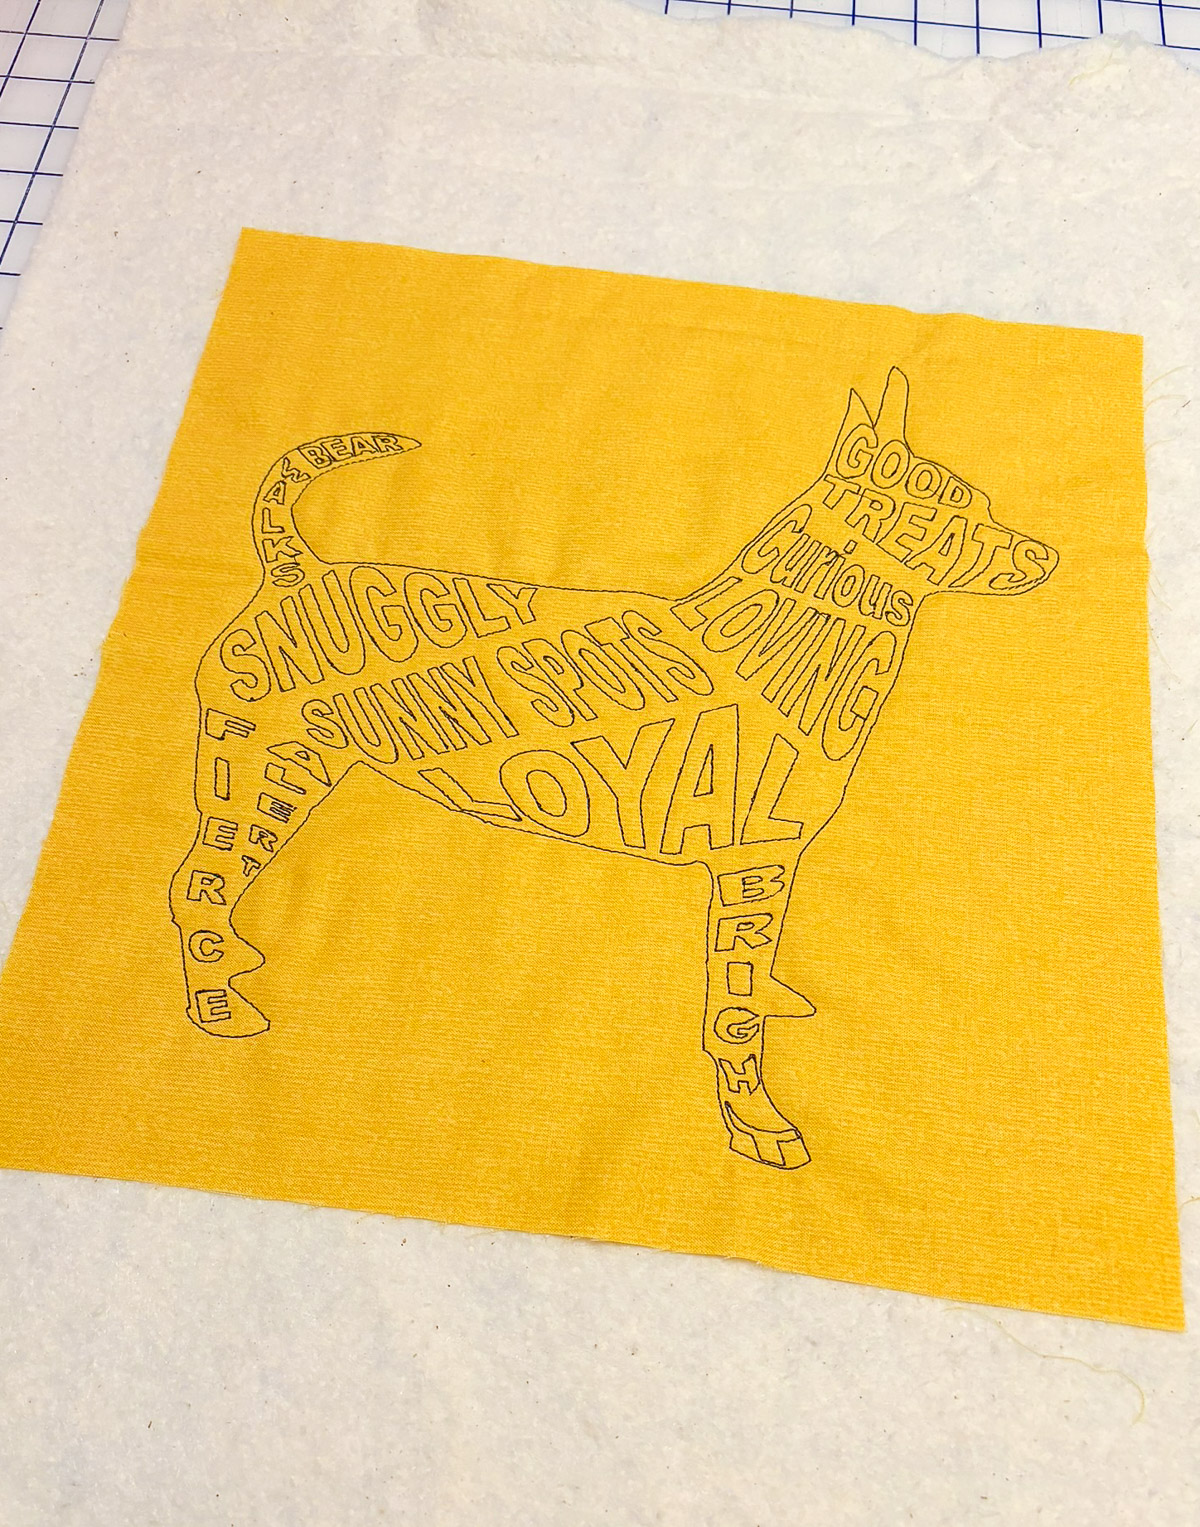
Place the main fabric on batting and hoop both in the Giant Hoop. Embroider a basting box. Embroider the silhouette of your pet, then embroider the words. Remove the fabric from the hoop.
Step 3: Prepare the Embroidered Piece
Mark a 1″ border with an erasable marker around each side of the embroidery. You can use the basting box as a guideline for the border.
Remove the basting box stitches after marking your fabric.
Place the batting side up of your embroidered piece on a cutting mat and fold back the extra batting along one side, away from the marked border around the embroidery so that it will not be trimmed.
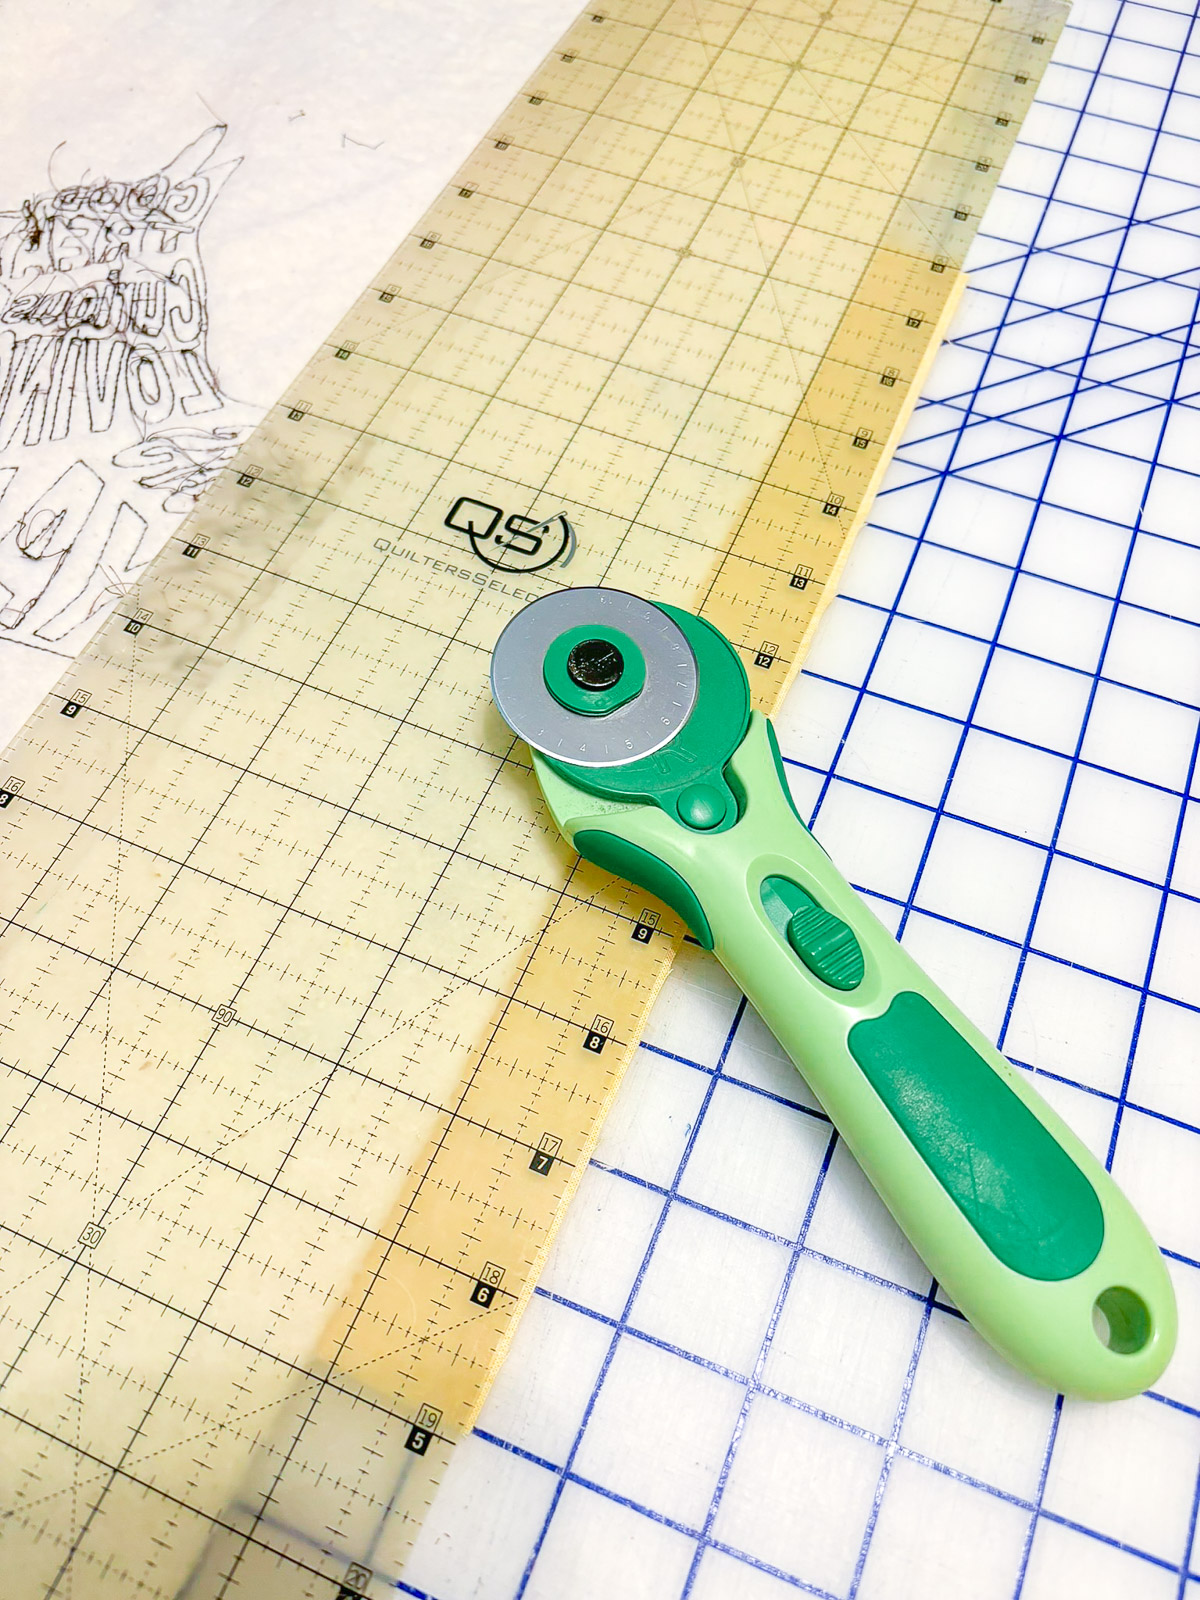
Trim only the fabric with a rotary cutter along the marked border and leave the batting intact. Repeat on each side of the quilt.
Smooth the fabric over the batting.
Step 4: Piece the Borders
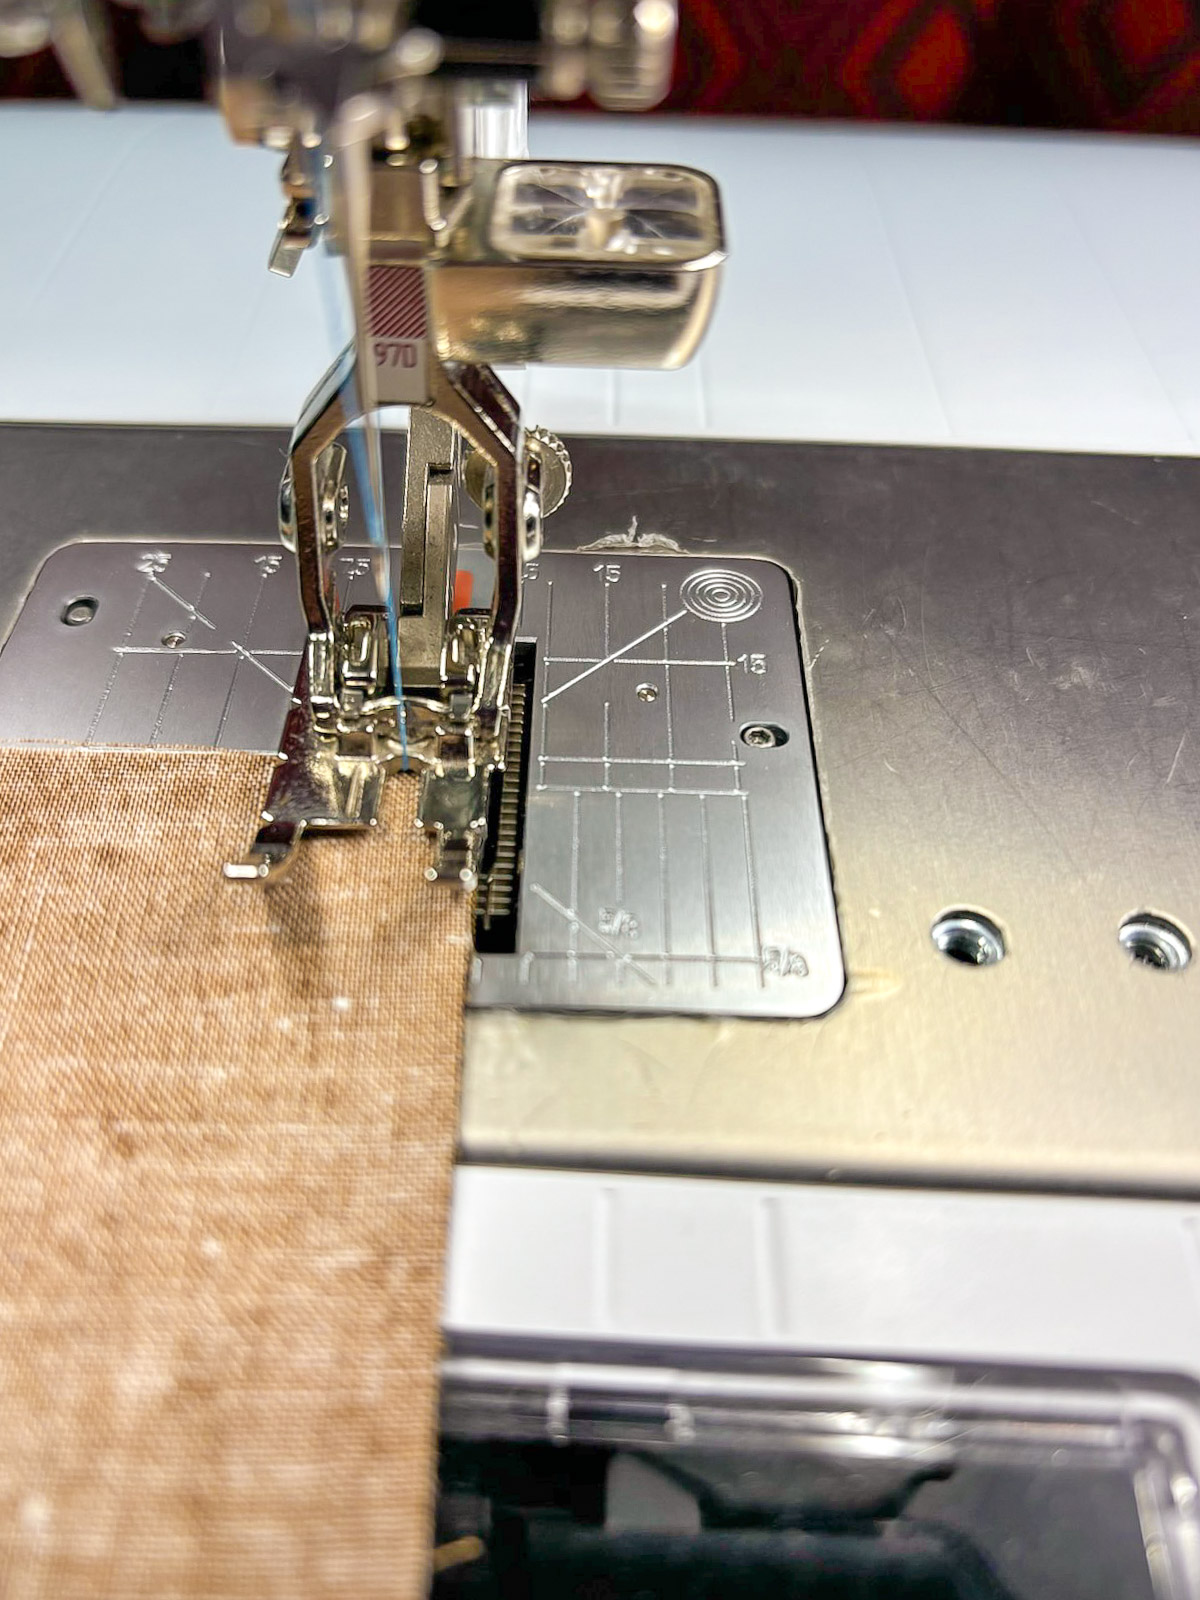
Place Patchwork Foot # 97D on the machine. Using a 1/4″ seam allowance, sew four strips as follows:
- Strip 1: Sew a Center Border between two 6” End Border pieces.
- Strip 2: Repeat Strip 1.
- Strip 3: Sew a Center Border between two 7” End Border pieces.
- Strip 4: Repeat Strip 3.
Press the seam allowances to one side.

Step 5: Sew the Borders to the Embroidered Piece
Reduce the Presser Foot Pressure on your machine to 25 for the remaining steps.
Center Strips 1 and 2 to the right and left sides of the embroidered piece. Using a 1/4″ seam allowance, sew in place to the fabric and batting.
Press the seam allowances toward the edges of the batting.
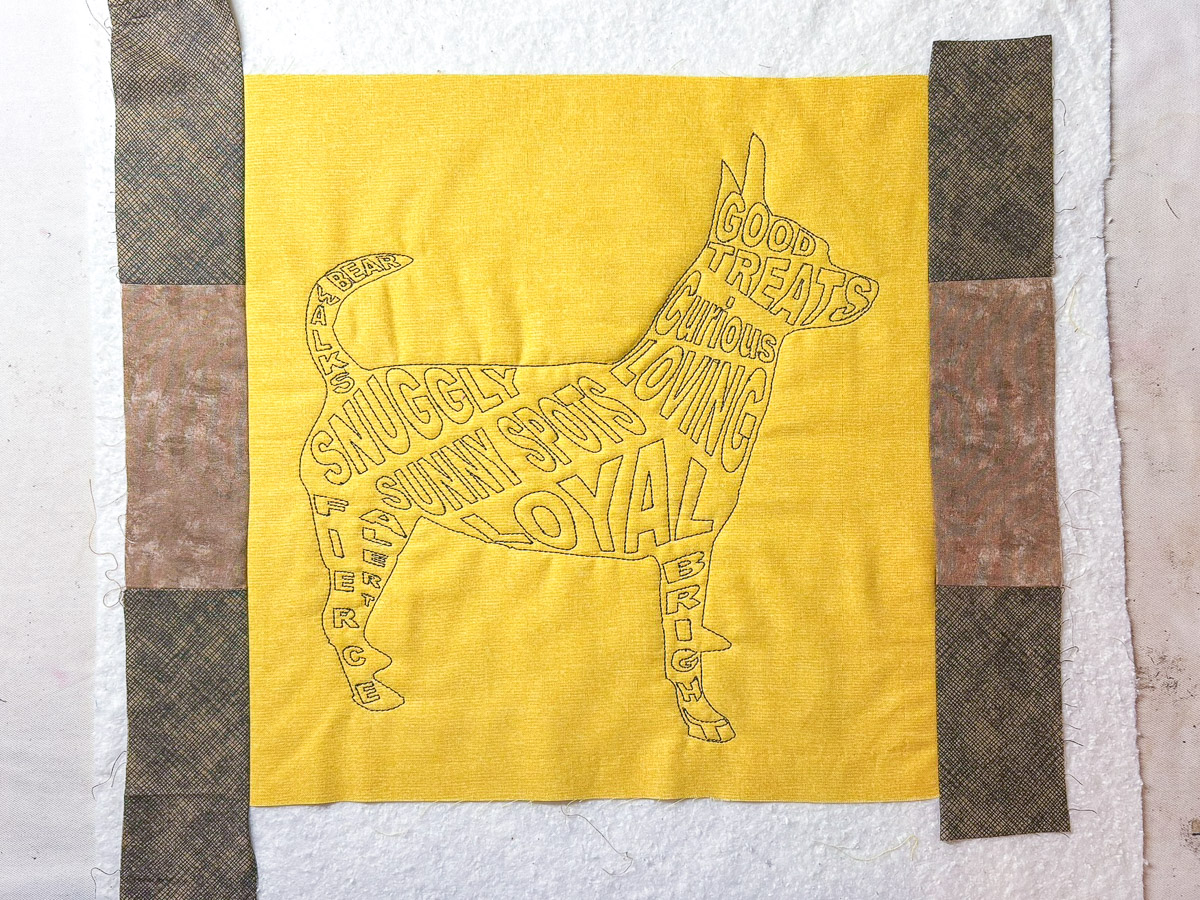
Please crop as shown in this picture
Center Strips 3 and 4 to the top and bottom of the embroidered piece. Sew in place with a 1/4″ seam allowance.
Press the seam allowances toward the batting.
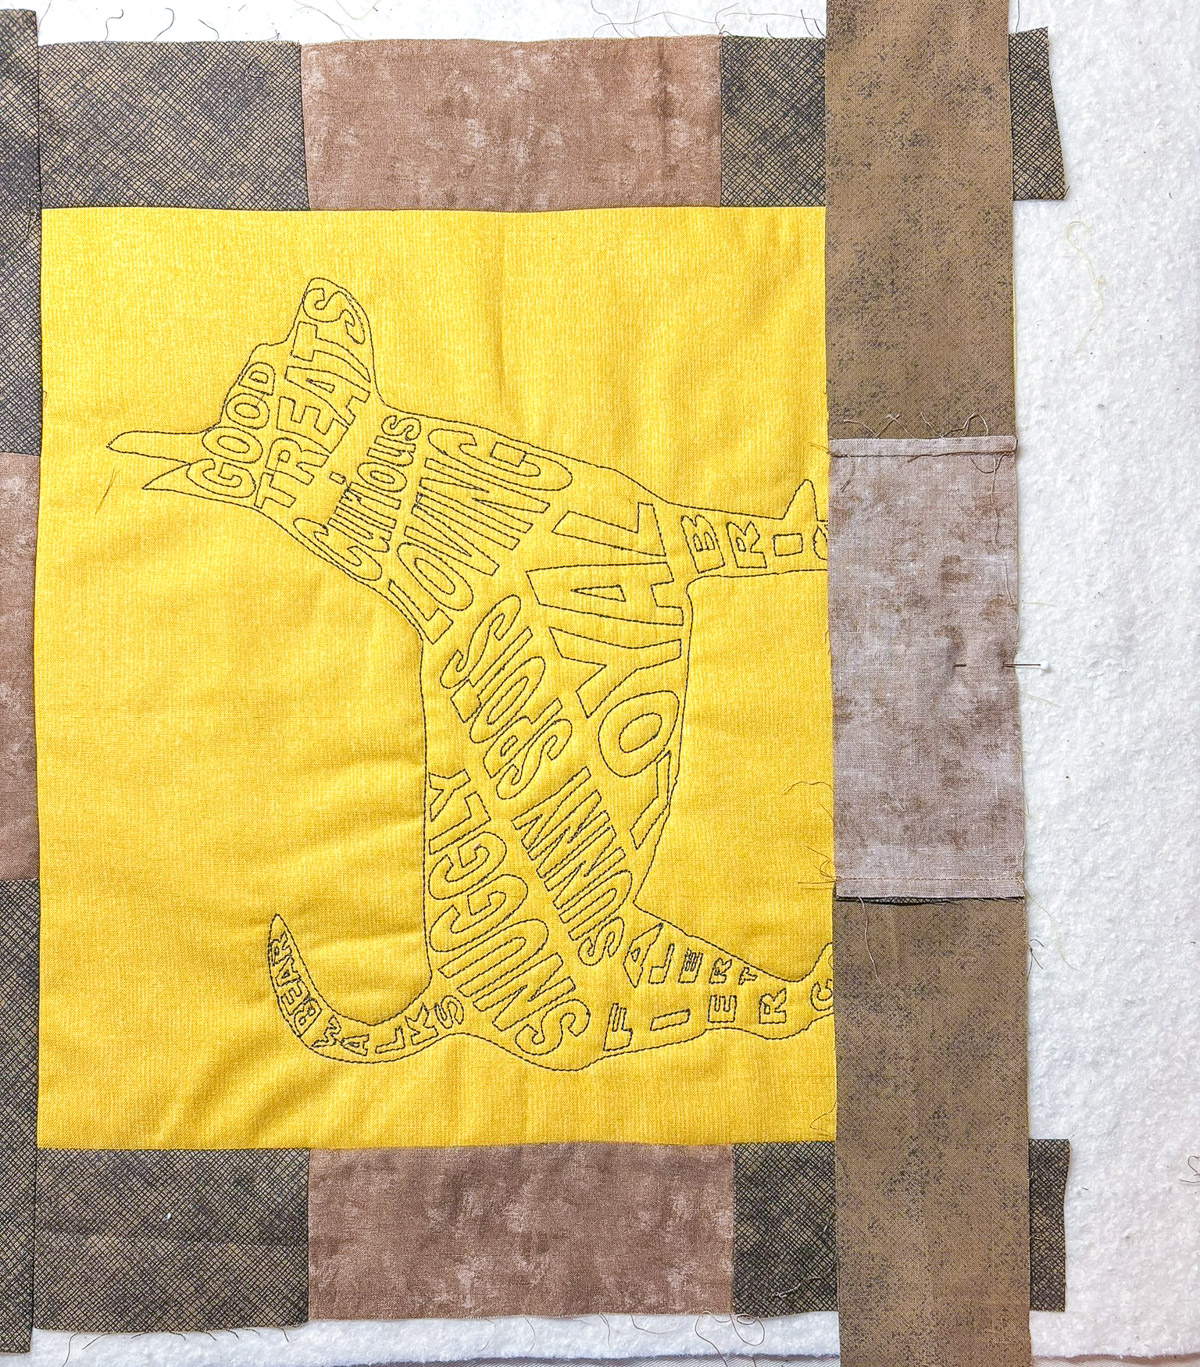
Step 6: True the Quilt
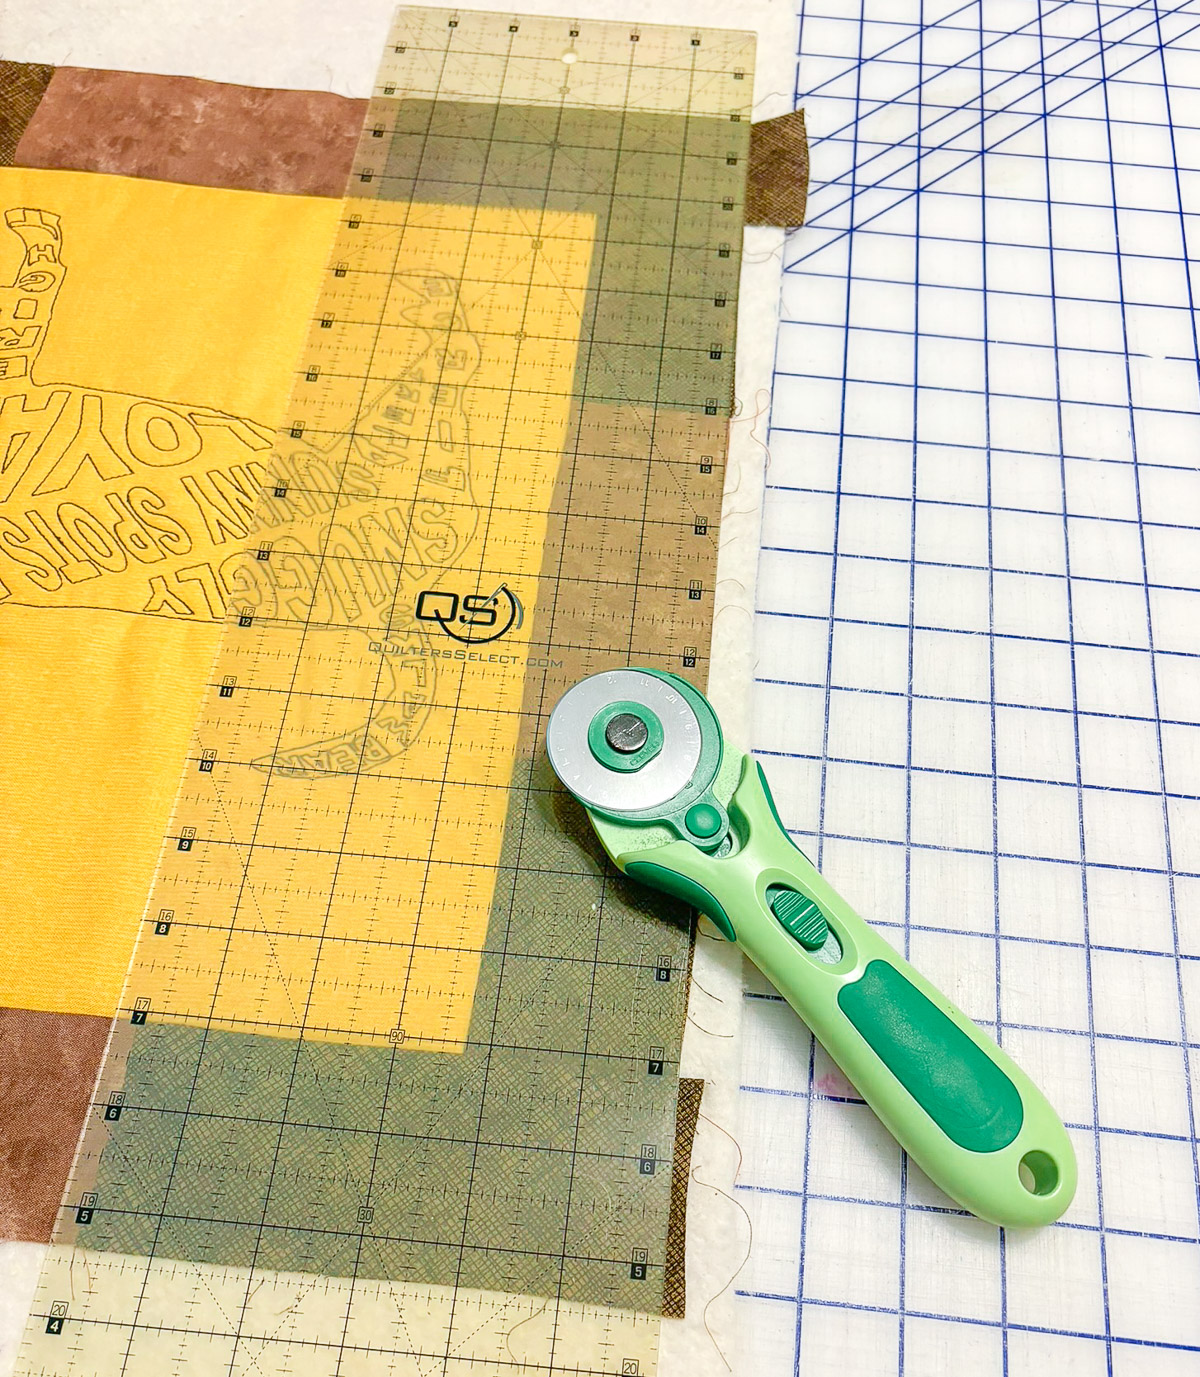
Use a rotary cutter and ruler to true and square along each side of the quilt, trimming both the fabric and the batting.
Step 7: Finish the Quilt
Place the backing, right-side down, on a flat surface. Place the pieced quilt top right-side up over the backing. Pin in place.
Change the foot to Walking Foot # 50 on the machine and use it to stitch along the edge of the quilt, just shy of a 1/4″ seam.
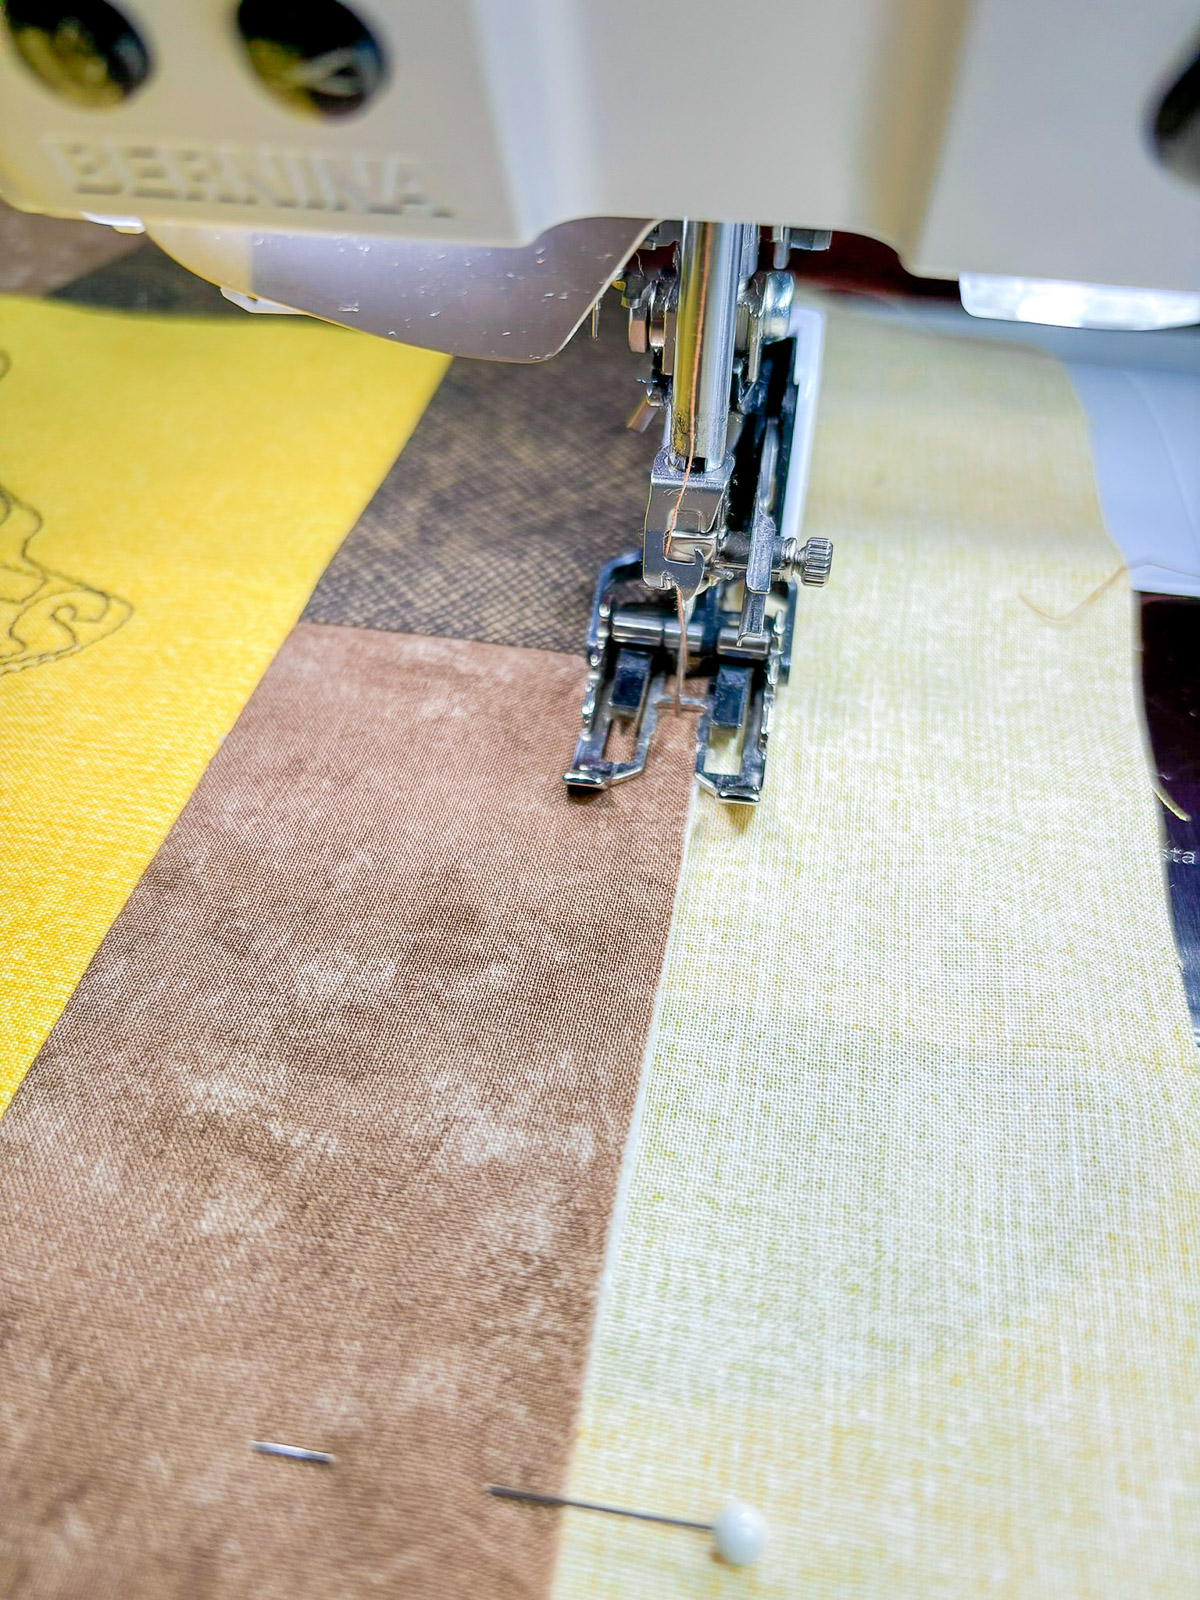
Stitch in the ditch along the seams of the patched border strips.
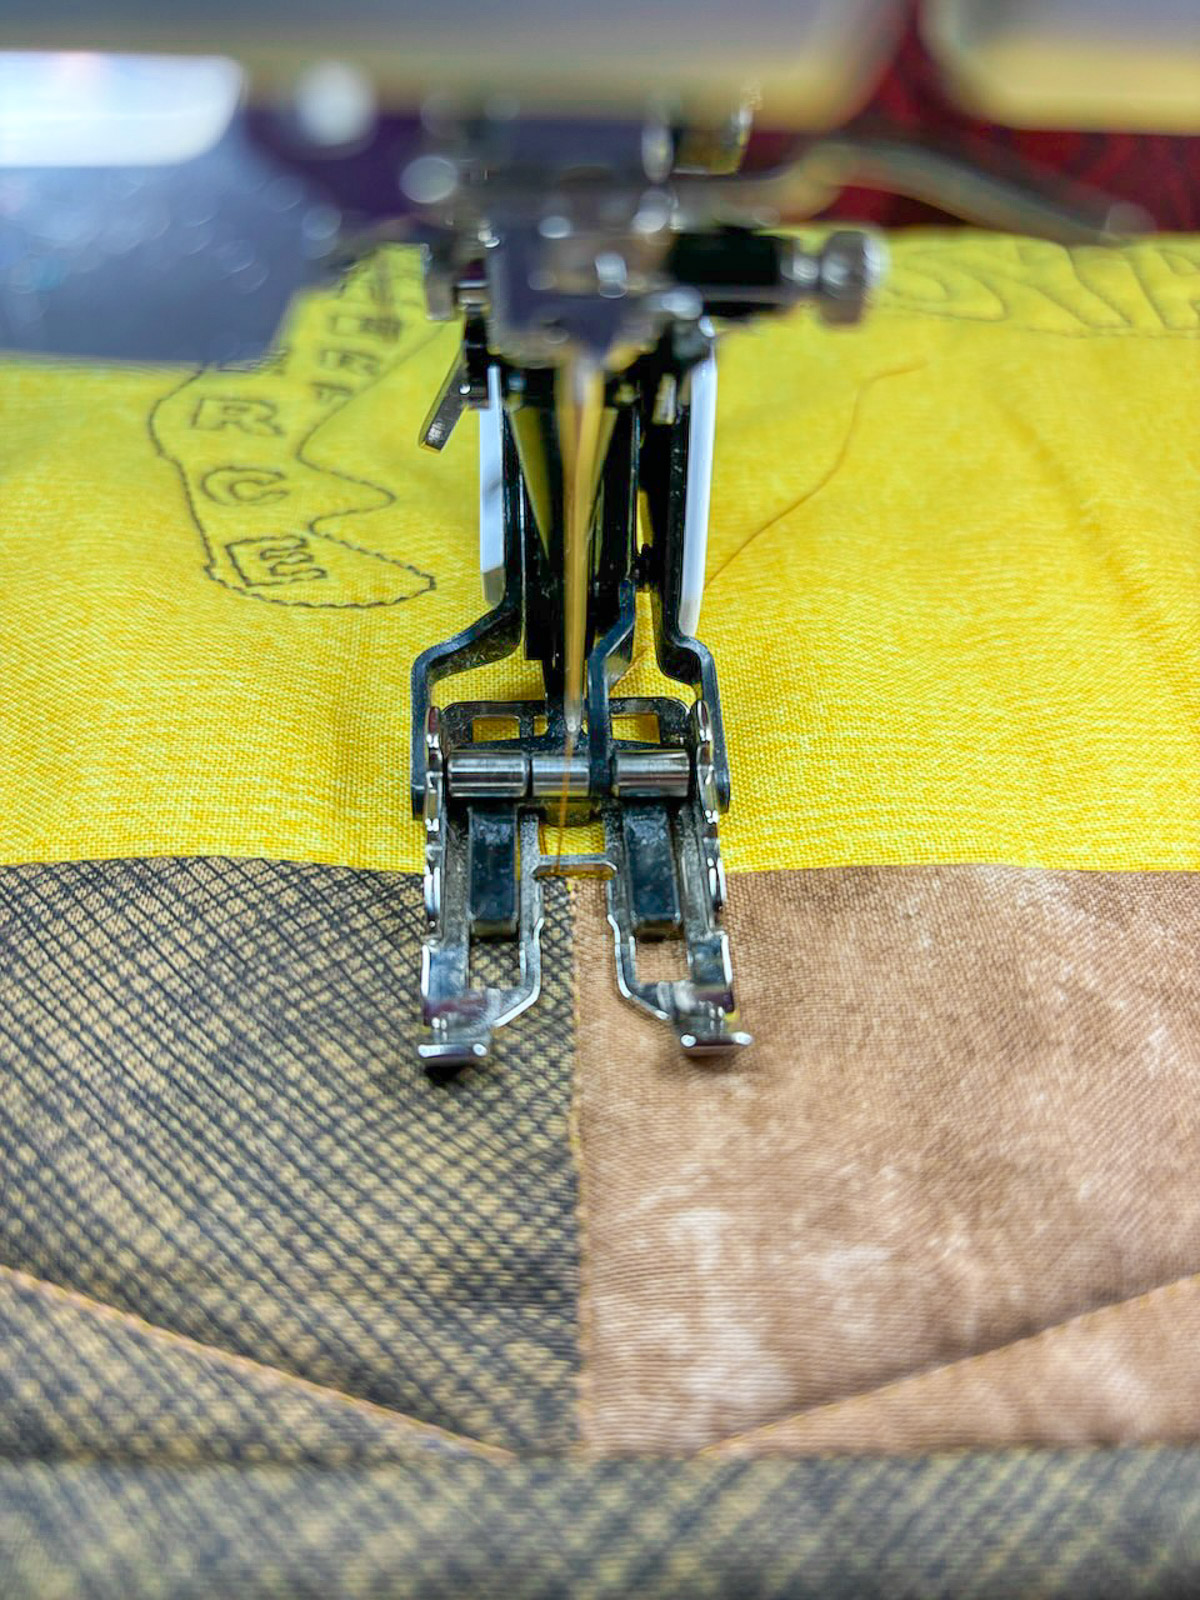
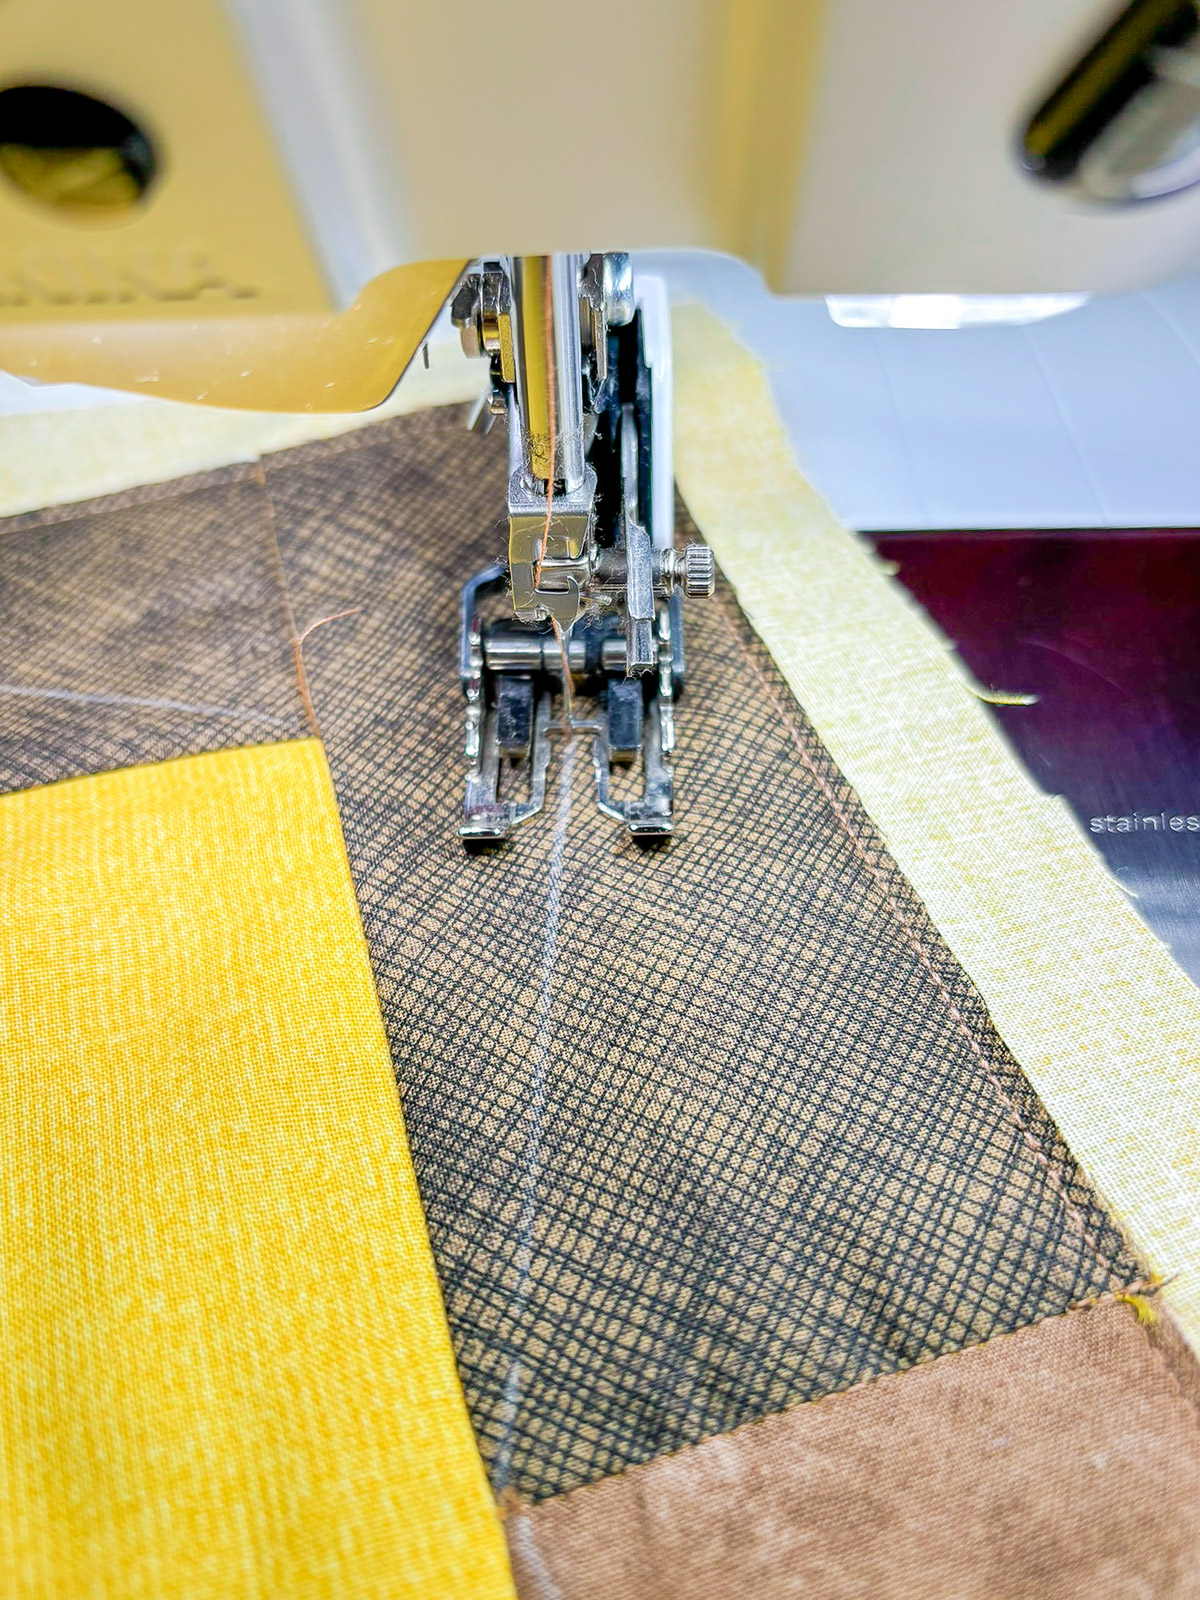
Quilt in the border strips as desired.
Trim the backing even with the quilt. Bind the edges of the quilt.
What you might also like
2 comments on “DesignerPlus Pet Quilt”
-
-
Hi, please try visiting this link for the directions on how to make the pet wall hanging quilt: https://bit.ly/4lQ3sKC
-
Leave a Reply
You must be logged in to post a comment.





It appears the link for going to the website for directions on how to create a dog silhouette embroidery design is broken? I’m unable to get there by clicking on “Here”. And, of course, when I search for that term it takes me to the project for putting everything together, not the designing of the embroidery item. Help!