Diamonds Quilt Along, Part 2: The Quilt Sandwich
Hello again BERNINA quilting enthusiasts! Are you ready to quilt Diamonds?
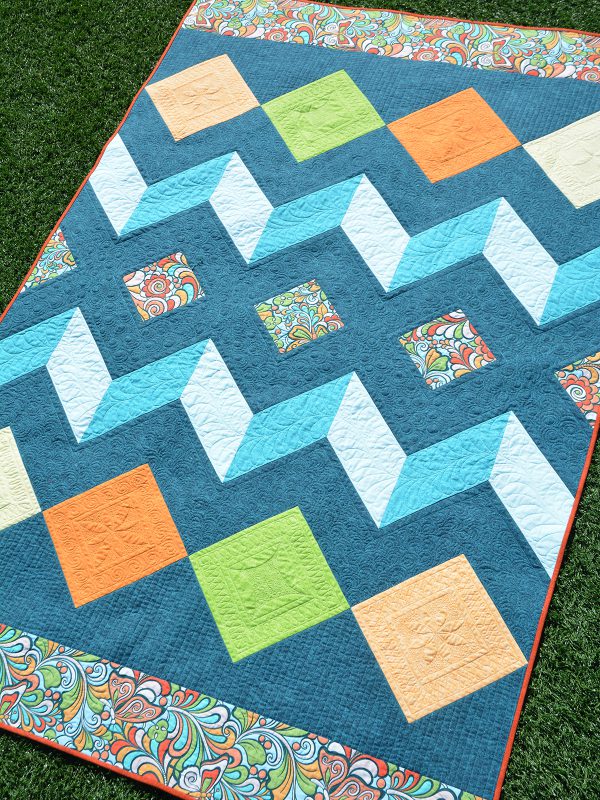
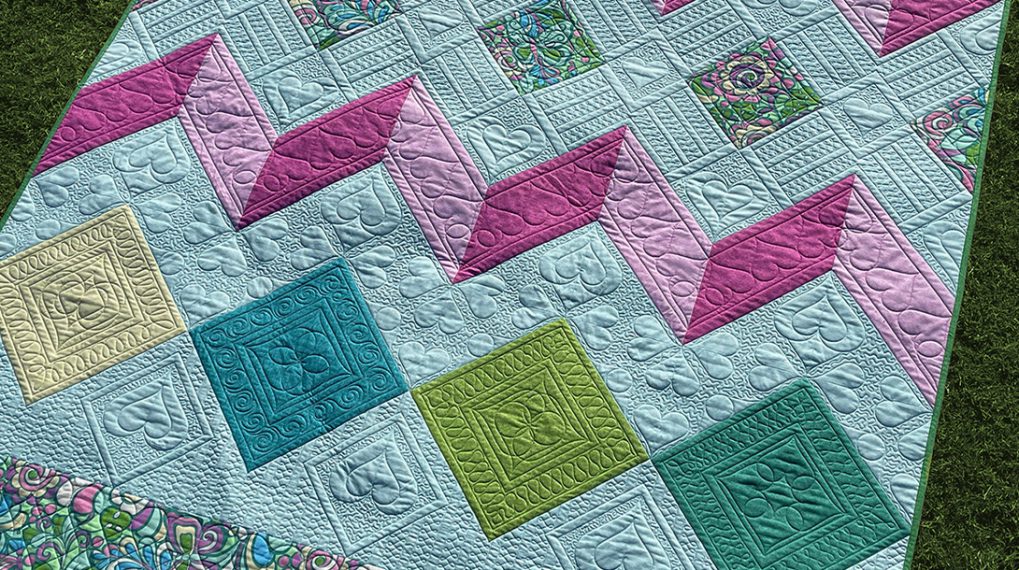
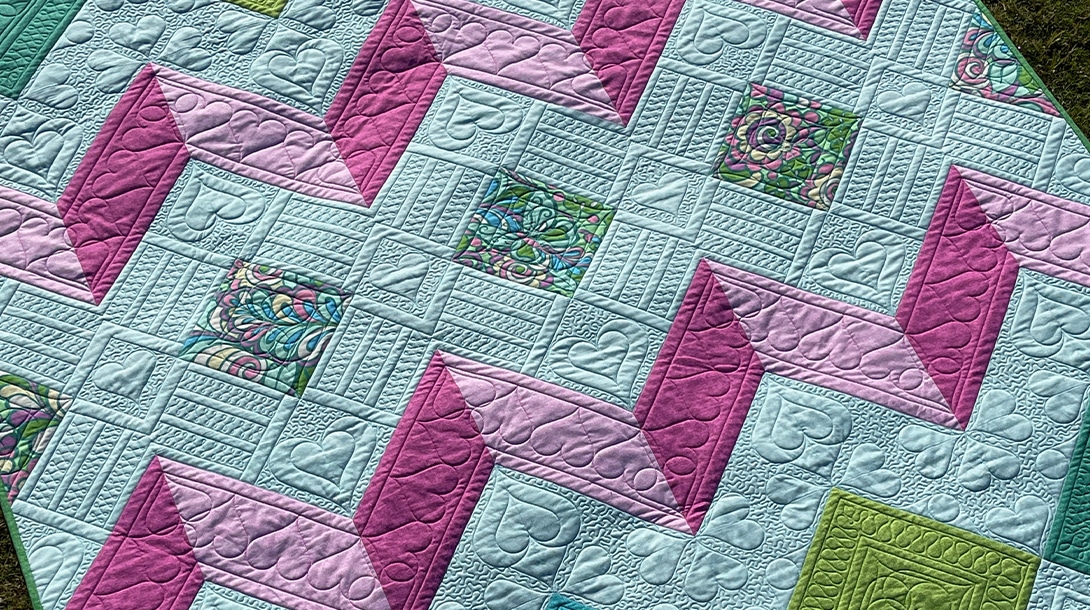
The Diamonds Quilt in the Harvest color story.
This month I’ll be explaining how to prep your quilt sandwich, do the “stitch-along-the-ditch” and other straight rulerwork quilting, and do some free-motion!
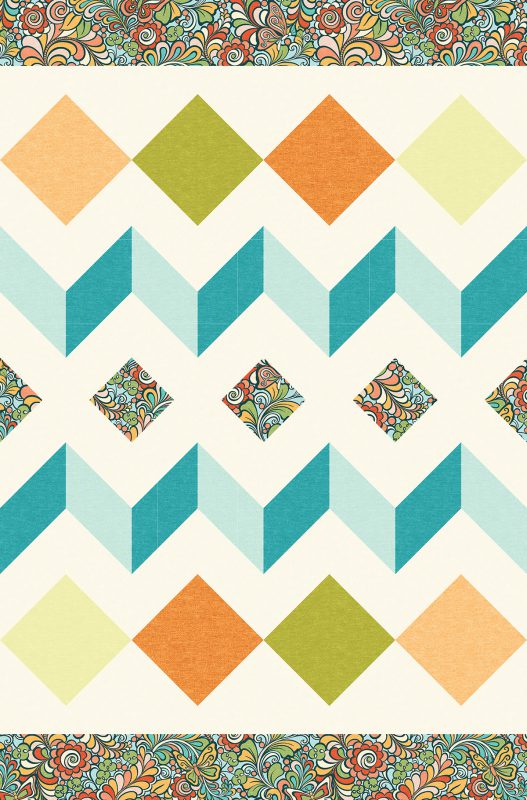
Your quilt top should look like this:
Diamonds quilt top; note that the teal background is shown as cream to make the diagrams clearer
Different Options for Basting your Quilt Sandwich
Regardless of which option you choose, I’d recommend cutting your batting and backing at least 4” larger than the quilt sandwich on all sides. I’d also prewash your backing, especially if you are using wideback, as it often times has a larger shrinkage rate than regular quilting cotton.
Pin Basting
Spread the backing out wrong side up on several tables pushed together. Tape the middle of sides of the backing to the table.
Many BERNINA dealers will allow you to use their tables if they aren’t conducting classes, so this is another good excuse to call ahead and plan a trip to your dealer!)
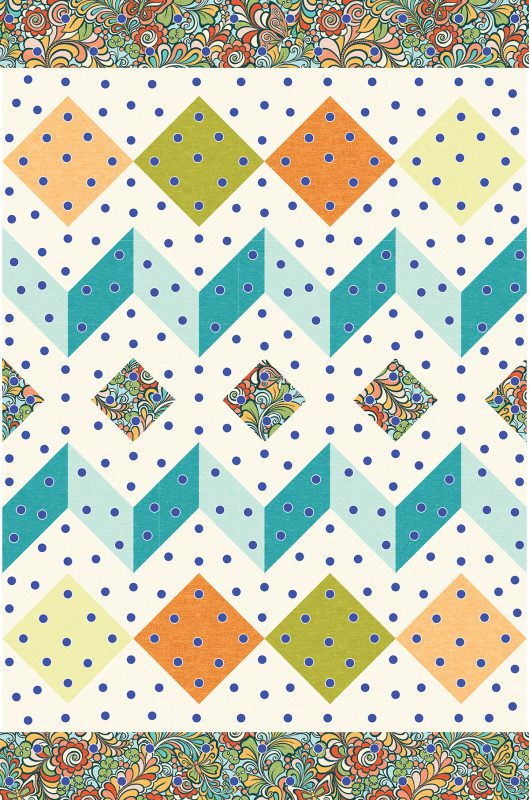
Working from the center of each side out, keep adding tape to each edge gradually until the entire backing is secured. It is important that the backing is smooth, but NOT taut like a drum. If it is too taut there will be much more tension on the backing than the quilt top and that will cause problems. Lay the batting of your choice on top of the backing. Many times batting, which is needle-punched, has a right side and a wrong side. One side of the batting has “dimples,” where the needle has gone into the fiber. The other side has “pimples,” where the needle has exited the fiber. You want the “dimple” side to be face up so that your quilting needle goes into the batting in the same direction as the original needle that punched it during the manufacturing process. If you can’t tell the difference I wouldn’t worry about it, but would recommend buying batting from your favorite independent shop to ensure that it is high quality. Lay the quilt top on top of the batting. Pin the layers together. The pins should be 4” or about a fist-width apart. I like to try to keep my pins away from the seams if possible. I know that I will remove the pins as I do my rulerwork, and pins over seams will definitely be in my way.
Suggested Pin Placement on Diamonds
Spray Basting
I don’t usually do a lot of spray basting, but if you are going this route I’d really recommend that you spray outside.
To spray baste outside, tape down the backing on a table or on a clean surface like I describe above, and spread the batting on top. Then fold back half of the batting. Spray a 12” section of the exposed backing and then smooth the batting over it. Spray the next 12” section of the exposed backing and smooth the batting over it. Continue this process until half of the batting is secured. Peel back the other half of the batting and repeat the process to secure the batting to the other side of the backing in the same manner. Lay the quilt top on top of the batting. Peel back half of the quilt top and spray sections of batting in the same manner you sprayed the backing, smoothing the quilt top over them as you go. Repeat to spray baste the other side of the quilt top.
It is also possible to spray baste your quilt using a design wall made of large pieces of flannel or batting-covered foam boards, doing the spraying outside but then finishing the process indoors. To do this, spray the wrong side of both the quilt top and the quilt backing and bring them inside. Pin the top of backing to your design wall with the wrong side up, making sure it hangs flat. Then pin its sides. Smooth the batting on top with your hands and pin. Then pin the top of the quilt top to the batting and smooth it out with your hands.
Thread Basting (Q Series)
The Q Series has a great basting function that can be very helpful. Why would you want to thread baste? Well, you don’t have to deal with the weight of pins OR the residue from spray basting. If you have a Q Series on the frame you can baste using the frame to keep the quilt square, but if you have a Sit-Down Q Series I would recommend starting out with a VERY light spray-basting or a minimal pin basting as described above with the pins 6” apart. Then, working from the center out, quilt in basting lines, removing pins as you go if you used them. Sometimes I work in a grid up and down the quilt if I will be later quilting an all-over design, but in the case of the Diamonds quilt I’d probably baste each of the areas separately so you can easily remove just one area of basting as you work. I like using a straight ruler and a ruler foot to baste but you can also use a free-motion foot.
Suggested Thread Basting on Diamonds
Thread Basting (by hand)
You can also thread baste by hand by replacing pins with large running stitches if you own a domestic machine.
Quilting “Along-the-Ditch”
This month we will be quilting with thread that is just slightly lighter than the background fabric in the top and the bobbin. This would be Aurifil #4182 for the Harvest color story. The thread kits are shipping to shops this week so if you have them on order you should be receiving them soon. I used a 90/14 top-stitch, or “jeans” needle, with my 50 wt. thread.
For all the “in-the-ditch” work I actually quilted “along-the-ditch” – a hairline more toward the background fabric instead of right on top of the seam. Regardless of whether you are quilting on a Q-Series or domestic, remember to check your bobbin tension before you begin by putting a scrap of fabric on the batting along the edges of the quilt and running some test stitches. (For the Q Series don’t forget to test the bobbin tension gauge that comes with the machine at the start of every project.)
You’ll need my Every Angle ruler or another straight line ruler to do the quilting this month, along with either a #96 or #72 foot if you have a Q Series or a #72 Adjustable Ruler Foot if you have a domestic BERNINA.
NOTE: Never use the #96 foot on a domestic machine as there is no spring to prevent the profile of the foot from colliding with the needle bar should you forget to lower the foot before lowering the needle!
You’ll also need a free-motion foot—I’m partial to the #73 foot for both the Q Series and BERNINA domestic—it is my FAVORITE! On a domestic, the sole of the foot should just skim the surface of the fabric. I really love the BERNINA Gripper Rings for free-motion on both the Sit-Down Q Series and on domestic machines in cabinets or tables but you can also use gloves or paddles if you prefer.
Your machine should be set to stop in the “needle-down” position.
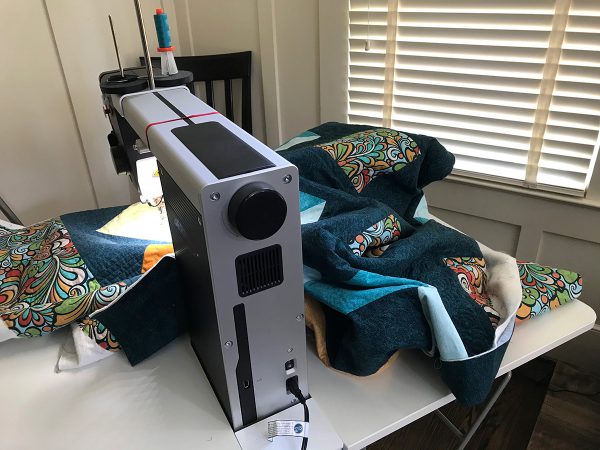
When dealing with the bulk of a quilt like this one on a sit-down machine, I recommend “puddling” the areas of the quilt on which you are not working, so that you are only moving one area of the quilt at a time.
“Puddling areas of the fabric”.
Also, you don’t want the quilt to fall off the table while you are working. One thing that can help with this is to arrange chair backs against the table to prevent the quilt from sliding off. If you are going to be quilting larger quilts on a sit-down machine quite a bit you might want to invest in garment rack on castors that you can clamp the weight of the quilt onto while you work. Not only will you feel like a Project Runway participant – but it will take a lot of the weight off of the table while you are working and the castors will enable to you to move it around as needed. I actually tried to persuade my husband to install chains with clamps on our ceiling, but since I quilt in my living room, I was unsuccessful. That is something to think about it you have the luxury of a sewing room though! To see how I arrange the quilt as I work, make sure to watch the video at the end of this post!
Download a PDF that walks you through the quilting process here so that you will have it when you are quilting!
Diamonds_Quilt_Along_Part 2_Instructions
Rulerwork Quilting
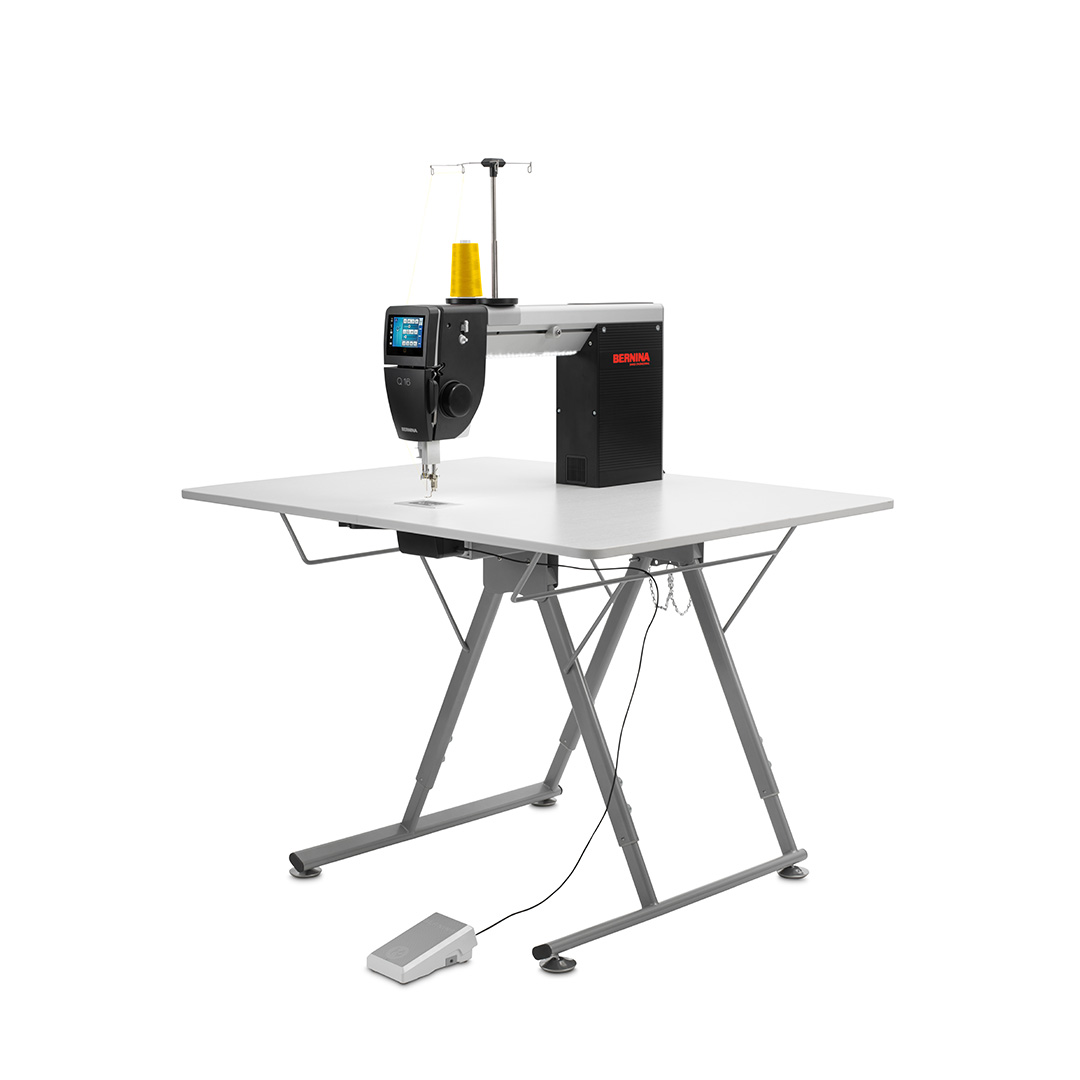
The BERNINA Q Series allows you to use rulers WITH stitch-regulation, which is an AMAZING feature!!! Unfortunately current technology does not allow you to use stitch regulation with rulers on a domestic machine because the stitch regulator is part of the foot on domestics and its sensor has to be right against the fabric, which means there isn’t room for a ruler. But on the Q Series BERNINA was able to move the sensors down into the base of the machine allowing you to have stitch regulation with ANY FREE-MOTION FOOT! I use BSR2 when doing any rulerwork. For straight lines I keep to the Q Series default setting of 10 SPI (stitches per inch).
For more about why I love the BERNINA Q16 watch this video:
On a domestic machine your movement, the machine settings, and the amount of pressure you put on the foot control will determine your stitch length. Practice on a sandwich and, once you find the stitch length you like, pay close attention to the sound of your machine and try to keep it steady while you quilt.
I like to start and end my quilting lines using the modern method of making really tiny stitches at the beginning and end of my quilting to lock my threads. HINT: I like to use my optional Q Series laser light to help me tell exactly where the needle will enter the fabric! On a Q Series you can make tiny stitches by changing the BSR2 settings to a higher number for the first 3/4” or so of stitching and then changing it back to the default of 10. On a domestic you can achieve this by not moving your hands as fast at the beginning and end of your quilting.
To start quilting make sure you bring your bottom thread to the top by holding onto the top thread, doing one stitch, and pulling on the top thread to bring the bobbin thread up. Then quilt your securing stitches and begin to quilt. NEVER EVER BRING YOUR RULER OVER UNTIL YOUR PRESSER FOOT IS DOWN ON THE FABRIC!
To end your threads, quilt your securing stitches and bring the needle and presser foot up. Grab the thread coming out of the needle and hold it. Make one stitch and bring your needle and presser foot up. Pull on the thread you are holding and the thread coming out of the needle to bring the bobbin thread up. Clip both threads at the surface of the quilt.
If you prefer you can start and end your quilting with a normal stitch length and later knot and bury the threads into the layers of the quilt. (This is the preferred method for show quilts.) However, I would not recommend making several stitches in place to secure the threads because of the large knot this can create on the back of the quilt.
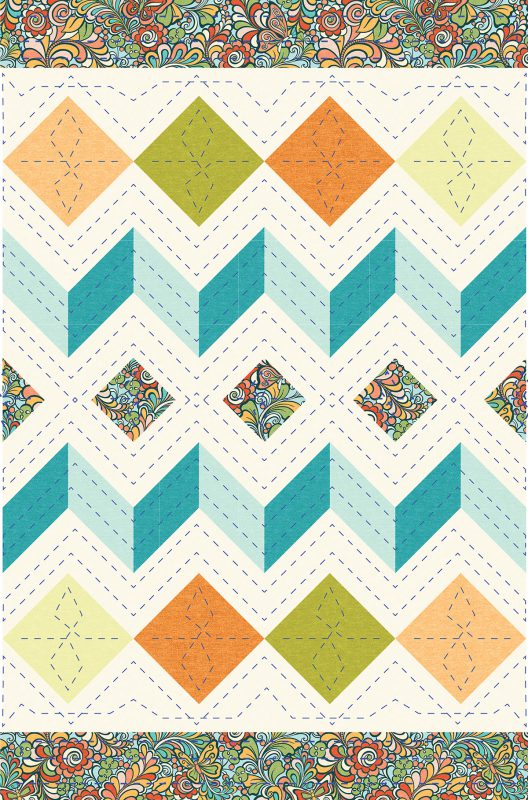
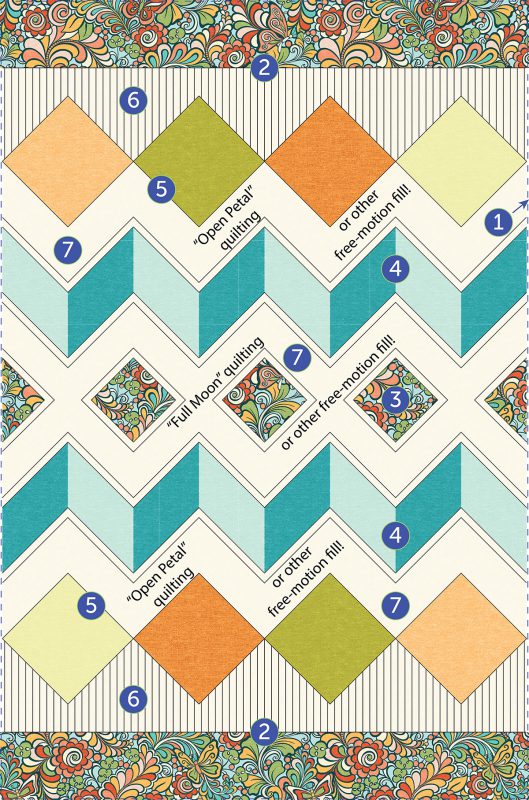
Order of Rulerwork Quilting for the Diamonds Quilt (Note that for many of these steps if you are on a domestic you can use a walking foot or dual feed foot with the presser foot pressure lowered if you prefer, but I like rulers if I have to change directions more than a few times so that I don’t have to rotate the quilt.)
- Baste around the outside of the quilt top with long stitches, about 1/8” in from its raw edges. Use BSR3 with SPI set on 2 or 4 if you own a Sit-Down Q Series.
- Quilt along the seams that separate the borders from the rest of the quilt top. Use BSR2 with SPI set to 10 if you own a Sit-Down Q Series for this and the following steps.
- Quilt around the small diamonds and echo quilt around them 3/4” from the seam.
- Quilt along the zigzags and echo quilt above and beneath them 3/4” from the seam.
- Quilt around the center diamonds. Do NOT echo quilt these.
- Quilt the parallel lines above the top row of diamonds and below the bottom row of diamonds. Start in the middle of the rows and work out, traveling over your previous stitching to get from line to line. These lines can be 3/4’’ or 1/2’’ apart.
- Quilt the free-motion fills of your choice in the rest of the background in the stitch regulation mode of your choice.
Quilting Order
Free-Motion Quilting
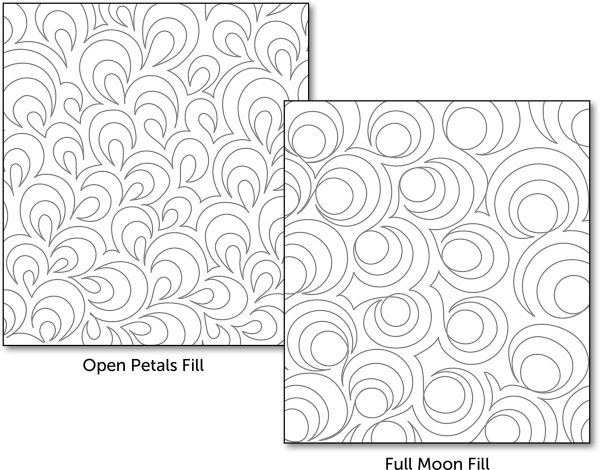
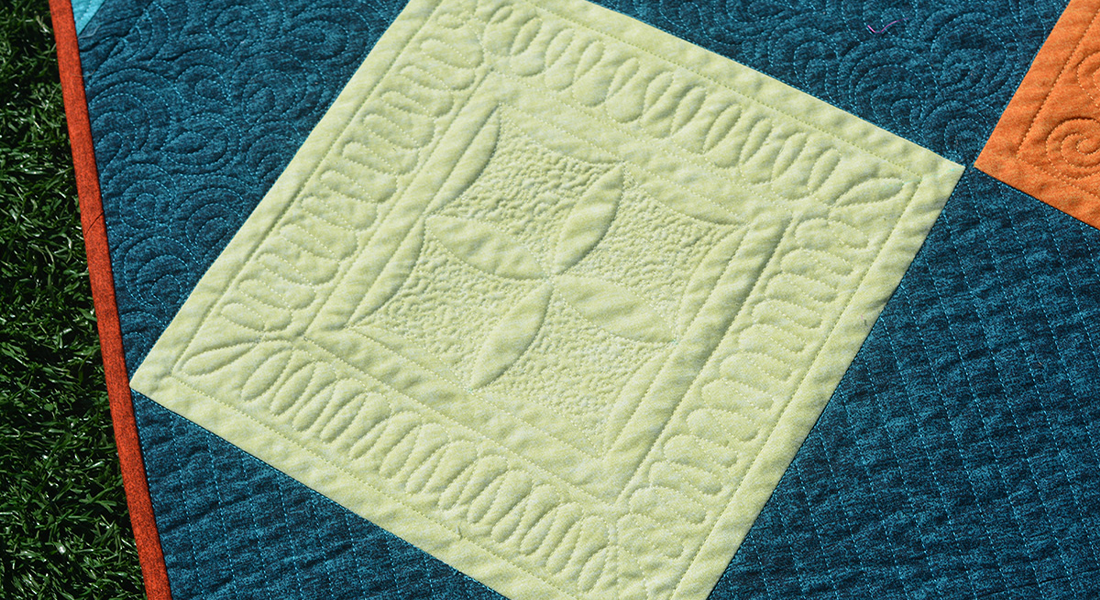
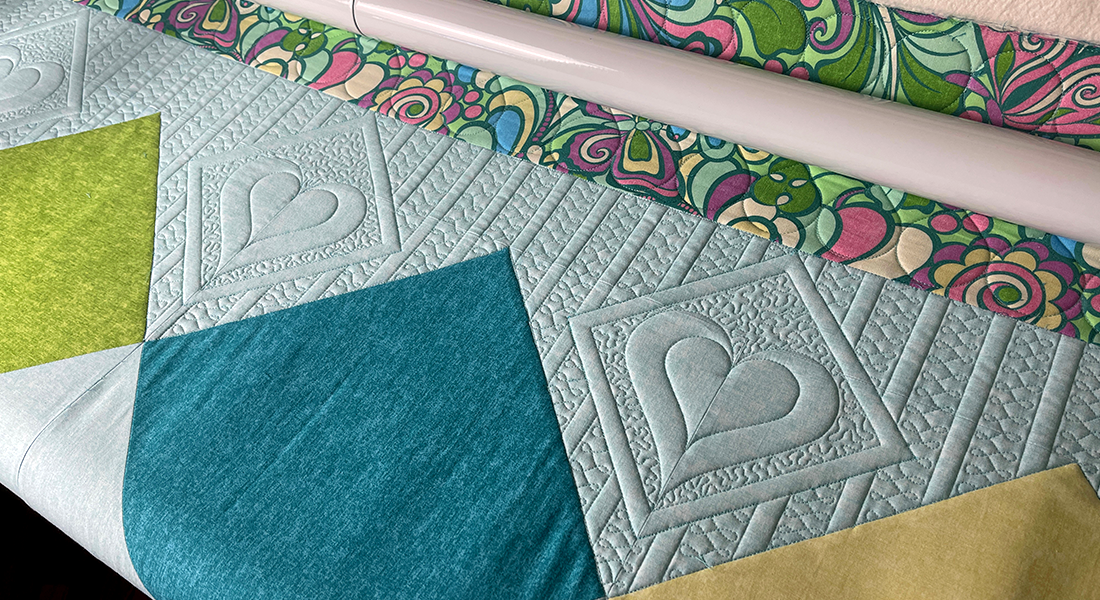
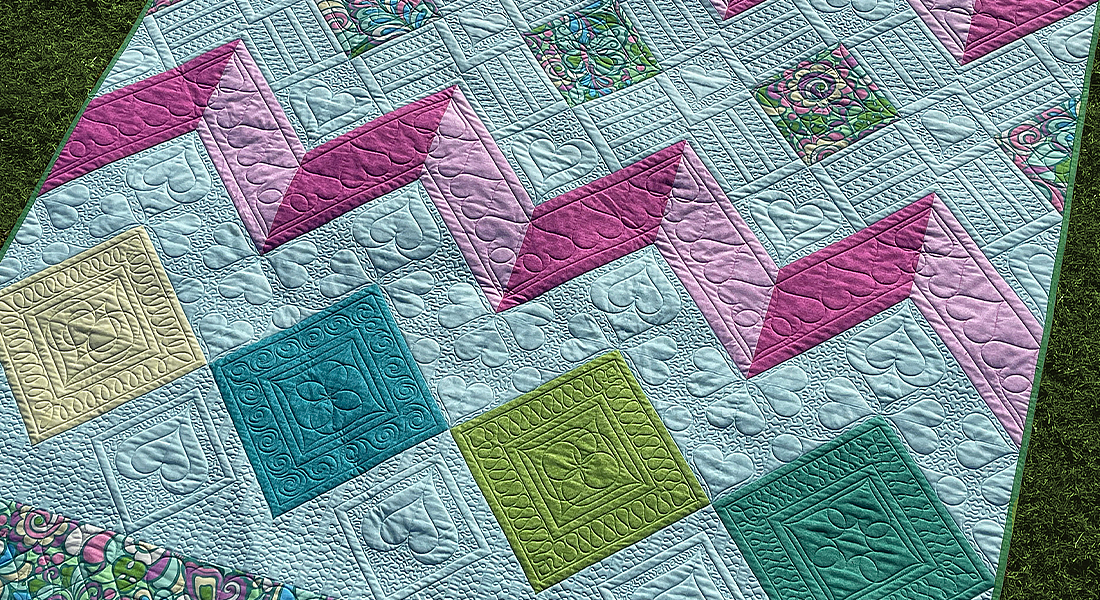
I used my full moon and open petal designs from my Organic Free-Motion Quilting Idea Book, but feel free to use your favorite free-motion designs. Watch the video at the bottom of this post for instructions. Any curvy design will contrast nicely with the straight lines you quilted with the ruler, though, so quilt something that you enjoy.
Free-Motion Quilting Designs
Quilting on a Frame
Note that these instructions are written for a sit-down machine. If you are quilting with a Q Series on a frame you have two choices:
- You can wait until January when all the instructions are posted and work your way down the quilt.
- You can work your way down the quilt each month, but note that there will be many areas you are leaving un-quilted that you will later go back and fill in. It is imperative that you baste these areas well so that your fabric doesn’t develop folds as it is rolled.
Here is a video showing you tips and tricks for this month
On December 9th we’ll be working on the feathers, borders, and center diamonds. I hope to see you then! In the meantime, join me on Thursdays at 11 am Eastern in my Facebook Group, Quilting with Amanda Murphy, for quilting tips and tricks.
Happy Quilting!
Amanda
Diamonds Quilt Along with Amanda Murphy
- Diamonds Quilt Along: Introduction
- Diamonds Quilt Along, Part 1: Piecing
- Diamonds Quilt Along, Part 2: The Quilt Sandwich
- Diamonds Quilt Along, Part 3: Feathers
- Diamonds Quilt Along, Part 4: Diamonds
- Diamonds Quilt Along, Part 5: Making Use of Scraps
- Diamonds Quilt Along, Part 6: Diamonds Bonus Quilt
- Diamonds Quilt Along, Part 7: Diamonds Bonus Pillow
What you might also like
3 comments on “Diamonds Quilt Along, Part 2: The Quilt Sandwich”
-
-
Wondering if anyone has gotten thread from Brewer?
-
Great videos! I love the way you teach. Thank you.
Leave a Reply
You must be logged in to post a comment.



can not open videos.