DIY 1950s “Hepburn” Buttonhole Scarf
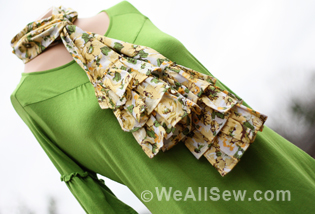
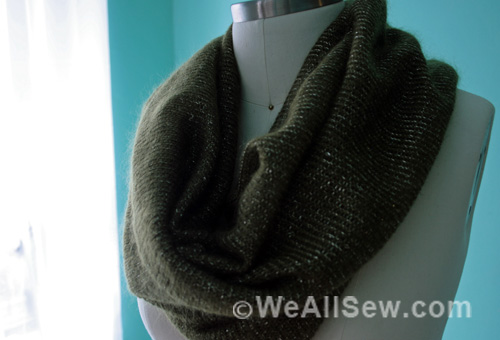
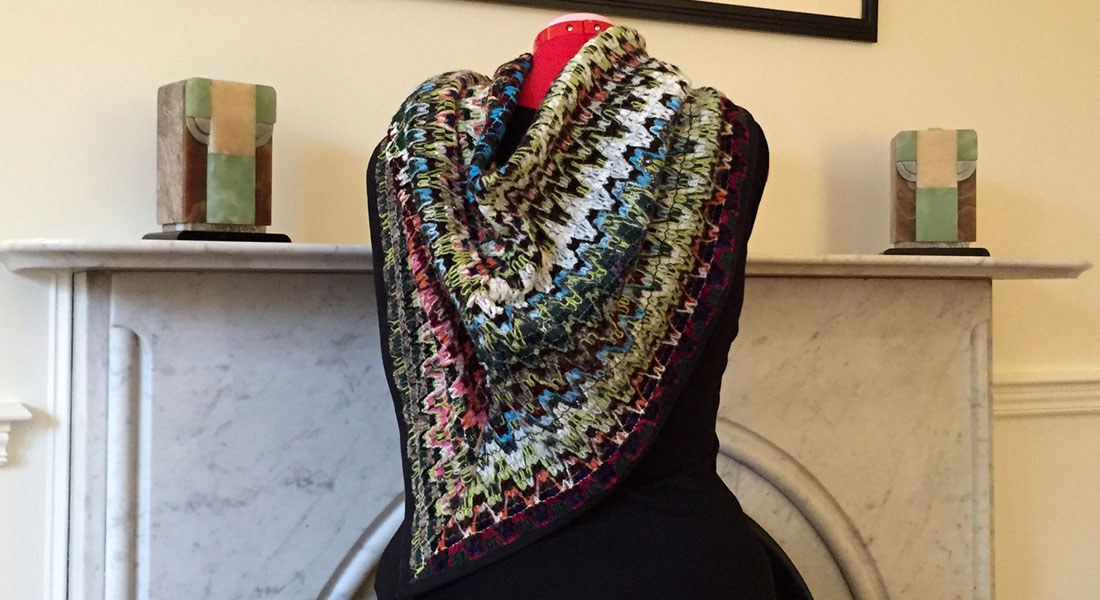
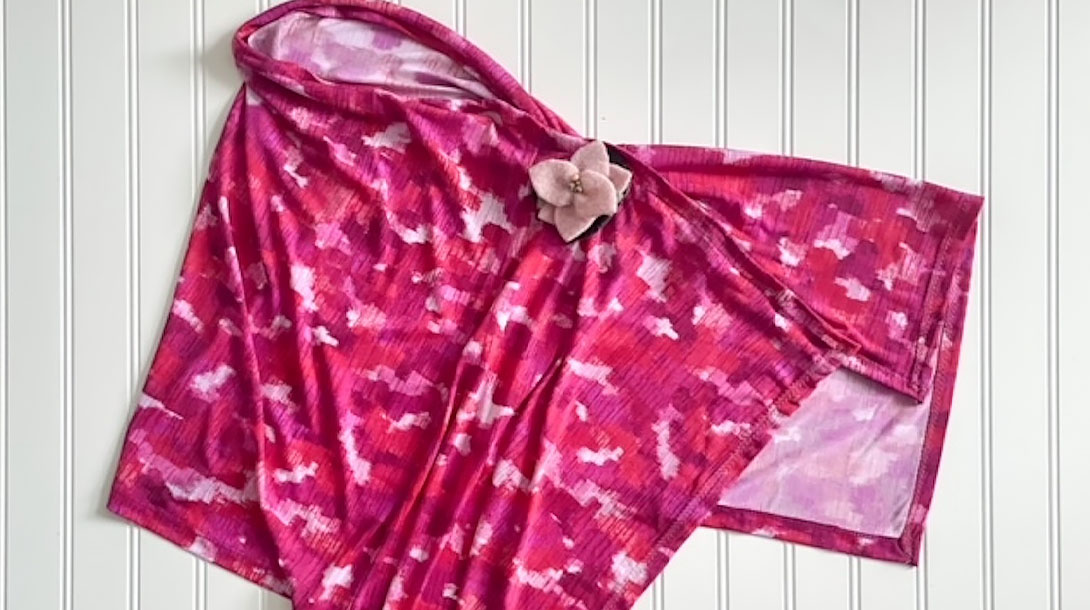
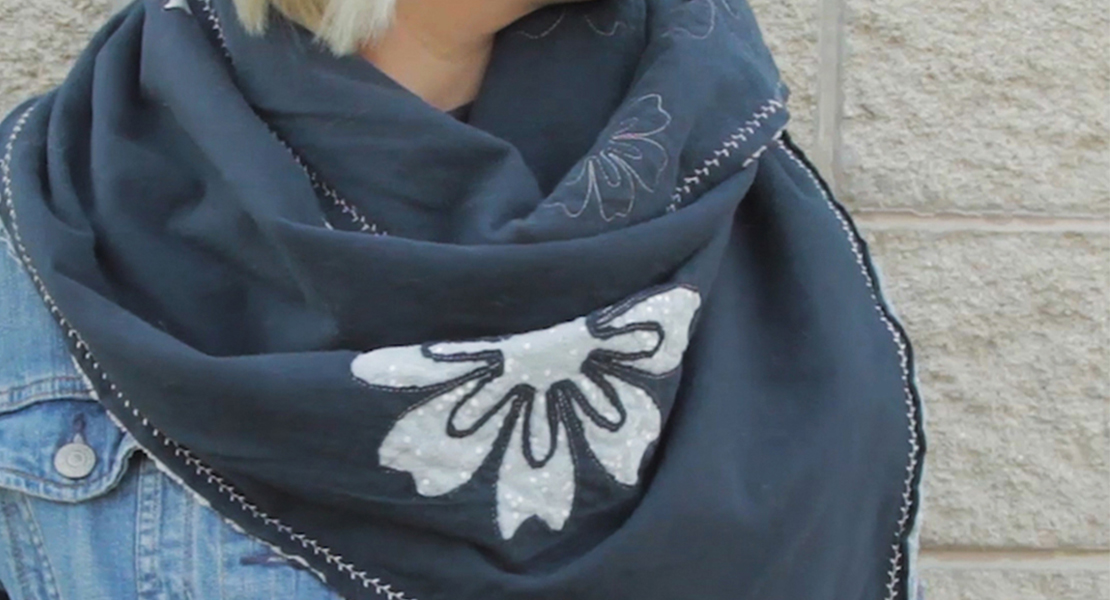
Hi Everyone! Julie Eilber of JetSetSewing.com here, with the scoop on how to make this chic retro scarf. I call it the “Hepburn” scarf because you can channel either Audrey or Katherine when you wear it. It all depends on the fabric you choose and that je ne sais quoi you give it with a flick of the wrist.
The scarf is taken from an original 1950s design, and it has a little secret . . . it holds its flirty shape with some inside tucks and a big buttonhole.
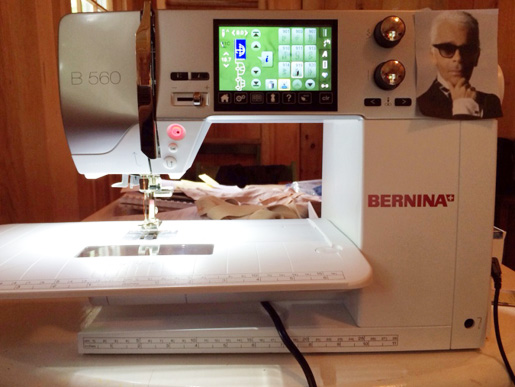
I made the scarf with this big, beautiful BERNINA 560, on loan from the nice folks at BERNINA of America. I refer to him as my “Swiss intern Karl,” and he makes some pretty fabulous buttonholes!
I recommend making the scarf out of lightweight fabric that has a fair amount of body to hold the shape, such as quilting cotton for summer, silk shantung for spring and fall, or lightweight suiting wool for winter. Since one end of the scarf needs to slide through the buttonhole, you don’t want a fabric that’s too heavy.
Note: If you’re a beginner, or you find that you absolutely can’t stand the process of marking and making what I refer to as the “tedious tucks,” the scarf will be fine without them. It won’t have the same shapely “oomph,” as they used to say in the 50s, but it will still be cute. As I frequently tell myself when sewing, “it’s not like Coco’s coming back from the grave to bust me for skipping this part…”
Supplies
- Chalk marker, disappearing ink marker, or BERNINA Tailor Tack Foot #7
- Pointy sewing scissors
- 1-1/4 yards by 15″ of lightweight fabric, such as crisp silk, light wool suiting, or quilting cotton
- A fabric scrap, such as silk organza or lightweight cotton, to underline the buttonhole (no button needed)
- Matching thread
- Contrasting thread for basting
- Point turner
- Straight pins
- Hand sewing needle
- Blindstitch foot or edgestitch foot (BERNINA Blindstitch Foot #5 or Edgestitch Foot #10/10C/10D)
- Buttonhole foot (BERNINA Buttonhole Foot #3/3A/3B/3C)
Step 1) Prepare the fabric.
Prepare your fabric by washing, drying and pressing it (if it’s washable) or by giving it a really good steaming with your iron if it’s not washable. (Use a press cloth and go over it twice with lots of steam, then let it dry).
Print out the pattern and assemble it. HepburnScarfPattern-WeAllSew.pdf
Measure around the circumference of the wearer’s neck with a tape measure. If the wearer’s neck measures more than 14 inches around, cut the pattern in half vertically and spread it out to make the scarf wider at the center.
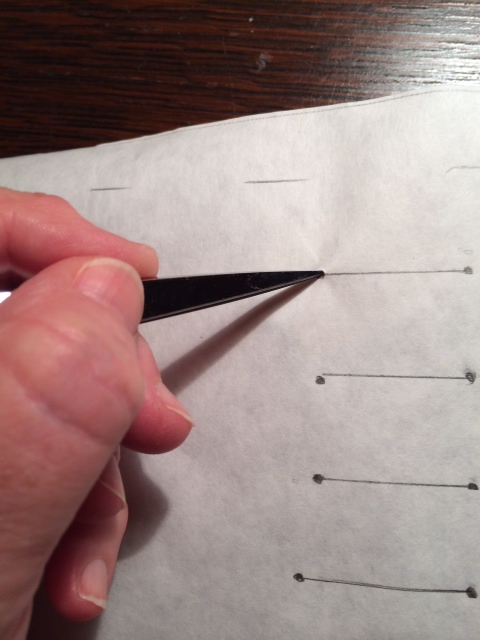
If you will be using a chalk pencil or disappearing ink marker to mark your fabric, use your pointy scissors make holes in the pattern, at each end of the lines that mark the tucks and buttonholes.
Spread out your fabric in a single layer, wrong side up. Pin the pattern to the wrong side of your fabric, following the grainline, and cut around the edges. A 5/8″-wide seam allowance is included in the pattern and does not need to be added.
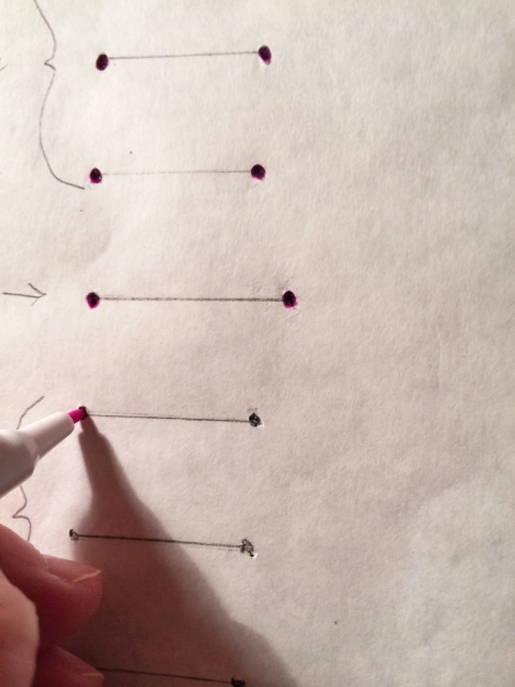
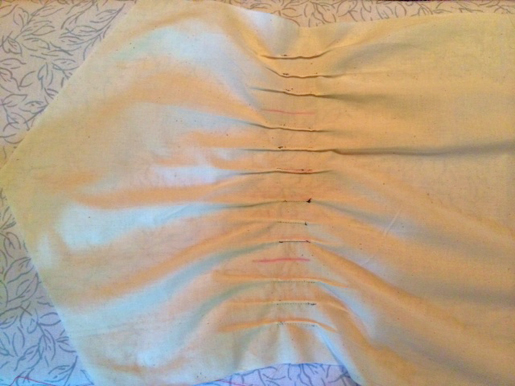
Mark the lines for the tucks and buttonholes by making marks through the holes you poked in the pattern, using a chalk pencil or disappearing ink marker. If you are using a disappearing ink marker, test it on your fabric first. Or you can mark the fabric by making tailors’ tacks, either by hand or by using BERNINA Tailor Tack Foot #7.
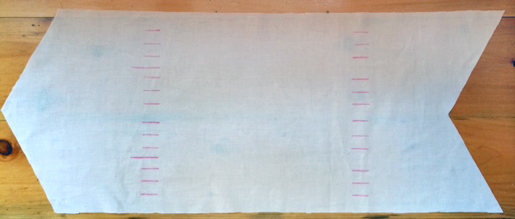
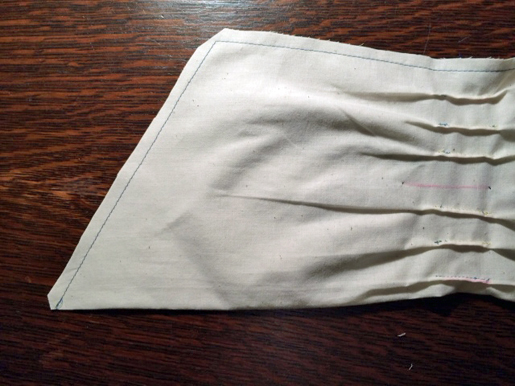
Remove the pattern, and draw lines between the marks on the fabric to indicate where the tucks and buttonholes are placed. (You’re looking at a muslin version of the scarf I made to illustrate the steps.)
Step 2) Sew the pintucks. (Optional)
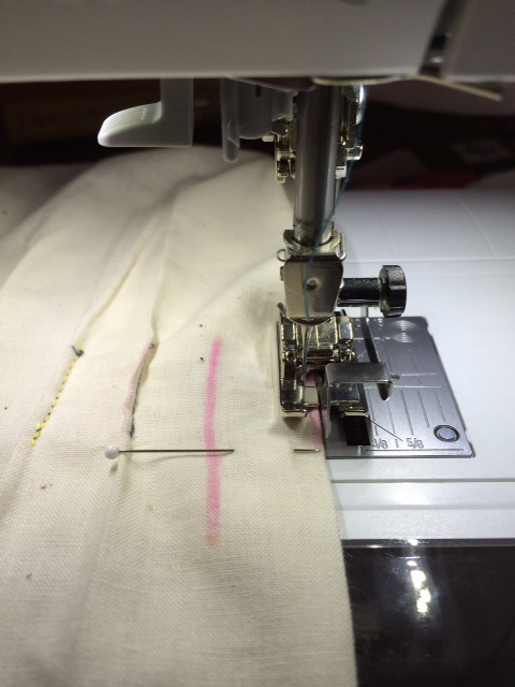
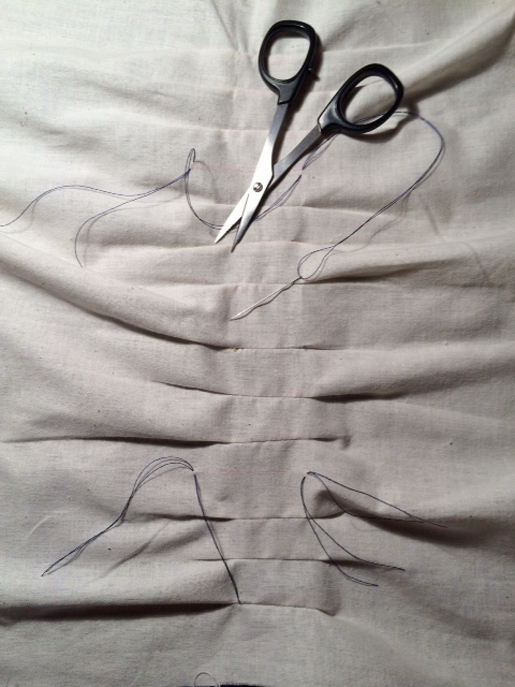
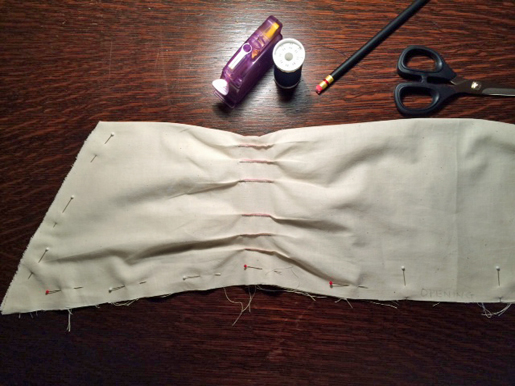
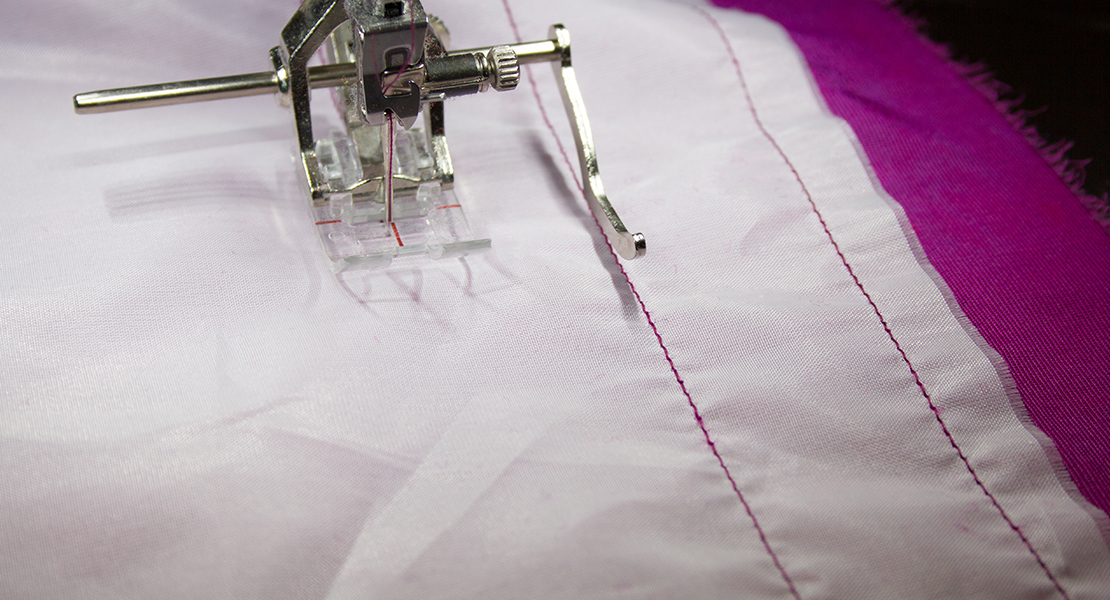
To make the tucks, fold on each tuck line (right sides together) and put a pin perpendicular to the end of the tuck. Don’t bother to press the tucks (too time-consuming!), just pat them down and put them under the presser foot. Move the needle as far to the left as possible, and straight stitch each tuck 1/8″ from the fold. I used BERNINA Blindstitch Foot #5, but Edgestitch Foot #10 would be even better. Note: Remember not to make a tuck where there’s a longer buttonhole marking.
When you have all of the tucks complete on both sides, press them toward the center foldline of the scarf.
Step 3) Construct the scarf.
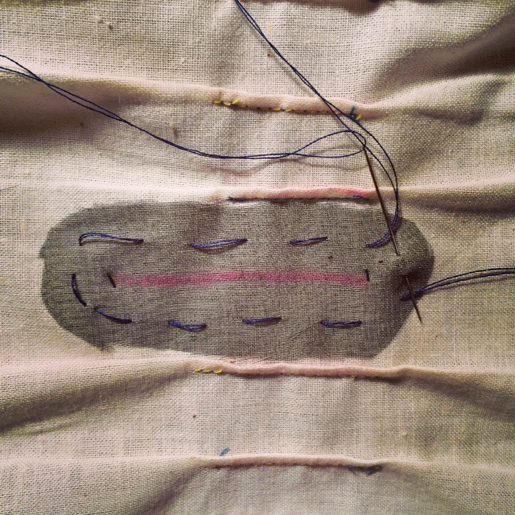
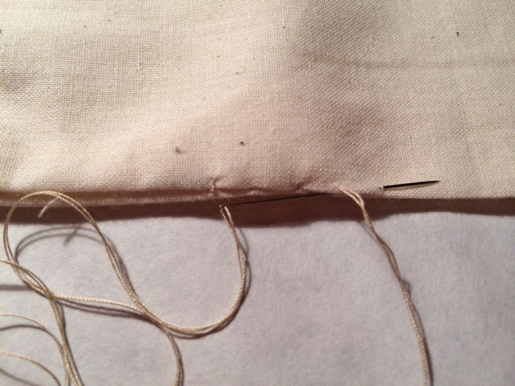
On the right side of the fabric, use contrasting thread to make tailors’ tacks marking each end of the buttonhole, for both the top and bottom buttonhole openings. (You can also use BERNINA Tailor Tack Foot #7 to make tailors’ tacks.)
Then turn the scarf over, and place the small piece of underlining fabric over the top buttonhole line, wrong sides together. Loosely baste them together.
Fold the scarf in half horizontally, right sides together, and pin. Leave a 3″ opening at the bottom to turn the scarf right side out.
Straight stitch 5/8″ from the edge. Trim the seams and clip corners.
Turn the scarf right side out through the opening and use a point turner to carefully turn the points at the ends of the scarf. Give the scarf a good press, then turn under the raw edges of the opening and hand stitch it closed with fell stitches or slip stitches.
Make some test buttonholes with your Bernina Buttonhole foot, on two scraps of your fabric with a piece of the underlining between the layers. The buttonhole opening, when cut, should be at least 1-1/8″ long, so the scarf can fit through it. Try pulling one end of the scarf through your test buttonhole to be sure that the hole is big enough.
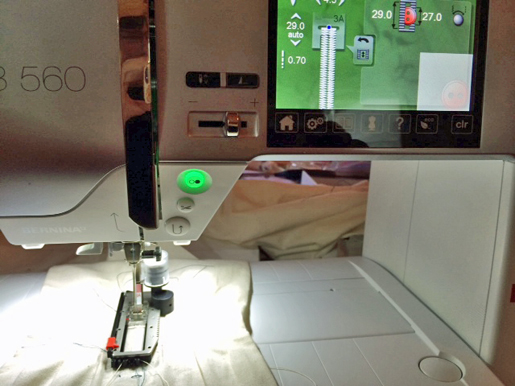
When you’re happy with your test buttonhole, line up the buttonhole markings on your scarf, pin the two layers together and make the buttonhole. In this picture I’m using BERNINA Automatic Buttonhole Foot #3C to make a strong corded buttonhole.
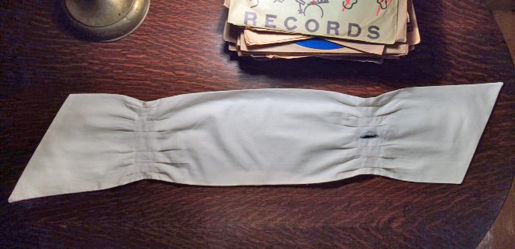
Carefully cut the buttonhole open, remove the basting stitches and press. Your scarf is finished!
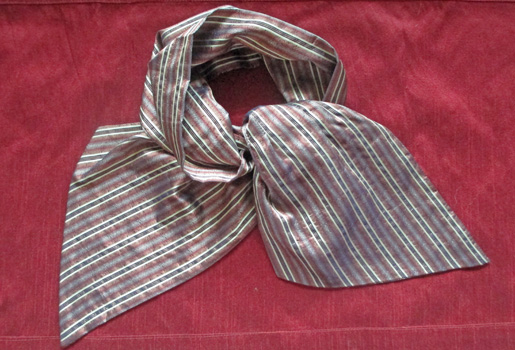
How to wear your Hepburn Scarf
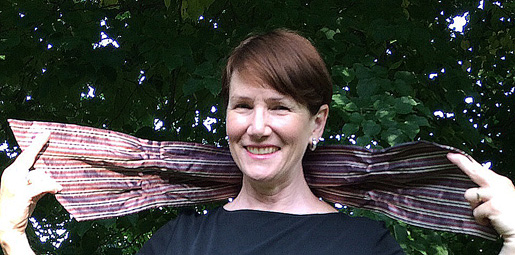
Put the scarf behind your neck, with the fold on top and the seam on the bottom. The end with a buttonhole will be in your left hand, and the end without a buttonhole will be in your right hand.
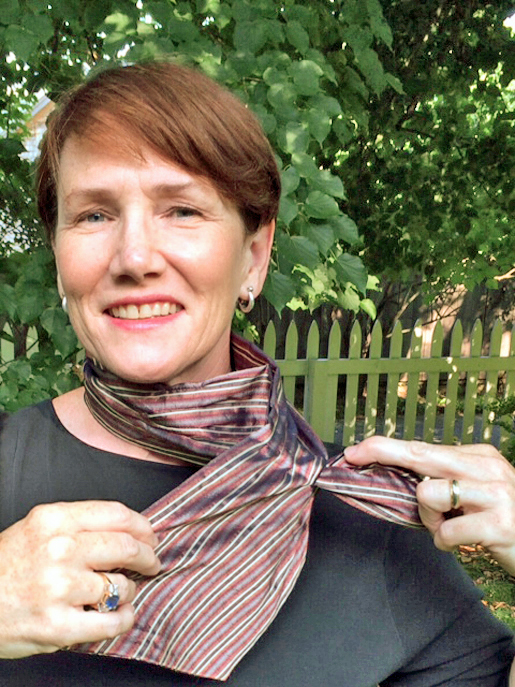
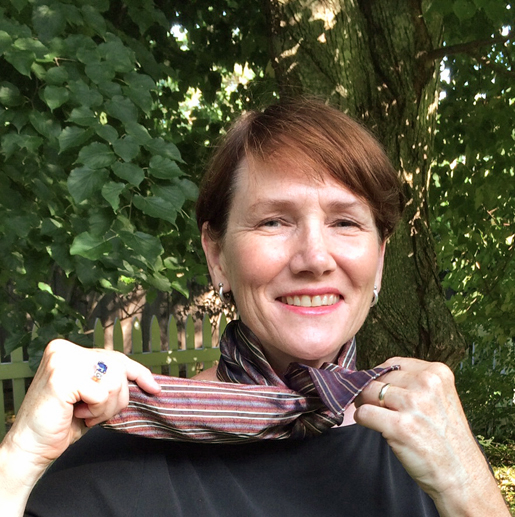
Bring the end of the scarf in your right hand over to the left, and pull that end through the buttonhole until the scarf is close to your neck.
Take the end that just went through the buttonhole (it’s now on your left) and bring it down, then behind, then up and over the top like you’re tying a knot.
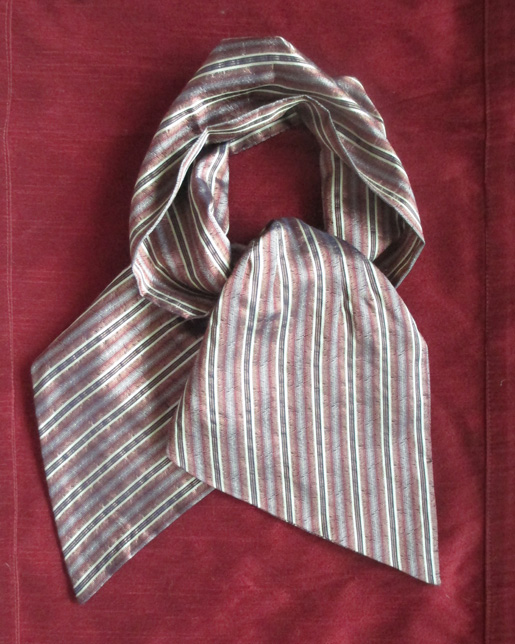
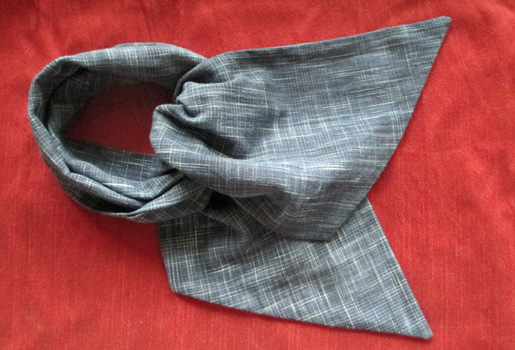
Arrange the two ends artfully to your liking. You can wear one end over your shoulder, or put one end over the other, like an ascot. Enjoy!
I hope you’ll join me for more vintage sewing, fashion history, international fabric shopping, and fun with “Karl” the B 560 at JetSetSewing.com, and JetSetSewing on Instagram!







4 comments on “DIY 1950s “Hepburn” Buttonhole Scarf”