Embroidered Hemstitch Pillow
Hello sewing friends!
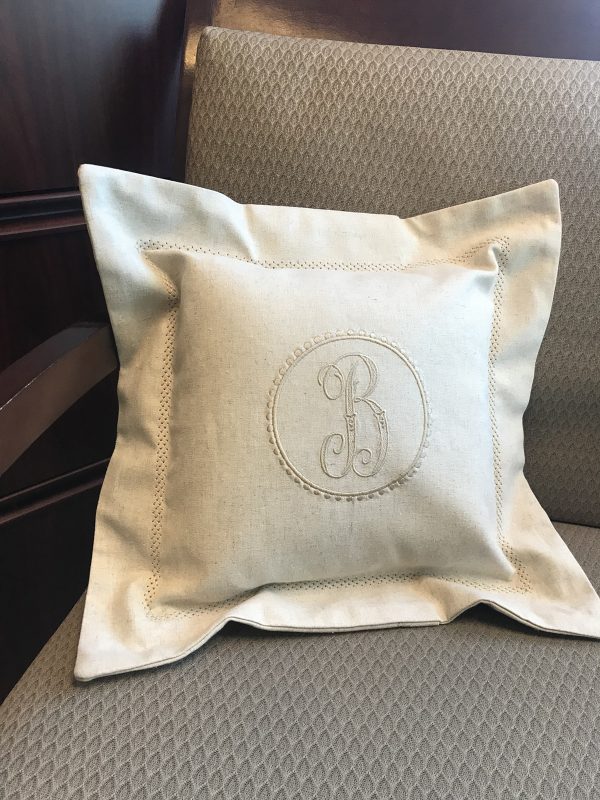
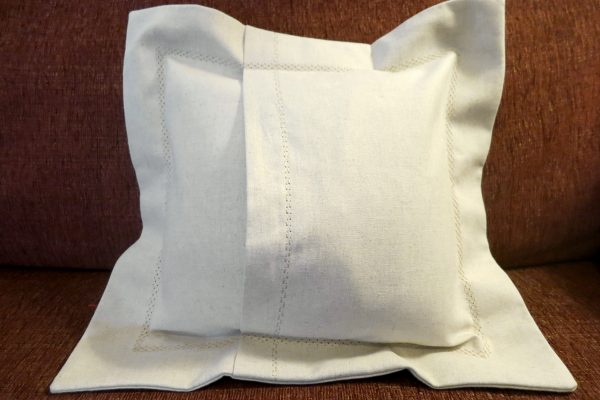
I was inspired by a recent article on WeAllSew by Nina McVeigh about hemstitching and the use of the wing needle. I thought it would be fun to create an elegant throw pillow with some wing needle and embroidery embellishment. It got me out of my quilting comfort zone and reminded me of the fun things my machine can do besides piecing blocks!
So, spend an afternoon with me creating something beautiful!
Materials to Make a Hemstiched Embroidered Pillow
- 1 yard of linen fabric, 42” wide
- 1 ¼ yards of fusible interfacing, such as Pellon Shape-Flex, 20” wide
- Isacord thread to match the linen; wind a bobbin full with matching thread
- Needles: Embroidery 80/12 sharp, Microtex 80/12 and Wing Needle size 100
- Starch, such as Mary Ellen’s Best Press
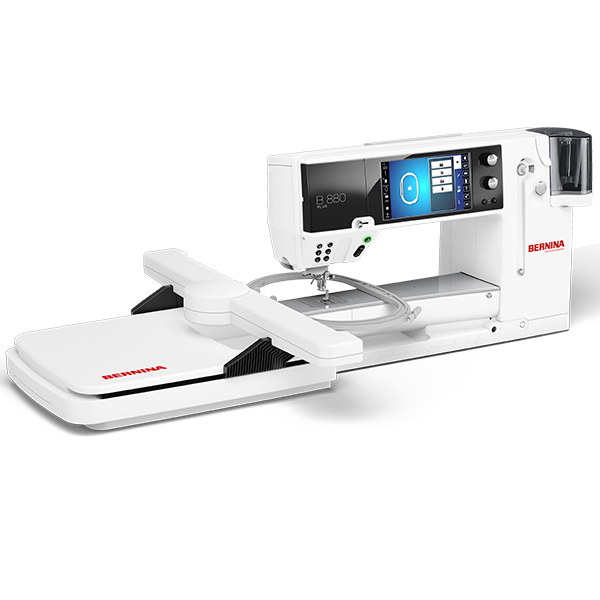
- BERNINA 880 PLUS or BERNINA 790 PLUS sewing/embroidery machine (the embroidery design is a built-in design)
- Slide on table and seam guide for slide on table
- Large oval embroidery hoop
- Ultra Clean and Tear Stabilizer by OESD
- BERNINA Embroidery Foot (drop-shaped) #26
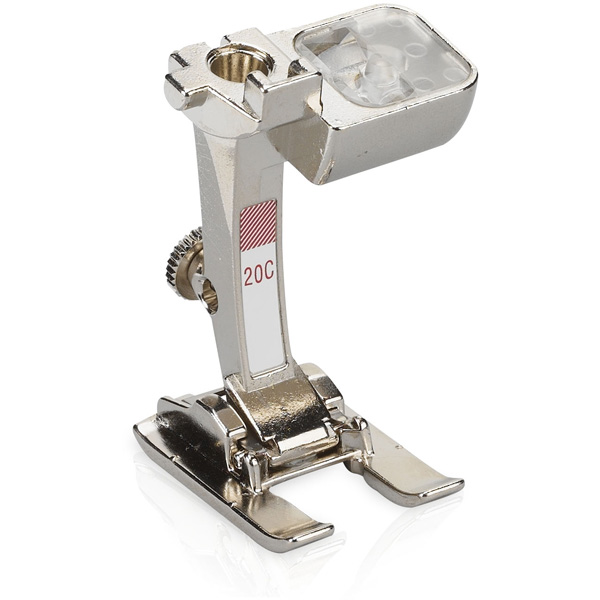
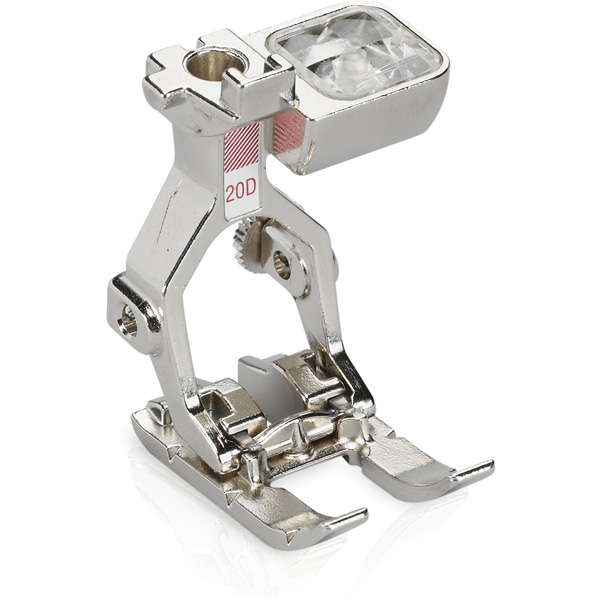
- BERNINA Open Embroidery Foot #20C / BERNINA Open Embroidery Foot #20D Open Toe Embroidery foot
- Point Turner
- 12” pillow form
- Basic sewing and embroidery supplies
Preparing the Fabric
- Cutting the linen: Cut 1 – 18” square
- Cut 1 – 17” X Width of Fabric Strip
- Then cut the strip in half (to about 17” X 22”), removing the selvedges
- NOTE: It is ok if a little less than 22”
- Cutting the interfacing: Cut 1 – 17 ½” square
- Cut 2 – 11” X 16” rectangles
After cutting the linen give it a good press and starch. It does not need to be as stiff as a board, but a medium stiffness. I pressed and starched both sides of the fabric. Following the manufacturer’s directions, fuse the square of interfacing to the wrong side of the linen square, centering it. There will be about ¼” of non-interfaced linen all around. Press the linen square into quarters to mark the center of the square. Press the 17” X 22” linen rectangles in half with a crisp crease, to measure about 17” X 11”. Fuse an 11” X 16” rectangle of interfacing to the wrong side of one half of each strip. I placed one long edge of the interfacing right at the crease of my linen.
Design Set Up
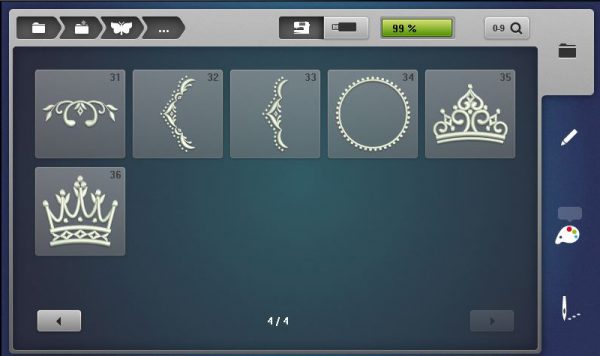
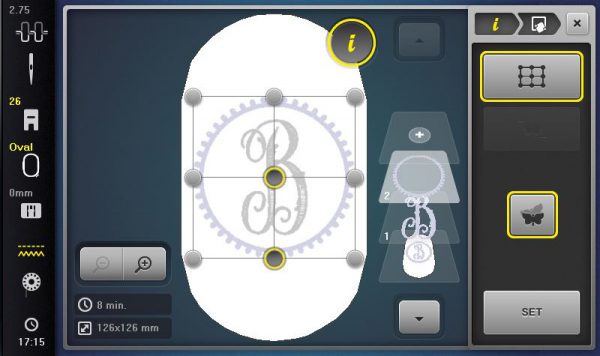
Step 1: At the machine, open the Motif folder (butterfly) and select the Monogram folder. Select a capital letter of choice.
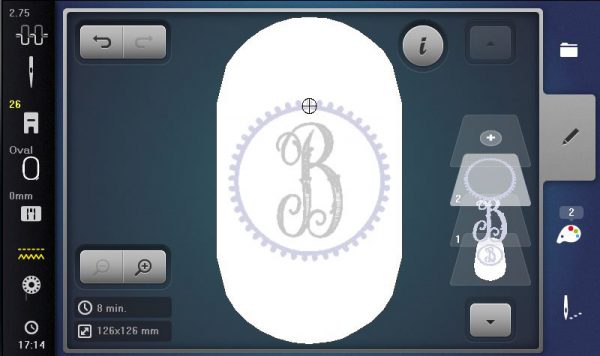
Step 2: Select “Add Motif” and add a Circle Frame from same folder as the letter.
Embroider the Design
Step 1: Insert the embroidery needle in your machine, attach the Embroidery foot #26 and thread with matching thread in the needle and bobbin. On the B 880 Plus, thread the bobbin for embroidery.
Step 2: Hoop Ultra Clean and Tear stabilizer by itself in the oval hoop.
Step 3: Touch the needle icon to prepare to embroider.
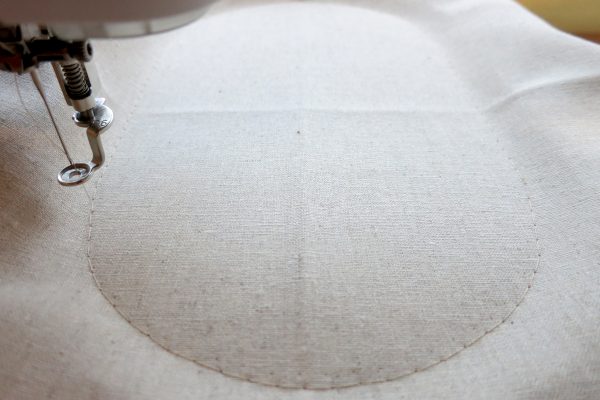
Step 4: Attach the hoop to the machine and lay the fabric on top of the hoop approximating a centered position. Use the creased marks to approximate the position. We are going to use Pinpoint Placement in a bit, so don’t stress about getting this part perfect.
Optional: Use some temporary adhesive spray (like 505) or a glue stick to help hold the fabric in place. Don’t spray near your machine!
Step 5: Touch the Basting Box icon twice to select the basting box that goes around the inside edge of the hoop.
Step 6: Go back to editing and select the information icon. We are now going to put our monogram in the exact center of our fabric, centering it on the intersection of our pressed lines.
Step 7: Select Pinpoint Placement and the grid option. I love using Pinpoint Placement! Stress-free hooping!
Step 8: Select the center dot and set the center point, which is the intersection of your pressed creases. Use the lower center point as the second selection and position on the vertical crease below the center intersection. Use the Multifunction knobs as needed to position the design.
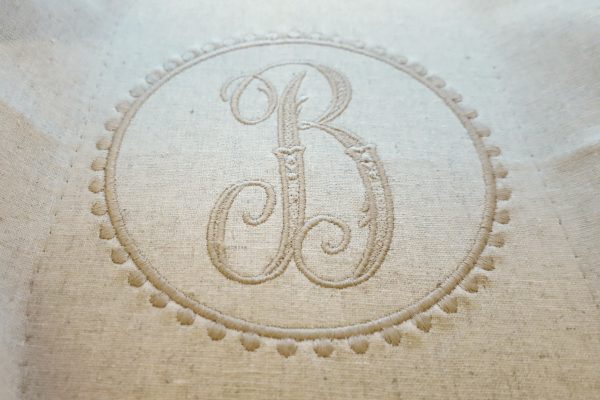
Step 9: Now you are ready to exit the information screen and embroider the motif. The letter and the frame are stitched in the same color. Select the Single/Multi-Color Motif icon before stitching and the design will be sewn without stopping for a color change. Don’t forget to turn off the basting box…we already did that!
Step 10: When the design is complete, remove the hoop from the machine and remove the basting stitches and excess stabilizer. Press from the wrong side to remove any creases.
Step 11: Trim the linen to 17” square. HINT: The motif is about 5” square, so measure 6” from the outer edges of the motif.
Make the Pillow Back Flaps
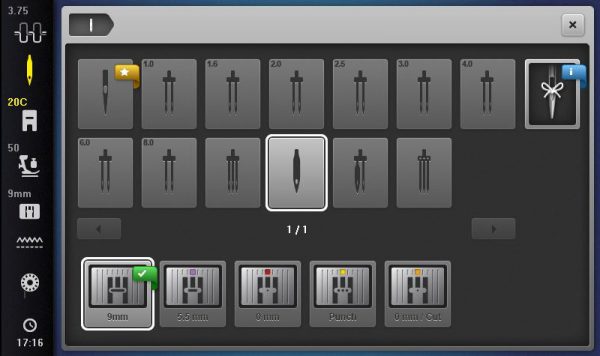
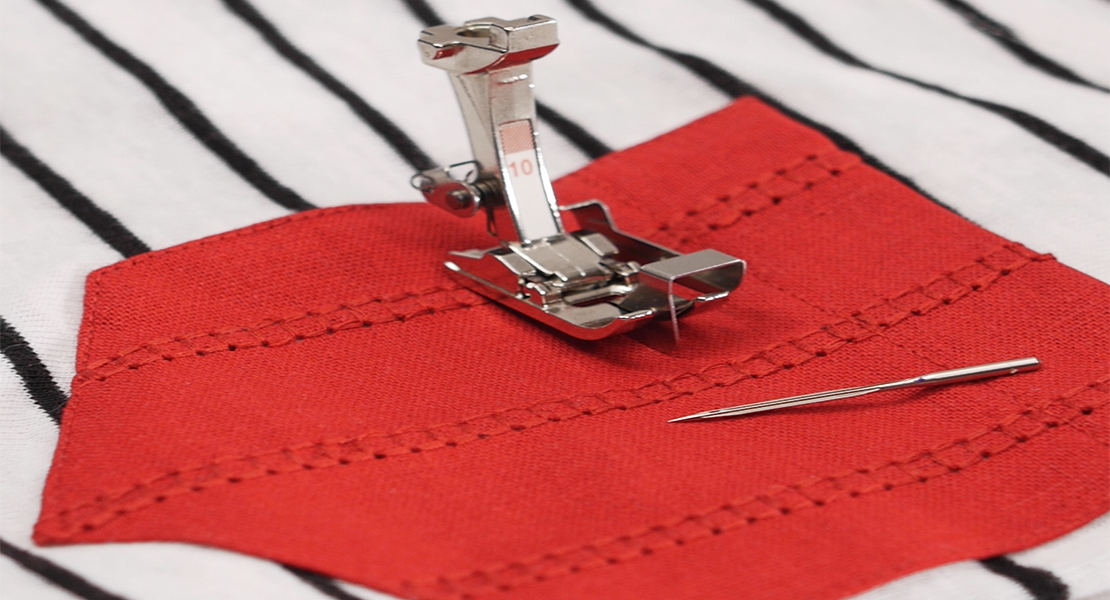
Step 1: Install the wing needle on the machine. Be sure to use the 9 mm stitch plate, NOT the 0 mm plate. The wing needle must also be hand threaded.
Step 2: Select Wing Needle in the Needle Selection Menu. By telling the machine that you have a wing needle installed, you will not accidentally hit the foot with a wider-than-allowed stitch width. The machine knows how wide you can go with this needle. How cool is that!
Step 3: Rethread the B 880 PLUS bobbin for sewing.
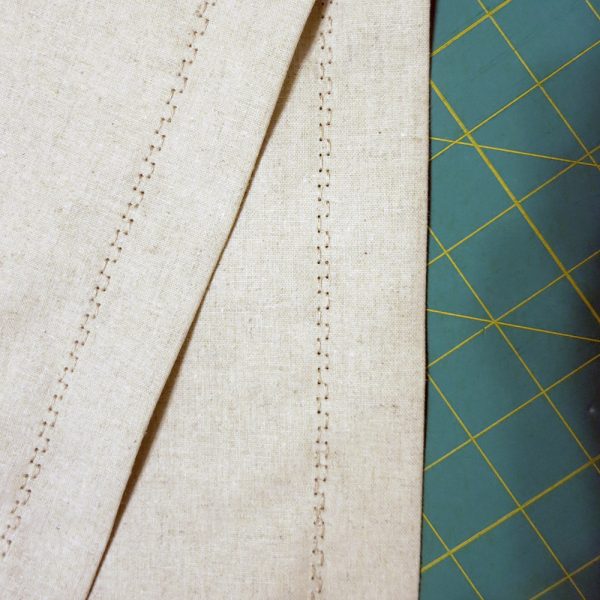
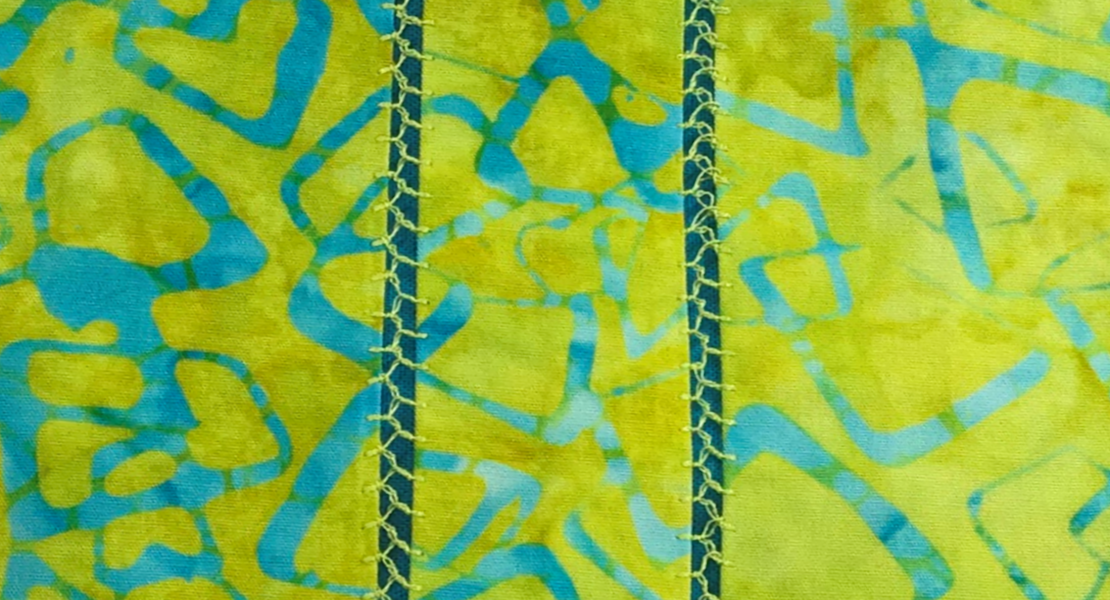
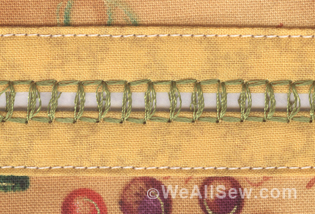
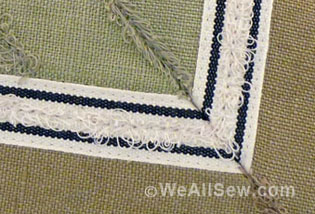
Step 4: To add a decorative wing needle hemstitch to the outer back flap, navigate to the 700 menu of your decorative stitches. I tried out different stitches on my leftover scraps of linen. The stitches in this menu are so much prettier sewn out and it was hard to decide which one to use. I finally chose #709.
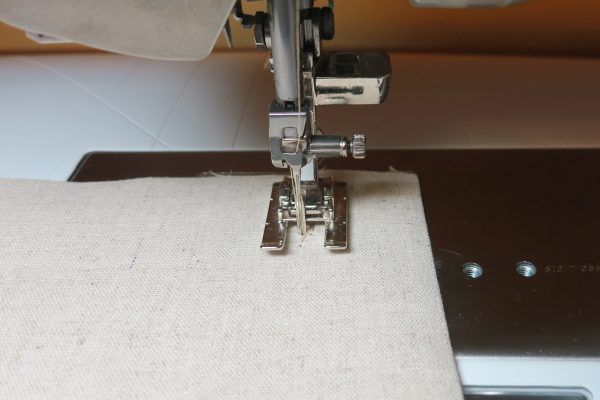
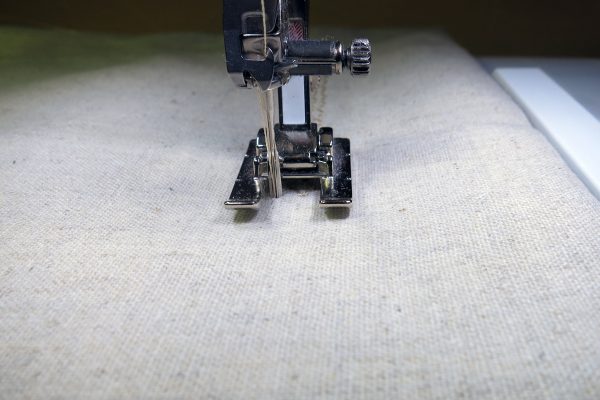
Step 5: Attach foot #20C/#20D. Don’t forget to tell the machine that you have this foot on
Step 6: Position the fold of the fabric (wrong sides together) next to the outside right edge of the stitch plate and stitch parallel to the folded edge (interfaced piece is on top). Repeat on the other flap piece.
Note: I turned off my beginning and ending securing stiches. This line of stitching is going to be crossed by another, so it didn’t need the additional securing stitches.
Putting it All Together
Step 1: Place the pillow front right side up on your work surface.
Step 2: Place the flaps so that they overlap vertically in the middle and the raw edges are even. Pin everything in place around the edges. You should only see ONE of the hemstitching lines.
Step 3: Stitch around the pillow with a ½” seam allowance using the Microtex 80/12 needle and #20C/#20D foot.
Step 4: Turn the pillow right side out and press well. HINT: Clip the corners to reduce bulk. Use a point turner to gently push out the corners.
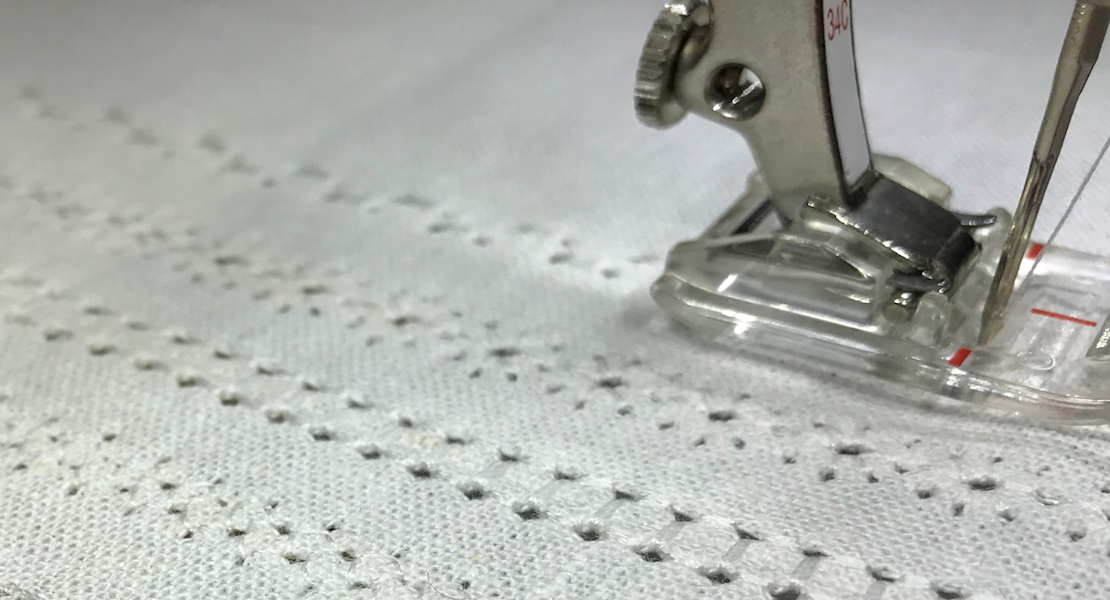
Step 5: Reinstall the wing needle. Select the Honeycomb stitch, #8.
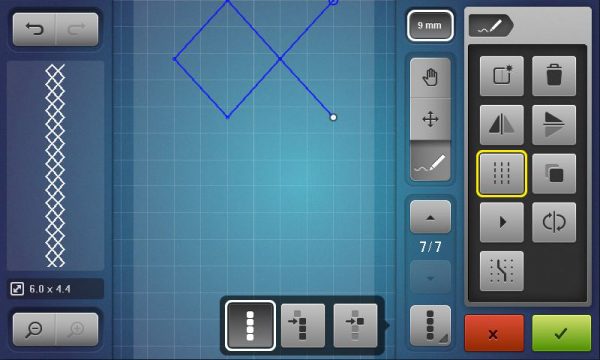
Step 6: To make a heavier looking stitch we are going to use Stitch Designer. Click on the Stitch Designer icon.
Step 7: Select all and convert to a Triple Stitch. Touch the Green Check to confirm.
Step 8: Change the Stitch Width and Stitch Length to 7.0. You might want to do a practice stitch on scrap linen to see how it looks.
Step 9: Attach the Seam Guide for the Slide-On Table. You’ve always wondered what this was for, right? Align it with the 2” mark on the table that is on the right side of the stitch plate.
Step 10: With a wash away or air away marker, mark the 2” point of each corner of the pillow with a dot measuring from the sides, not the corner.
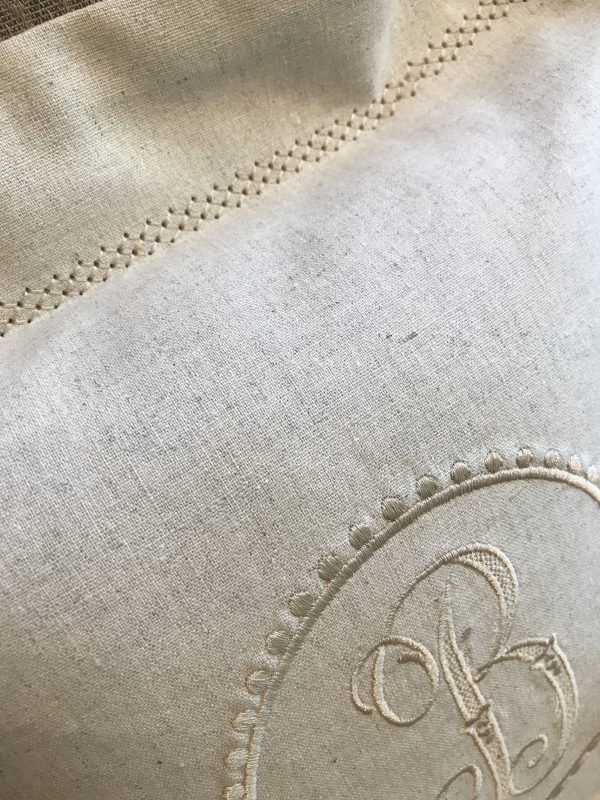
Step 11: Starting at a marked corner, align the edge of the pillow with the seam guide. Stitch down to the next corner mark, turn and continue stitching. Be sure to turn after the completion of a Triple Stitch. You will want to make sure that your machine is set to stop in the Needle Down position so that you don’t lose your place when turning. It is also helpful to have hover activated.
Note: I did not want knots and thread tails showing on the back of my pillow. For a tidier beginning and ending I turned off my beginning securing stitch. I brought up the bobbin thread and gave myself a nice long tail of bobbin and needle thread (there is no fabric under the foot yet). I threaded the bobbin thread on a hand needle and brought it up at the beginning through the dot I had made at one of my corners. I held onto the bobbin and needle thread as I started sewing. When I got close to the end I sewed slowly and watched for the needle to go through one of the beginning holes I had sewn. I brought my needle up, raised the presser foot and pulled the fabric away from the machine. I clipped the upper and lower threads, leaving long bobbin and needle tails. Using a hand needle, I took all the threads to the back, knotted and buried in my fabric. No knots showing and no thread tails!
Extra Note: Before you start stitching the honeycomb stitch around your pillow, be sure that you have a bobbin that is at least 25% full. It is not fun to run out in the middle. Or when you are ALMOST done!
Last Step
Insert a 12” pillow form. Done! I hope you enjoyed creating this beautiful and elegant pillow! What else can you embellish with this technique?
What you might also like
2 comments on “Embroidered Hemstitch Pillow”
-
-
My Bernina embroidery machine is QE 750. Does it have the font described in this project. If not where can I get font used on this project?
Leave a Reply
You must be logged in to post a comment.








This is stunning! I’m so excited to make one. Thank you for your concise instructions.