Free Pattern: The Checks Mix Quilt
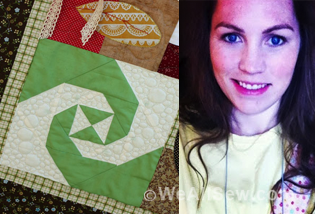
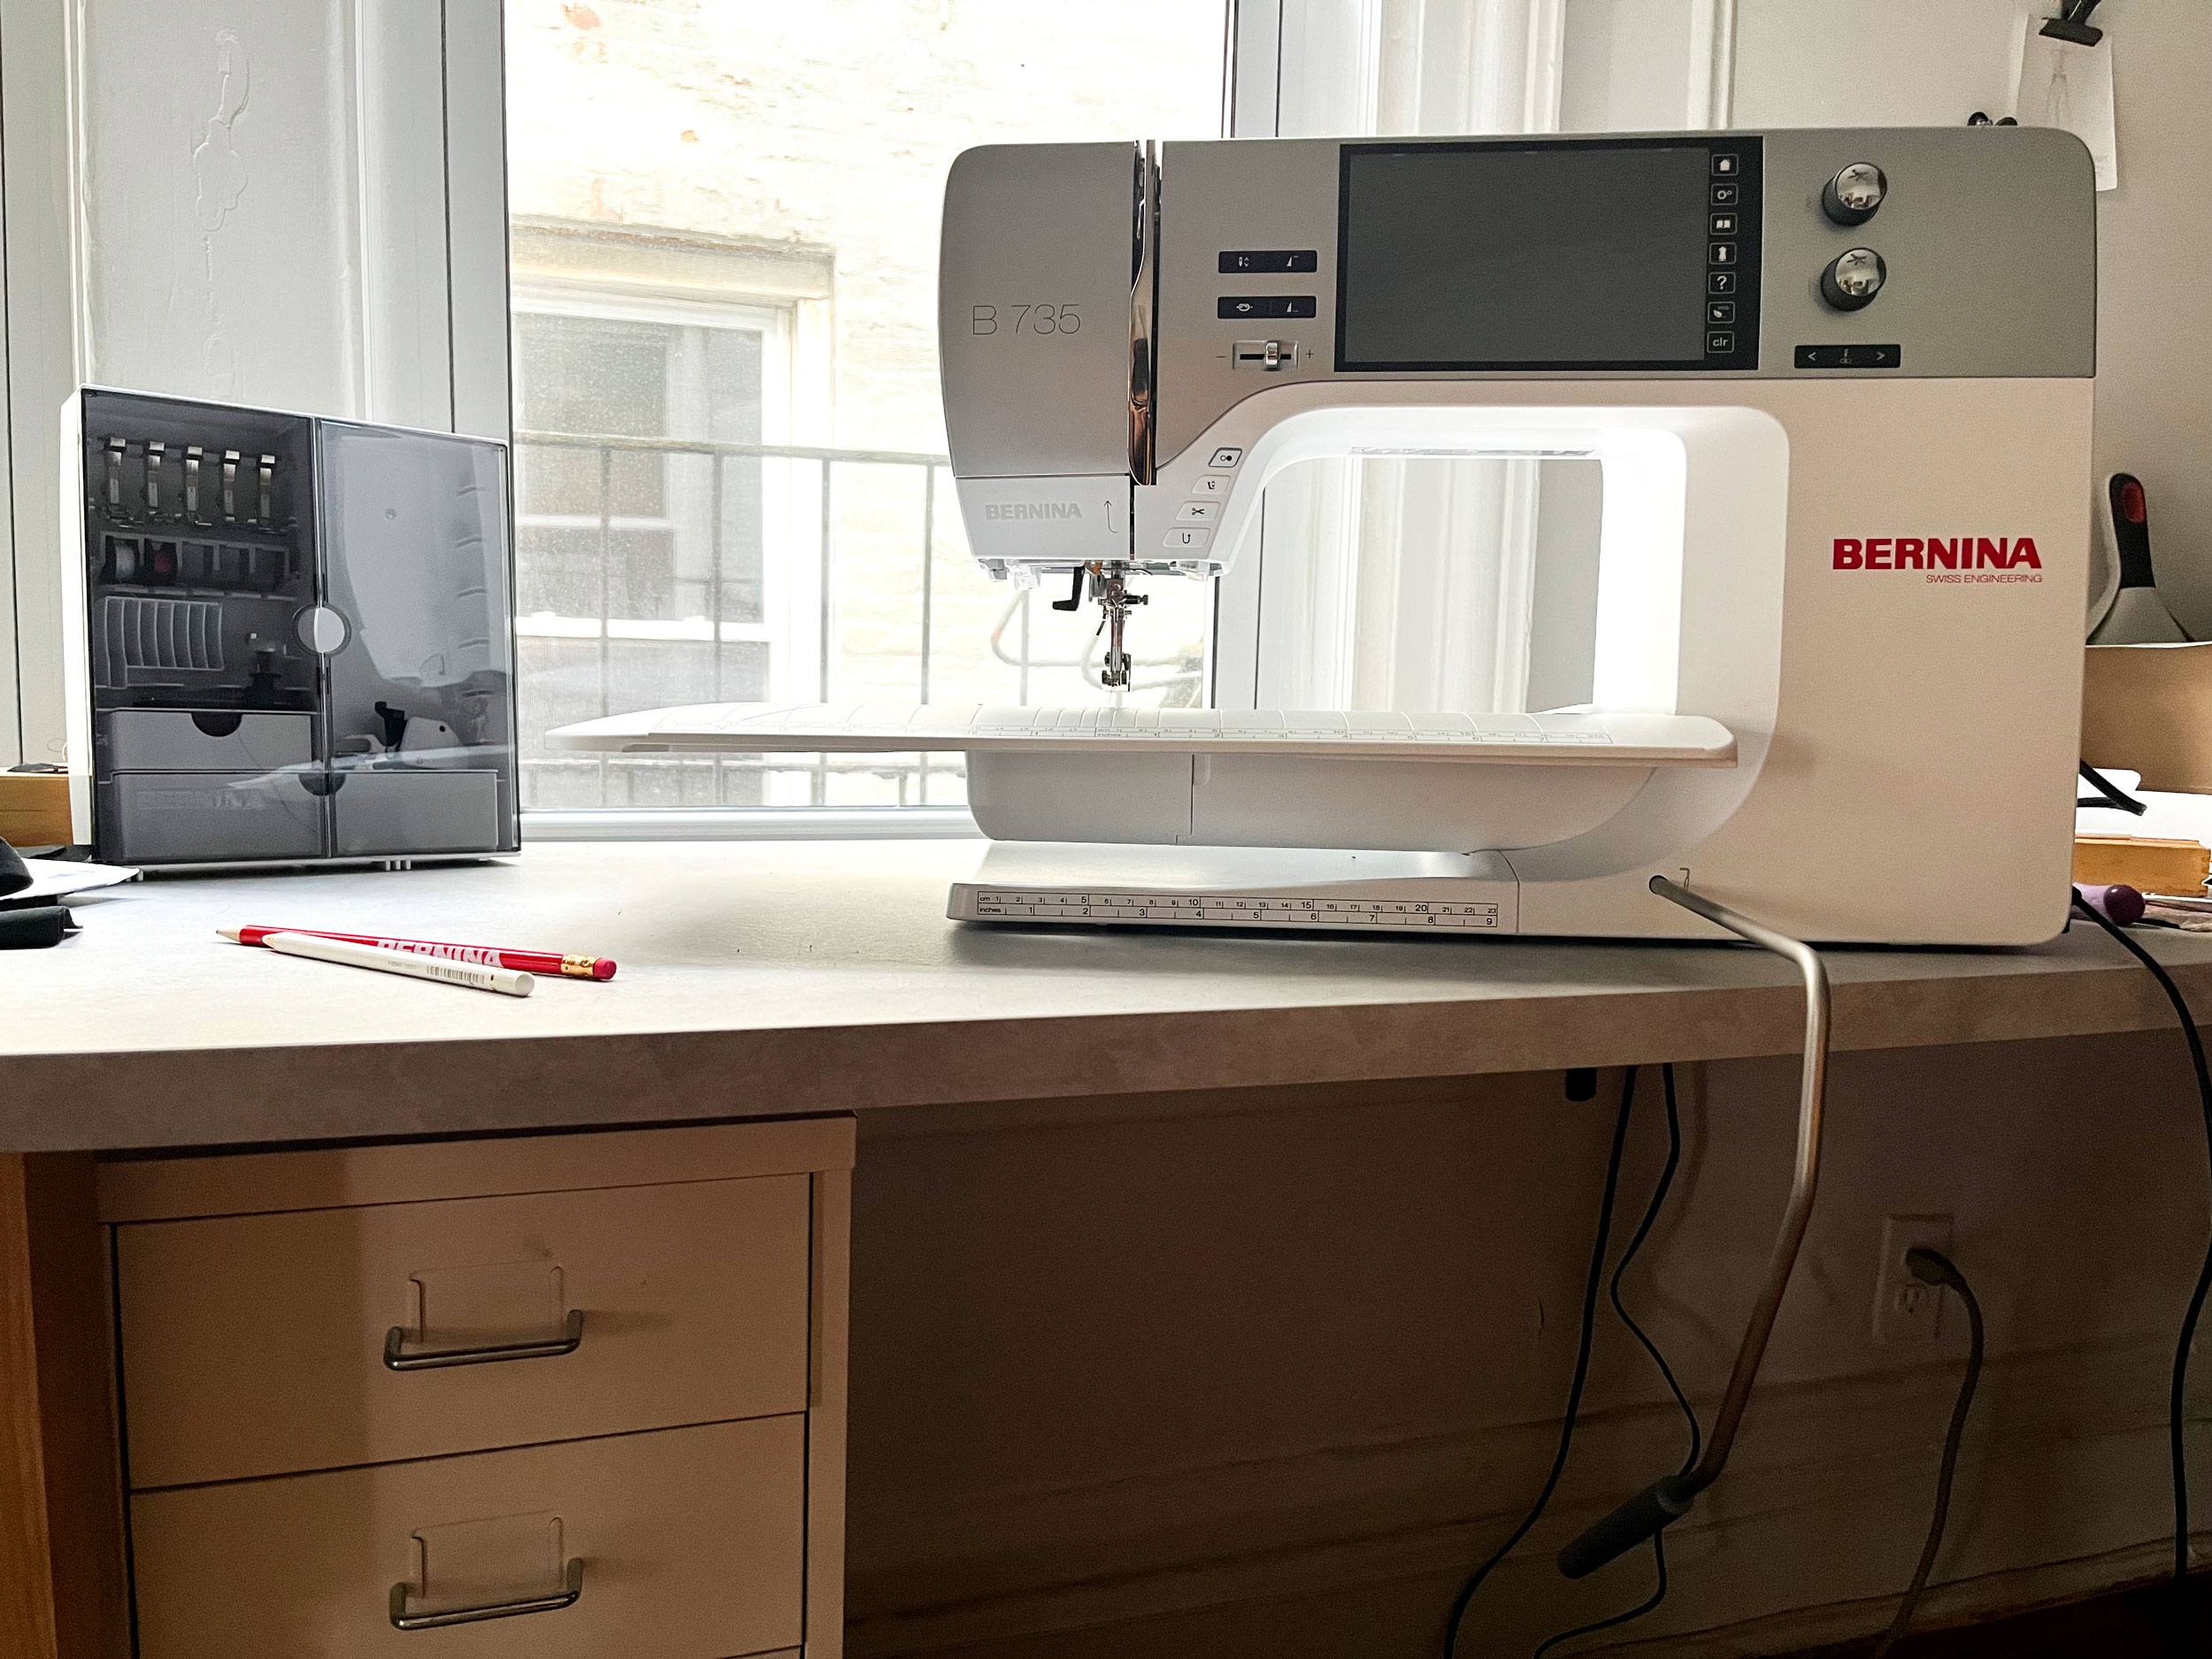
Hi friends, Jaclyn here! I’m a BERNINA Ambassador sewing on the truly exceptional B 735. I’m 8 months into my relationship with this machine, and am enjoying it so much. Typically, I am a “mostly garment sewist” and a “sometimes quilter”, which is why I went for the B 735. I feel like its features are a perfect match for a hybrid sewist like me.
However, this year I am making a lot more quilts than usual. Many of my friends and family members are having babies this year, so I have been very busy sewing up quilts for the people I love. I’ve been documenting the design process of these various quilts over on my Instagram (I’m @jaclynsalem over there), and while sewing these up, many of you fell in love with one in particular and asked if I could turn it into a pattern. So by popular demand, I present to you: the Checks Mix quilt! (And shout out to everyone who submitted name suggestions for me).

About Checks Mix
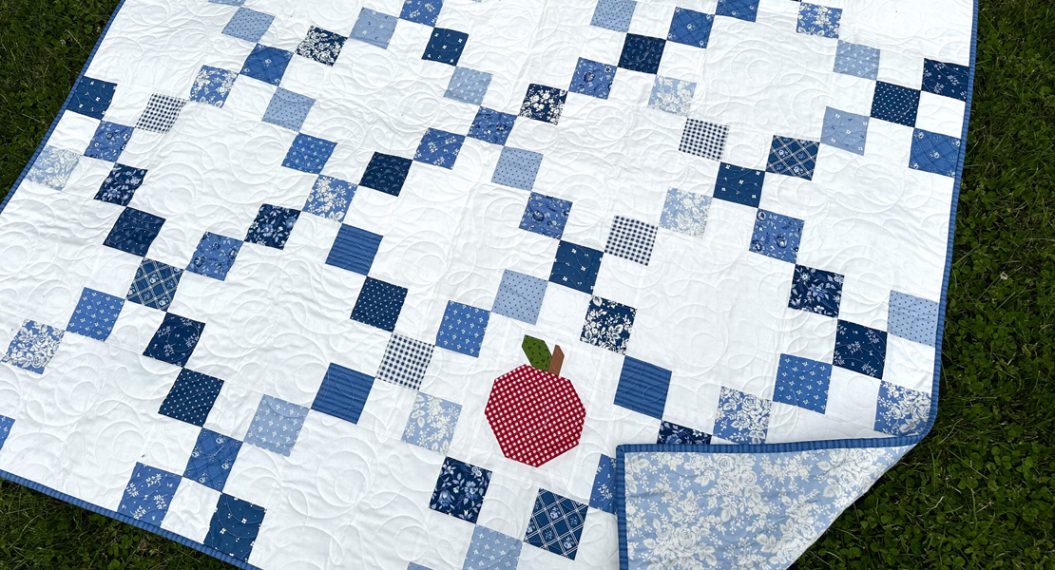
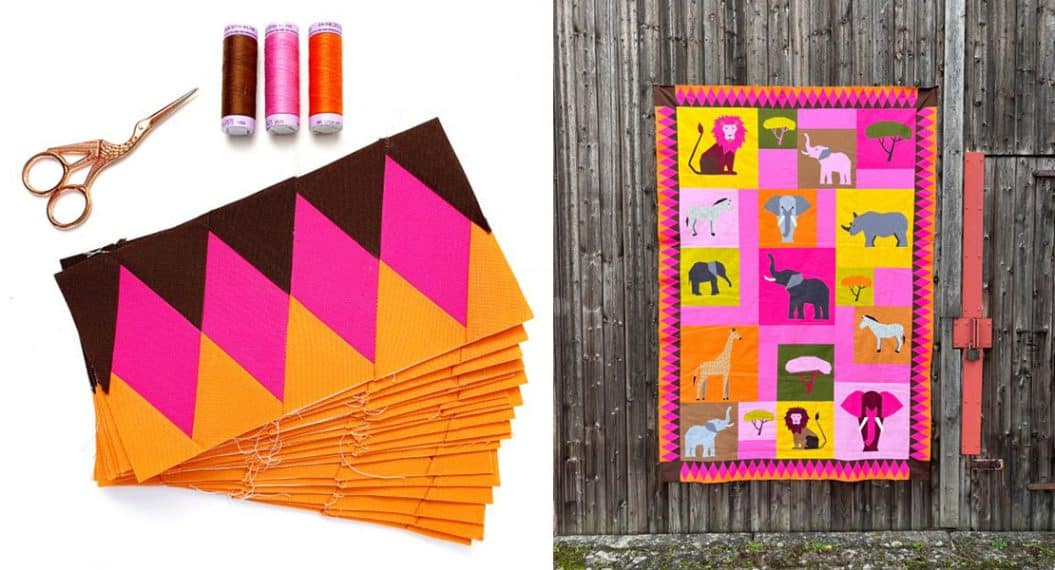
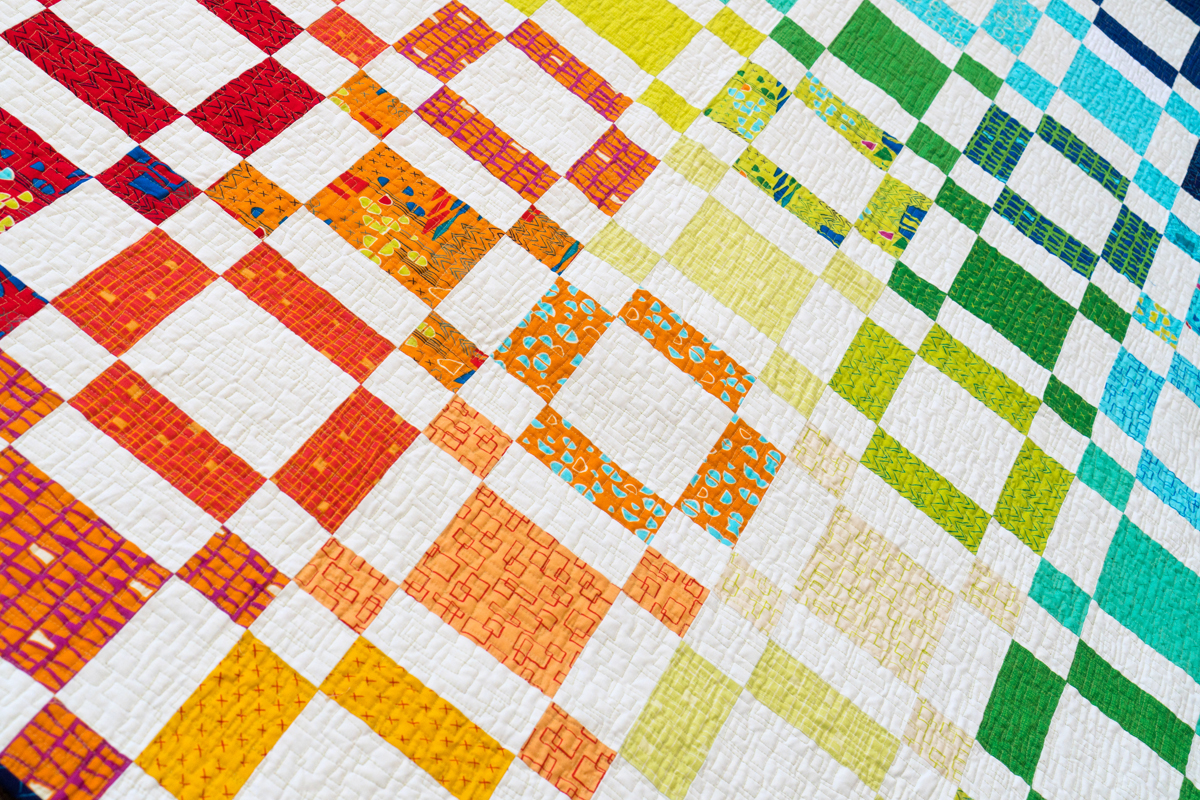
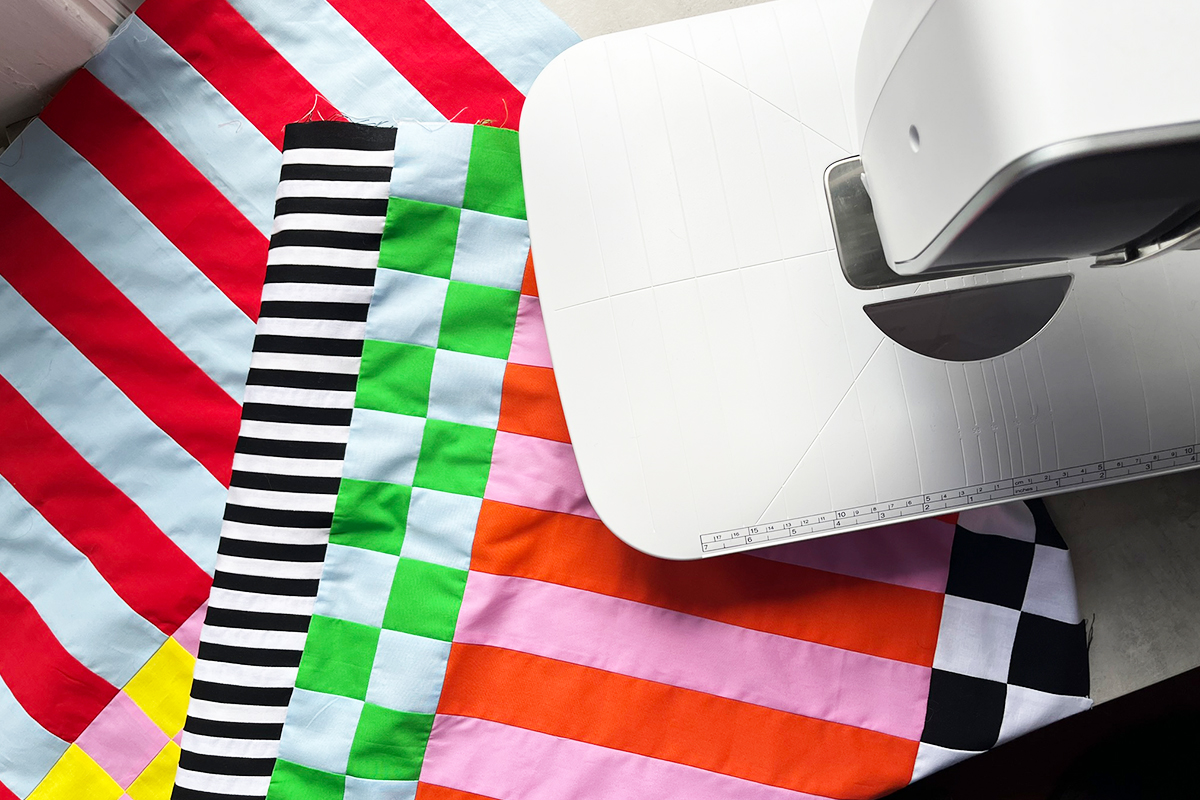
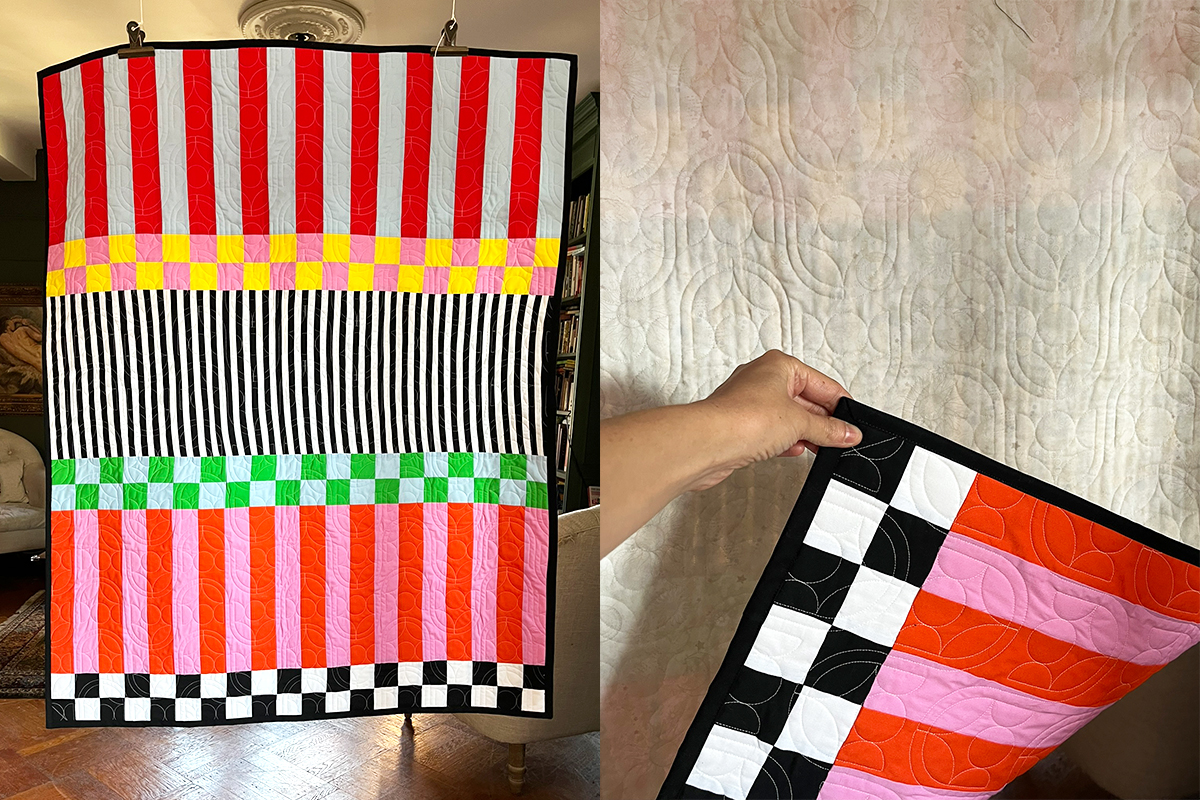
Checks Mix is a 39″ x 48″ quilt, and the thing that makes it special is the color play. It was inspired by a variety of textiles, rugs, paintings, and color combinations that I loved. Take a look at the inspiration below:
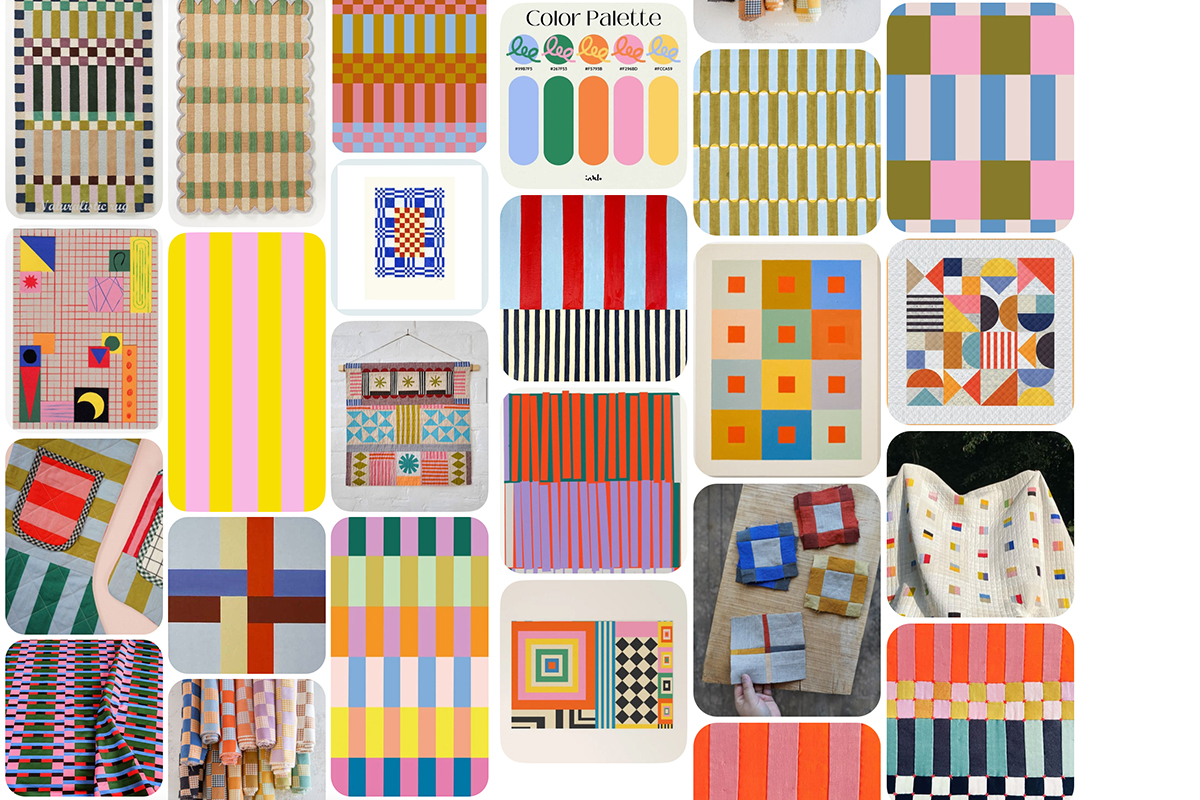
The design that I ended up with features eight bold colors. The colors are intentionally laid out in such a way that there is repetition of some colors to ground the design, yet also sections where colors are used only once for visual interest. Scale is utilized in a similar way; the sections are all proportional to one another, which adds subtle, yet necessary stability to such a colorful quilt. Although the sample is bold and colorful, I could equally envision a beautiful version in neutrals, too. Your color palette and fabrics are the stars here. It creates space to make it your own. In the downloadable PDF, I’ve included a coloring sheet for you to experiment with your own palette. (Just keep in mind that the listed fabric requirements correspond to the amounts used in the sample, so you may need more or less of a fabric depending on how much you decide to use it.)

Size of the Checks Mix Quilt
This quilt is 39″ x 48″—making it a fabulous size for a crib quilt, wall hanging, pet blanket, etc. But as it’s a very simple design, it’s quite easy to adjust to different sizes. For example, you could decrease the width and make it a table runner. Or for a larger quilt, add additional repeats of the pattern. Or make a few of the original size and cut a quilt coat from it! Many possibilities here. This quilt comes together very quickly because it is entirely strip pieced.
Fabric Requirements
- Fabric 1: 1/2 yd
- Fabric 2: 3/4 yd
- Fabric 3: 3/4 yd
- Fabric 4: 1/4 yd
- Fabric 5: 3/4 yd
- Fabric 6: 3/4 yd
- Fabric 7: 1/4 yd
- Fabric 8: 1/2 yd
- Binding Fabric: 1/2 yd
- Backing Fabric: It depends on how you are quilting it:
- If you are machine quilting it yourself, then you can get by with 1.5 yds of a standard-width quilting fabric.
- If you are sending it out to be longarmed, the top as-designed is 39″ wide. Many quilting fabrics are a standard 43–45″ wide. Typically, longarmers require that backing fabrics be +4″ on every side. So in this case, your options are: 1) reduce the quilt top width, 2) buy an extra wide backing fabric, or 3) piece the backing (requires more fabric)
- Here is a quilting calculator where you can input the quilt’s dimensions, the width of the backing fabric that you are considering, and the amount of overage needed to get a fabric estimate. (LINK)
Construction Method
Seam Allowance
The seam allowance is 1/4″ throughout.
Sections A and E
Cut ten 2.5″ x 12.5″ strips of Fabrics 1, 2, 3, and 8. For section A, sew 20 strips of Fabrics 1 and 2 together (alternating colors), along the long sides. For Section E, sew 20 strips of Fabrics 3 and 8 together along the long sides (alternating colors). Press.
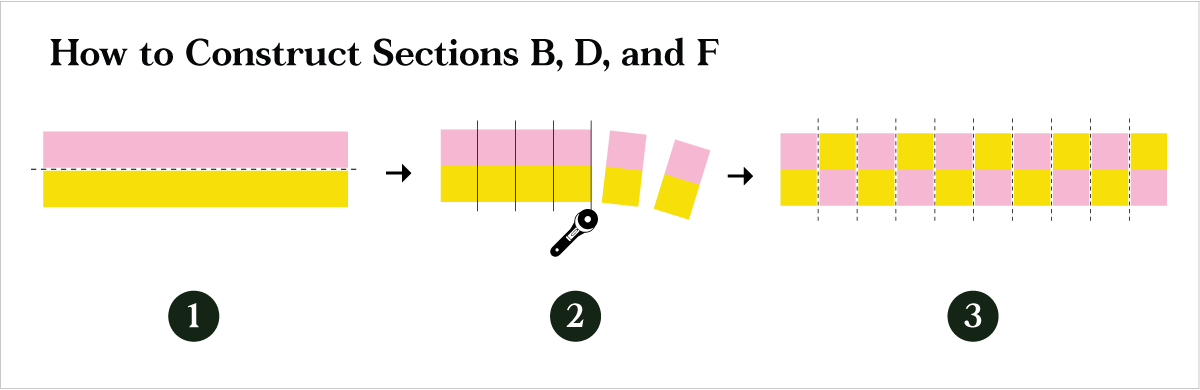
Sections B, D, and F
Cut strips of fabric that are 2.5″ wide x the width of your fabric for Fabrics 2, 3, 4, 5, 6, and 7. For each section: 1) Sew two strips (one of each color) of the section together. 2) Using a rotary cutter, trim the strip set into 2.5″ columns to form several 1×2 components. 3) Rotate every other 1×2 component so that the colors alternate, and then sew them all together to form the full section. Press. See diagram below.
Section C
Cut 80 1″ x 12.5″ strips total: 40 in Fabric 5 and 40 in Fabric 6. Sew strips to one another along the long side with a 1/4″ seam allowance—alternating the colors. Press.
Section C Tip: Take extra care to cut Section C fabrics on grain and stitch with accurate seam allowances. (I recommend using the Patchwork Foot with Guide #57 presser foot for the entirety of the quilt top.) Section C takes the longest by far, but be patient. I personally found that once I finished the section that it ended up quite warped. This made it very tricky to align it to the sections above and below it when sewing all sections together. I had to very aggressively manually stretch and press it, and it was still a problem area. Luckily my longarmer was able to work some magic to smooth it out a bit with quilting, too. Typically I don’t have an issue like this in quilting, so I wanted to flag it as I’m not 100% sure what happened there for me!
Stitch Quilt Top Together
Once all sections are constructed, stitch them to one another in alphabetical order (A-B-C-D-E-F), aligning seams.
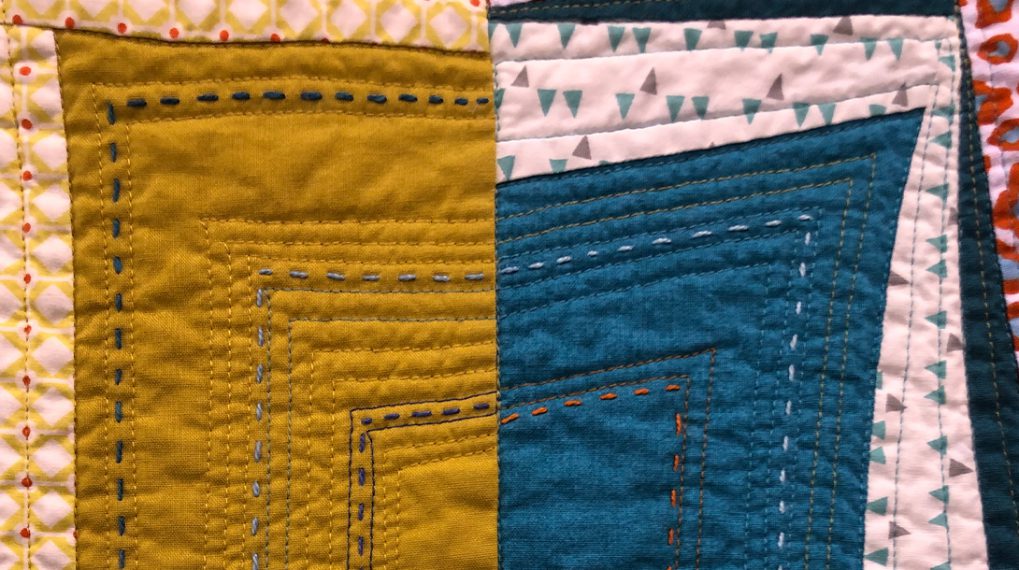
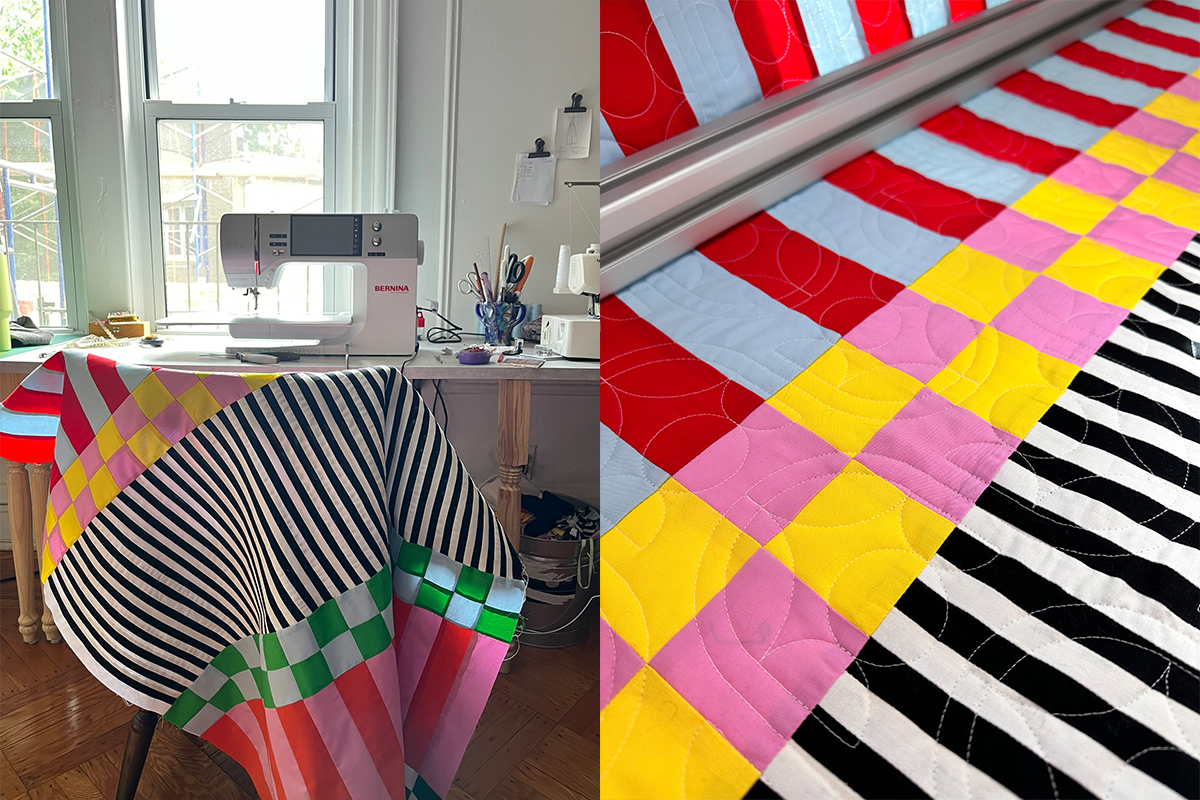
Quilting
Machine quilt as desired or send to a longarmer.
My project was longarmed by fellow BERNINA Ambassador, Jen Sorenson, on the BERNINA Q 24. Jen and I recently co-authored a two-part blog series about how quilters and longarmers collaborate on quilts, so be sure to check those out:
- From Piecing to Perfection: A Quilter’s Perspective
- From Piecing to Perfection: A Longarmer’s Perspective
It was longarmed with a panto called “Petal Wave” by OESD in a white thread.
B 735 Features & Tools for Perfect Quilt Piecing
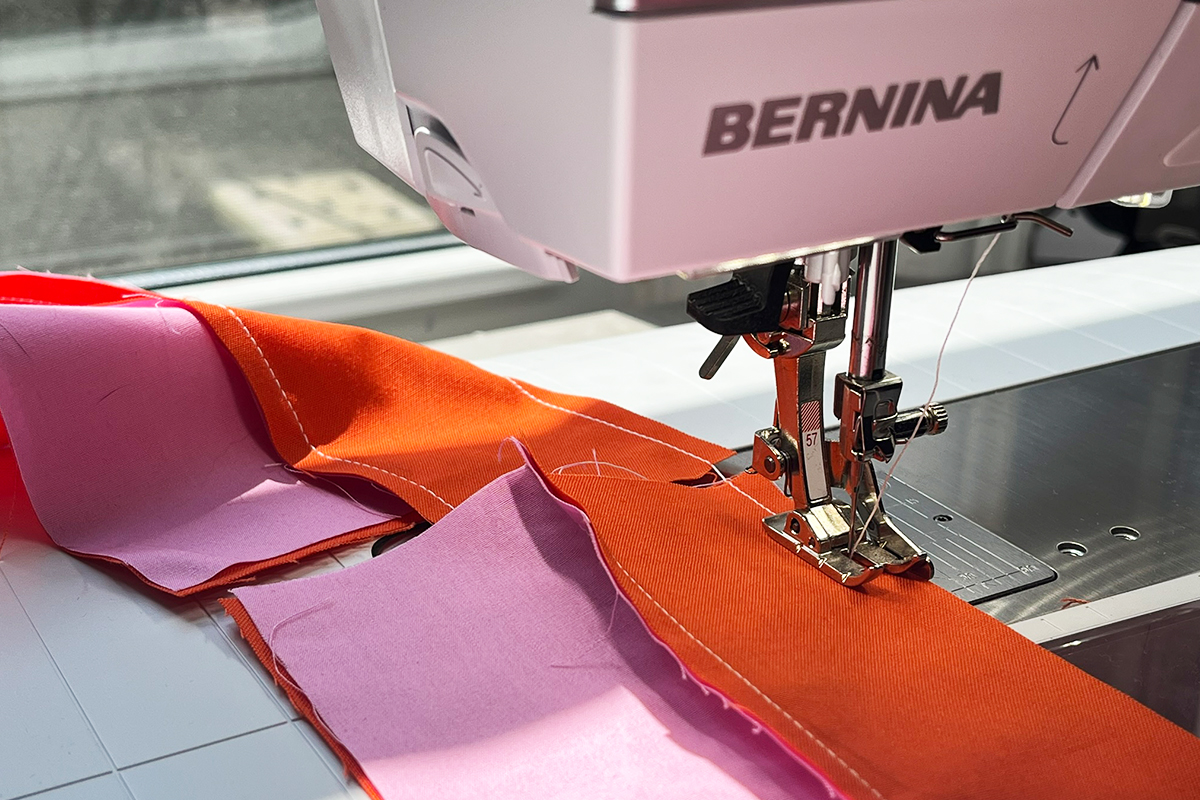
1. Patchwork Foot with Guide #57
This presser foot is my secret weapon for accurate piecing. If I’m piecing a quilt top, then it’s on my machine. The guide on the edge of the foot makes accurate seam allowances a breeze. (And for Section C in particular, you’re gonna want that!)
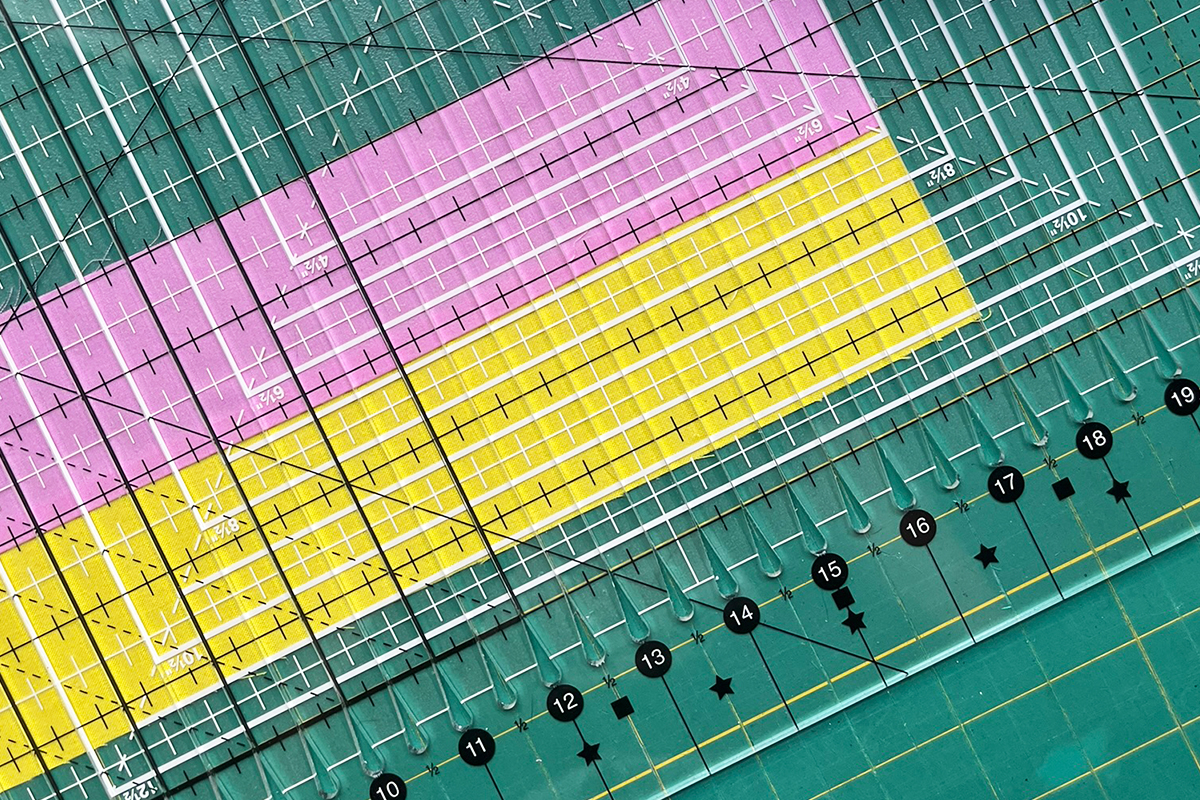
2. Stripology Ruler
I consider this to be one of my best purchases of 2025. Of course, you can cut strips of fabric without it, but the time savings are remarkable. I don’t enjoy cutting out quilts, but accurate cutting is half of the battle for accurate piecing. This ruler has been a game-changer for me.
3. Wool Pressing Mat
Fantastic for pressing extra crispy seams. The wool essentially reflects heat to the back side of whatever you’re pressing. My seams have never looked so gorgeous!
4. B 735 Features
Utilize machine features and settings that make sense for the project and your preferred workflow. On my B 735, that’s the Free-Hand System (FHS) for chain piecing and the back kick on my foot pedal to optimize my speed. Sometimes I turn on the auto-hover feature when piecing larger quilts; however, this one is fairly small, so the FHS does the job! If you’re interested in more productivity hacks, check out my first-ever post for WeAllSew: Finding Time to Sew as a New Mom.
I hope you enjoy the pattern. If you make it, I’d love to see your version! You can connect with me over on Instagram (@jaclynsalem) or YouTube.
Download a copy of the Checks Mix quilt pattern here.