Geometric Hoodie: A Complete Guide
Hello everybody! This is my second Blog post of 2023 and I am thrilled to share this with you! As a Designer, I love to create edgy, futuristic sportswear. In the last few years, dressing comfortably in our daily lives has taken center stage. That does not mean we have to limit ourselves by shopping what is in the stores. This project is perfect for anyone who wants to dive right into fashion sewing or just wants an easy project to get their groove back. I walk you through each step in designing and constructing your own hoodie. This is an advanced beginner-level tutorial.
The easiest way to create a garment from scratch that you do not necessarily want to draft up patterns for is to use an already existing pattern. For today’s tutorial, I picked up McCall’s 8249 from my local fabric store and got right to work. You do not need to use this exact pattern that I am. You just need a hoodie pattern that is either very basic OR one that has design details you love and want to adapt to the design you are thinking of.
Design Process
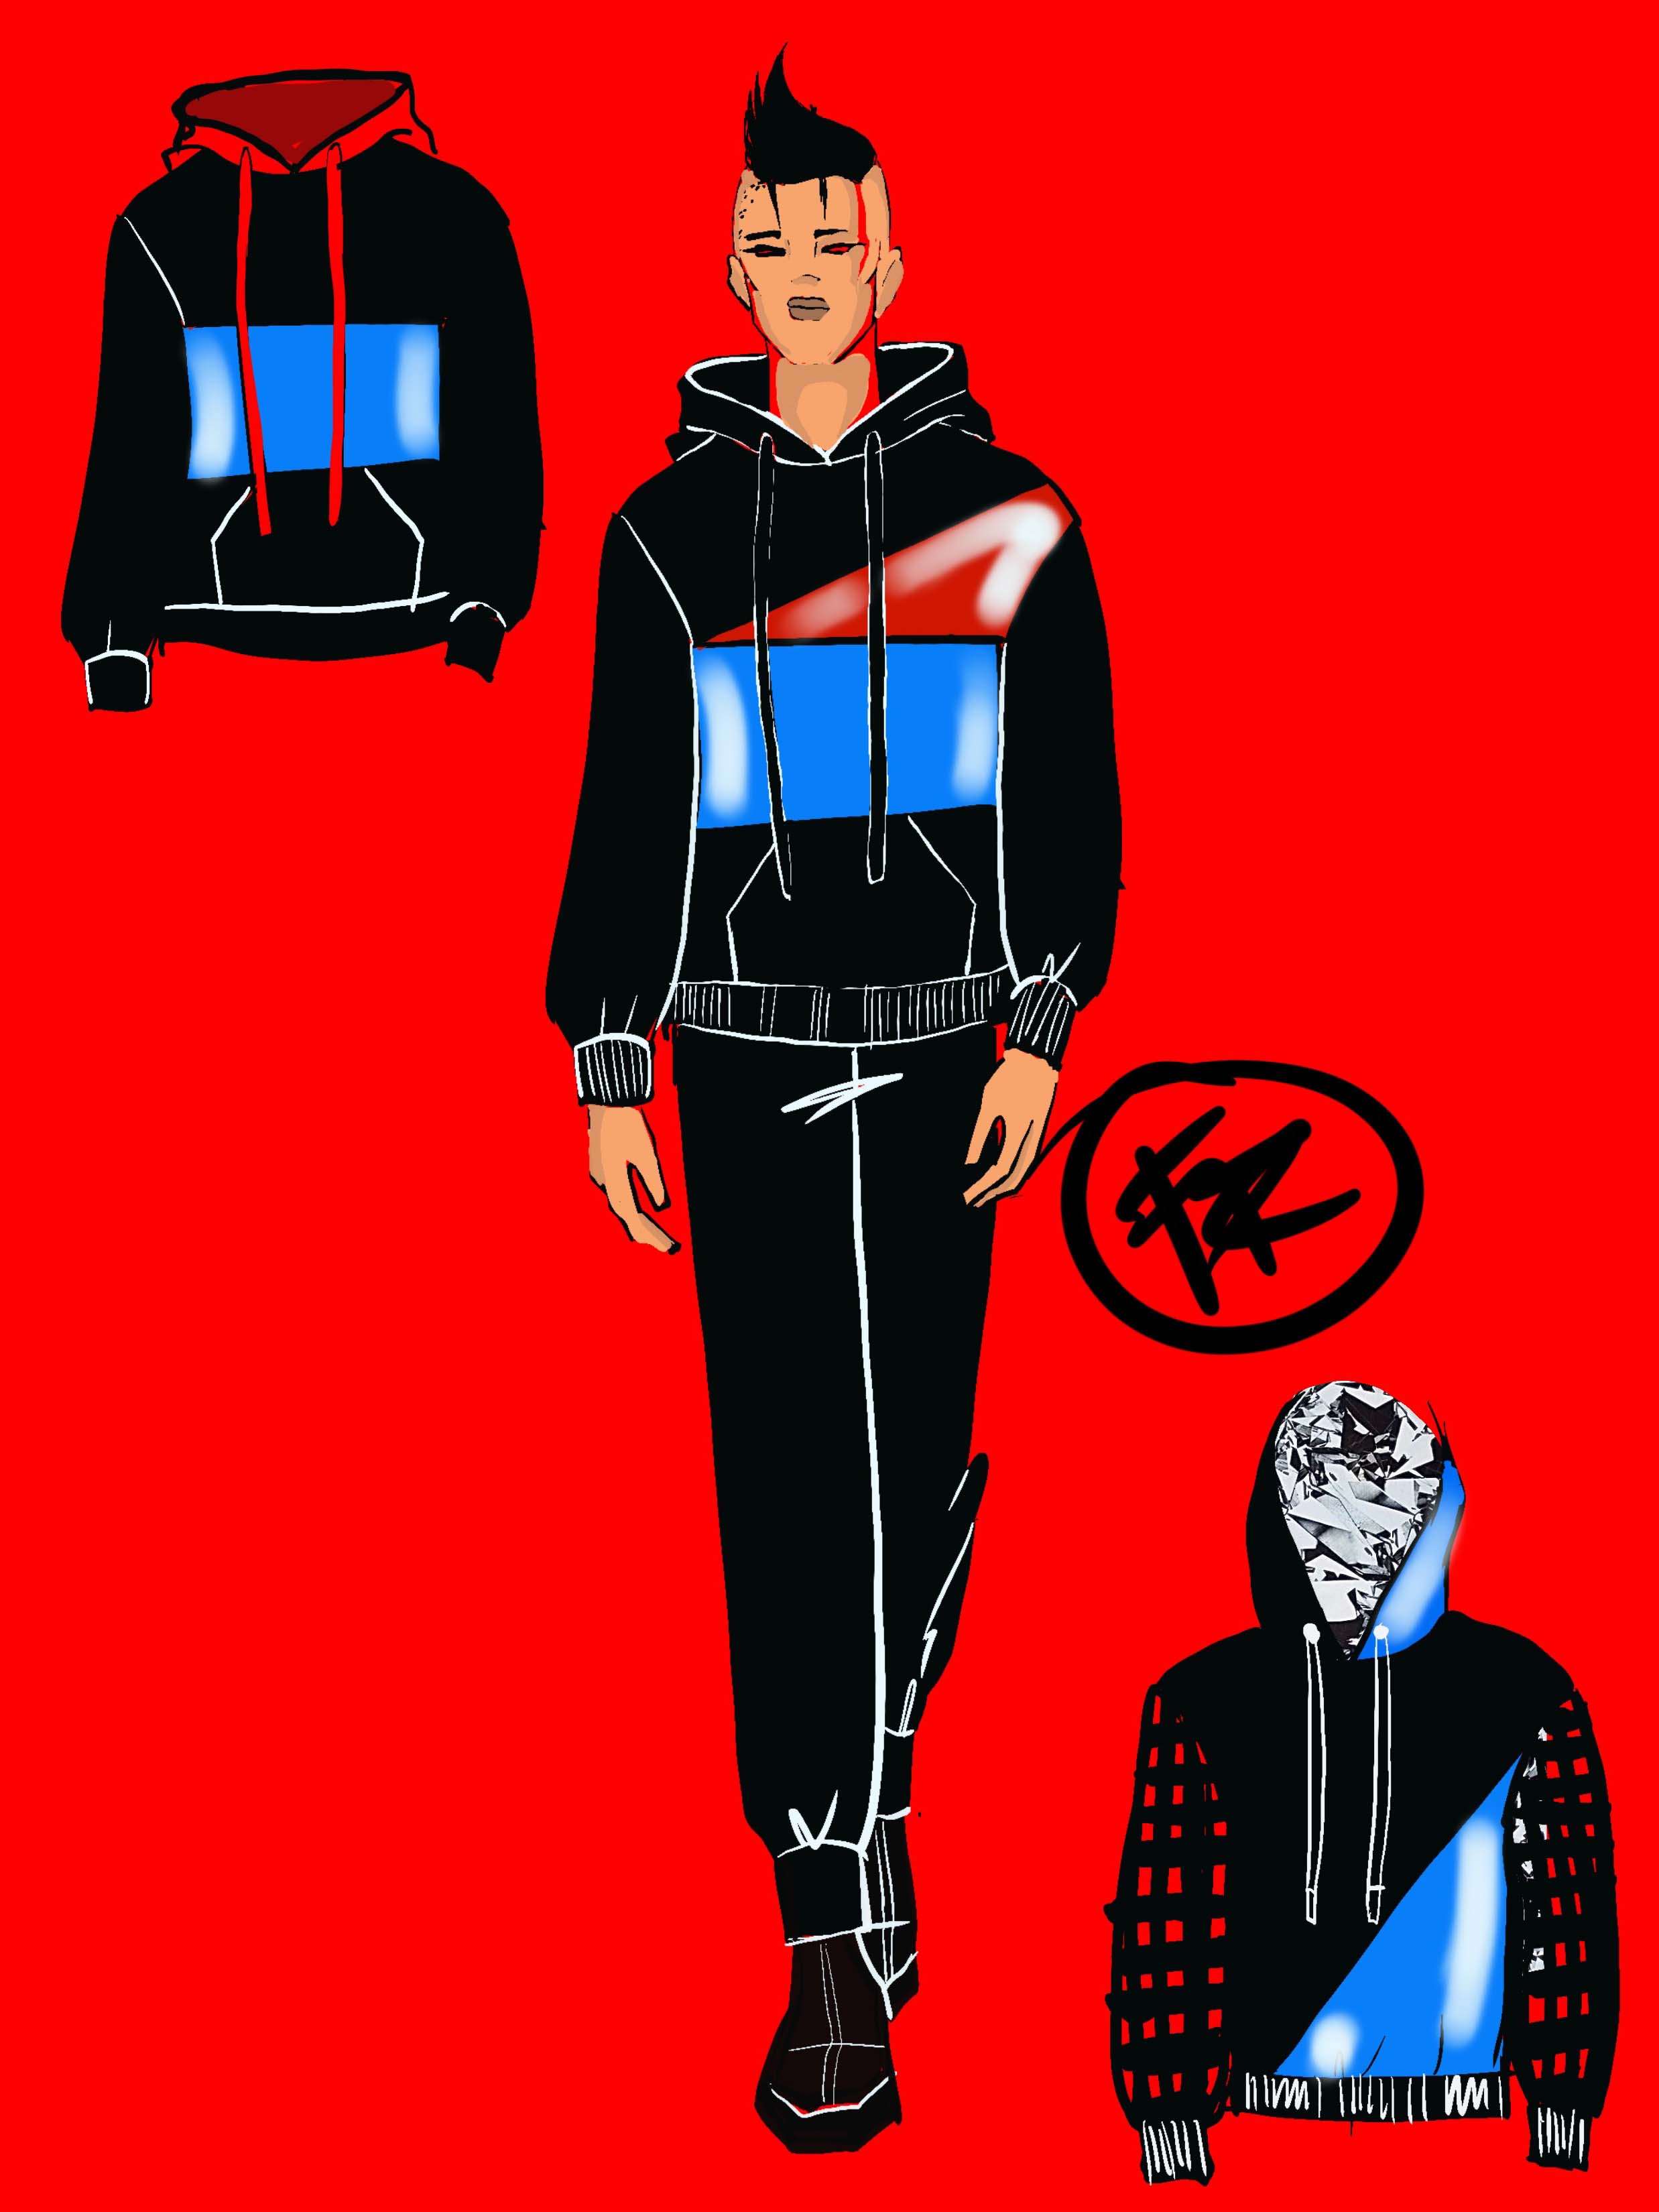
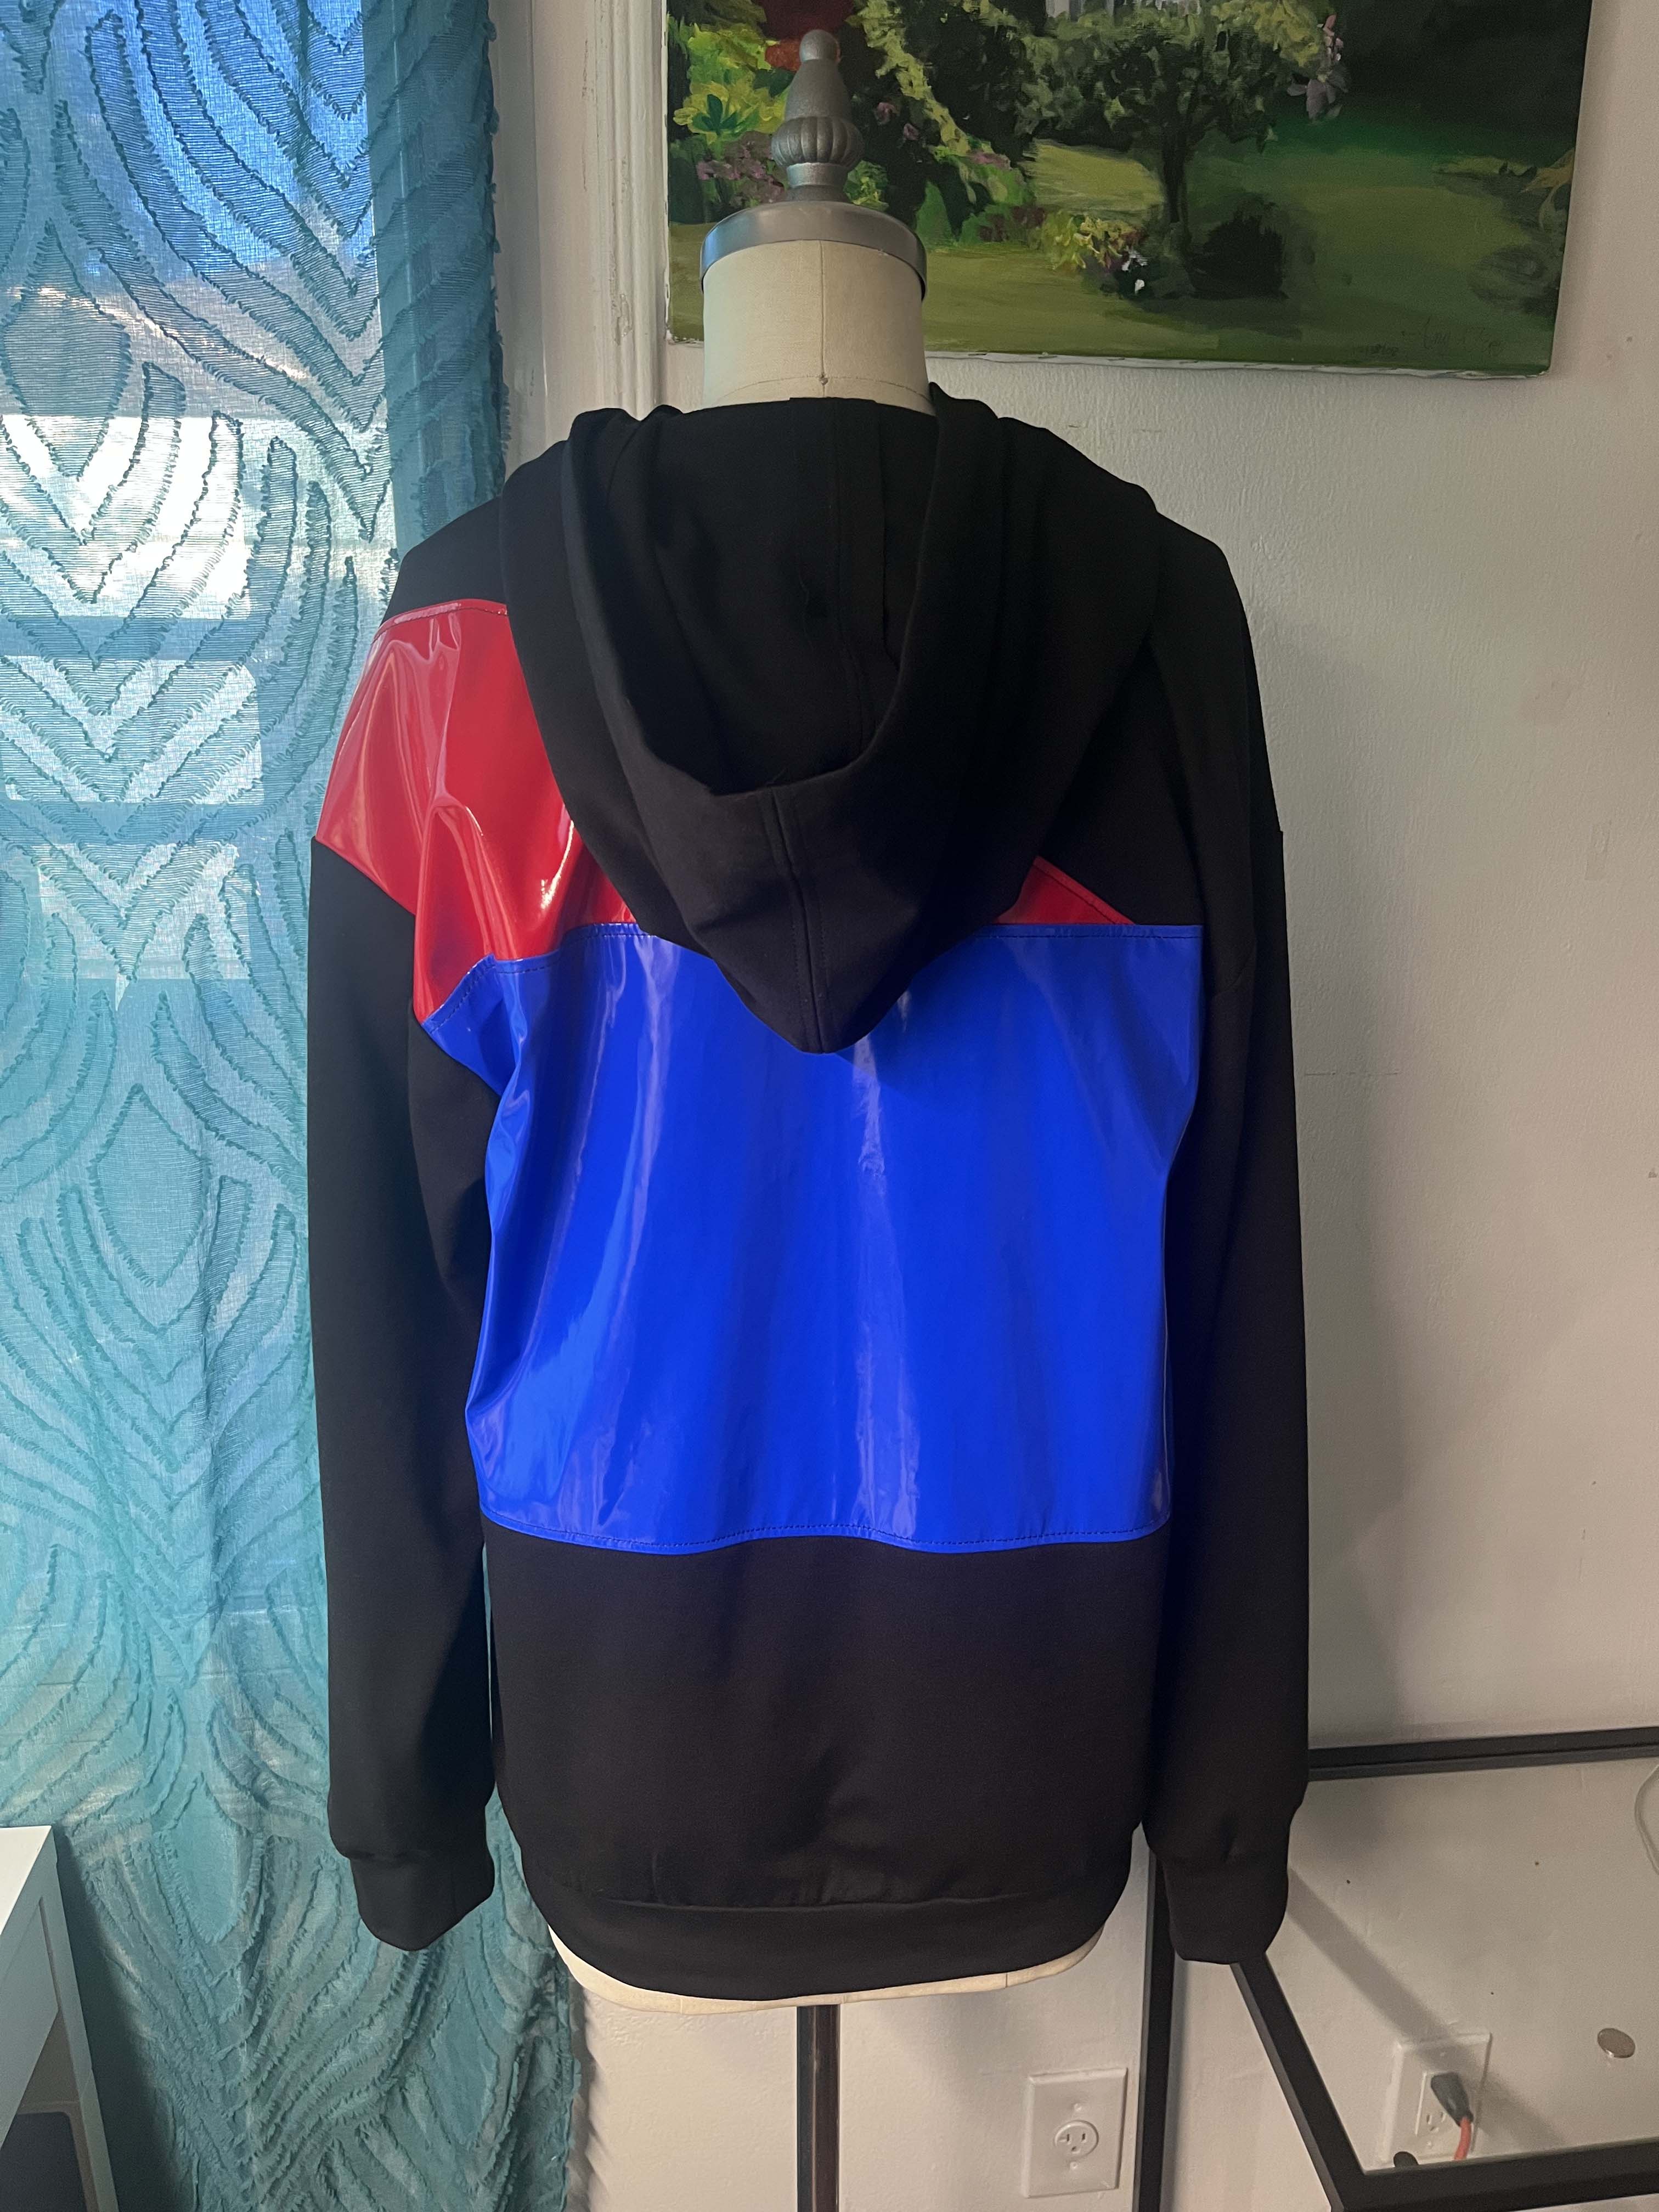
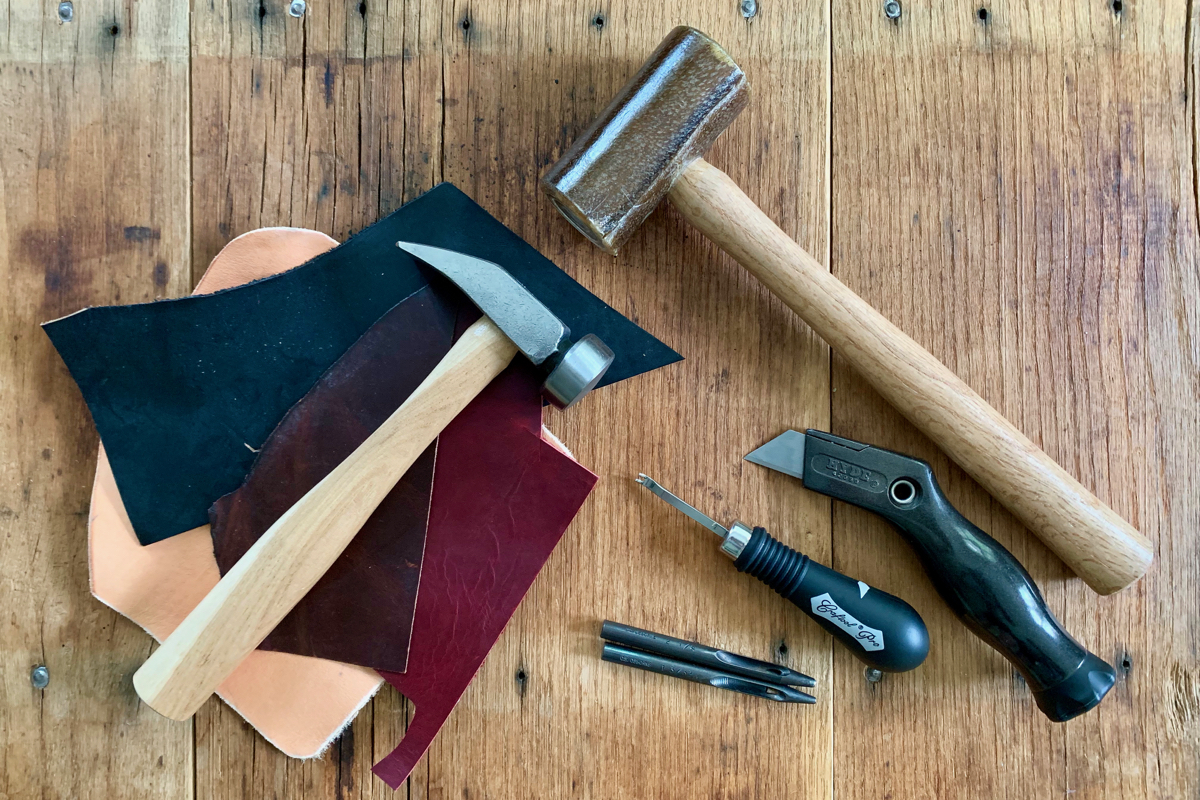
For McCall’s 8249, there was already horizontal color blocking across the front and back. I wanted to keep this detail but add in a diagonal slash of red to both the front and back. I sketched a few different ideas and even thought about using some leftover shattered glass print I had from two collections ago. Using blue and red patent leather was a must as Leather has become a specialty of mine. Selecting a comfortable base fabric for the parts that are not PVC was crucial for the overall look.
Final Results
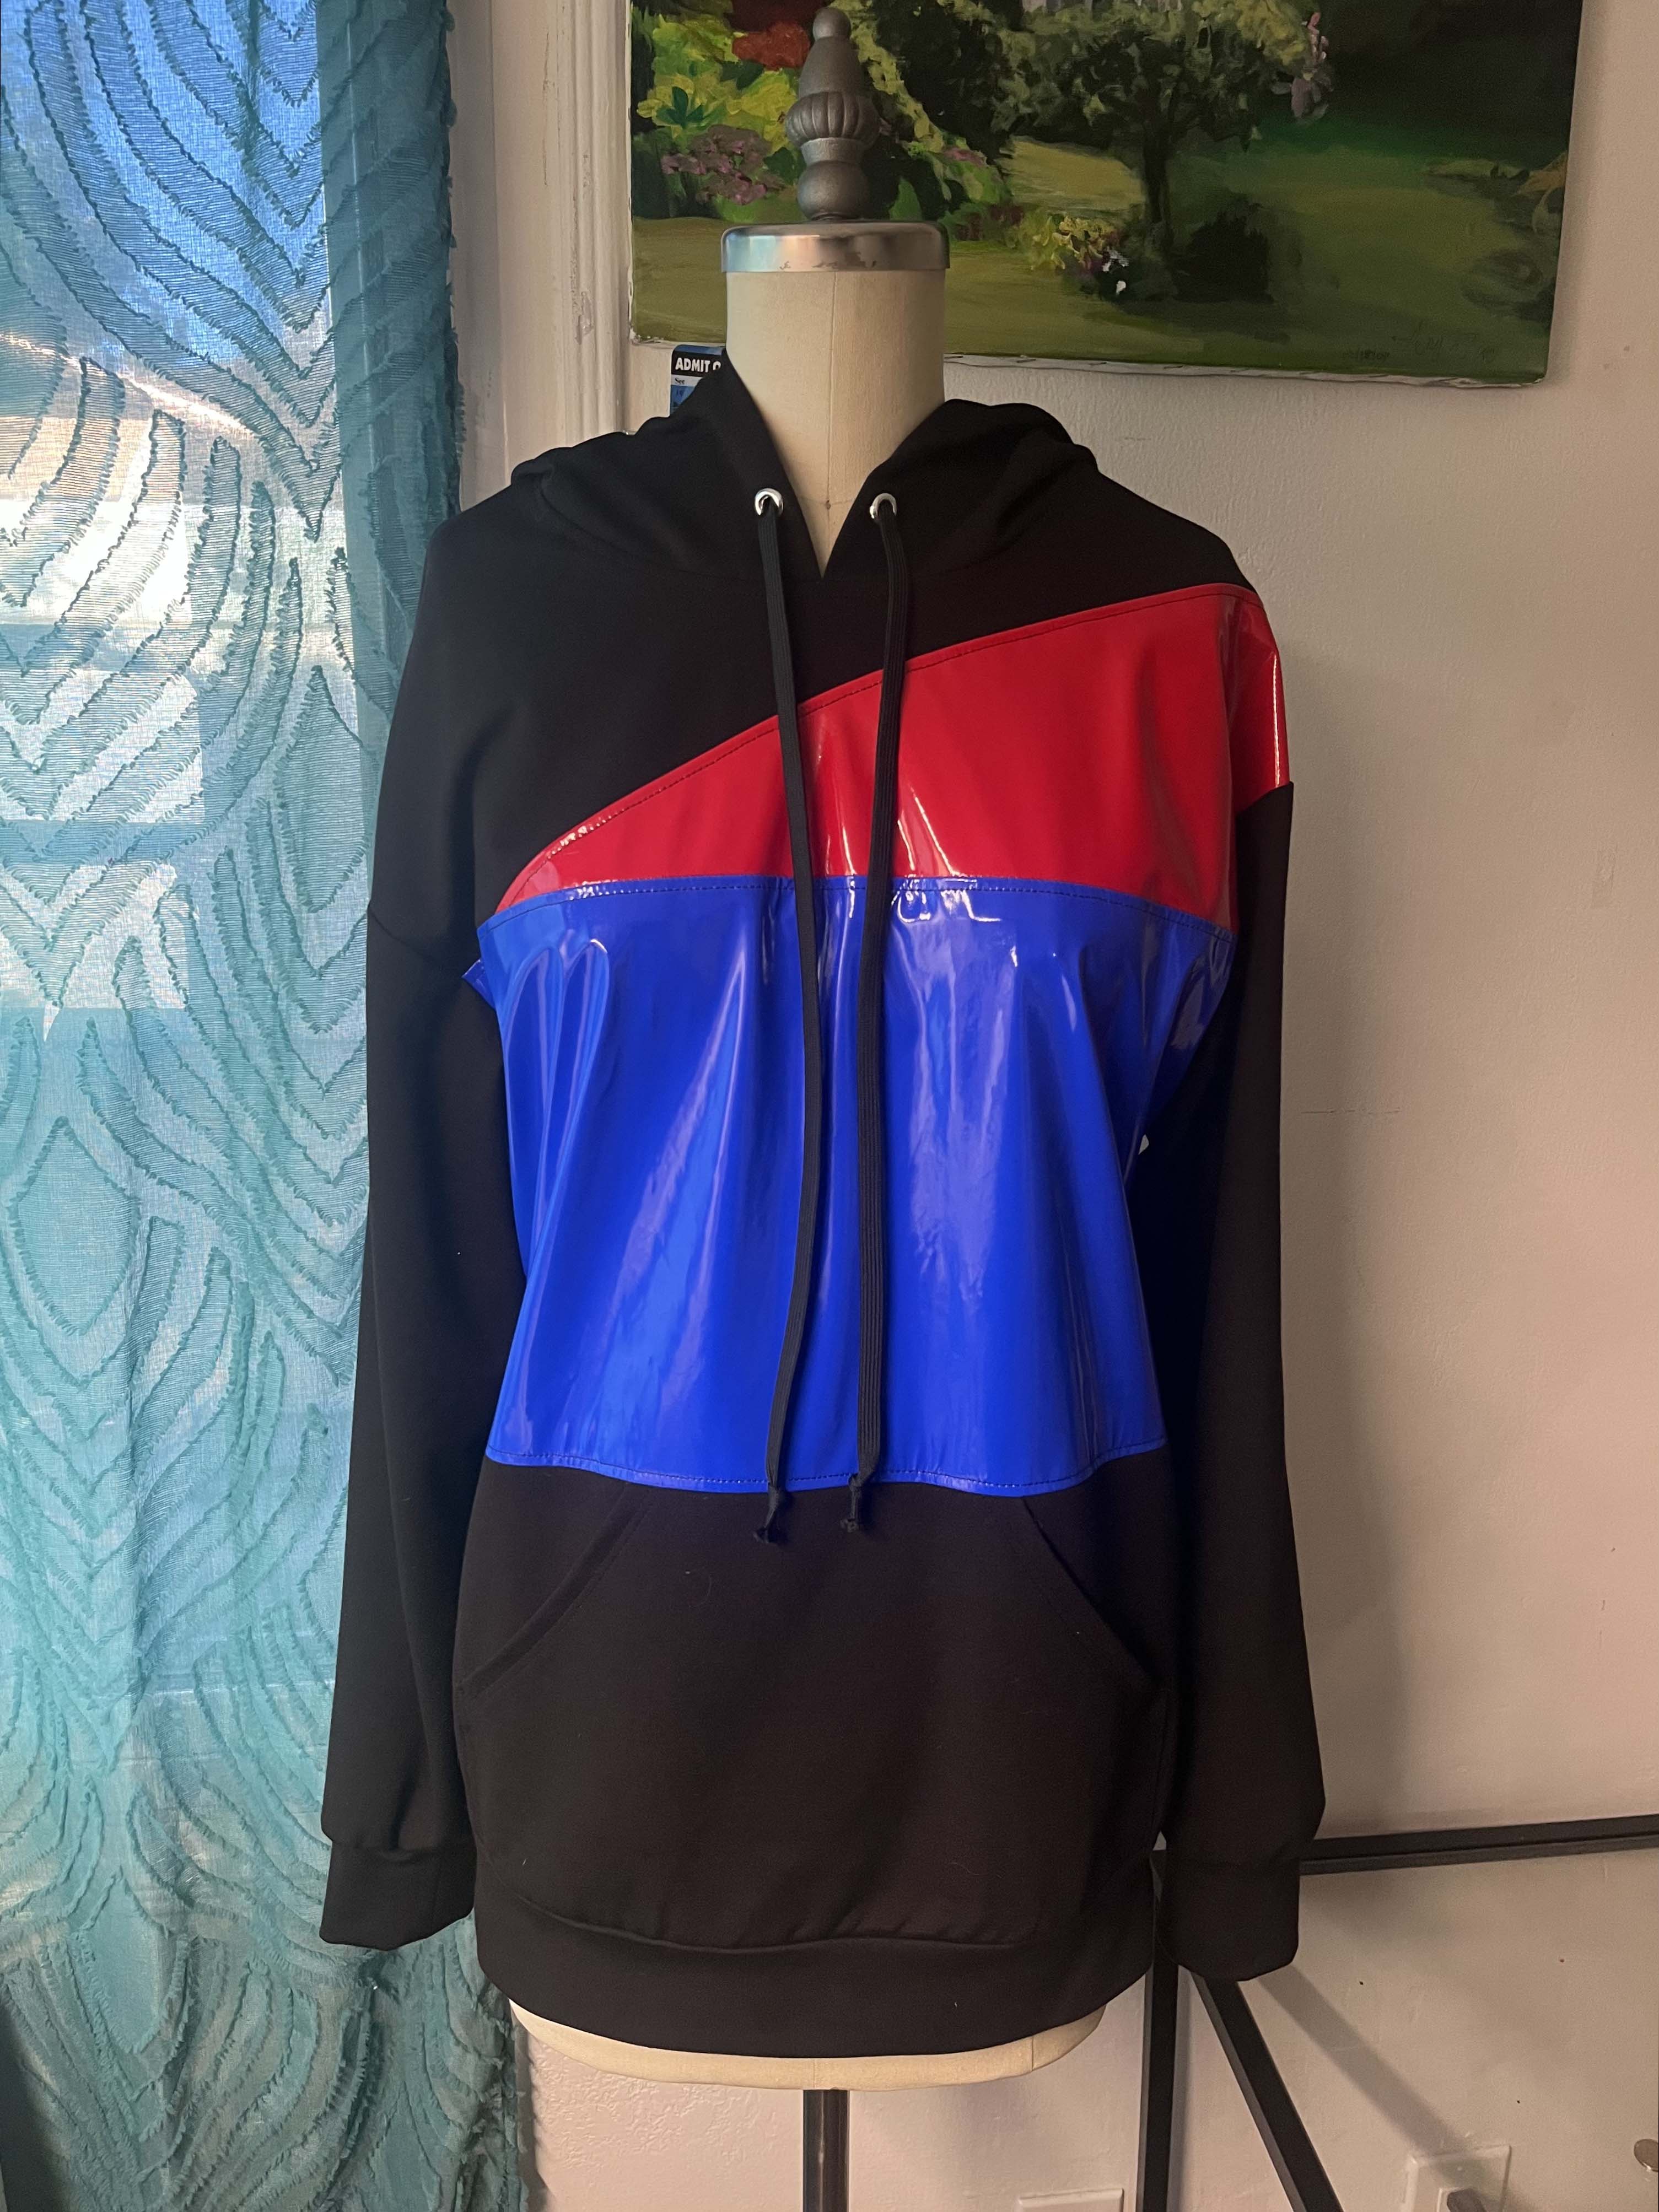
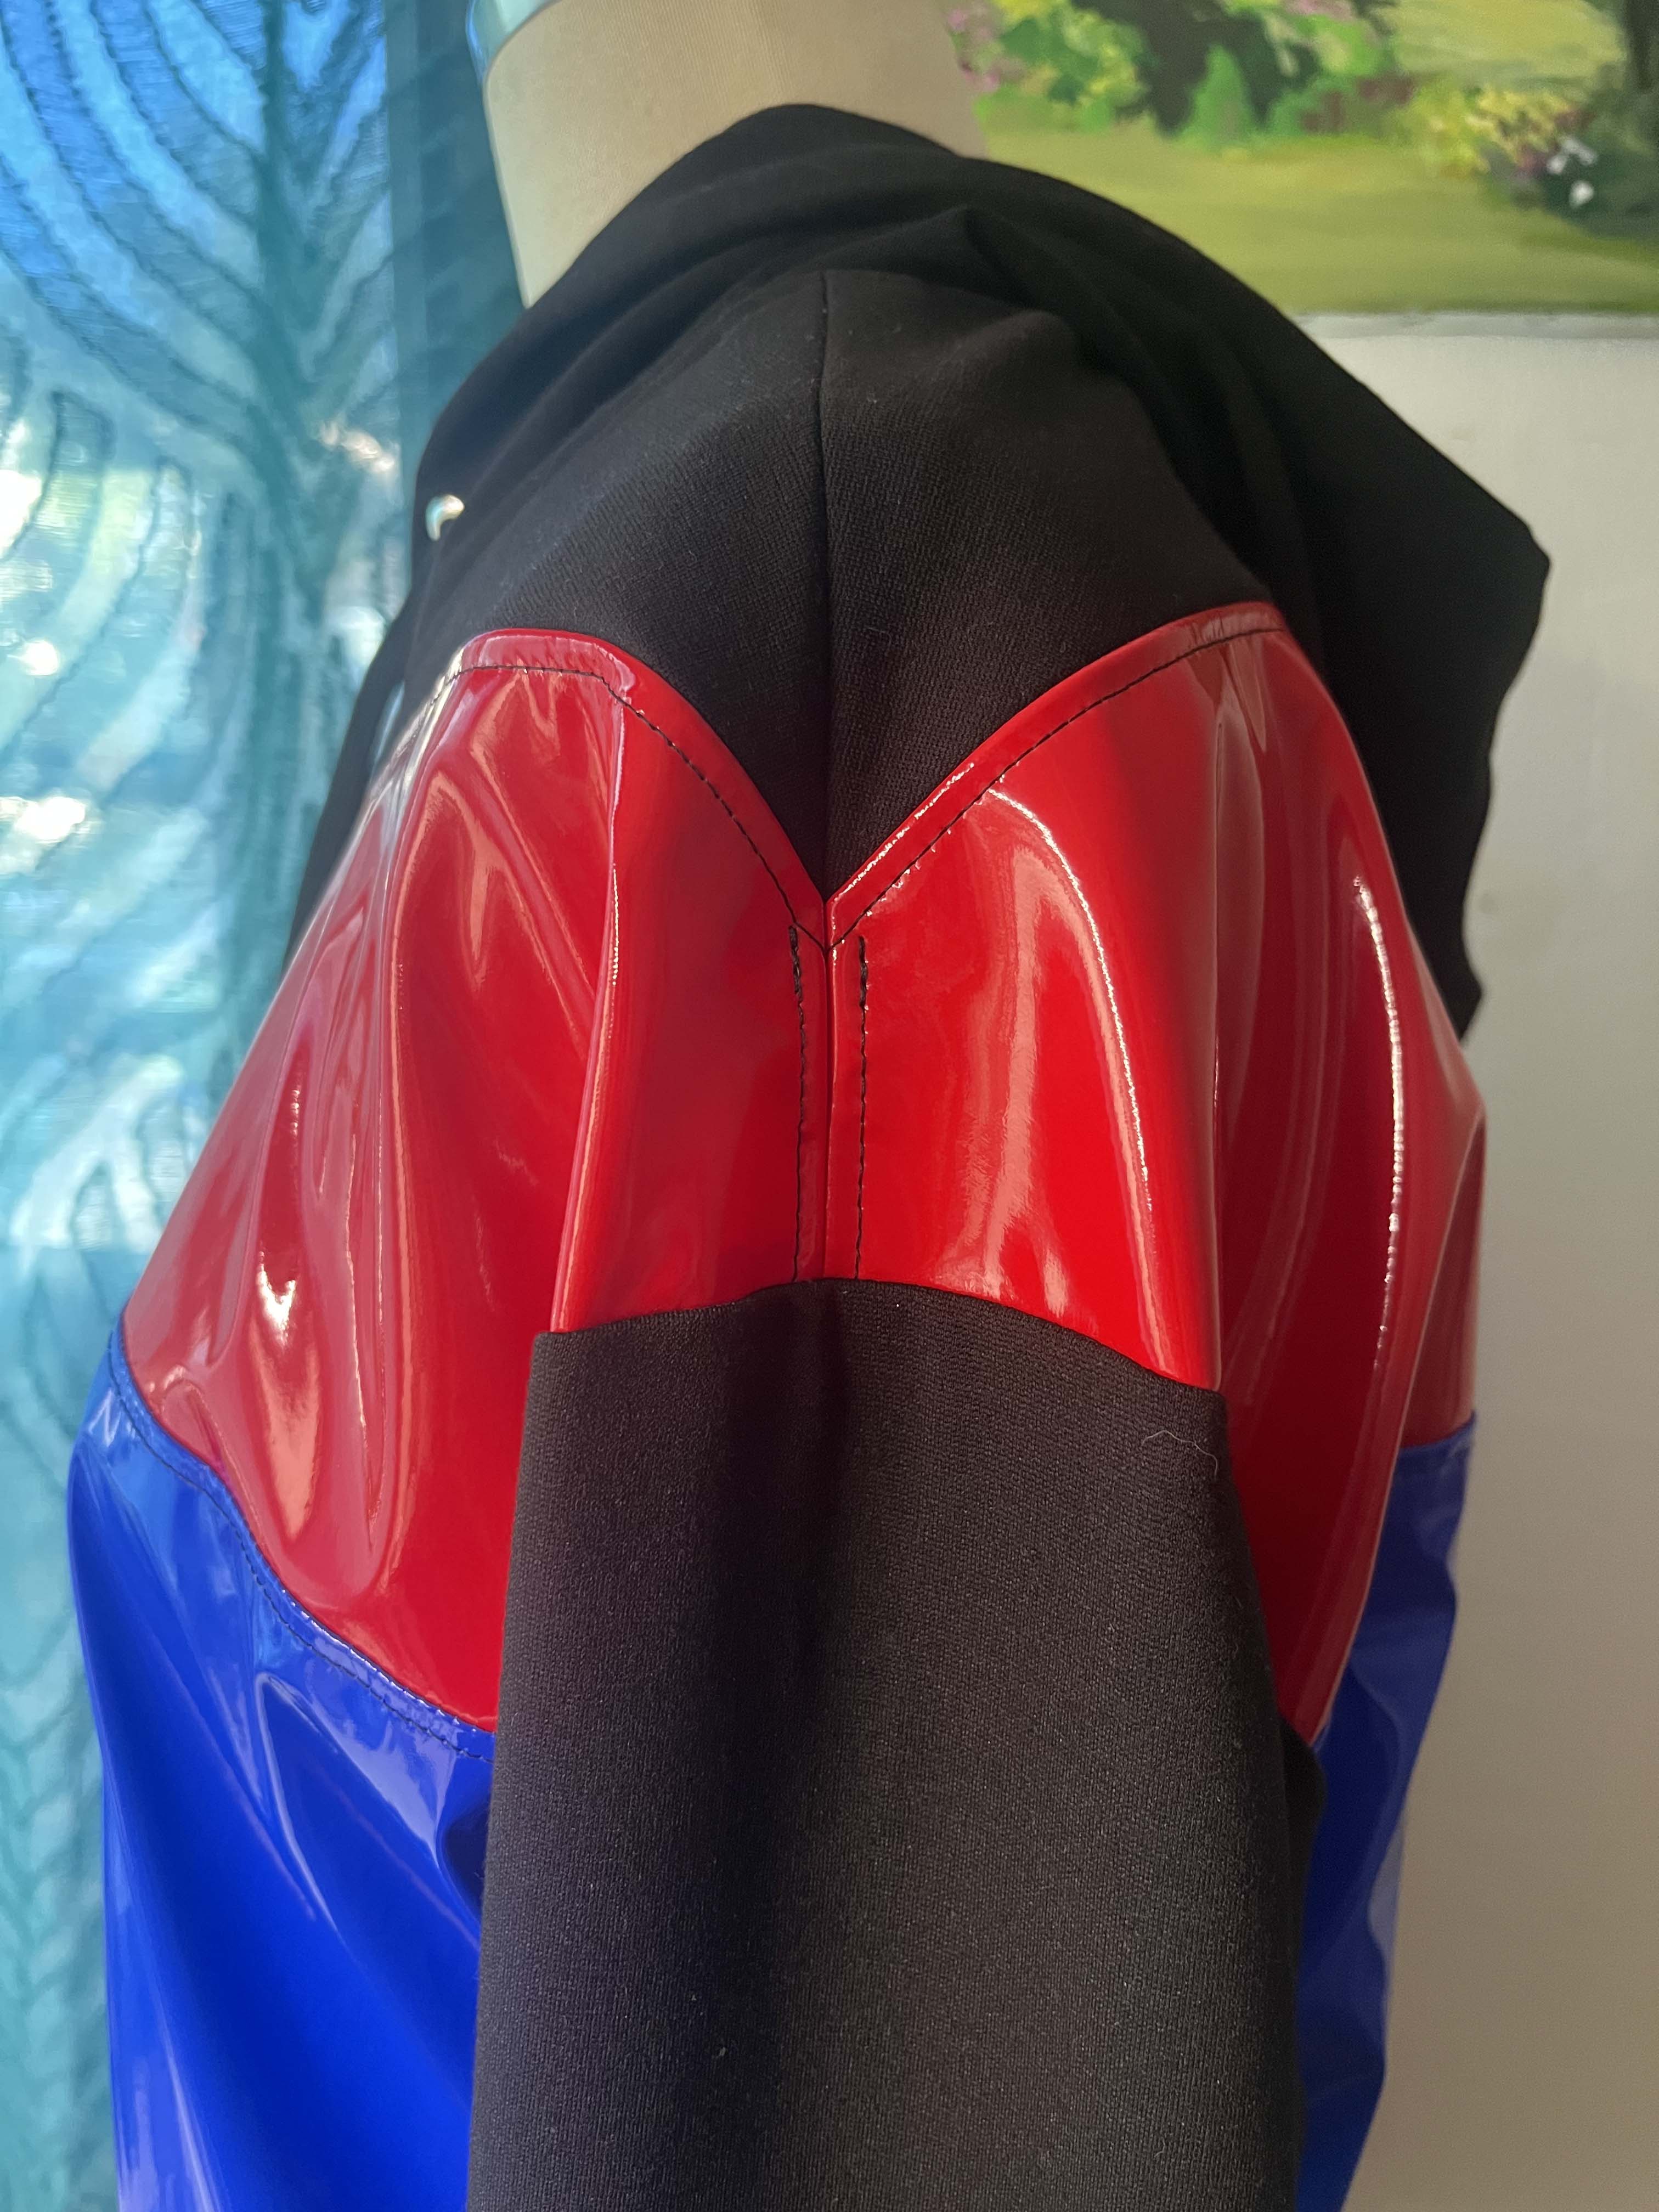
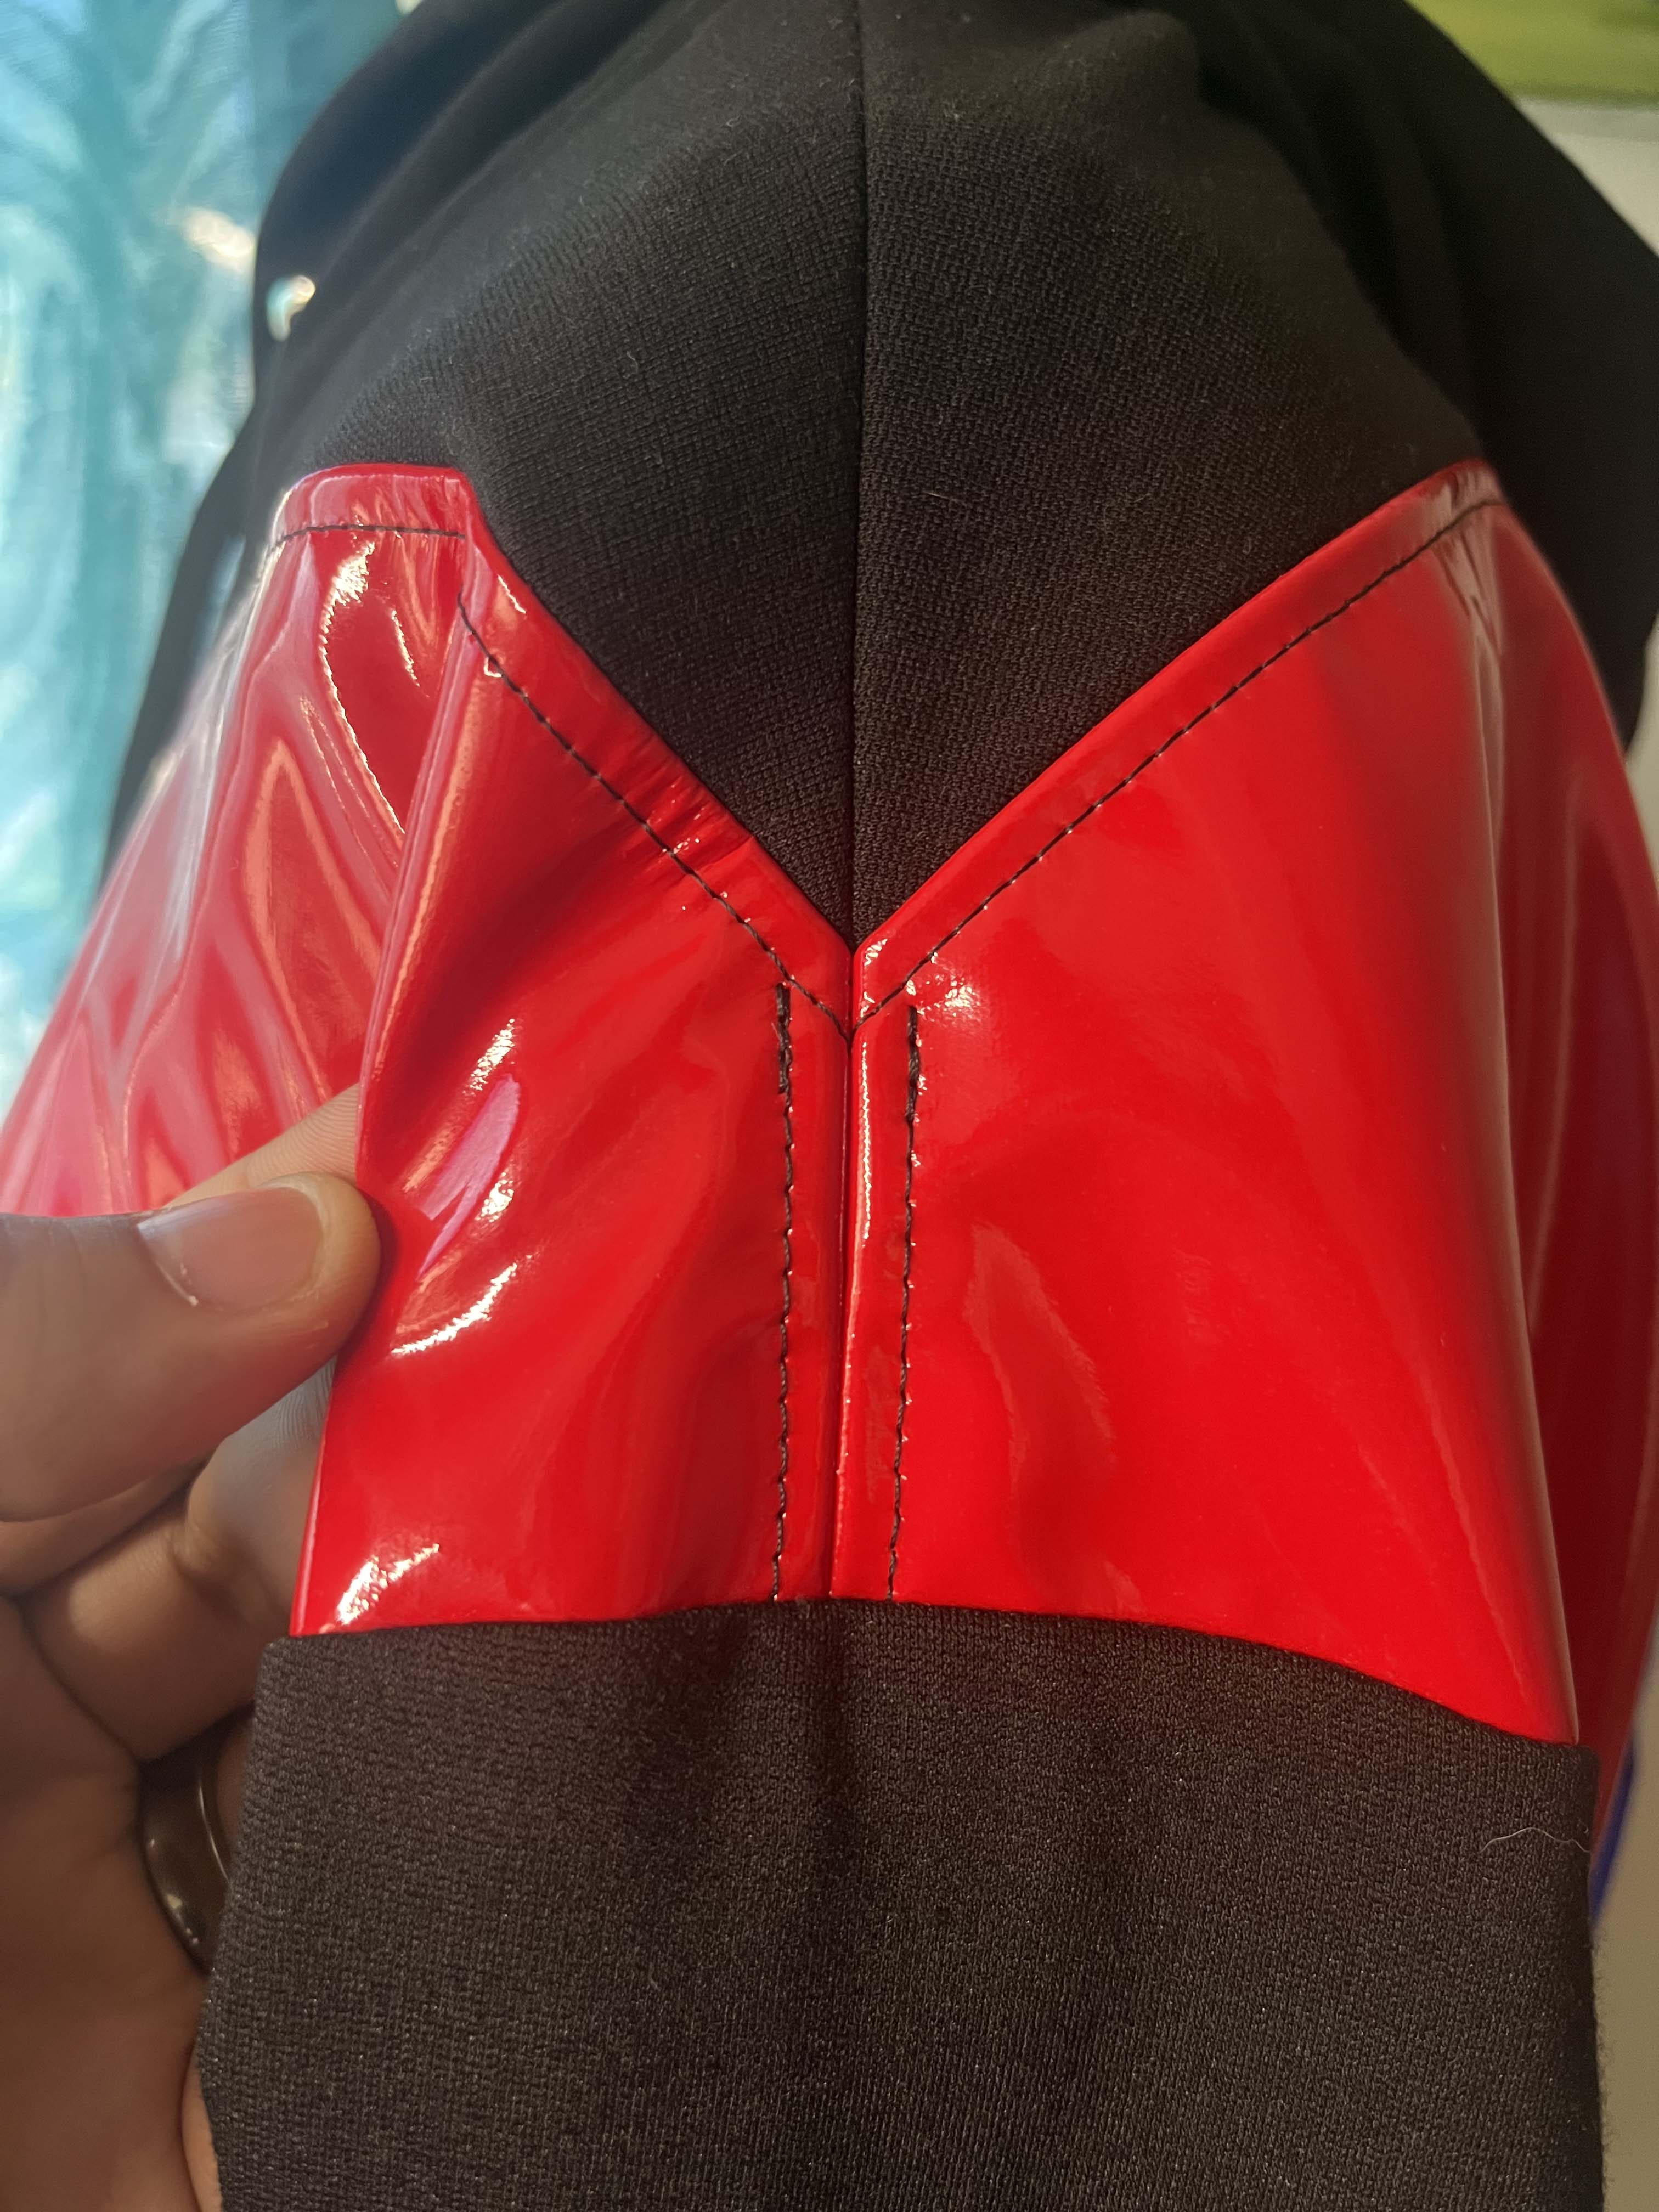
I cut a size small for this pattern. I am thrilled with the results. It is exactly what I had imagined. I love the way the red color blocking comes to a nice point at the shoulder. As a pattern maker, this is what I live for. I show you how to create this look in the first part of the tutorial on my YouTube channel. Watch that video here and then come back for the rest of the tutorial. The tutorial in its entirety is a little bit lengthy but I wanted to be sure to include the most information that would help you be successful in this project.
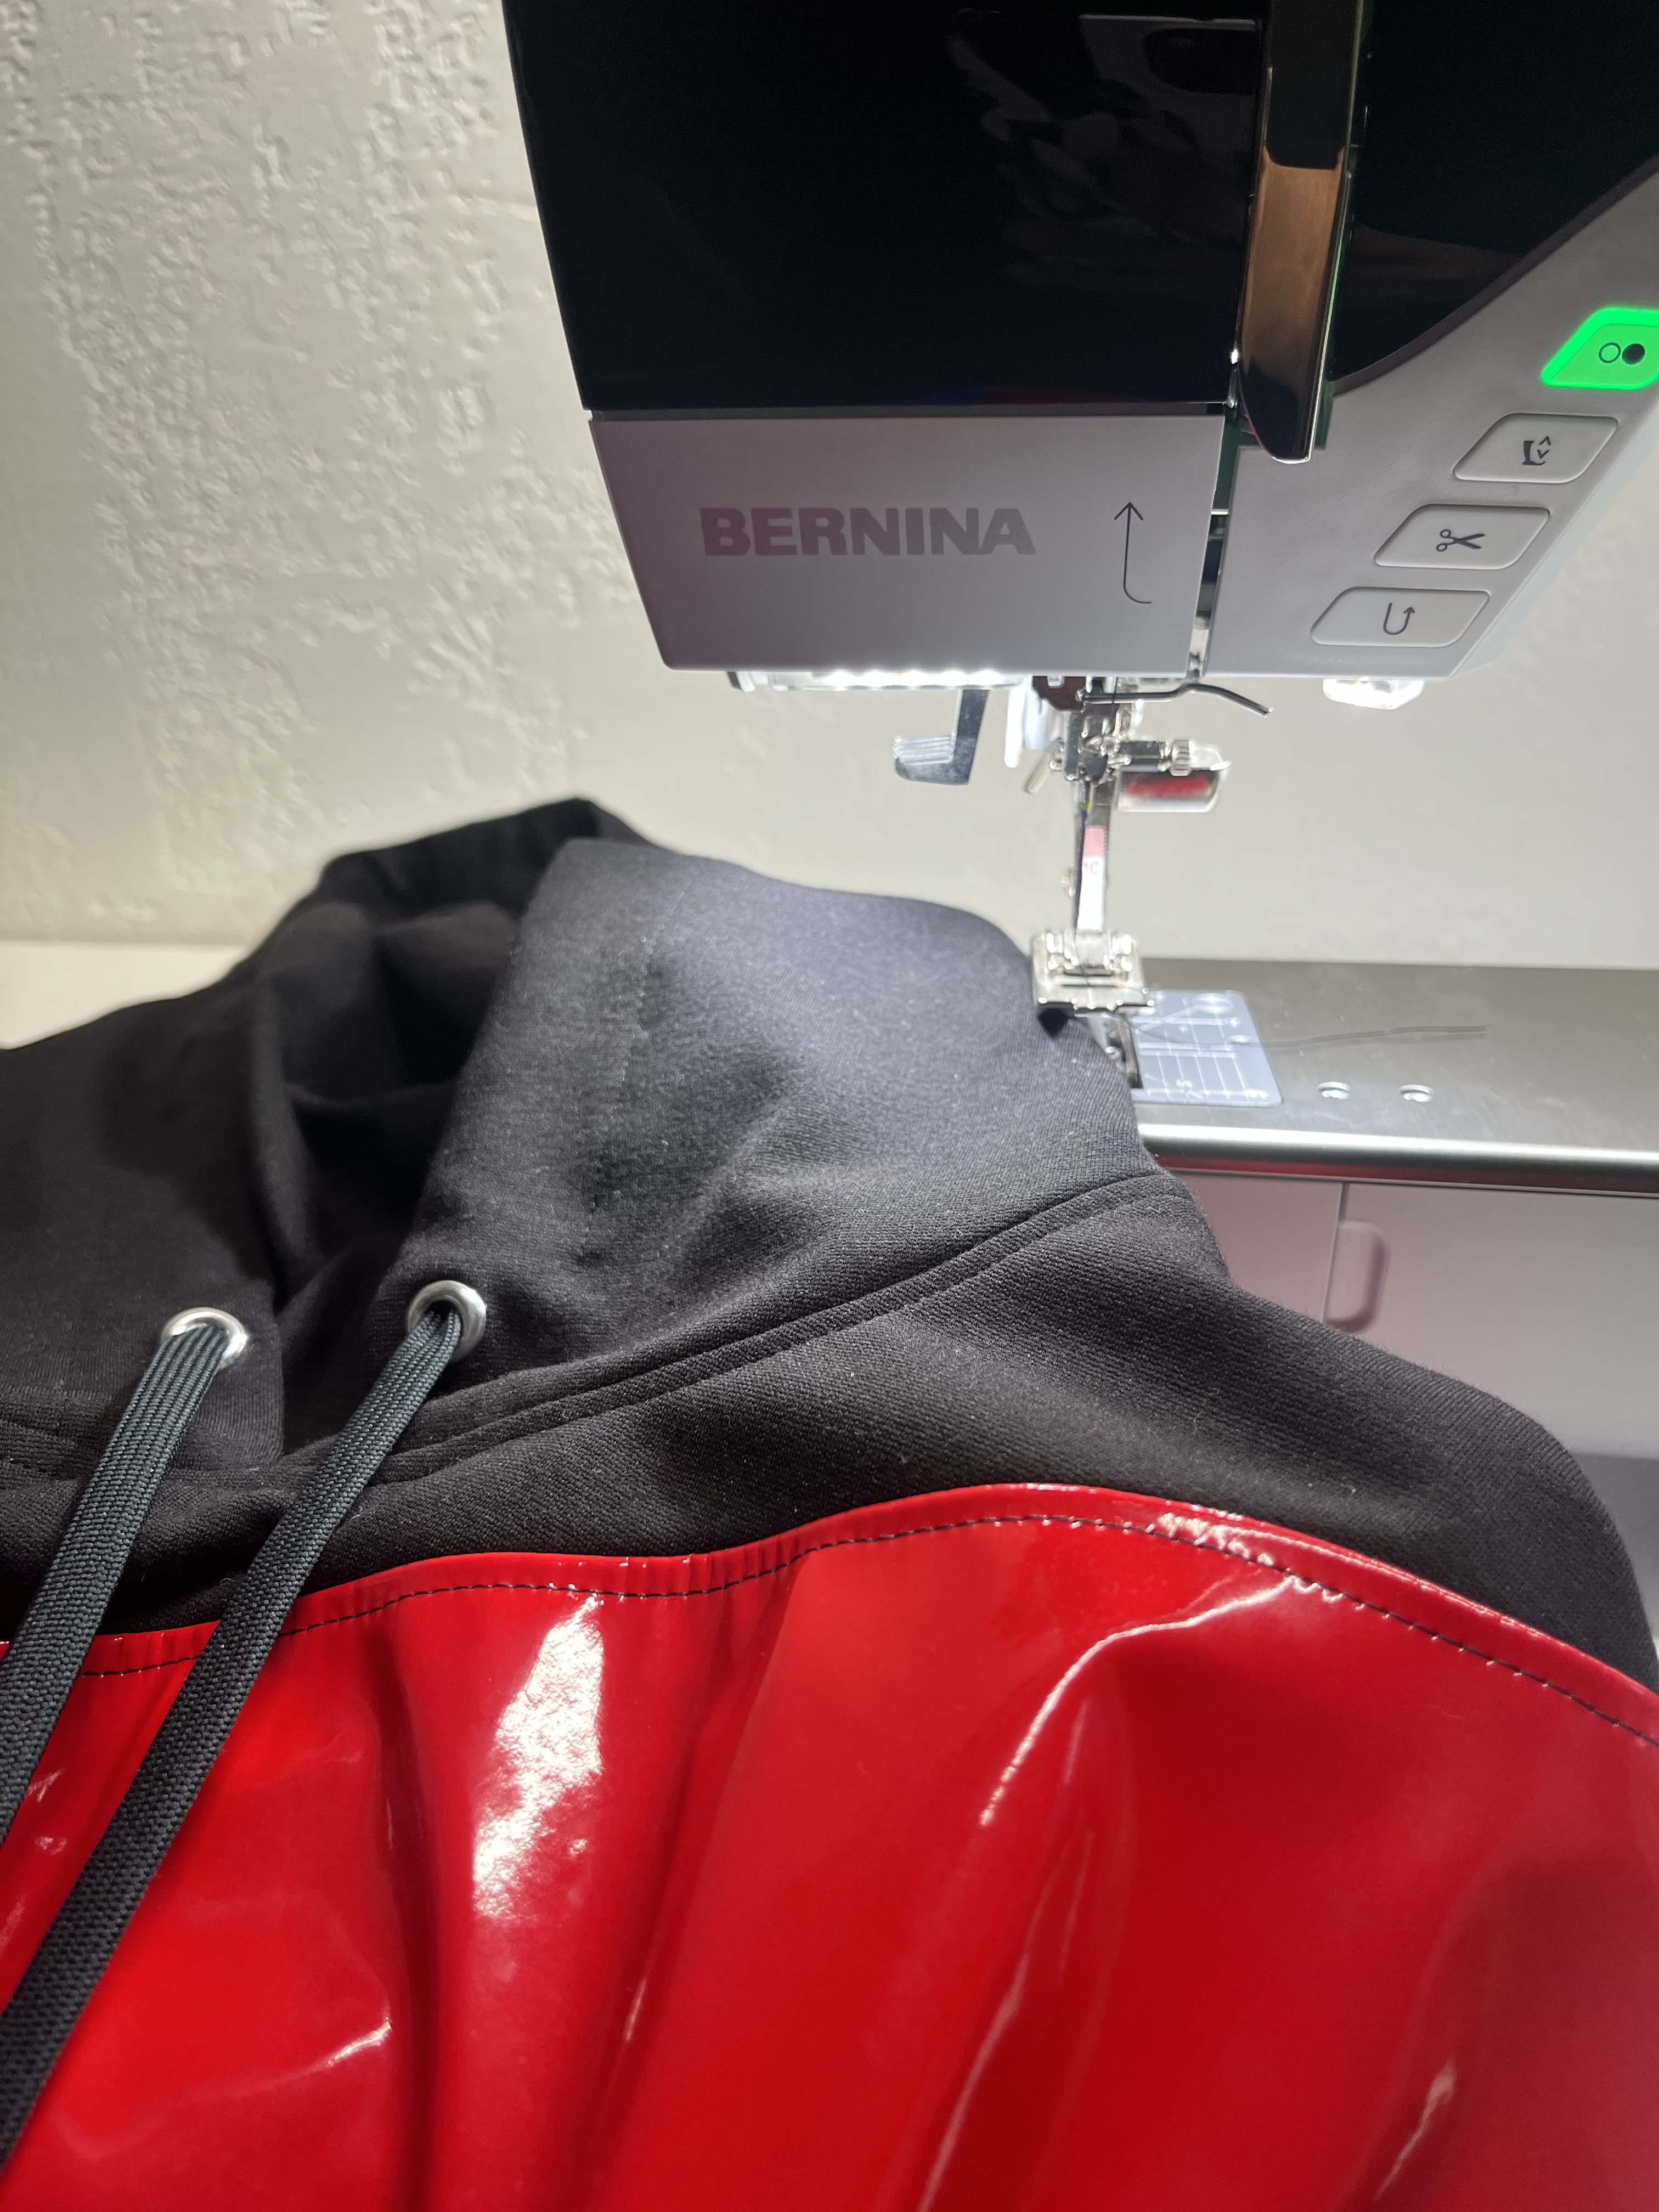
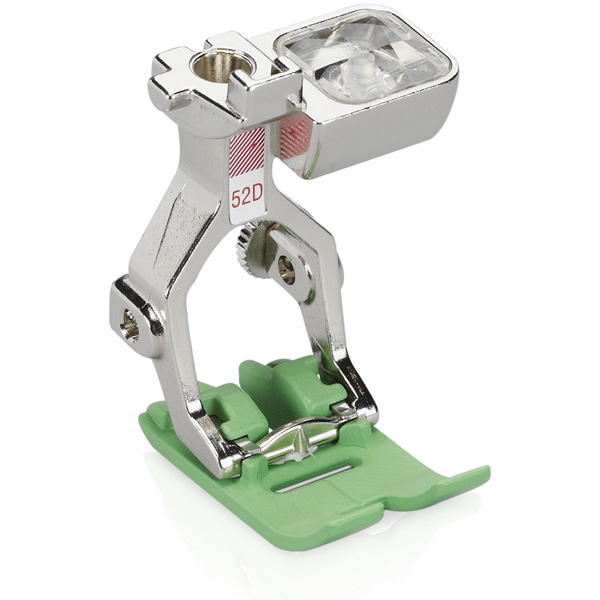
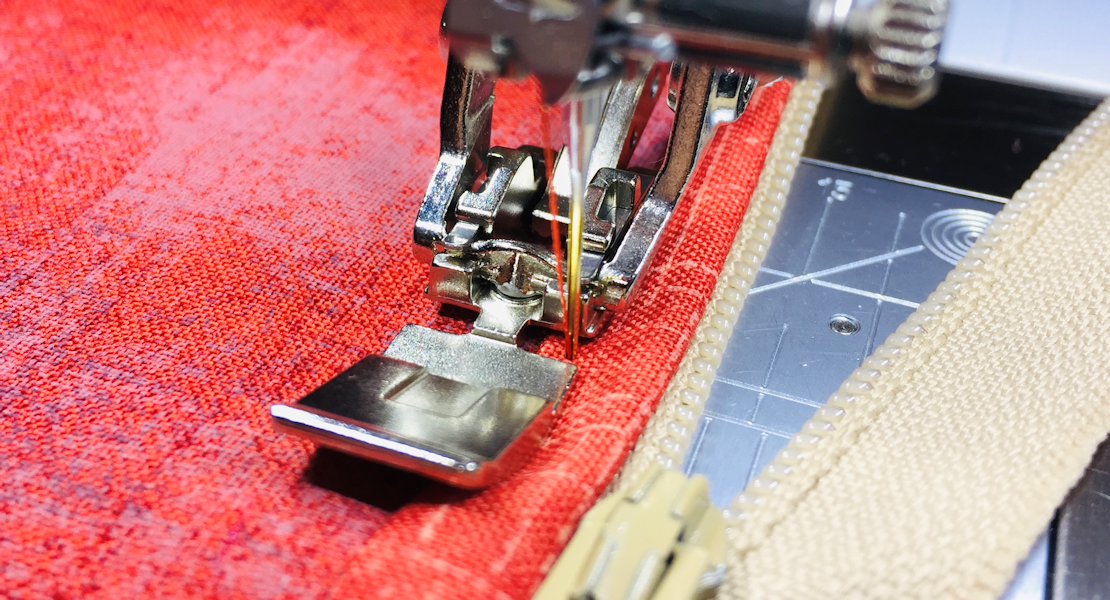
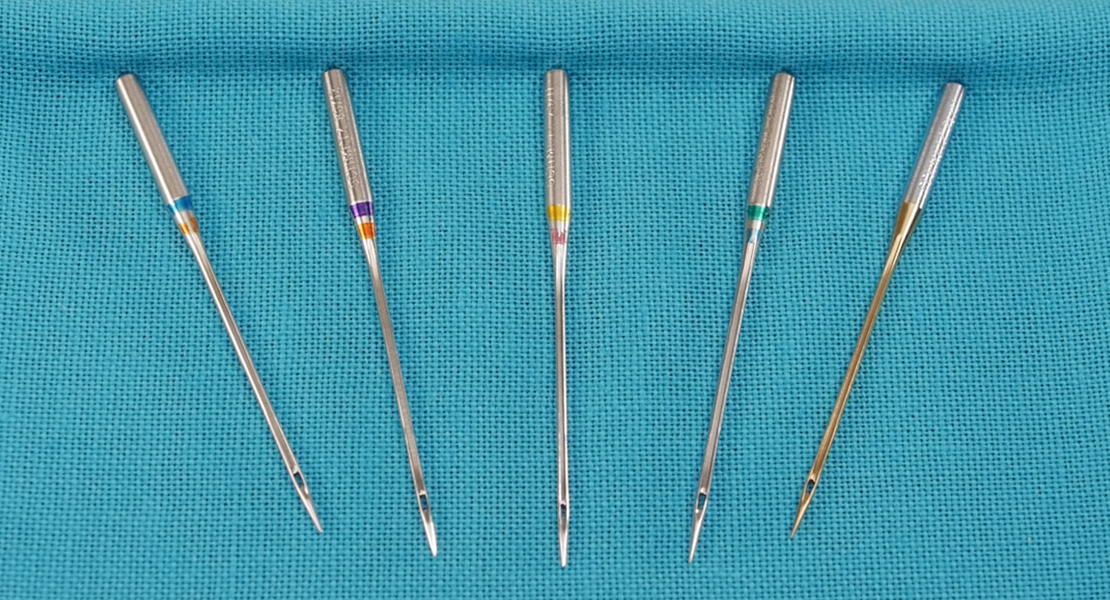
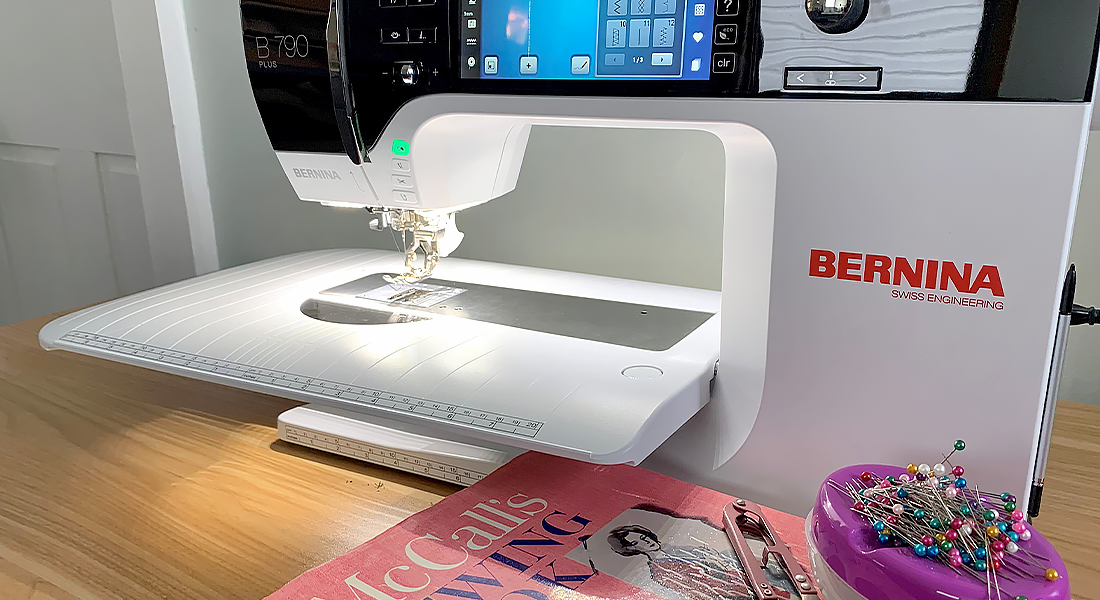
I am currently working with the BERNINA 790 PLUS sewing and embroidery machine. It has been a dream so far. It does everything I need it to and so much more. When I stitched two pieces of this PVC together and it did not hesitate at all! If I am being honest, I let out a scream of excitement. That was when I knew this was a match made in heaven. The dual feed and the Non-Stick BERNINA 52D presser foot were major players in my success for this piece. As far as needles go, start with a Stretch needle size 14. This is what I had in my machine the whole time and it worked very nicely.
Here is an important tip I did not cover in the tutorial. When I stitched my shoulder seams, I did a top stitch on both sides of my vinyl areas. This keeps the seam flat and it makes a difference when stitching your sleeves in. I had to guide the shoulder seam area more closely while stitching my sleeves in. This is because vinyl will want to stick to your machine.
One last thing, I did not cover cutting my fabric in this tutorial. Although it is important, please keep in mind your sewing basics for cutting your fabric and pattern. Remember to line up your grainlines on the correct grain of the fabric. Do not let your fabric hang off of the table as this can distort your pattern pieces. You especially do not want to do this with any kind of knit fabric. Transfer all of your markings to the fabric. This includes all dots, notches and fold lines. If you are unfamiliar with how to do this, I cover this aspect in the tutorial.
I hope this inspires you to start your sewing journey or to continue building on your skills. If you use this tutorial tag me in your pictures on Instagram using the hashtag #fabianrenteriapatterns. Follow me on Instagram here.
Happy Sewing!!
What you might also like
One comment on “Geometric Hoodie: A Complete Guide”
Leave a Reply
You must be logged in to post a comment.



WOW! Nice combo where the fabric choice indeed makes it one of a kind…FIESTA 🙂