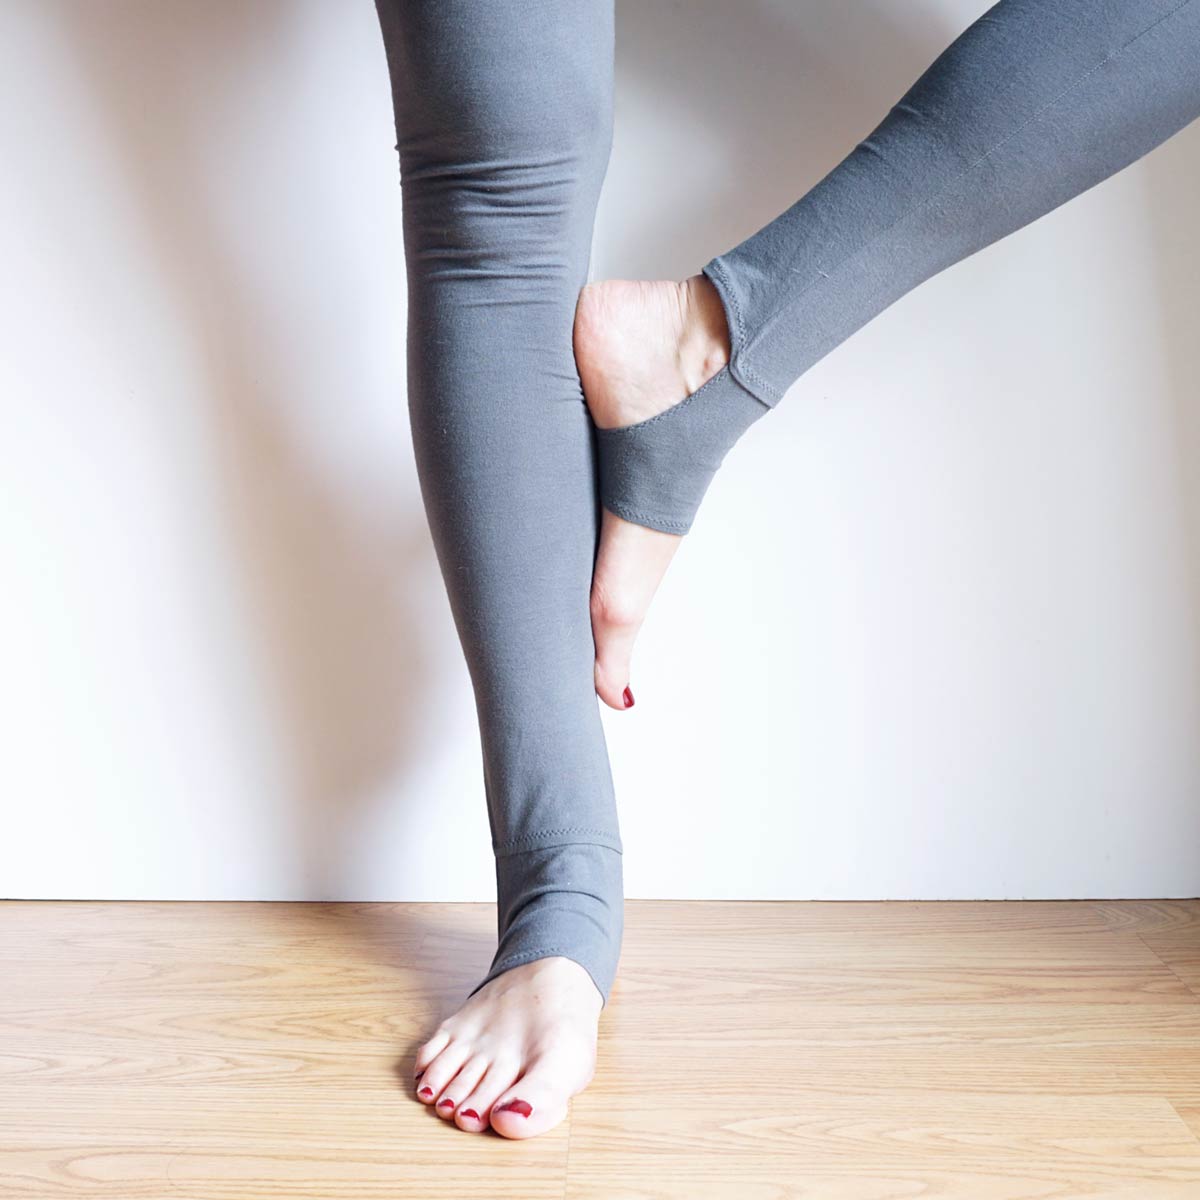
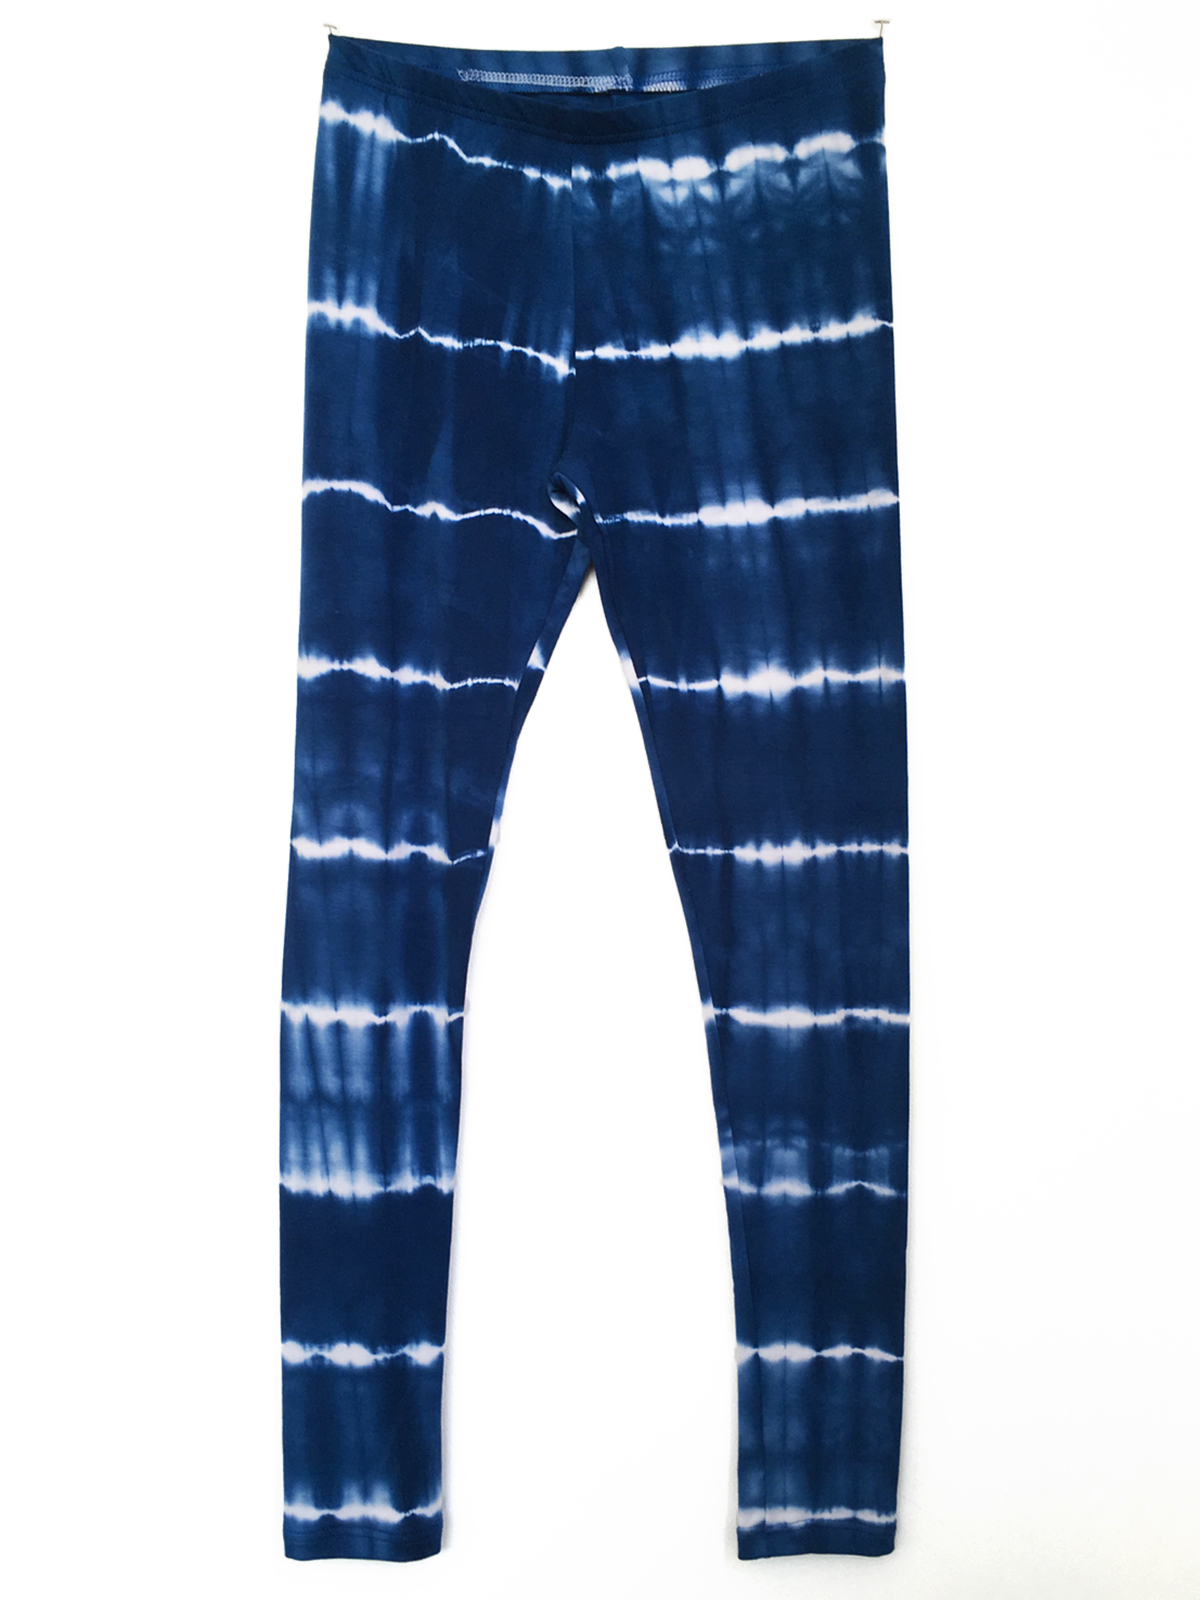
Hello Leggings!
Making leggings on an Overlocker machine is so fast and easy that I usually make them two pairs at a time. One of my favorite pattern lines for sewing knit garments is Jalie Patterns. This pattern company is a mother daughter team and their patterns have up to 29 sizes in one pattern, which makes them an incredible value. If you are looking to stretch your sewing boundaries into knitwear, this is a great place to start.
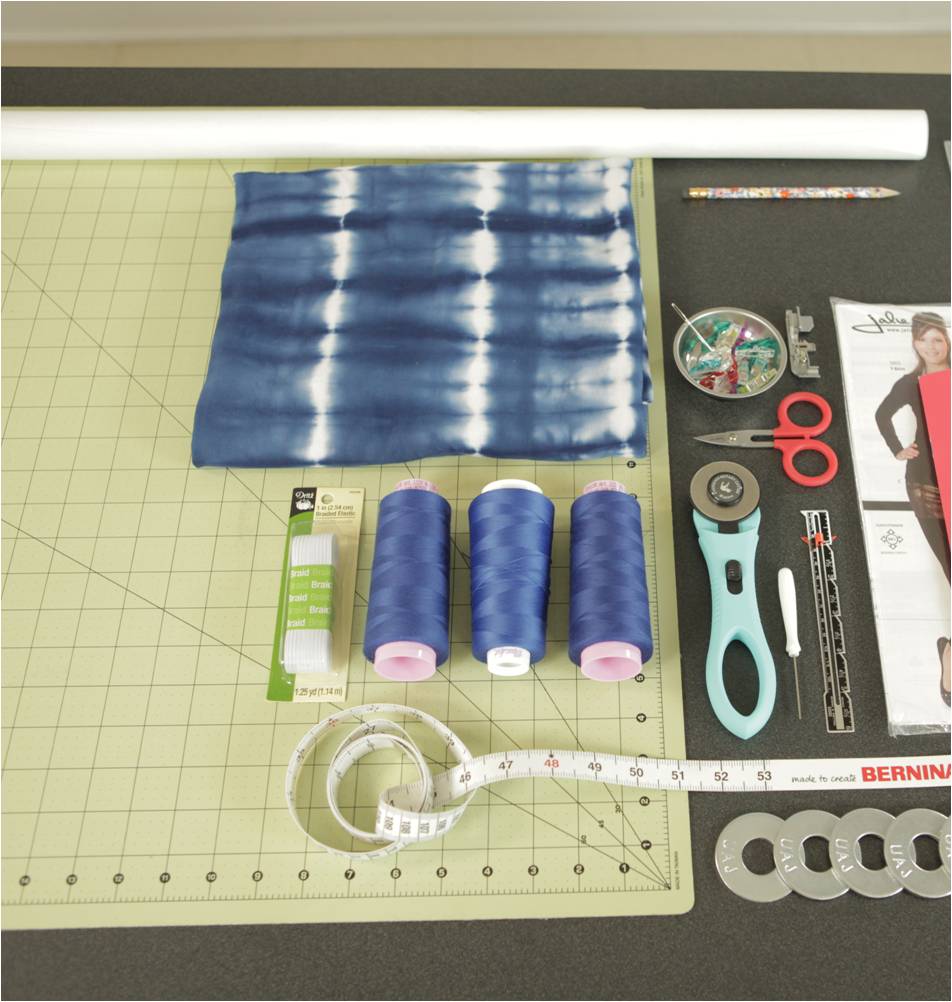
Materials to Make Leggings
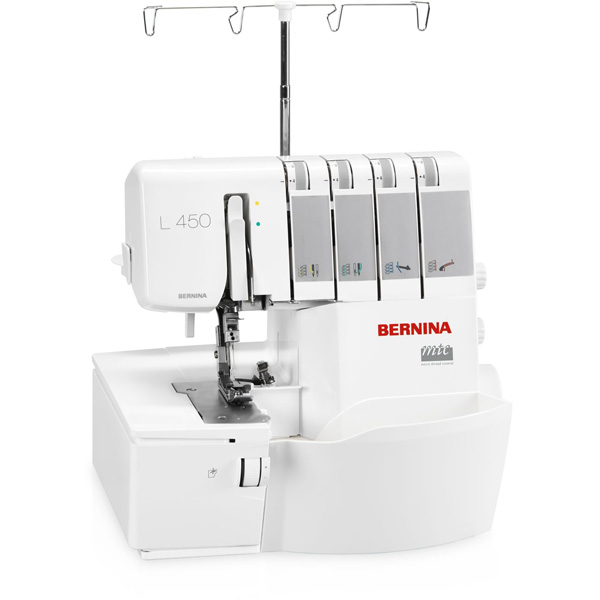
- Machine: BERNINA L 450 and L 220
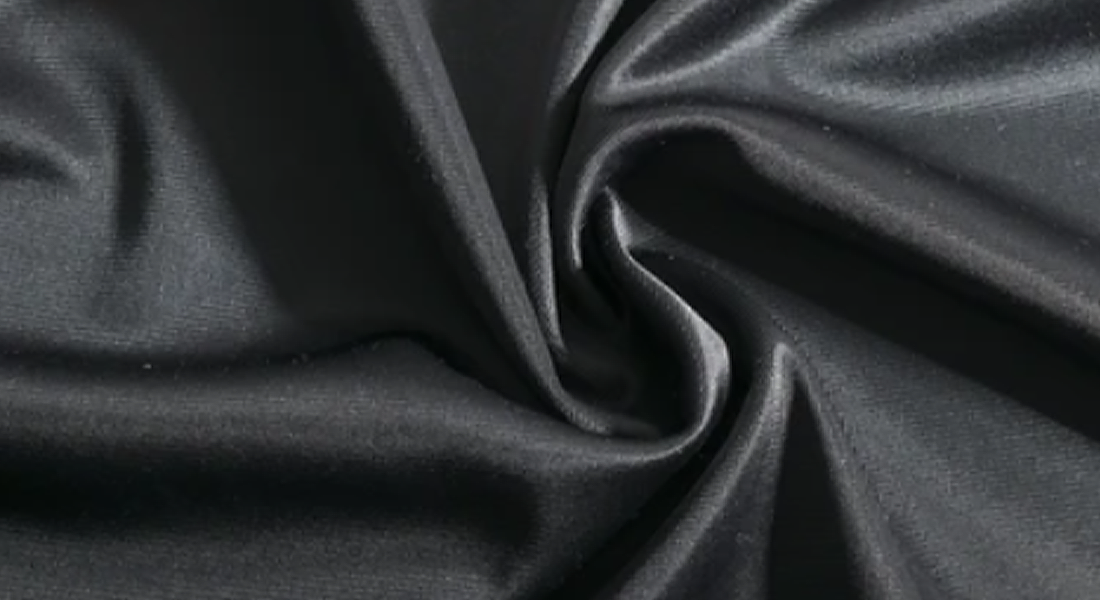
- Fabric: 4-way stretch knit
- Pattern: Jalie 2920
- Dressmaker’s tape measure
- Swedish tracing paper
- Pencil
- Pattern weights (washers)
- Clover Wonder Clips
- Seracor serger thread
- Maxi-lock stretch thread
- 1″ Elastic
- Thread snips
- Measuring gauge
- 6×24 Ruler
- Rotary cutter
- Iron
Steps to sew leggings
Step 1: Measure and find your size
The most important thing about sewing any garment is to measure and find your best size. Remember, not all sizes are the same. I recommend measuring with a friend and recording them on a measurement croquis. This will give you something to refer to when you move onto your next project.
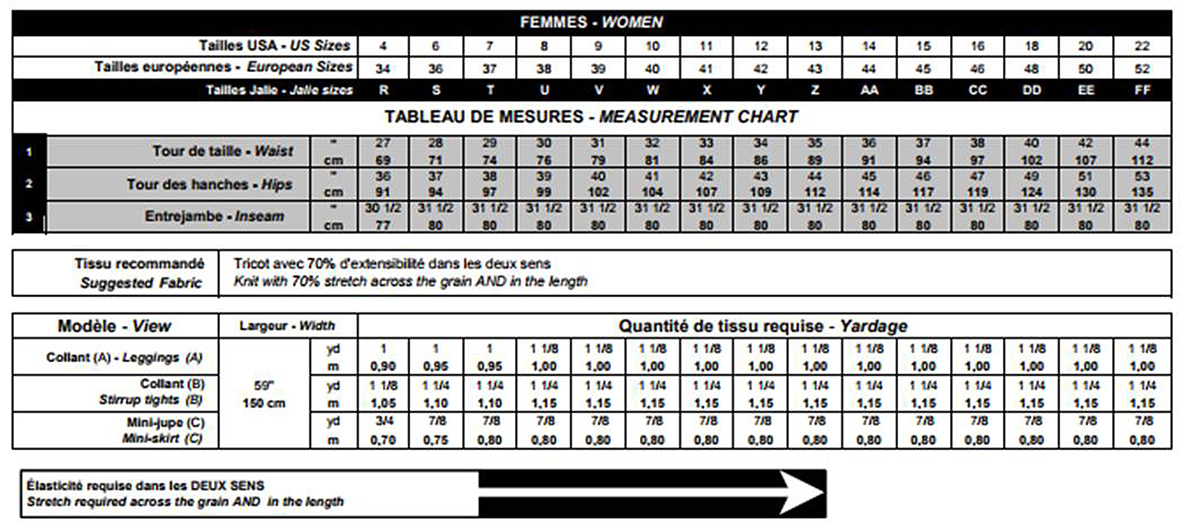
Leggings are a garment that is constructed with negative ease. This means that the garment will stretch to fit. It is very important to pick a textile with the appropriate amount of stretch for a successful finished project. On the back of most patterns you will find a stretch guide (See chart below). Notice on this pattern it states, “knit with 70% stretch across the grain and in the length.” This is important to note, because the pattern must stretch in four directions, up and down and left and right, to fit over your body.
Step 2: Trace the pattern
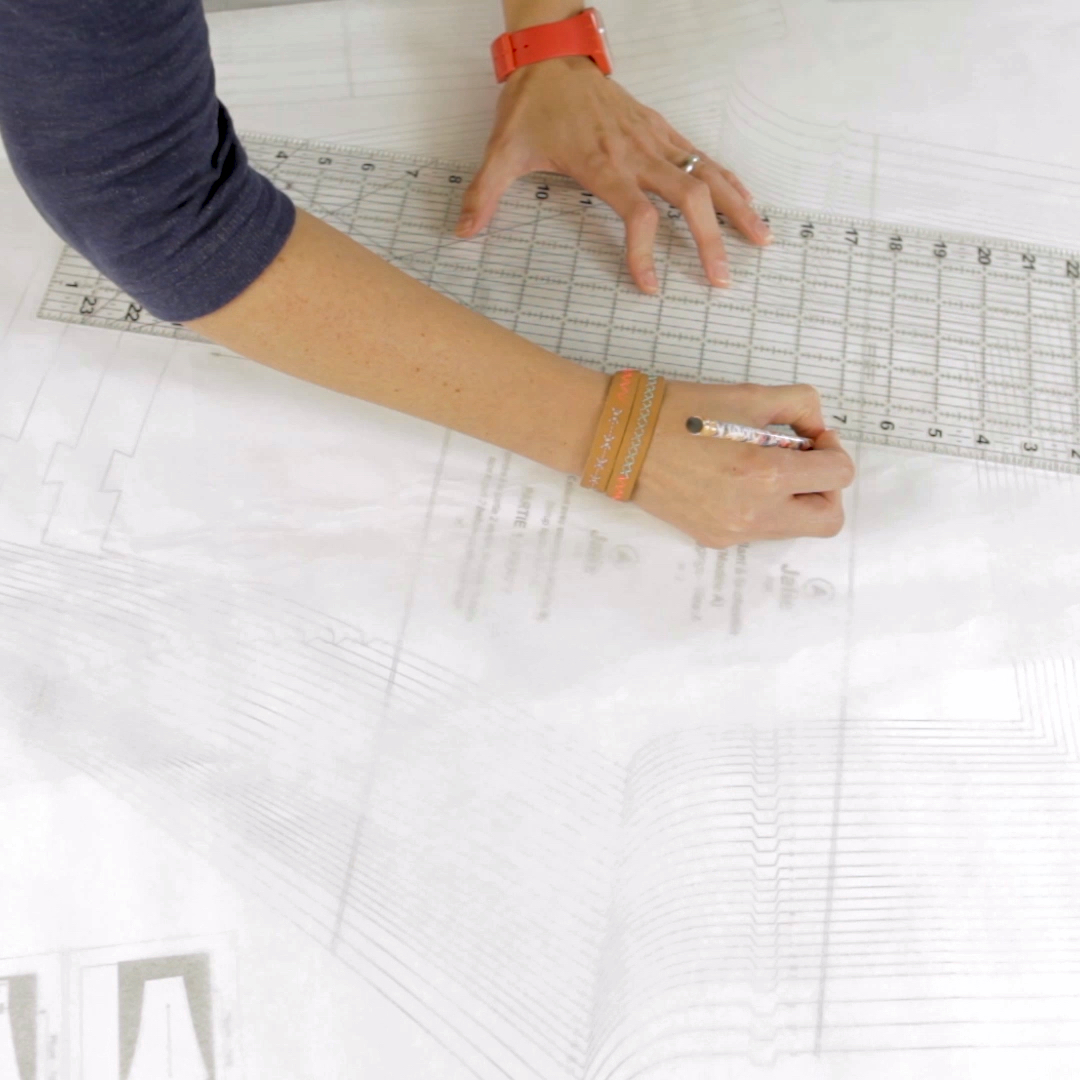
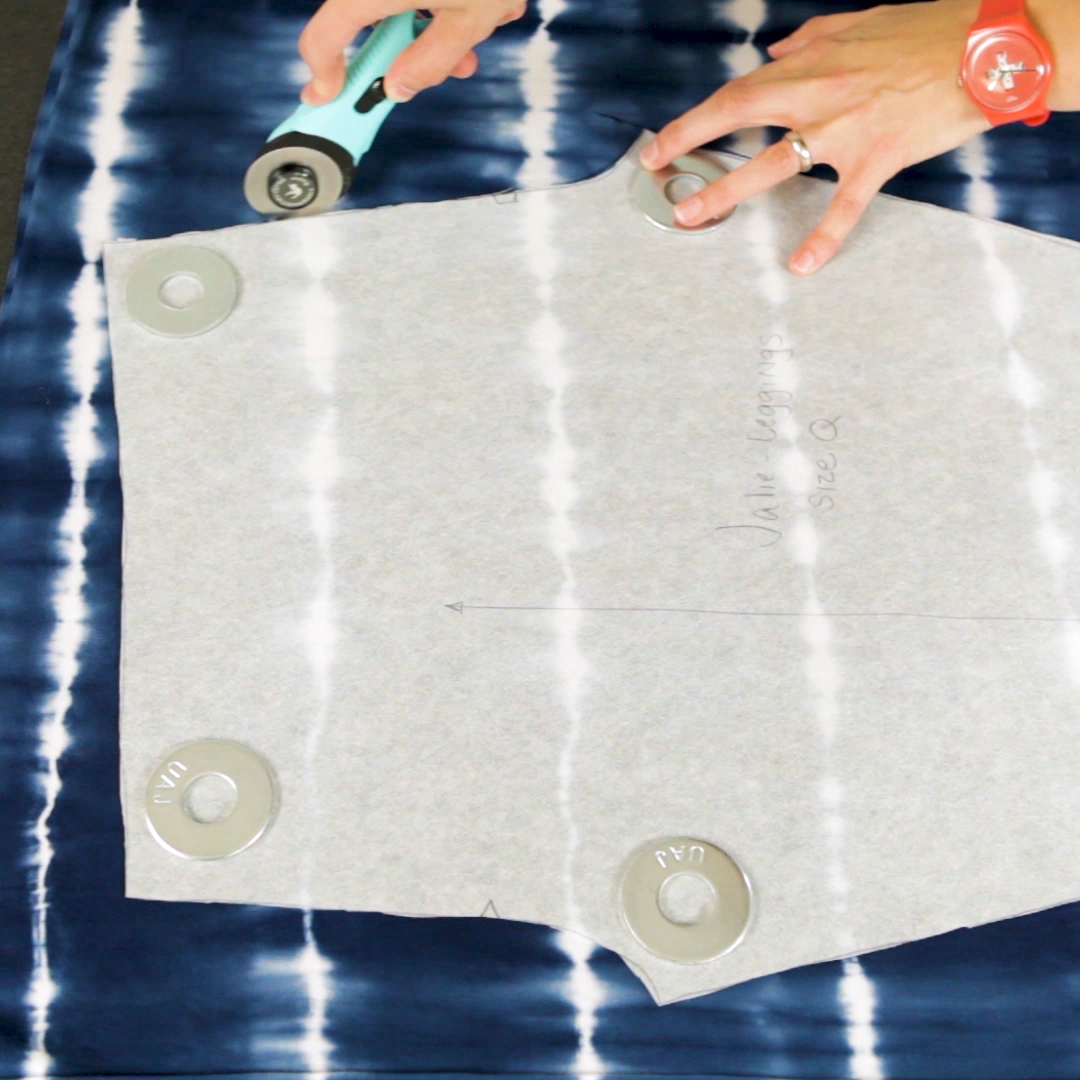
Once you have measured, you will need to trace your pattern. Jalie patterns come printed on a large format printer with the directions and all the sizes on one sheet of paper. You can also purchase the patterns as a pdf and print them yourself and tape them together, if you prefer. Either way, you will want to trace them onto something substantial for a workable pattern piece. My favorite tracing paper is Swedish Trace Paper because it is more durable than tissue paper and can also be stitched together for a preliminary fitting. Be careful to transcribe things like grainline and pattern notches and marks. I also like to write the size and maybe even the date on the pattern, so I can recall the fit when I make it again.
Step 3: Cut out fabric
Now that you have your pattern ready and your perfect fabric picked, you are ready to cut it out. Grainline is the most important thing to remember when cutting out a garment. Have you ever purchased a t-shirt or pair of jeans that twists around your body when you wear it? Chances are it was not cut straight of grain. The grainline runs parallel with the selvedge edge.
Generally, you can cut the pattern on the fold generating two mirror pattern pieces. If you have a particularly slippery fabric or a stripe/print to match, you may want to cut this out on a single layer to maintain control from side to side. I cut all my striped t-shirts on a single layer to ensure that my stripes match from front to back and that they do not slant.
When working with knits, I avoid using pins because they tend to stretch the fabric out. I recommend using pattern weights for cutting out all knit garments. My pattern weights are simply some heavy duty washers from the hardware store, but you can get some nice sewing pattern weights too. I also cut this out with a rotary cutter. It takes a bit of practice, but really speeds up the process and lends to a cleaner cut than scissors.
This pattern is only one piece, but you will cut two sides, one for each leg.
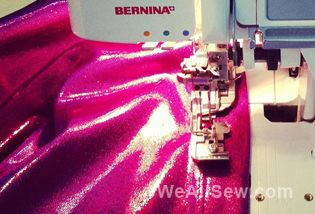
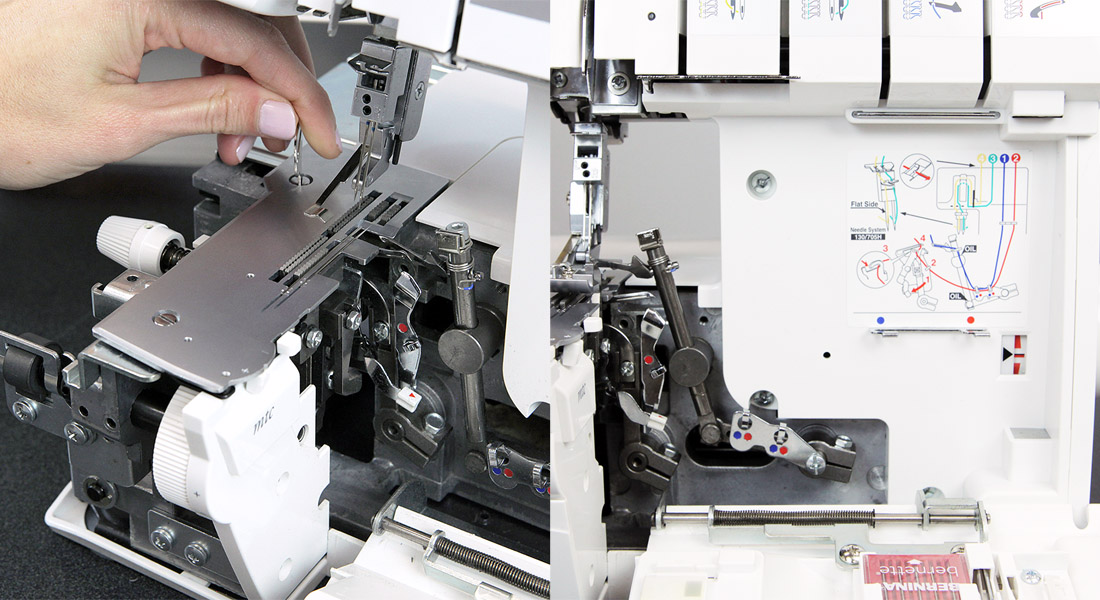
Step 4: Set-up Overlocker
This pattern could be made on a regular sewing machine, but the Overlocker (serger) is really the best tool for this project. Using an overlock stitch will give you the most stretch and longevity. I prefer a 3-thread overlock with stretch nylon thread in the upper looper. This gives more stretch to the seam and is soft against your skin.
Settings for the BERNINA L 450:

Differential Feed:
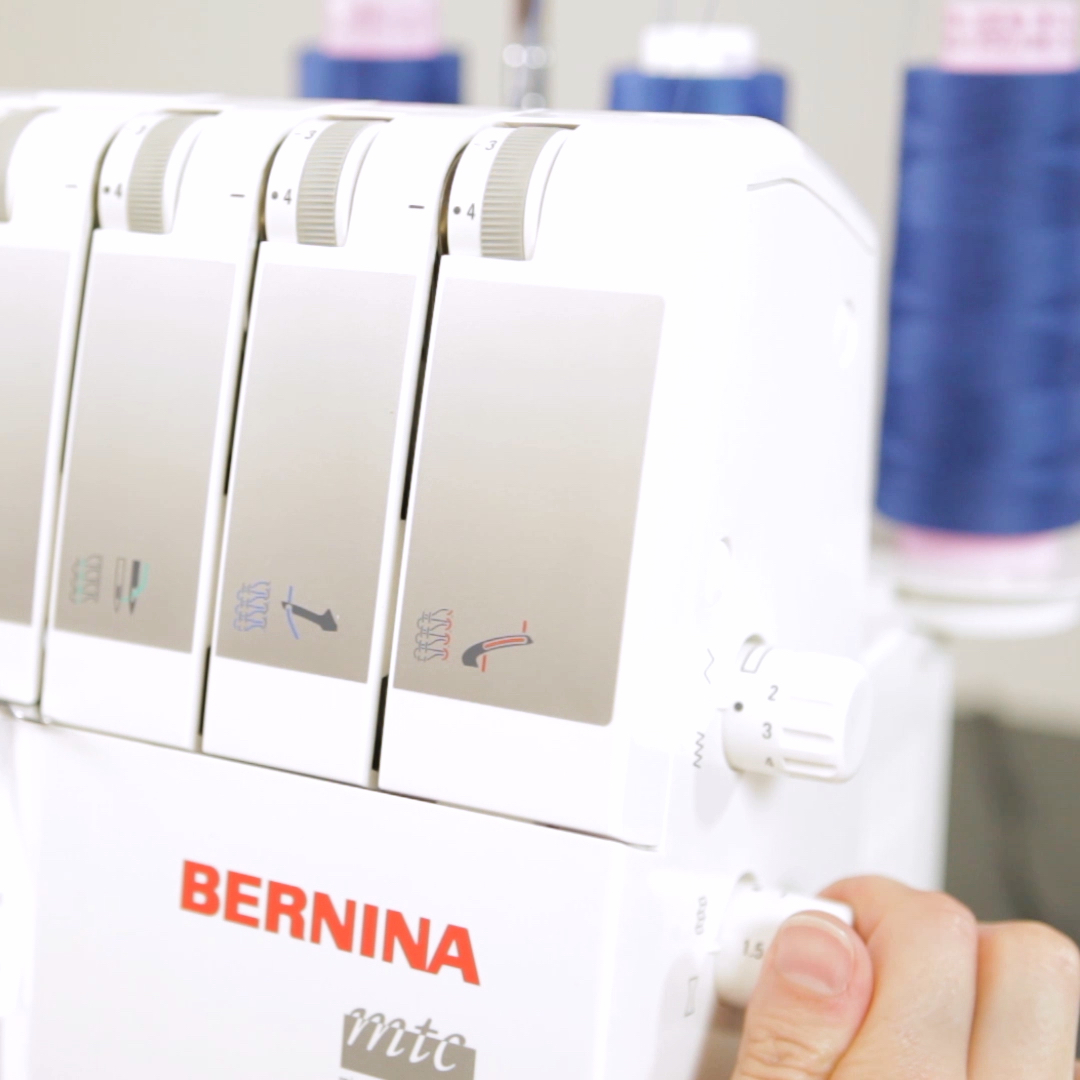
What is differential feed? This is one of the main reasons why an Overlocker machine is more effective at sewing knits than a regular sewing machine. This feature allows you to control the rate at which the feed dogs move in conjunction to one another. Did you know an Overlocker has two sets of feed dogs? This means that if your fabric is stretching as it is sewn, common in knits, that you can set the front feed dog to take a bigger stride than the back feed dog thus creating a flatter and non-stretched seam. I know it sounds complicated, but the best way to learn about it is to start using it. Test your fabrics with different settings before you begin your project to find the ideal machine set-up. Remember every machine and fabric will perform a little differently, so your settings may vary from mine.
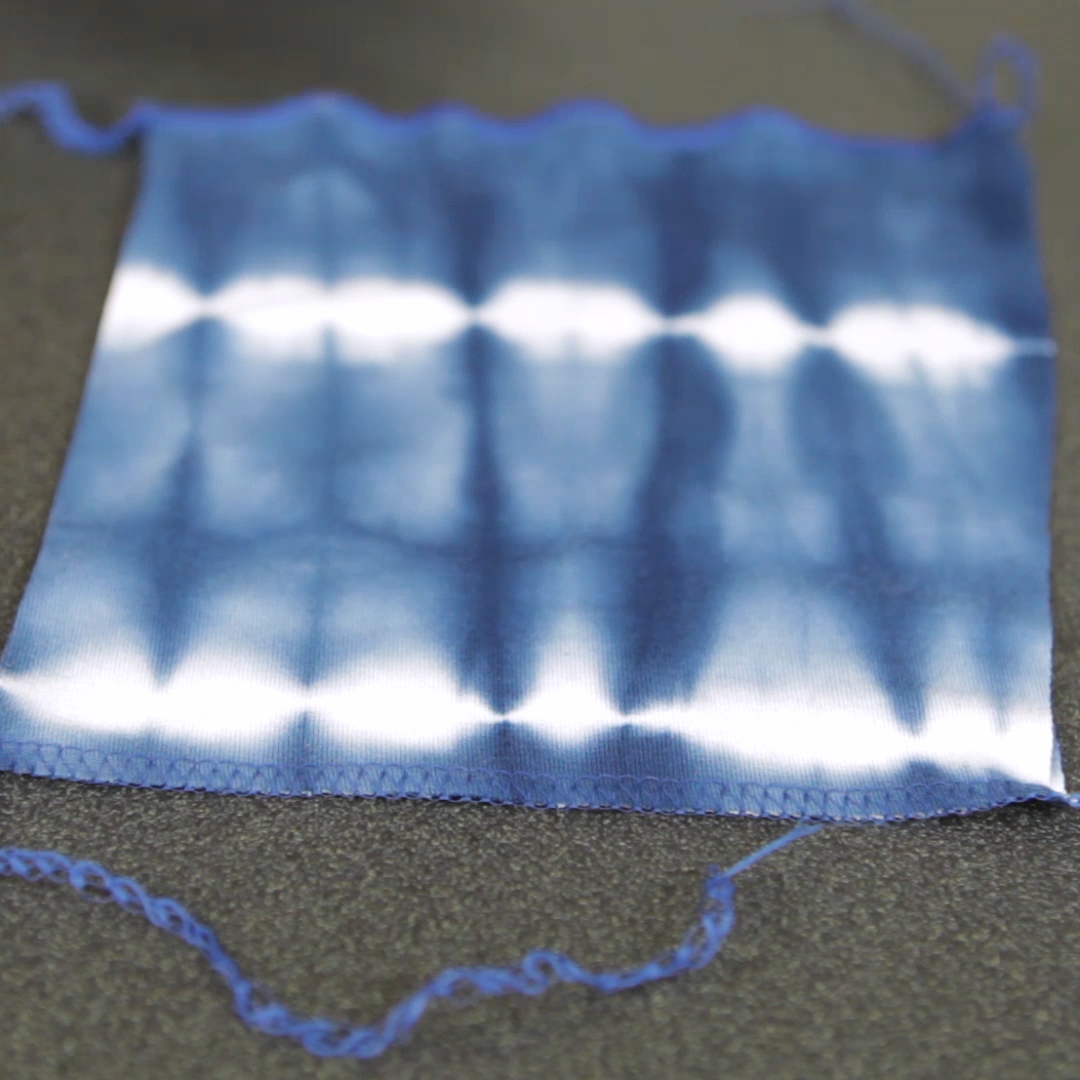
Here is my test, with the differential feed adjustment. See how I eliminated the waviness in the knit?
Step 5: Construct leggings

The construction process goes much faster than the preparation for this project. With just two seams to sew, you will soon understand why I generally make these two at a time. The first seam you will sew is the crotch seam, front and back. When sewing a curved edge on the overlocker, pull the seam out straight in front of the foot and let the machine do the rest. This is simple to do, but if you are accustomed to sewing with woven fabrics on a sewing machine you might be more familiar with turning your fabric to achieve a curved seam. Remember, practice makes perfect!
Now you can sew the leg seams in one pass from one leg hole to the other. Pay close attention to the seam at the center crotch. I recommend nesting the seam allowances together to make these easier and flatter to sew over. Nesting means one seam allowance is pressed to the front and one is pressed to the back. Clover Wonder Clips are great to use with Overlockers because you will see them easily and not accidentally run over them and cut them with your blade. You can also use them to help hold the nested seam allowance together.
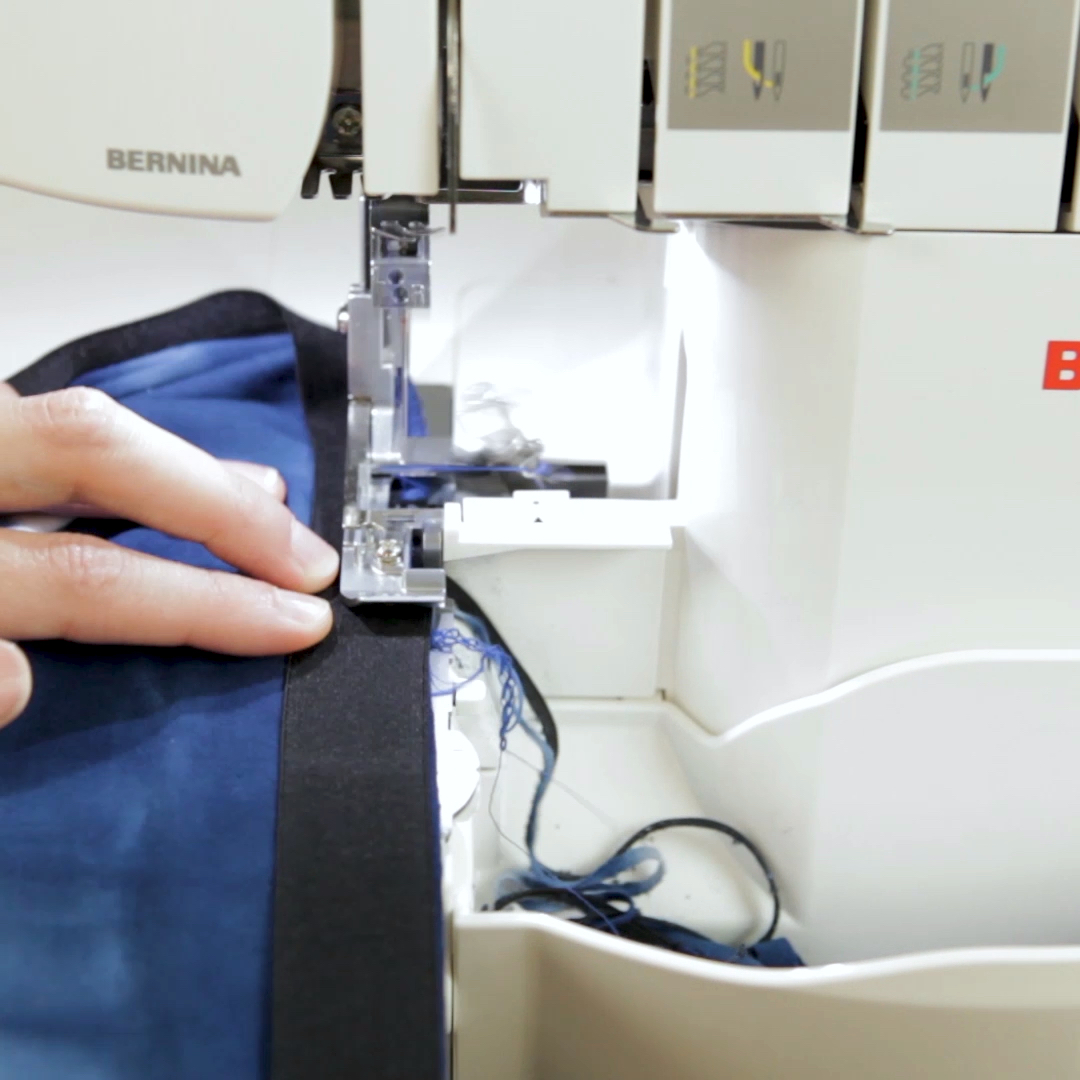
Step 6: Add elastic to waistband

It is time to add the elastic to the waistband and yes, you can do this on your overlocker too! My one exception is that I generally sew my elastic into a loop using my sewing machine, as it lays flatter in the finished waistband than if I were to serge it together. Divide the elastic and the waist of the leggings into quarters. I mark these with clips and am able to divide by simply folding the piece in half and matching side to side. Then you can match the elastic to the waistband at each quartered section. You will notice that the elastic is a little smaller than the garment waist and that is correct. You will slightly stretch the elastic as you are sewing it into the waistband. If you are using woven elastic do not trim the elastic edge. I generally use a soft knit elastic for my leggings so that I don’t have to worry about the elastic accidentally being trimmed by the machine blade. If you want to ensure a more accurate seam, you could attach the seam guide and also disengage the upper cutting blade.
I start this seam at the back center seam allowance and advance the work in the quartered sections, stretching the elastic to fit the waist as I go. When I arrive back at the starting point, I simply turn and pull the work to the left and out from under the presser foot as I serge off the edge. It gets easier every time and is a common way to end a stitch like this.
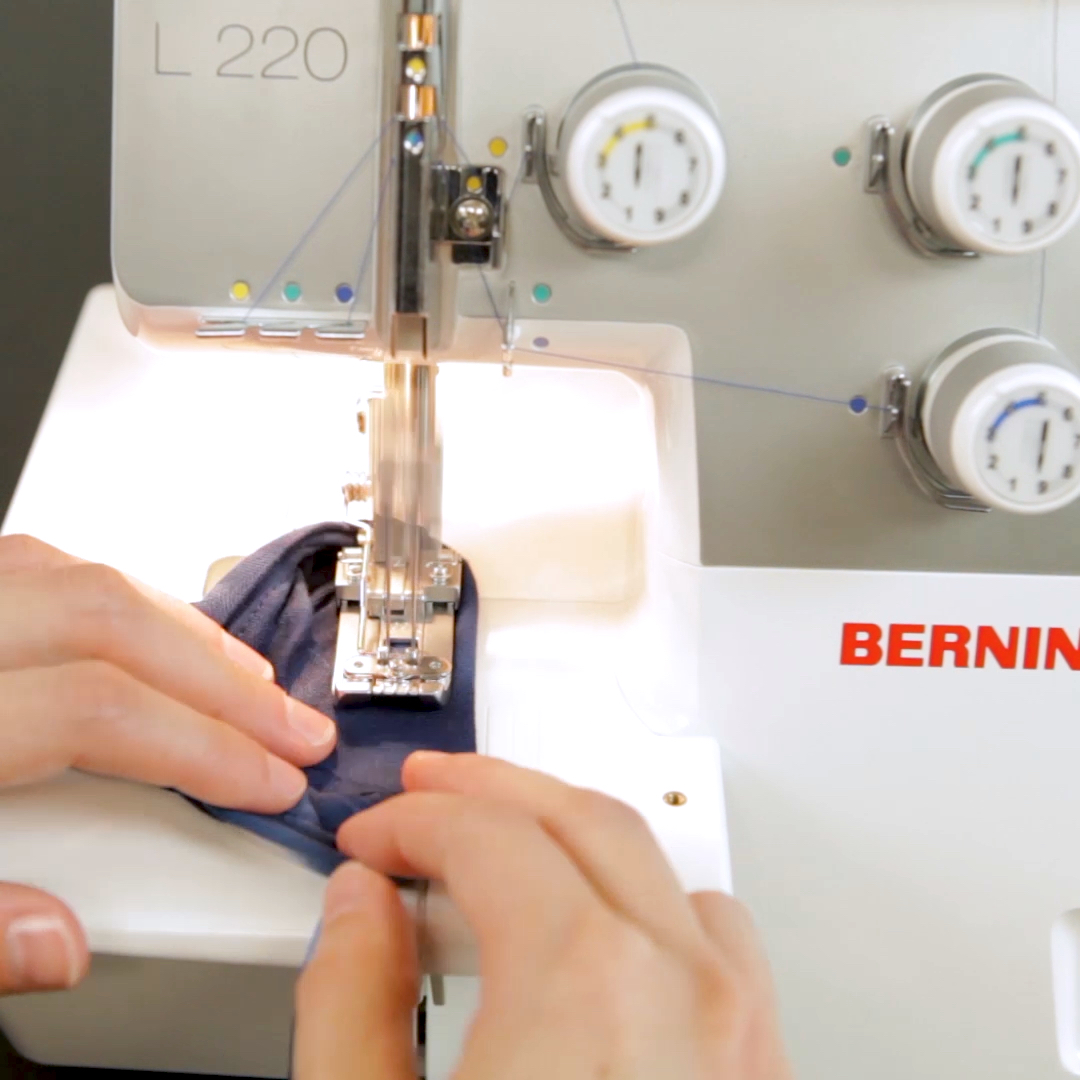
Step 7: Set-up BERNINA L 220 Coverstitch
You are nearly finished. All that is left is finishing the hems and waistband. If you do not have a coverstitch machine, this could easily be done on a sewing machine. Find a stretchy stitch or make your own by setting up a very narrow zigzag. You could also use a twin needle to create the look of a coverstitch.
If you have a coverstitch machine like the BERNINA L 220, it will give you a professional finish and a stretchy stitch. Again, I recommend the stretch nylon thread in the looper and regular serger thread in the needles.
Settings for the BERNINA L 220:

I generally prefer a longer stitch length and I found that setting my presser foot pressure to higher setting worked well for this fabric. The machine has three needle options, so try out some stitches to see what look you prefer.
Step 8: Coverstitch waist and hems
Just like with the waistband you will be working in the round to finish the hems. Practice first and start with the waistband as it is much easier than the smaller leg openings. Start at the back or side seam and when you come back around sew over the first few stitches. To secure the stitch on this machine raise the presser foot, then using tweezers or blunt scissors pull the needle threads out from under the presser foot (over the fabric, under the foot). Trim the needle threads then you can pull the project easily from under the presser foot releasing the looper thread. In this action, the needle threads will also pull to the bottom side of the fabric and be secured. For easier visualization of this process, watch our YouTube video here.
Now, go out and show off your new wears…Hello Leggings!