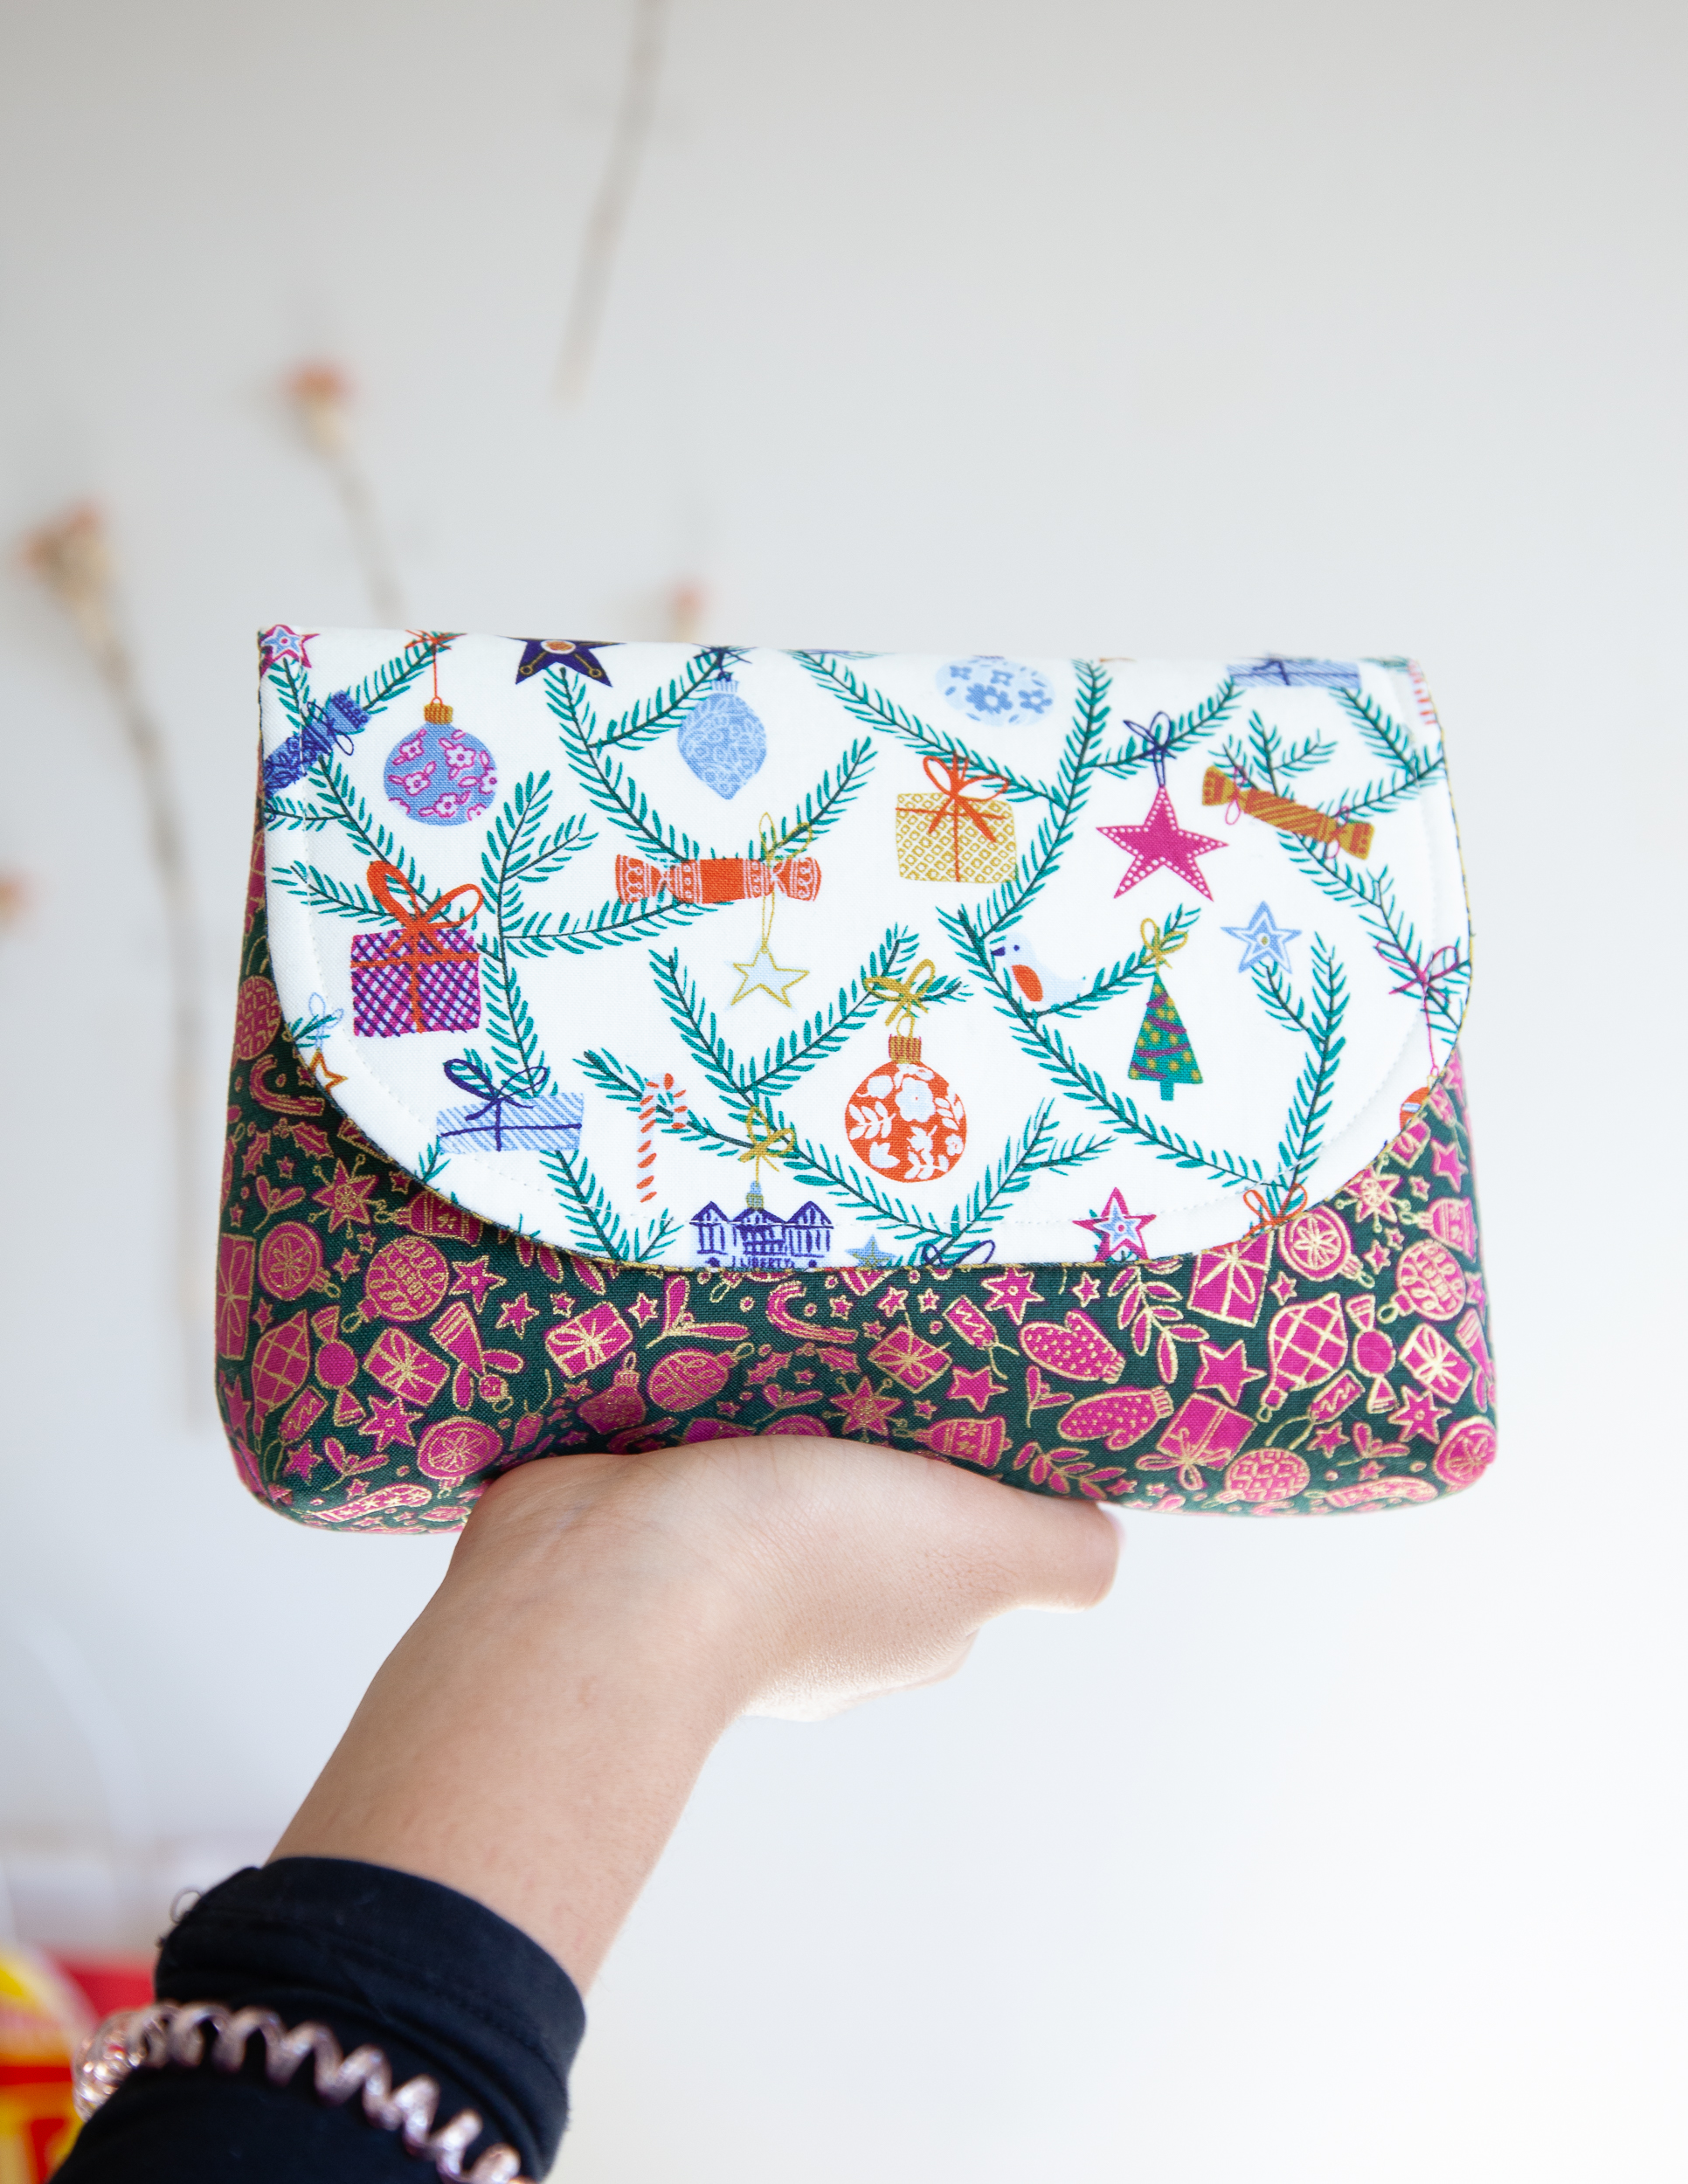
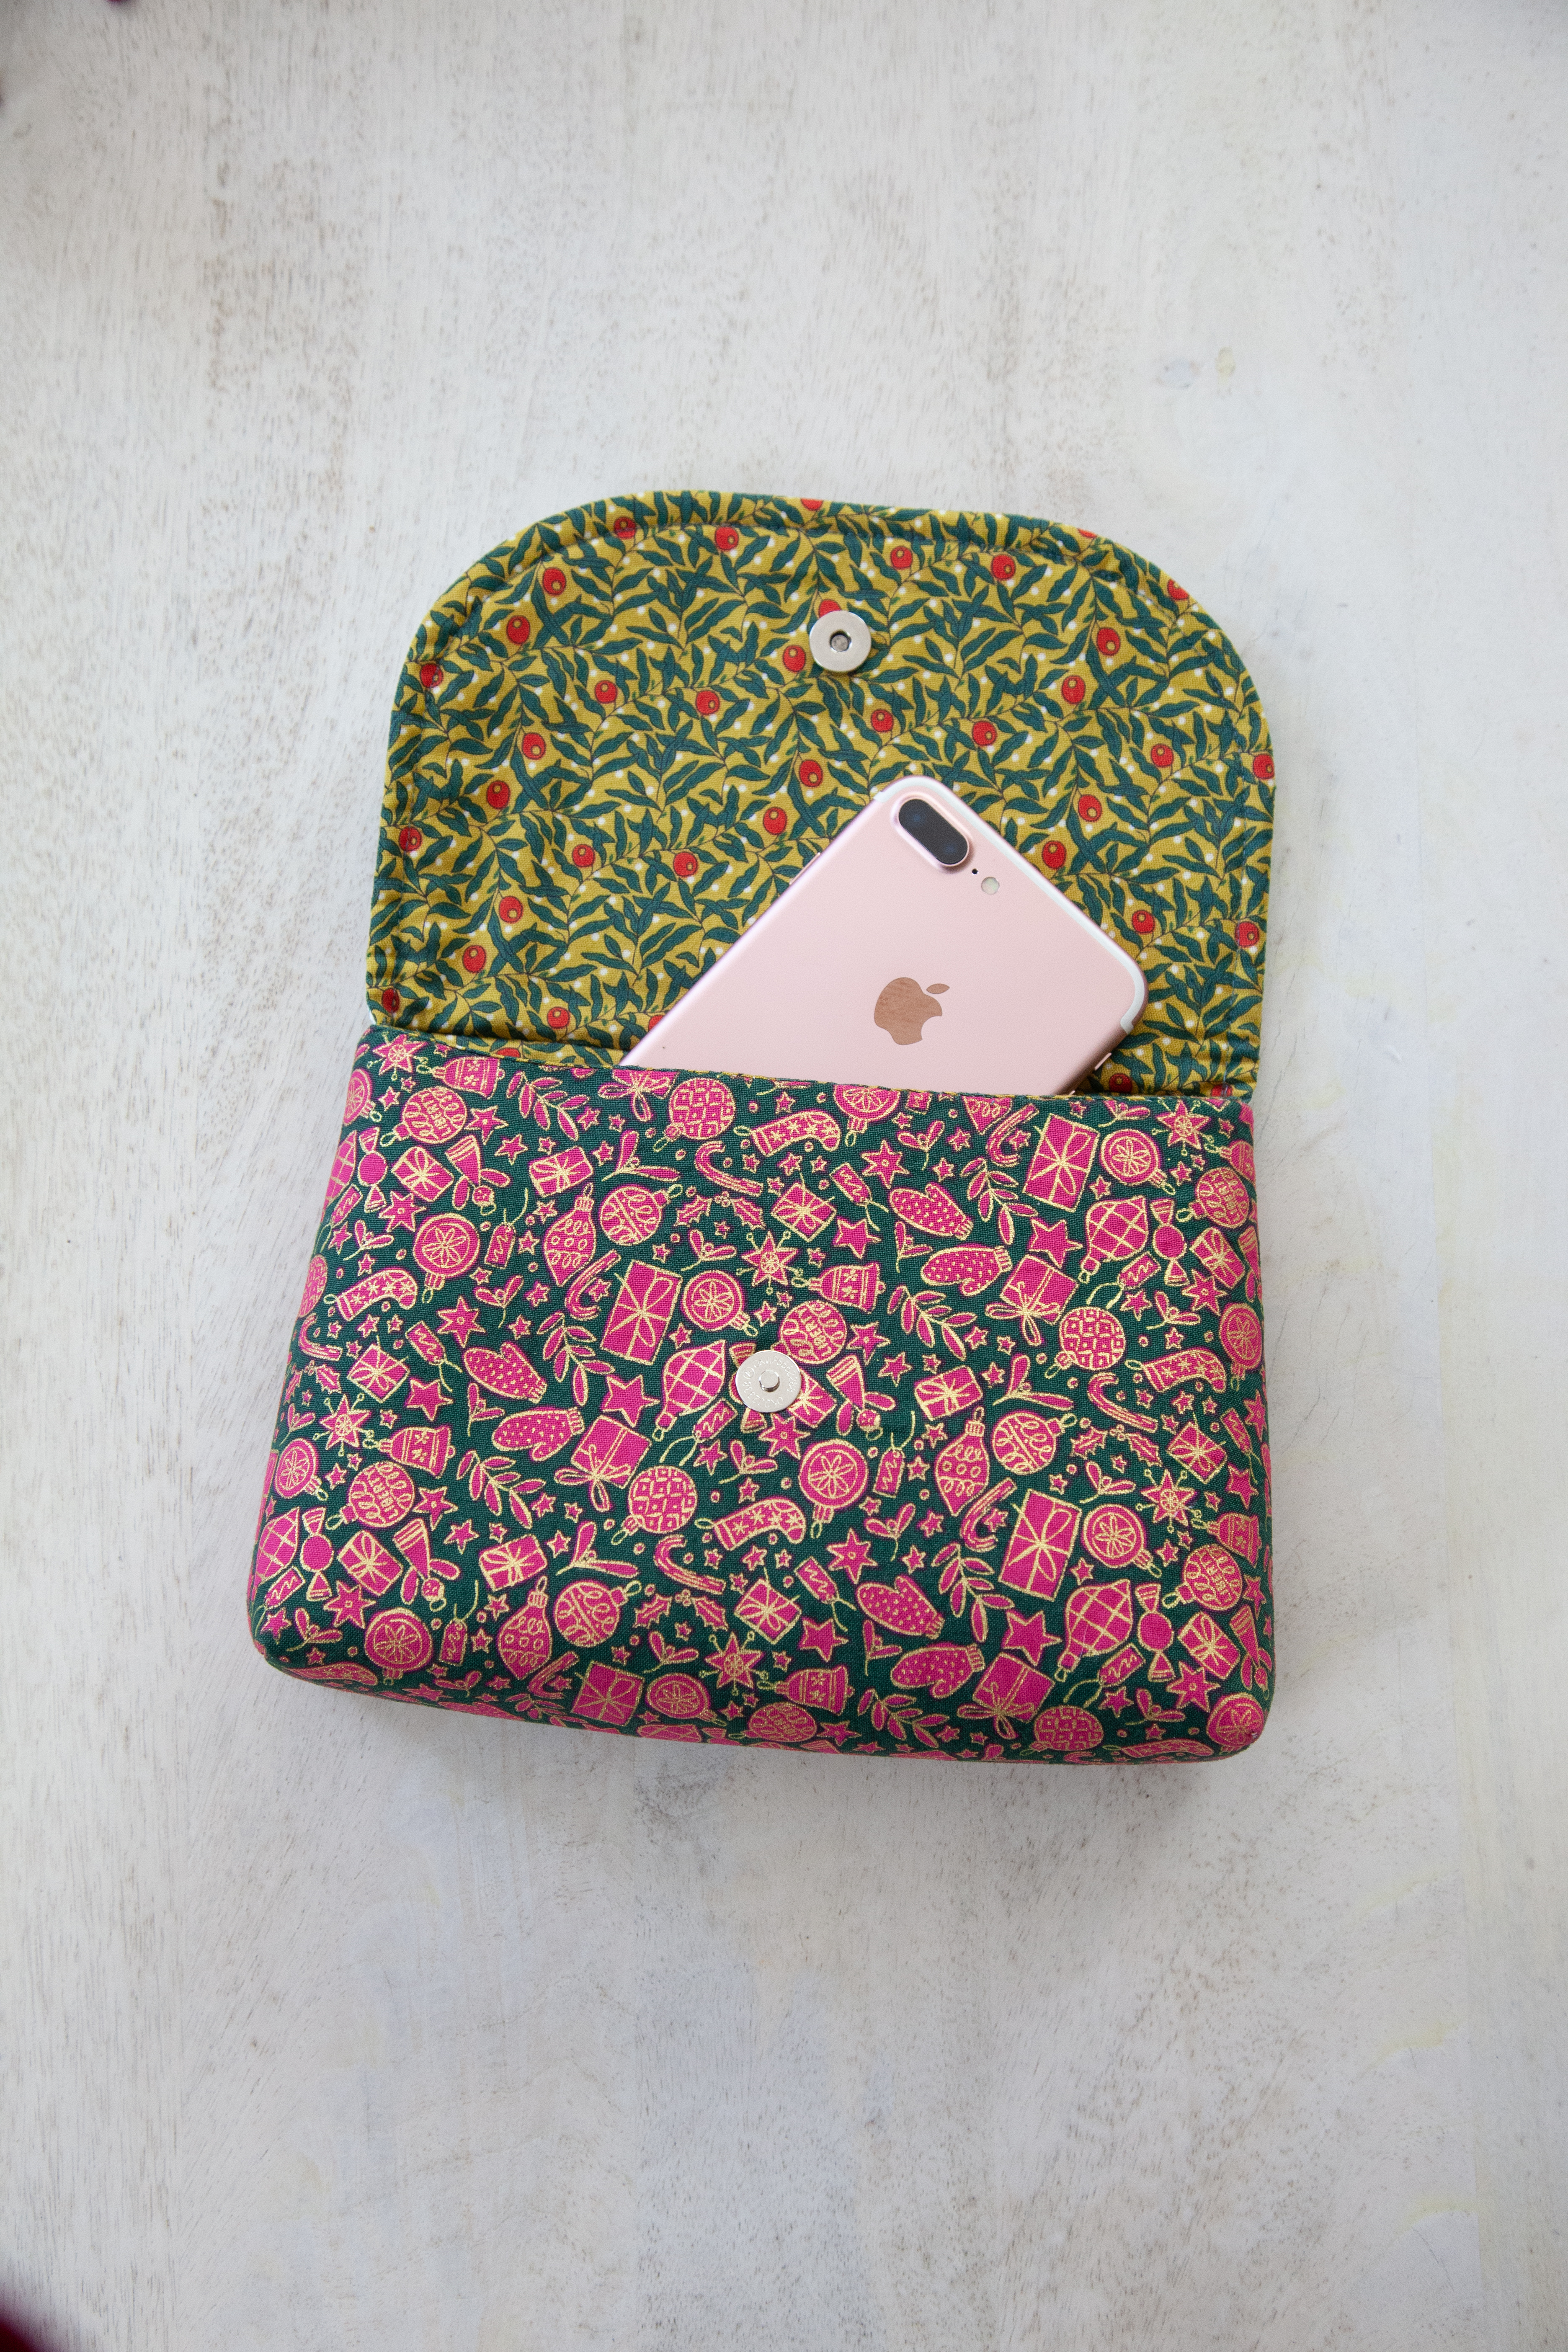
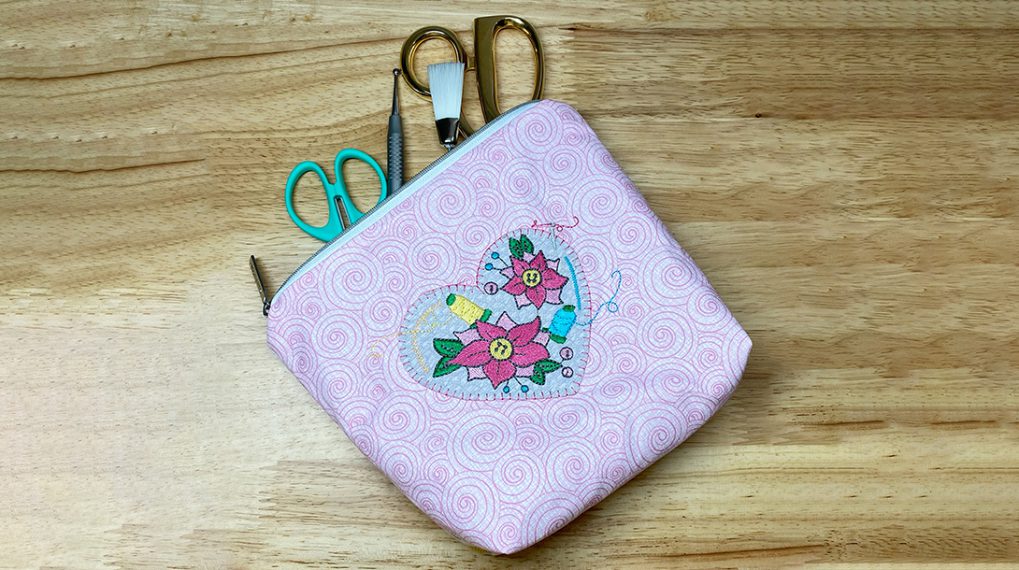
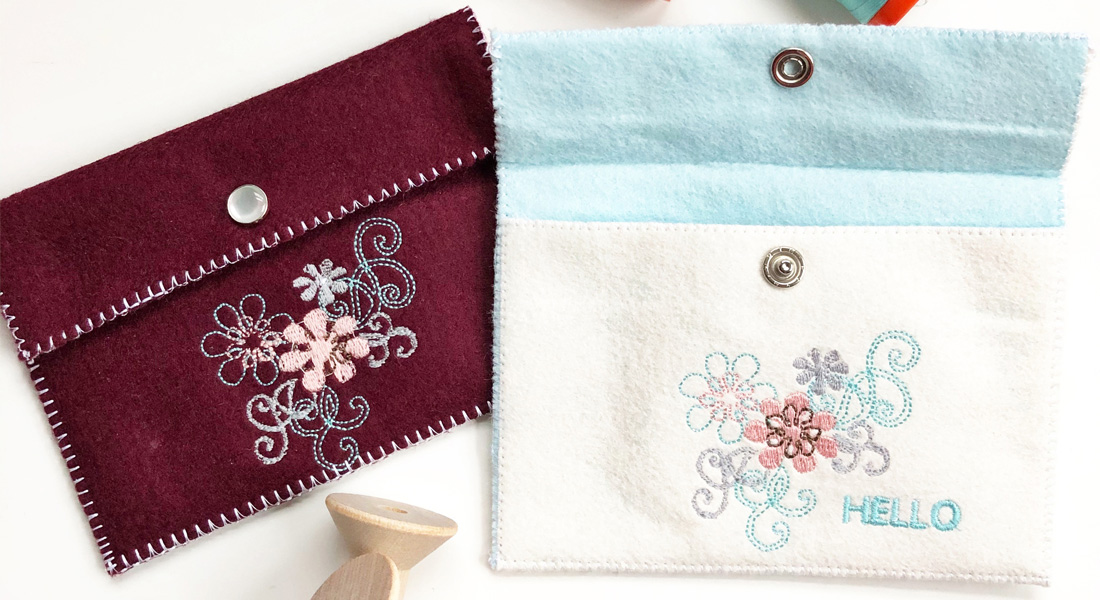
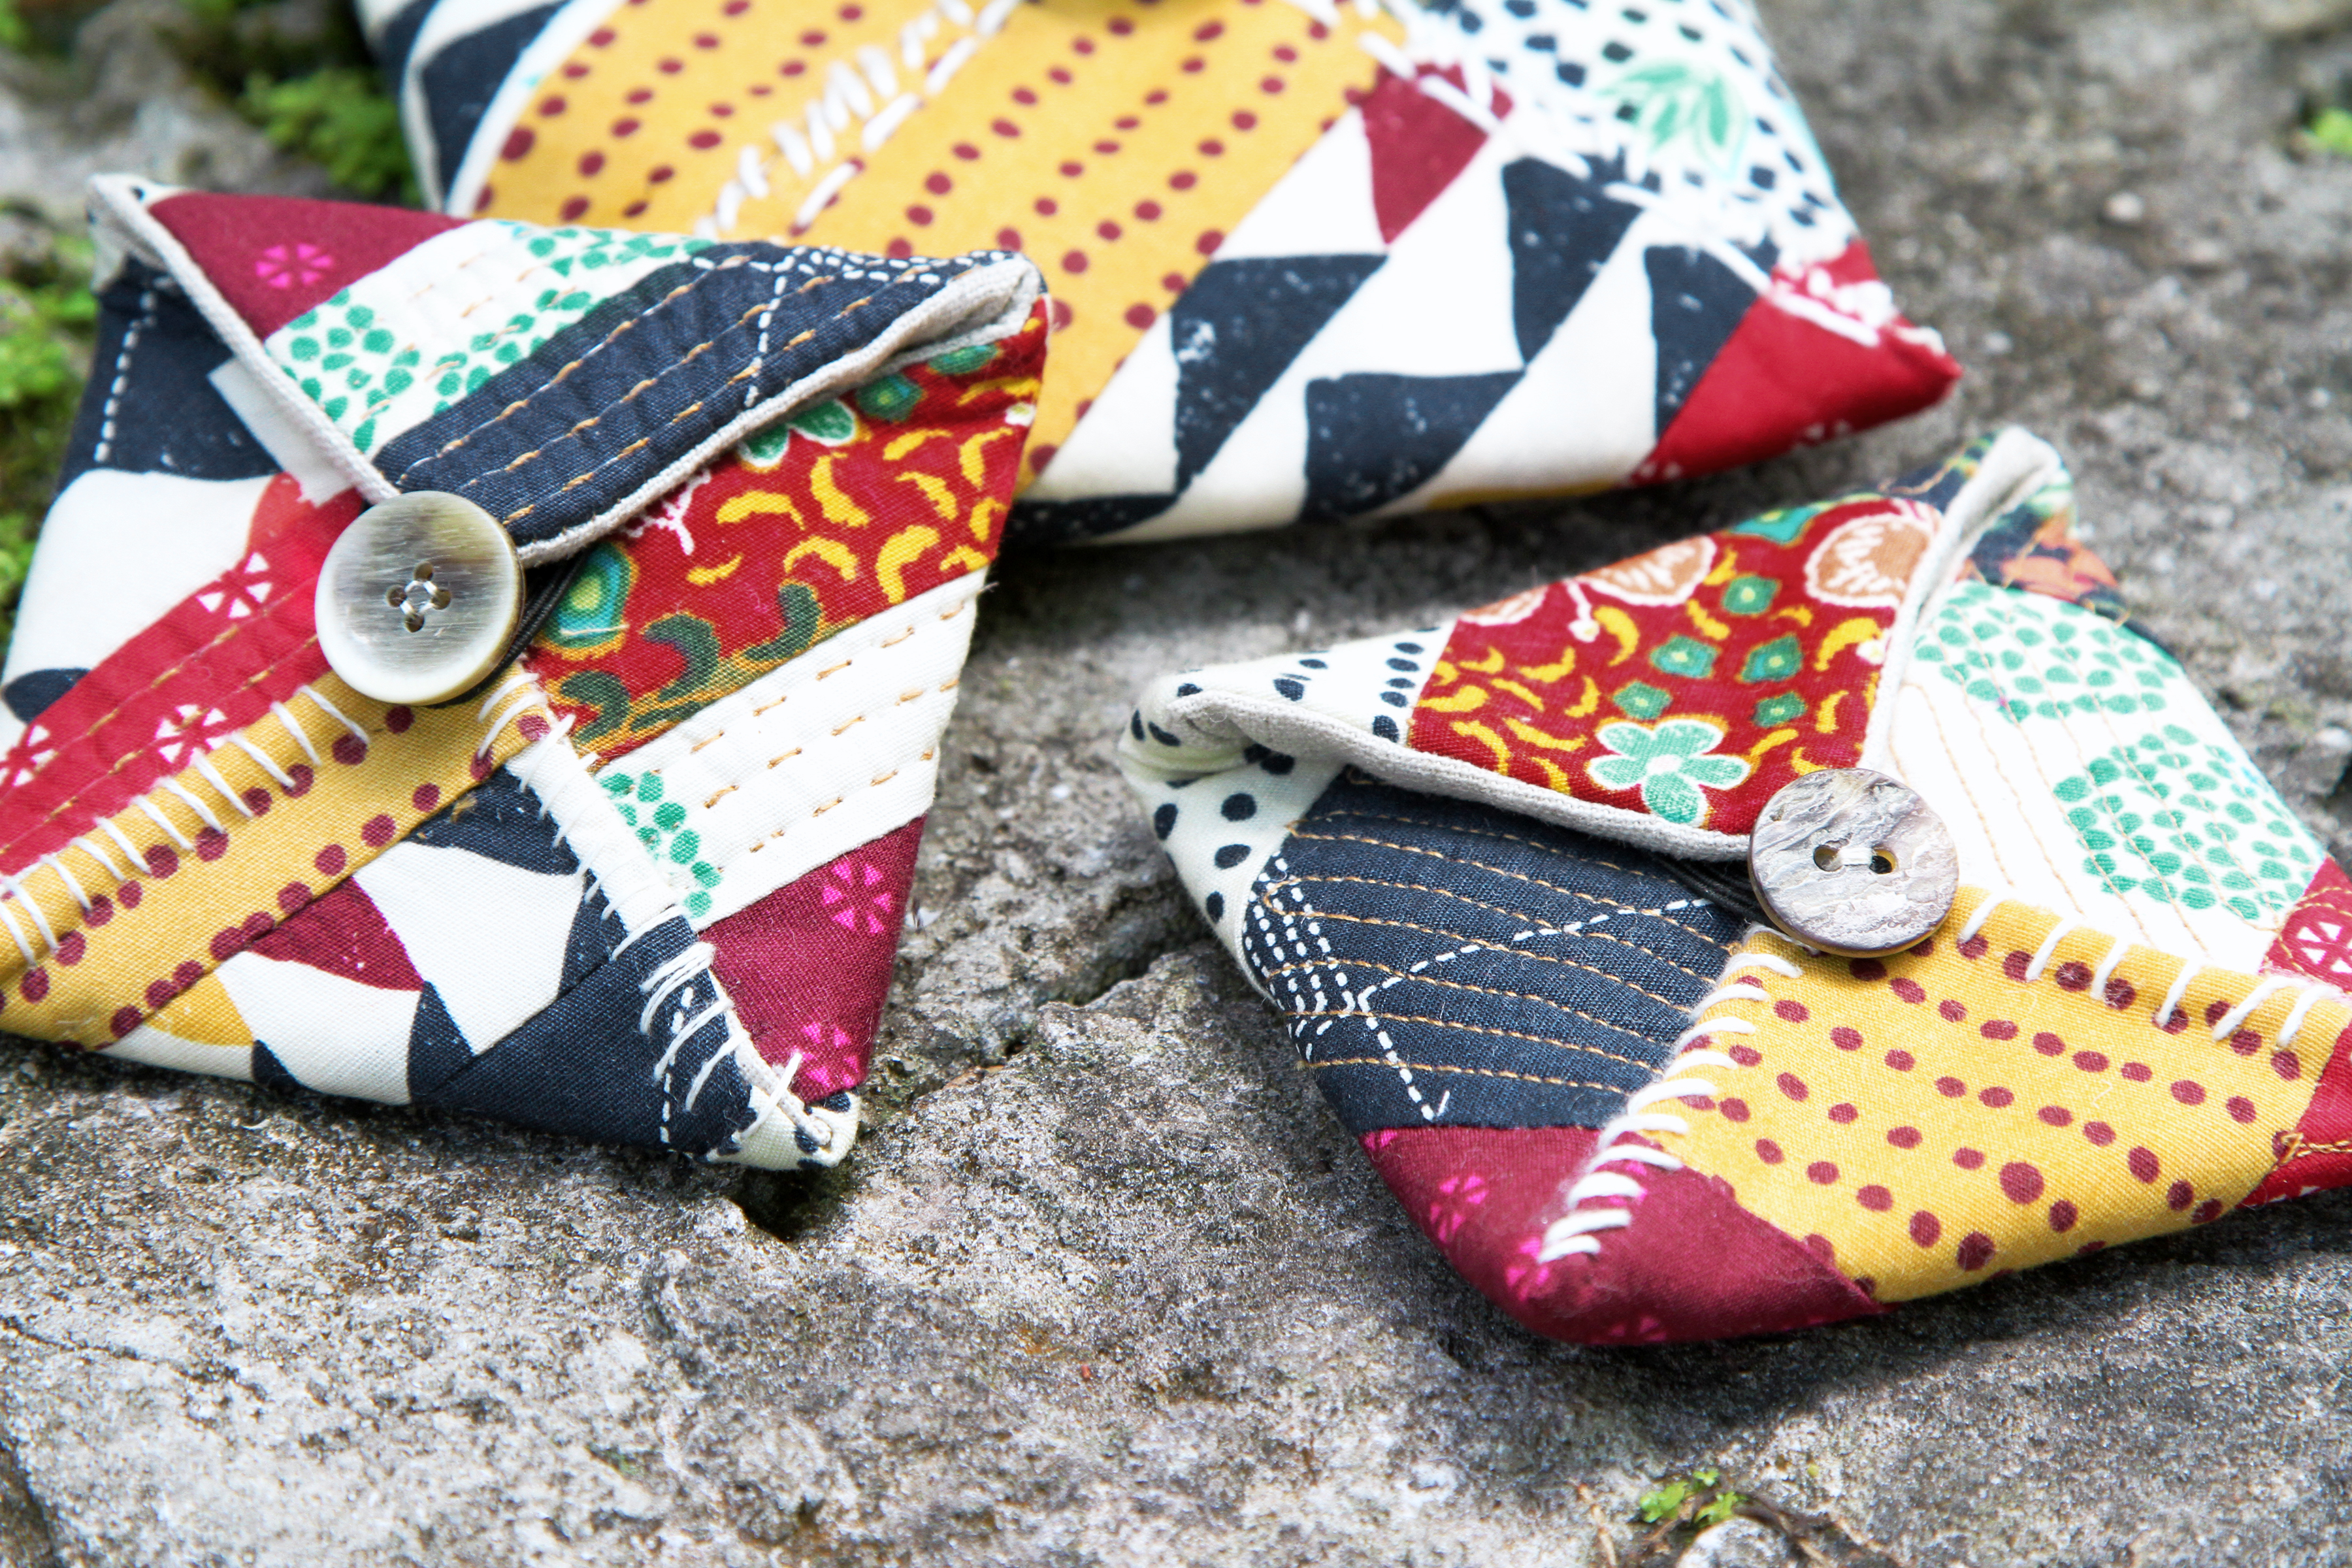
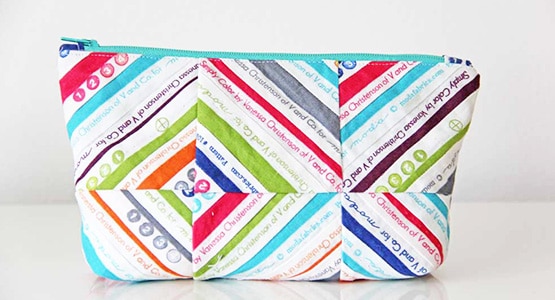
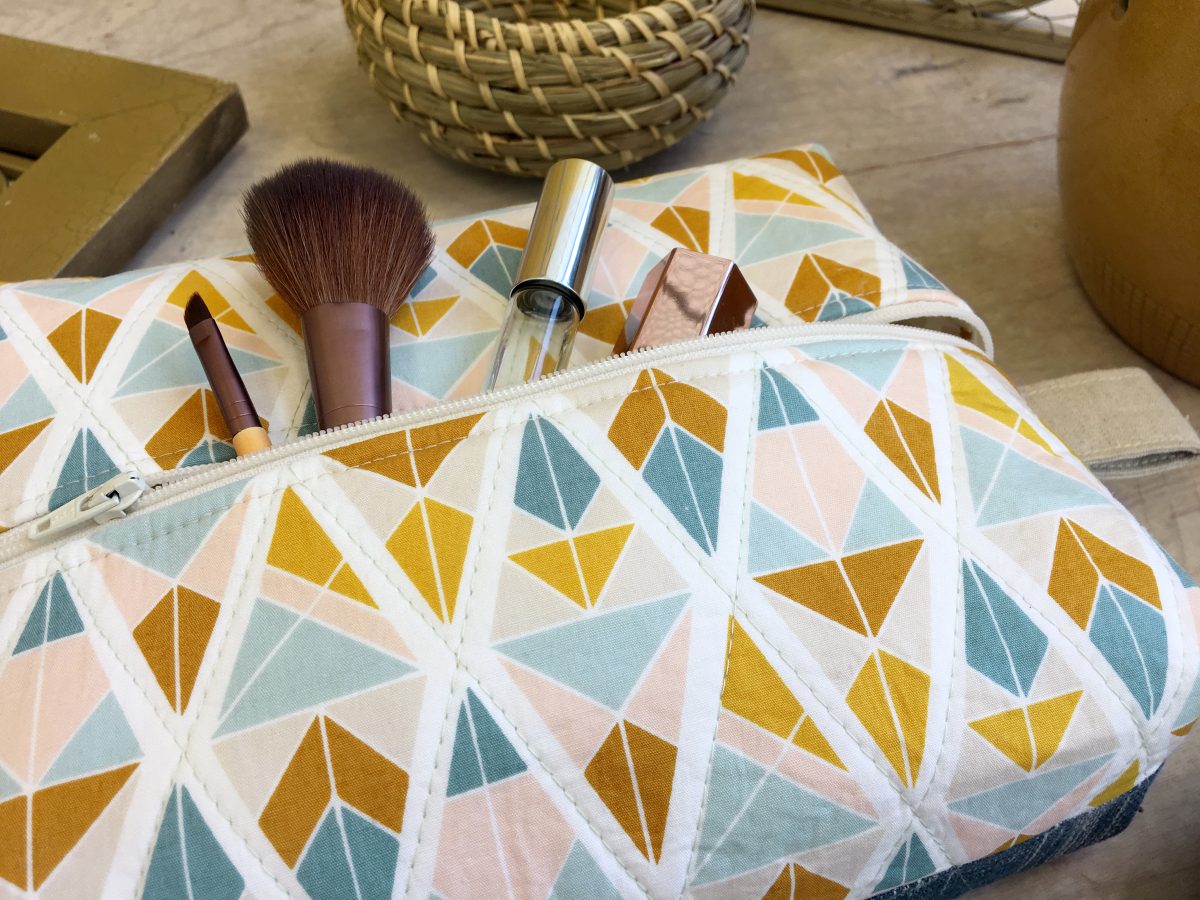
Holiday Cosmetic Pouch
Hello WeAllSew readers,
It’s Minki Kim, and you can find me on Instagram @zeriano and MinkiKim.com. I also design fabric for Riley Blake Designs and I have my own line of sewing patterns. I am excited to share this Cosmetic Pouch tutorial today.
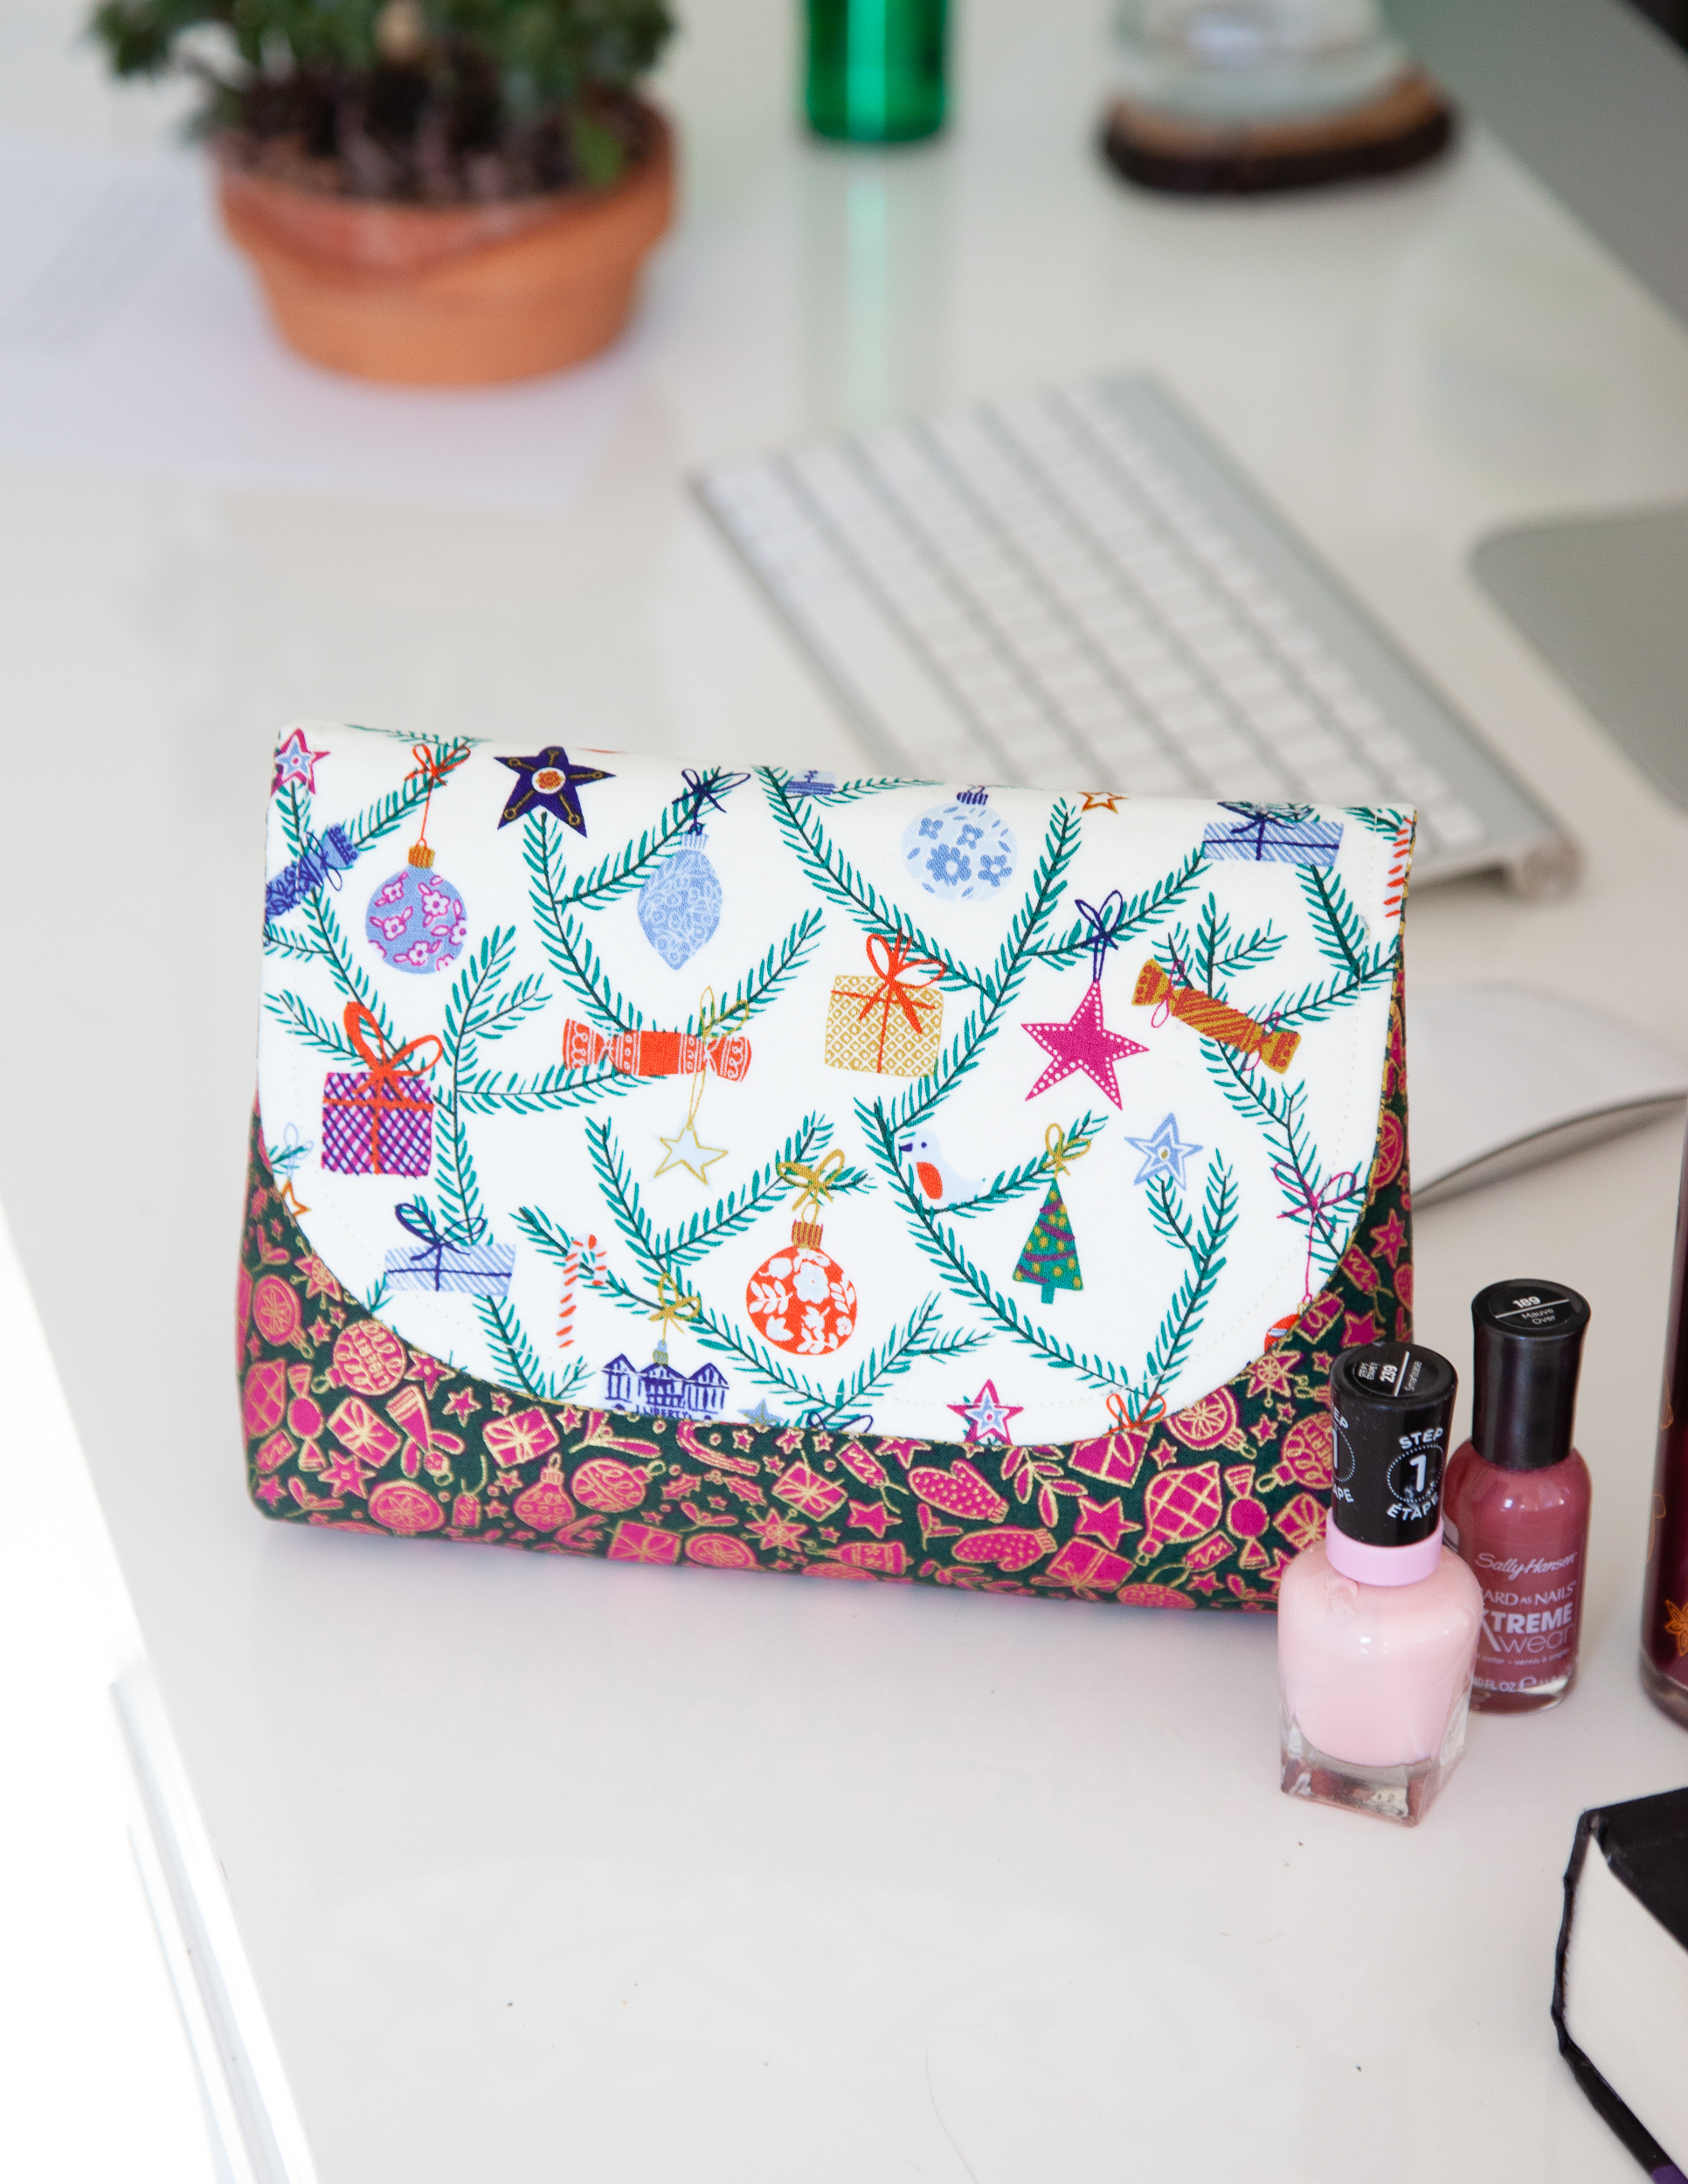
Finished size: 8″ wide x 5 1/2″ height x 2″ deep
Materials to Make a Cosmetic Pouch
- Pouch exterior: fat quarter
- Pouch flap: 8 3/4’’ x 5 3/4’’
- Pouch lining: fat quarter
- Medium weight fusible batting: fat quarter
- Magnetic button: 1 set
- Basic sewing kit
- Download the Cosmetic Pouch pattern here
Notes:
- Seam allowances are 1/4″ unless otherwise noted
- RST = right sides together
- Fabrics used: Liberty Season’s Greeting collection
Cutting The Pouch
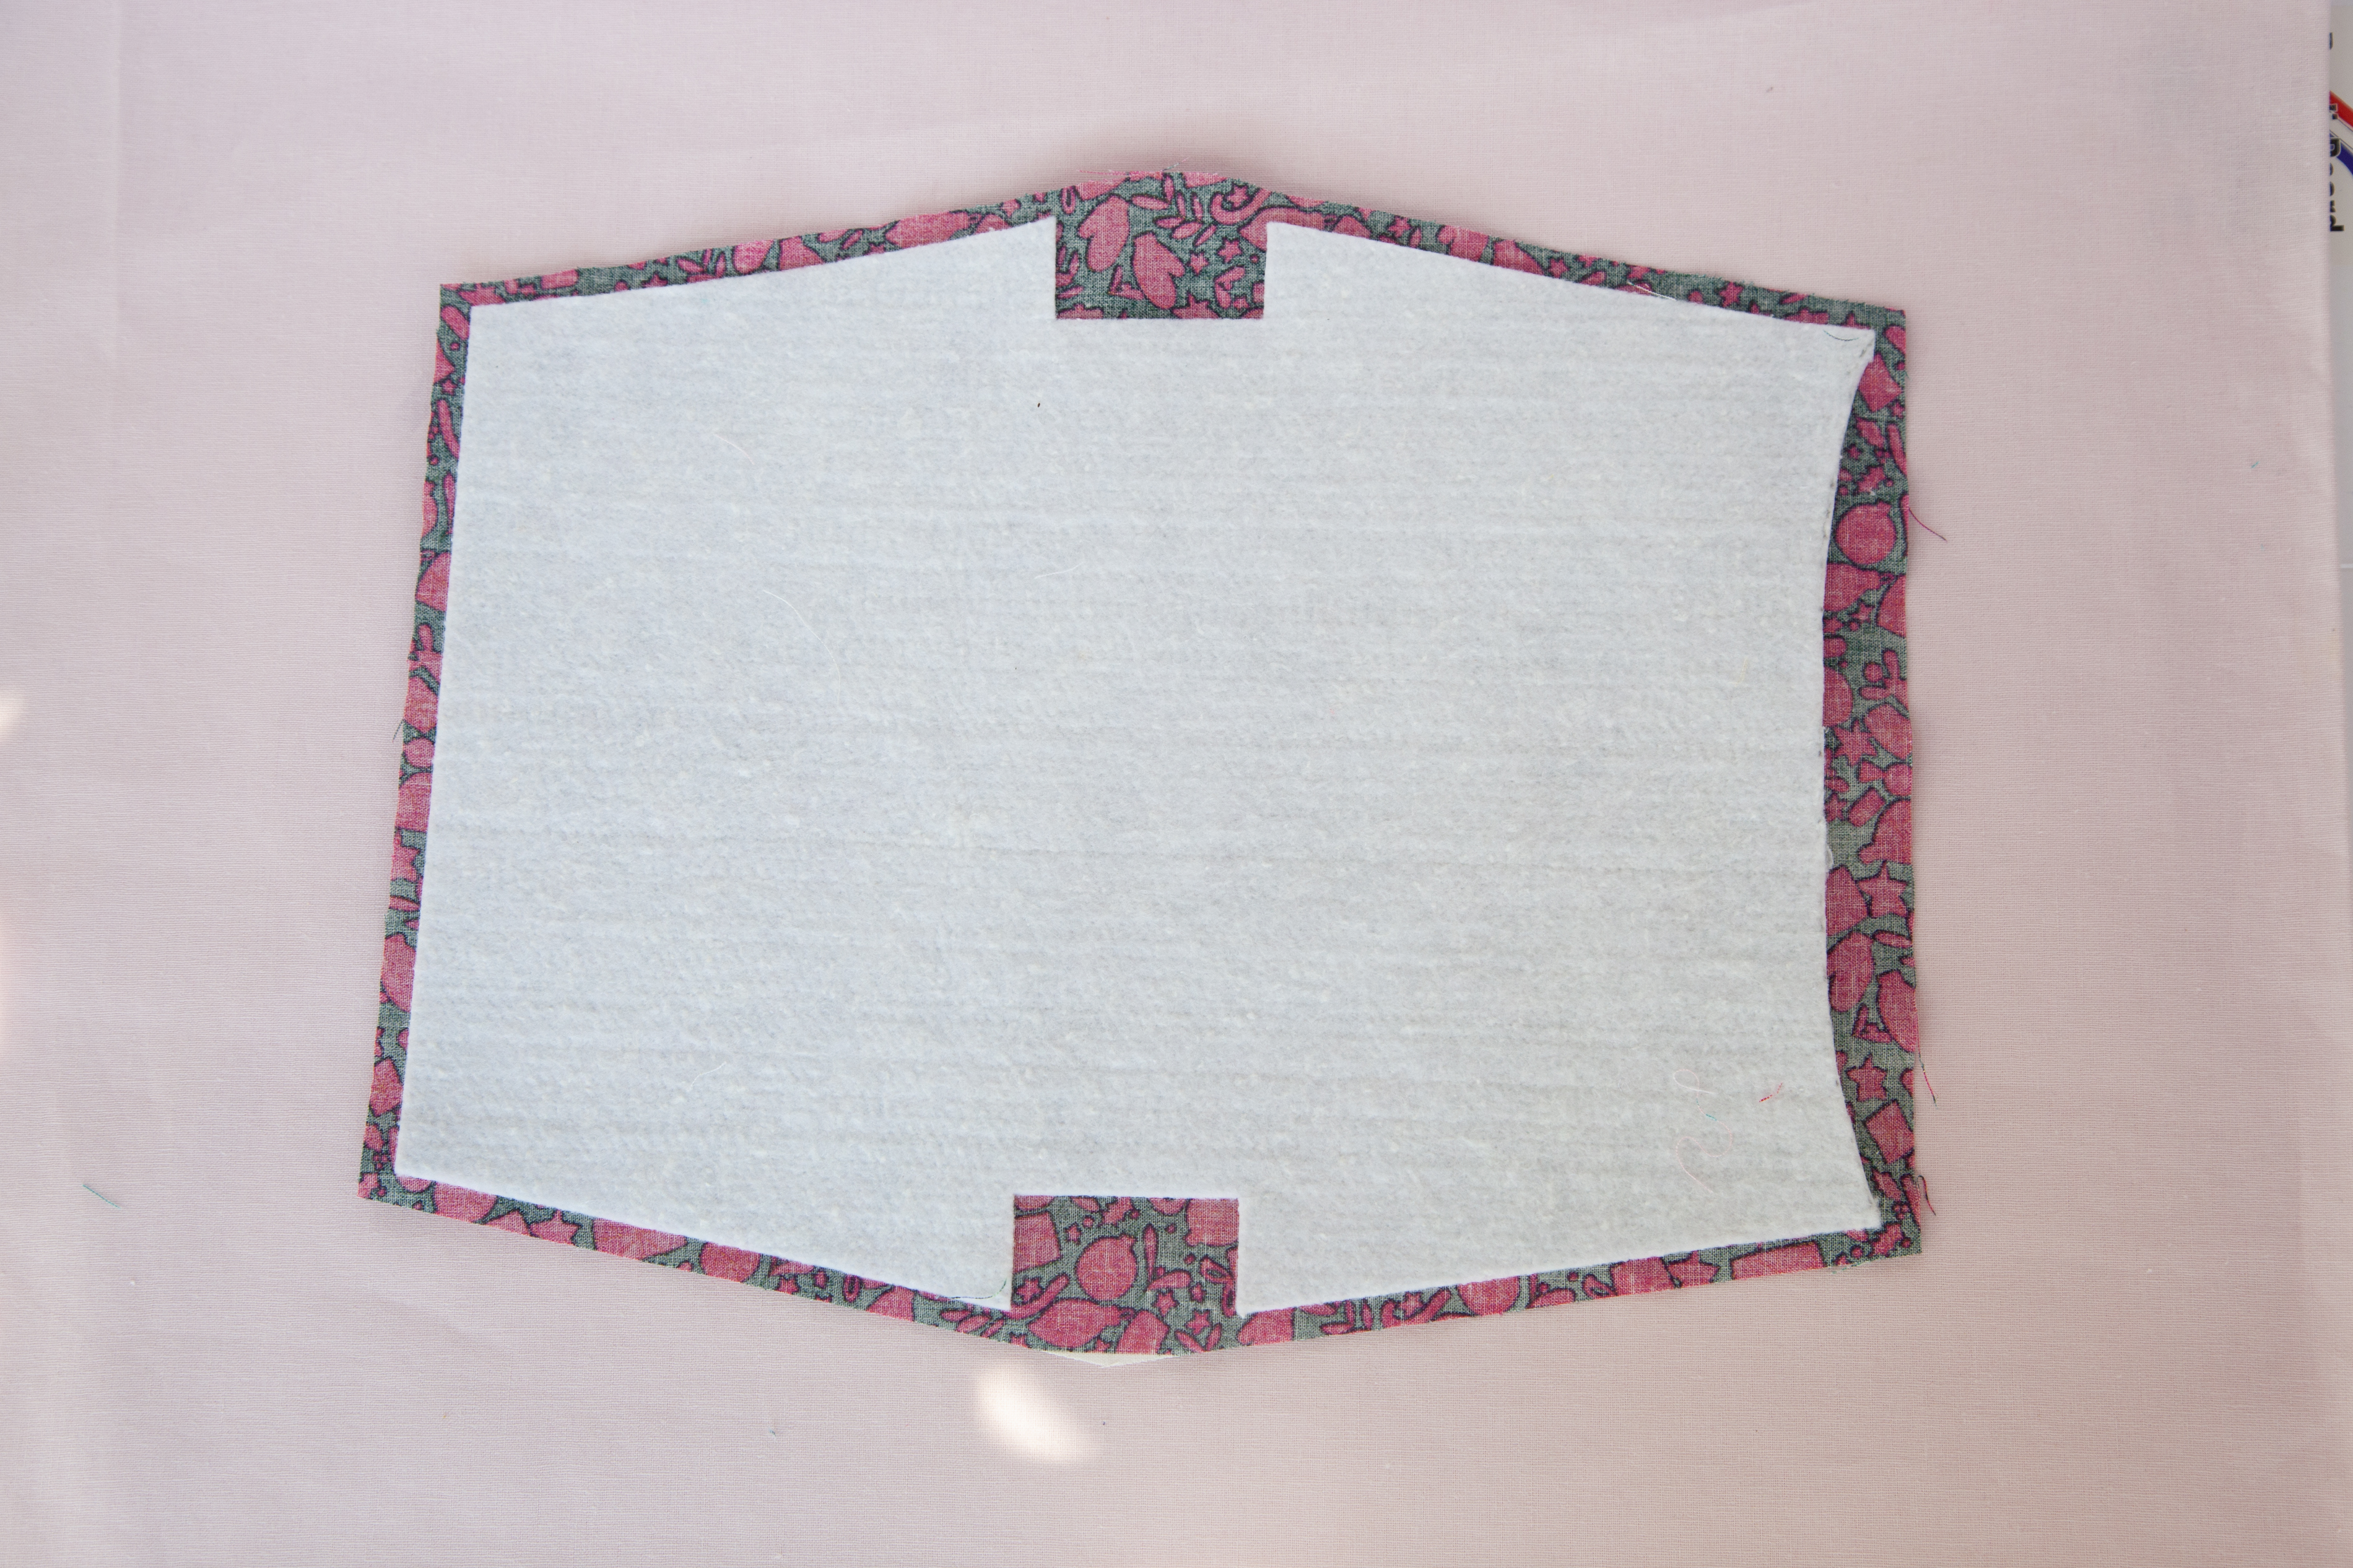
1. Download the pouch template above.
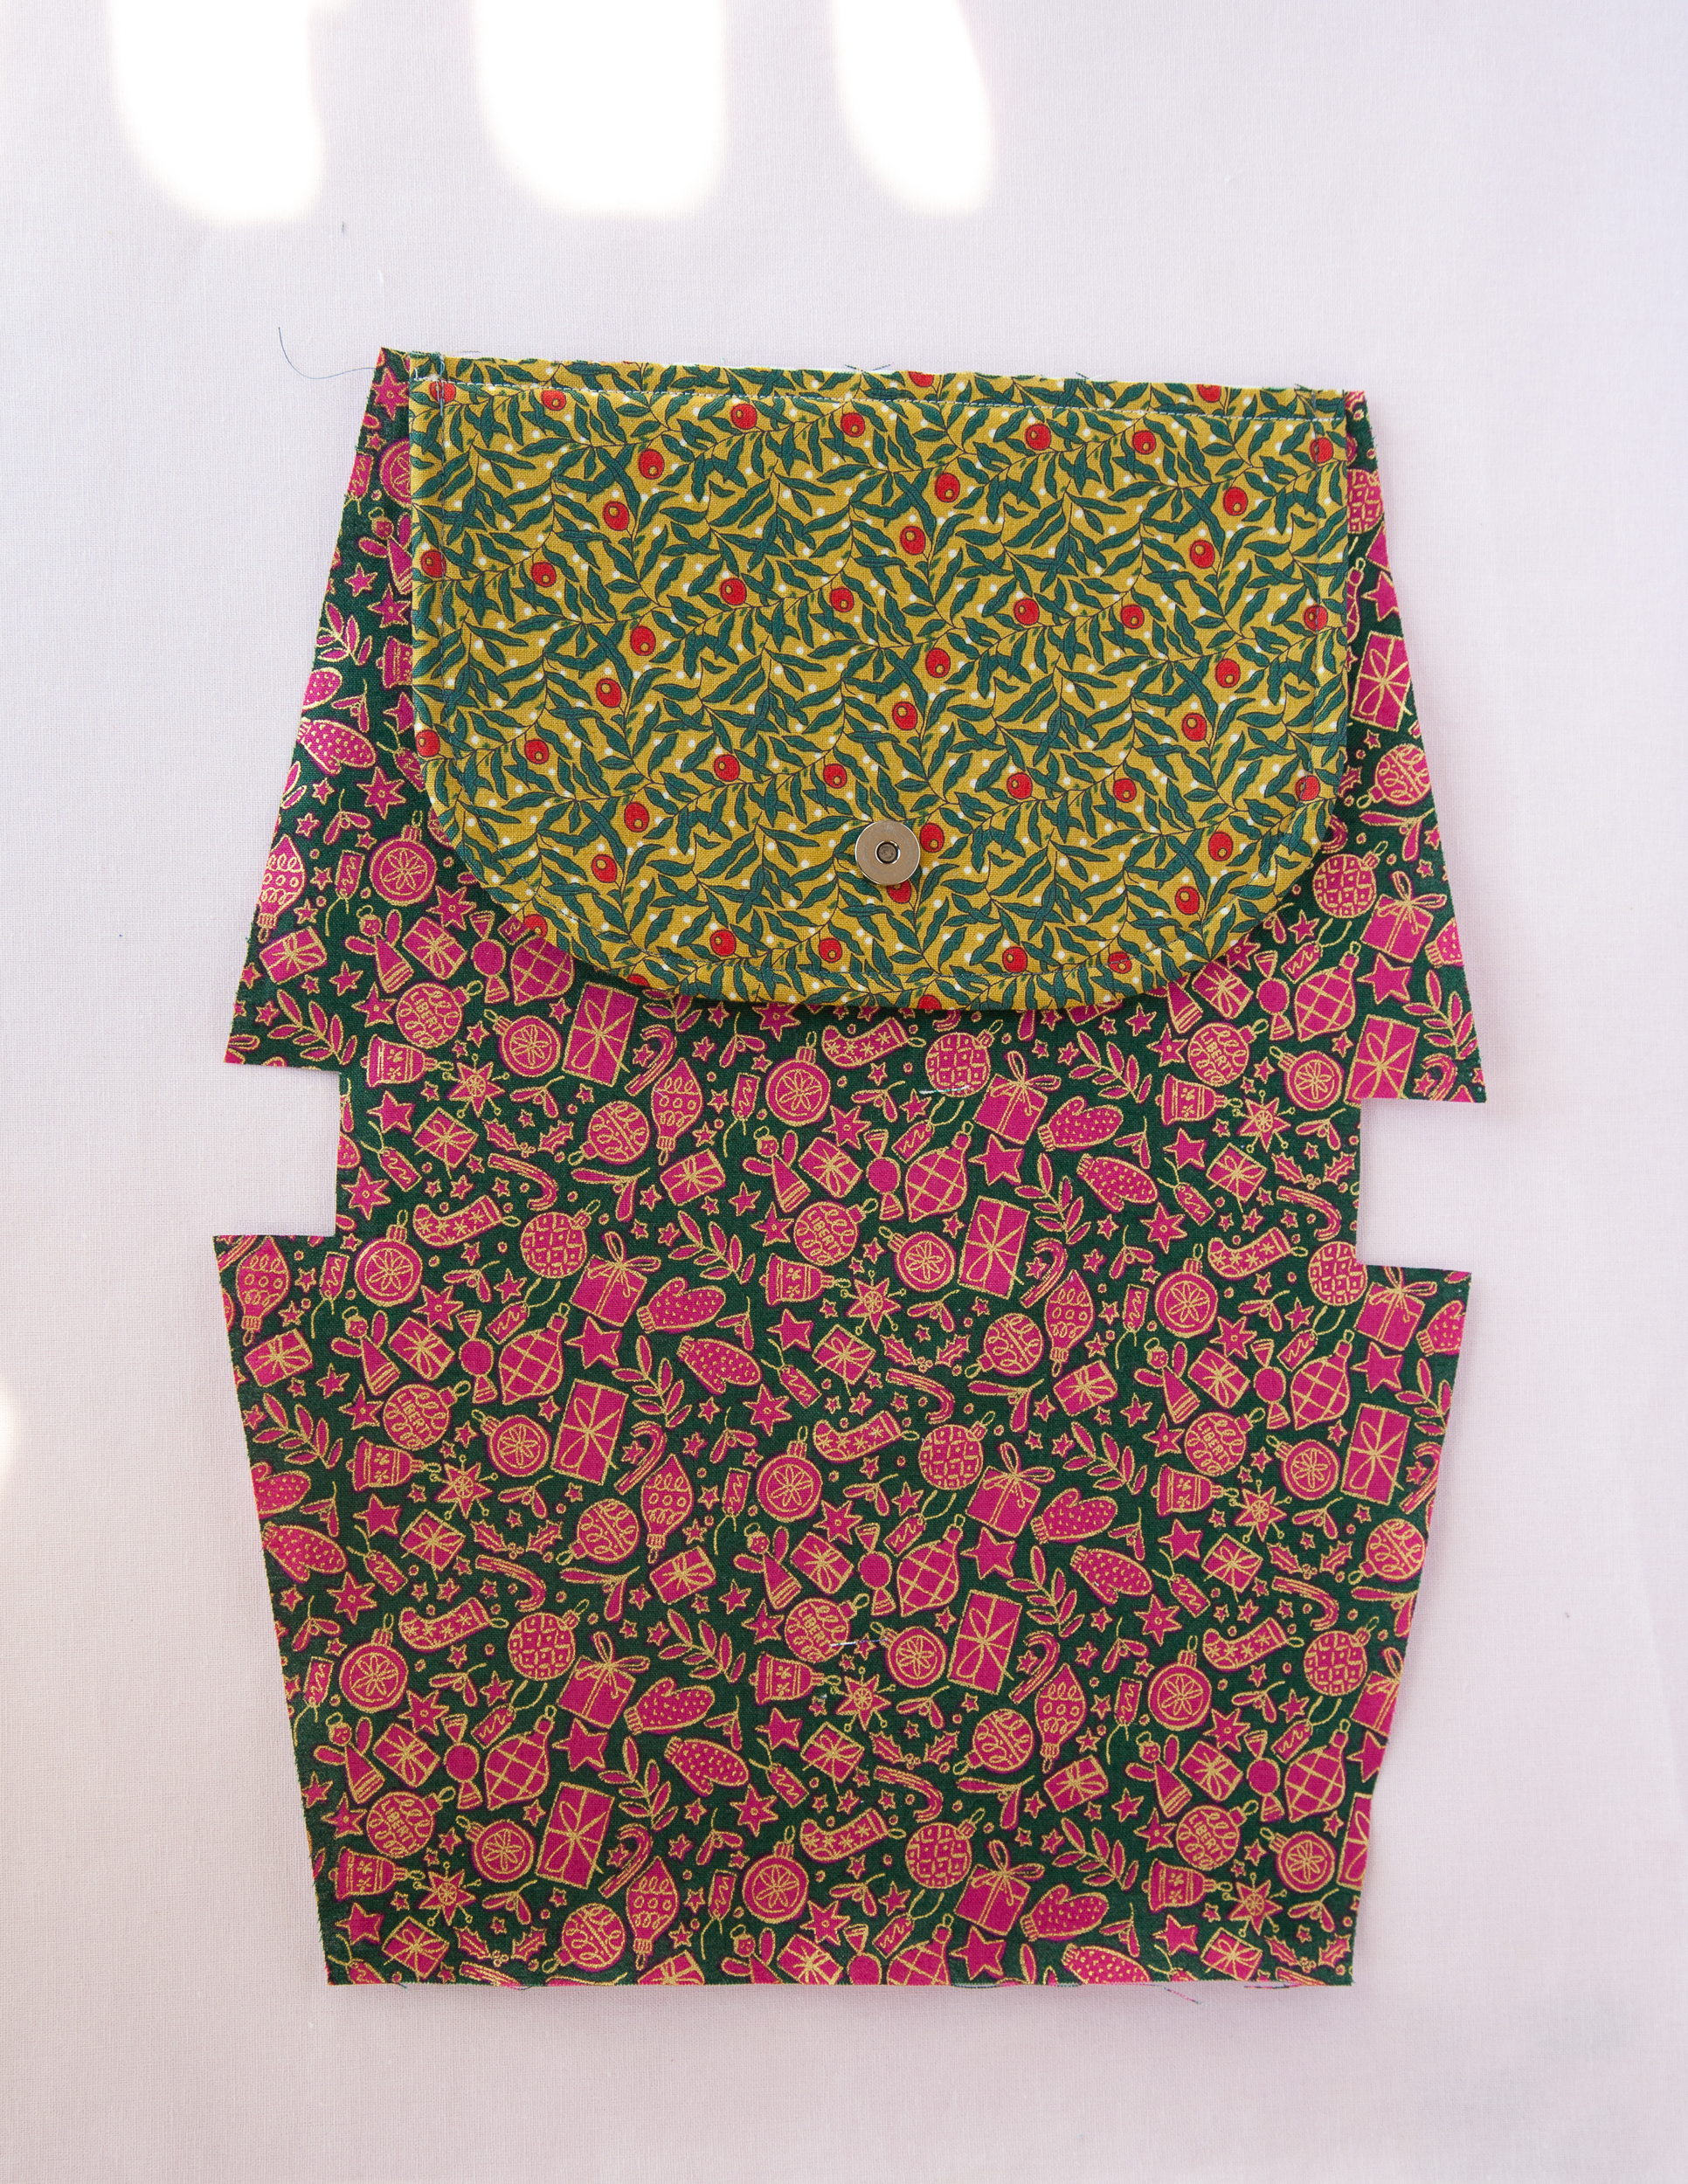
2. Trace the pouch body, pouch flap and fusible batting using the template and cut out the shape. Center and fuse the batting to the wrong side of the fabric.

Making The Pouch
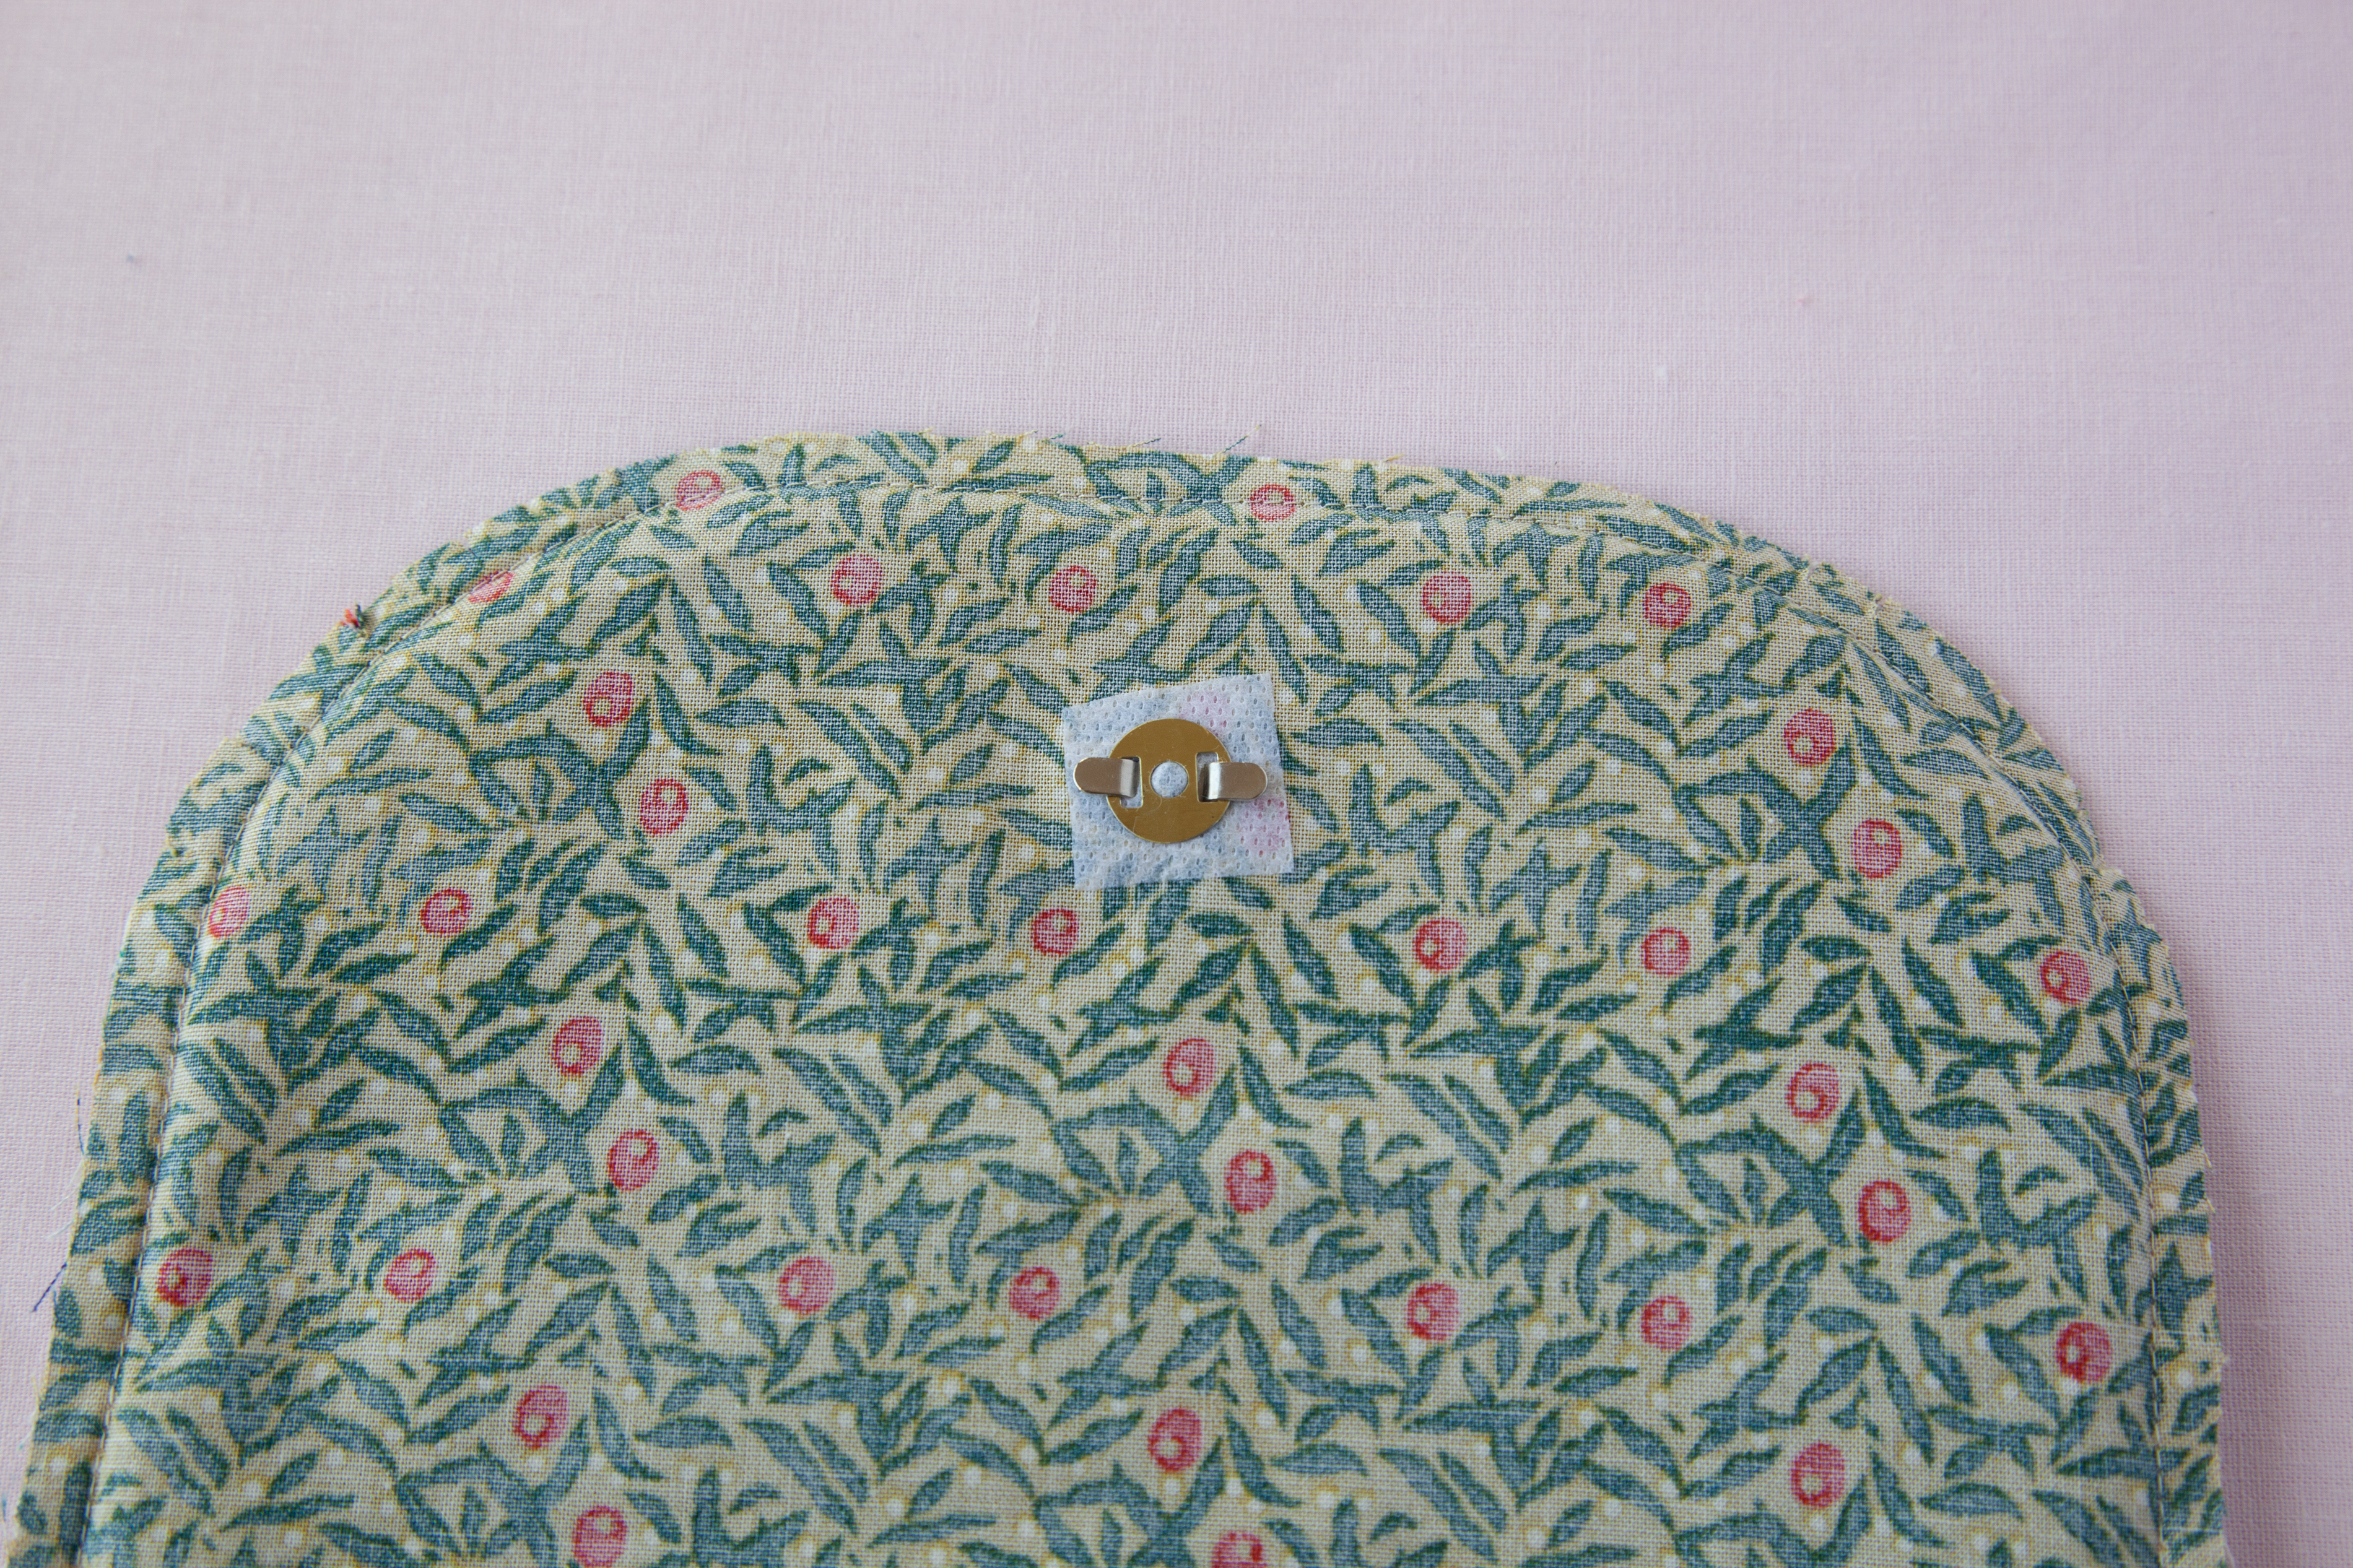
1. Place the flap lining on top of flap fabric WST. Sew around leaving the bottom straight line open. Mark the center of flap, 1 1/4″ inside from the edge and attach the magnet button following the manufacturer’s instruction.
2. Turn right side out and press. Topstitch 1/4″ inside from the edge.
3. RST, sew the flap along the straight edge of the pouch exterior.
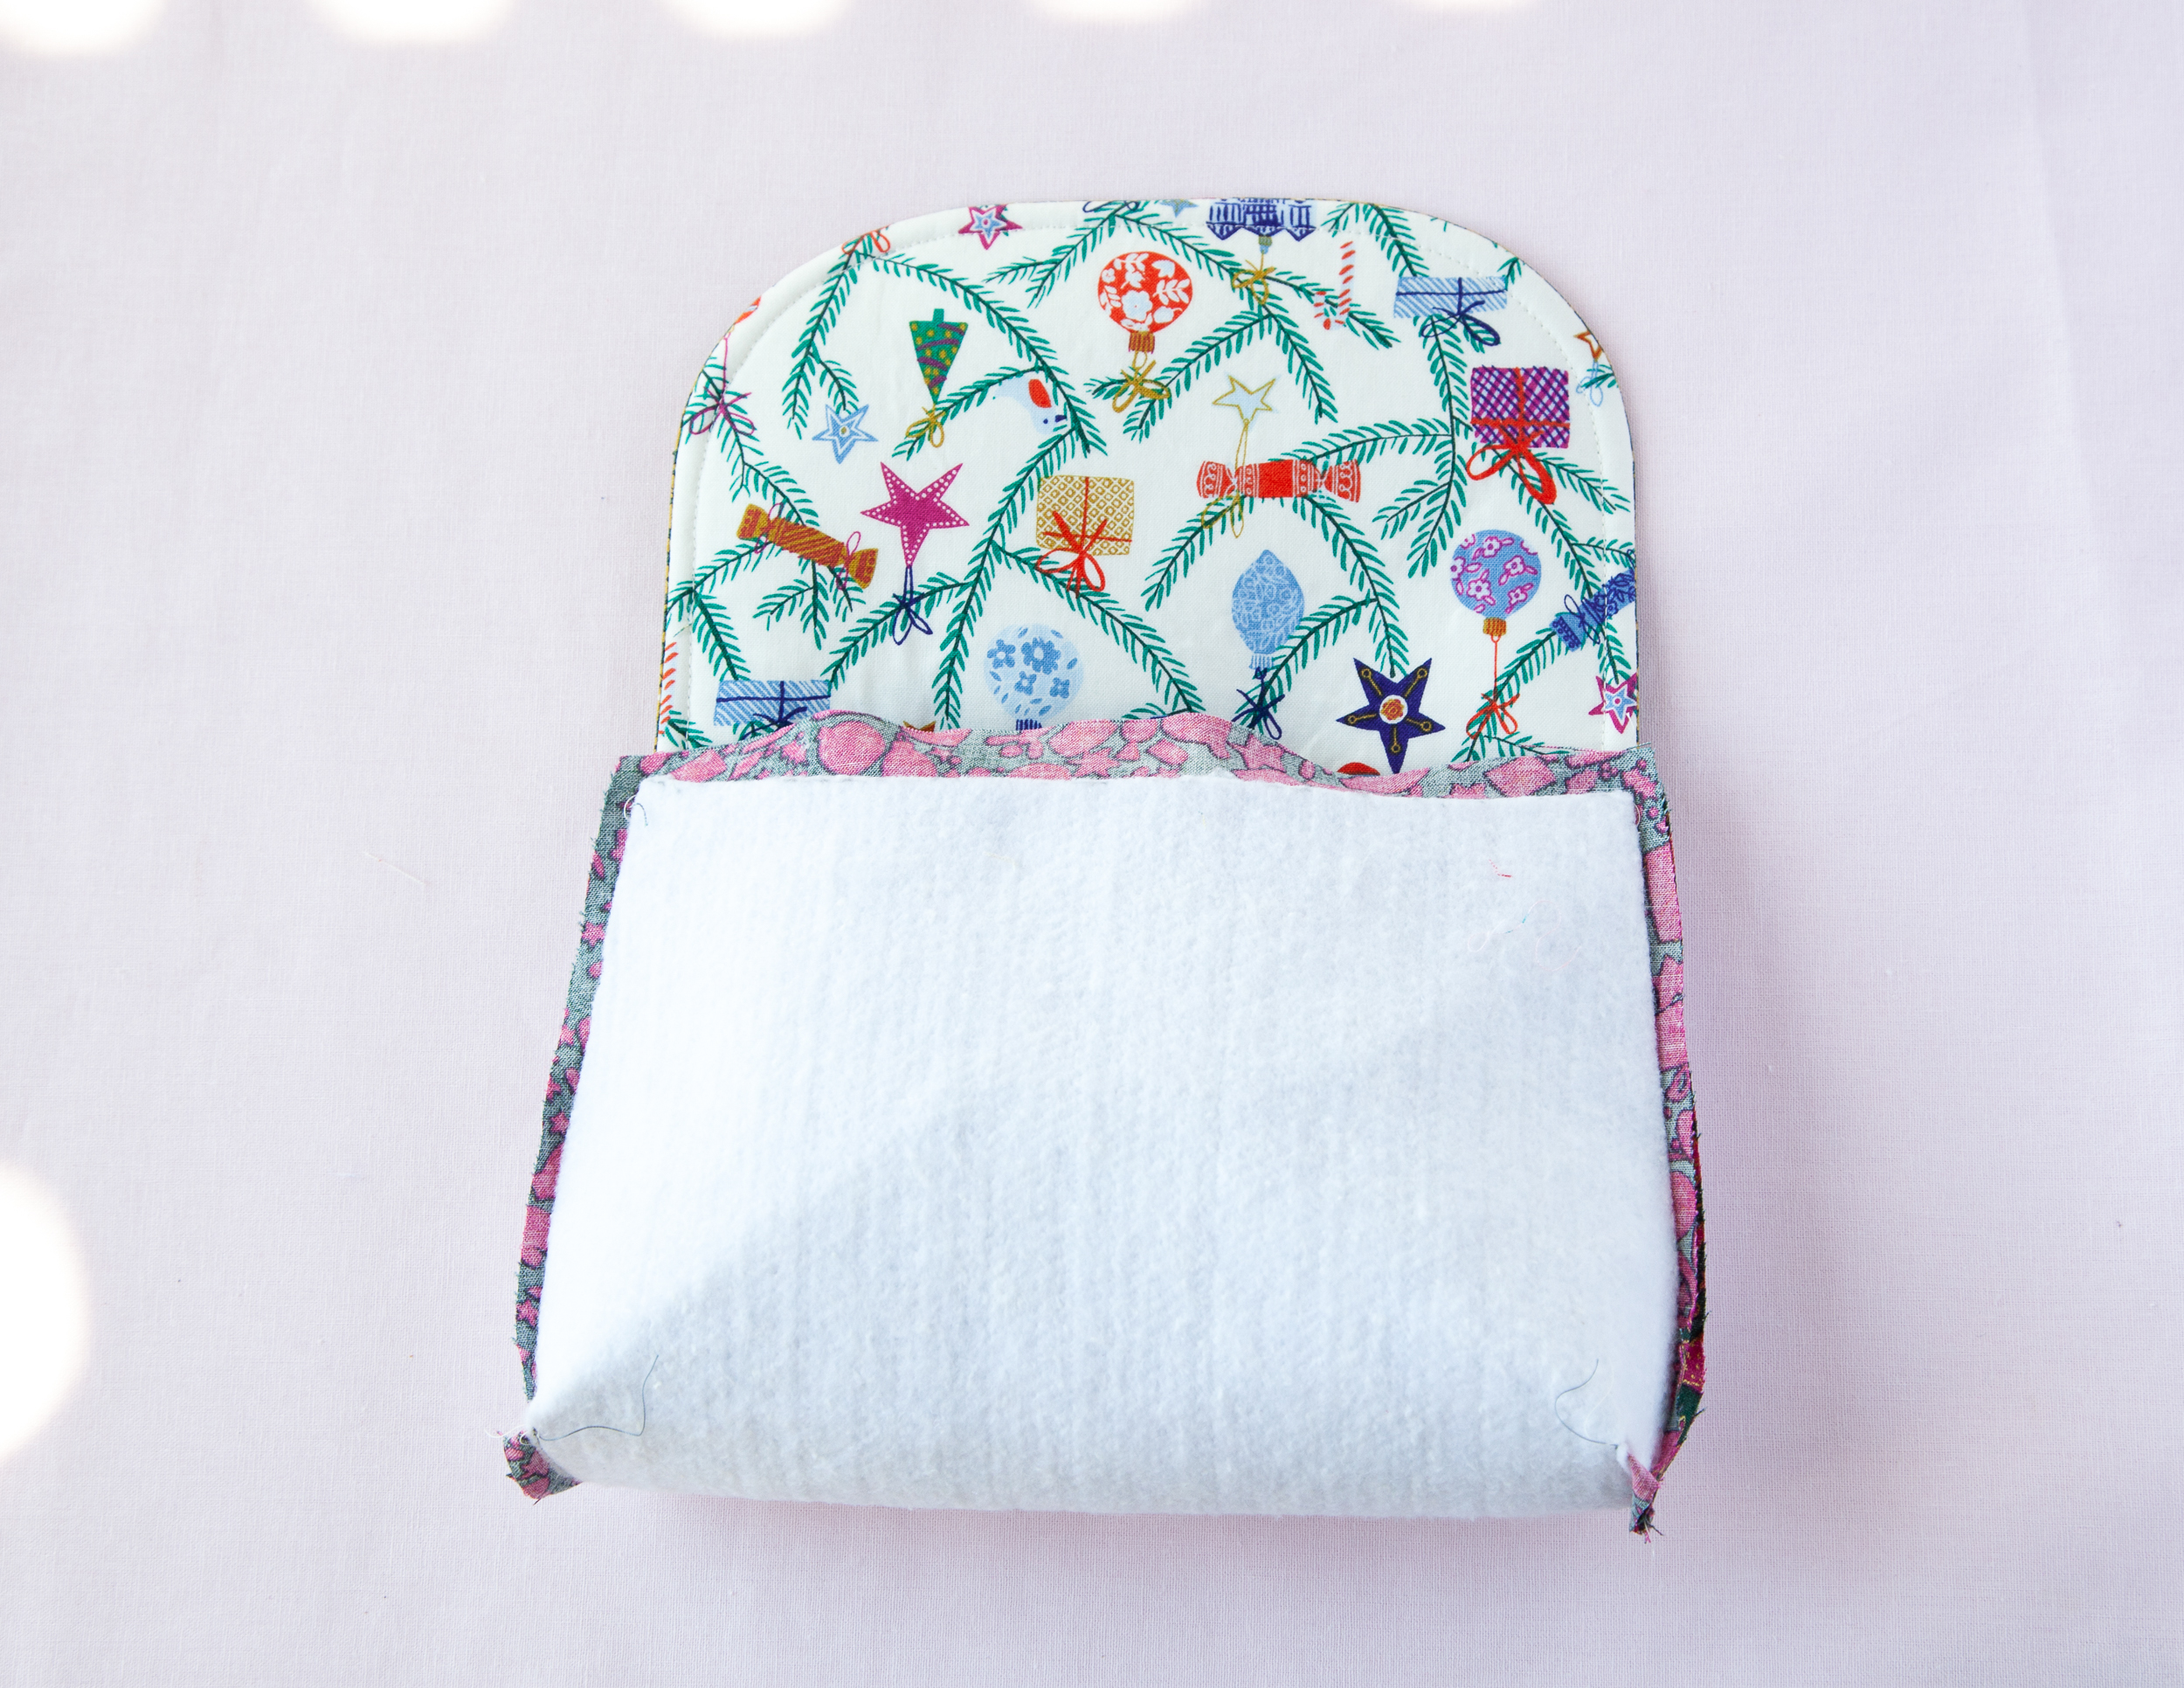
4. RST, fold the pouch exterior in half, matching up the side and corner raw edges. Sew sides together.
5. Flatten out the bottom of the pouch to sugar bag the corners, matching up the seams as shown and sew together.
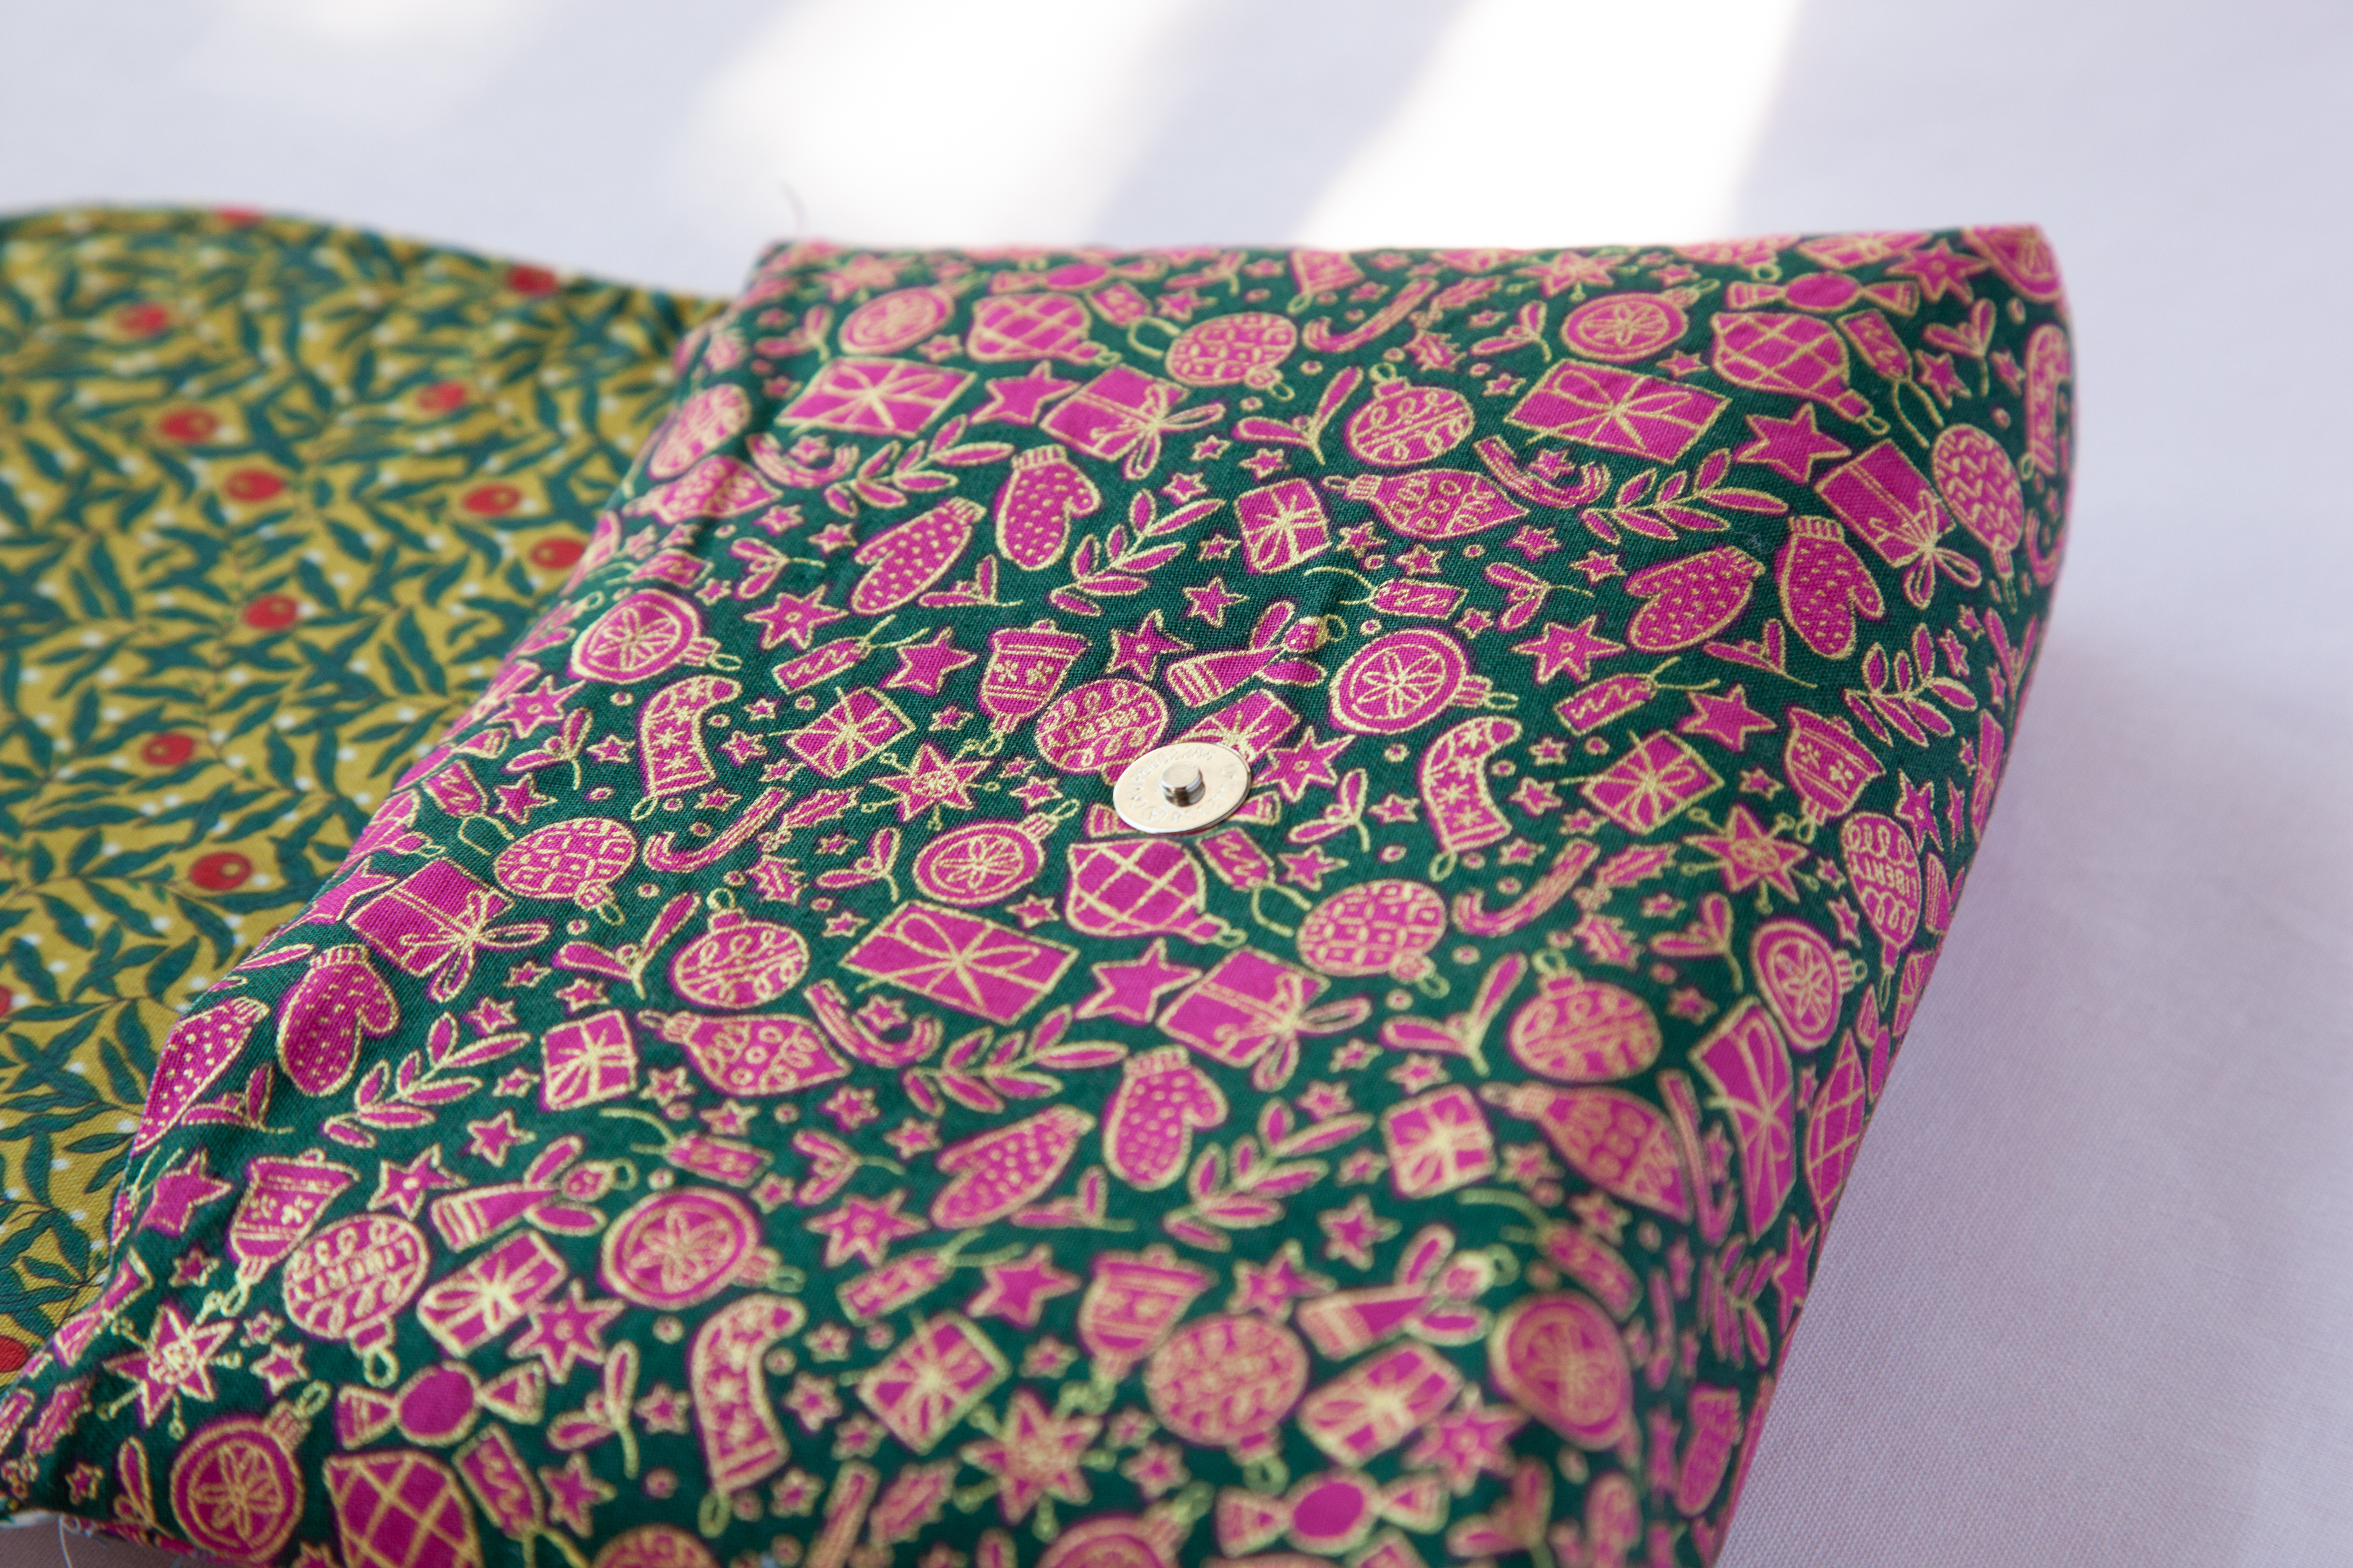
6. Attach the other pair of magnet button on the pouch exterior, checking the fit.
7. Repeat step 3-4 to make the pouch lining.

8. Put the lining inside of the pouch WST, fold in the raw edges to the wrong side of pouch. Pin in place and hand stitch or machine topstitch.
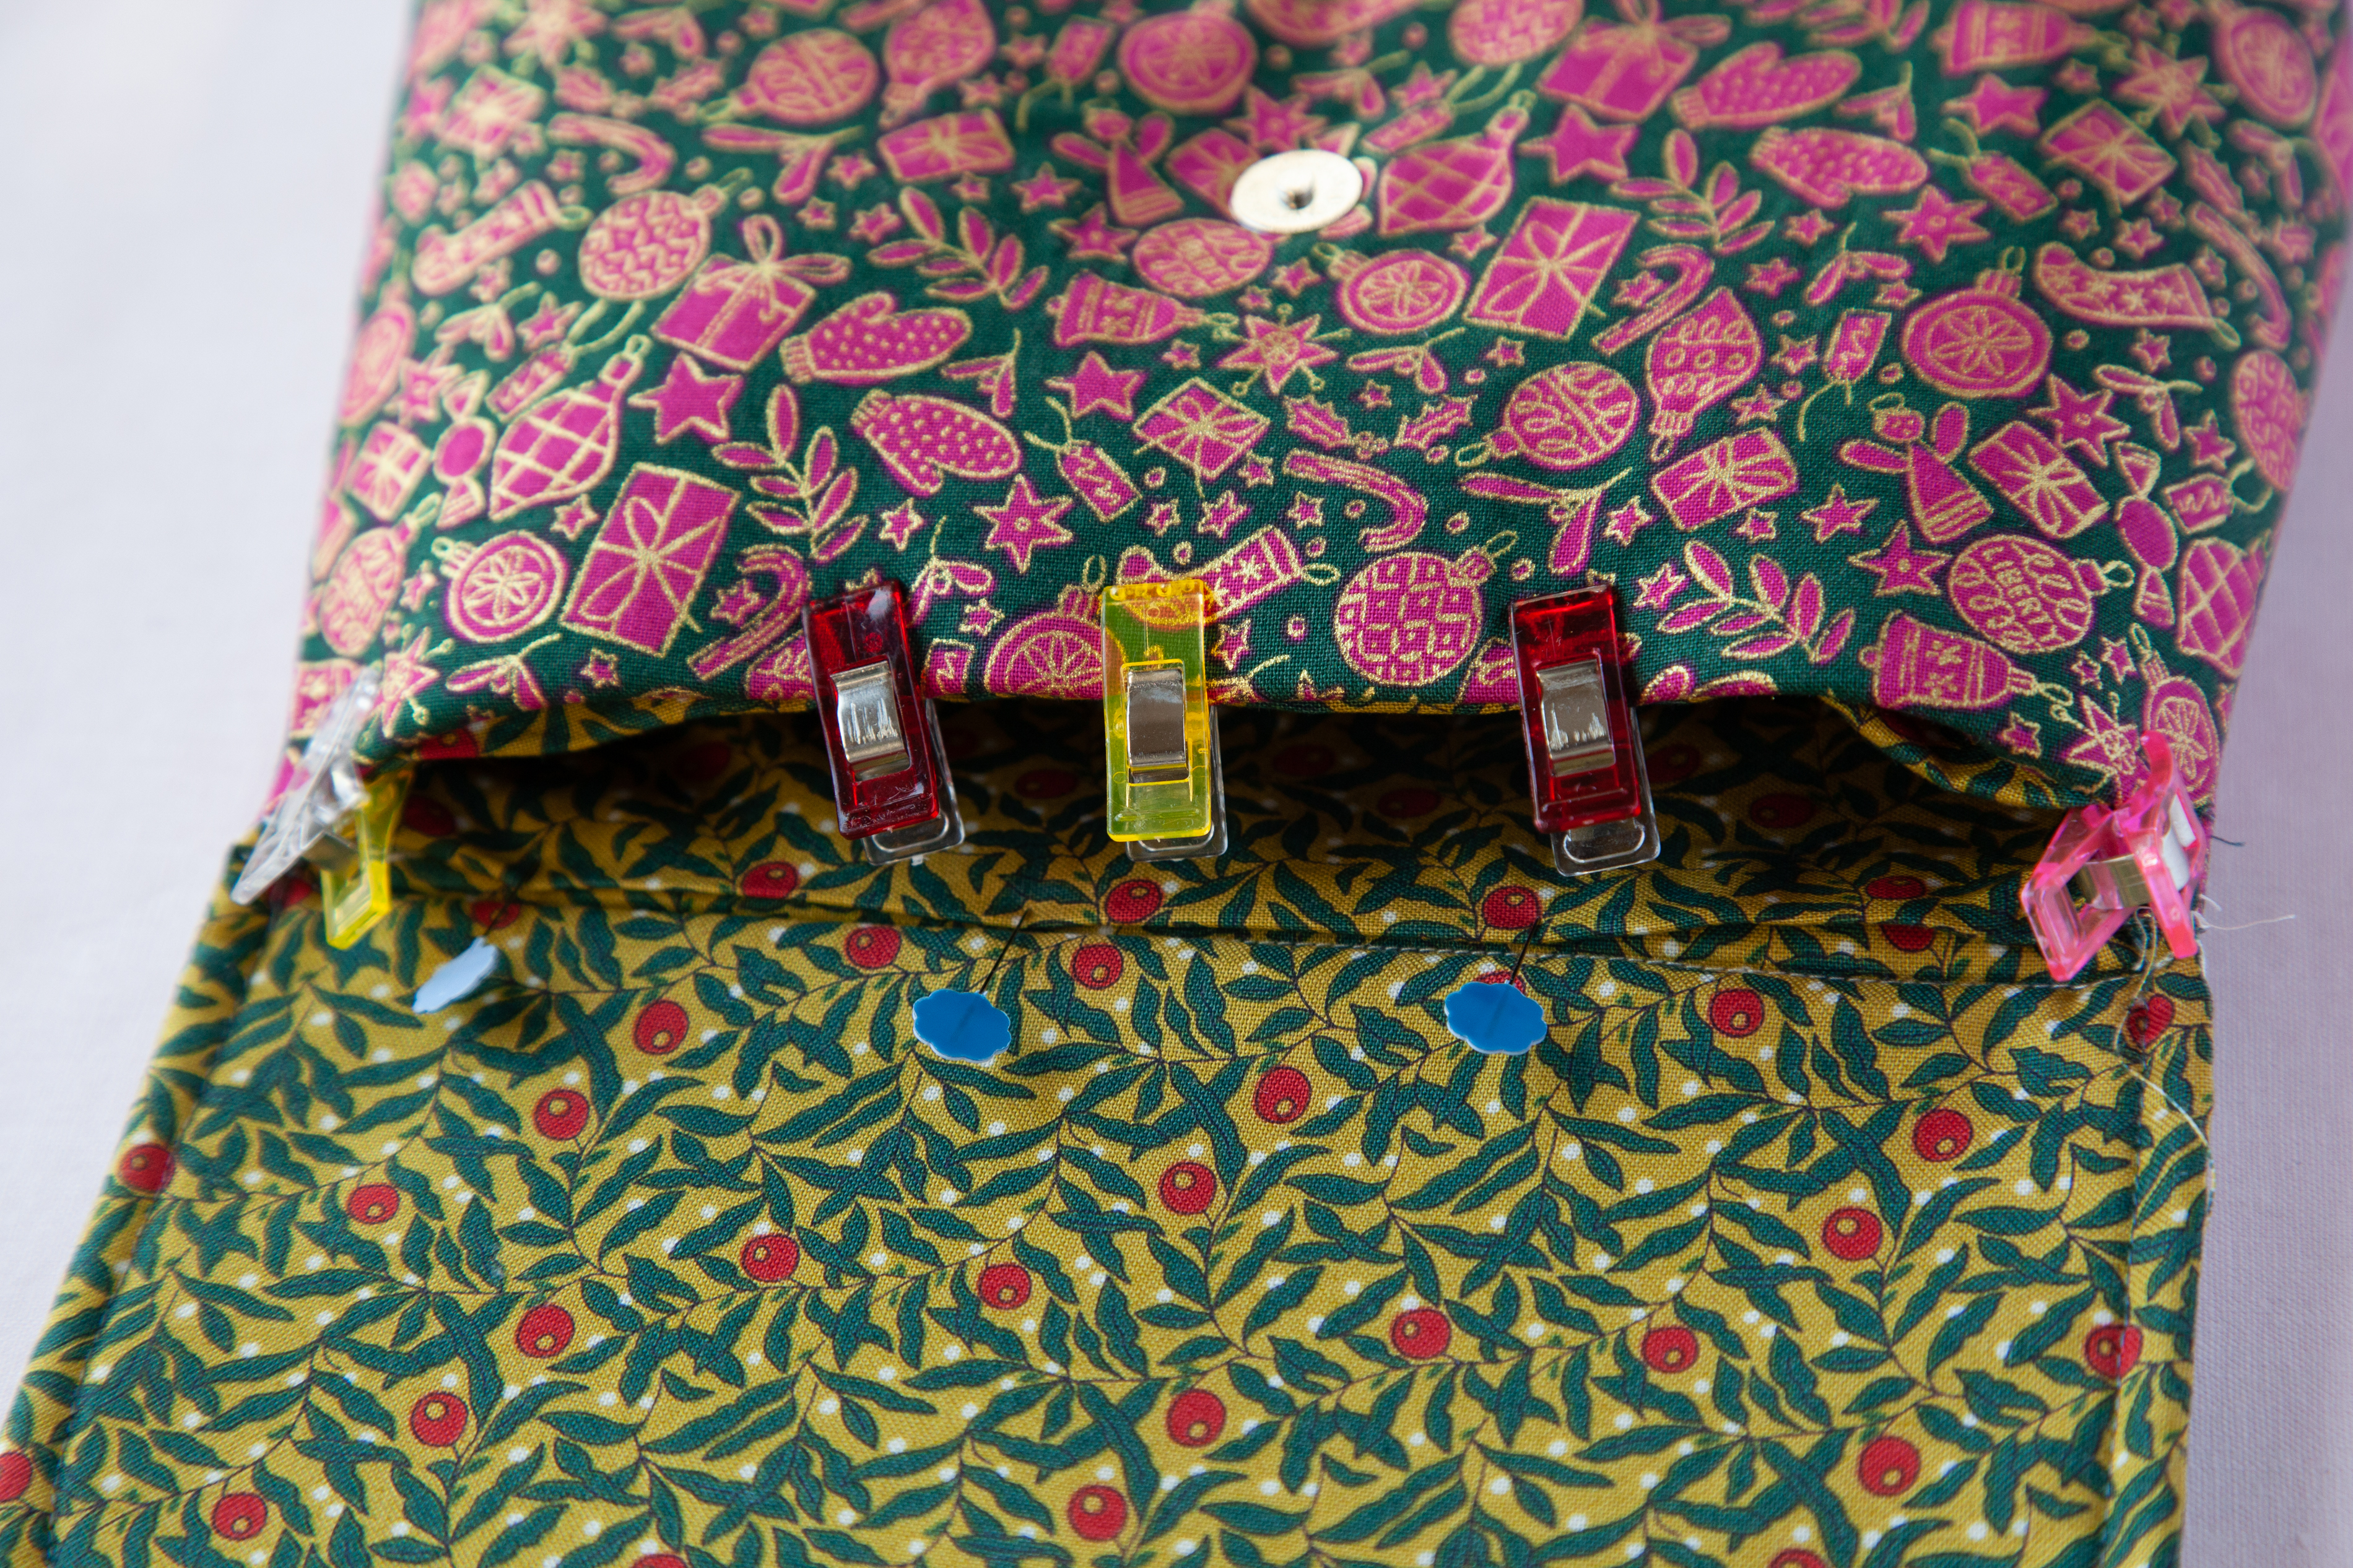
I hope you enjoy making your new cosmetic pouch!
Used Products

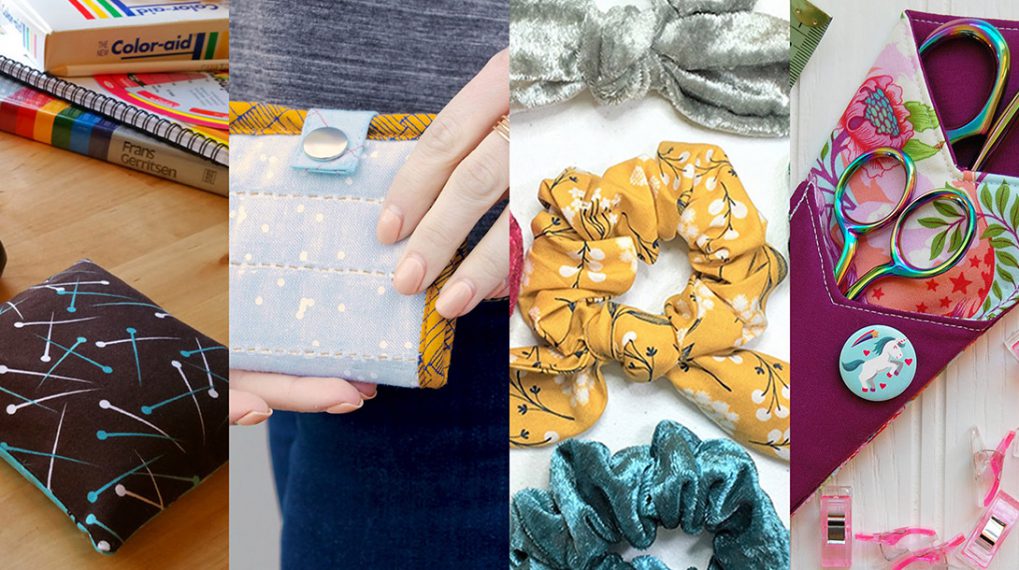
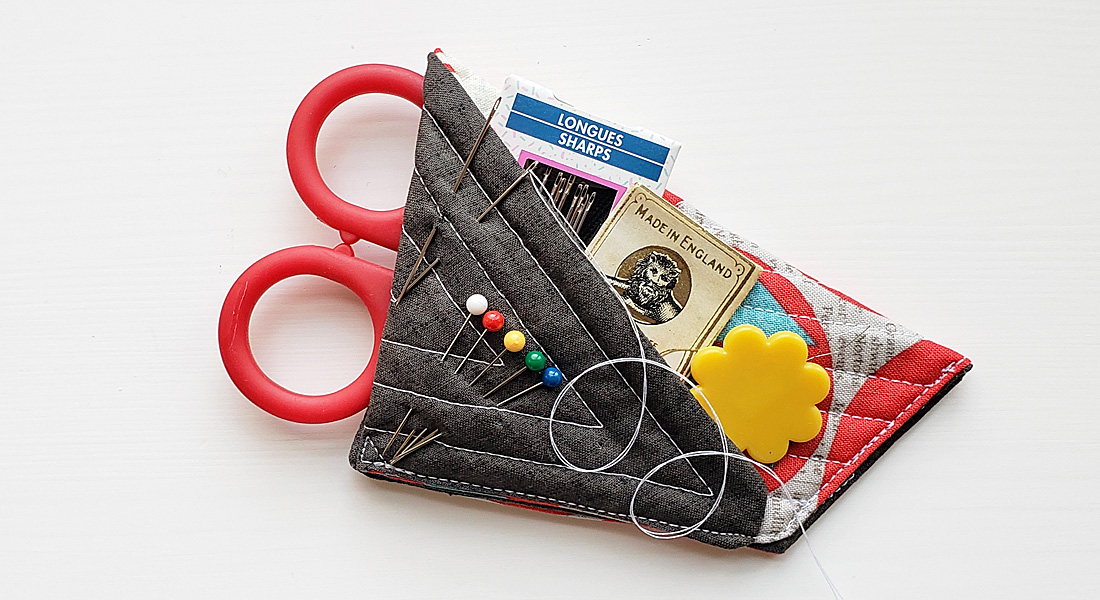
What you might also like


7 comments on “Holiday Cosmetic Pouch”
-
-
Right sides together
-
-
Sorry – Right Sides Together – failed to read all the instructions!
-
What is the name of this fabric and where can we find it for sale?
-
Indicates in the pattern directions… Fabrics used: Liberty Season’s Greeting collection
-
-
Step 1 says WST – but shouldn’t it be RST? I am confused…
-
where is the Holiday Pouch pattern ?
Leave a Reply
You must be logged in to post a comment.
What is RST? Thank you