How to Create Gathered Flowers
Flower Embellishments Using Your Gathering Foot by Cheryl Sleboda.
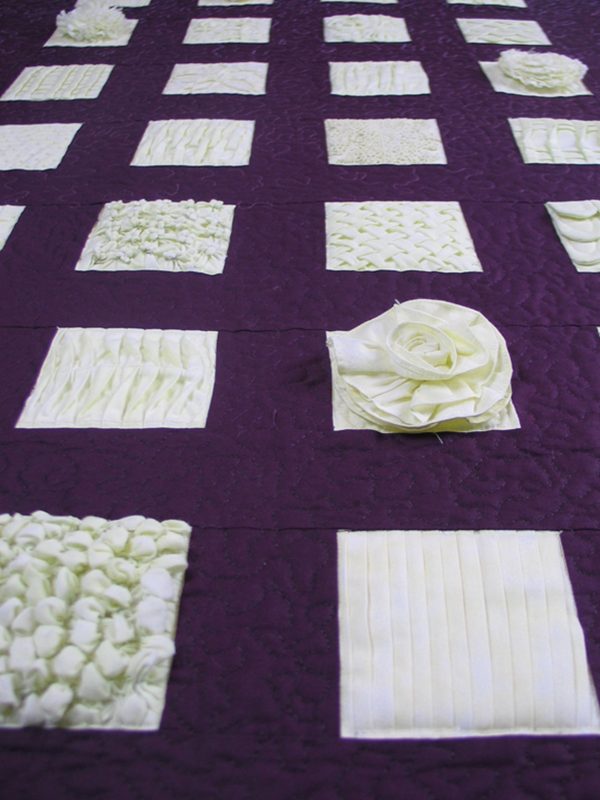
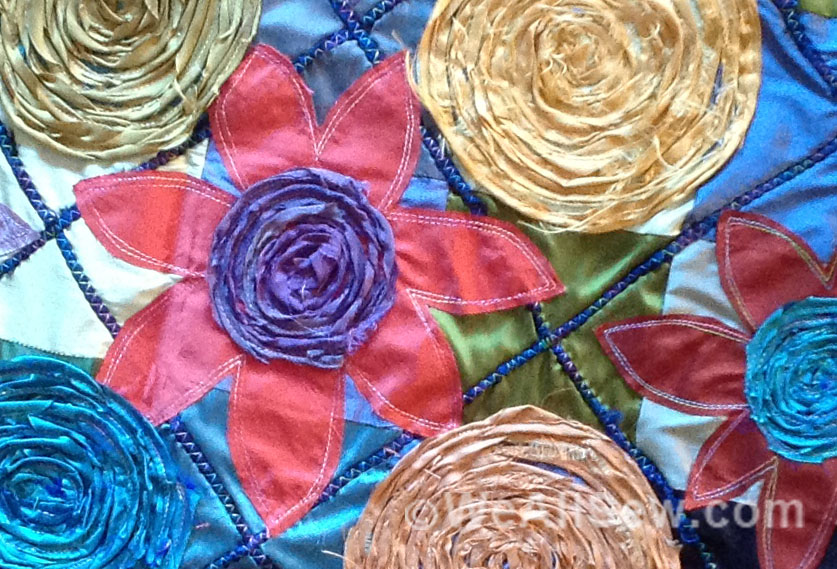
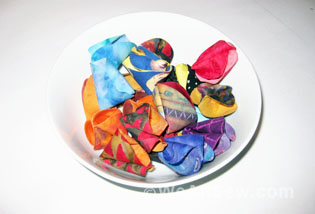
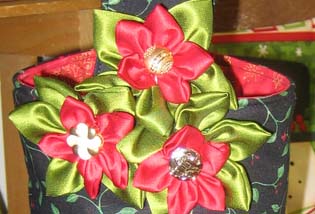
I’m not your typical heirloom sewist, but I do love heirloom techniques for use in my quilts. One of my favorite attachments for my BERNINA 7 Series machine is the BERNINA Gathering foot #16. Using that foot, this project is quick and easy, and you can use them in dozens of ways. You can make a whole bunch of them out of a single fat quarter. They make great gift toppers, boutonnieres for your lapel, and also great quilt embellishments!
Materials to embellish with flowers
- Fabric strips cut into 2 inch by 22 inch lengths
- Thread to match your fabric
- BERNINA Gathering foot #16
- A hand sewing needle
- A few pins
- A safety pin or sewable pin back
- Your sewing machine
Optional
Instructions on how to make the flower
Step 1
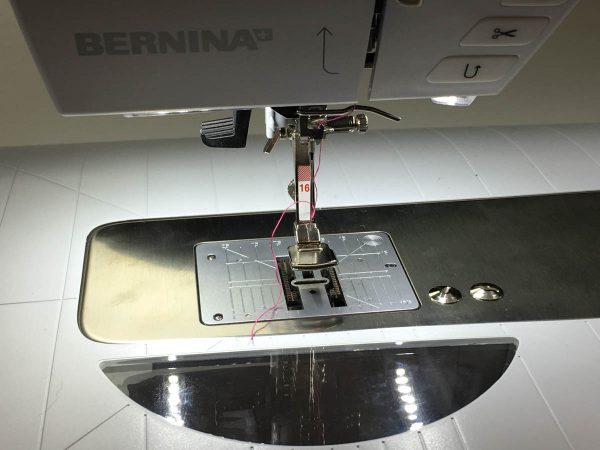
Cut your fabric into a strip that is 2 inches by 22 inches. Get out your Gathering foot #16 and put it on your machine.
Step 2
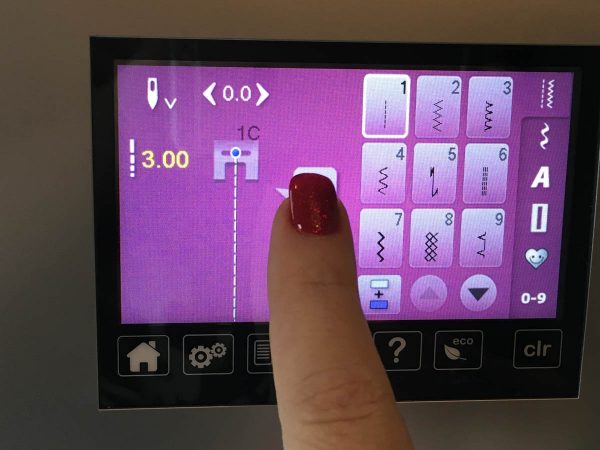
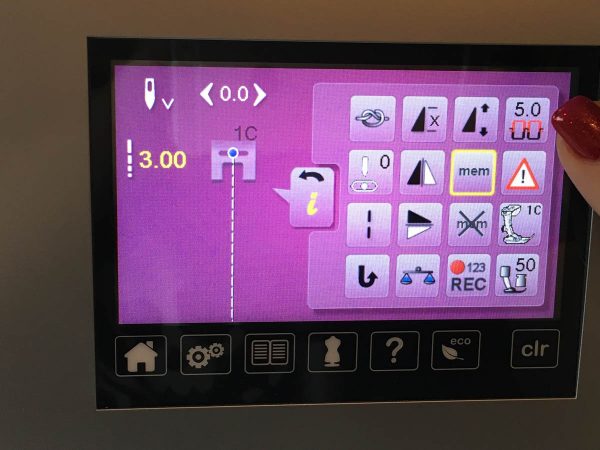
On your machine controls, select the “i” for the information panel.
Step 3
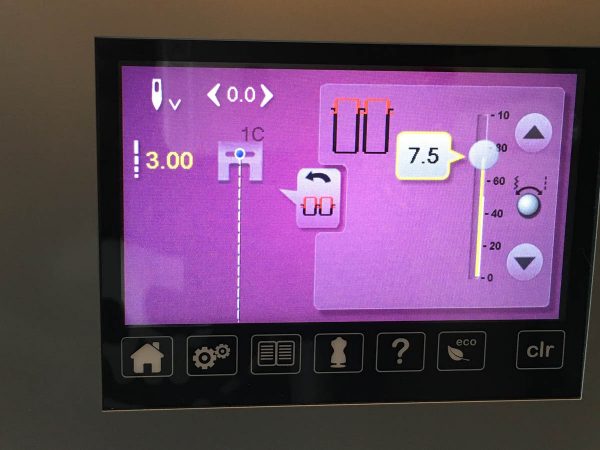
Choose the thread tension control in the upper right hand corner.
Step 4
Set your machine tension to a high setting, such as a 7.5 or even a 7.75. The high thread tension creates the gathers.
Step 5
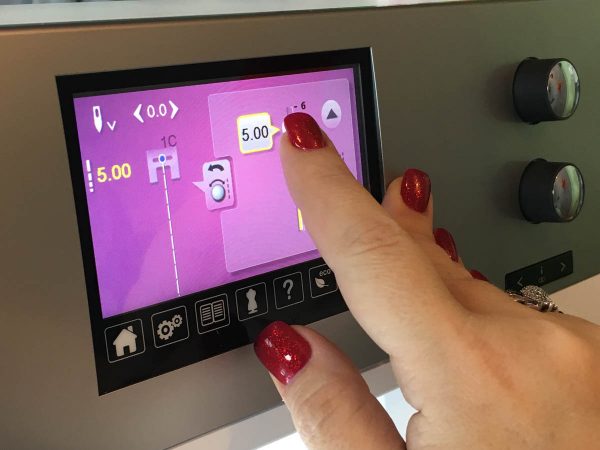
Next, return to the main screen, and select the stitch length. You will want a long stitch length, such as 5.0.
Step 6
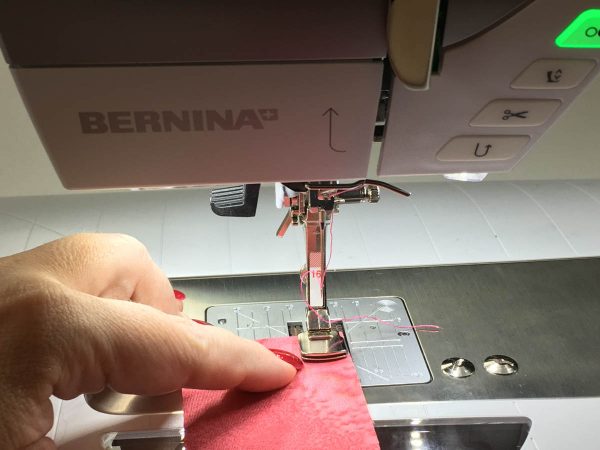
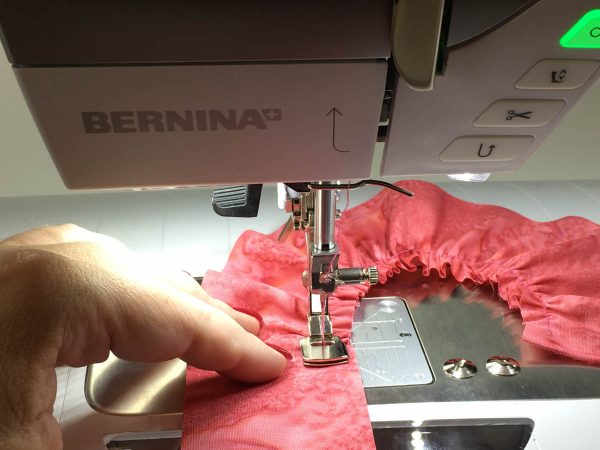
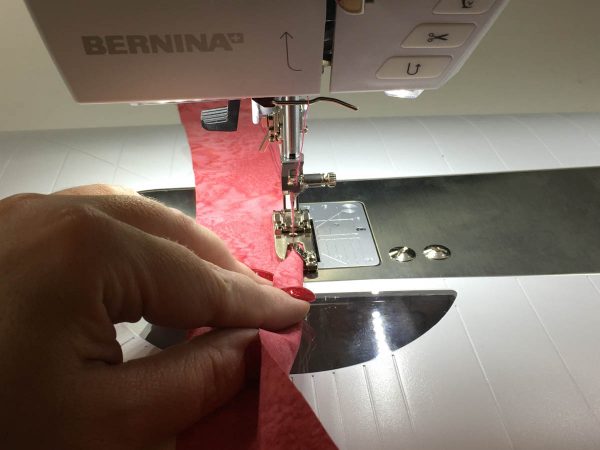
Now you are ready to sew! You can place your fabric so that the right edge of the fabric will be the gathered edge. Do not put the fabric in the slot, or it will not gather. (The slot is there if you wanted to join a gathered edge to an ungathered edge, but that’s a project for another day).
Step 7
Start sewing at a moderate pace and you will start to see your gathers forming.
Step 8
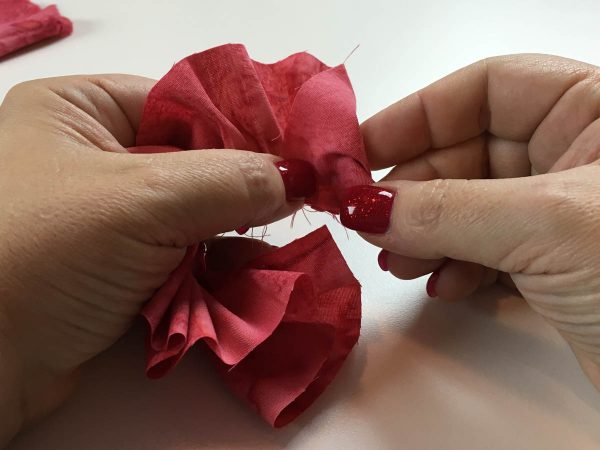
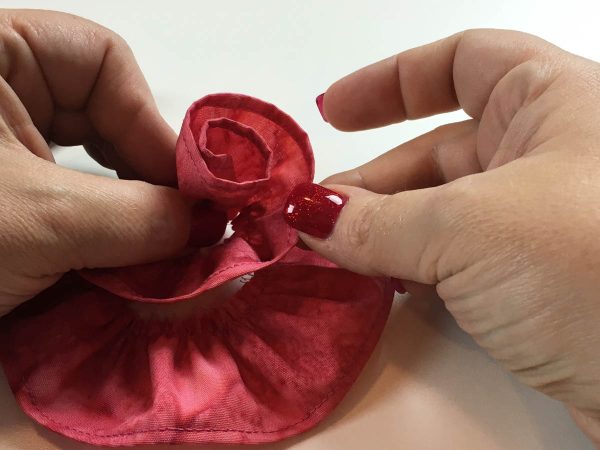
When finished, you can cut your threads and remove it from the machine. Now you will form the flower. Start on one edge, and fold the top down to the sewn edge, creating a little triangle.
Step 9
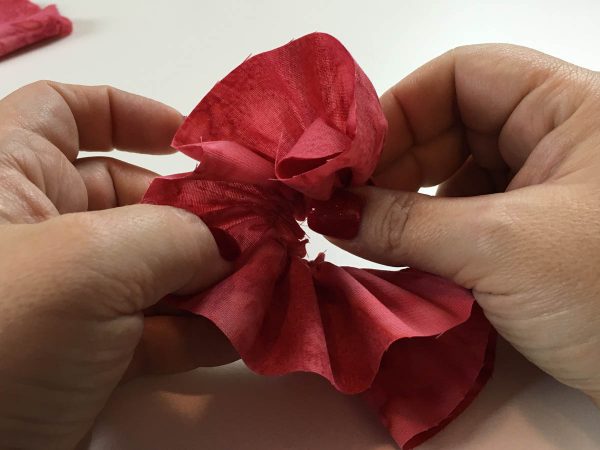
Begin rolling the gathered edge with your triangle in the center, arranging your gathers and holding the gathered ends tightly.
Step 10
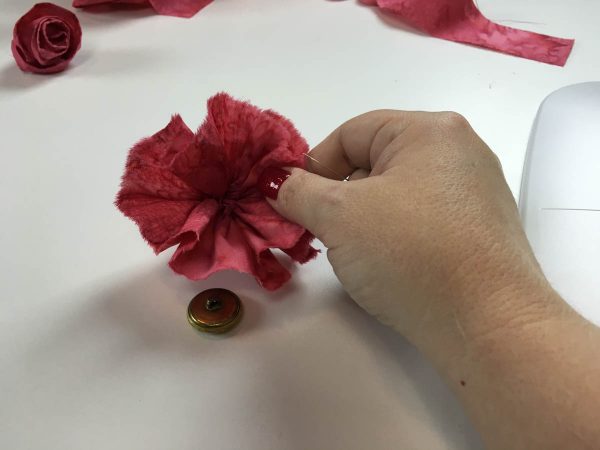
Thread a hand needle and create a knot. Sew through the gathered ends to keep the bundle from unraveling.
Step 11
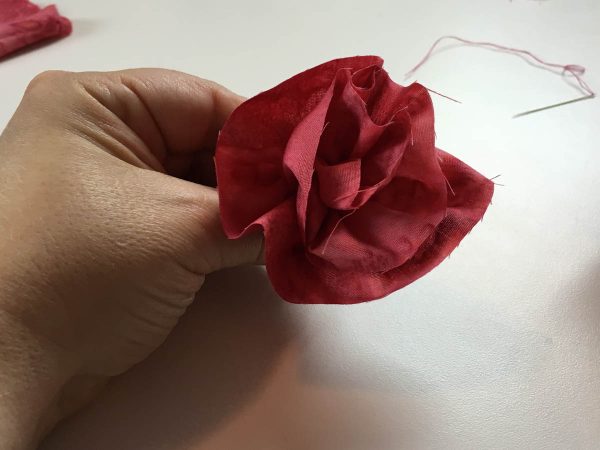
Once you finish, fluff out your “petals” and attach a pin backing.
Edge Variations
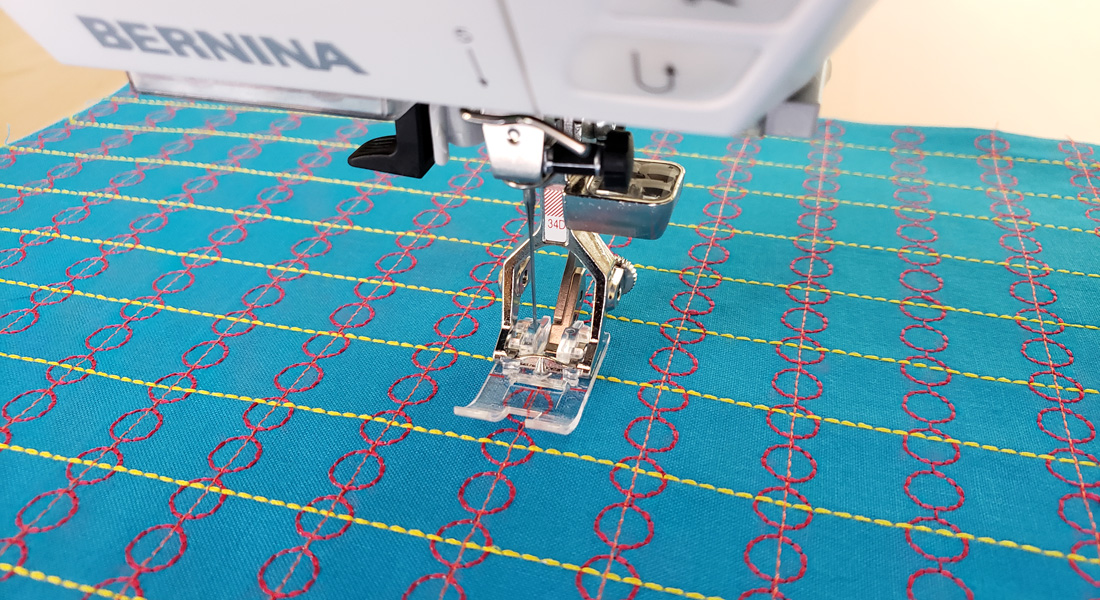
The best part of this project are the various ways you can finish the edges of the flowers. In the previous example, it was left raw edged from where it was cut. You can also tear your fabric for a homespun edge, or you can use the BERNINA straight stitch hemmer #64 to create a nice hem which creates a very different look.
You can also use decorative stitches, too.
Flower Variations
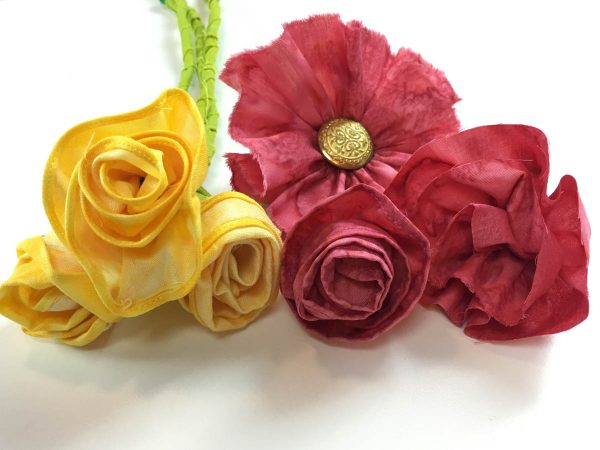
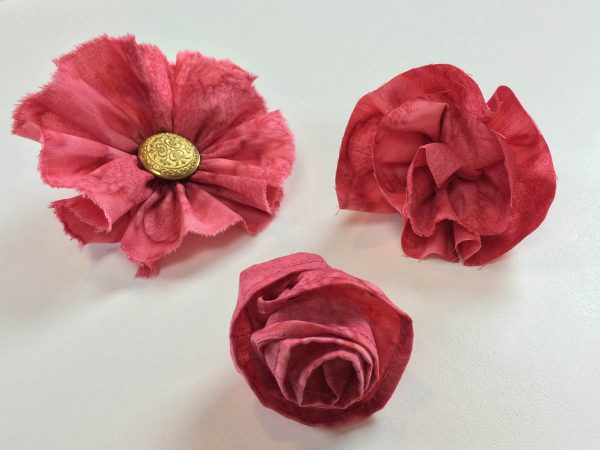
You can roll the flower tighter or looser for variations on the flower itself.
By rolling the flower tight, and folding the edge over, you get a rosebud effect.
By keeping the flower rolled loosely, you may need something to cover the center with something, like a decorative button.
I hope you enjoy making these, for your garment, or your next art quilt!
What you might also like
One comment on “How to Create Gathered Flowers”
Leave a Reply
You must be logged in to post a comment.





I really like this idea and looks quick. I will try one tomorrow.
Thank you for the idea and instructions.
Melissa.