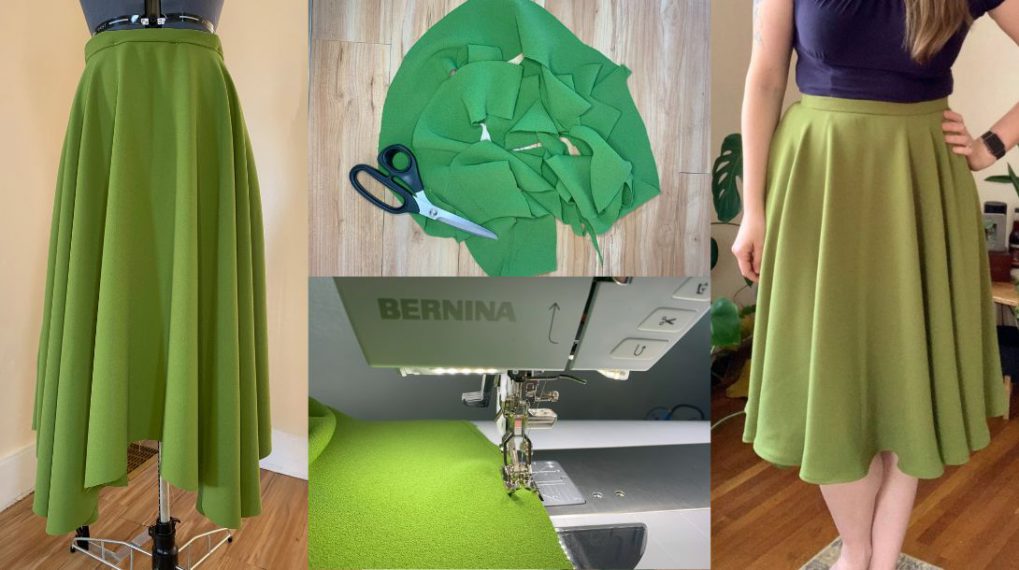
How to Hem Jeans Video Tutorial
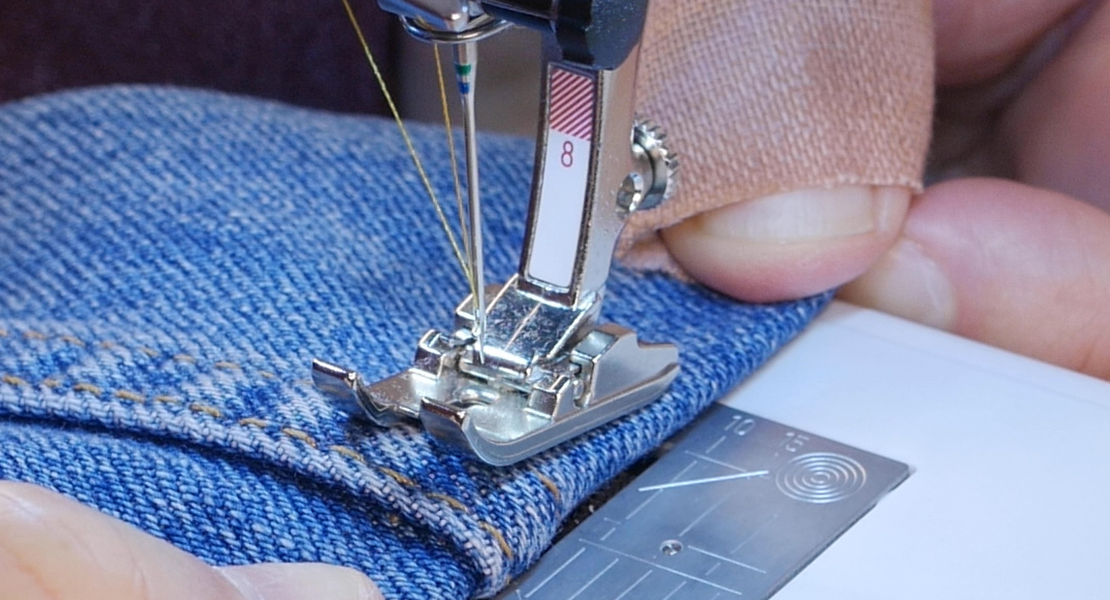
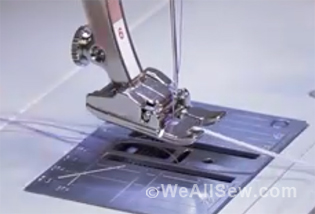
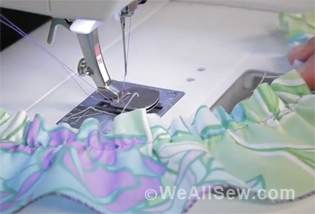
Ever wonder how to hem your jeans? Watch Erin Hogan-Braker from the 7th Bone Tailoring team as she explains how to reattach the frayed hem of your jeans, aka “Hollywood Hem.” Learn how to pin on yourself while wearing, use denim needles, and also to taper the pant leg. This is an easy-to-do trick you will use time and time again!


Materials you need to hem your Jeans


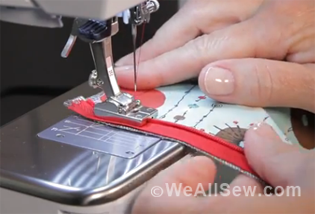
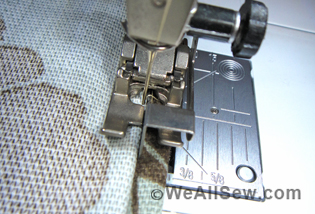
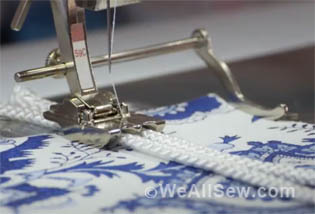
Watch this video tutorial and learn how to hem Jeans
Used Products


What you might also like


11 comments on “How to Hem Jeans Video Tutorial”
-
-
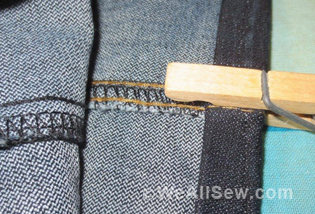
We agree the “fold up method” can be quick. This video is great for when the hem will not fit (fold up) into the calf area of the jean. This would be because the hem is larger or smaller than the calf area. This method is also a great way to prevent frayed edges. You will be able to toss your jeans in the wash as normal and the hem will not fall apart. Once you get this in your muscle memory this hem method can be done in 10 minutes or less.
-
I am sorry for being dense, but what is the advantage of doing it this way? I am short so I have been hemming my jeans since the days of the bell bottoms (now you know how old I am.). I turn up the bottom of the pant leg to the finished length and pin once to hold in place. Then I measure the distance from the pin to the bottom. Using the 6″ inch marking ruler with the slide on it, I move the slide to how many inches I need to turn up the bottom, turn up and pin close to the fold around the rest of the leg. I then cut the excess off leaving 1 1/2 inches so I can turn the bottom edge in evenly twice, then sew in place.
Is your method used to save the frayed edge?
-
Hello!
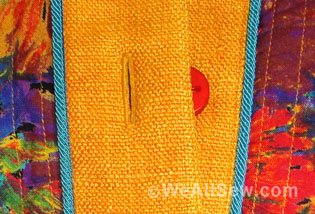
This method is specifically to keep the original hem and flare shape. The circumference of your hem and where you shortening will be very different (hem will be much larger) so this is how to adjust the measurements.
-
-
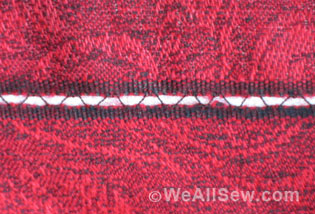
Your technique is great. It solves the problems of blending the circumference, and of retaining the topstitching thread used in the original hem.
-
Nice tutorial! What an awesome way to keep the original look! Thank you…
-
Thank you! It really goes quickly once you are in a groove.
-
-
Wow, too many steps. I just correct the circumference at a side seam if needed, fold and stitch. then serge to finish. And, no, you should never use an ink pen; you’d be extremely lucky for it to ‘fade’ rather than run. BTW, I didn’t realize a modern machine still required holding the thread tails! I don’t even have to do that on my 30 year old Husqvarna unless I’m sewing freemotion. Shocking.
-
Leavingkentucky you do not need to hold the thread tails to stitch on a BERNINA.
Erin thank you for the tutorial. Please ignore all the snarky comments. Some people just like to act superior to the instructor. I have sewn for 40+ years and do bridal alterations for a living and I NEVER stop learning. Keep it coming and thank you!
-
-
I know I’m resurrecting an old thread, but is there a tutorial for the opposite leg shape? I have some long flared jeans I need to hem. Would you just shorten the hem ‘ring’ at the non top stitched seam??
-
Yes, you will take the length from the fabric between the original hem and lower shin. This is done specifically so you can keep the roughed up look of the hem. Adjust the circumference on the original hem you have cut off at the inseam. Let me know if this answers your question and thank you for reaching out!
-
Leave a Reply
You must be logged in to post a comment.

This is a lot more complicated than the way I do it. Just measure the amount to remove from the edge of the current hem and then fold. Sew and trim off. Turn Jeans and do a in the rut top stitch.