How To Make a Lacy Love Note Pillow
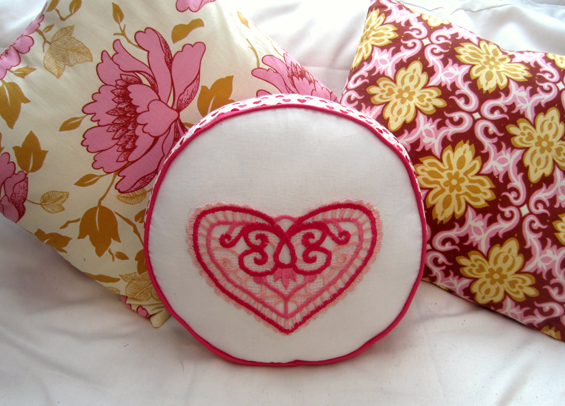
Slip a love note into your Valentine’s pillow this holiday. Learn how to create a lacy appliqué that can be used a pocket or just used as a pretty dimensional accent piece on a sweet little cushion.

- Materials:
- ½ yard cotton fabric (or combination of material that equals ½ yard)
- OESD Freestanding Lace Heart Design #DC027_48
- Polyester fiberfill
- Sulky Ultra Solvy
- 70/11 Sharp sewing machine needle
- Ruler
- Water soluble marker
- Embroidery Thread
- Thread to match
- Scissors
- Hand sewing needle
- Basting Spray
- Valentine Pillow Template Download: Valentine Pillow
Optional Materials:
- 1 Package of piping
- Pining Foot#38
- Patchwork Foot #37
- Open Embroidery Foot #20
- Rotary Cutter\Mat
Cutting instructions for the Lacy Love Note Pillow:
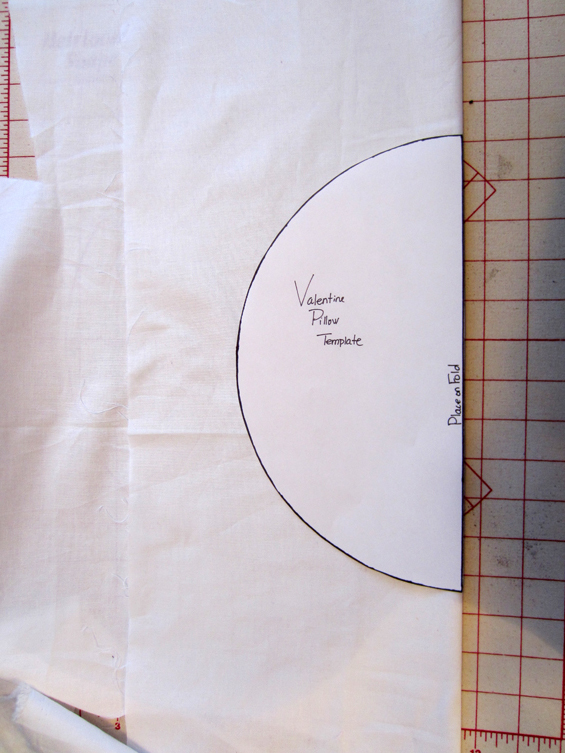
1. Fold fabric in half. Place Valentine Pillow Template along fold as indicated and cut. Repeat to make a second circle.
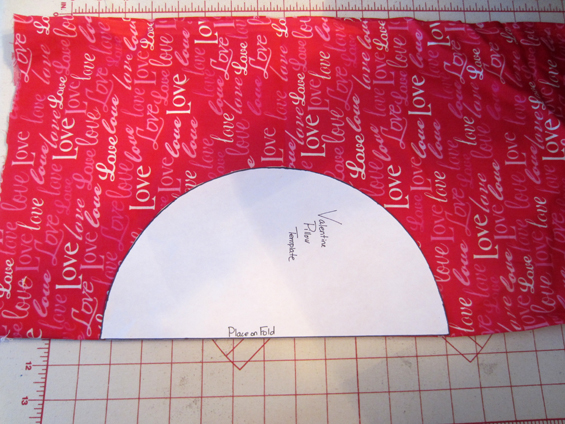
2. Cut a strip of fabric 33 x 2 ½”

Embroidering the Design:
Tips for successfully creating freestanding lace designs:
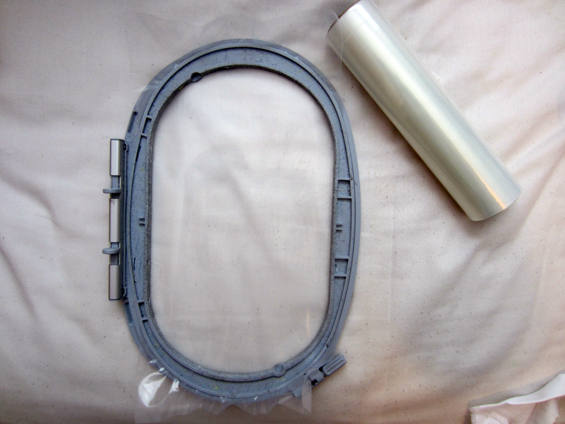
• Stablilzers can make the difference in any design. The best product for embroidering freestanding lace is Sulky’s Ultra Solvy. This product is similar in feel to a thick plastic, but dissolves when wet.
• To prevent distortion to your finished design, make sure that your stabilizer is hooped tight without over stretching.
• Using a thin, sharp needle will help prevent tears in the stabilizer while sewing. Using a 70/11 sharp (Microtex) sewing needle is recommended.
• To provide consistency throughout your design, use the same thread in your bobbin that you plan on using to stitch out your design.
• If the finished design is not firm enough to your liking, spray with starch and let dry.
1. Enlarge the freestanding lace design to 200. It may be necessary to rotate the design so that it will fit within your embroidery hoop.
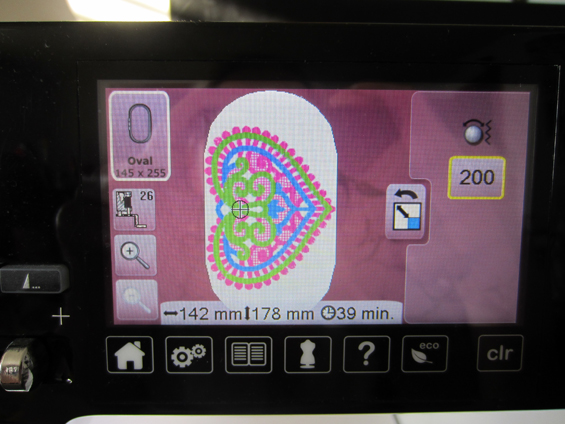
2. Stitch out the design.
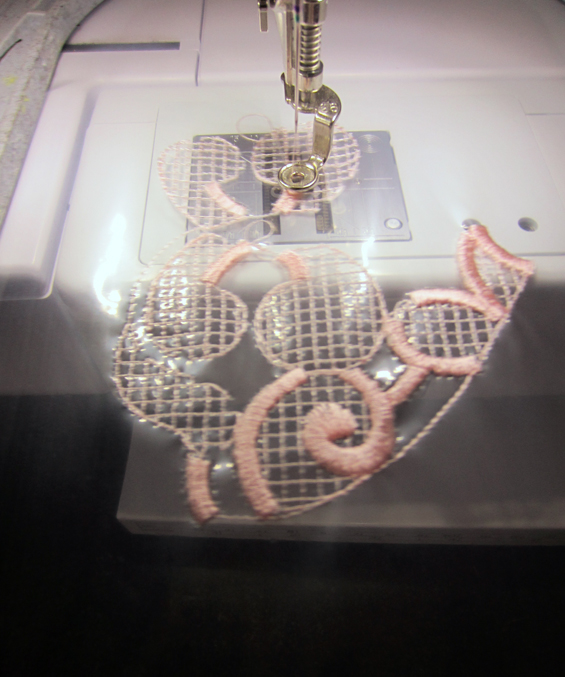
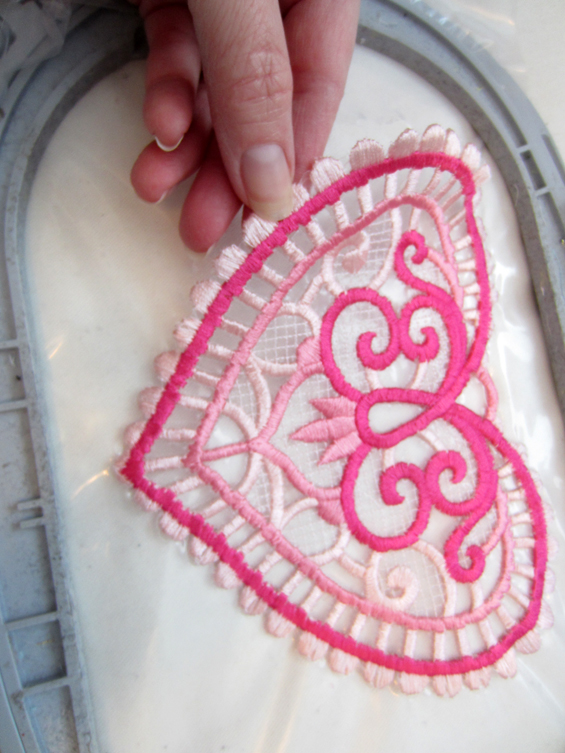
3. Carefully remove the lace heart from stabilizer using scissors as necessary.
4. Soak lace heart in warm water for 10 minutes, then rinse.
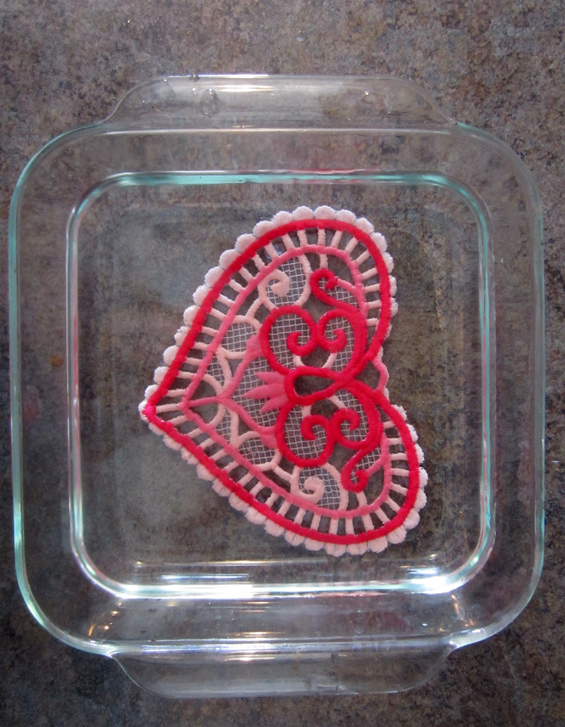
5. Let lace heart dry flat between towels.
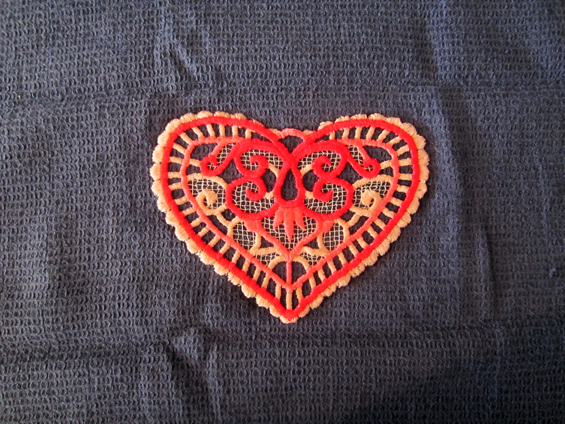
Sewing: All seams are ¼” unless otherwise specified
1. If using piping, baste it to the right side of one rectangle. If using the Piping Foot #38, place the piping under the right side of the foot, with the thicker left side snug against it while sewing.
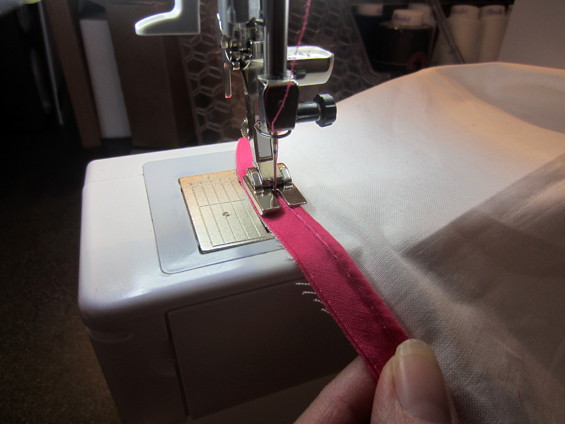
If you do not have a piping foot, use a zipper foot with the needle on the far left, stitching close to original seam line of piping.
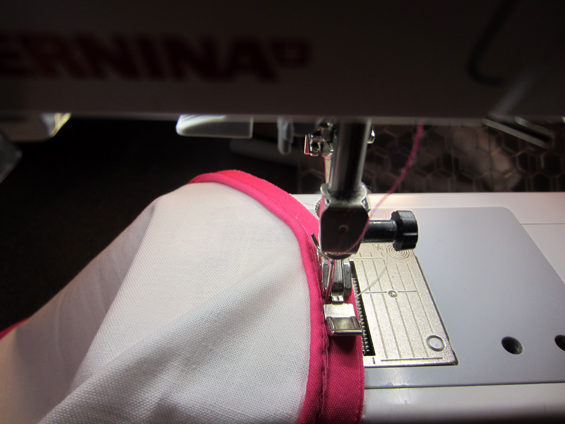
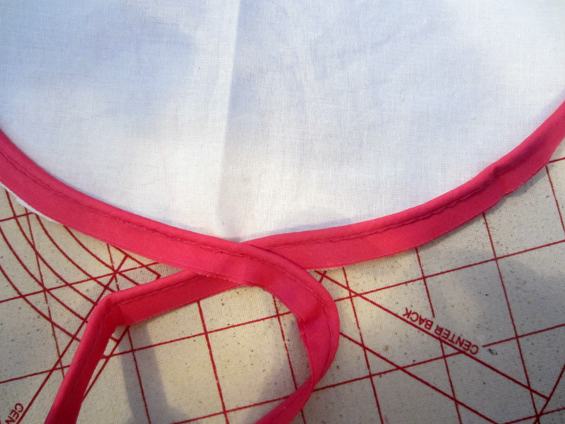
TIP: To finish the ends of your piping, overlap the ends by crossing them over each other and secure in place with basting stitch. Snip ends of excess piping off even with raw edge of the rectangle.
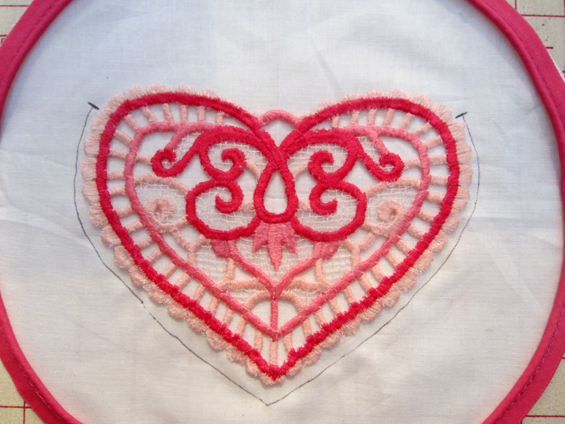
2. Place heart in desired location on the right side of one circle. Since pins may distort or create holes in the lace design, use a basting spray to keep embroidery in place.

3. Using a zig-zag stitch, sew edges of lace heart to pillow leaving top edge free from stitching (the marks on the photo indicate the area stitched).
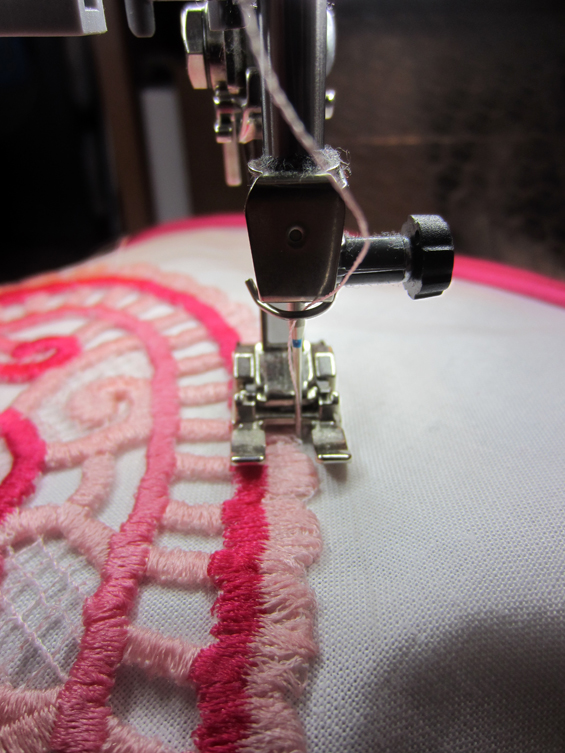
4. Sew short ends of 33 x 2 ½” rectangle together. Press seam open.
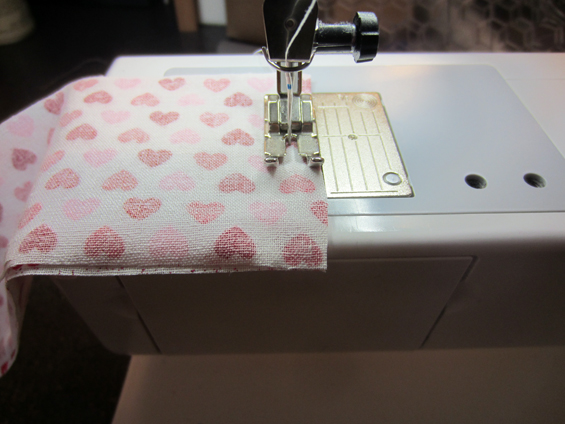
5. With right sides together, sew band to the pillow front.
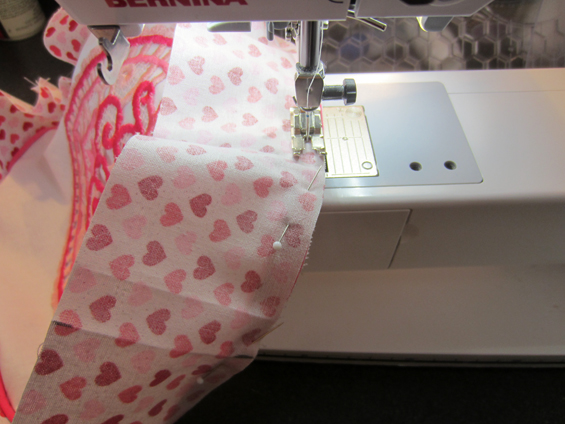
TIP: To make applying the band easier, divide band and circle into quarters and mark with water soluble marker. Then match marks up to each other and pin in place before sewing.
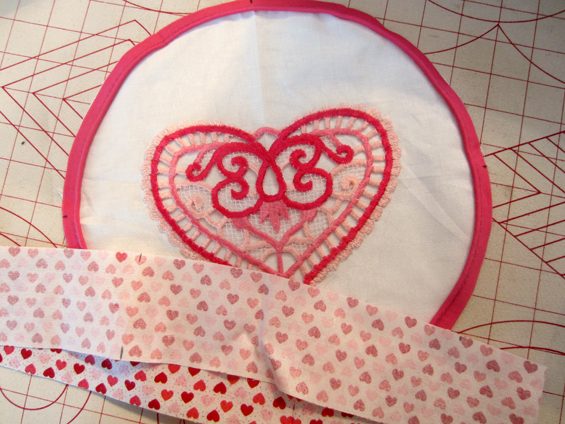
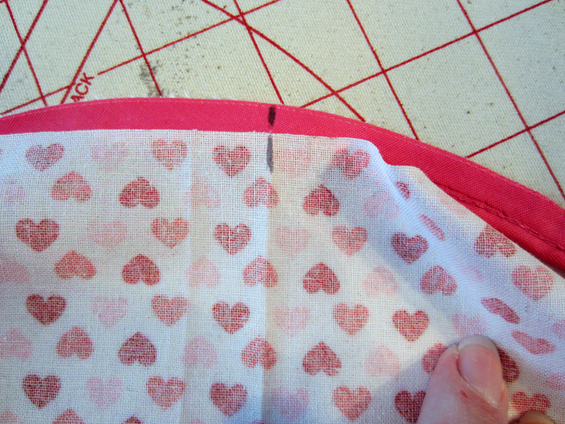
6. Repeat step #5 for second circle, leaving a 3-4″ opening for turning.
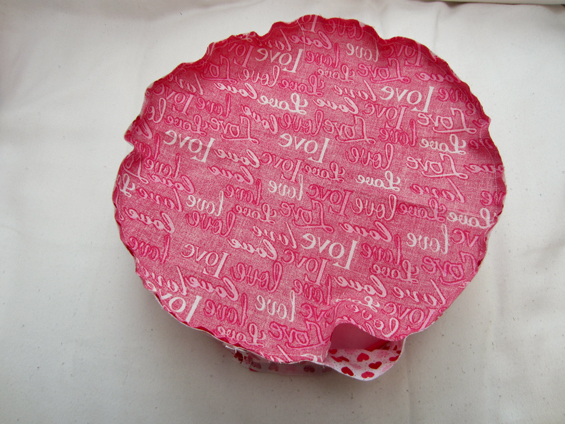
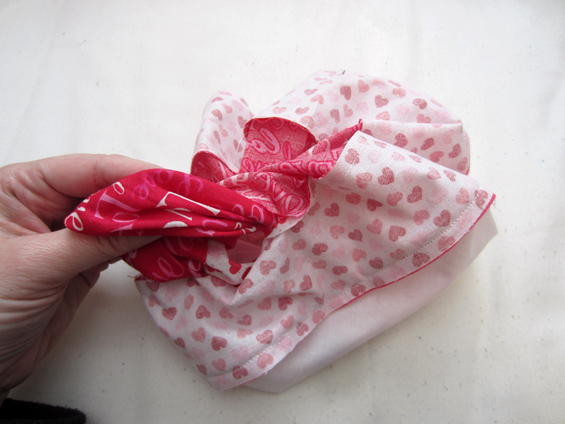
7. Turn pillow right side out through opening.
8. Stuff pillow firmly with fiberfill.
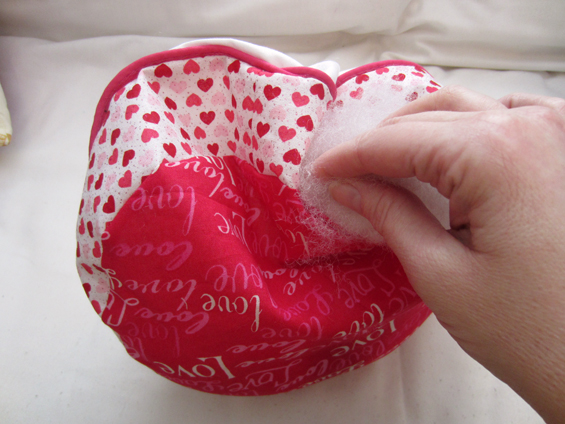
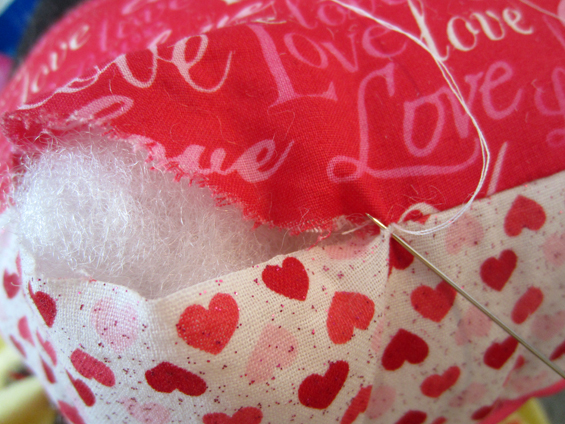
9. Slipstitch opening closed.
Enjoy!
What you might also like
One comment on “How To Make a Lacy Love Note Pillow”
Leave a Reply
You must be logged in to post a comment.











I love Free Standing Lace! I love hearts ! And, I love this project ! Happy Valentines Day !