How to Make a Quilt: Project for Beginners

Trying to make a quilt for the first time can seem overwhelming! Where do you start, what do you need, and how do you actually get a quilt stitched together? We’ve found the best place to start is by choosing a simple project (like Christa Watson’s Simple Strips quilt above), and breaking down the process of quiltmaking into steps. Tackle each of these one at a time, and you’ll be finishing your very first quilt before you know it. Learn how to make a quilt from start to finish following each of these steps.
Step 1: Choose a Quilt Pattern
If you are making your first-ever quilt, start with something small to help you learn the basic techniques. Baby quilts are perfect for beginning quilters! Use one of these tutorials or pick a very basic block (like patchwork squares or half-square triangles) to begin.
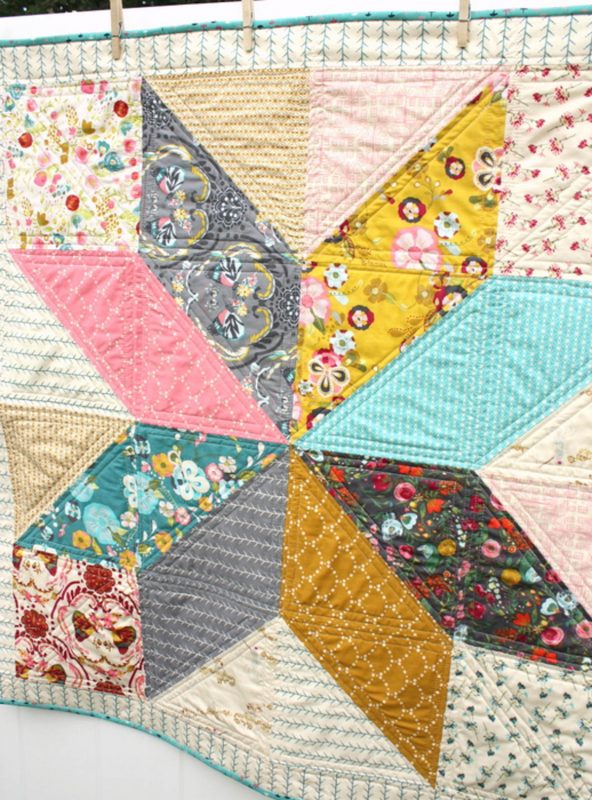
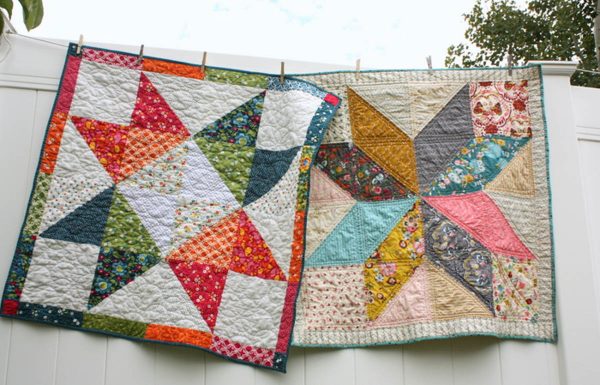
The Lone Star Baby Quilt designed by Amy Smart of Diary of a Quilter is a simple combination of half-square triangles, but the finished quilt looks anything but basic! Learn how to make the Lone Star Baby Quilt here.

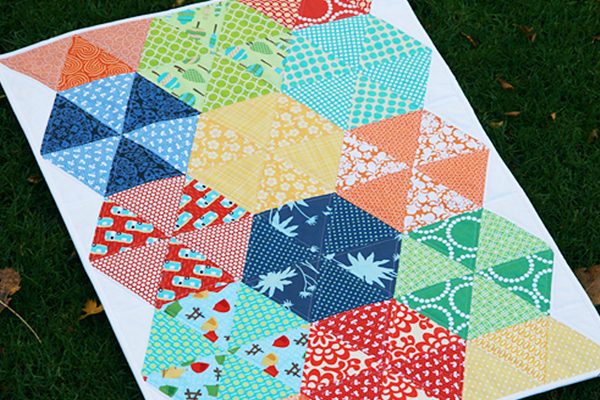
This baby quilt designed by Giuseppe Ribaudo (AKA @Giucy_Giuce on Instagram) is based on the Courthouse Step quilt block made from simple strips. Find the step-by-step instructions to make a Big Step Baby Quilt here.
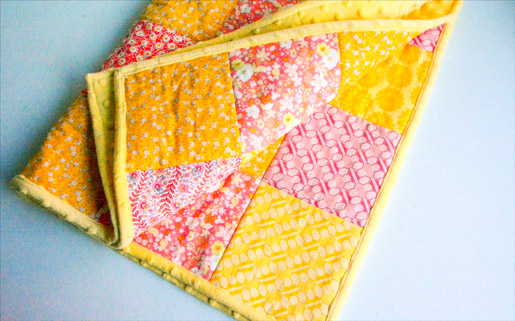
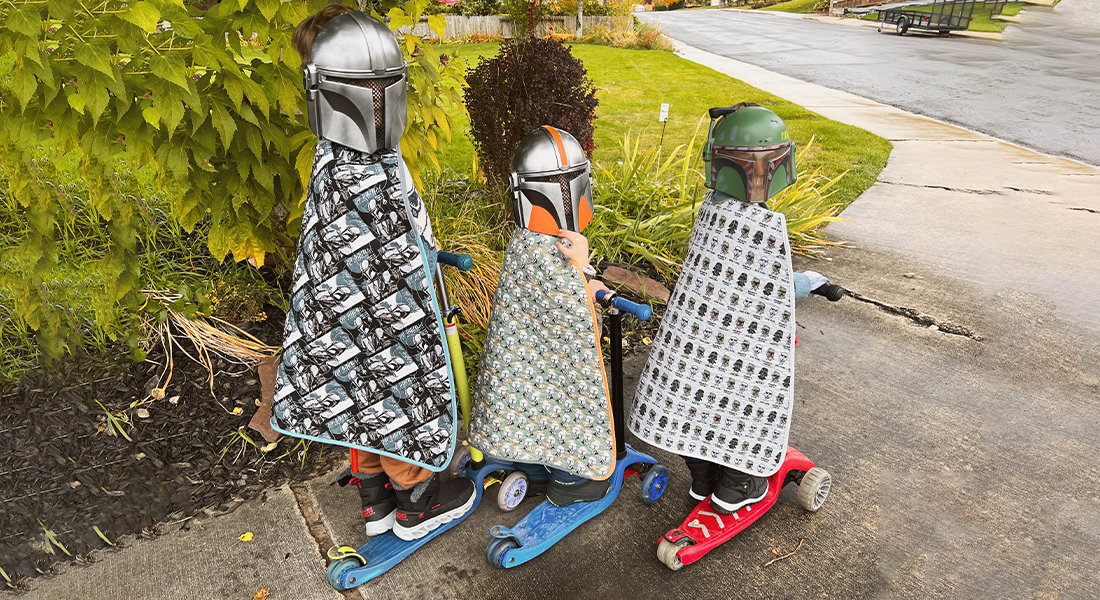
This simple patchwork quilt designed by Anneliese of Aesthetic Nest is backed with super-soft Minky fabric! Learn How to Make a Minky Backed Baby Quilt here.
If you’d like to try a basic quilt block and build enough to create a small quilt, try one of these.
Triangles are a favorite building block for quilters because there are so many different possibilities! Learn the basics of quilting with these shapes in the Quilting With Triangles series here.
Half square triangles are a staple in quilting, and you can learn a great tip for Half Square Triangle Piecing here.
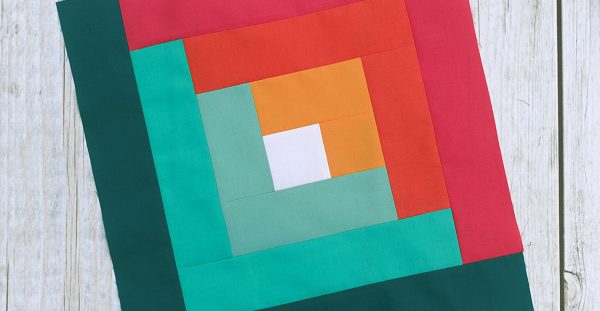
The Log Cabin is another favorite quilt block! Make one large block and you’ve got yourself a fantastic baby quilt. Learn the basics to Make a Log Cabin Block here.
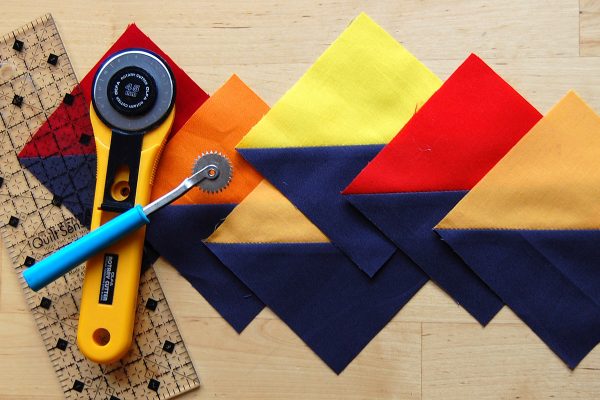
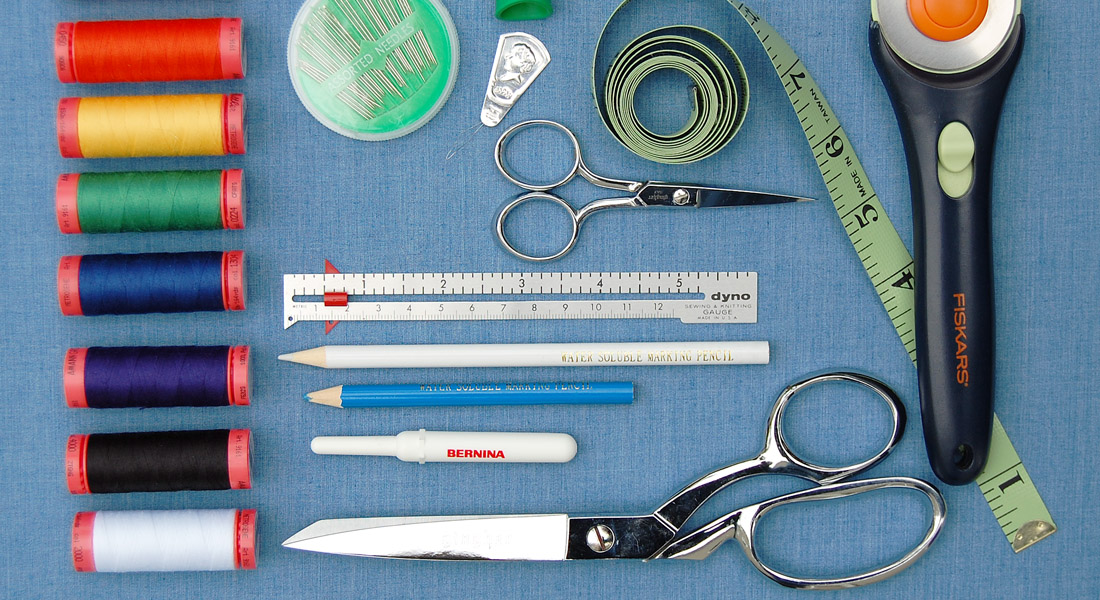
Step 2: Gather Tools and Materials
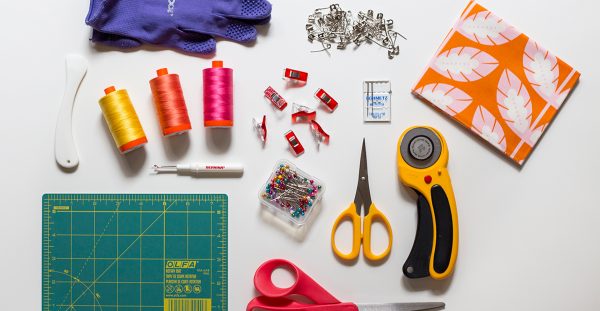
You’ll need some basic quilting and sewing tools before you get started on your quilt. Check out this list of Must-Have Tools for Quilters to get started.
When buying fabric for your first quilt, pay attention to the requirements in the tutorial or pattern you are following. A tutorial or pattern will list exactly how much of each kind of fabric to purchase, plus batting, backing fabric, and binding fabric.
If you have decided to make a simple block (like a patchwork square or simple half square triangle) and aren’t sure how much fabric to buy, try to find the dimensions of each block, then decide how many blocks you need to build the size quilt you want. This process may seem a bit difficult if you’ve never tackled it before, and you can try checking an online quilt fabric calculator, ask a friend who quilts to help, or ask the staff at your local quilt shop for some pointers.
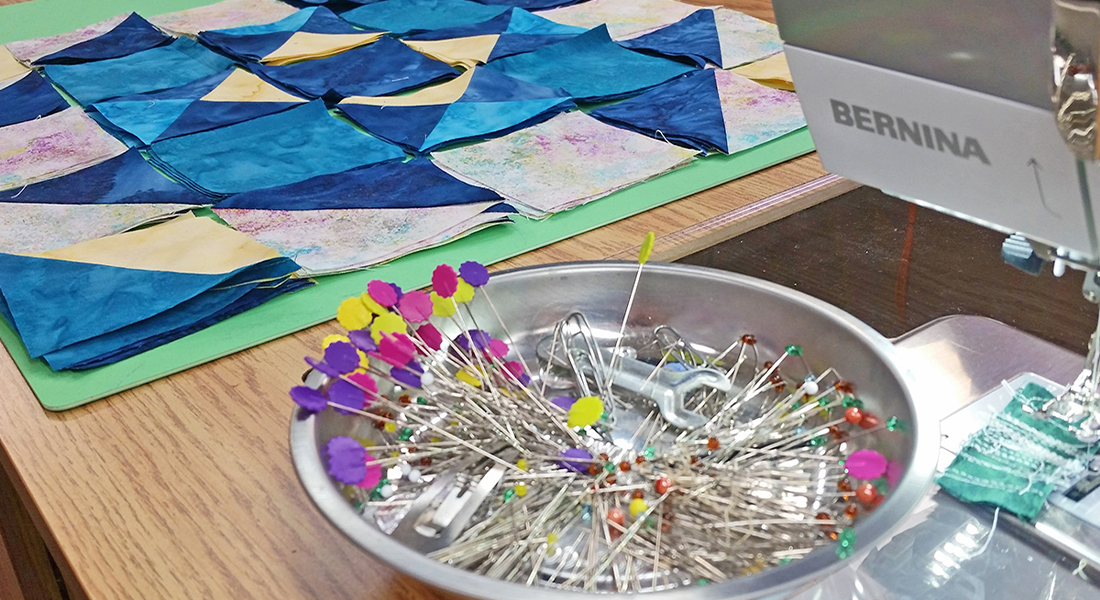
Step 3: Cut the Patchwork
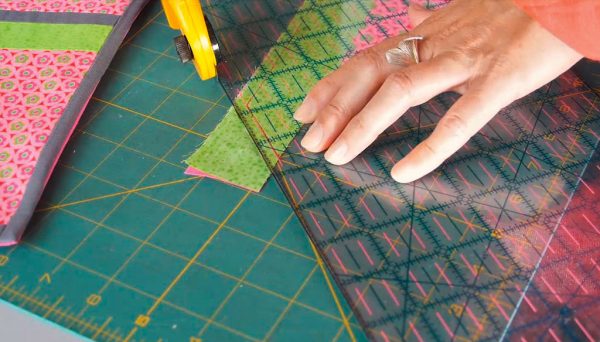
Stitching together accurate patchwork starts with accurate cutting. Learn all about the basics of cutting quilt patchwork pieces in this lesson on Accurate Piecing Basics.
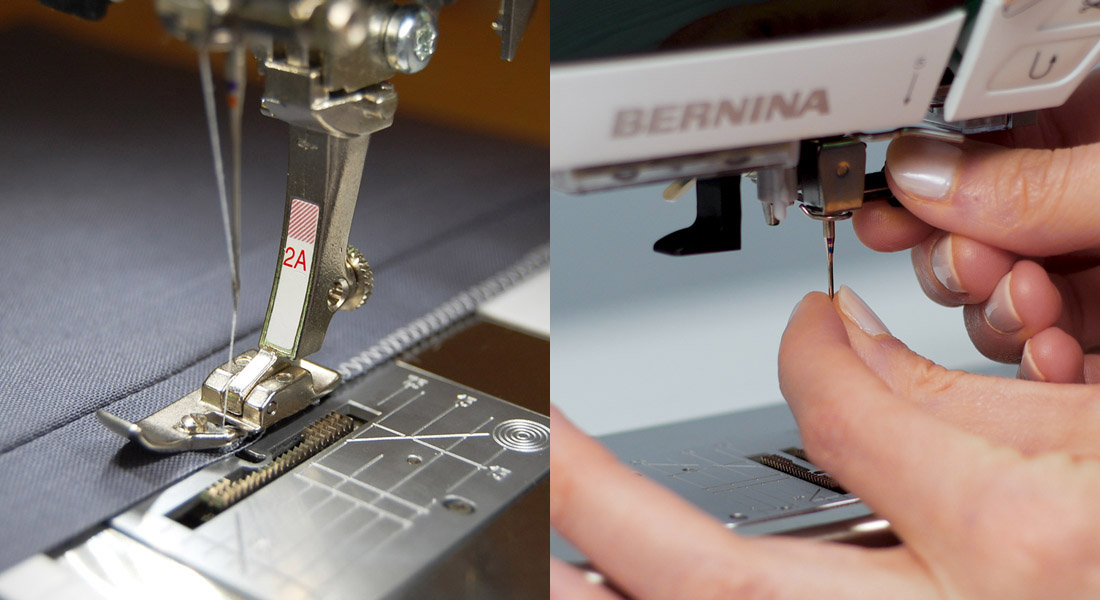
Step 4: Sew the Patchwork
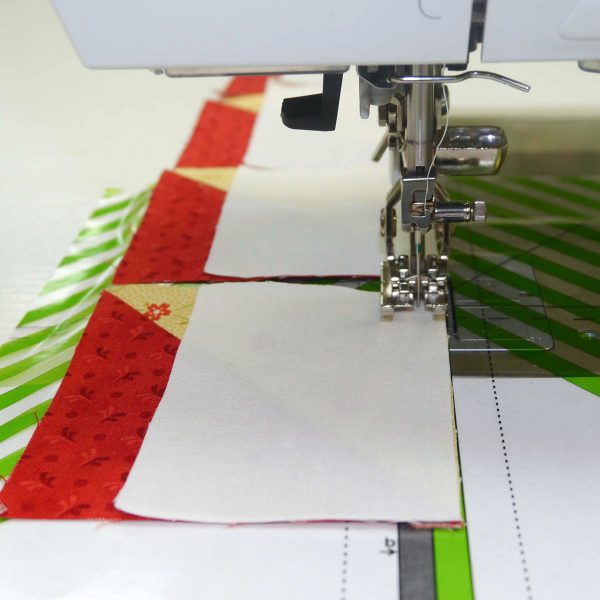
Sewing a perfect straight stitch seam will help your final quilt come together without puckers, wavy, or unmatched seams. Learn how to sew accurate patchwork in this lesson on Quarter-Inch Seams. Use the right tool for the job and read all about the BERNINA fleet of Patchwork feet in this Quarter-Inch Seam Tip.
Step 5: Baste the Quilt
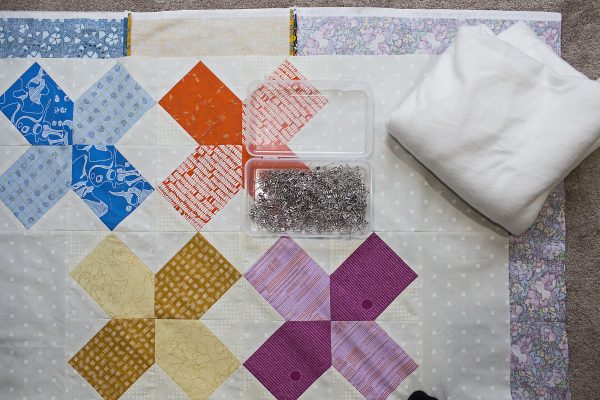
Putting together the quilt sandwich and basting all the layers together is an important step! A quilt sandwich basted well is less likely to bunch-up, pucker, or become distorted during the quilting process. To baste your quilt you will need:
- Quilt backing fabric (at least 5″ wider on all sides than your quilt top)
- Quilt batting (at least a few inches wider on all sides than your quilt top), read All About Quilt Batting here.
- A large, flat area to work on basting
There are two most-used methods for basting together the layers of a quilt. Read all about How to Pin Baste a Quilt here.
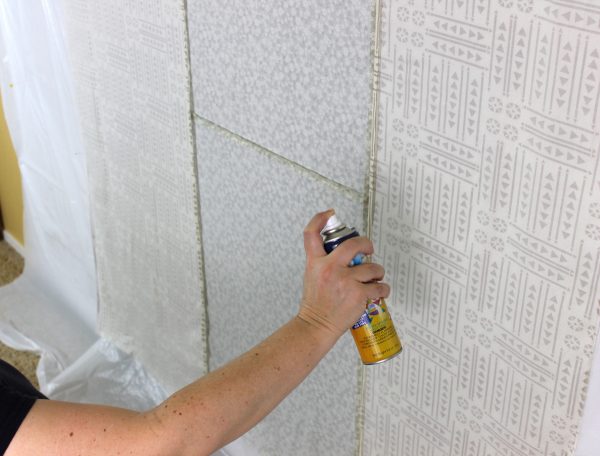
Using temporary spray adhesive to hold all layers of the quilt sandwich together has become a popular no-pin method. Get the Spray Basting Tutorial here.
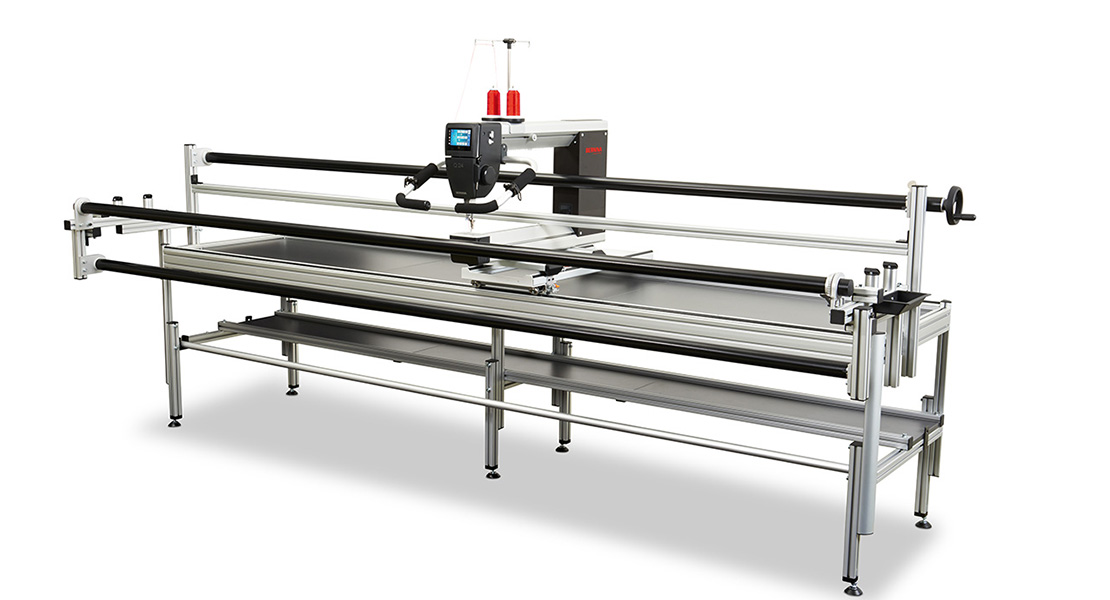
Step 6: Quilting Stitches
There are many, many different ways to quilt the layers of the quilt sandwich together: straight line quilting, free-motion quilting, quilting with an overall pattern, following the patchwork designs with quilting, or just doing your own thing. Which type of quilting you choose falls under the “personal preference” category!
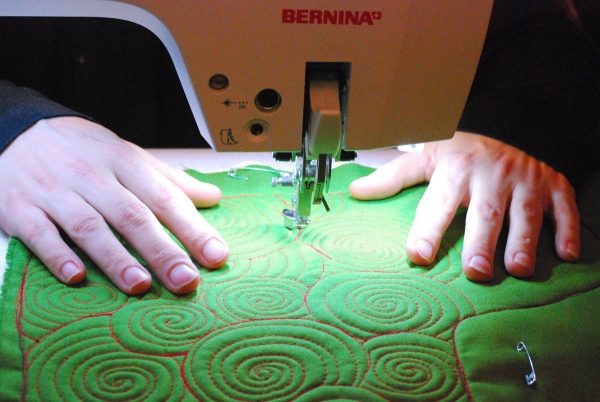
Free-motion quilting is a technique in which you move the fabric under the needle to create different designs. Practice on some scraps of fabric and batting before tackling FMQ on your first quilt, and read these helpful tips and technique posts.
- Get Ready for Free-Motion Quilting with this post from FMQ expert Lori Kennedy of The Inbox Jaunt.
- Find our Top 5 Tips for Successful Free-Motion Quilting to help make the process a bit easier on your first try.
- Practice these simple all-over quilting patterns in our Overall Quilting Design Basics series.
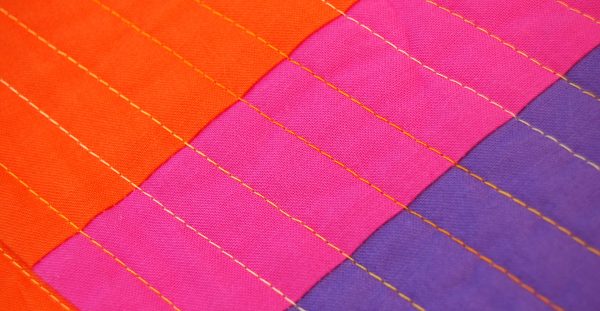
Another favorite method of quilting is stitching in straight lines. This post has lots of information all about Straight Line Quilting from how to plan your design and tools to help you stitch a straighter line.
Step 7: Bind the Quilt
Adding binding finishes the edges of your quilt nicely after quilting. There are a few methods to binding, and quilters usually find a favorite method and stick to it.
- Learn the basics of the Double Fold Binding method here.
- Don’t be frightened of turning the corners! Find a great tutorial on How to Fold a Mitred Quilt Binding Corner here.
- If you don’t like the idea of hand-sewing the finished binding, try this method of Sewing Machine Binding.
- Have a little fun with your binding by adding a name, date, or message! Check out the Quilt Binding With Words tutorial.
- If you don’t like the idea of a binding adding a frame to your quilt try the facing method with this tutorial to Make a Quilt Facing.
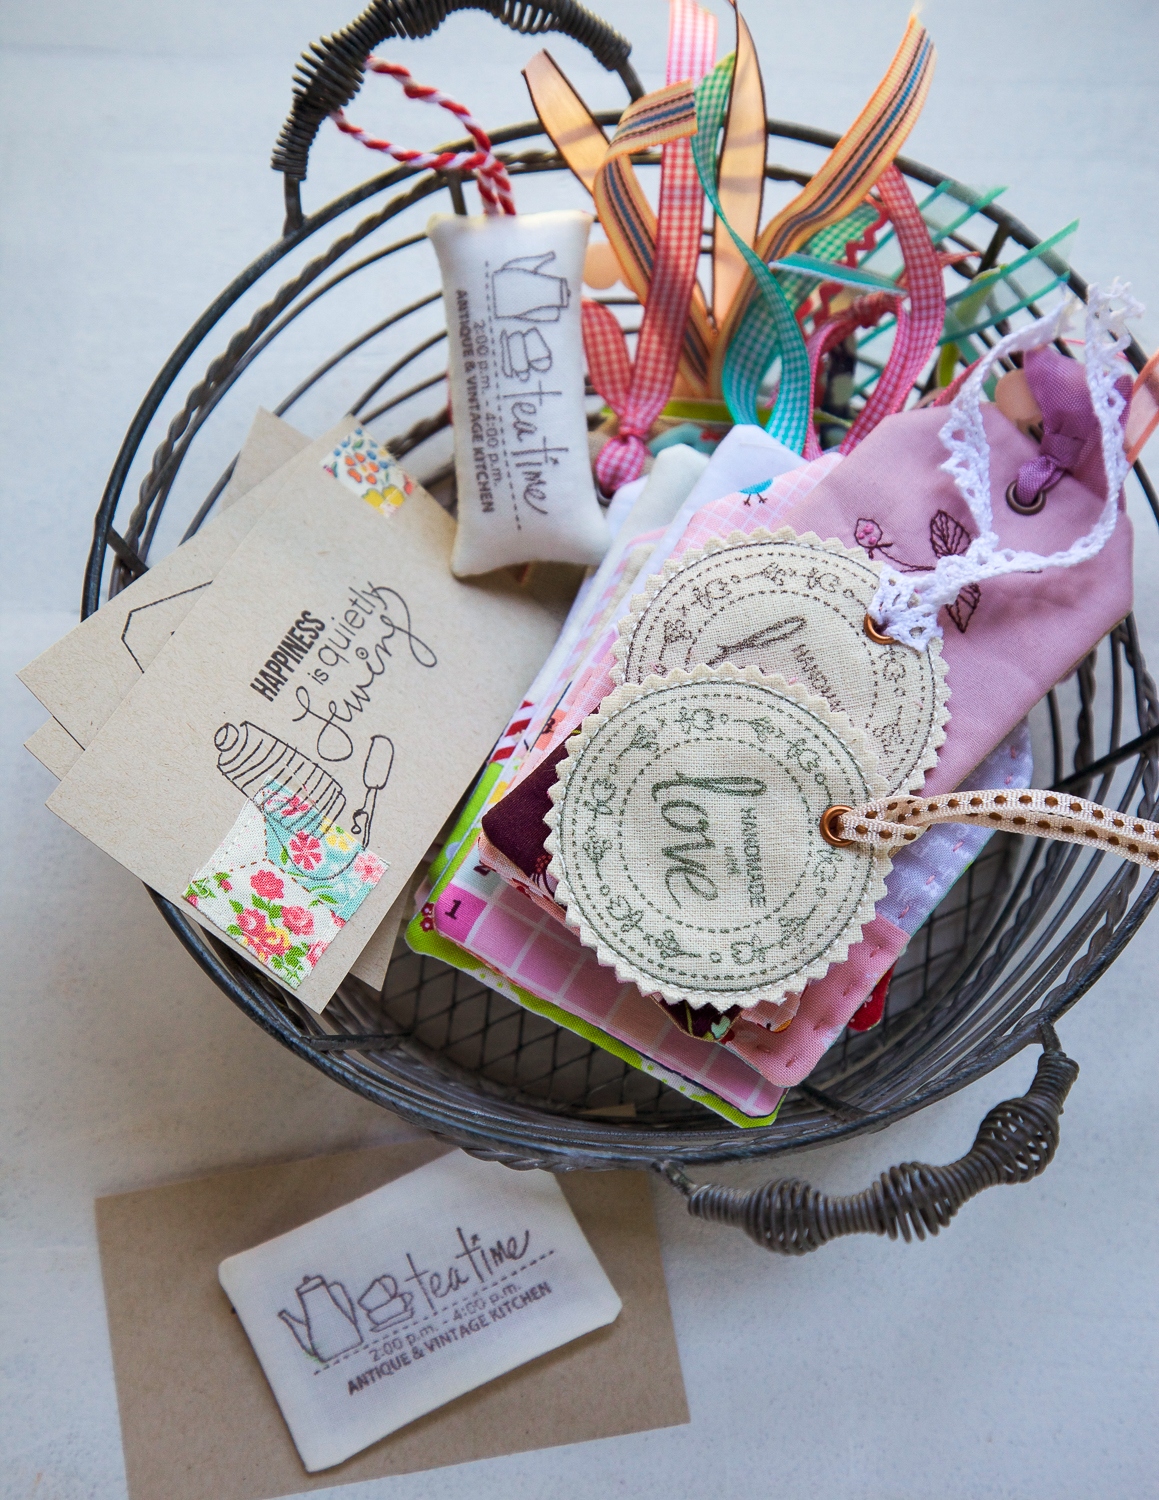
Step 8: Enjoy Your Quilt!
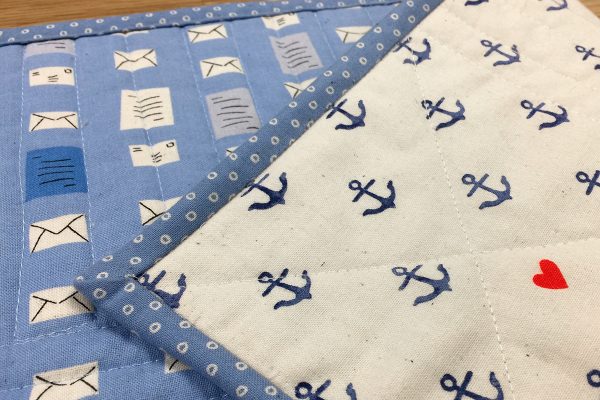
Don’t forget to add a label to your quilt to help you remember when you made it, especially if the quilt is a gift. Or, if you decide you’d like to hang your quilt on the wall to enjoy it, read all about how to make a Quilt Hanging Sleeve here.
Used Products


What you might also like


2 comments on “How to Make a Quilt: Project for Beginners”
-
-
Hi! Do you have to hem each side of the triangle before you sew the pieces together? it will fray otherwise, won’t it?
Leave a Reply
You must be logged in to post a comment.
As a beginner quilter, this article is amazing. Every step of quilt making is explained in detail. My confidence is soaring! Thank you Bernina. Just another reason why Bernina has the best sewing machines and educational resources!