How to Make an Embroidered Flora Lapin
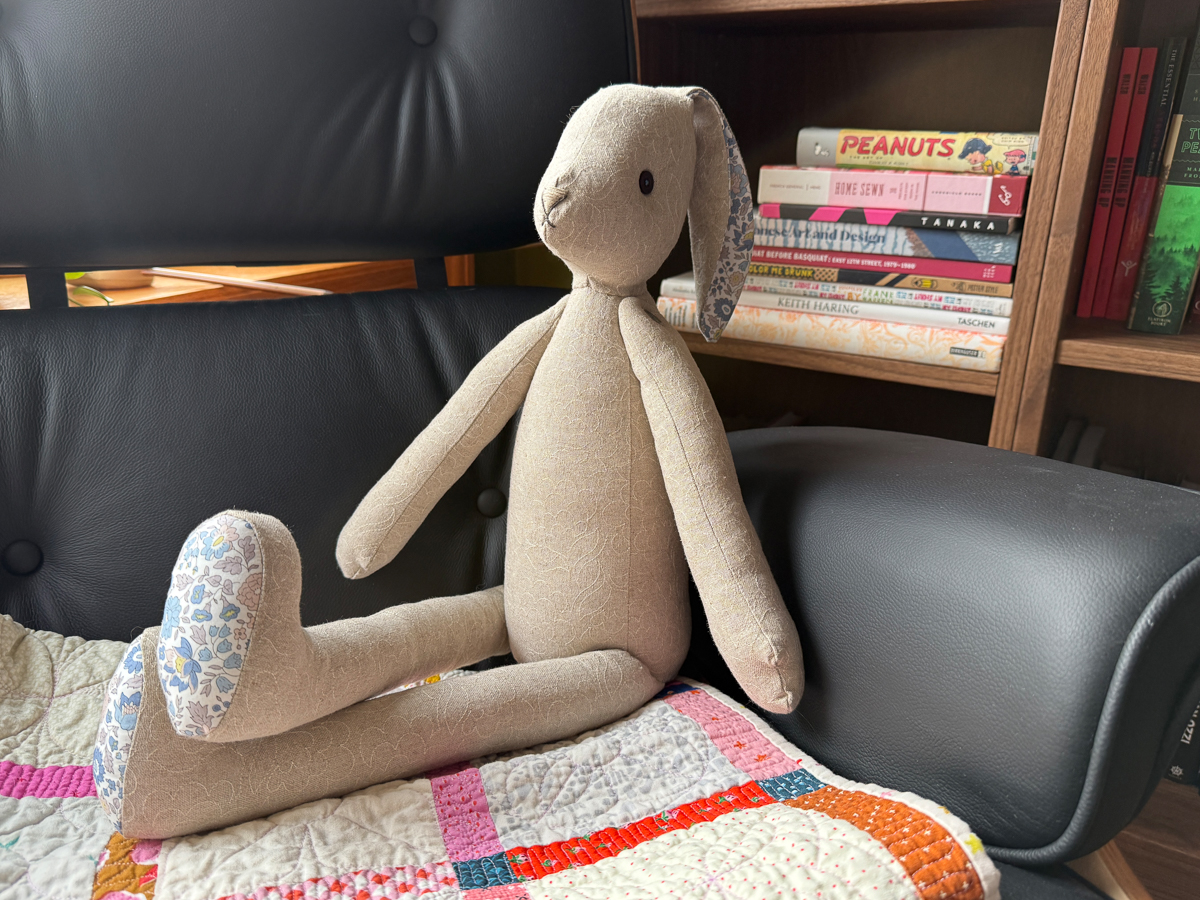
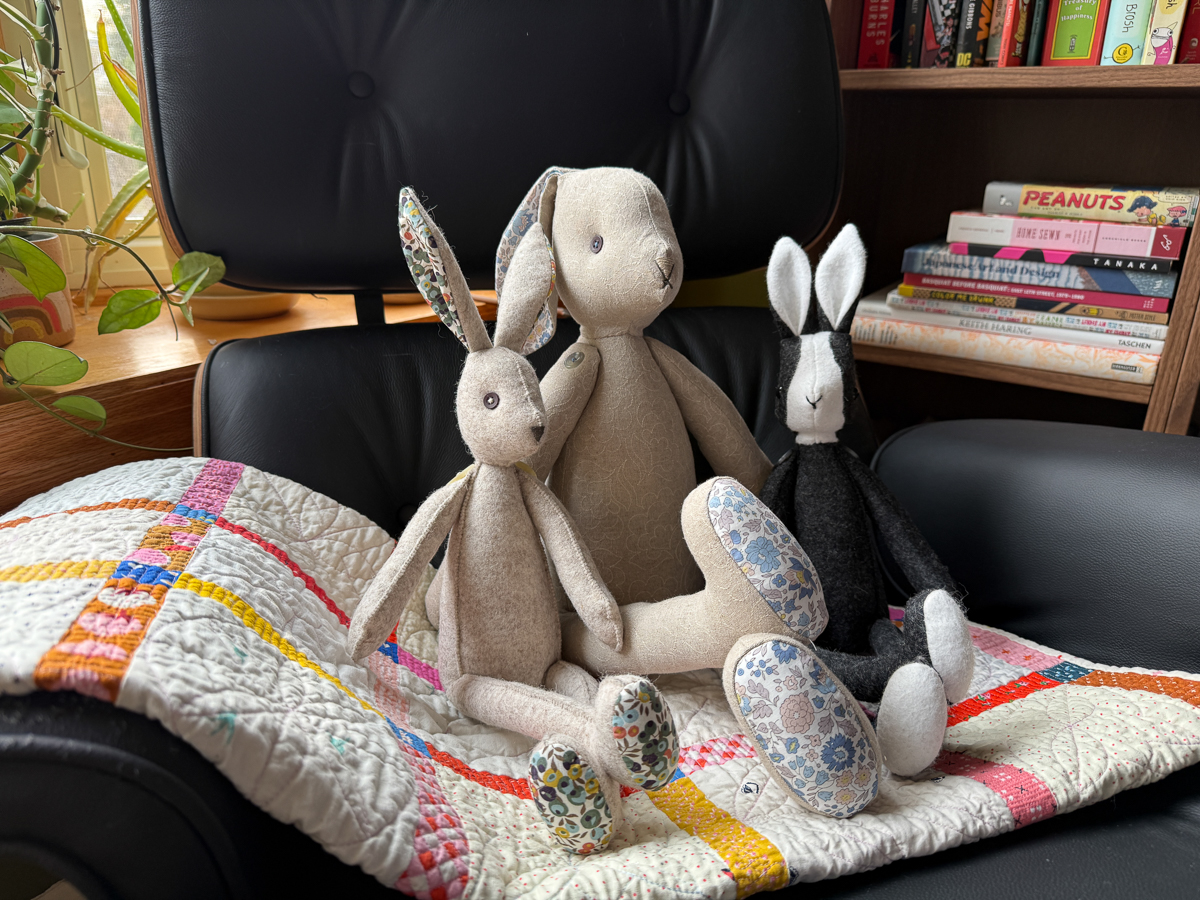
Luna Lapin’s world of impeccably dressed and hand-sewn stuffed animals has stolen my heart. I have made several of these creatures over the past few years but was recently inspired to make Flora, a larger scale machine-sewn rabbit, and give her a bit of extra flourish by adding allover embroidery with my BERNINA 990.
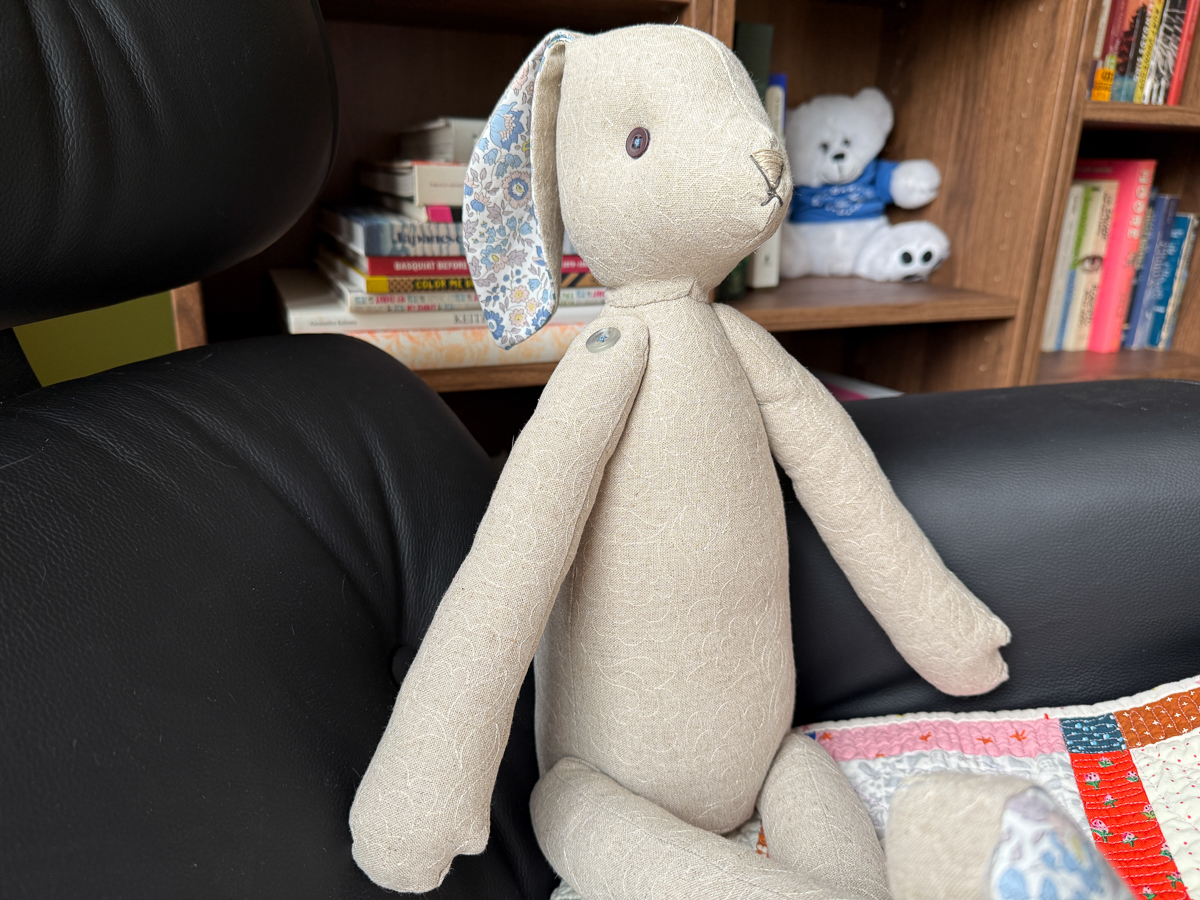
By using quilting designs, I can add a beautiful and lightweight design to my yardage before assembling into the finished rabbit. You can find the specific instructions for making the rabbit, either as a stand-alone pattern or in one of their many gorgeous books, from a small English company called Cool Crafting.
For this Flora, I ordered the Make Me Kit from Cool Crafting. They do an incredible job at sourcing high-quality fabrics and notions for their creatures and the kits make it so simple to try your hand at a project like this without tracking down the individual bits and bobs.
Materials for Embroidering Flora Lapin
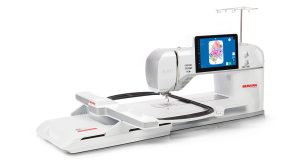
- BERNINA 990
- Open Embroidery Foot #20C
- Embroidery Foot #26
- Patchwork Foot #97/97D
- Straight/CutWork Stitch Plate with Sensor
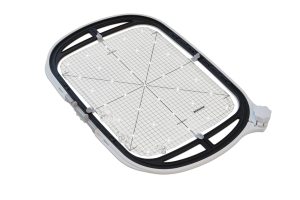
- Giant Hoop
- Flora Lapin Rabbit pattern and required materials for sewing and finishing
- Scalloped Flowers LA80382-09 longarm quilting design
- Fabric:
- 1/2 meter (about 20”) of linen, lightweight canvas, or wool
- 9” x 13” (or Fat 16th) piece of accent fabric, such as Liberty tana lawn
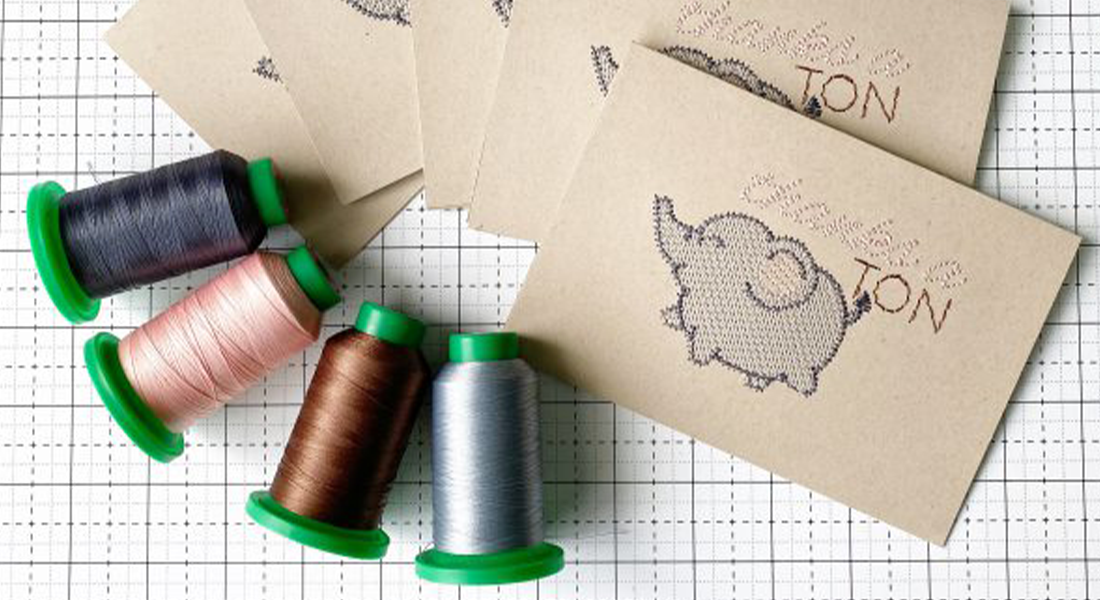
- 50 or 40 weight coordinating thread
- OESD AquaMesh Plus, 20” roll
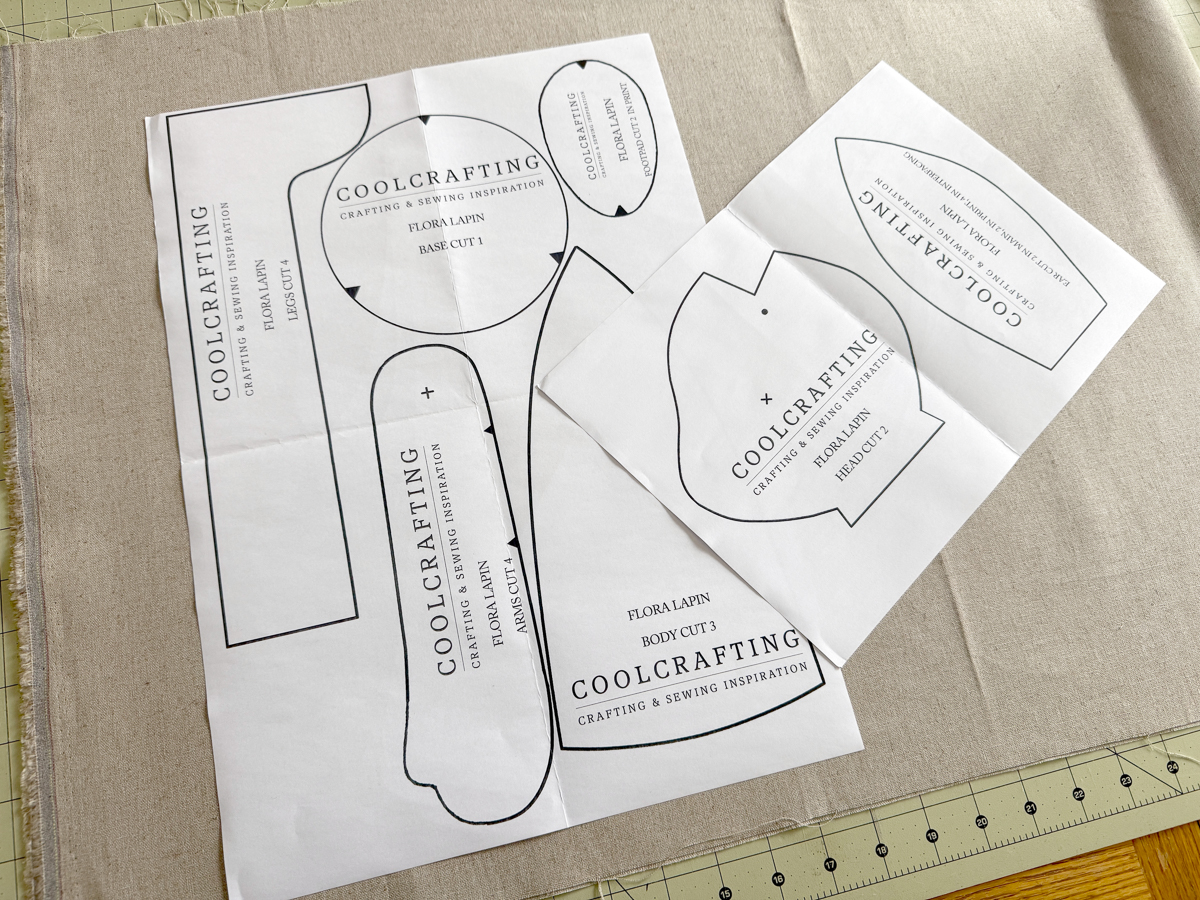
Step 1: Prepare Pattern, Fabric, and Stabilizer
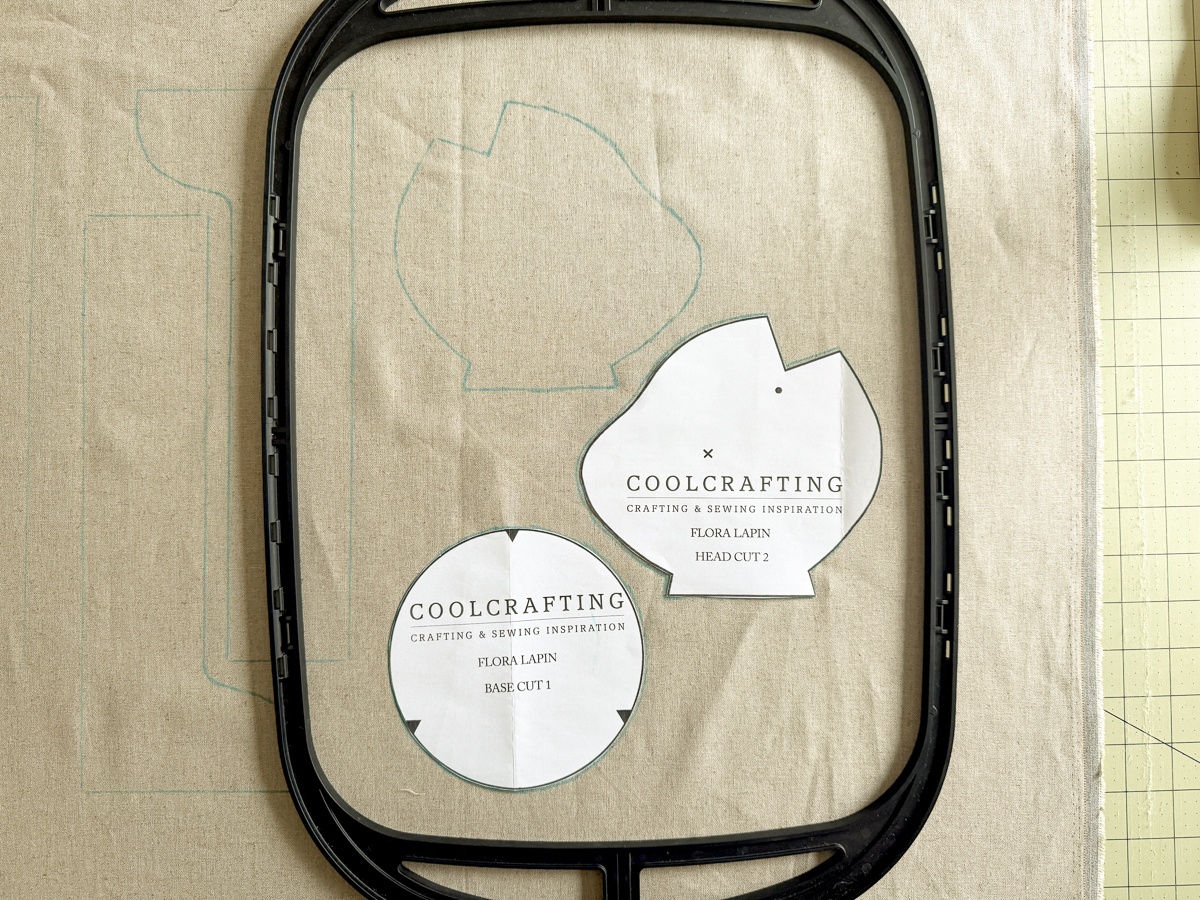
First, press the linen fabric to be embroidered as well as the rabbit pattern pieces. Then, cut out the pattern pieces with paper scissors.
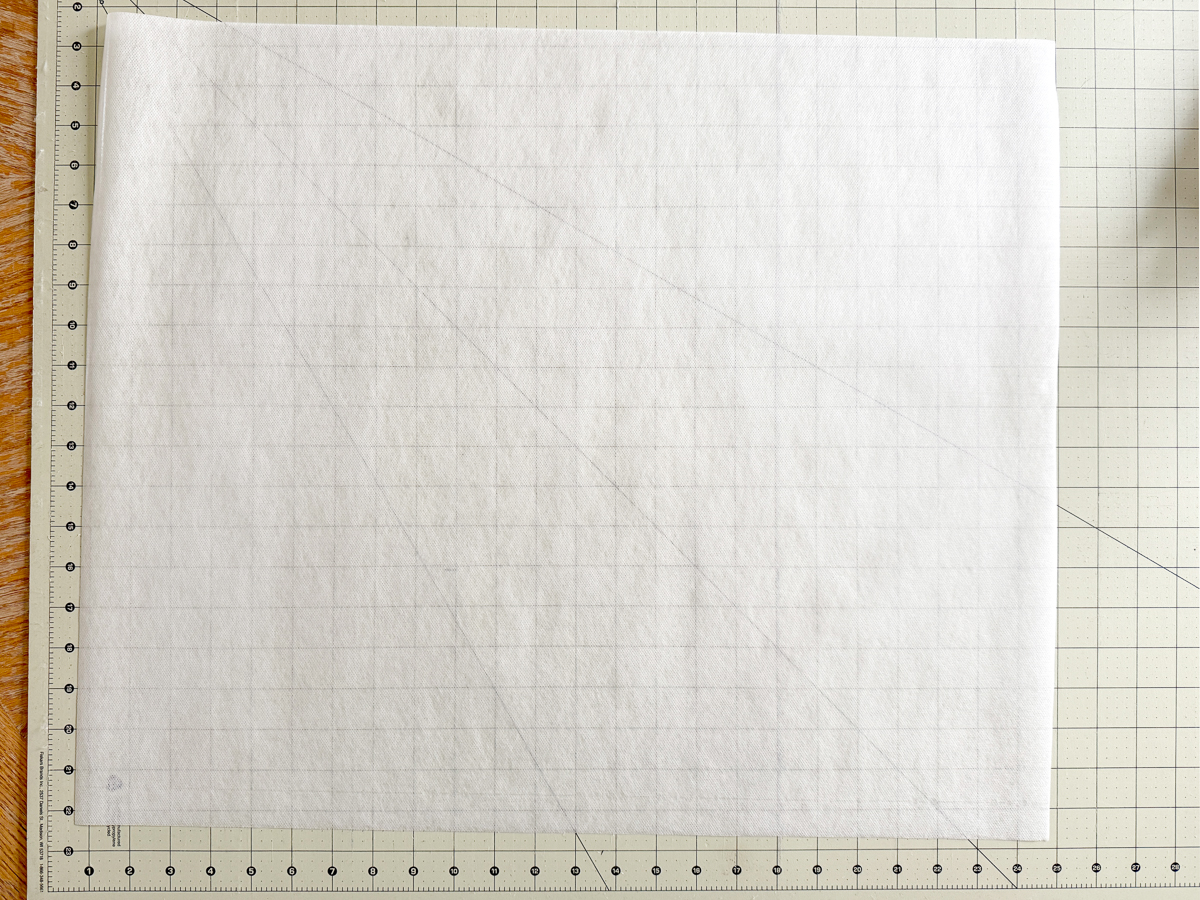
From the roll of AquaMesh Plus stabilizer, cut three pieces 20” x 24”.
Step 2: Trace Pattern Pieces
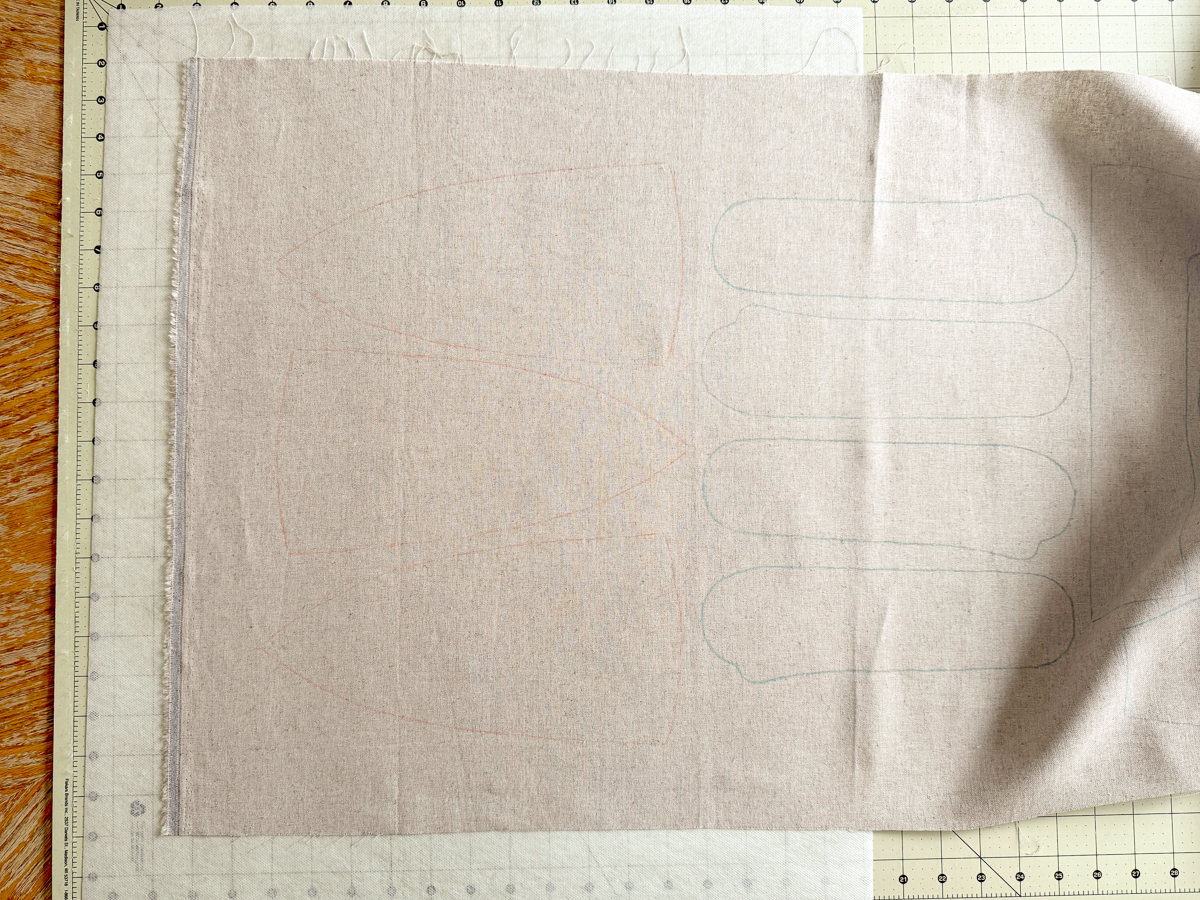
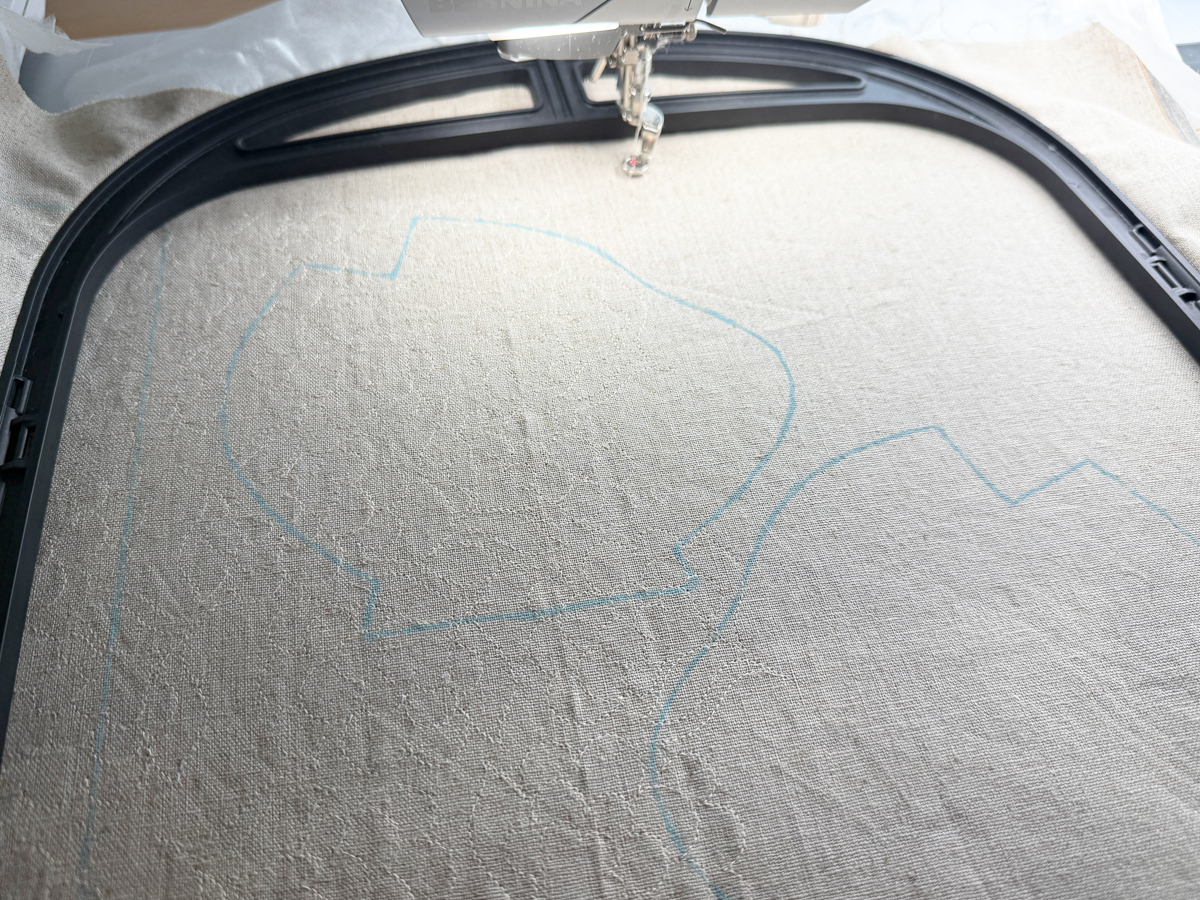
Lay out and trace all pattern pieces on right side of linen fabric. Be sure to cut mirror image pieces of the arms, legs, and head since we are tracing and cutting on a single layer, not a fold!
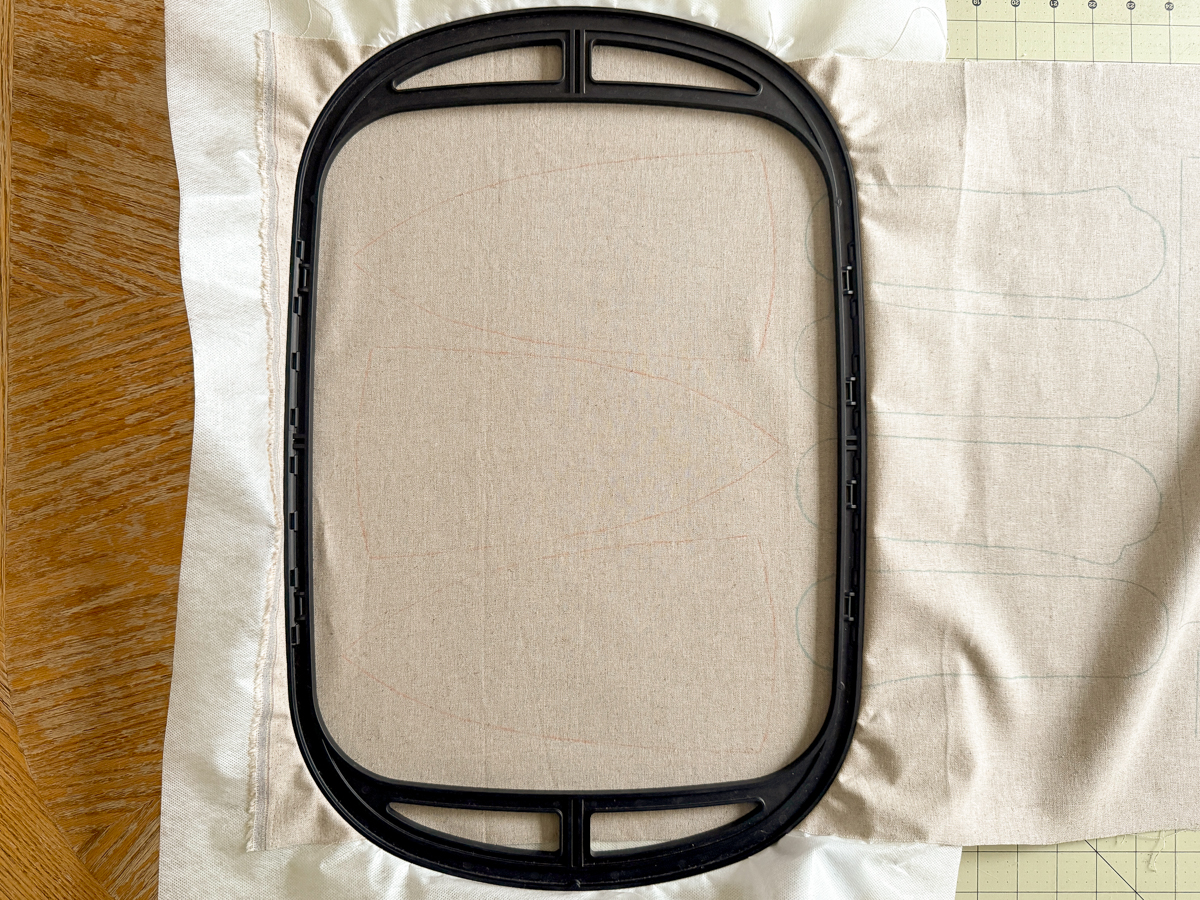
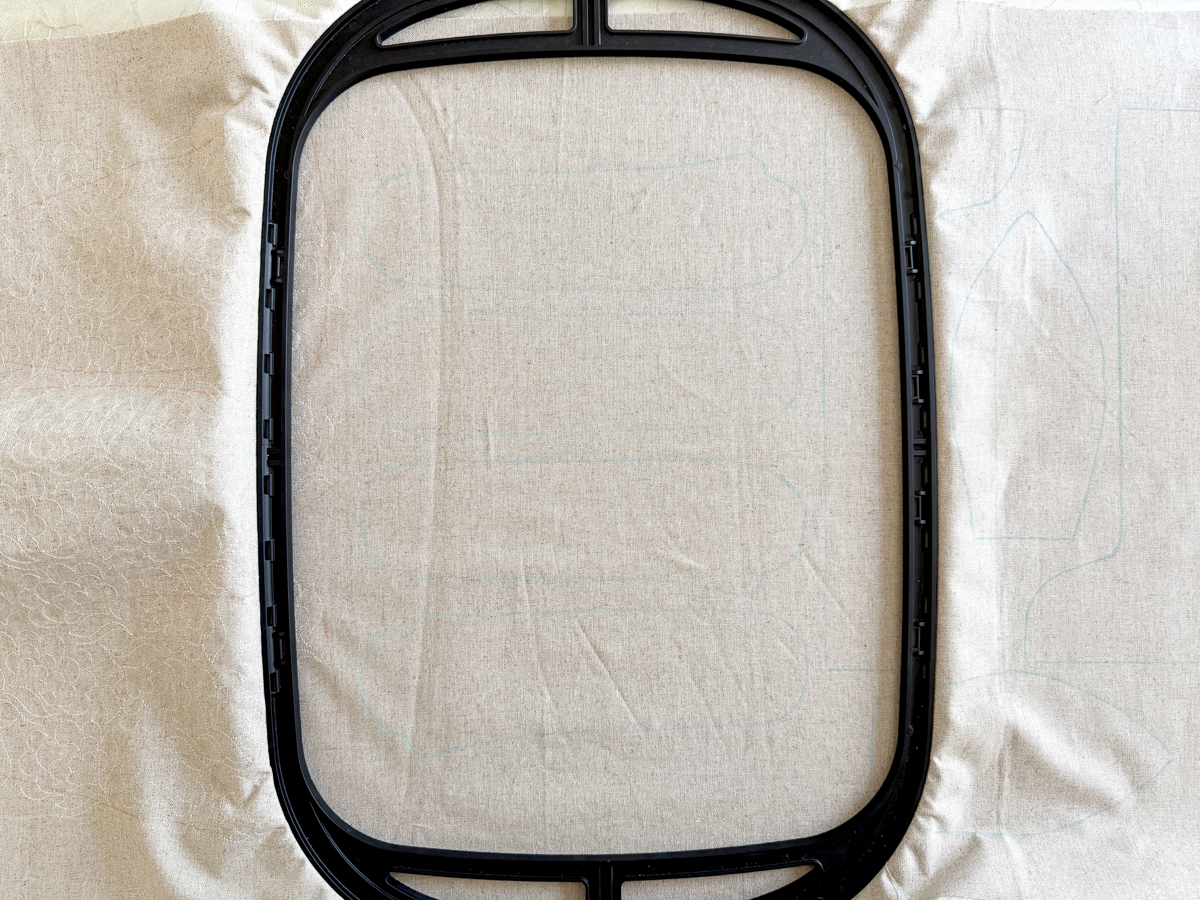
I recommend using the inner hoop of the Giant Hoop as a guide to make sure the pieces fall within the embroidery area in easy hooping.
With my 60” wide linen, I fit all the pieces across the length with a few inches to spare at the end.
Step 3: Hoop Fabric
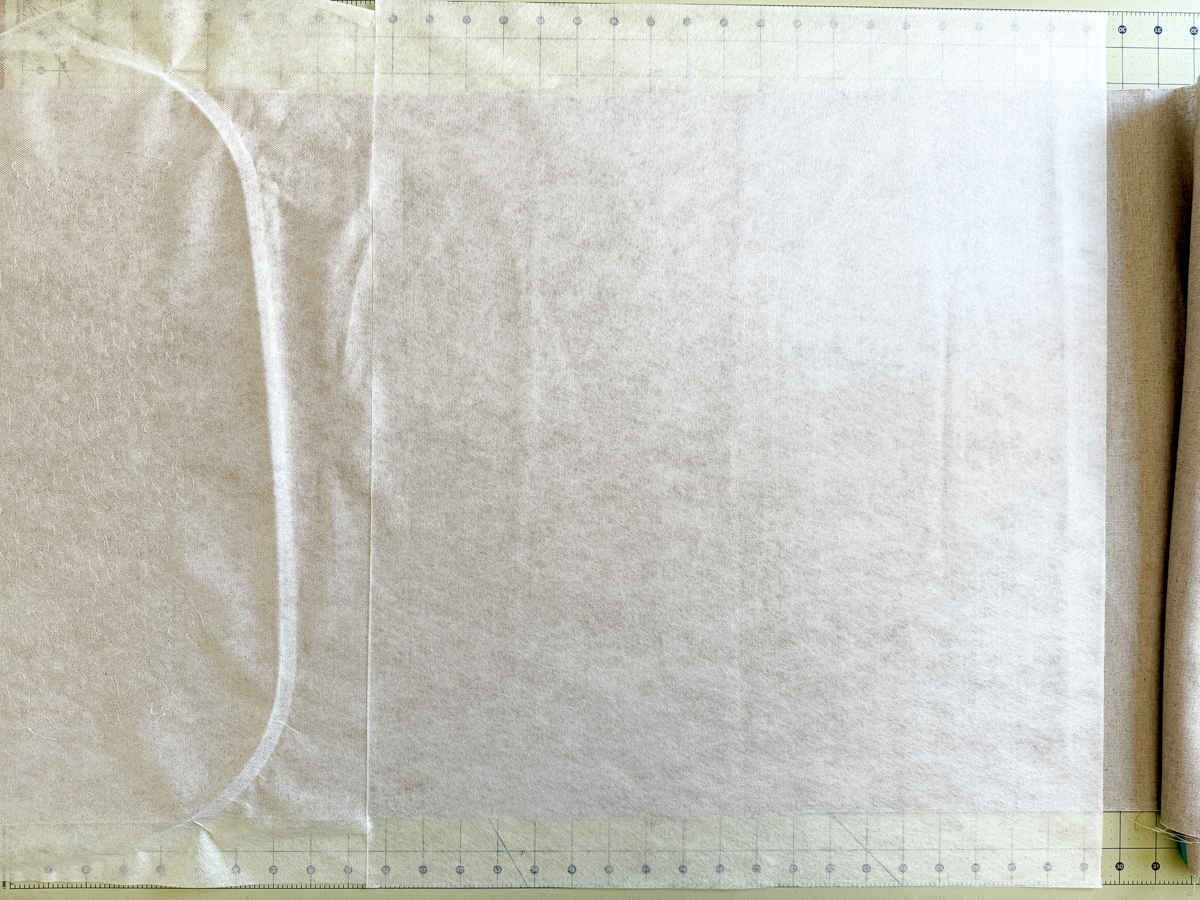
Remove the glossy paper from one piece of stabilizer.
Stick the stabilizer to the wrong size of the linen at one end, perpendicular to the length of the yardage. The 24” length of the stabilizer will extend beyond the width of the yardage.
Hoop this end of the yardage with the Giant Hoop, oriented to match the stabilizer. The excess yardage will extend to the right of the hoop.
Step 4: Setup Embroidery Design
On the BERNINA 990, begin by opening the embroidery design.
I’ve chosen to use a quilting design in the BQM file format from OESD called Scalloped Flowers. A quilting design like this one is perfect for an allover embellishment because the light stitching of a single-line-run design will keep the resulting fabric soft and just add a bit of texture. These designs can also be resized limitlessly so I can make the repeat as large or small as I like with even, consistent stitches.
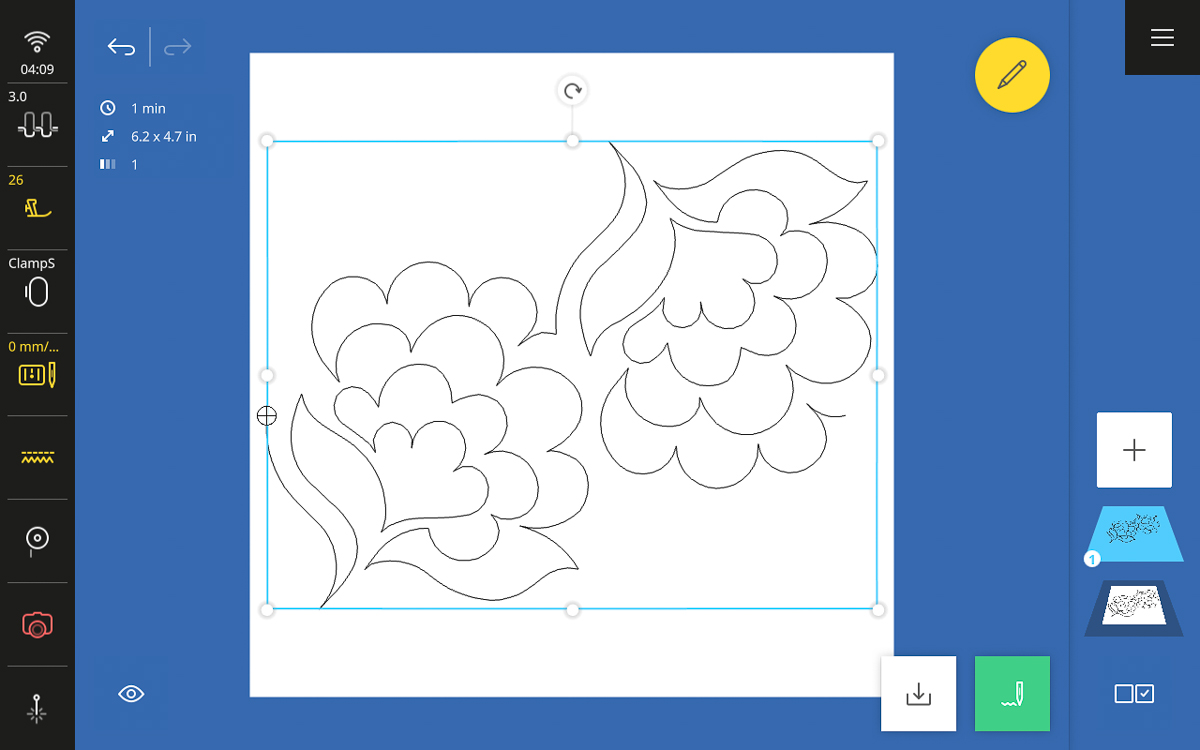
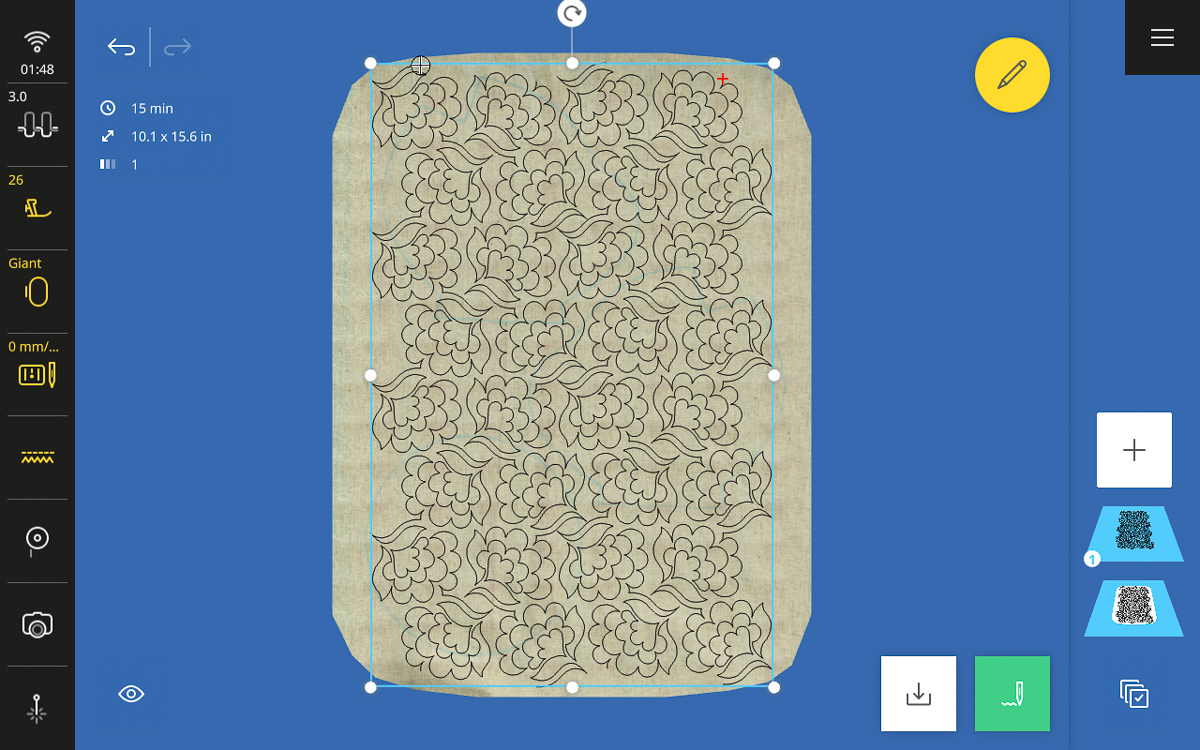
To prepare for embroidery, begin by scanning the Giant Hoop. By scanning the fabric and the traced pattern pieces on it, you will be able to better visualize the design and adjust the size for your preferred result.

Now, with the scanned image of the fabric at the hoop background, you can play with the scale of the quilting design. So, you could make the design larger, for a bigger allover pattern…
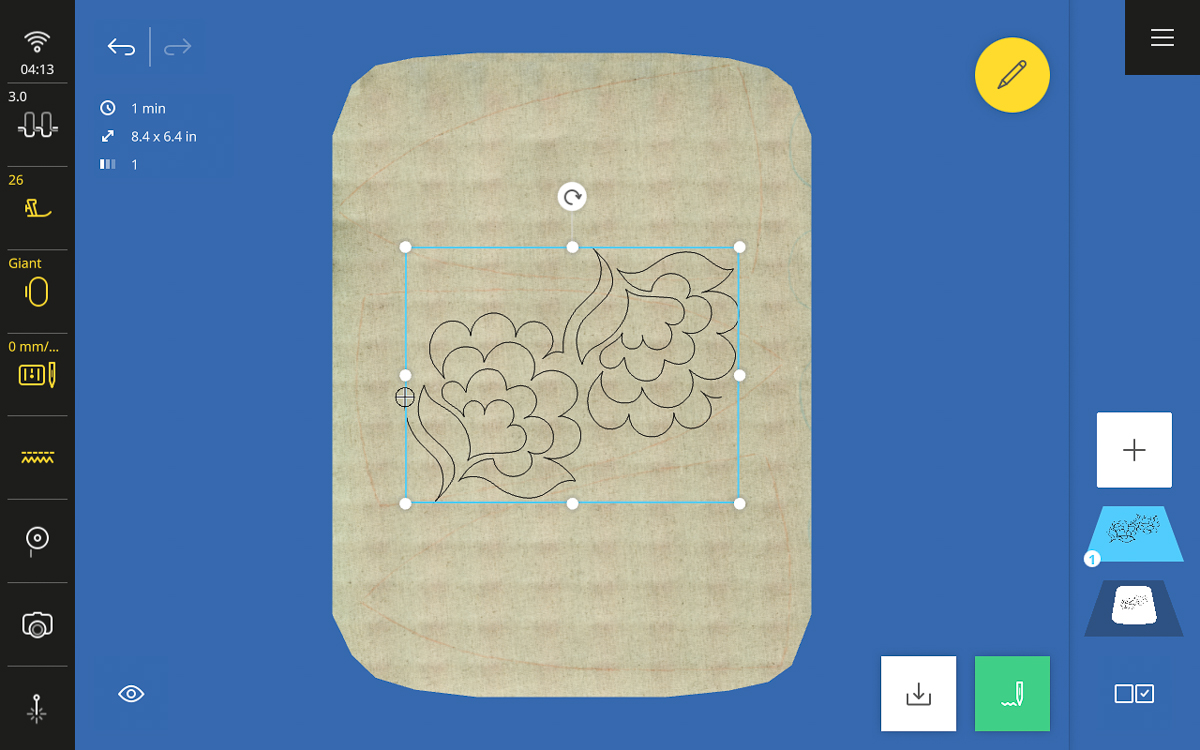
Or make it quite small for a more dense and detailed look.

For this tutorial, go ahead and set the size to 65% of the original size, about 4” x 3”.

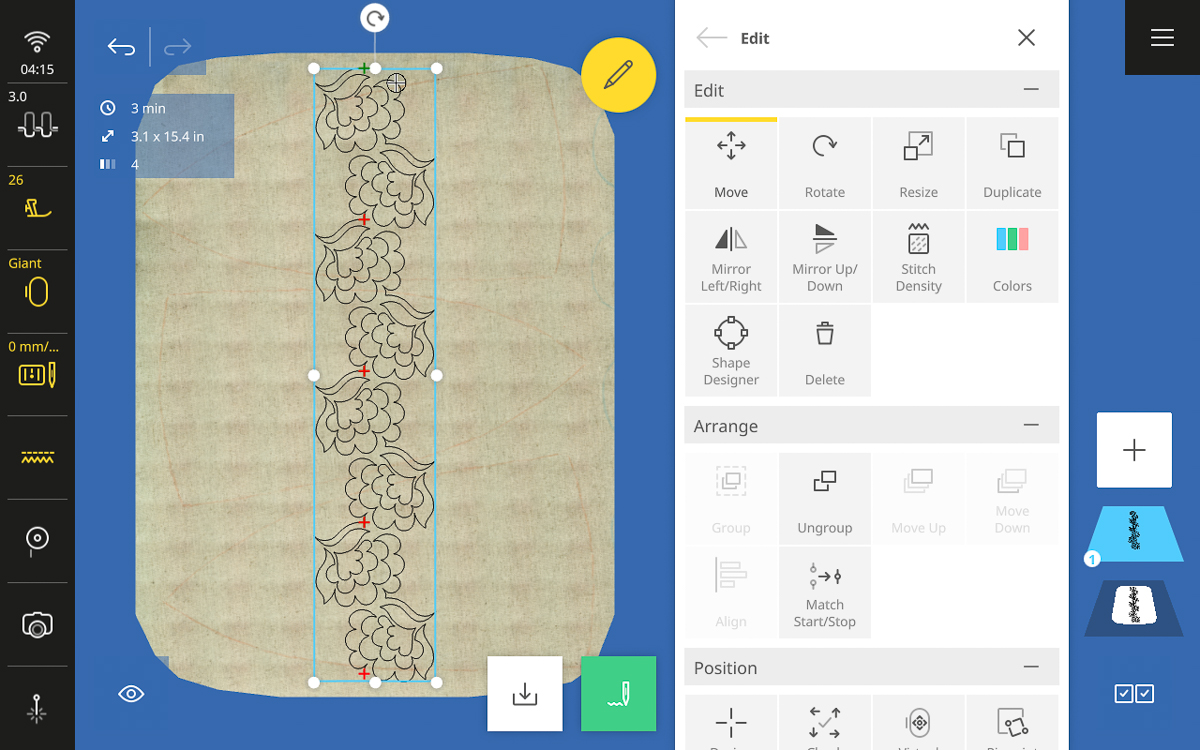
Next, create continuous rows of this design that start at the top of the hoop and run toward the bottom. To see the direction of stitching, activate Show Start/Stop. This will add a green crosshair to the first stitch of the design and a red crosshair at the last stitch.
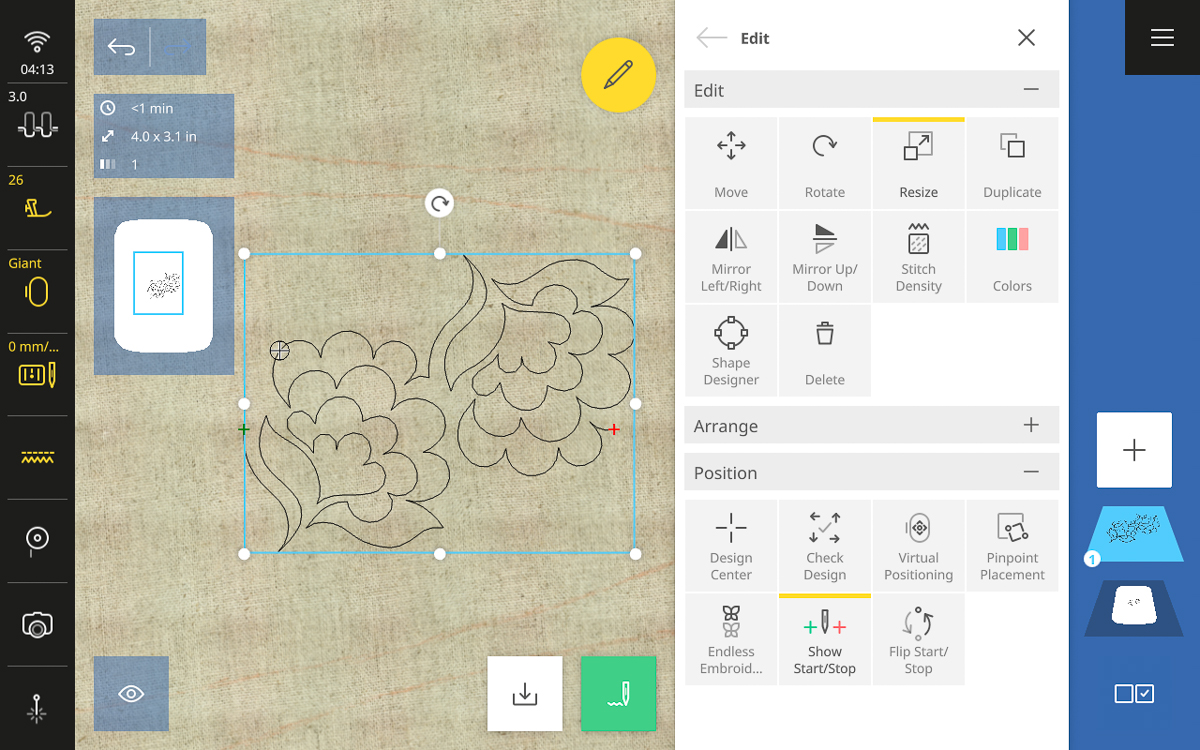
Rotate the design 90 degrees so that the start point is at the top and the end is at the bottom.

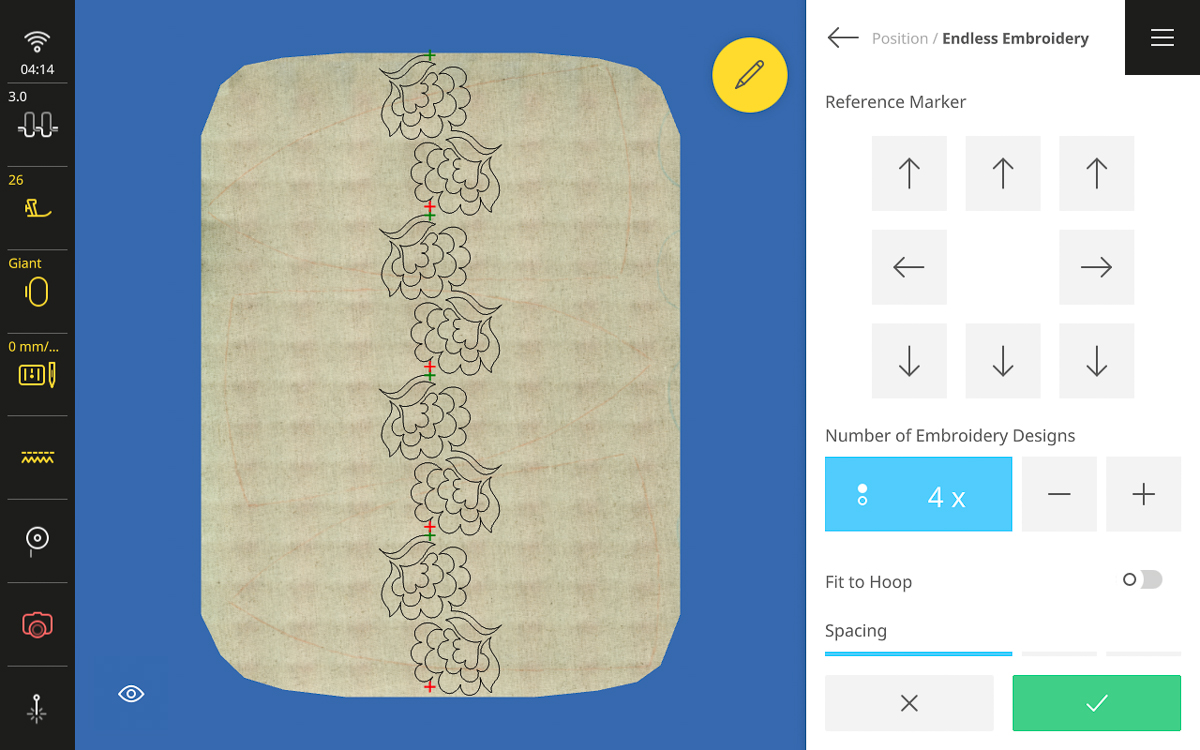
Duplicate the design to create a repeated pattern and fill most of the embroidery hoop. To do this, use Endless Embroidery.
Endless Embroidery will automatically set the number of repeats that would fill the length of the current hoop. In this case, that is only 4. Deactivate all the Reference Markers, then confirm with the green check mark.
Select Match Start/Stop. This is a design that nests together, and Match Start/Stop will perfectly align the repeats of the design so that one picks up exactly where the last one left off.
 :
:
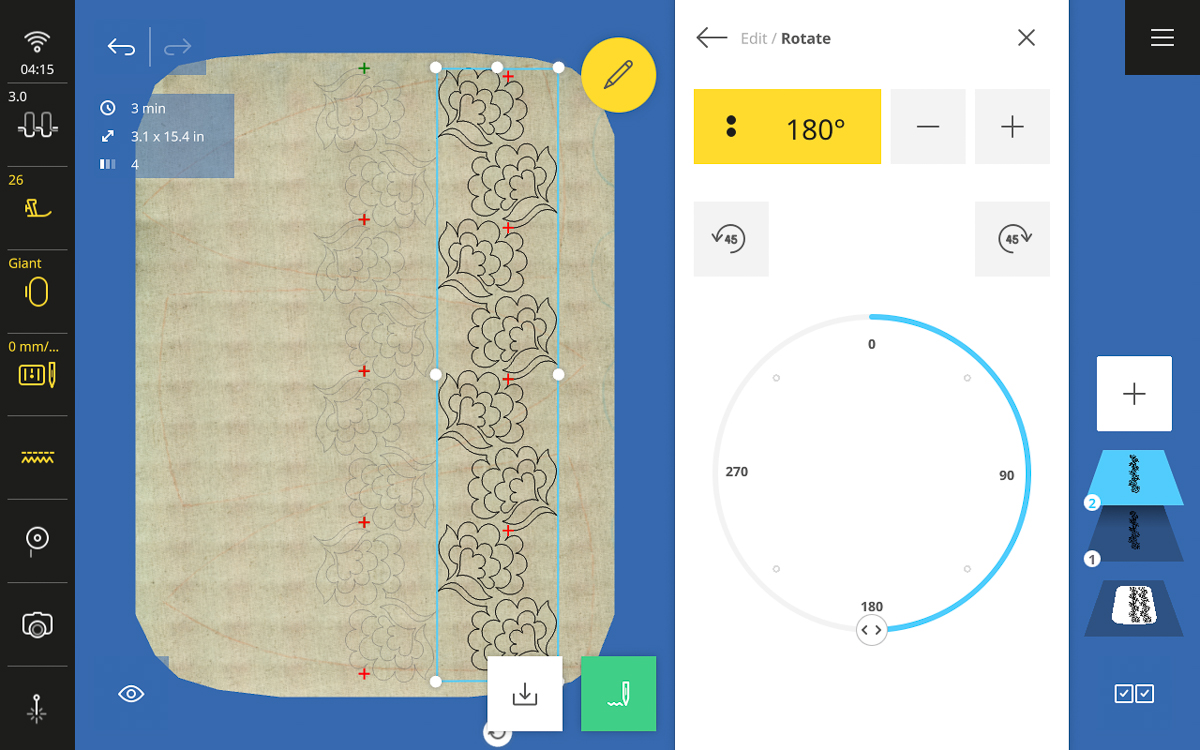
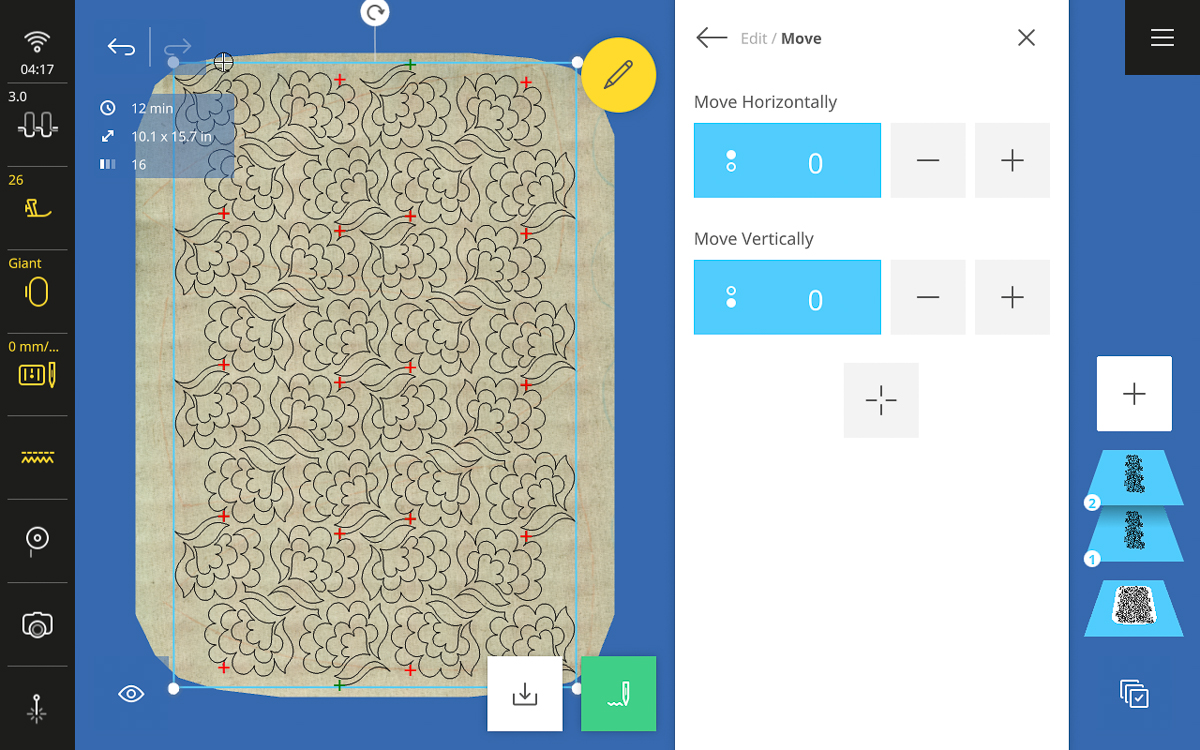
Now repeat this design so that it fills the width of the embroidery hoop. Tap Duplicate to create a second row of the design. Then select Rotate and rotate the design 180 degrees.
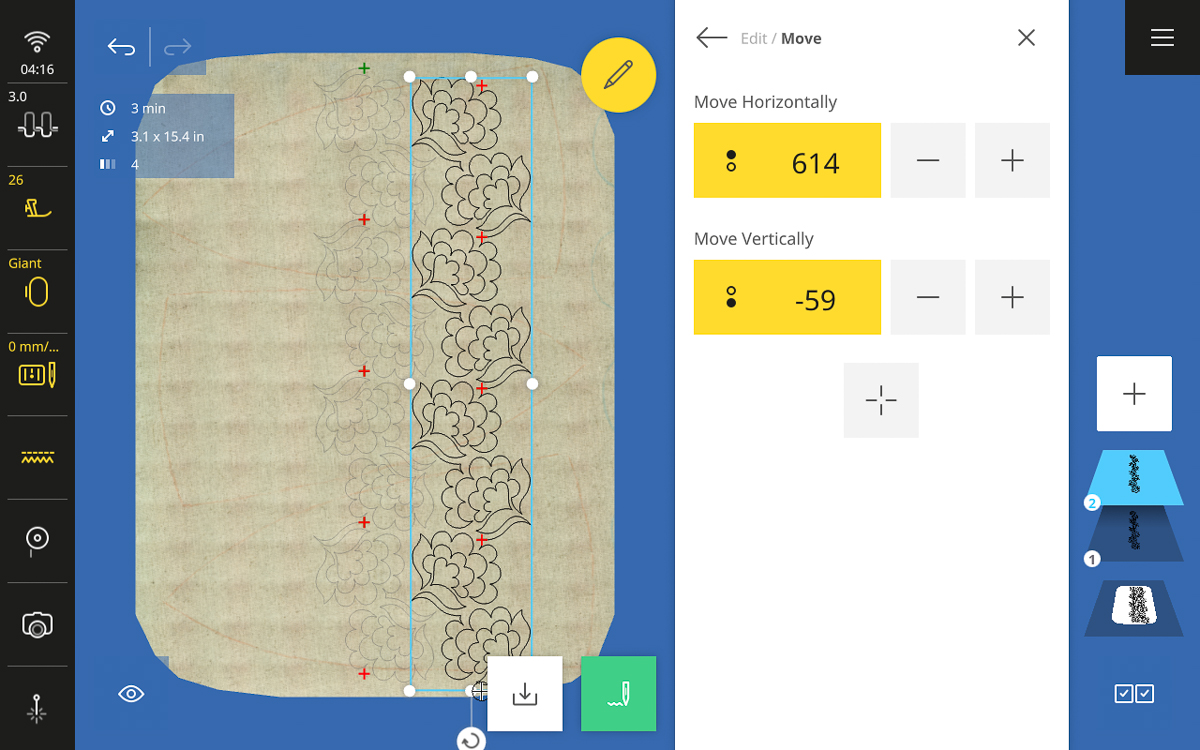
In the Move tool, move the new row of the design to nest into the first without overlapping the stitching.
Select both layers and select Group. Then tap Duplicate and move this duplicate group to nest with the first. There will now be four rows of the quilting design running up and down the hoop, tiled together neatly.
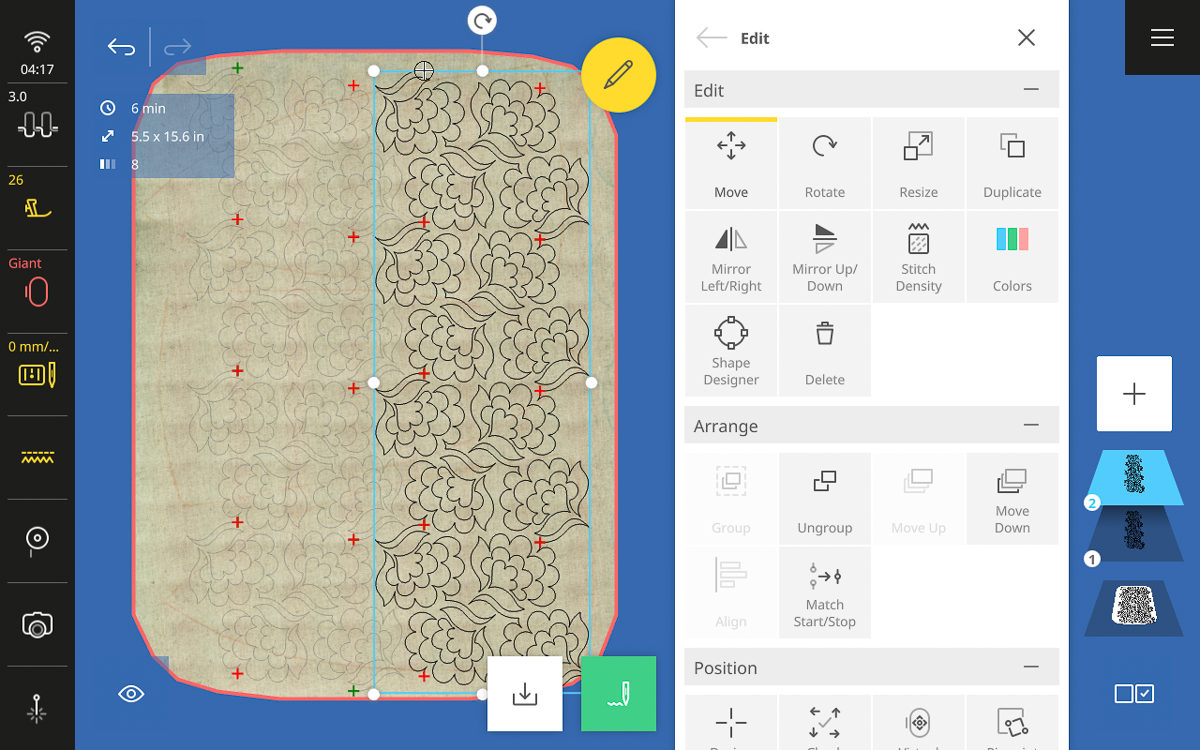
Tap the Move tool and select Center in Hoop. Then close the Edit Menu.
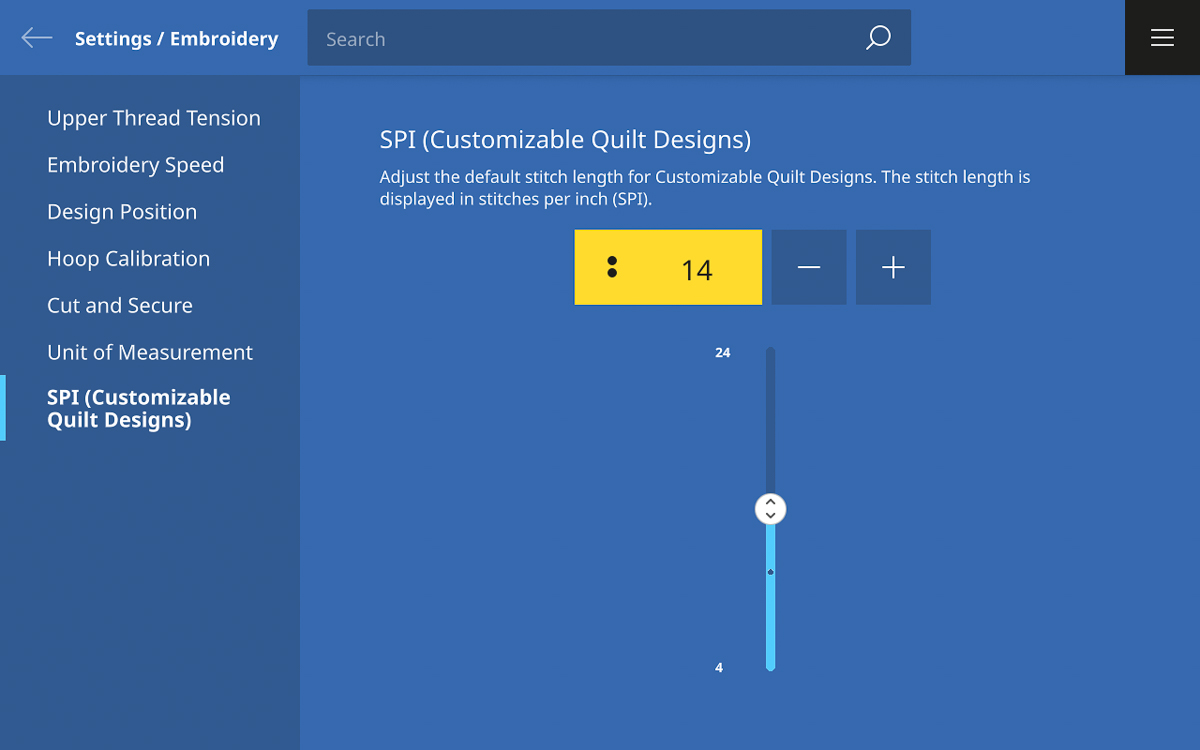
One last change to make is to the stitch length. Because we have made this design a bit smaller and we’re using a light, 50 weight cotton thread, set a slightly shorter stitch length. To do this, go to Settings, then Embroidery Settings, and select SPI (Customizable Quilt Designs). The default stitch length is 10 stitches per inch, or SPI. Increase the SPI to 14 then return to Embroidery Mode.
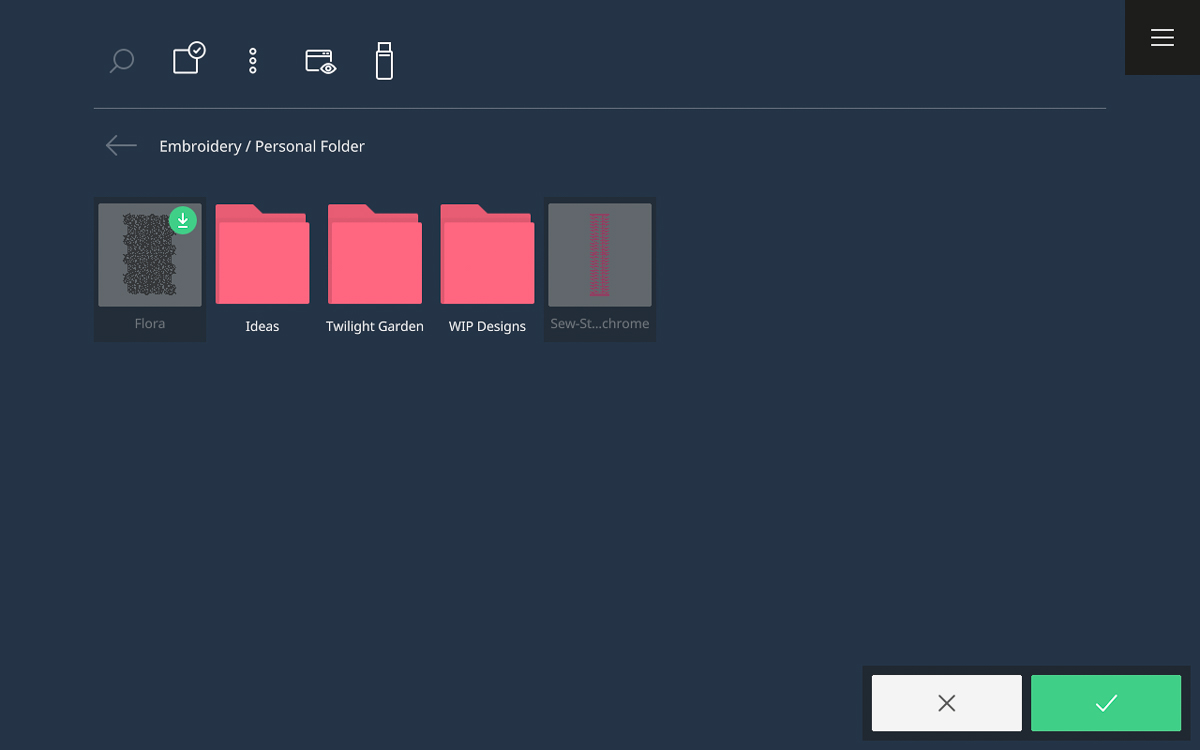
You may want to save this design in your Personal Folder so that it is easy to re-use and reposition for each hooping.
Finally, we can go to Stitchout!
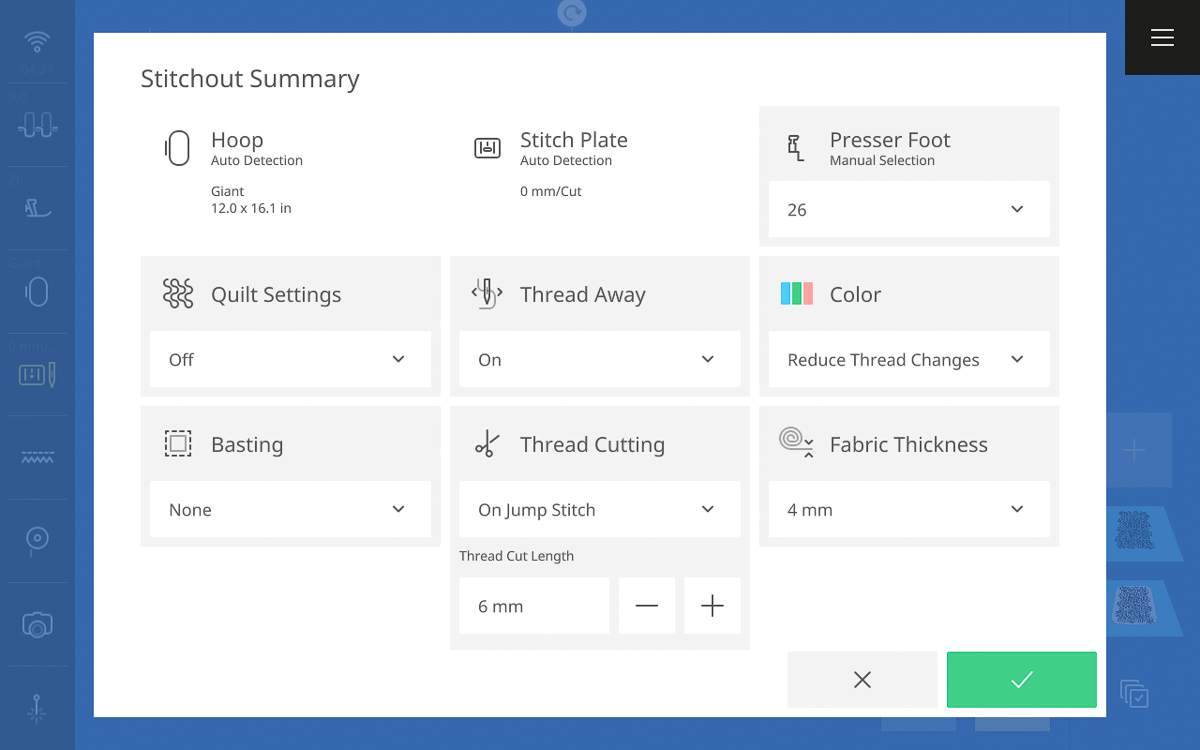
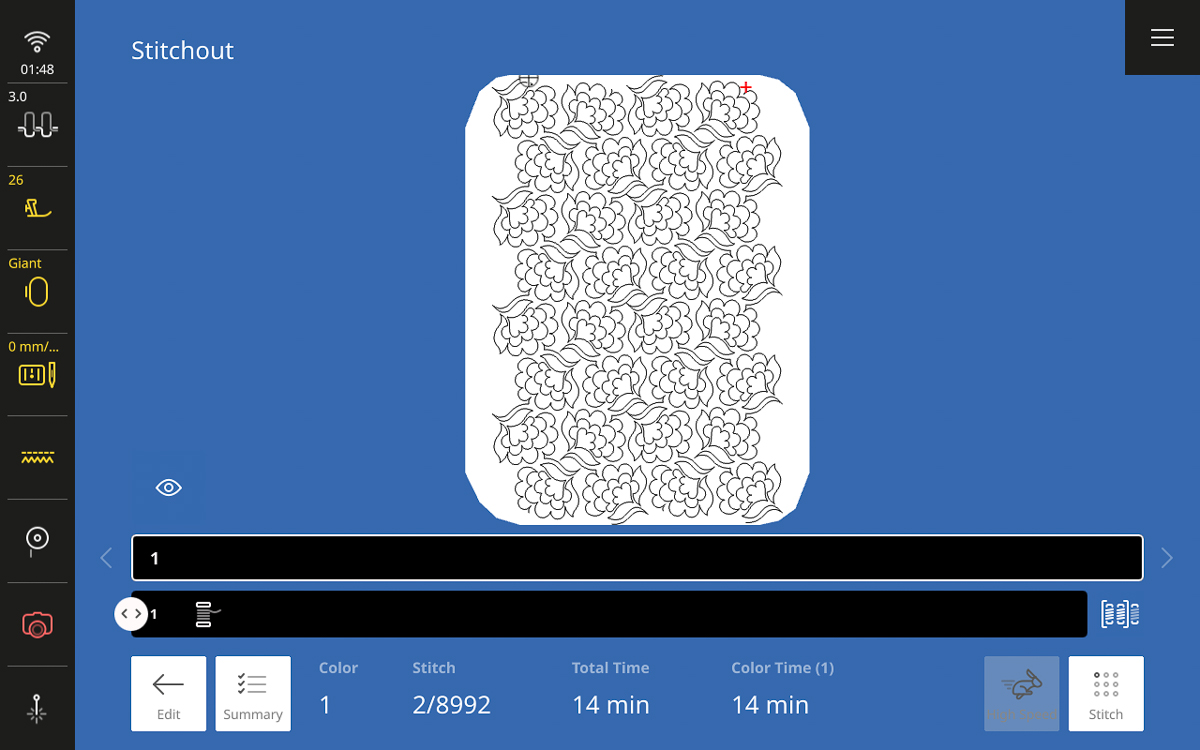
Step 5: Stitchout Summary and Machine Prep
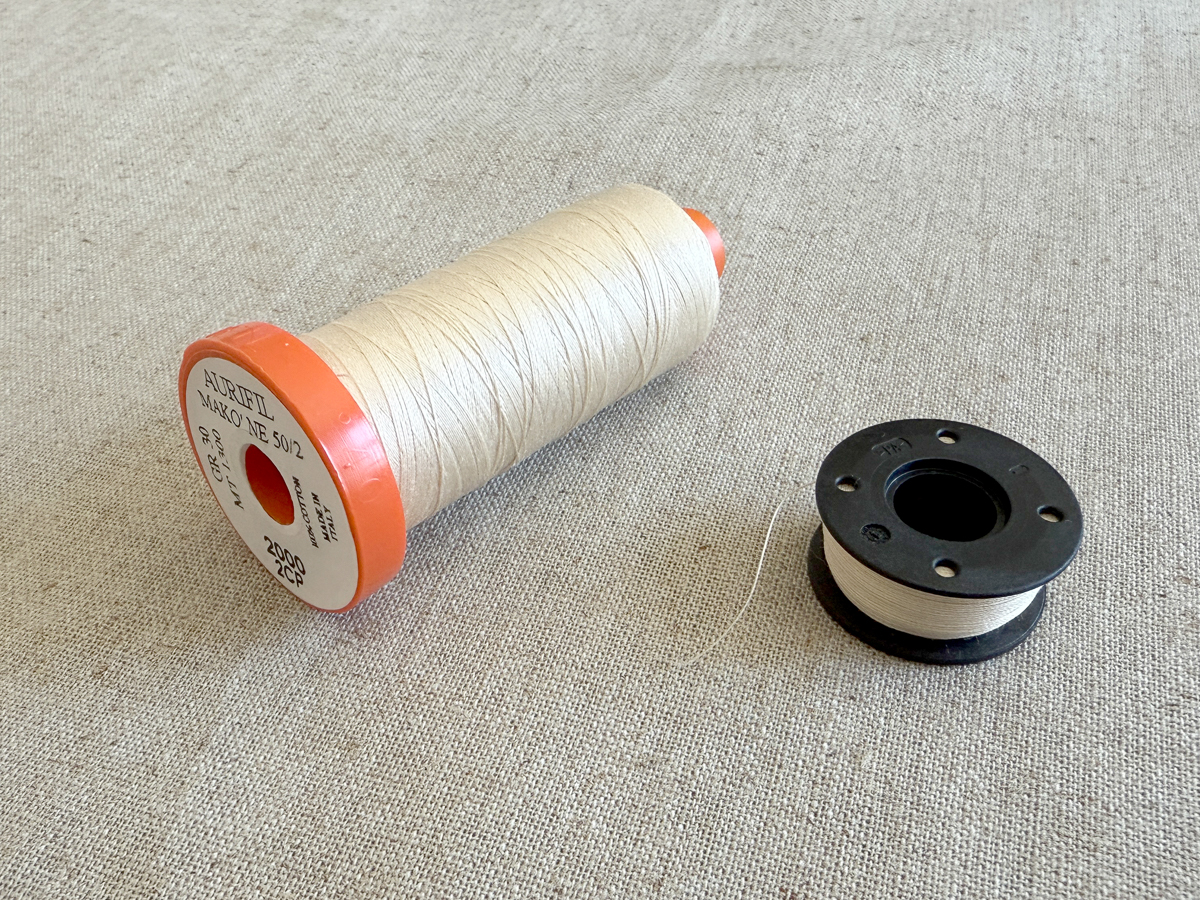
Prepare the machine by attaching the Embroidery Foot #26 and the Straight Stitch Plate. Use the same thread in both the needle and bobbin. I have chosen a neutral cream color that will add a very subtle dimension to my fabric.
In Stitchout Summary, we can adjust the most common embroidery settings based on this project. For this, we will keep most of the default settings except for the Color. Set Color to Reduce Thread Changes. This will allow the machine to sew out all these quilting designs continuously, without cutting and securing between each individual repeat.
Step 6: Stitch Out First Hooping
This is the best and easiest part—stitch out the embroidery! Press and hold the Start/Stop button to begin stitching. One full hoop will take approximately 13 minutes to stitch out.
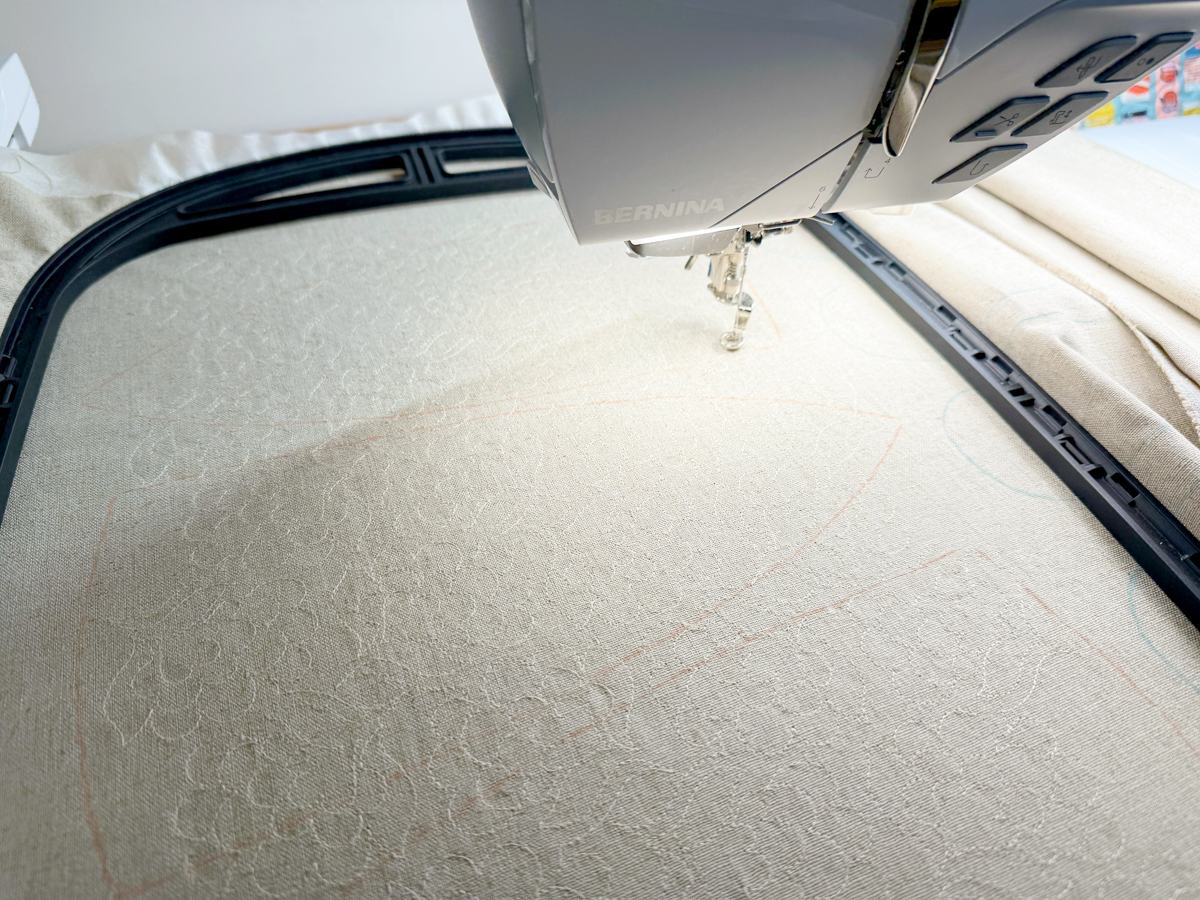
The stickiness of the AquaMesh Plus can leave your needle with some residue on it so I recommend pausing the machine occasionally to remove that.
When the machine has finished, tap Finish Embroidery.
Step 7: Re-hoop Fabric
After completing a full hooping, we must unhoop the fabric and prepare the next section of yardage to continue embroidering.
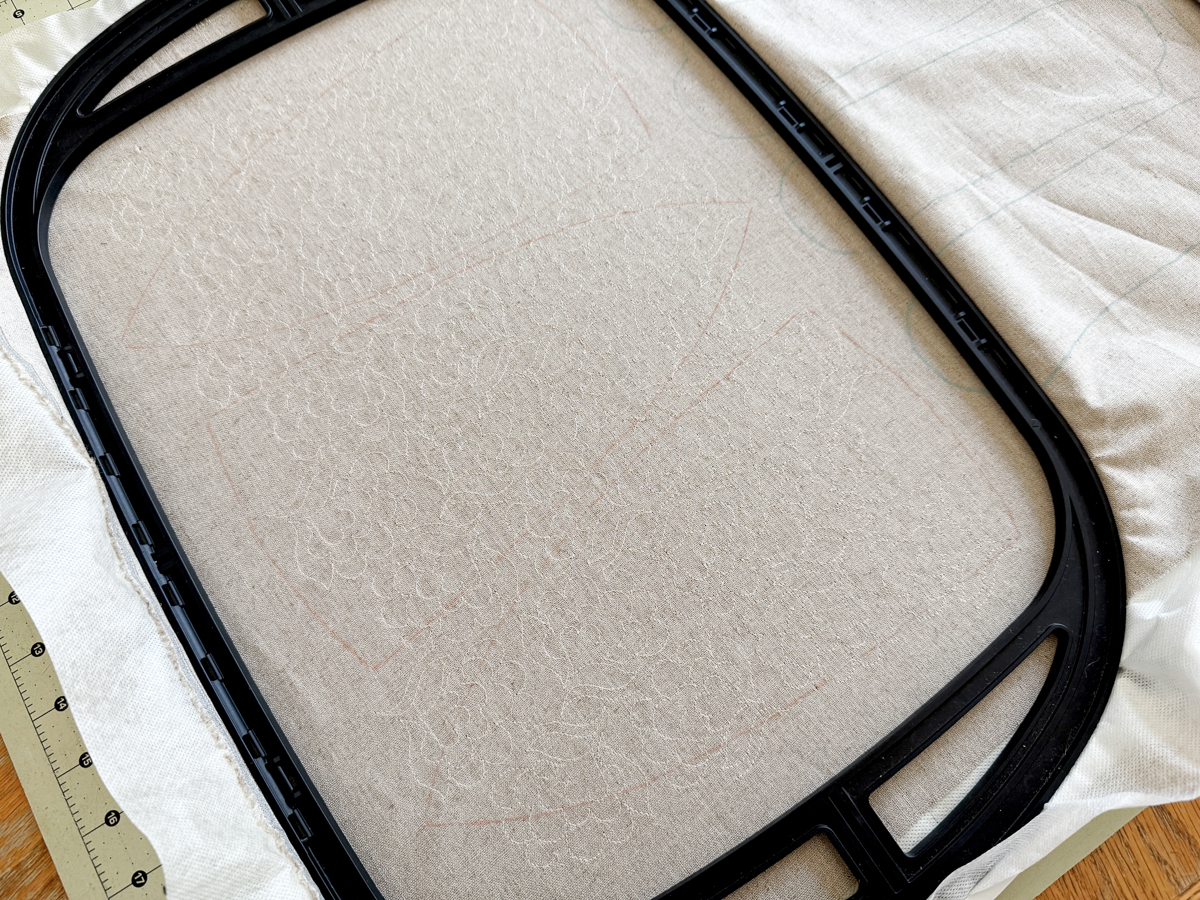
Take another piece of the AquaMesh Plus and, again, remove the glossy paper to leave just the sticky stabilizer. On the wrong side of the linen, align the next piece of stabilizer right next to the first.
Align the inner hoop so that the far-right edge of the last stitching falls just inside the left edge of the hoop.
Hoop the fabric and stabilizer.
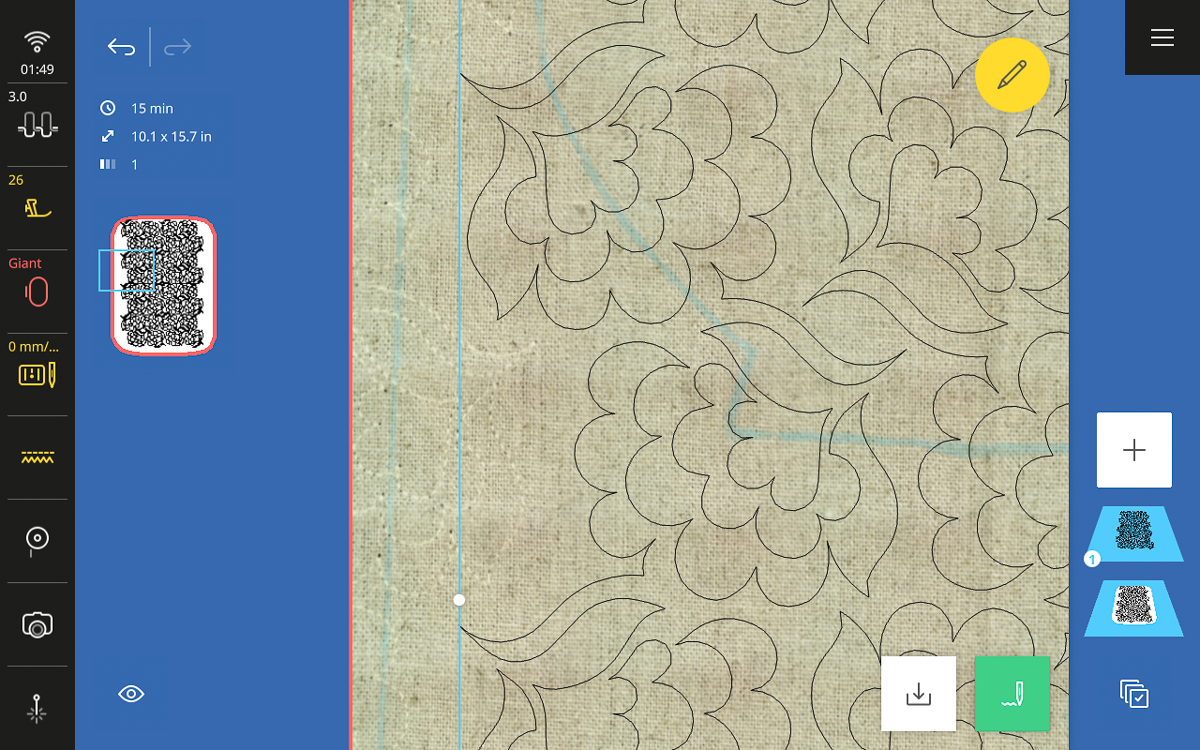
Step 8: Reposition Design
Depending on how you have laid out and traced your pattern pieces, repositioning the design for perfect nesting and alignment may be more critical in some sections than in others. For the majority of my pattern pieces, I had enough of a gap between pieces that I could simply re-hoop and stitch the design in the center of the hoop. However, this was not always the case! Let me show you how I repositioned the design for perfect, continuous stitching.
On the Stitchout screen, tap Edit.
Once again, scan the Giant Hoop by going to the View toolbar, selecting Background, and Scan Hoop. This will allow you to see the previous stitching on the fabric for the best alignment of the next section of the design.
Move and rotate the design as needed to nest it alongside the previous stitchout. Do not resize the design; move and rotate only! This design is pretty forgiving and just visually aligning the design will work great for our project.
When the design is positioned as desired, go to Stitchout.
Step 9: Embroider the Full Yardage
Repeat this process to re-hoop, re-align, and stitchout as many times as needed to embroider all the way across your yardage, or until all the traced pattern pieces are covered in stitching.
Step 10: Stay Stitch Pattern Pieces
Open the Main Menu and go to Sewing Mode. The next step is to sew over all our traced pattern lines. This will accomplish two tasks: first, it will hold our pattern piece shapes so that they do not need to be traced again after washing the fabric, and second, it will hold the embroidery stitches securely when those pattern pieces are cut down to shape.
Attach Open Embroidery Foot #20C. The open toe of this presser foot will give us the best visibility to see our pattern lines.
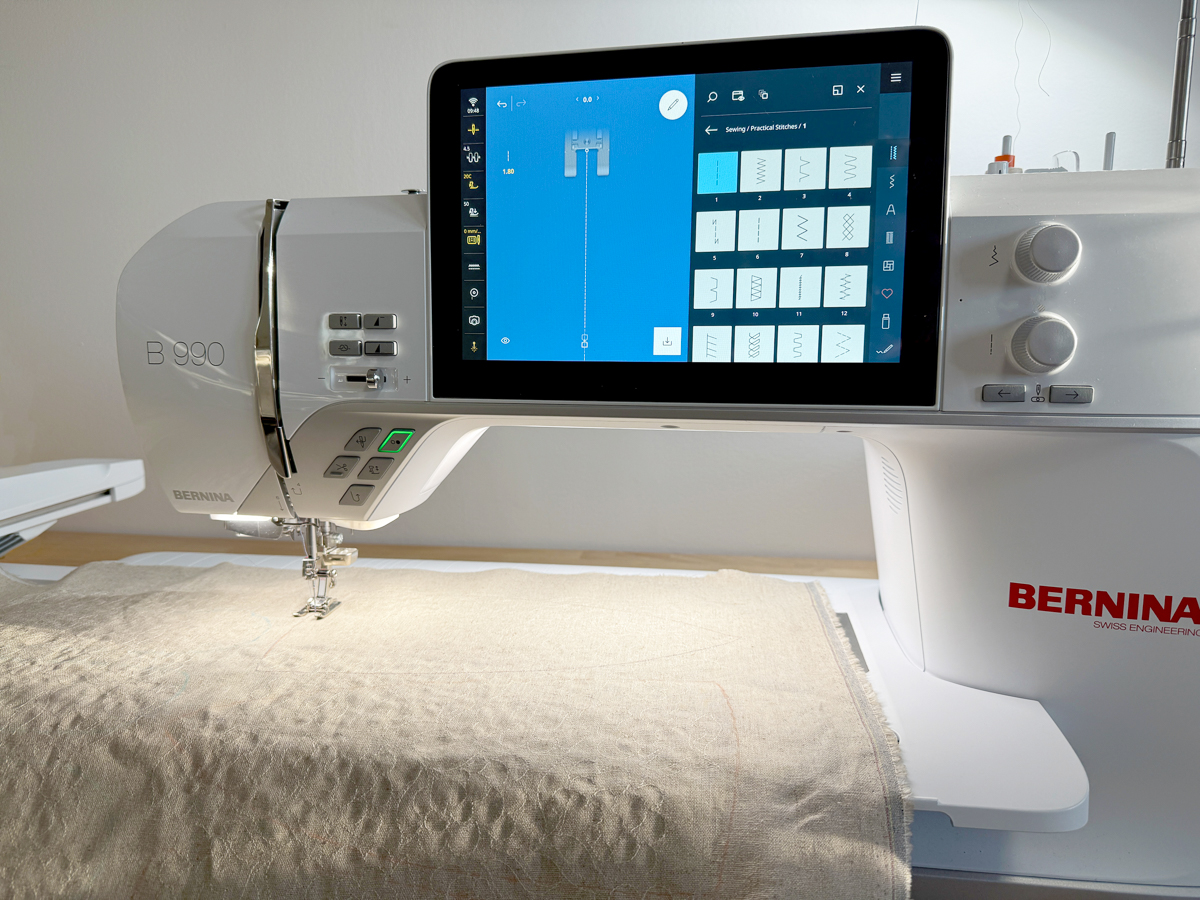
Reduce the stitch length of stitch #1 to 1.8 mm. Stitch directly on top of all the traced pattern lines, securing at the beginning and end of every seam.
Step 11: Wash and Dry Embroidered Fabric
I chose to use AquaMesh Plus for this allover embroidery because it would support the fabric and stitching well during the stitching process, and can also be washed out and removed entirely before assembling, resulting in the softest, cuddliest stuffed animal.
To best remove all the wash away stabilizer, first trim away the excess stabilizer with scissors.
Then soak and rinse the yardage by itself to dissolve the stabilizer and wash as desired with a mild detergent. I recommend washing in a mesh bag to prevent excess unraveling or knotting up in your machine. Dry the fabric fully with low heat to avoid shrinking. If using wool, hand wash and hang dry only!

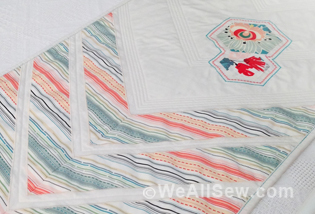
After fully washing and drying the embroidered yardage, press it well with a little bit of steam as needed. If making this stuffed bunny for a baby, I suggest using hypoallergenic soap and avoiding pressing sprays with potential irritants.
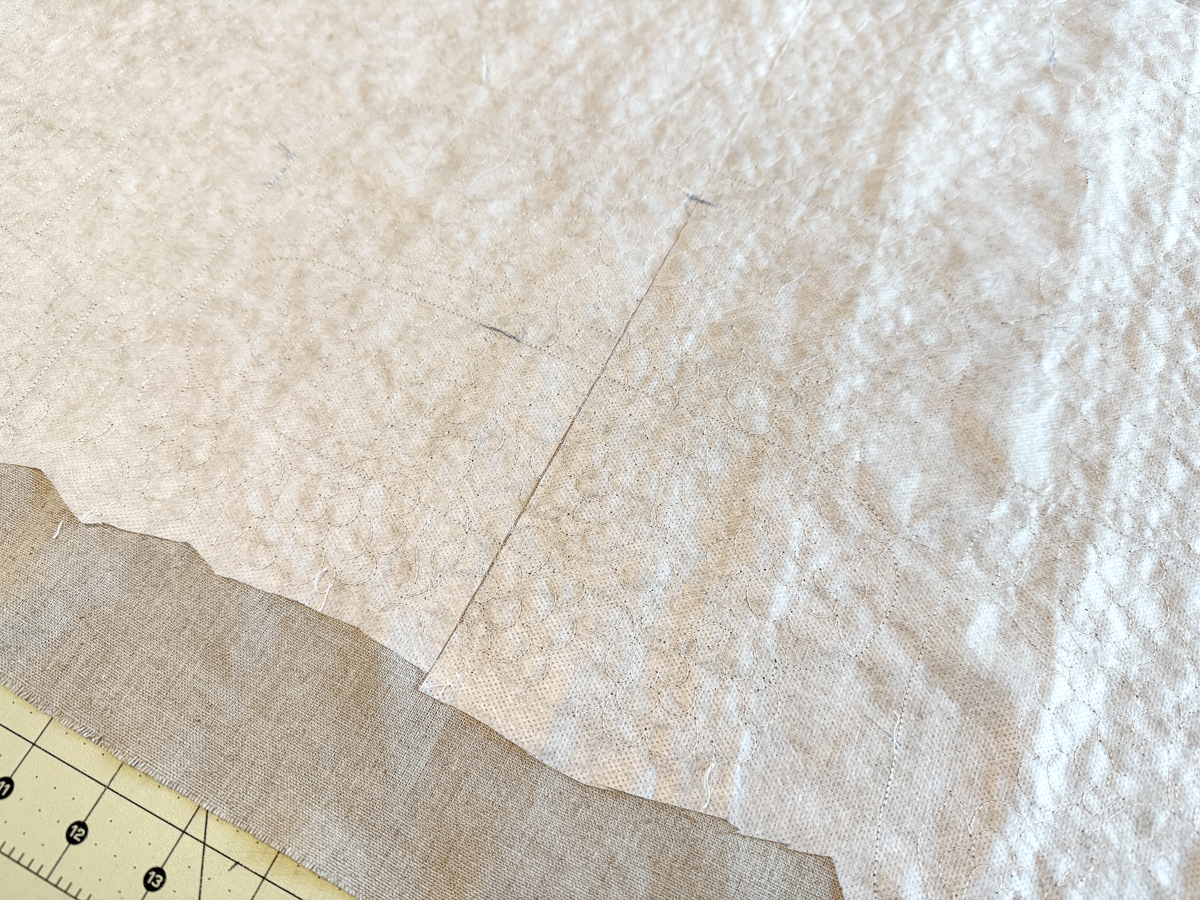
Step 12: Cut Out Pattern Pieces
Now, each of the pattern pieces can be cut down to size. Trim each piece down just outside of the stay stitching line. I prefer to do this with scissors or a small 28 mm rotary cutter.
Step 13: Assemble Following the Pattern
Finally, put your rabbit together following the pattern instructions!