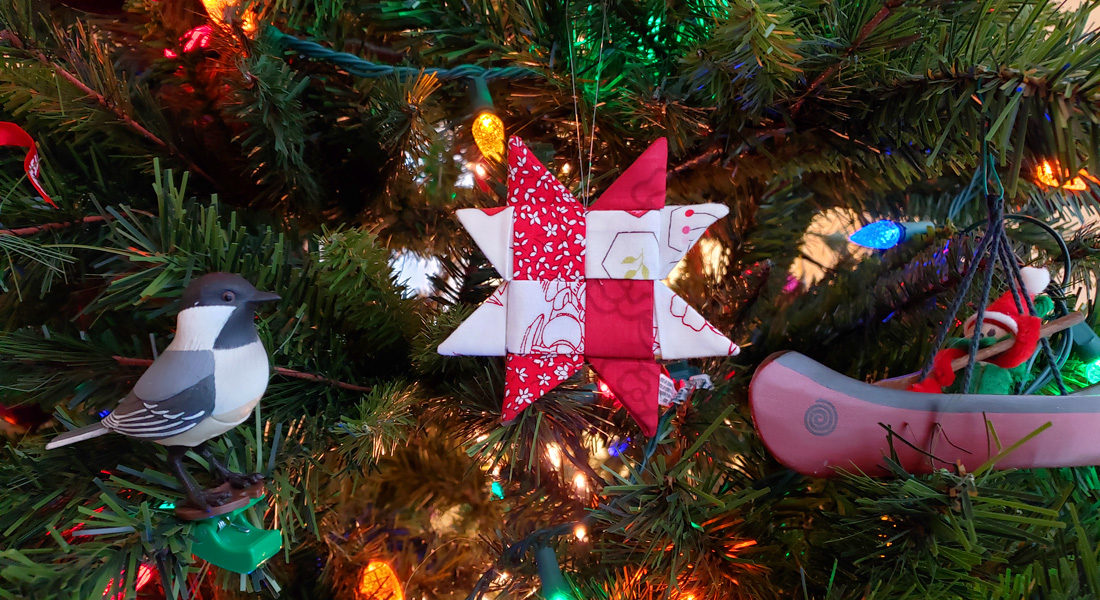
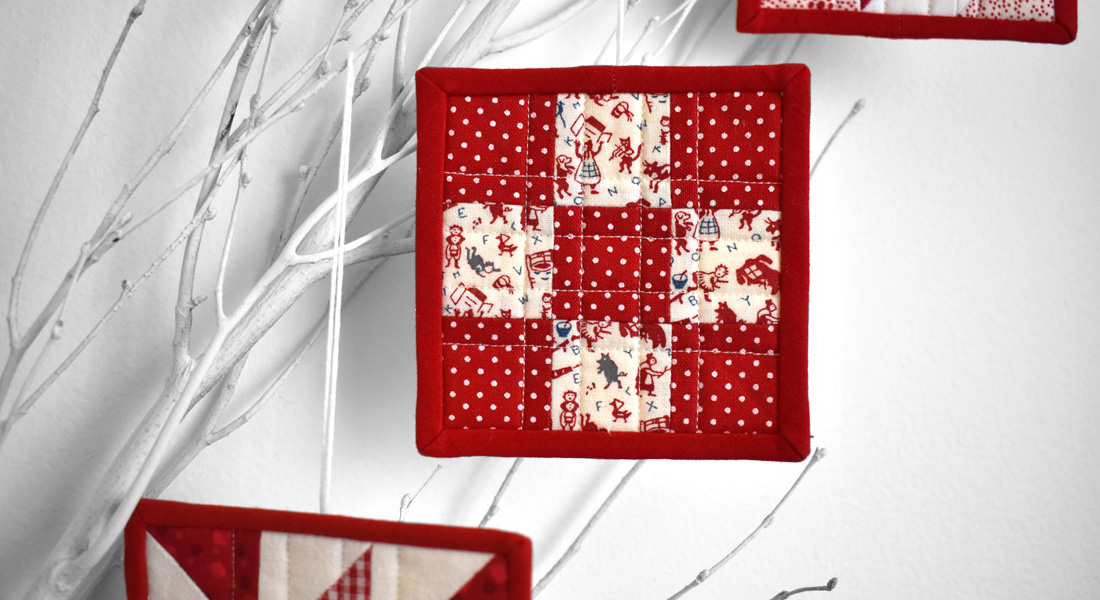
Make a Danish Star Ornament With Fabric

I’ve been playing with making simple folded Danish stars (sometimes called a German or Froebel star) from fabric to decorate for the holidays. While there’s a few methods you can use to create these folded stars (some methods include an extra step to create more points in the middle), I found that using sewn strips with this method reduced some of the bulk and creates nice, crisp corners. There’s just one straight line seam in these stars, the rest is all folding!
Materials to Make a Folded Danish Star
- Cotton fabrics in two, three, or four different colors (fat quarters or larger)
- Rotary cutter, ruler, and cutting mat
- Steam iron, pressing surface, and starch
- Bodkin or large safety pin
- Thread snips
- Tweezers
- Sewing machine (I sew with a BERNINA 590 E)
- Reverse pattern foot #1D or Patchwork foot #97D
I’ll show you how to prepare the fabric strips for folding, then scroll down below for detailed video snippets to follow the folding instructions.
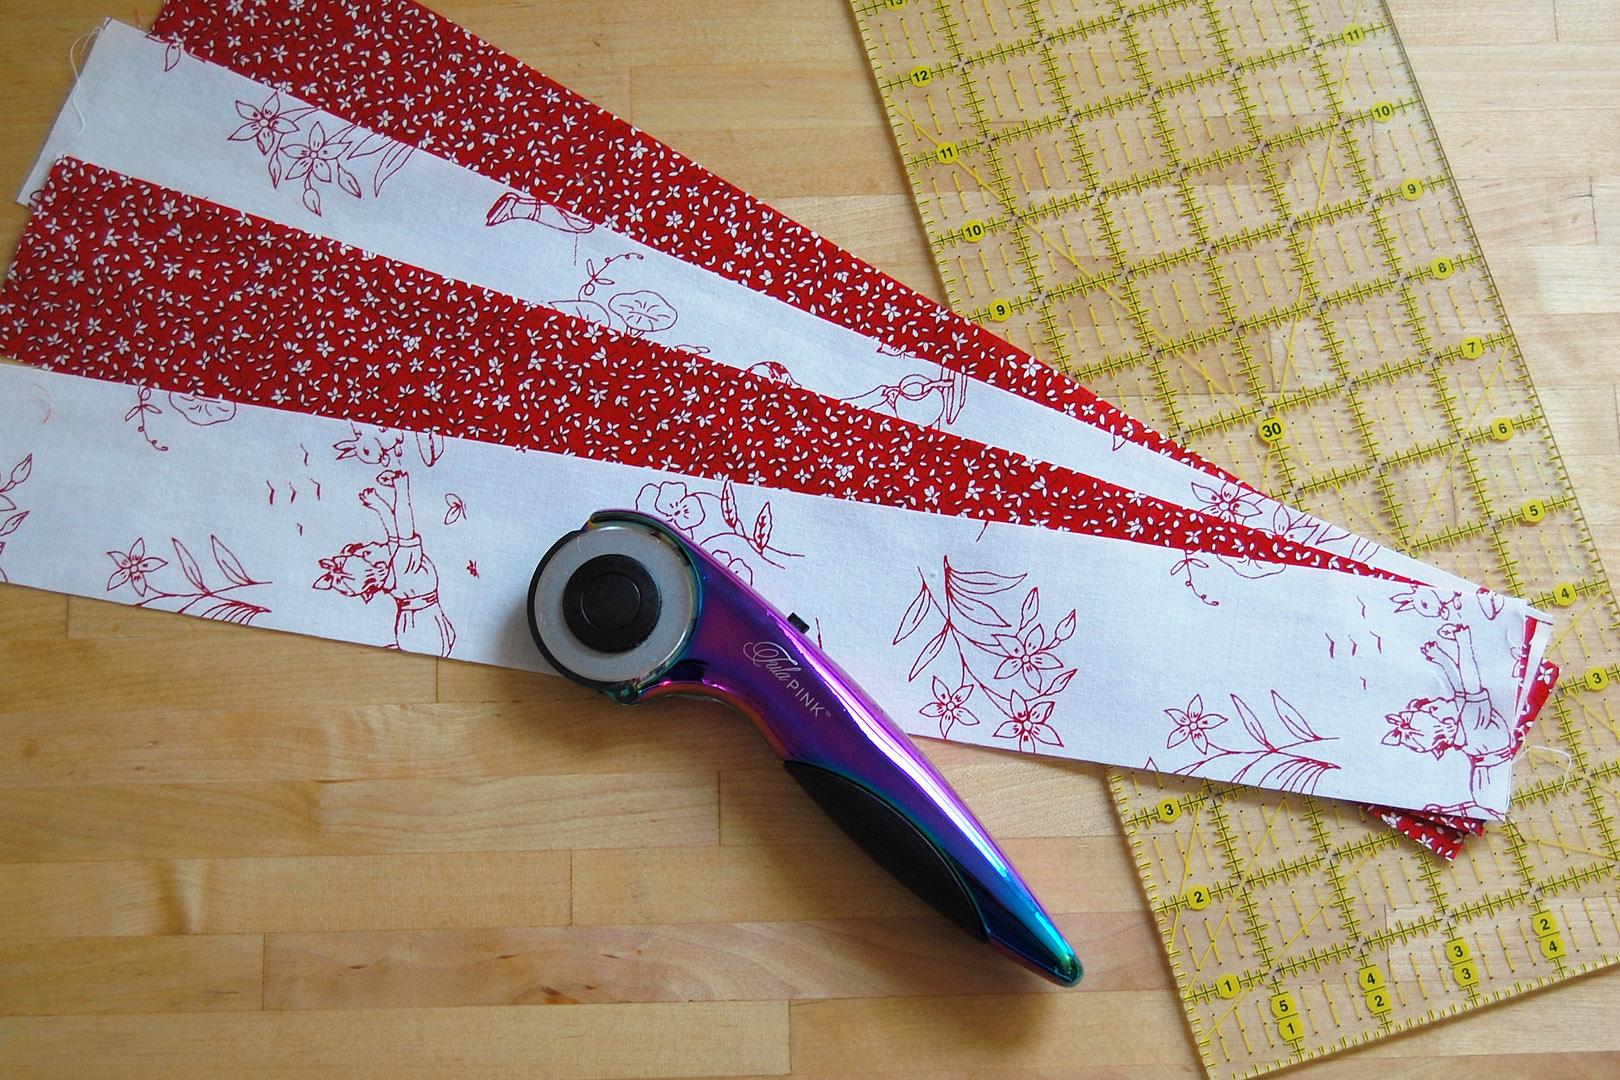
First, cut 4 strips of fabric 2 1/2″ wide by 15″ – 16″ long. Press the fabric strips well with spray starch, let it dry, and press well. Pre-starching the strips will help the final star press nice and flat.

Get ready to sew a straight seam down the long end of each strip.
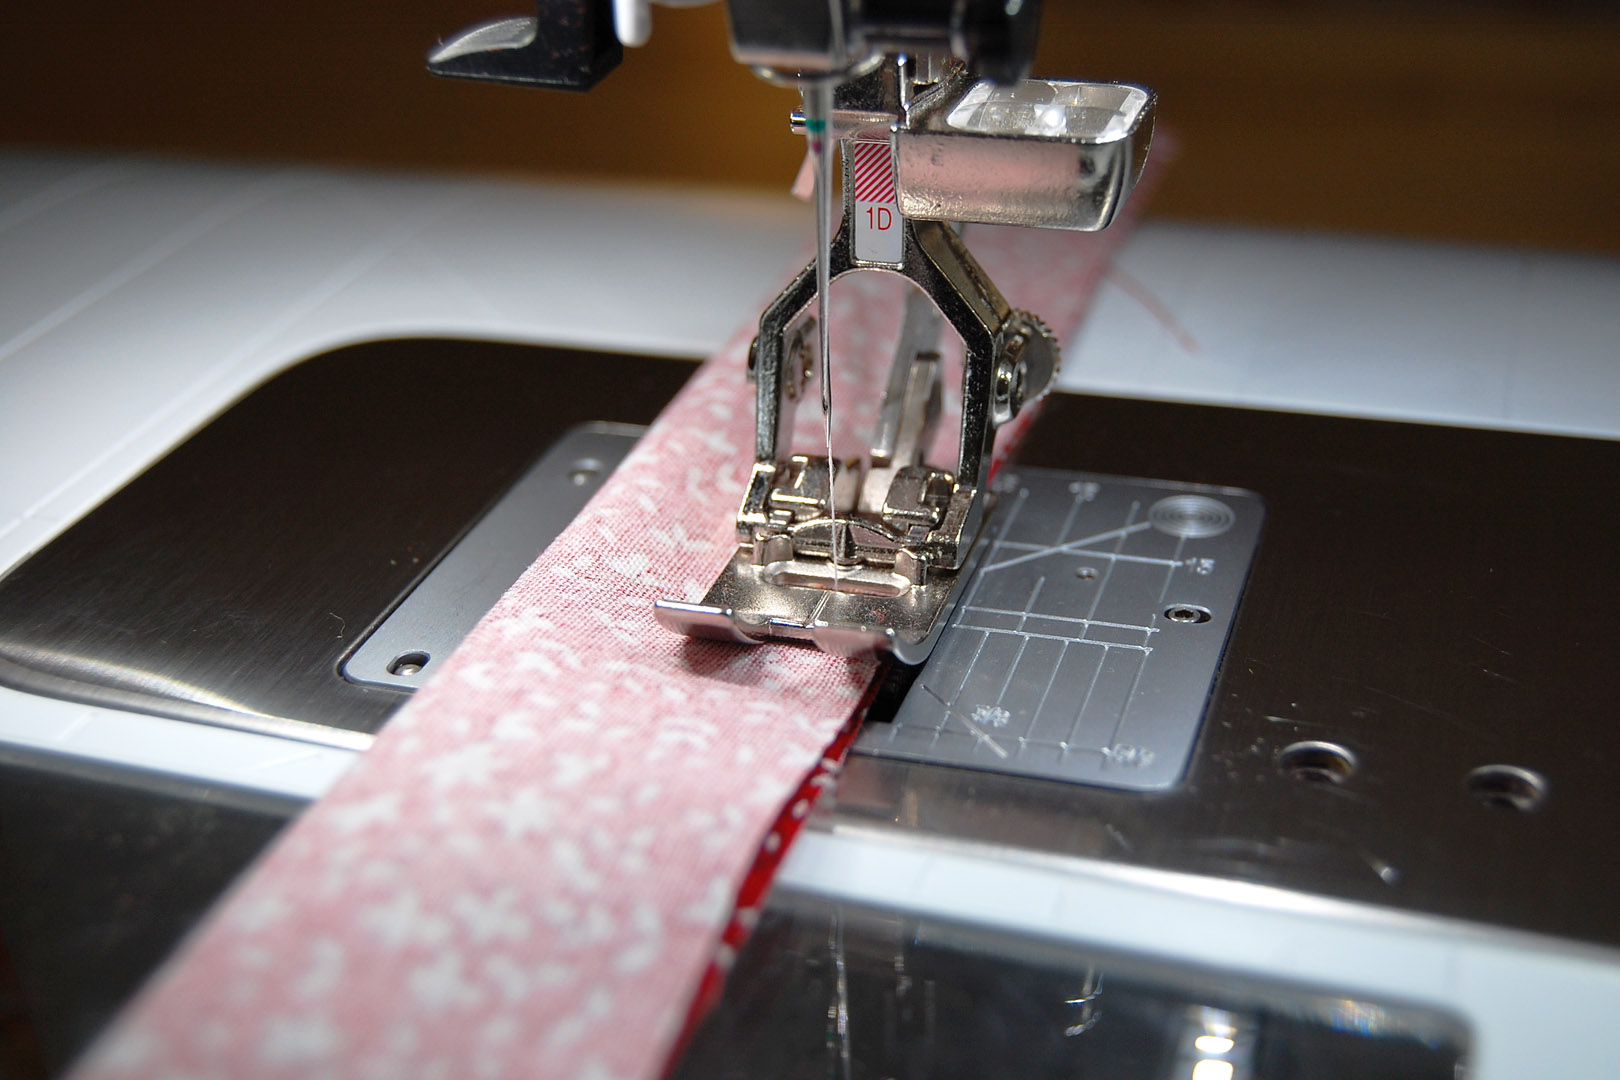
Fold the strip right side together long-ways, and stitch down the long end with a quarter-inch seam. Backstitch at the beginning and end of the strip.

Use a bodkin or large safety pin to turn the strip right side out.

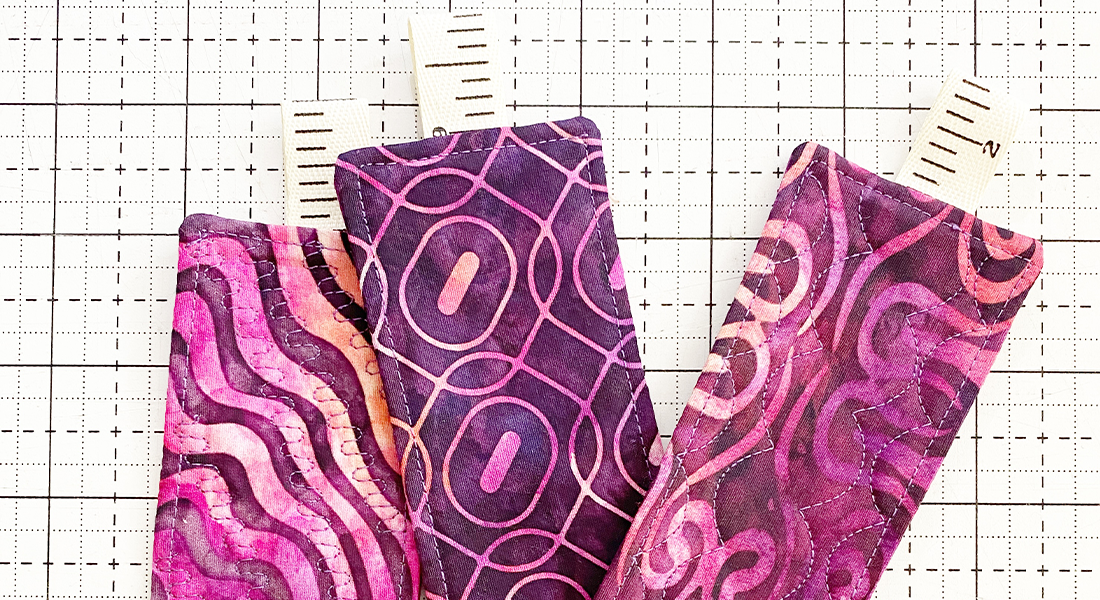
When the strip is turned right side out, press well with the seam to one side of the strip. Roll the seam back and forth with your fingertips to make sure the seam is turned out all the way.

When all the strips are pressed flat, fold each one in half long ways and press a crease in the strip.

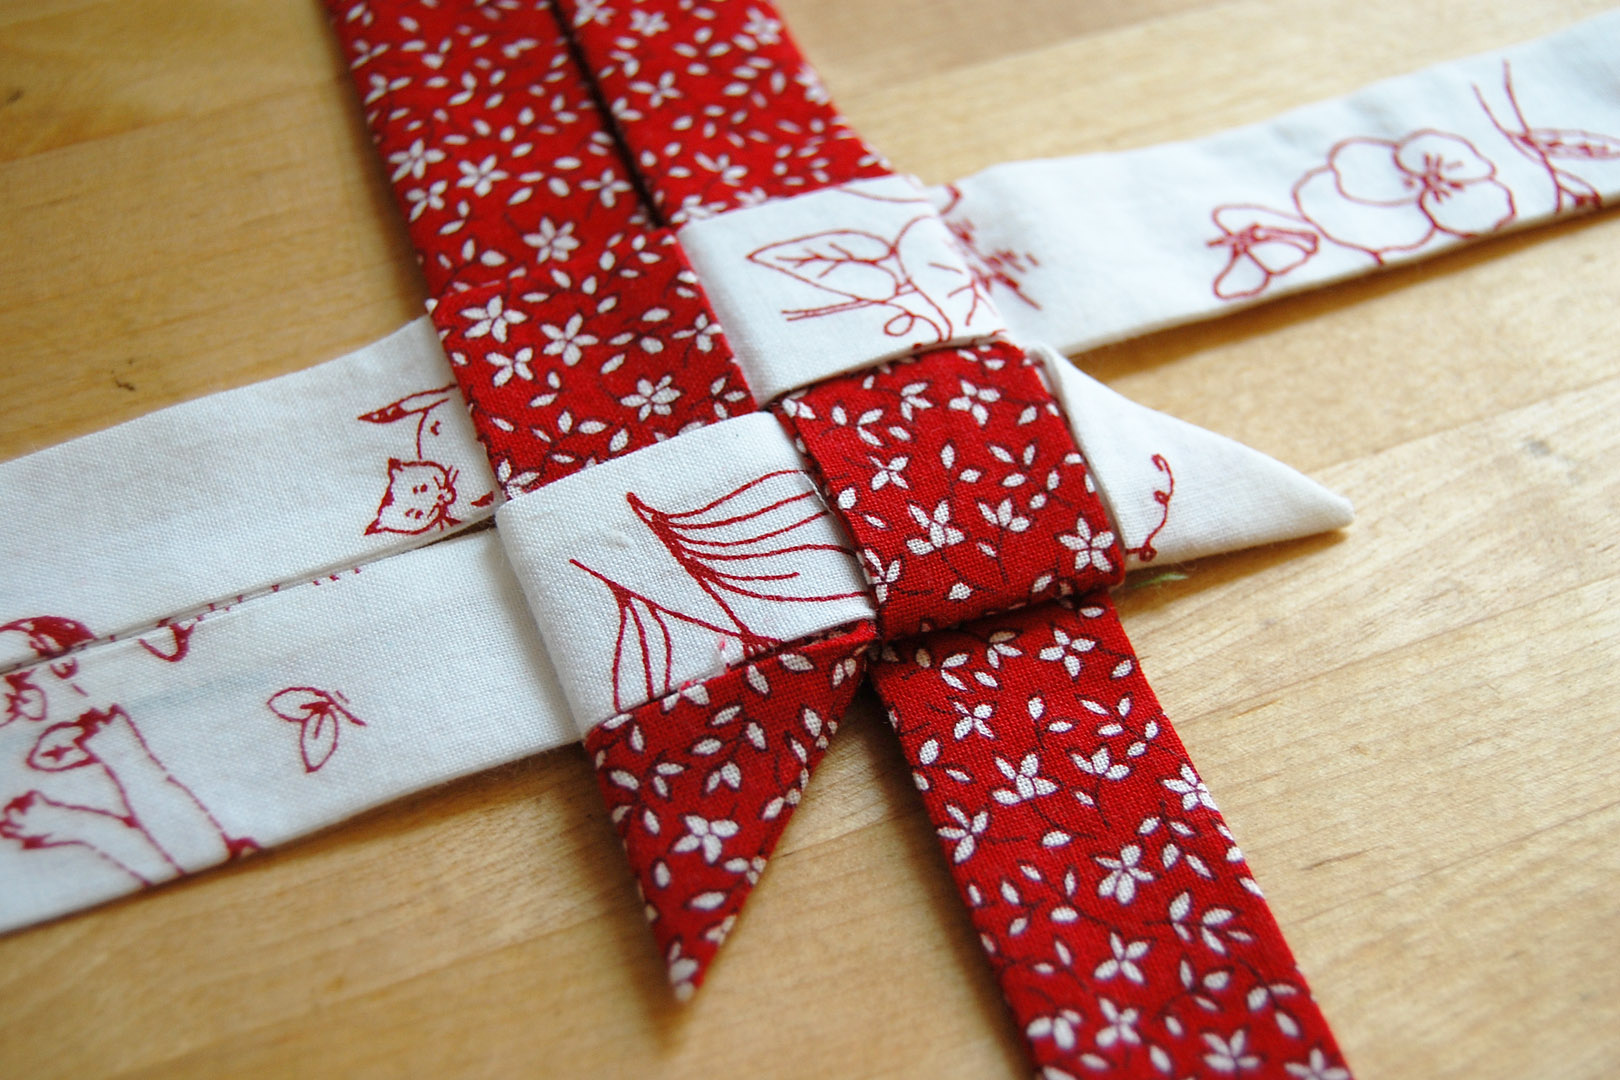
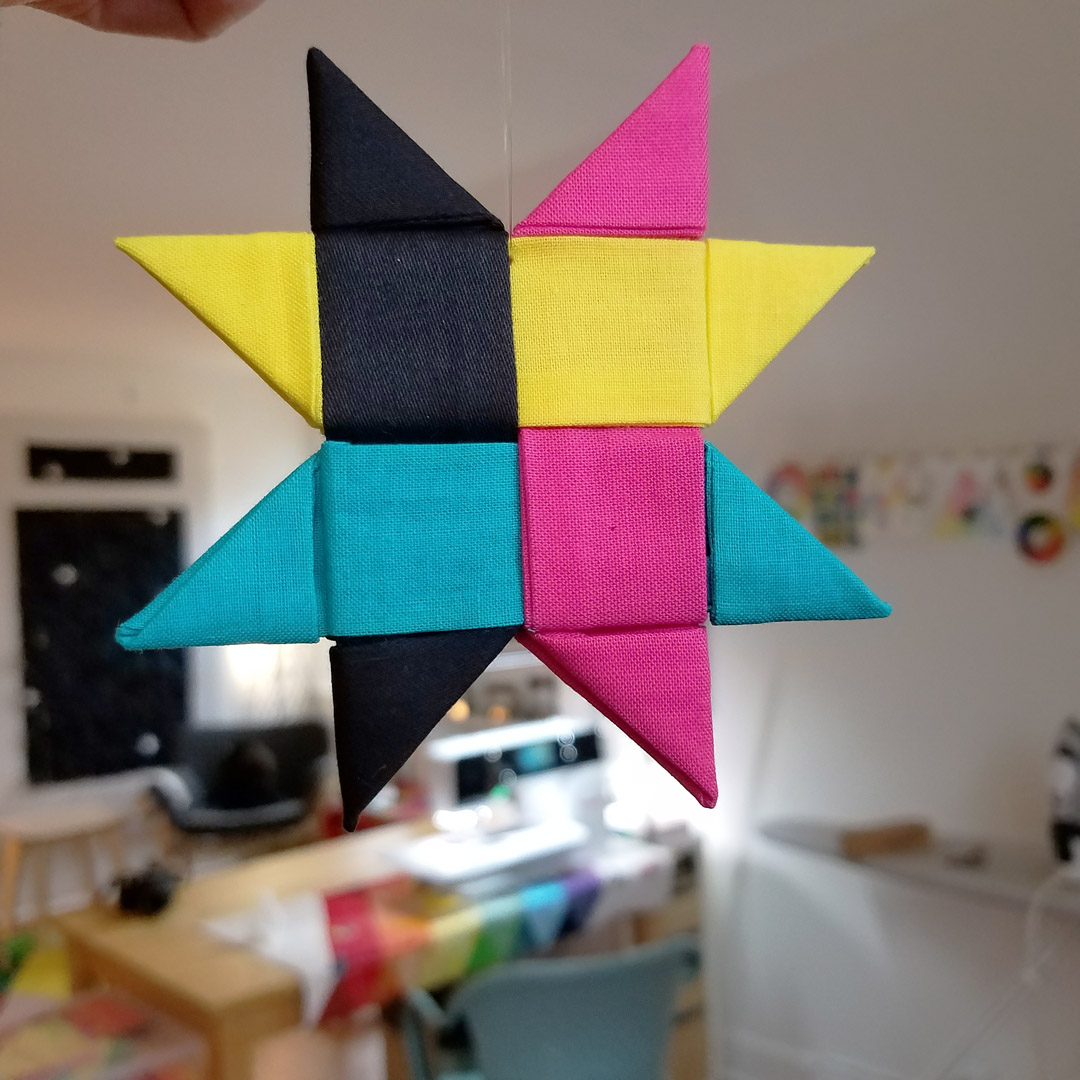
Now you’re ready to put the strips together and start folding the star! It’s easiest to see how this process works with the video snips below using four different colored strips. If you’ve ever made these stars with paper strips, it’s a similar process, first you arrange the strips to overlap.
Start folding the fabric and tucking the star points…
Until you’re all finished.
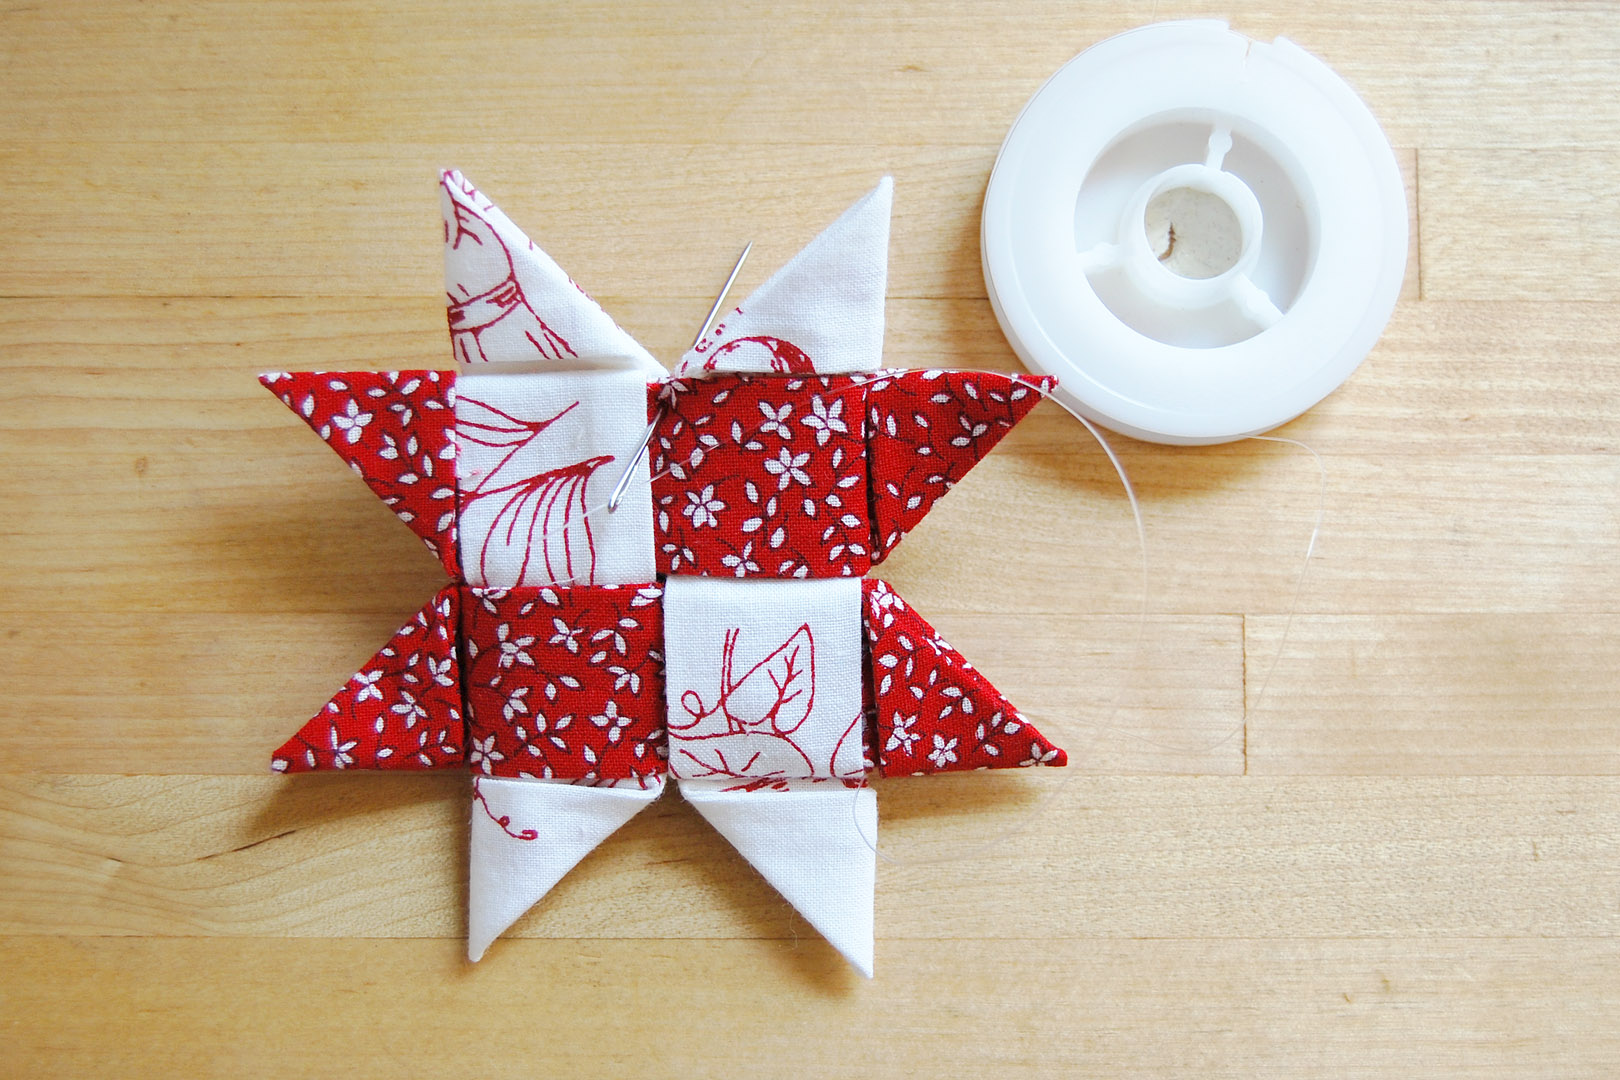
I use a large needle to add a hanger. You can use embroidery floss, fine ribbon, or heavy thread. I use a heavyweight monofilament cord for beading, it’s strong yet looks invisible when the starts are hung on the tree.

How to Fold a Danish Star
Step 1
Arrange the strips to form the first step of the star as in the video clip. Orient the fabric strip so that the seam is towards the middle of the star to insure a nice, crisp point on your stars when finished. The strips begin to make a hash-tag shape, and when you pull them tight will form the middle of the star.
Give the strips a slight tug to tighten up the middle, and press well before moving to the next step.
Step 2
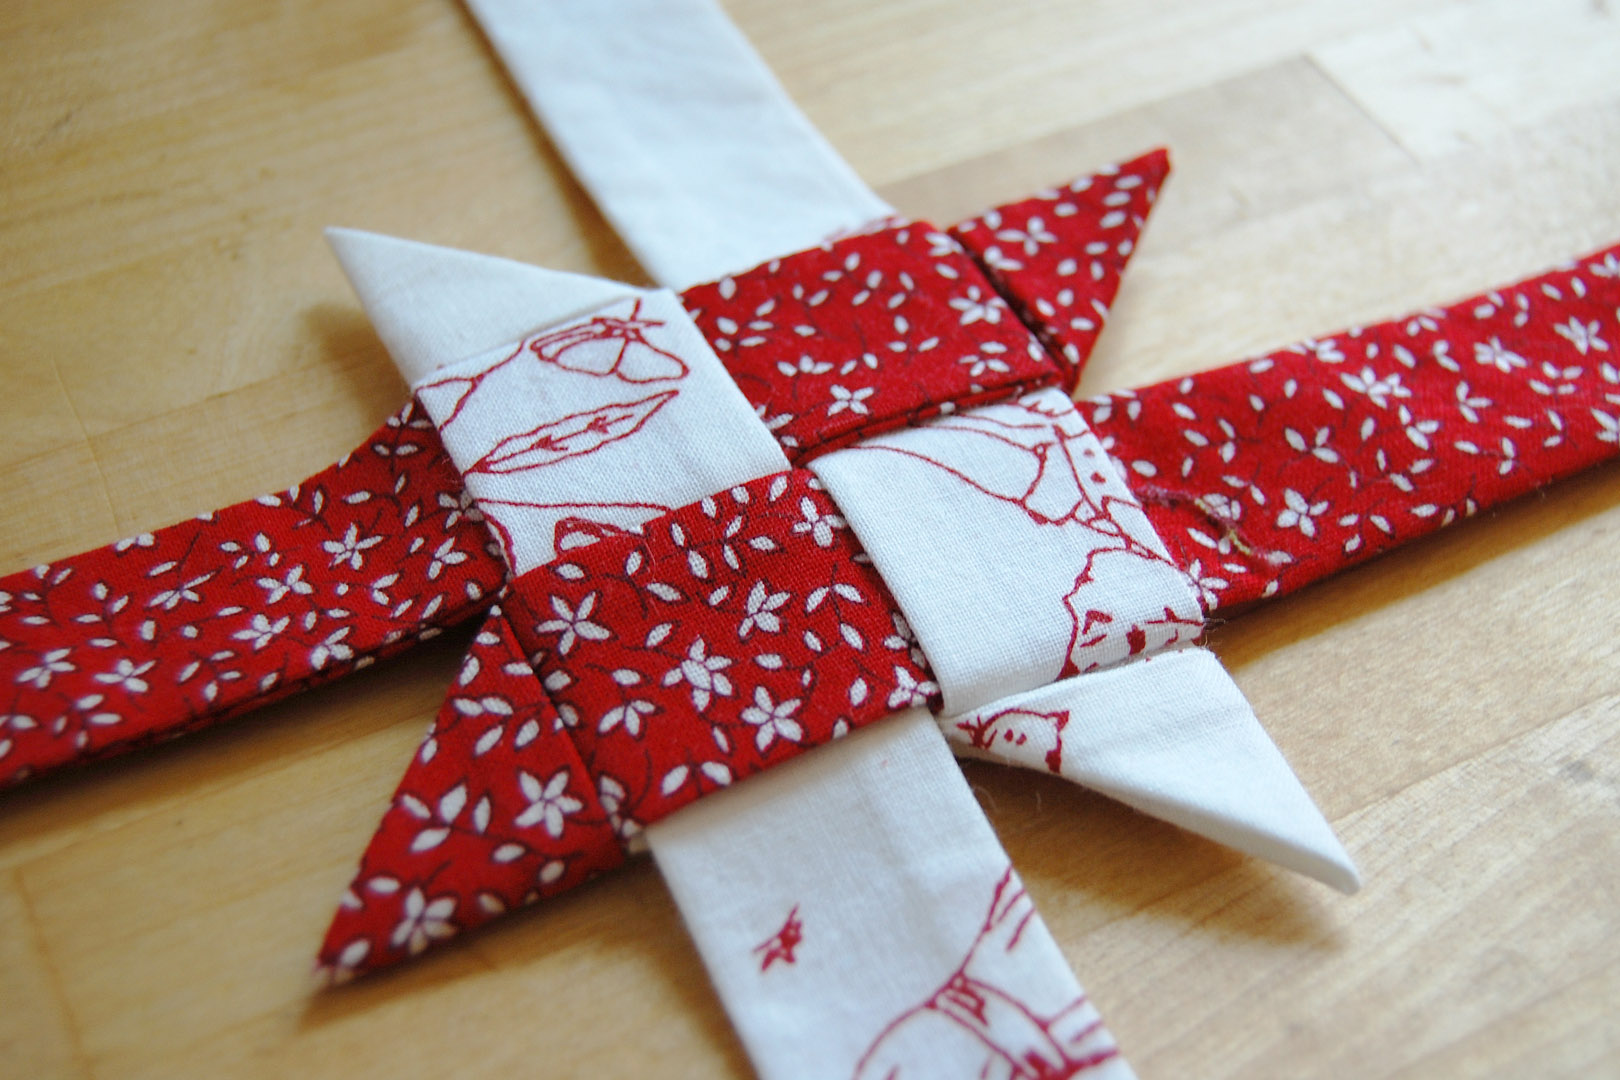
Begin by folding one top strip back over the middle of the star as illustrated in the video. Next, moving in a counter-clockwise direction, fold the remaining three top pieces back over the middle of the star. When you have folded the last strip, weave it underneath the first folded strip using tweezers.
Give the strips a slight tug to tighten up the star, but don’t pull so hard that the fabric scrunches up. Press well before moving on to next step.
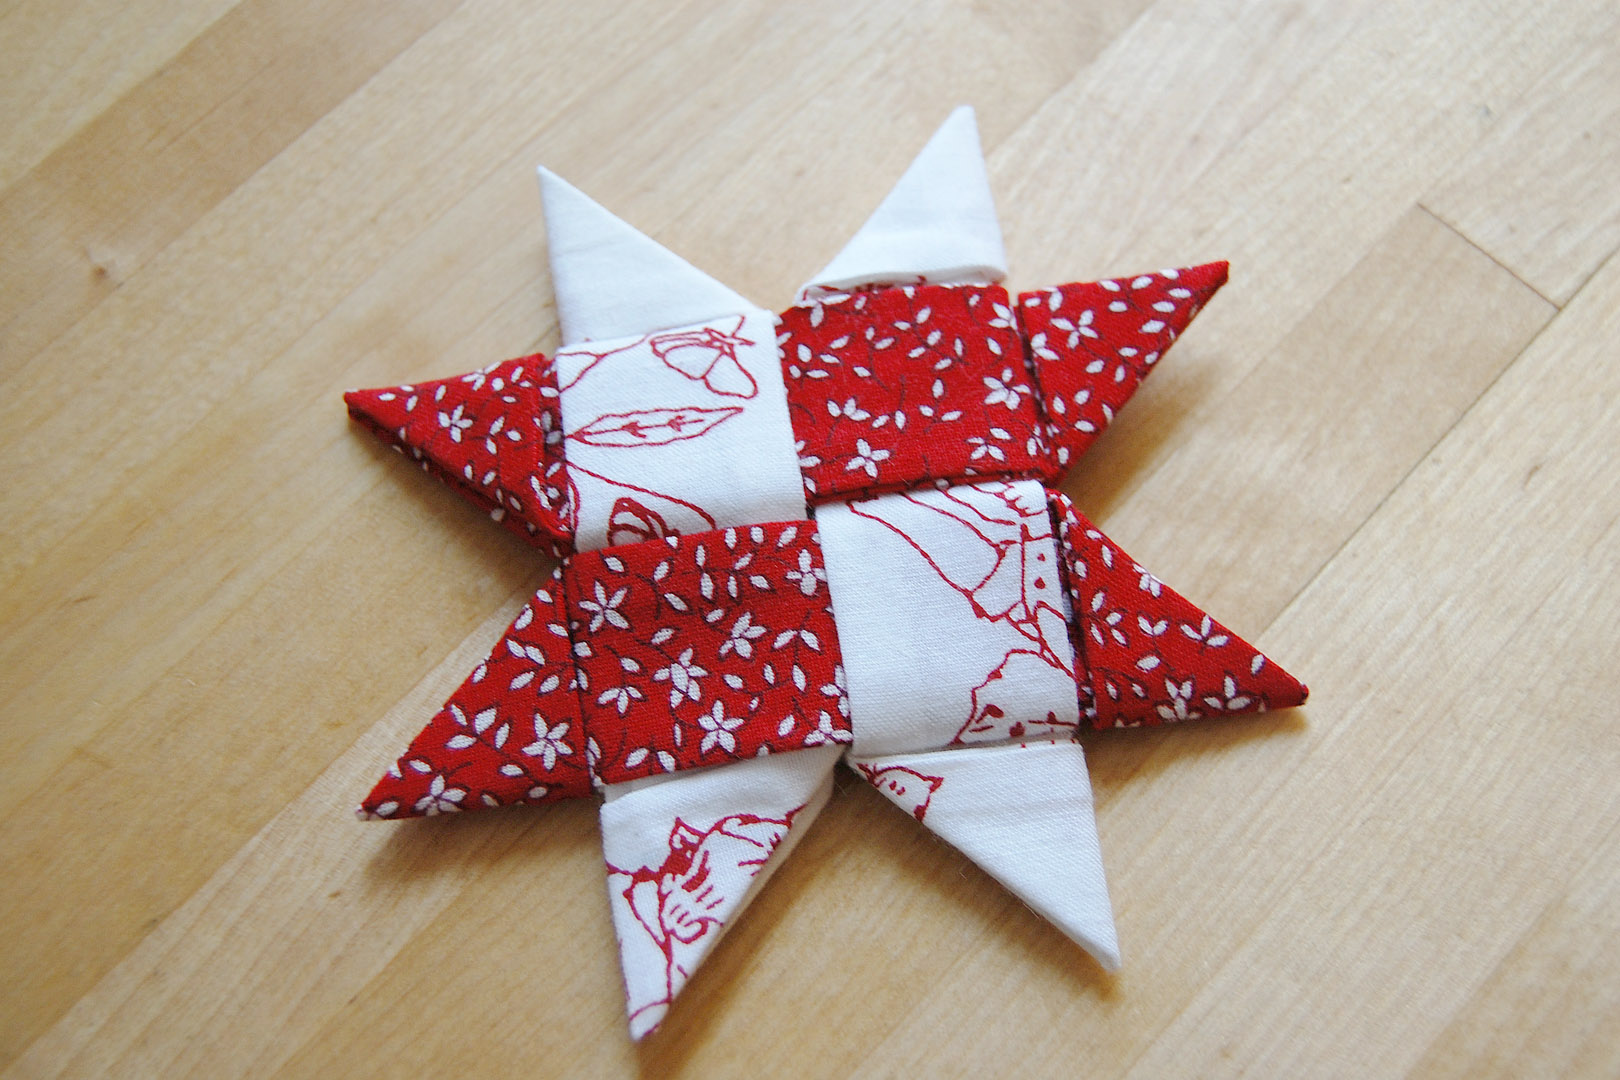
Step 3
To make the points of the stars, start with the bottom strip on the right side of the star. Fold as shown in the video clip above. It helps to press each point as you fold. Snip off the extra fabric from the strip before you tuck it in to the star; lay it across the strip it will be tucked underneath and cut about 1/4″ off the overlapping end. Be careful not to cut into the other strips in the star!
Press the point well before moving on to making more points.
Step 4
Move the star around, and repeat step 4 to make the next star point. Keep rotating the star until you have finished the first 4 points.
Step 5
After making the first four points, flip the star over to the other side. Starting with the strip on the right side of the star, follow step 4 and 5 to complete the other points.
Step 6
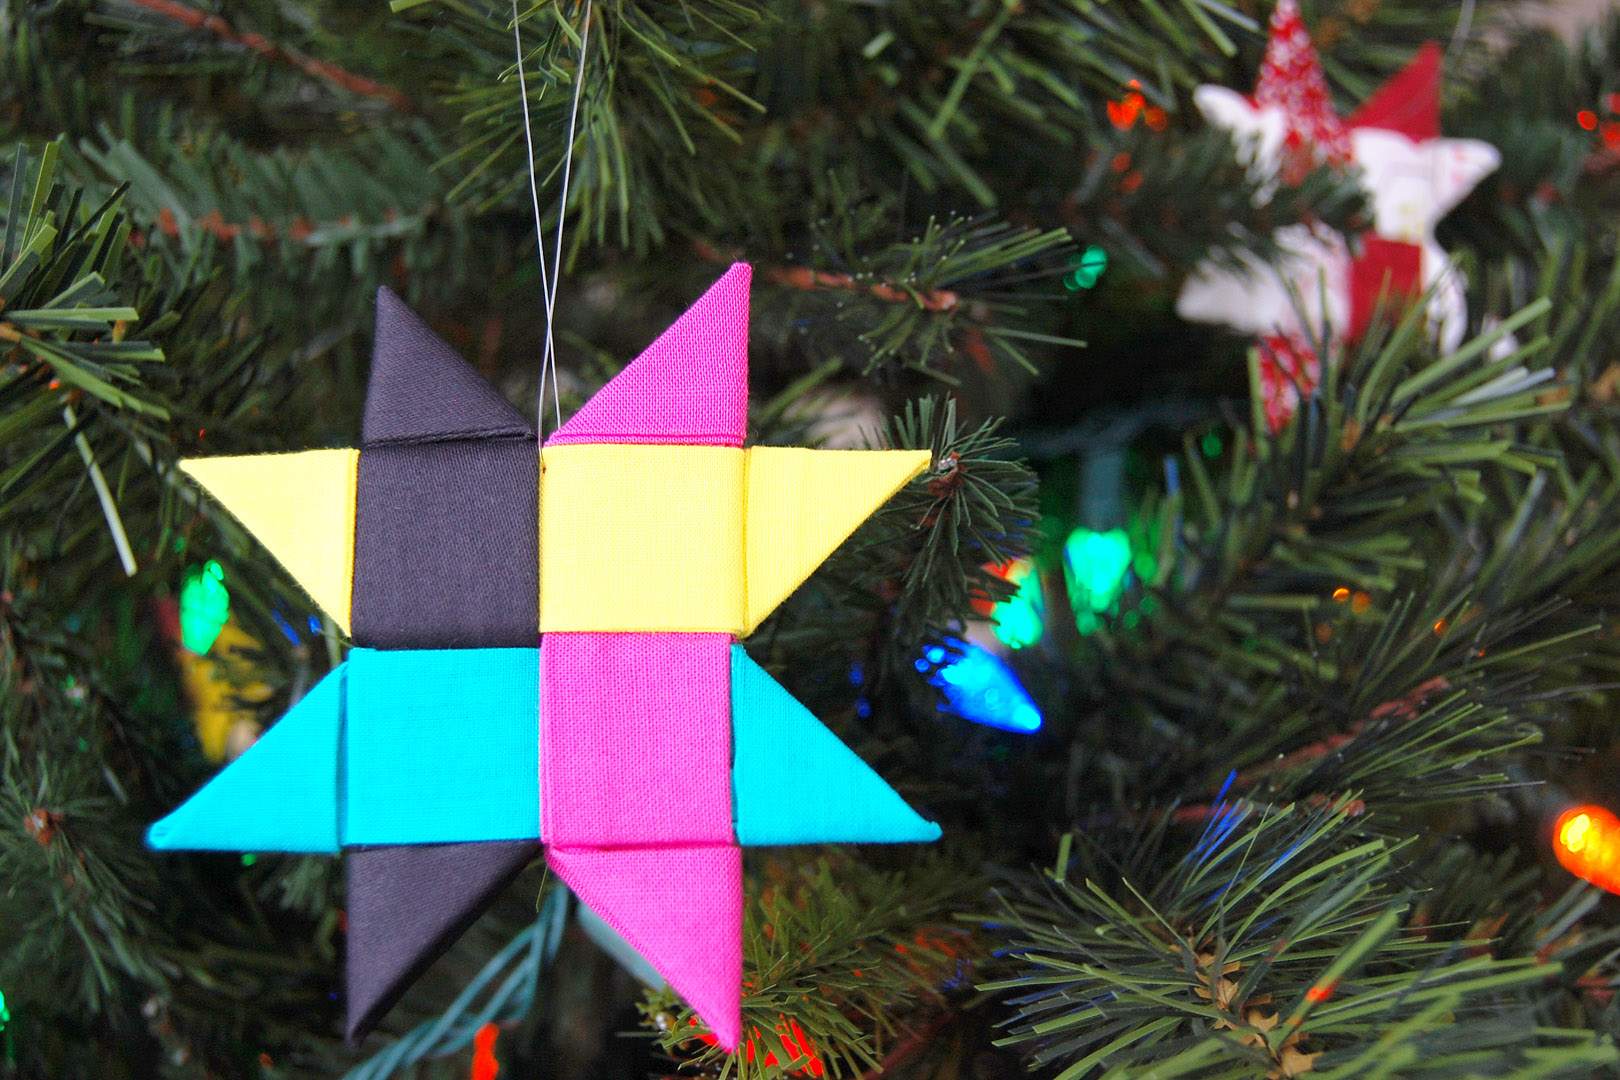
Once you have tucked the very last point end in the star, you are finished!
Add your hanger and hang your star!
Used Products

What you might also like


18 comments on “Make a Danish Star Ornament With Fabric”
-
-
Thanks futterbyhats, once the strips are sewn up, the folding part is easy! Happy ornament making! – Erika
-
-
My favorite homemade gift I’ve received is a drawn picture of an “I love you” heart. It was very touching and I still have it hanging on my refrigerator.
-
Fabulous directions, wonderful ornament.
-
Thanks so much debbiew, I’m glad you enjoyed the tutorial!
-
-
I just finished making my second star . . . with my 5 1/2 year old grandson! (Christmas was a little late for us this year
 ) He sewed the strips together (!) and helped do the tweezers work. This was a great project! Thank you!
-
Awesome! My 10 year old daughter LOVED this project as well.

-
-
I made these years ago with paper strips. It would be so cool to add a fabric covered button in the center. A regular button could also be used.
-
Great idea to add a button! I’ll be making more of this this year, too.
-
I too made them with paper in Girl Scouts to sell for our special trip. Then I made them as an older adult complete with ‘horse collar’ for three-D to purchase my Mother’s barely made quilt so she had something to donate to her church’s building fund. FYI – The star is 4x the strip’s finished width. 2″ star must start with a 1.5″ cut strip = .5″ finished strip.
-
-
Just finished my first star. It was easier than I thought it would be. I will be making more. The tutorial was very helpful. Thank you.
-
Great tutorial thanks. Would look good on the tree or embellishing a package. Love the idea of putting a button or something else on the front. So many ideas you could try with this. It also makes a fun project to do with family or friends.
-
Hi! How large are these when finished? Thanks!
-
Hi daniel4ever, these ornaments finish at about 4″ x 4″. I hope you enjoy the tutorial!
-
-
Hello: Normally when one sews a long strip for a tube, one shorter end is sewn. Is one short end sewn shut in order to turn this tube right side out? Thank you.
-
Hello dpaajcarls, the ends of the tube are tucked away in this project, and are left open. This makes it easier to snip each end to size while folding the star. Cheers! – Erika
-
-
I always look for projects to do with my grandkids, and this will be perfect! My girls love learning to sew things, and this is some good straight stitching practice as well as following directions.
-
That’s great! The folding is always tough the first time around, but once you’ve got that part figured out it’s a breeze to make these. I hope you have fun making ornaments with your girls. Cheers – Erika
-
Leave a Reply
You must be logged in to post a comment.

Love it!!!!! And how easy! Will have to have sewn strips all set for our Christmas gatherings!!!