Mini Charm Pack Notebook Cover Tutorial
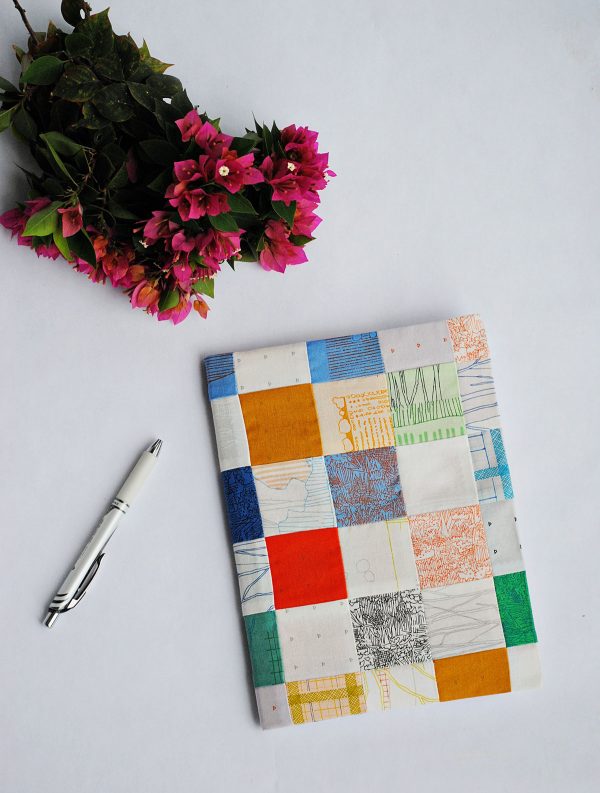
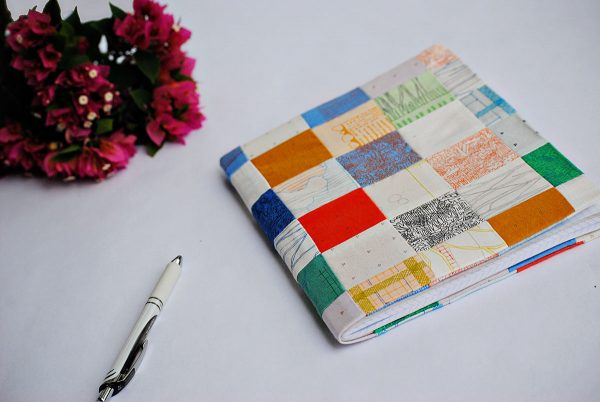
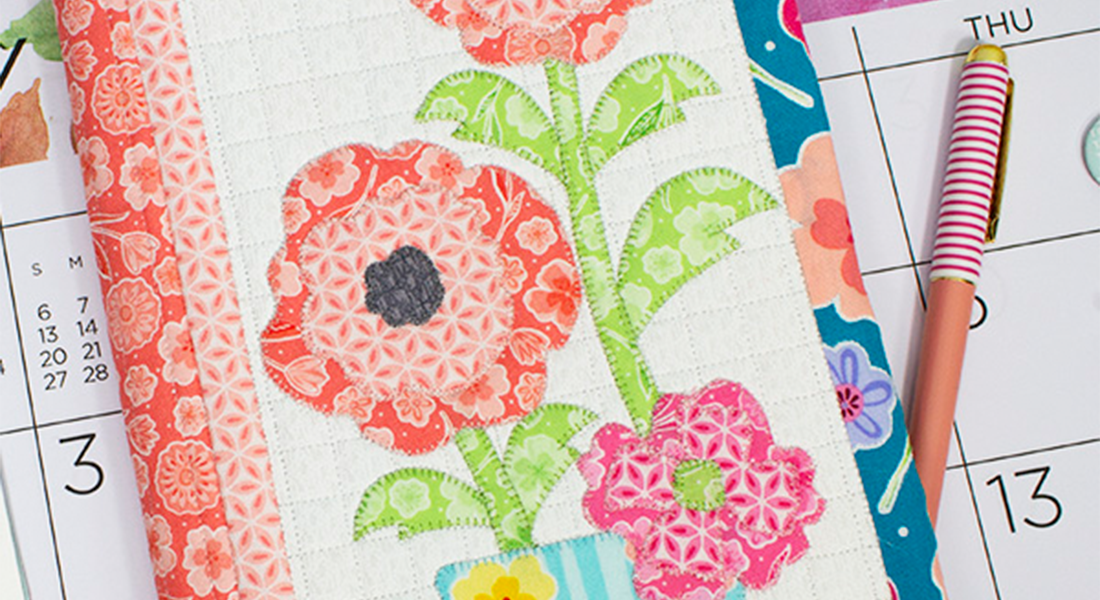
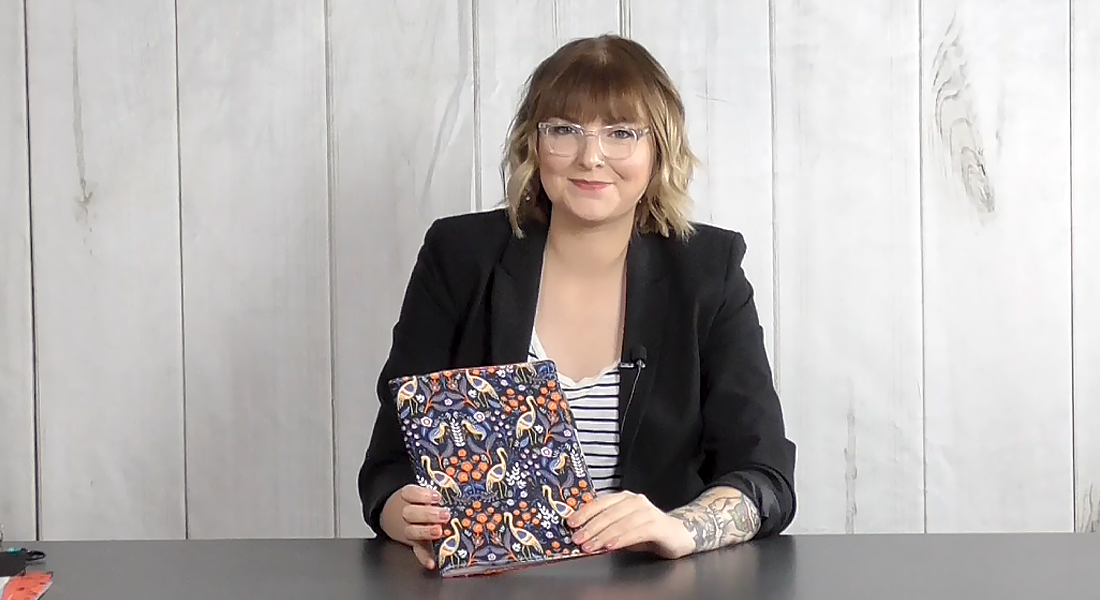
Hey there! Teresa here from Dandelion Drift and I have such a fun mini charm pack notebook cover tutorial for you today! This is such a quick and satisfying project…you can finish it up in just a couple hours and have the cutest, unique notebook!
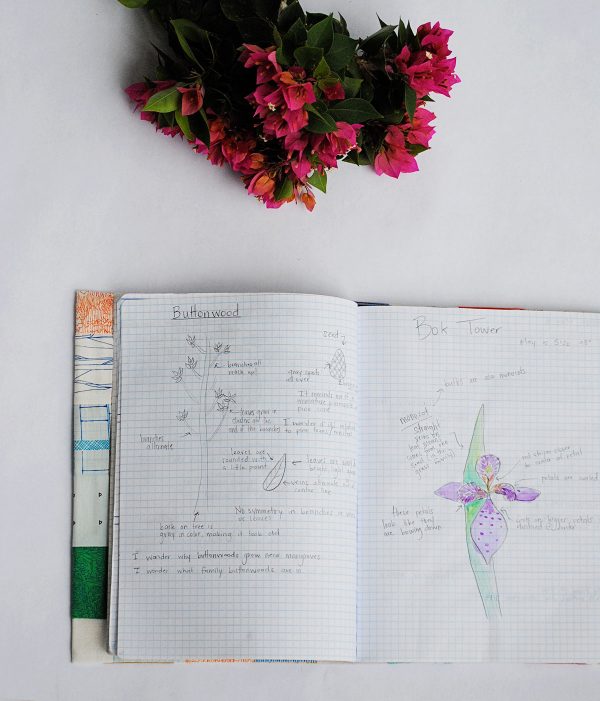
A friend of mine recently turned me onto bullet journaling! I’m sure you have heard of it, it’s the newest trend and has me completely hooked. This friend of mine had the brightest idea to use a grid-ruled composition notebook for her journal! I had never even seen grid lined composition notebooks, and now that I have, I am such a fan! Have you used graph paper recently? It is the neatest and tidiest, I absolutely love it! I’ve had so much fun dabbling with my new hobby, and taking my notebook along with me wherever I go (especially now that the outside is just as pretty as the inside)!
Ready for the tutorial? There are just a few items you need to grab to get you started!
Materials to Make a Charm Pack Notebook Cover
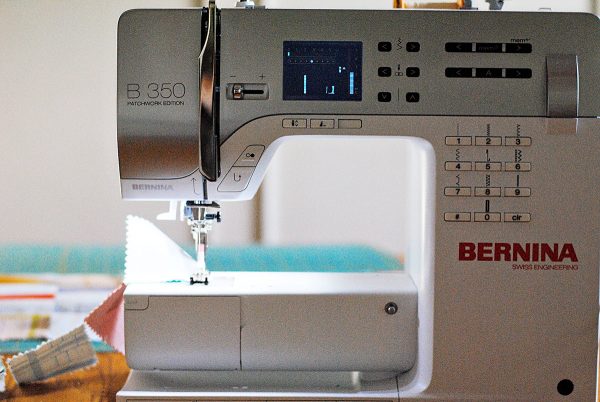
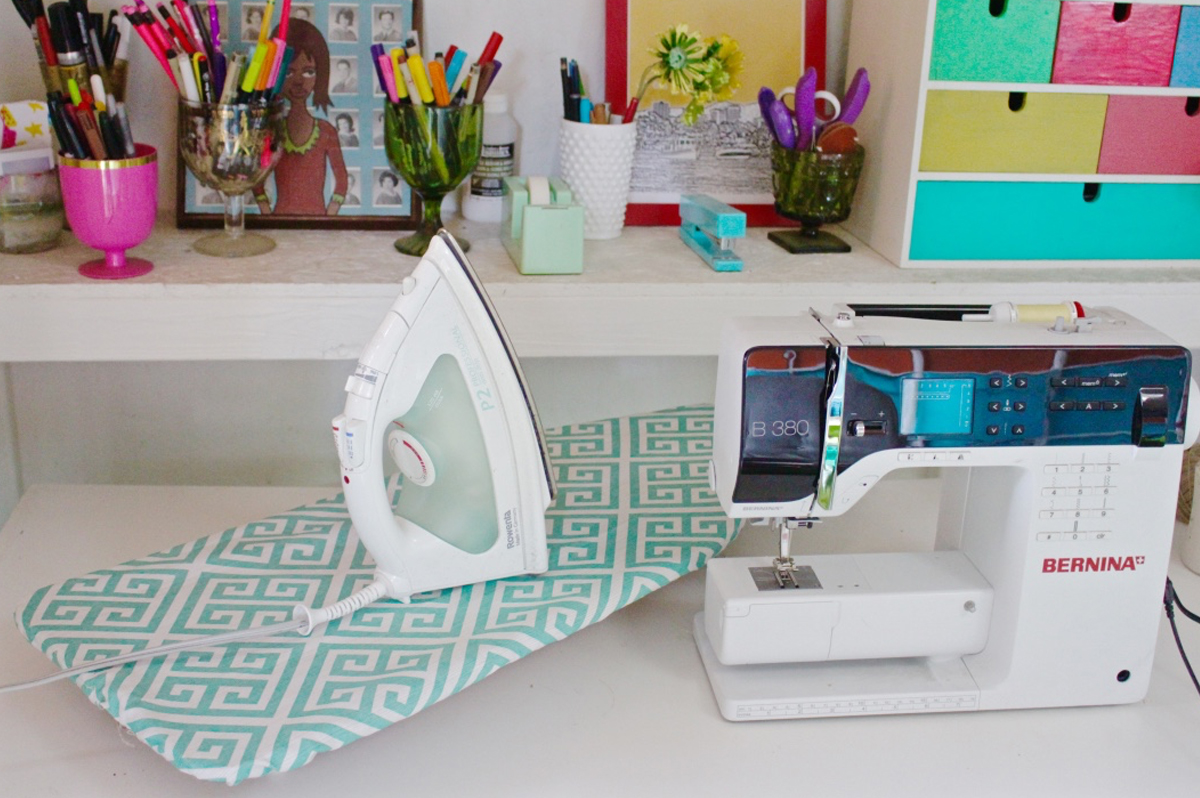
- Sewing machine (I used the BERNINA 350 PE)
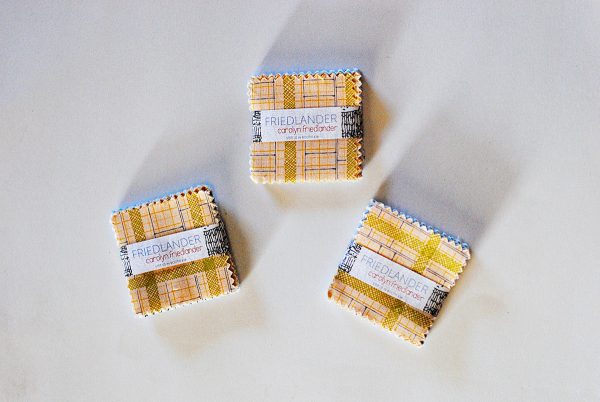
- 90 mini charms
- coordinating thread
- iron and pressing surface
- Pins
- Point turner
- scissors
- Composition notebook
Instructions to sew a Mini Charm Pack Notebook Cover
Step One: Lay Out the Design
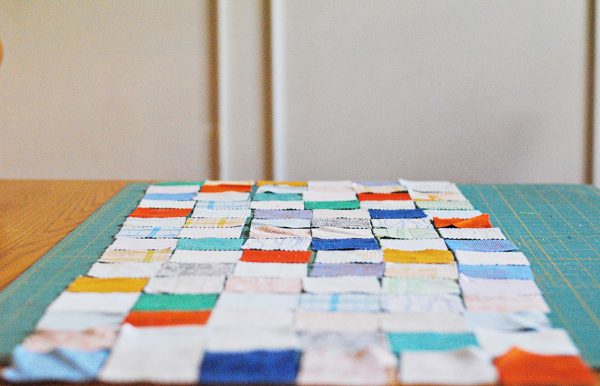
I like to lay out all of the mini charms that I’m going to sew just to make sure like colors are not right next to each other, or there are not too many busy patterns all in a row. The notebook cover needs to be 15 charms wide by 6 charms tall. I also like to snap a quick phone picture of my layout just so I can reference it when I’m sewing things together.
Step Two: Sew the Charm Squares Together
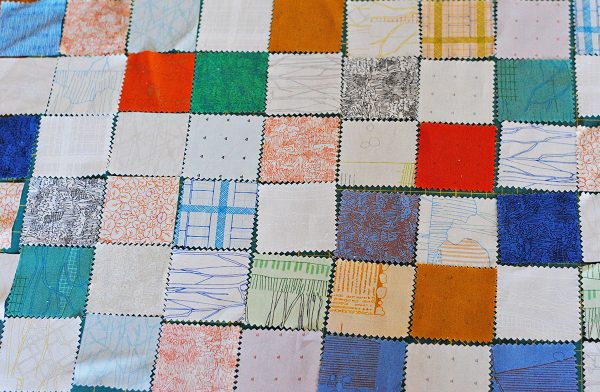
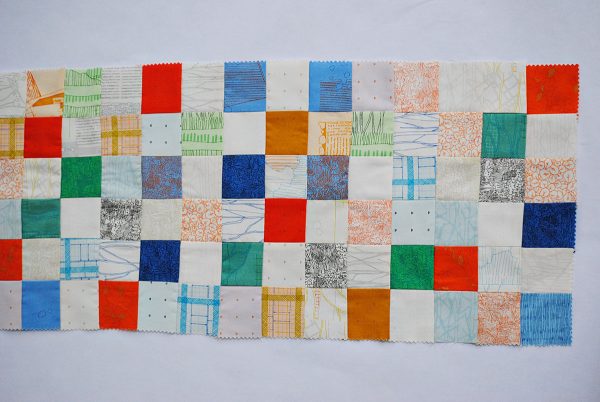
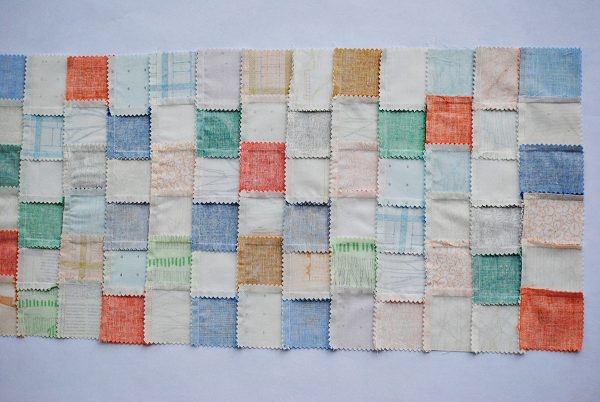
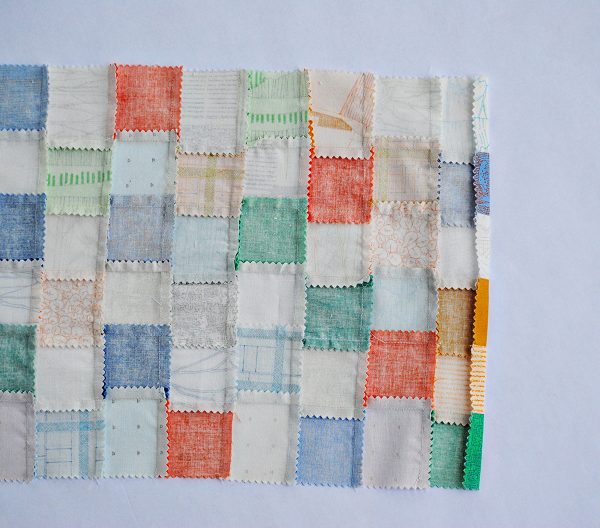
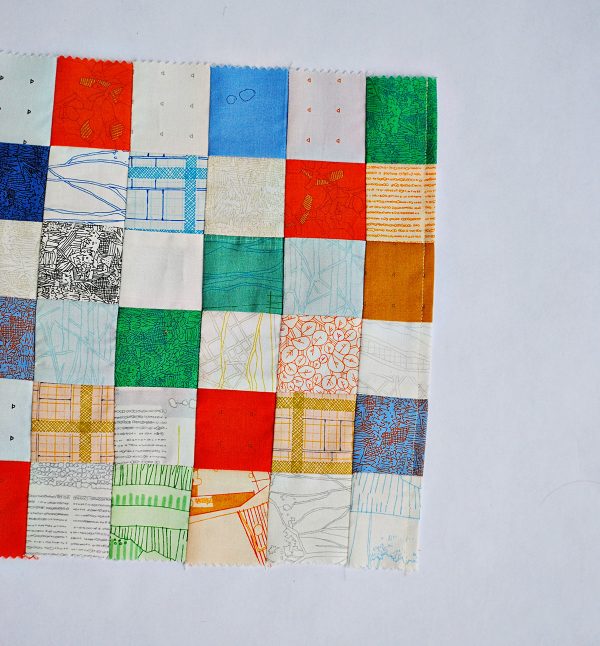
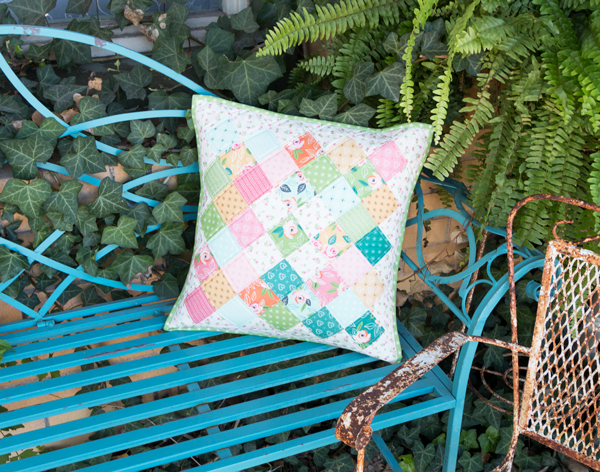
Using 1/4 inch seam allowance, sew the charms together. I work one column at a time. After the first six charms are sewn together, I move onto the next column. Press each column in alternating directions, so that the seams will nest together to help you get perfect points in your squares (the first column seams will be pressed up, column two pressed down, and so on.)
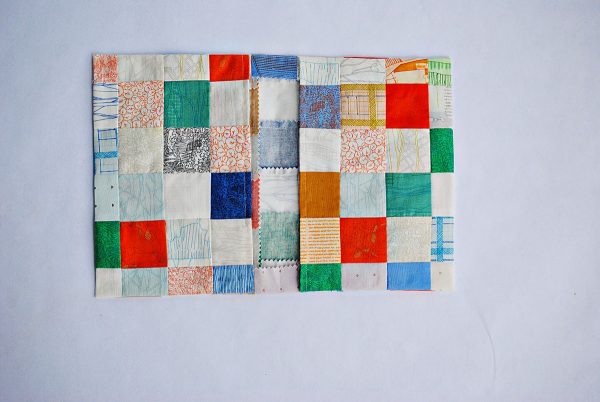
After all 15 columns are sewn, sew the columns together to make our patchwork fabric we’ll be working with. Press seams to one side.
In this second picture, you can see how each column’s seams are pressed in the opposite direction.
Step Three: Topstitch the Sides
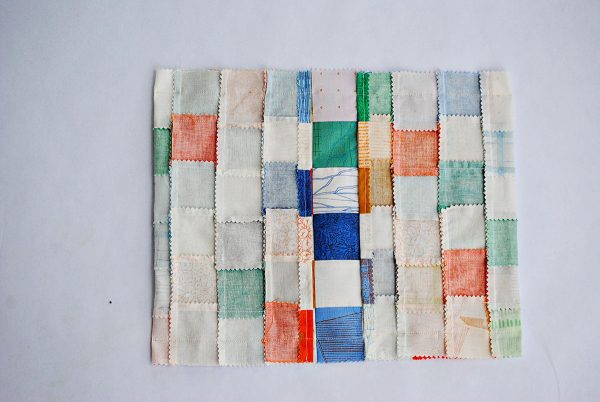
Flip the pieced fabric over so that the wrong side is facing up. Press under the two shorter ends 1/2 inch. Topstitch in place using 3/8 inch seam allowance.
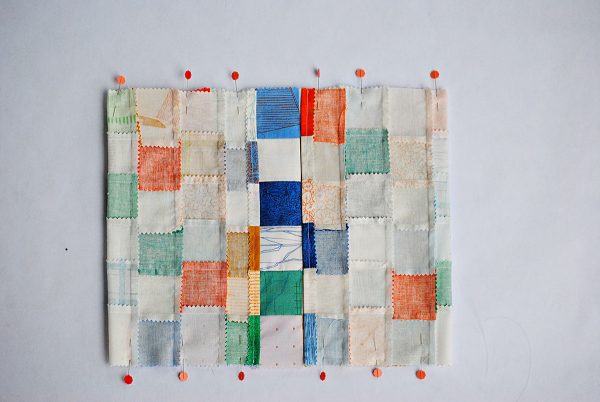
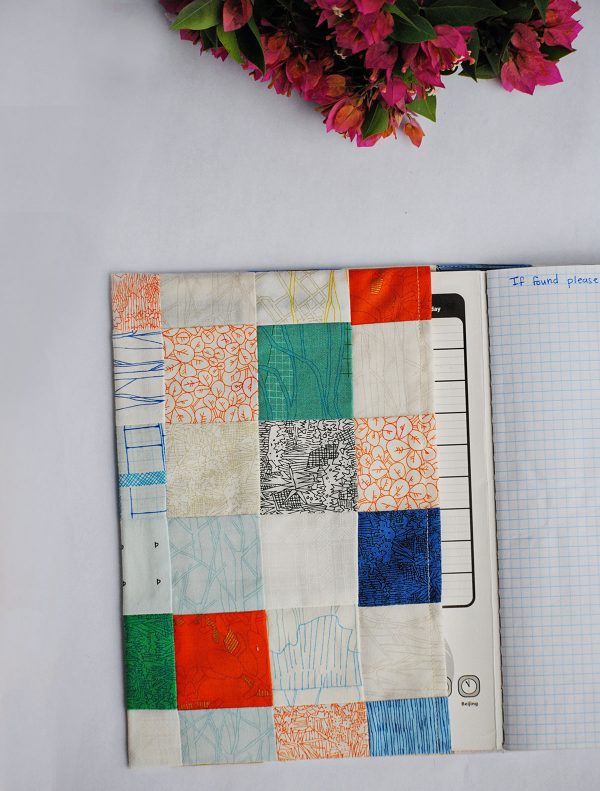
Lay the pieced fabric, wrong side up. Fold the two shorter sides towards the middle by 6 1/2 inches. Pin in place. Sew along the long sides using 1-inch seam allowance.
Put the Notebook Cover On
Turn the notebook cover right side out and give it a good iron. Use a point turner to give yourself nice, sharp corners!
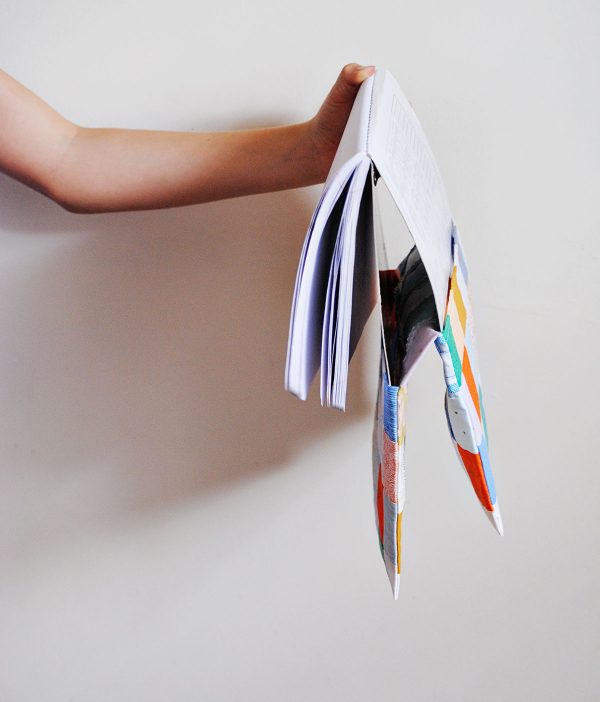
It helps to hold your notebook by the front and back cover. Insert the front cover just an inch or two into the notebook cover. Now insert the back cover. Slide the notebook cover on and you are done!
Have fun sprucing up all of the composition notebooks you can get your hands on!
What you might also like
2 comments on “Mini Charm Pack Notebook Cover Tutorial”
-
-
They are 9.75 inches by 7.5 inches! I can’t wait to see what you sew!
-
Leave a Reply
You must be logged in to post a comment.








What size is the composition notebook?