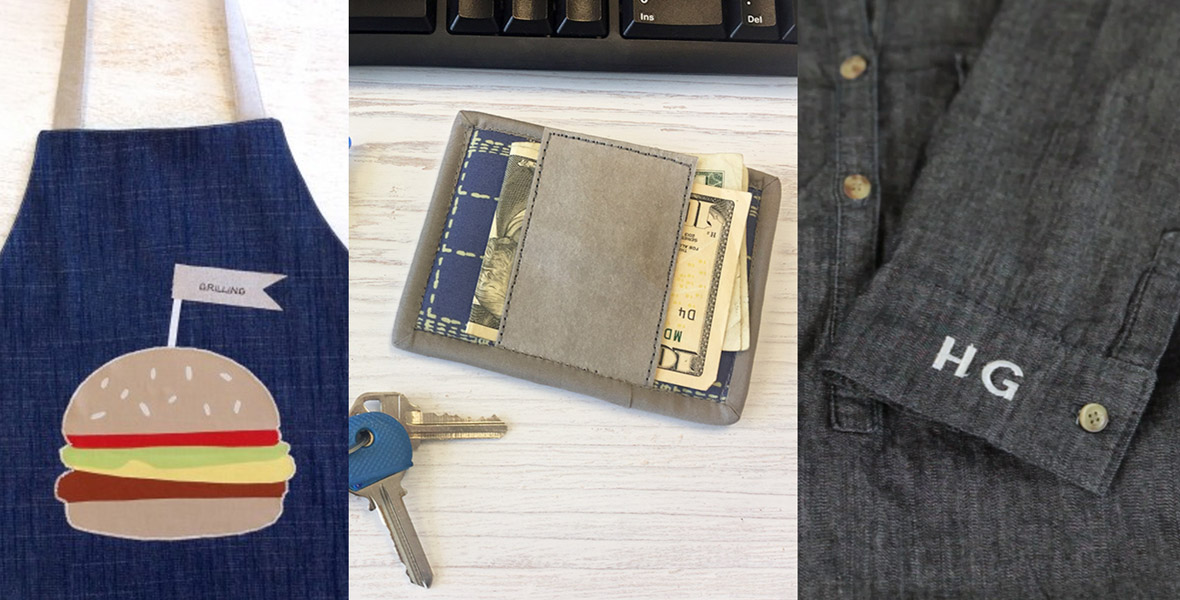
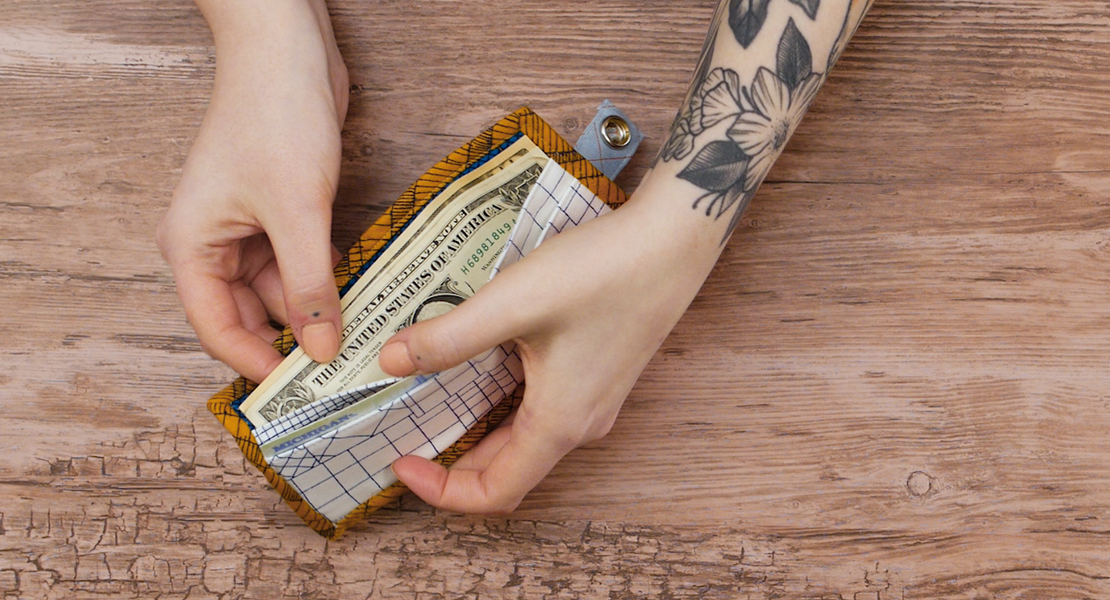
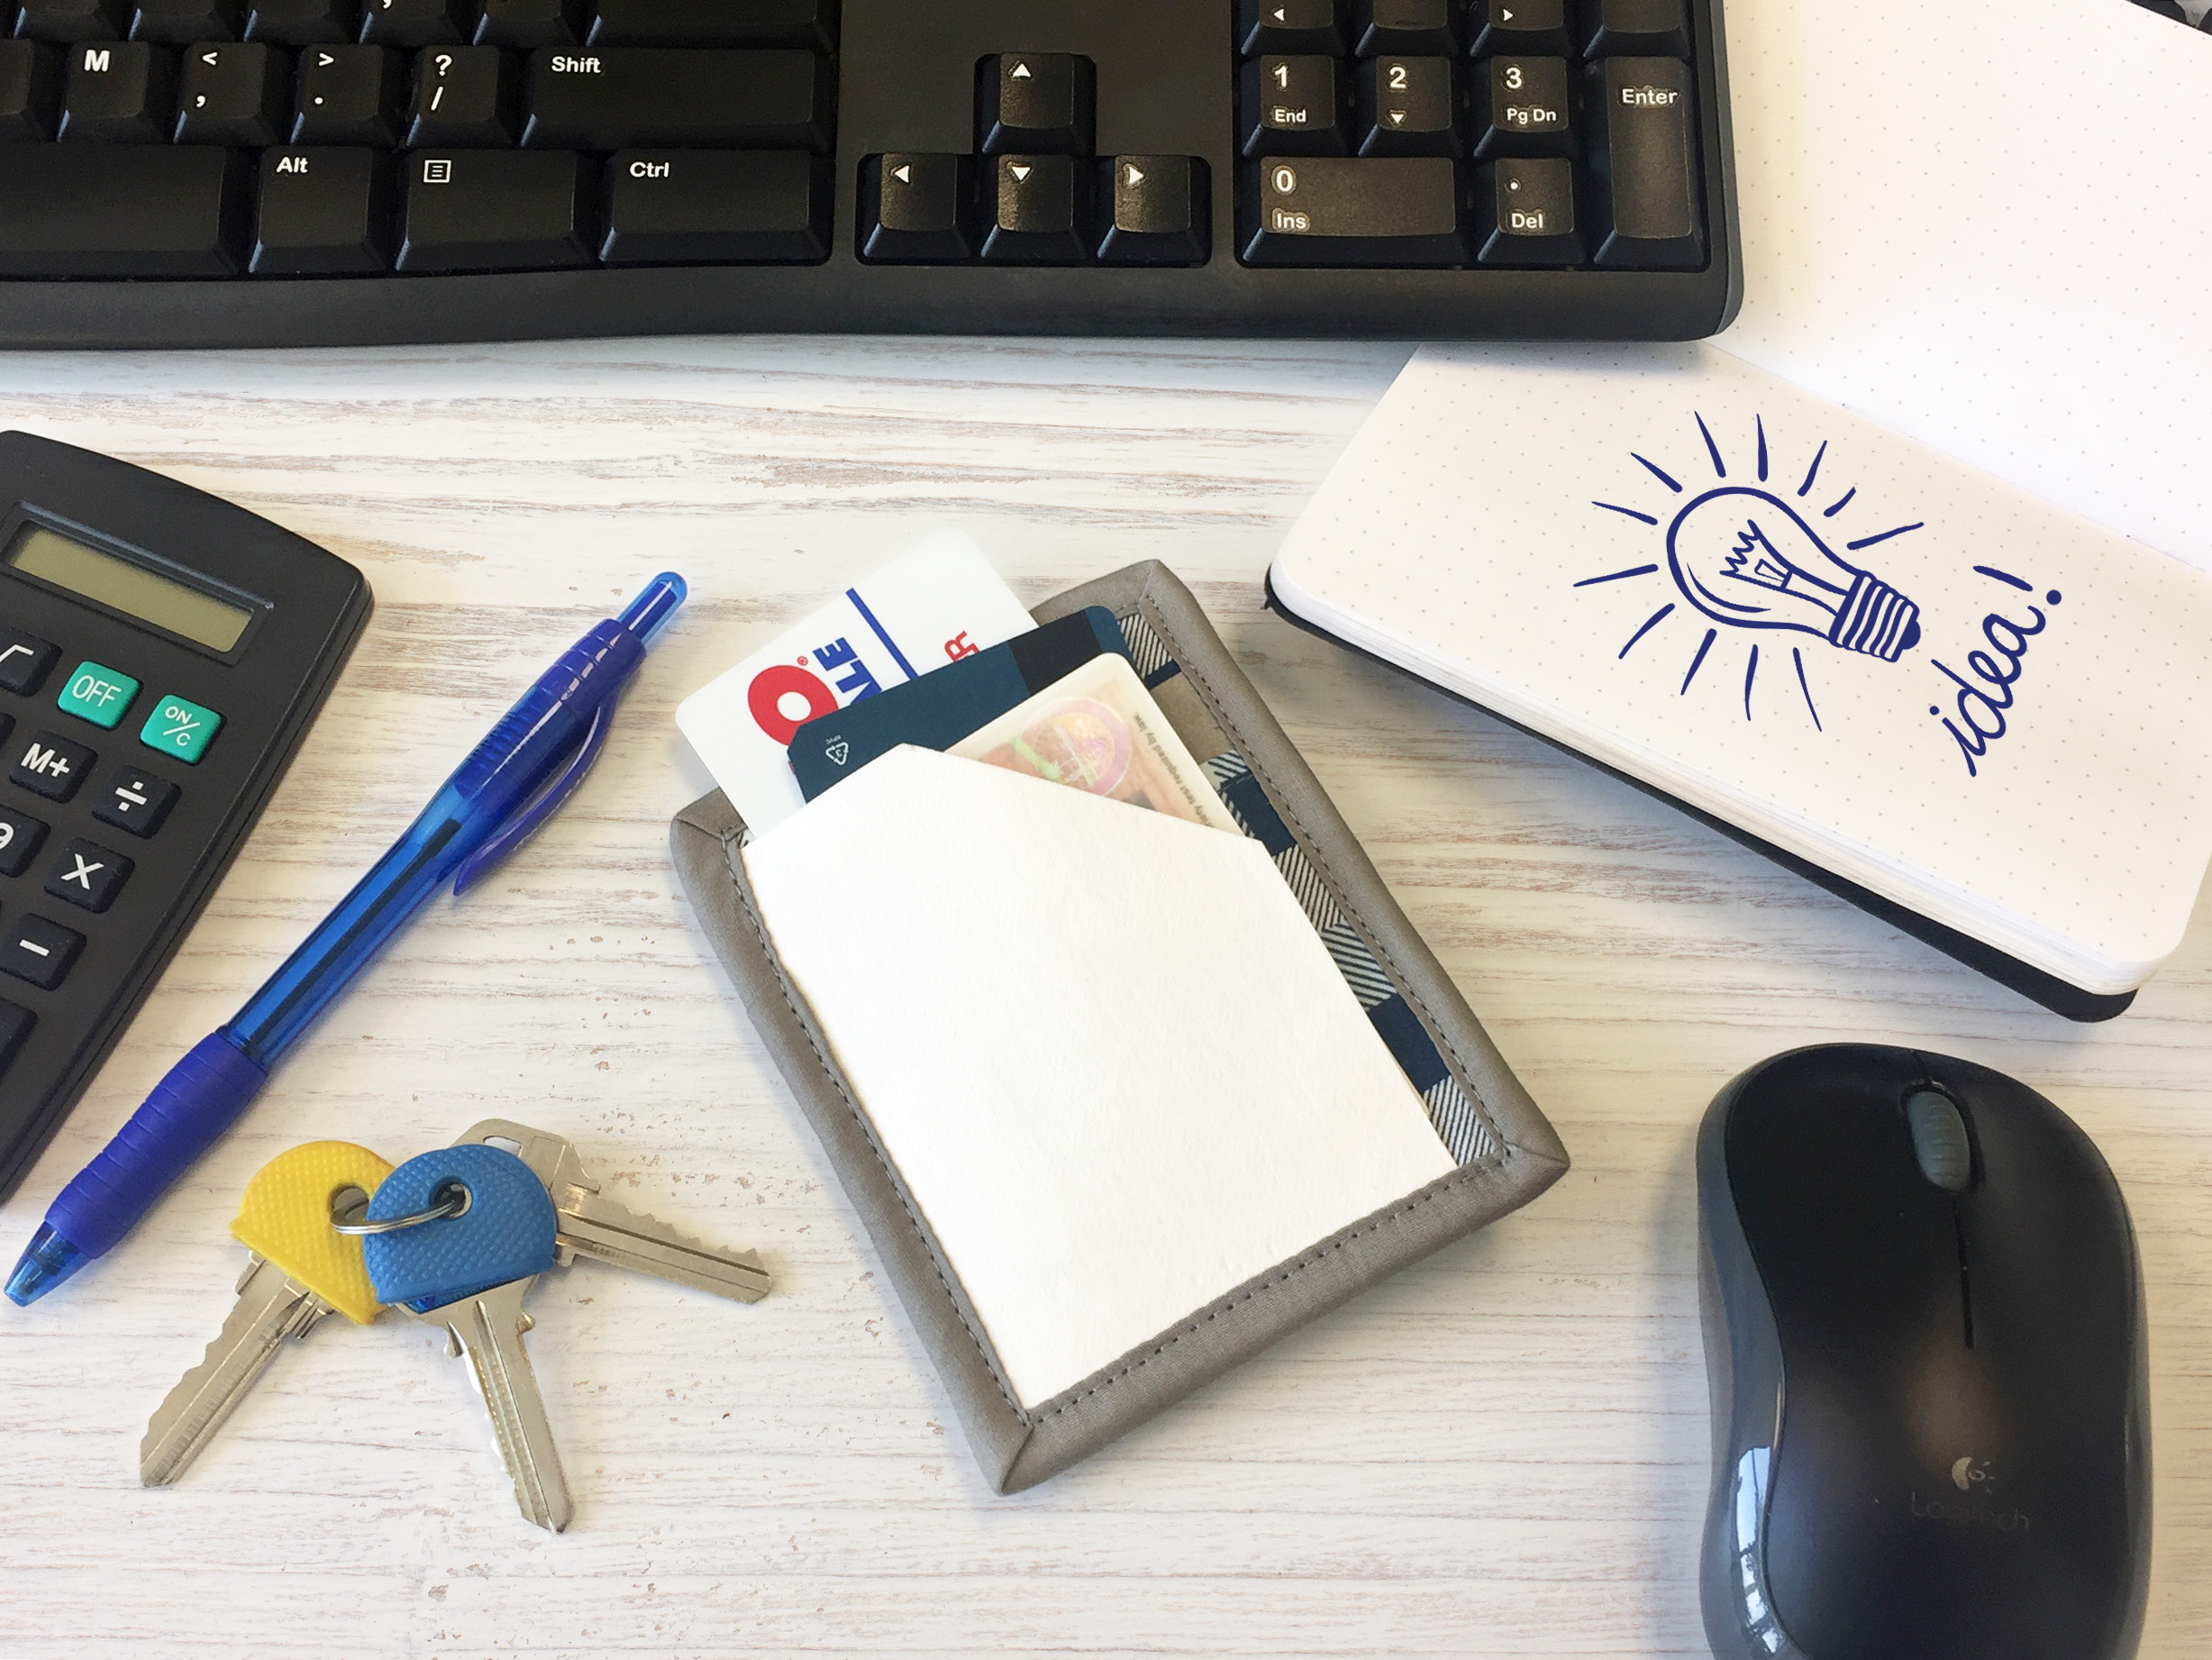
Money Clip Wallet—Father’s Day Tutorial
Hello Makers,
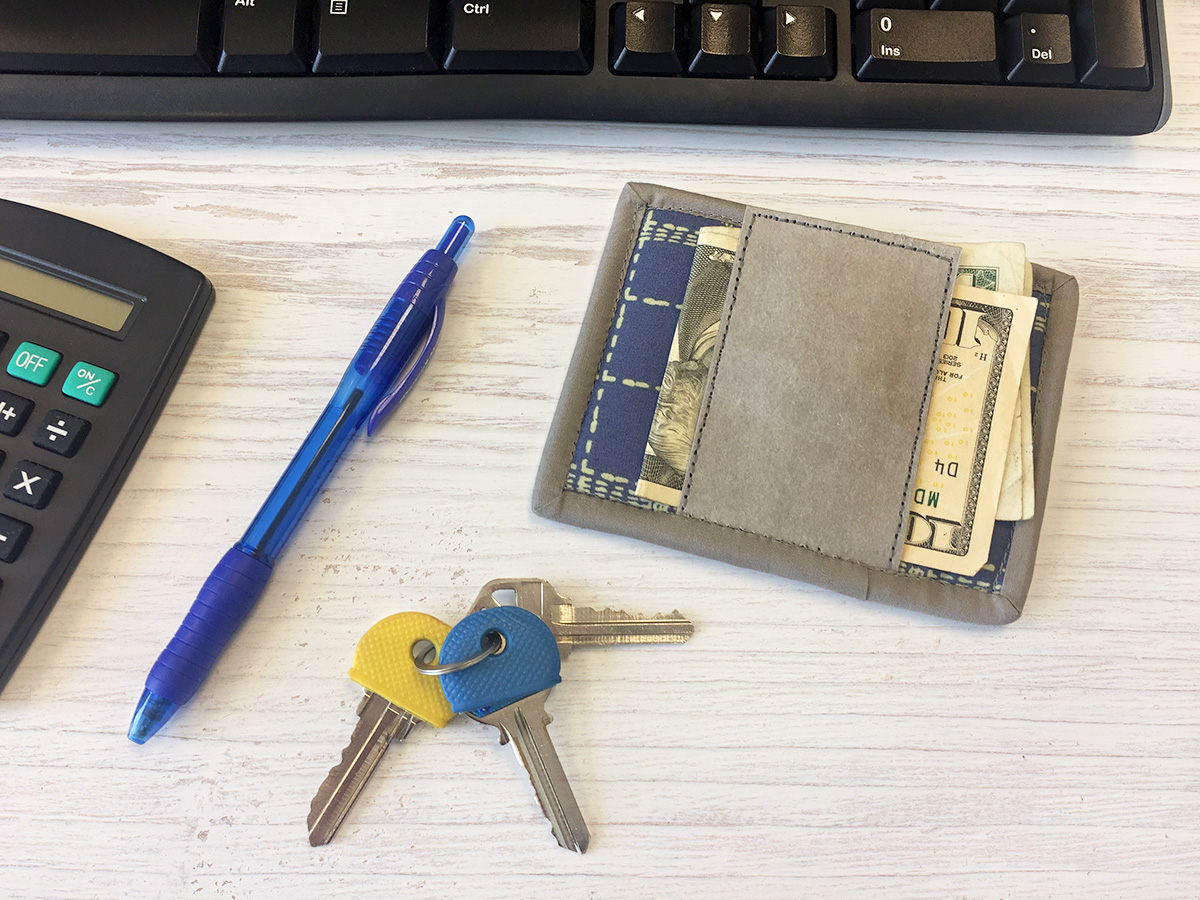
Father’s Day will be here soon and I don’t know about you but shopping or making anything for men in general can be so hard! So that’s why we decided to come up with a fun and easy Money Clip Wallet tutorial. We used two prints from our Mad Plaid collection and two different color Kraft-Tex (grey and ivory) to construct this wallet!
Materials to Make a Money Clip Wallet
- Sewing machine (we sewed on our BERNINA 350 PE)
- Fabrics (see below for cutting requirements)
- Kraft-Tex in gray and ivory
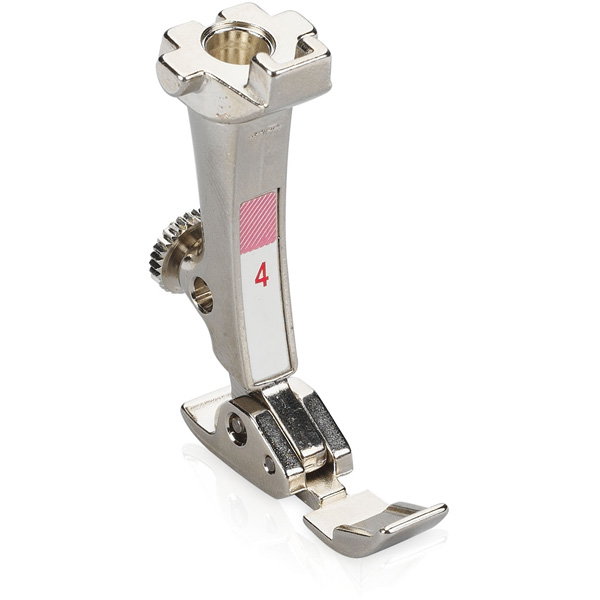
- Zipper foot #4/#4D
- Hot glue gun
- Water soluble fabric glue stick
- Magnets (we used Dritz brand Magnetic Sew-on Snaps size 1 1/8″)
- Medium Weight Fusible (Two 3 1/2″ x 4 1/2″ rectangles for front and back wallet)
- Grey and white thread
- Wonder Clips
Fabrics:
CAP-P-1000- Deep Sea Plaid:
- One (1) 3 1/2″ x 4 1/2″ rectangle
CAP-P-1001- Summer Skies Plaid:
- One (1) 3 1/2″ x 4 1/2″ rectangle
- One (1) 3 1/2″ x 6″ strip (Pocket)
Kraft-Tex:
Grey:
One (1) 2″ 6 1/2″ strip (Money Clip)
One (1) 3 1/2″ x 7 1/4″ strip (Pocket)
Ivory:
One (1) 3″ x 4″ (Pocket)
PE-469- Smooth Pebble:
1 1/2″ x 20″ strip (Binding)
How to Make a Money Clip Wallet
Take your 2″ x 6 1/2″ strip from grey Kraft-Tex and fold it in half. Hot glue one side of your magnet 1″ up from the center of your strip.

Apply fabric glue to the inside of your strip and glue into place. Add some wonder clips to help with the gluing process.
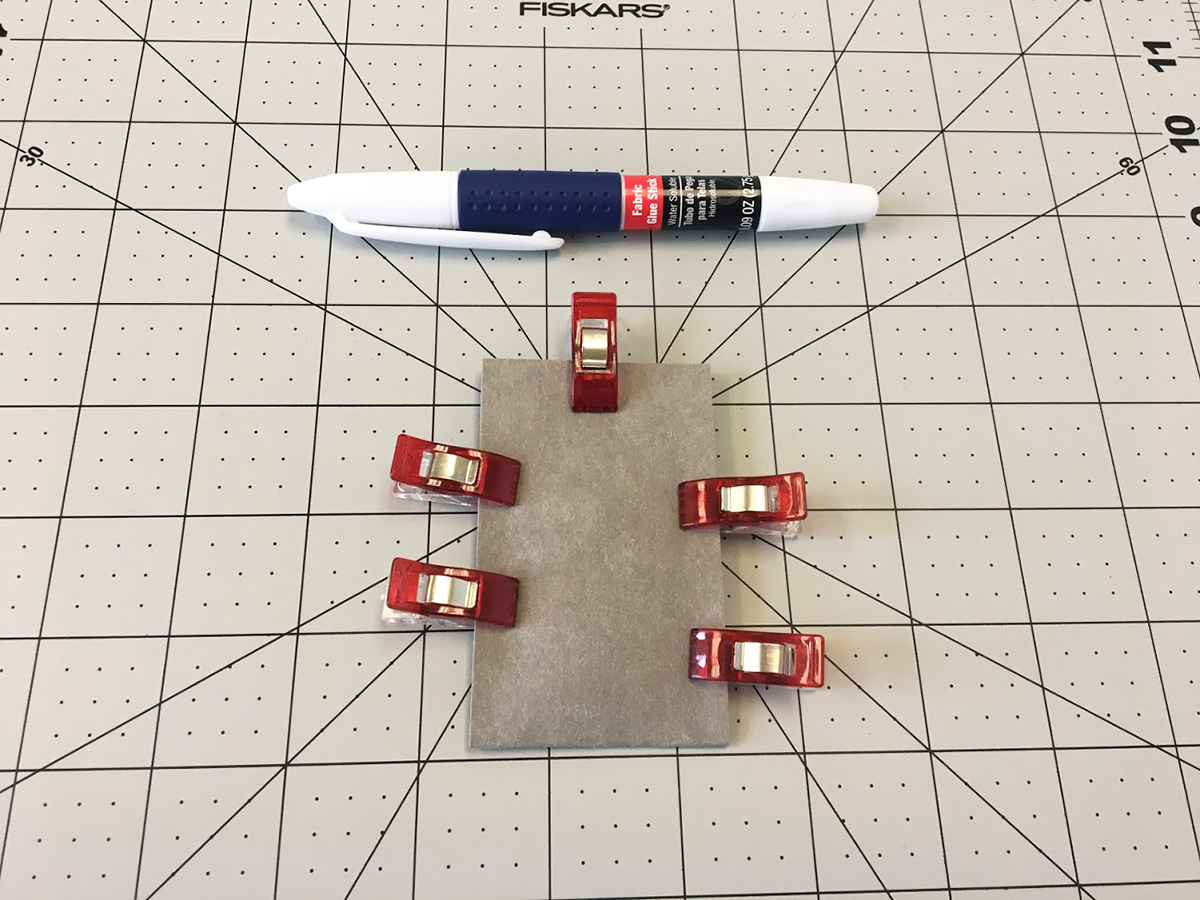
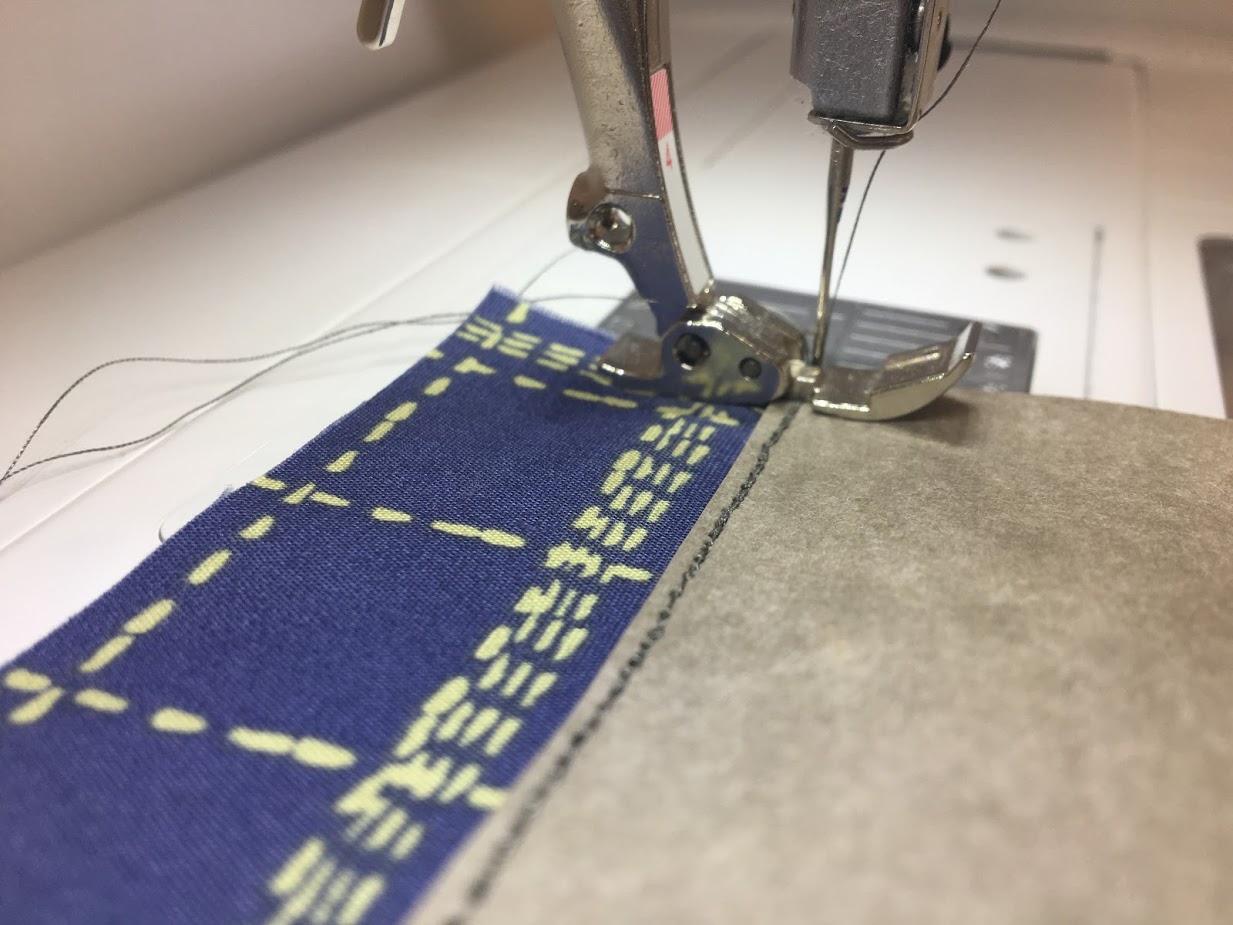
Using a triple stitch and the Zipper foot #4 to stitch around your magnet strip. Make sure the needle position is all the way to the right.

Add a little fabric glue to your fusible and press a 3 1/2″ x 4 1/2″ rectangle of fabric on top. Place your magnet strip centered on your piece.

With some hot glue place other side of magnet to the back making sure magnets align.

Stitch as close to the edge on the top of your magnet strip to attach to your piece.
Fold your 3 1/2″ x 7 1/4″ strip from grey Kraft-Tex in half as well as your 3 1/2″ x 6″ rectangle so wrong sides are touching. This will create a nice clean finish pocket. These will be your pockets. Topstitch 1/4″ away from the fold (which is the top of your pocket) if desired. Place on top of a 3 1/2″ x 6 1/2″ rectangle of fabric with fusible applied to the back. (Follow image below.) Stitch close to the edge as possible to tack all the pockets into place.
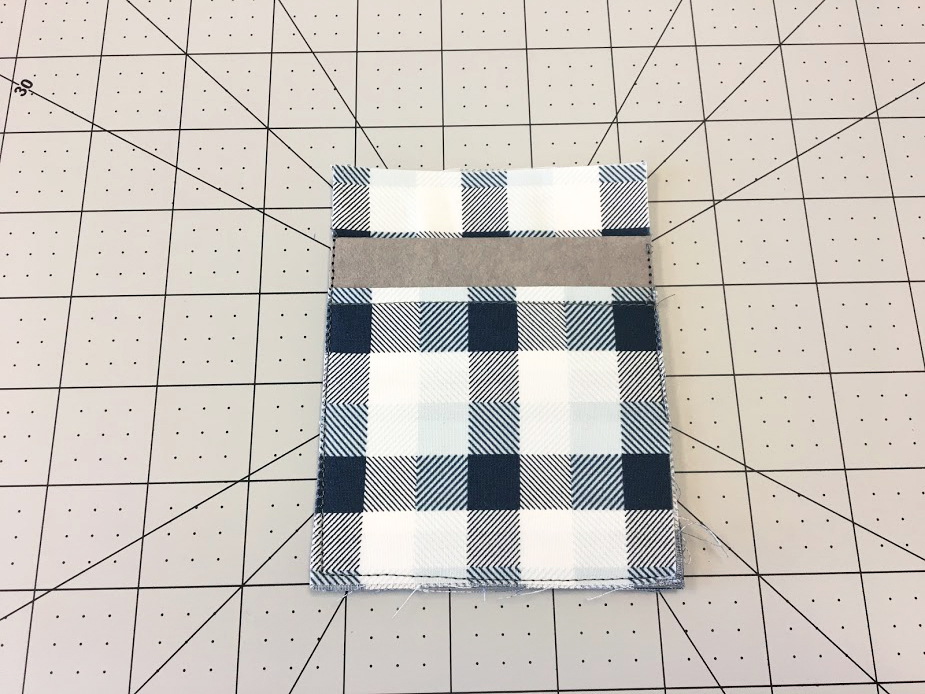
To make the top pocket, take 3″ x 4″ rectangle from ivory Kraf-Tex. To make the angled edge, mark 1 1/2″ over from the top and 2 1/2″ up from the bottom right. Draw a line connecting marks and cut on your mark! Place top pocket on top of the other two pocket and stitch as close as possible to the edge to tack into place.

Place both front and back pieces wrong sides together. Use a little fabric glue to hold together. Bind the edges with a 1 1/2″ x 20″ single binding in order to not create to much bulk.
Enjoy,
AGF