The Triangle Quilt, Made With My BERNINA
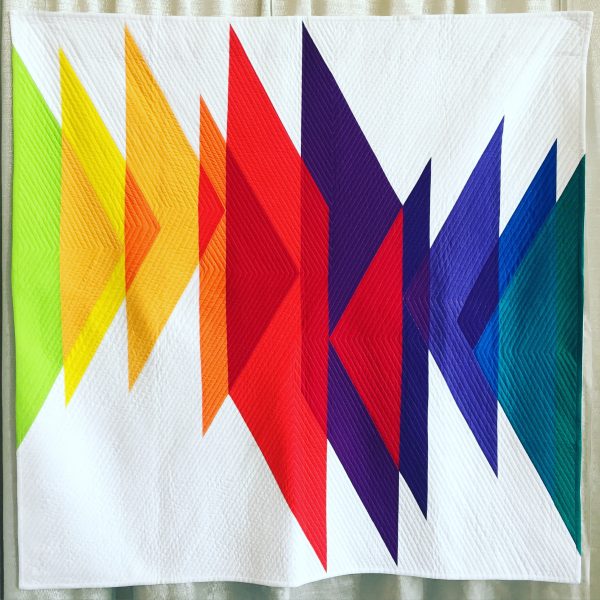
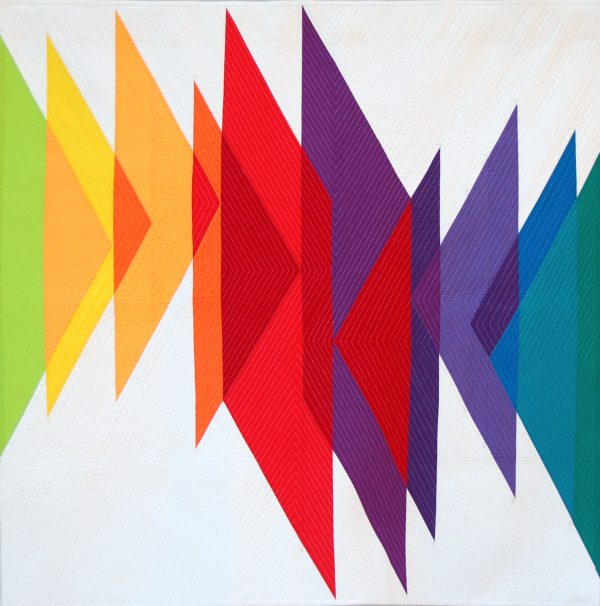
Have you ever tackled a project so challenging that you almost didn’t finish it? This is the story of my Triangle quilt, a project which took nearly two years to complete. I couldn’t have made it without the help of my BERNINA, and the happy ending to this story was having my quilt accepted to this year’s QuiltCon show!
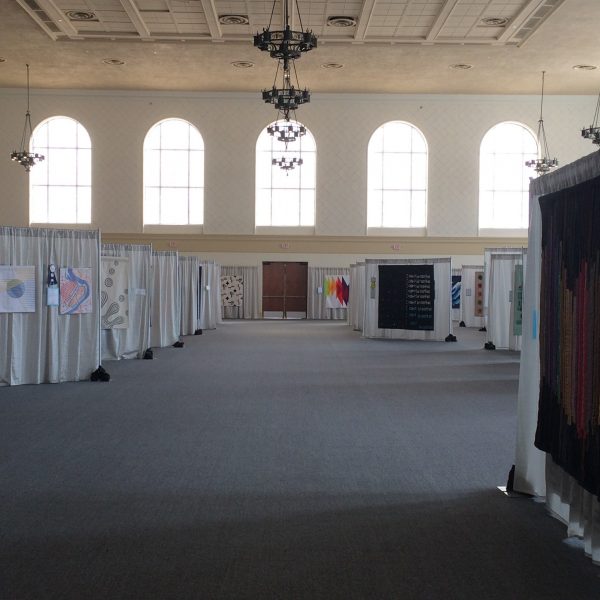
QuiltCon 2016 was in Pasadena, California on February 18-21 this year. It was a big honor to have my quilt selected from thousands of entries to be one of the hundreds exhibited. I couldn’t make it to QuiltCon this year, but my guild mates snapped some pictures of my quilt for me – top photo courtesy Tricia Royal, bottom photo courtesy my BQF Holly. You can see my bright quilt peeking out at the back wall in the exhibit hall. And to think, I almost didn’t finish this quilt!
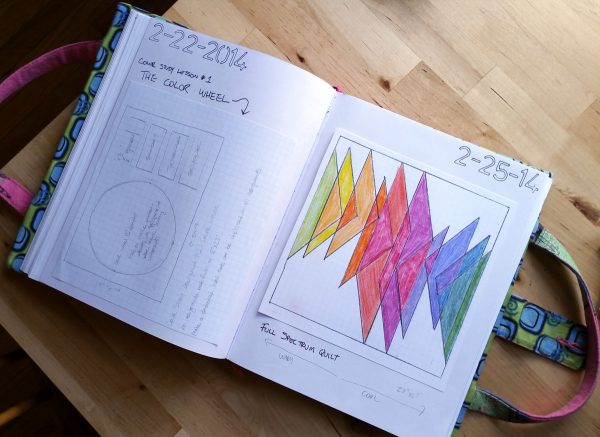
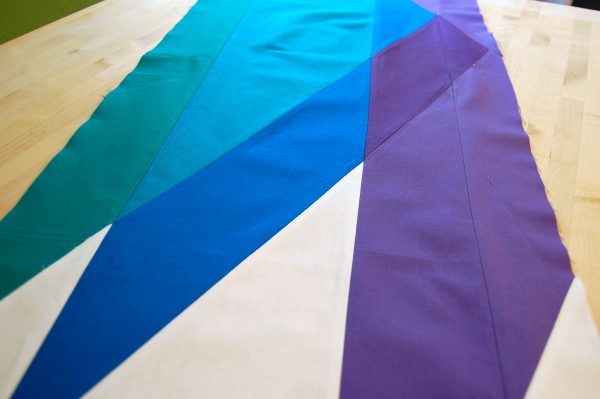
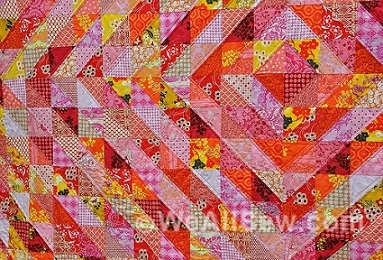
The origins of this quilt came from my recent studies of Color Theory. I actually had the idea in my head at the end of 2013, but it took me a few months to get the final design down in my sketch book. The next step was figuring out how to piece this design with fabrics. I tested a few methods, and it was pretty obvious that I’d have to get these pieces cut and sewn EXACTLY right in order to have all the shapes meet up and all the points perfect.
To help keep these long seams straight and as exact as I could, I used a method of very careful cutting and stitching with the Patchwork foot #37 as a guide for seam allowances. This method worked well, success at last!
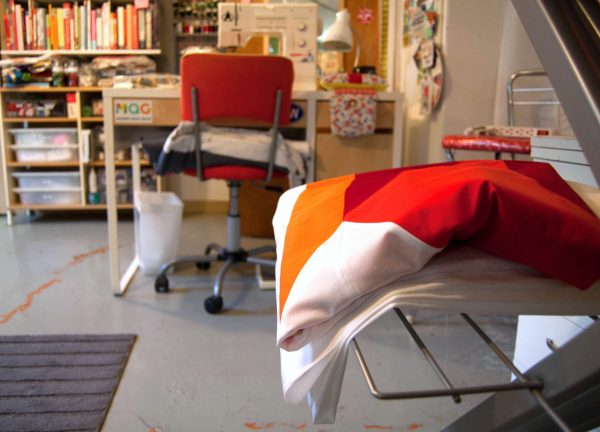
The top was finished at the end of 2014, and I was faced with the challenge of figuring out how to add quilting to the design. Yikes! I had no clue, and left the top folded up in my sewing room for several months. This is the point where I almost threw in the towel, I felt like the quilt and I were locked in a battle, and I was loosing.
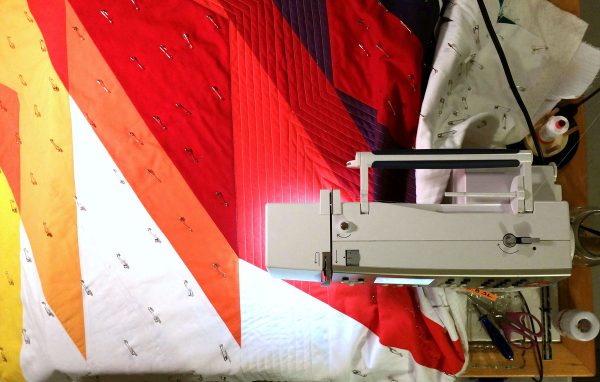
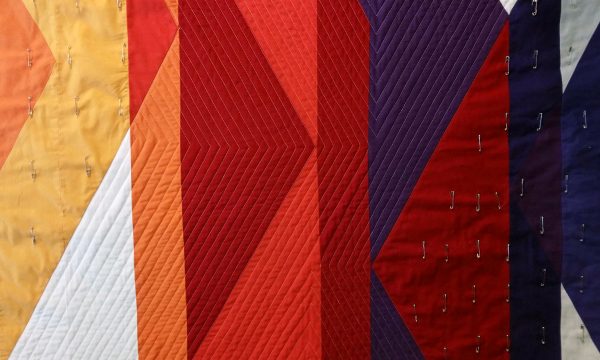
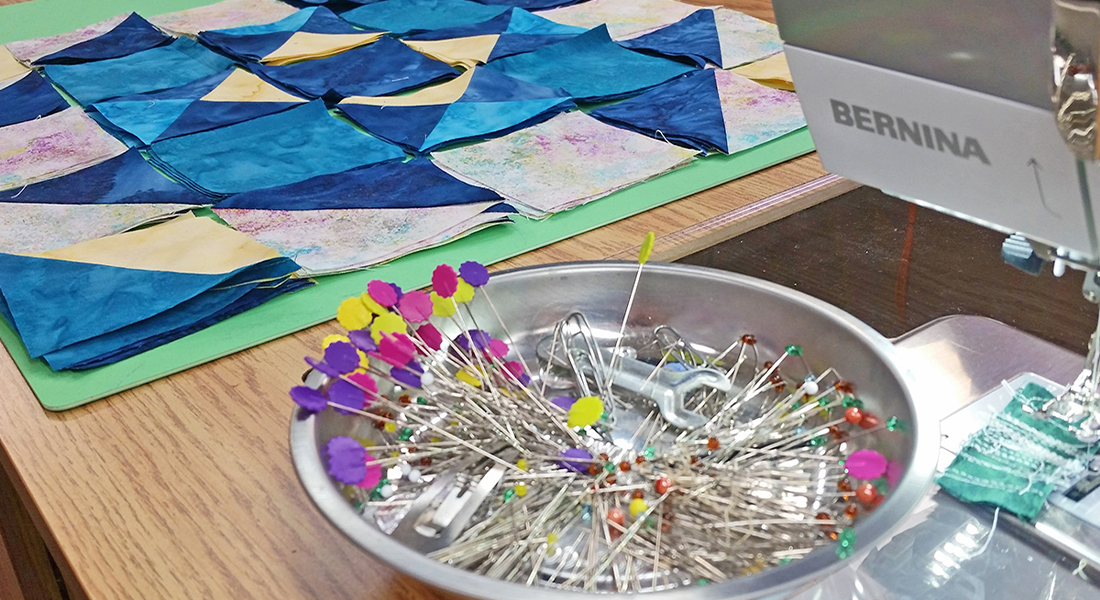
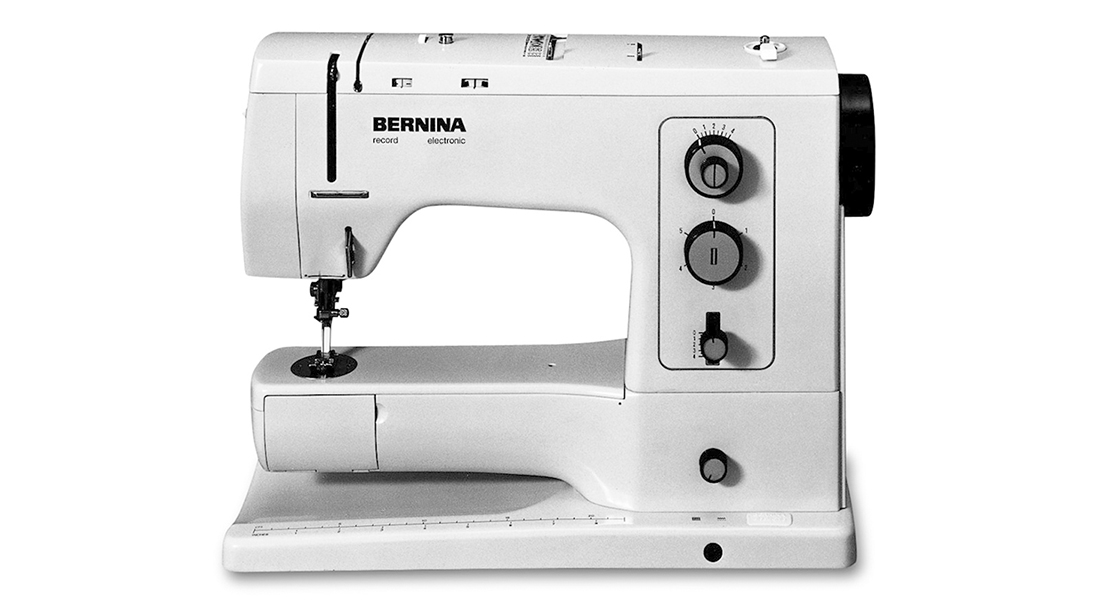
I just couldn’t force myself to finish this project, I had to wait until I felt the time was right. I finally settled on a straight line quilting pattern to follow in the direction of the triangle shapes in the fall of 2015. Here’s a snapshot of my quilting set-up, I used my BERNINA 440 with the Walking foot #50 set up with the open sole. This gave me maximum visibility of where I was stitching, so I could pivot exactly where I wanted to at the points of the triangle shapes. The stitches are approximately 1/2″ apart as I used the edge of the Walking foot as a guide.
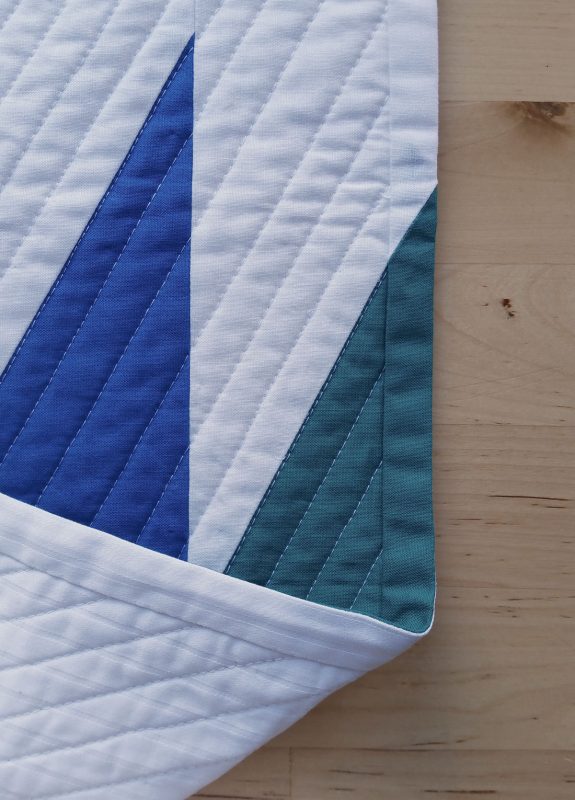
Yes, this quilting was looking awesome! It took me another few months to complete the quilting stitches (sewing in between life as it happens!). When it came to finishing the edges of the quilt, I didn’t want to disturb the effect of the triangles going right to the edge, but didn’t feel a facing would be right for this quilt. I had the idea to make a two-sided kind of a reversible binding that matching the angle and color of the triangles to make them appear to fly off the very edge. And making the back a different color meant that you wouldn’t see a distracting wedge-shape if the colored part of the binding wrapped around to the back.
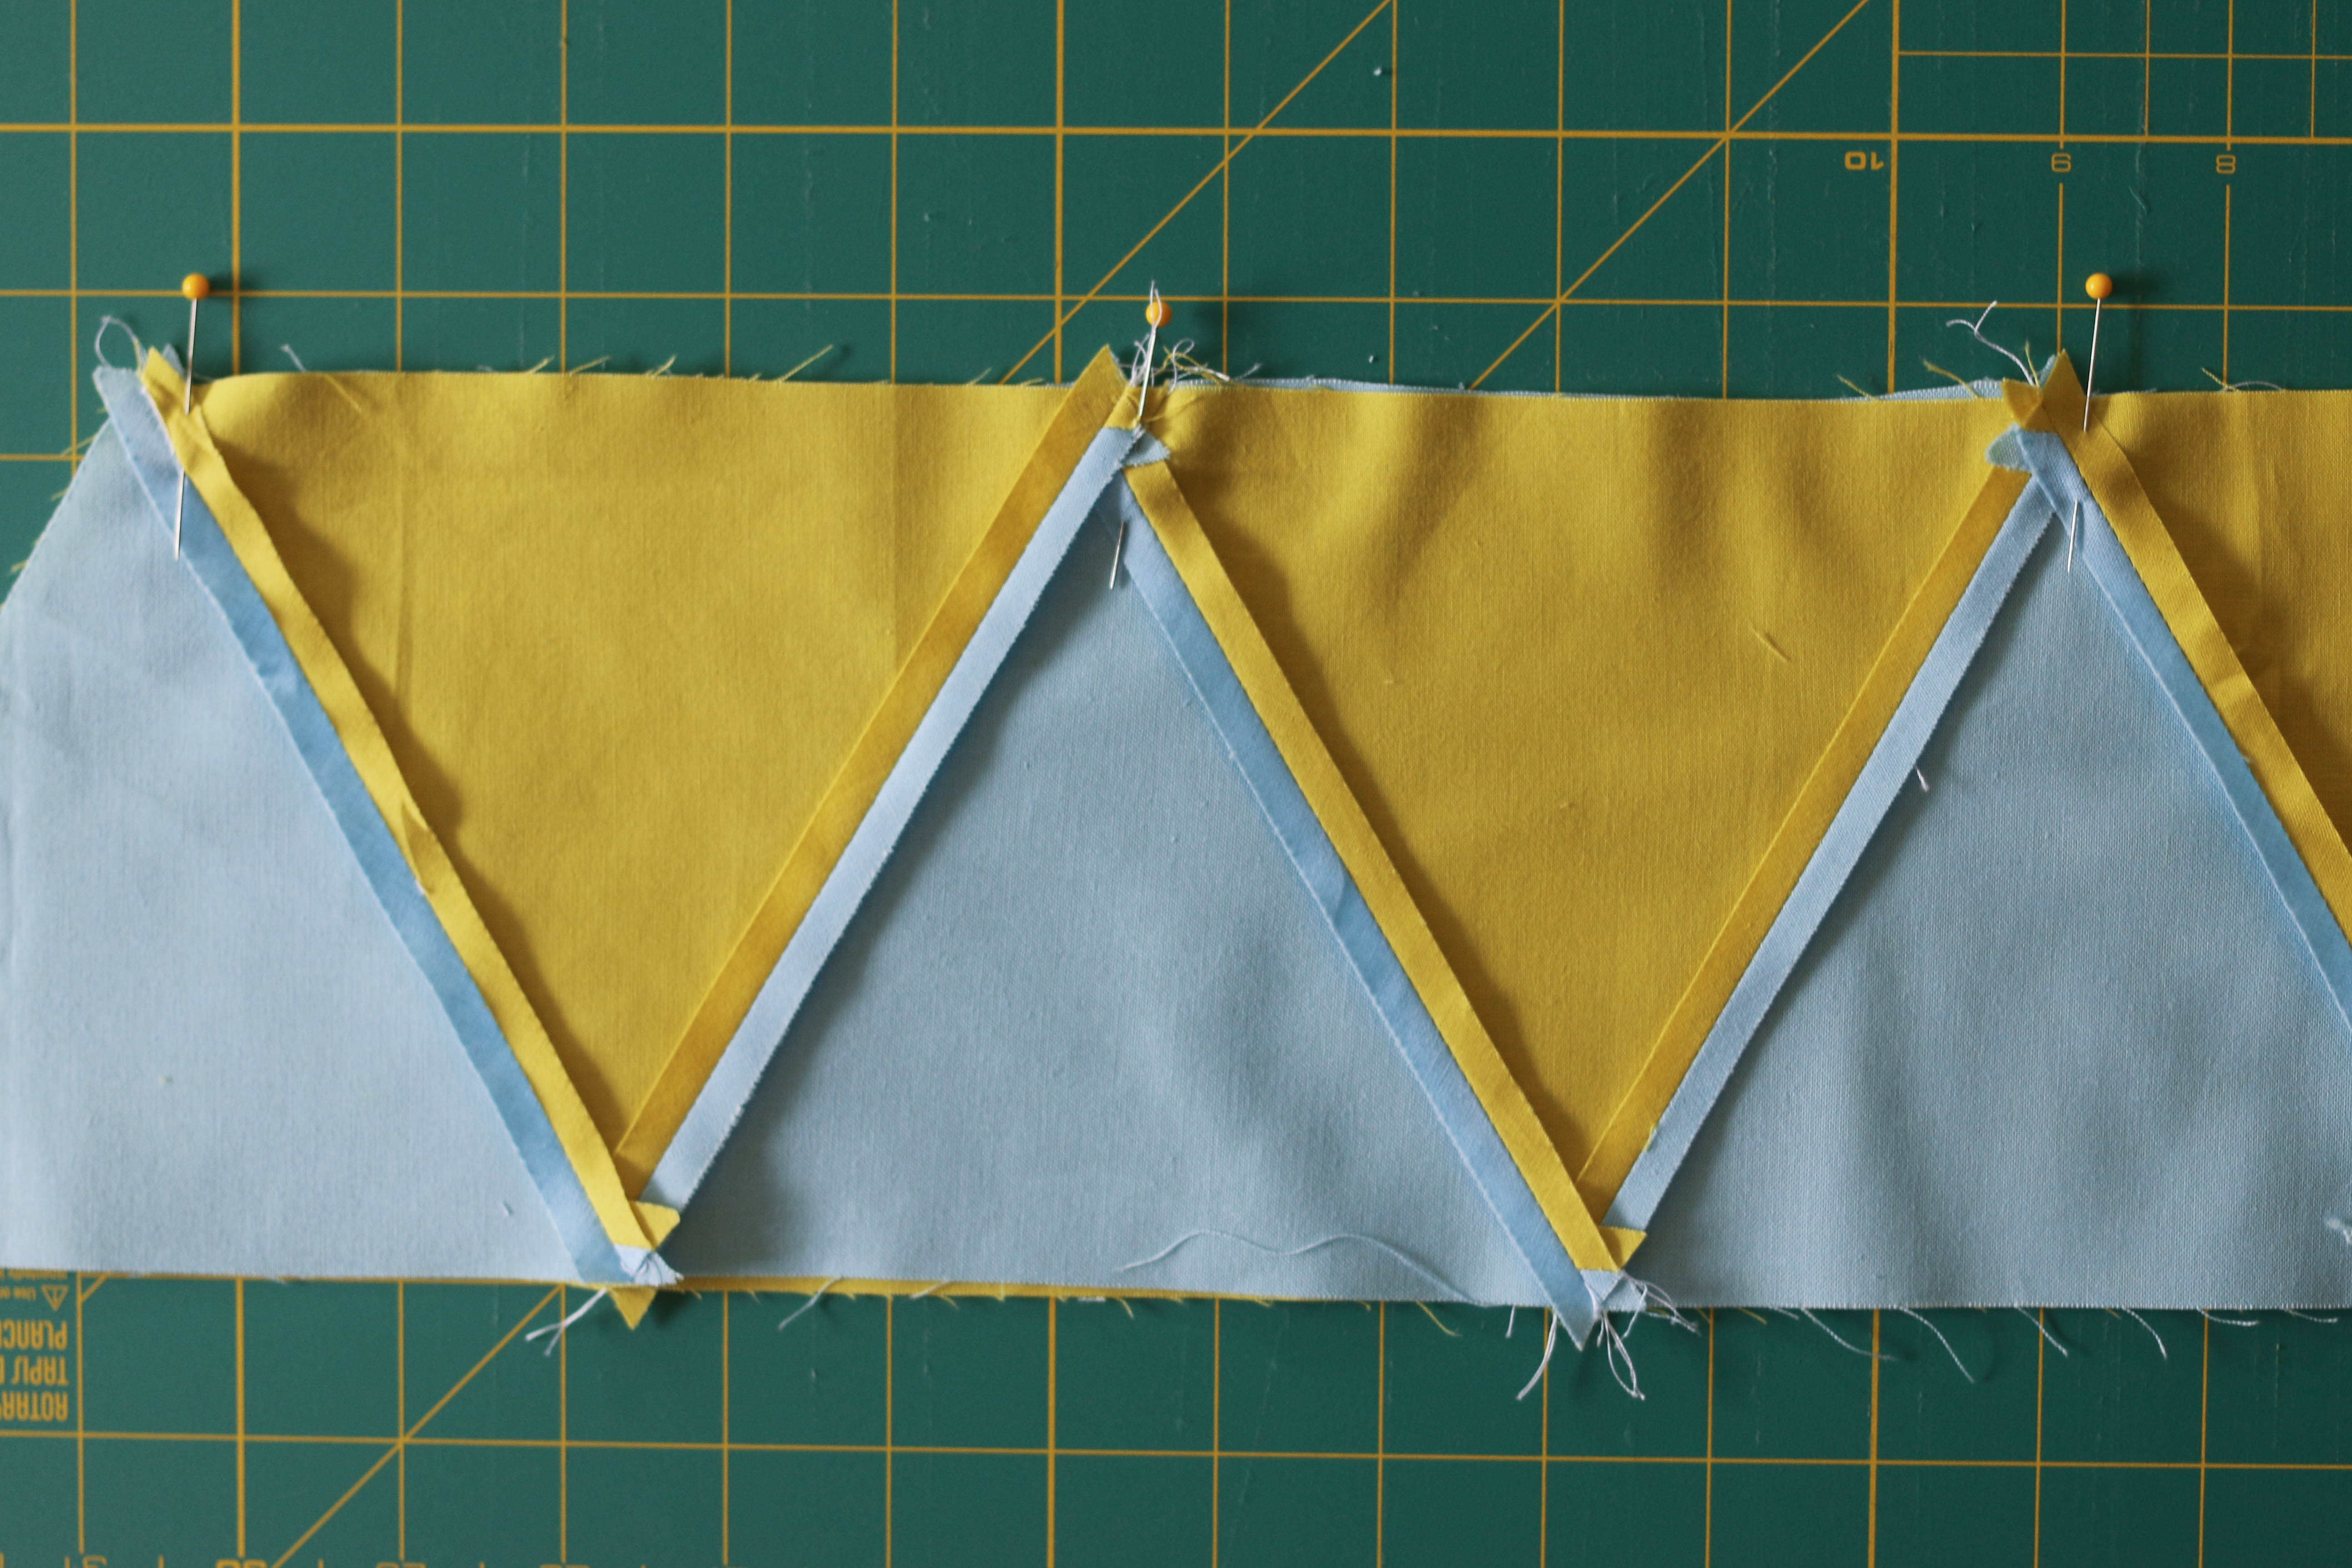
Here’s a quick view of flipping over the edge, you can see the colored binding on the front side cut to match the shape, and the reverse of the binding matches the backing fabric.
I had so many people ask how I made this binding, so I’ll share the basics with you. I used this binding method on a quilt that is only ever meant to be used as a wall hanging, and wouldn’t recommend this edge finish for a quilt that would have a lot of wear and tear. The center seam would weaken over time from lots of use and/or washing.
When making this type of binding, I cut two strips of fabric; one for the front binding, and one for the back. Because I like my binding to measure 1/2″ wide when finished, I made the following measurements to figure how to cut each strip for the reversible binding: 1/2″ (finished width) x 2 (to be folded over once) + 1/4″ (seam allowance) = 1 1/4″ wide. I cut two different strips of 1 1/4″ wide fabric, one that matched the back of the quilt, and one for the front of the quilt that matched the design. After stitching both strips together with a 1/4″ seam, I pressed the binding in half, then pressed each raw edge in towards the center seam. This created a pre-folded binding which I then stitched to the front by machine and hand-stitched to the back. When using this technique, you must remember to try and favor the back edge of the binding so the back color will not show on the front (stitch the back edge over a little extra to the back of the quilt).
And with the addition of the binding, I was able to call the Triangle quilt finally finished! The feedback from the QuiltCon judges was positive, they liked the dynamics of the overall design and how the quilting stitches followed through the movement of the triangles. A project well worth fighting through to the finish.
So how about you, do you have any projects that seemed to take forever to call finished?
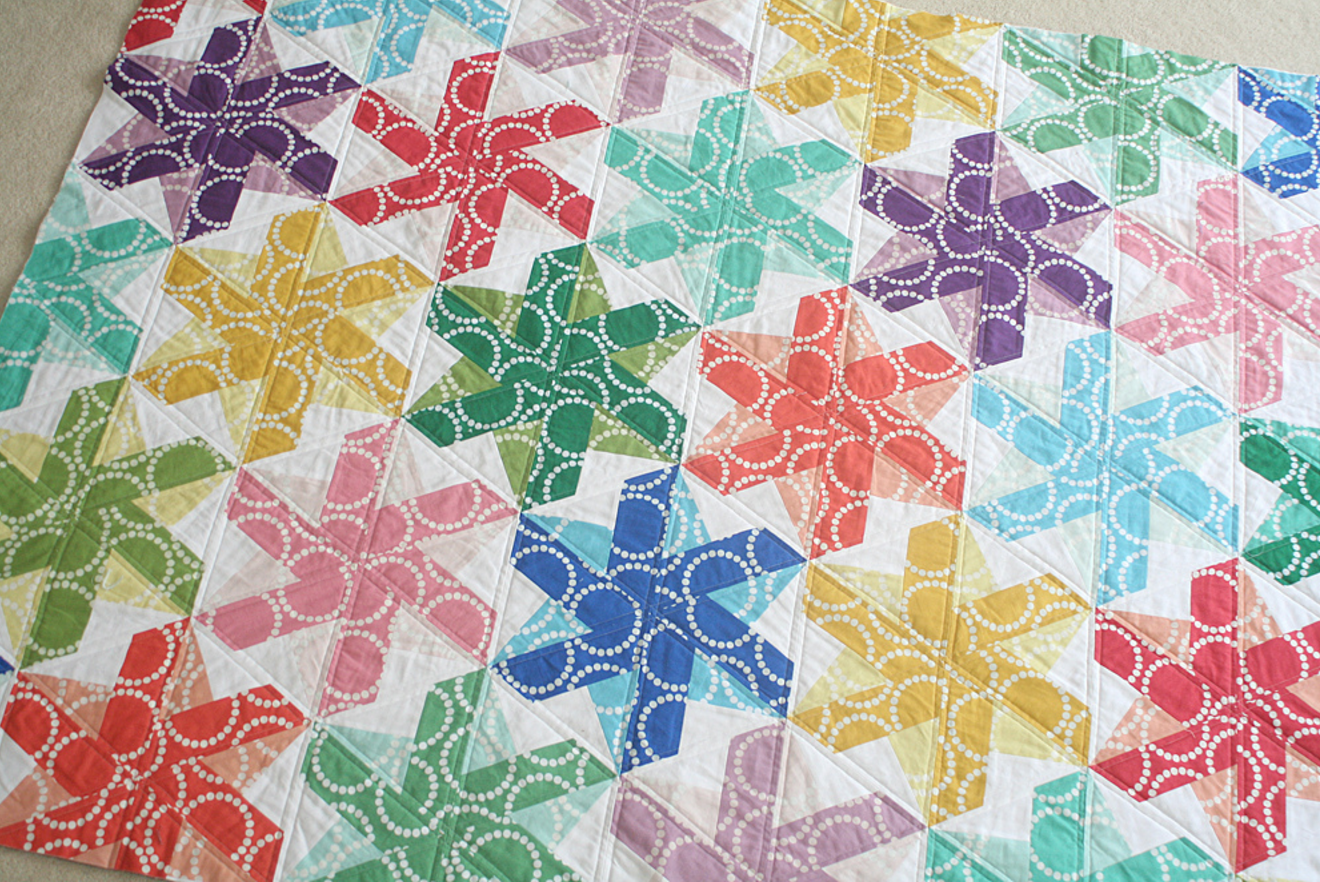
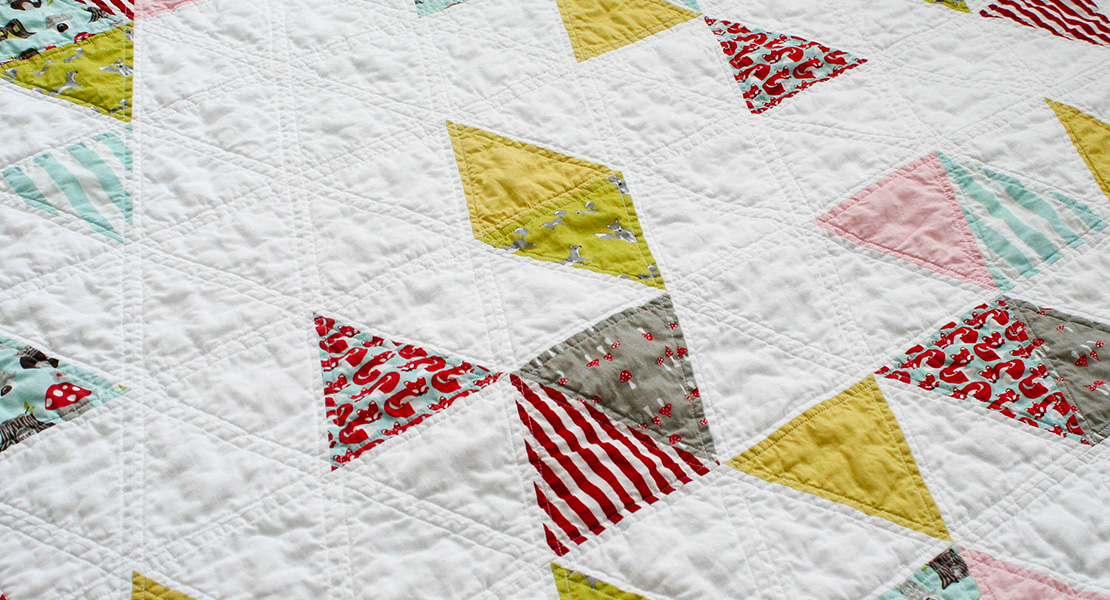
What you might also like
2 comments on “The Triangle Quilt, Made With My BERNINA”
-
-
Stunning! I love everything about this quilt.It’s also fun knowing the process from idea to completion.
Leave a Reply
You must be logged in to post a comment.





really wonderful quilt Erika – so glad you persisted and how thrilling to have it shown at Quiltcon !