Curvy Line Quilting with My New Favorite Stitches
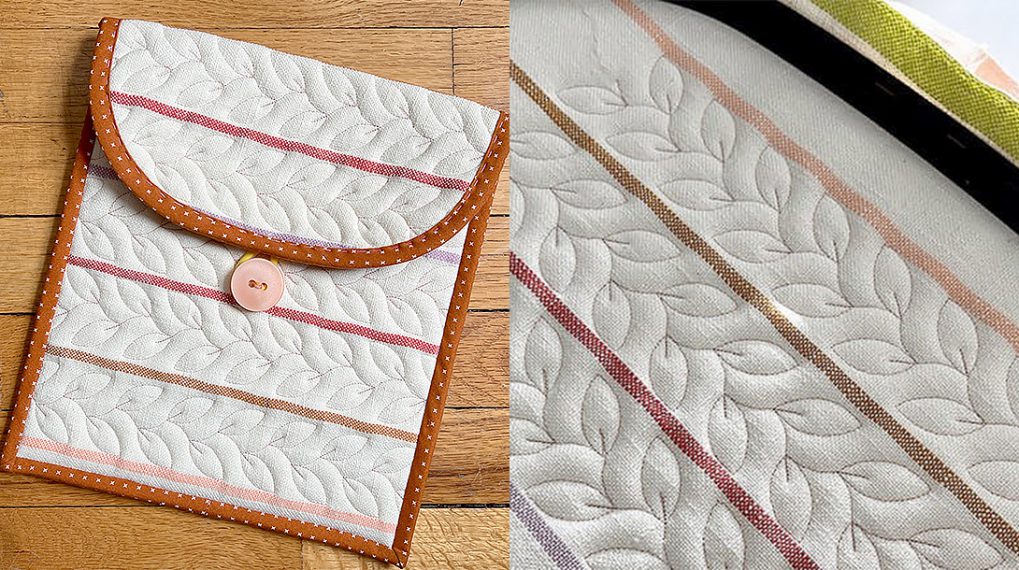
I’ve owned my 790 PLUS for several years and thought I knew everything it does. But I recently discovered a set of quilting stitches that I had not noticed before. I made a sampler wall hanging using variations of my newly discovered stitches.
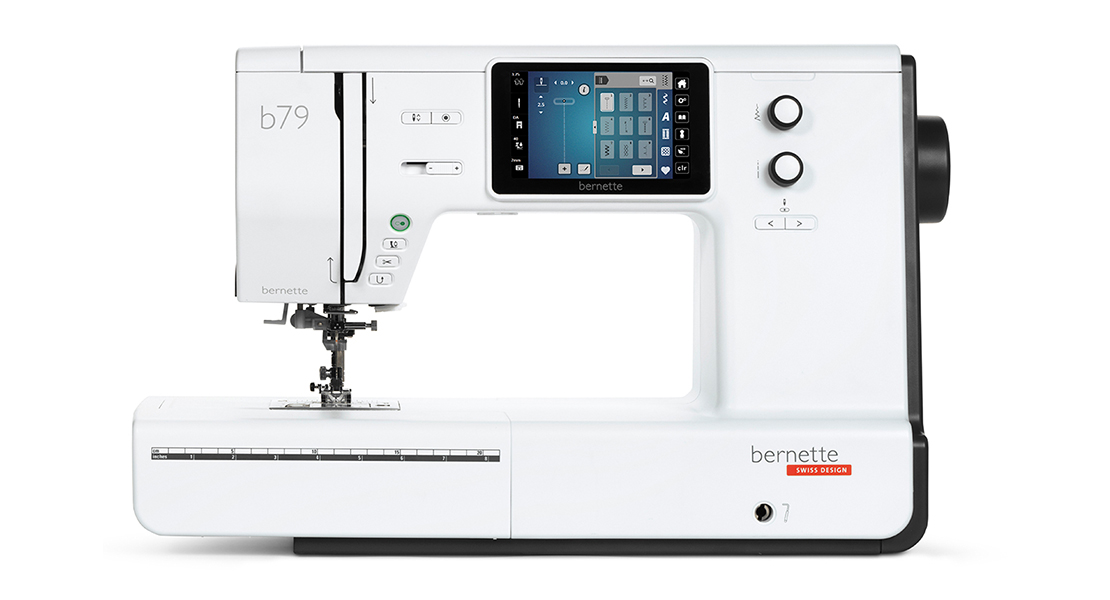
Quilt Menu Stitches
The stitches are on the quilting menu of some BERNINA models, Stitches #196, #197 and #198. These curvy lines of straight stitching are all variations of the same stitch. If you don’t have these stitches, keep reading and I will show you a similar stitch that is on all BERNINA machines.

Presser Feet
These stitches can be sewn using a variety of presser feet, including the all-purpose foot, Reverse Pattern Foot #1D. If you are using these stitches for quilting as I am, the foot you use depends on your project. For small quilted projects, you may use other all-purpose choices such as Reverse Pattern Foot #1D and Clear Foot #34D. Click here for more information on BERNINA all-purpose presser feet.
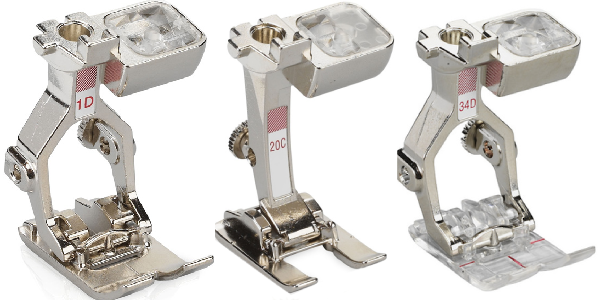
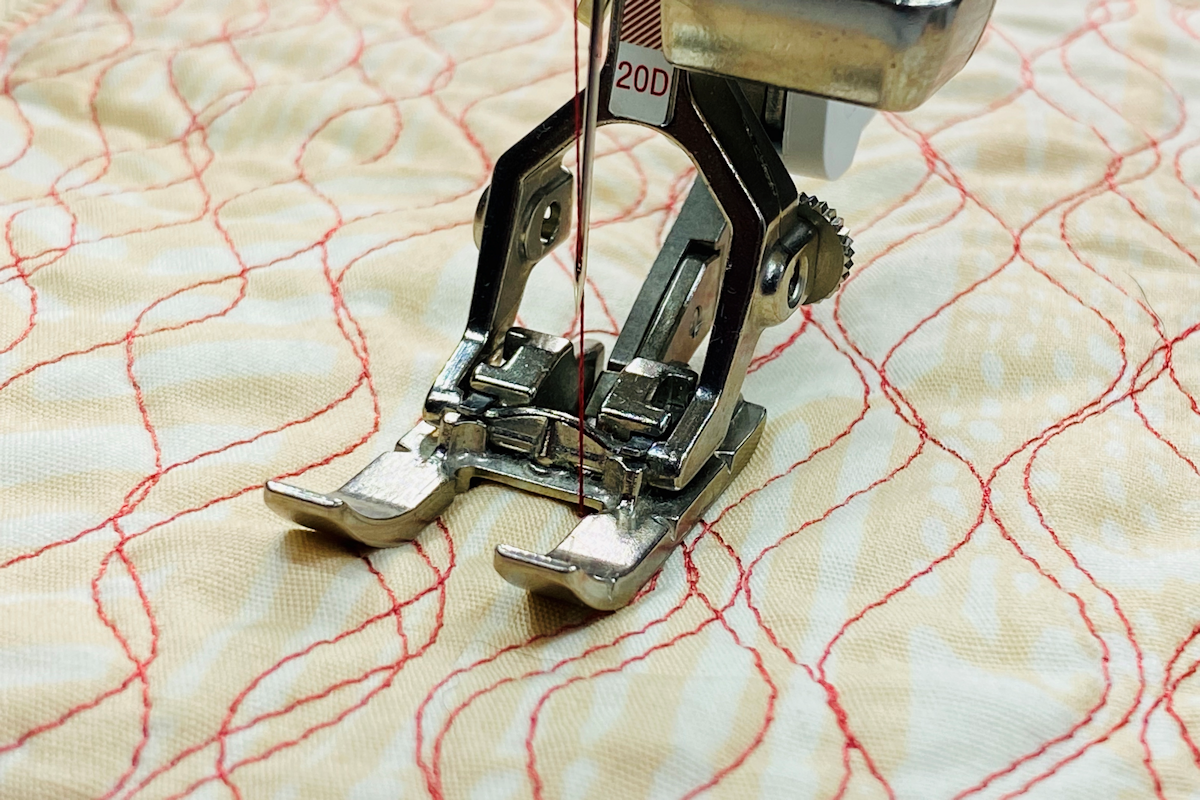
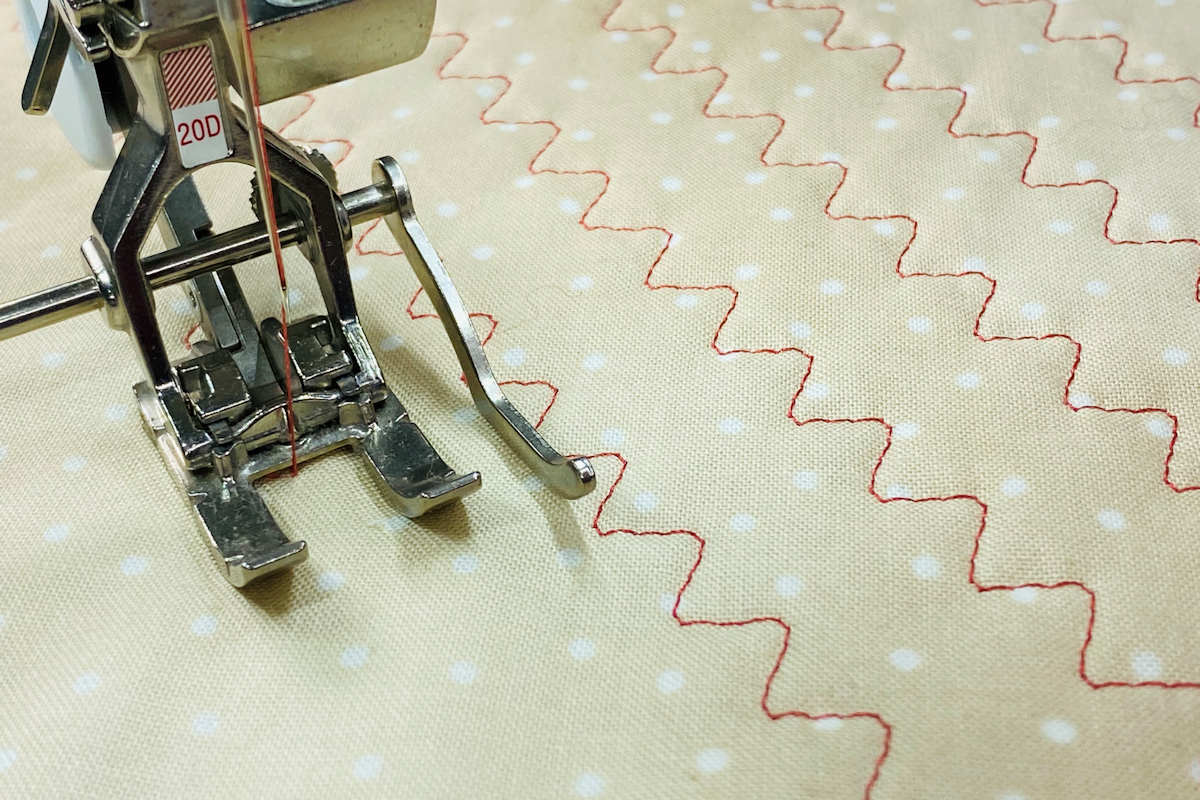
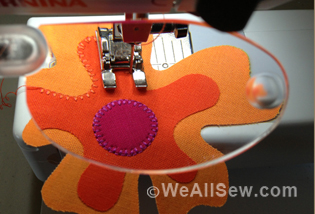
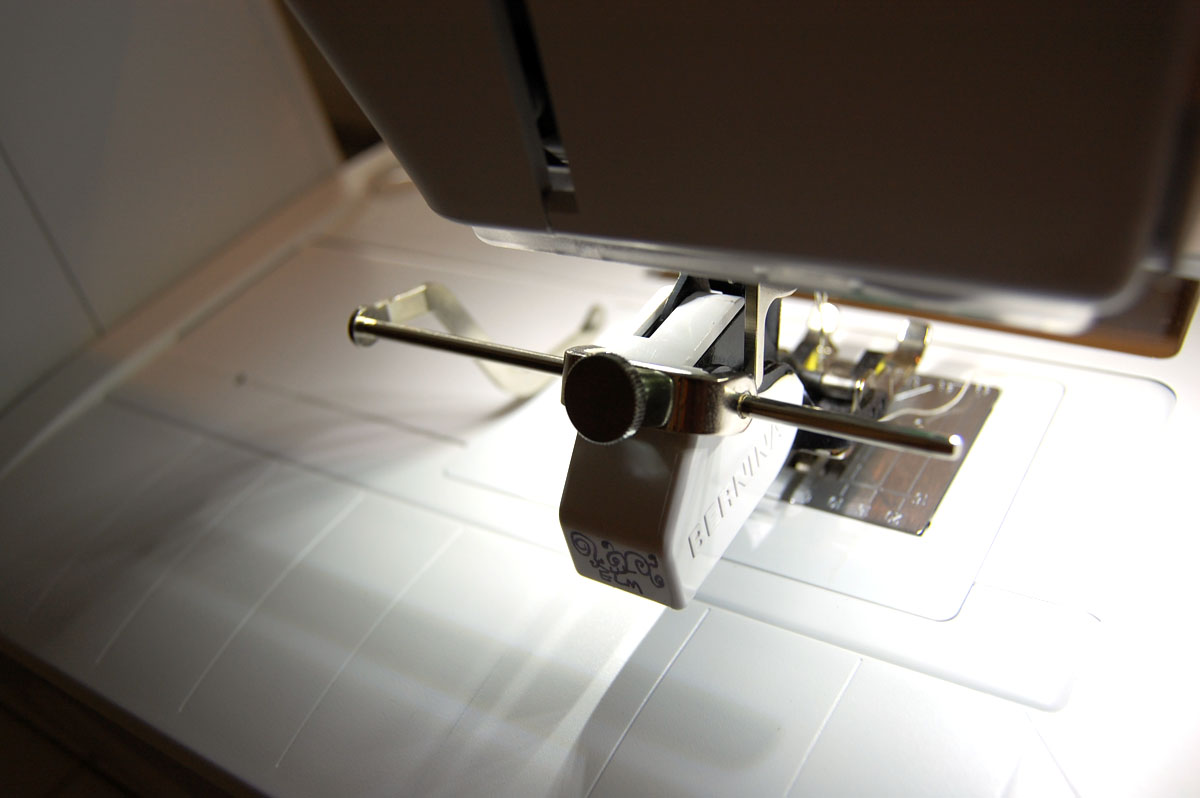
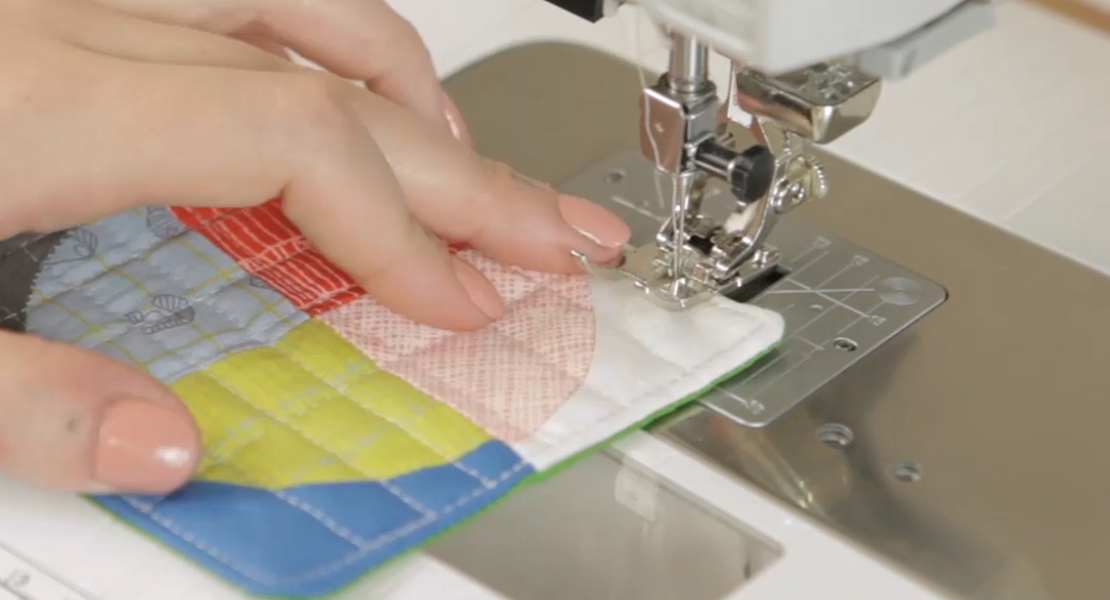
I used Open Embroidery Foot #20/20C/20D because I like the open area between the toes of the foot that lets me see exactly where I am stitching. For large quilts, the best choice is Walking Foot #50. Click here to see an earlier post about the difference between Dual Feed presser feet and Walking Foot #50.
Quilting Patterns
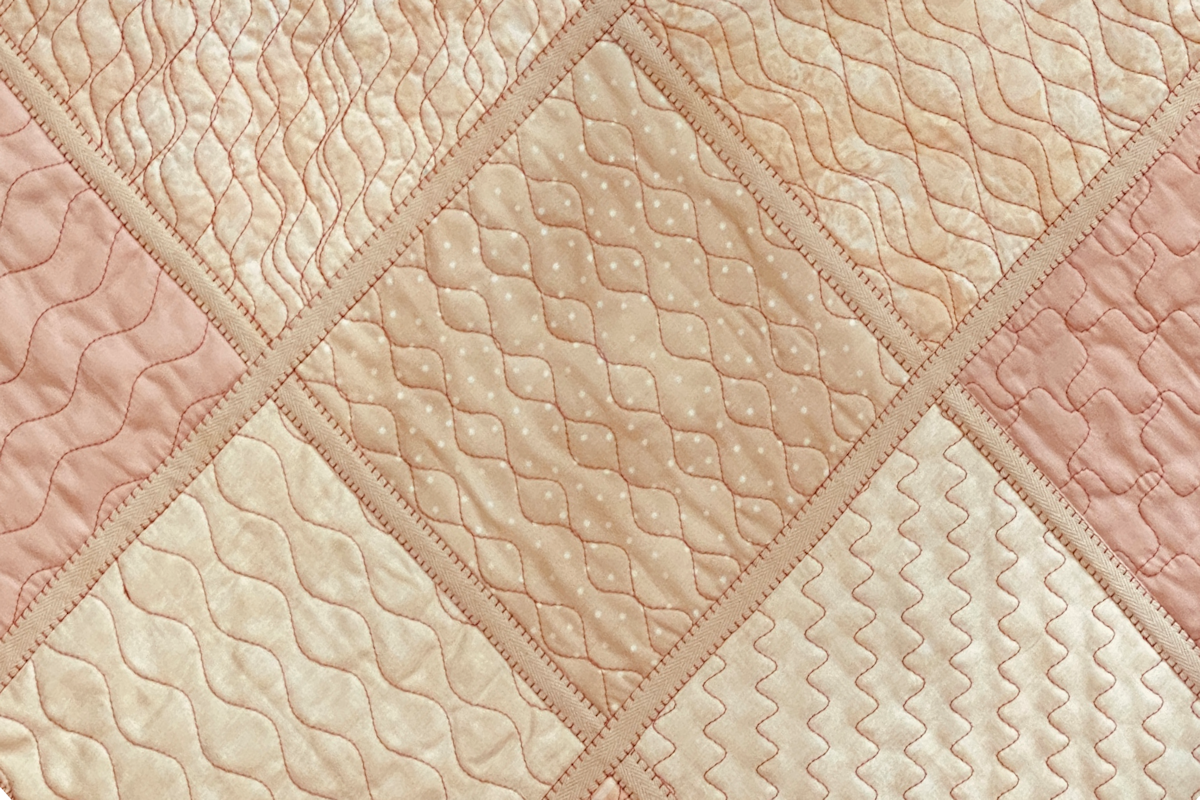
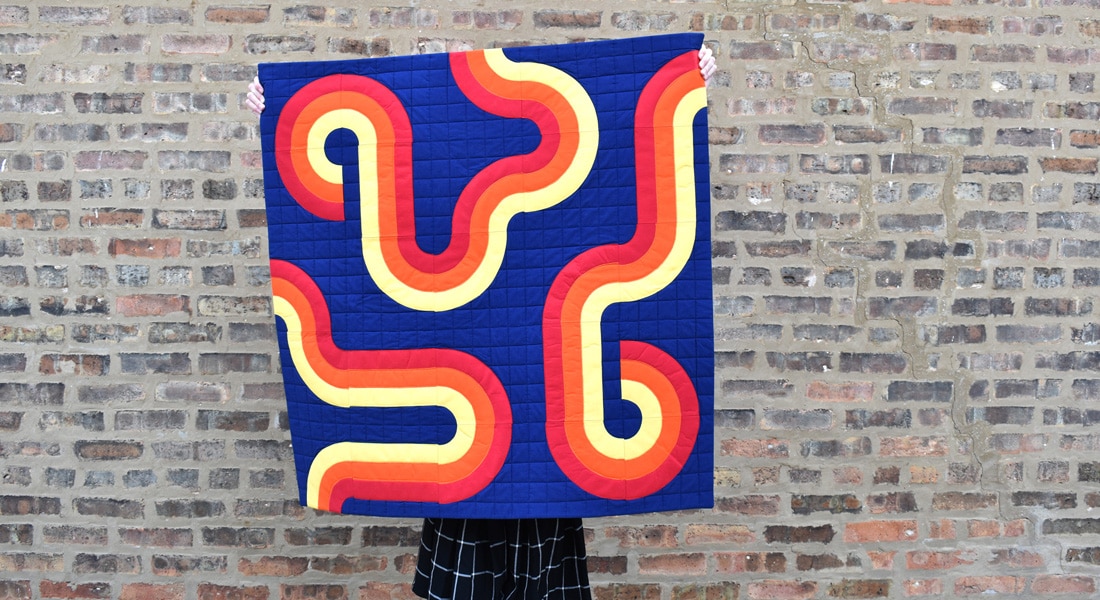
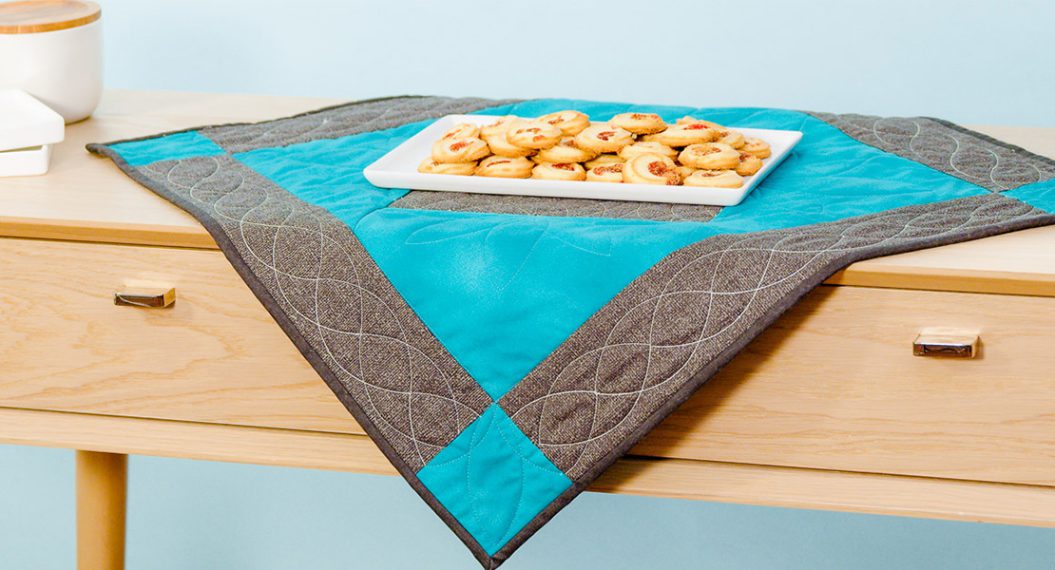
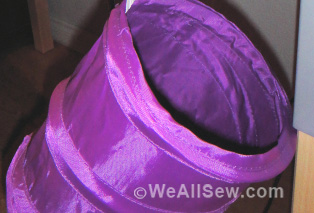
I’ve been experimenting with these three stitches, using them as quilting patterns. These stitches are as easy to sew as a line of straight stitching, but they elevate the look of your quilted projects, increasing the texture and making them more visually interesting. Below are some curvy line patterns, showcasing just a few ways to quilt your next quilt.
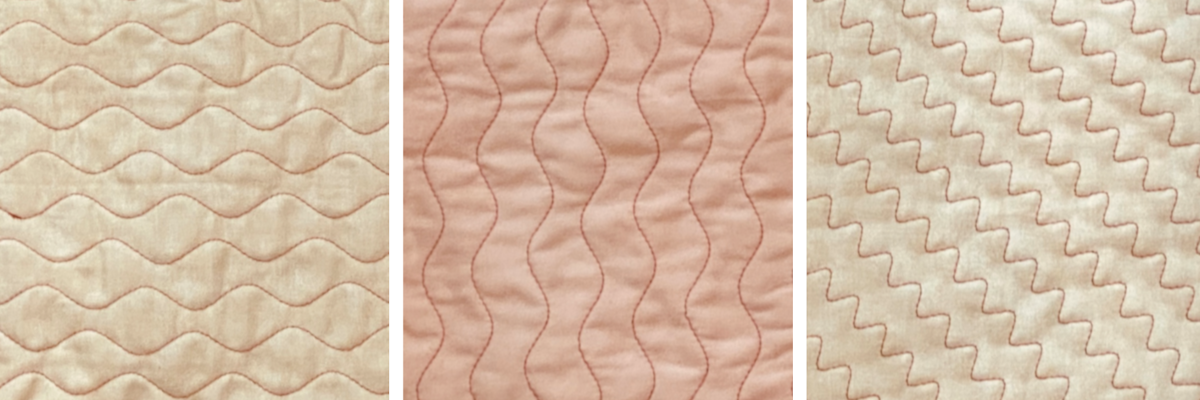
Random Curvy Quilting: Really simple, this pattern is just a collection of vertical, horizontal or diagonal curvy lines stitched randomly on your fabric. No need to sew straight, overlapping is OK. The more you stitch, the more texture you create.
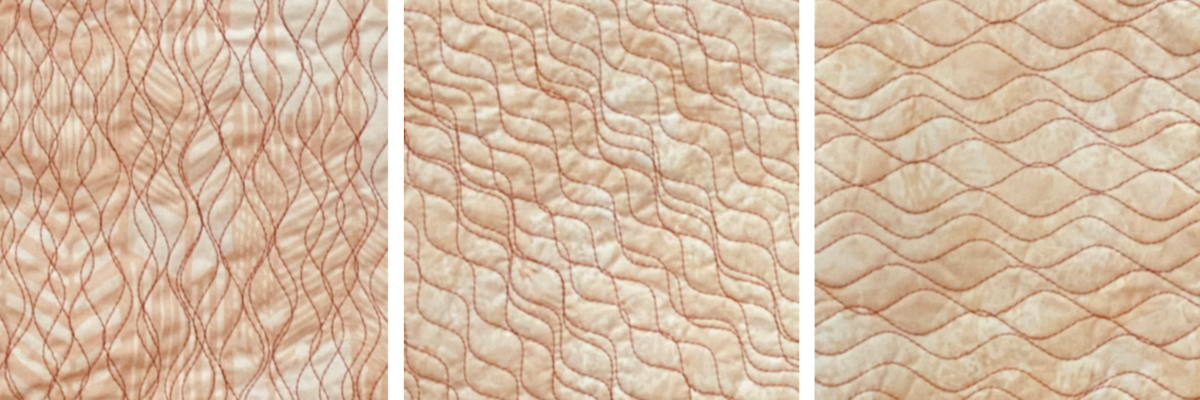
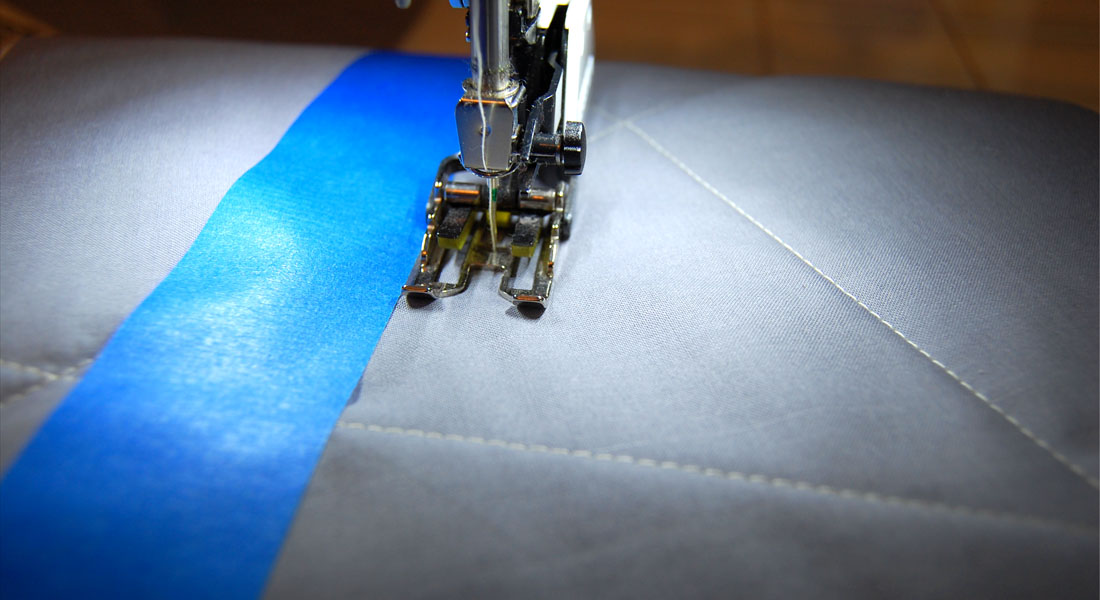
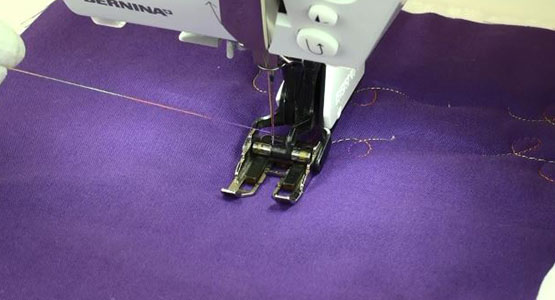
Channel Quilting: Another easy way to quilt, sew evenly spaced lines across the fabric surface. To eliminate marking, use the seam/quilt guide that attaches to the back of the presser foot (shown in the photo below). The lines can be sewn vertically, horizontally, or diagonally as desired.
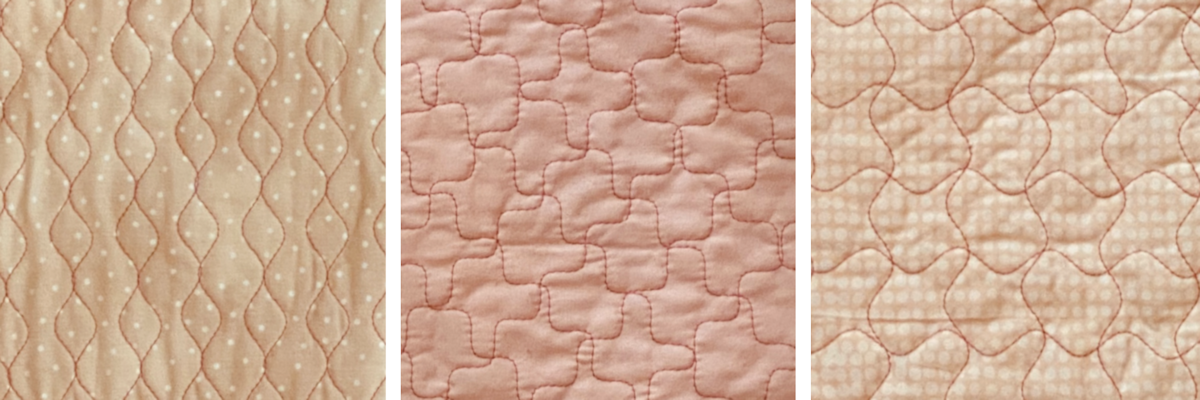
Hourglass Quilting: Stitch the curved line in sets of two, with one of them mirrored so they form a repeating hourglass pattern. The key to this is starting each line on the same plane so the curves face each other. Draw a horizontal line at the desired starting point. Align the needle at the drawn line each time you start a new vertical line of stitches.
Grid Quilting: Grid quilting starts the same as channel quilting. Once you have the lines stitched, sew a second set of lines in the opposite direction to form a grid. Again, the lines can be sewn vertically, horizontally or diagonally as desired.
Alternate Stitch
If your machine doesn’t have these stitches, Running Stitch #4 will give you a similar look. It is not as stretched out and free-flowing but it can be adjusted for a similar but smaller look. Increase the stitch length to open up the stitch and start playing with it.
Stitch Book
If I had made a Stitch Book (it’s been on my TO DO list for a while now), I would have discovered these stitches a long time ago. So I’m starting one now. It will take a while but maybe I’ll make some more fun stitch discoveries. If you want to make a stitch book for your machine, click here and here to see a colorful version!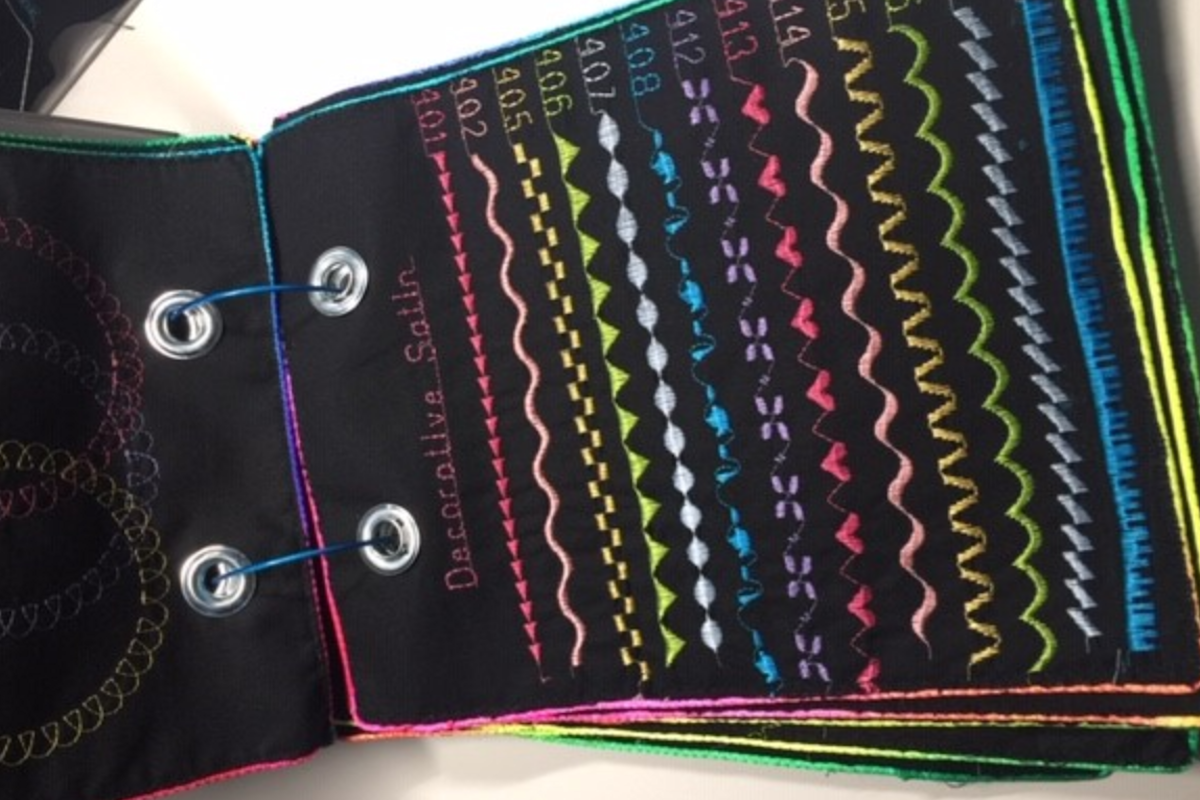
Used Products


What you might also like


One comment on “Curvy Line Quilting with My New Favorite Stitches”
Leave a Reply
You must be logged in to post a comment.

I love these tips. The wavy lines look great. I’m sewing on an older Bernina. I’ve used my #4. I’ll have to look to see if I have any of the other two. Thank you!