One-letter Monogram: A Single Letter for Maximum Impact

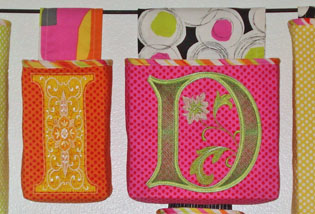
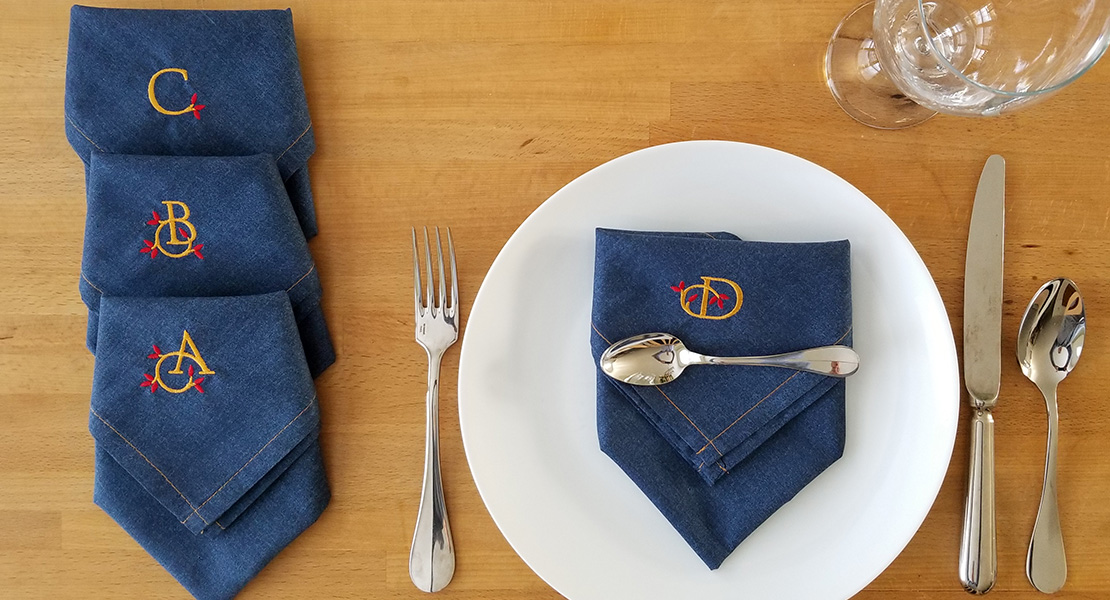
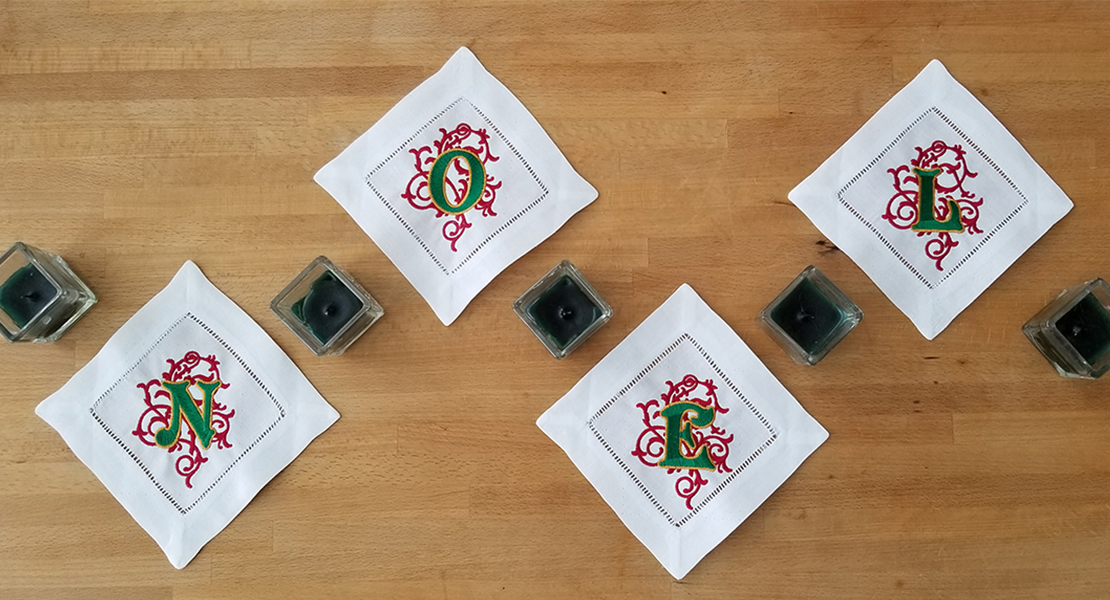
A single letter is a monogram distilled to its purest form. Whether it is the initial for your family name or to convey simple individuality with your first name initial, that single-letter can combine simplicity and maximum effect.
In this exercise, we will use the Monogramming Tool in BERNINA Toolbox software and quickly put together a single letter monogram with decoration. The goal is to review your options in the monogramming tool. There are 4 basic sets of options to choose from. Now that’s simplicity!
The process consists of the following steps:
1. Choose an Alphabet (style). TIP: Each dedicated Monogram Alphabet in Toolbox is available in 1, 2 or 3 letter versions.
2. Type in the letter for the monogram.
3. Set the Lettering Size. TIP: Use the grid on the screen to instantly assess the overall size of the monogram.
4. Choose a Decoration (optional).
After that, it’s merely a question of adjusting sizes of the letter and decoration, either together as a set or individually for various effects.
So let’s make a one-letter Monogram
With your Toolbox software open:
Click on New to create a new file:

• Type the file name: Monogram 1 Letter.
• Click OK.
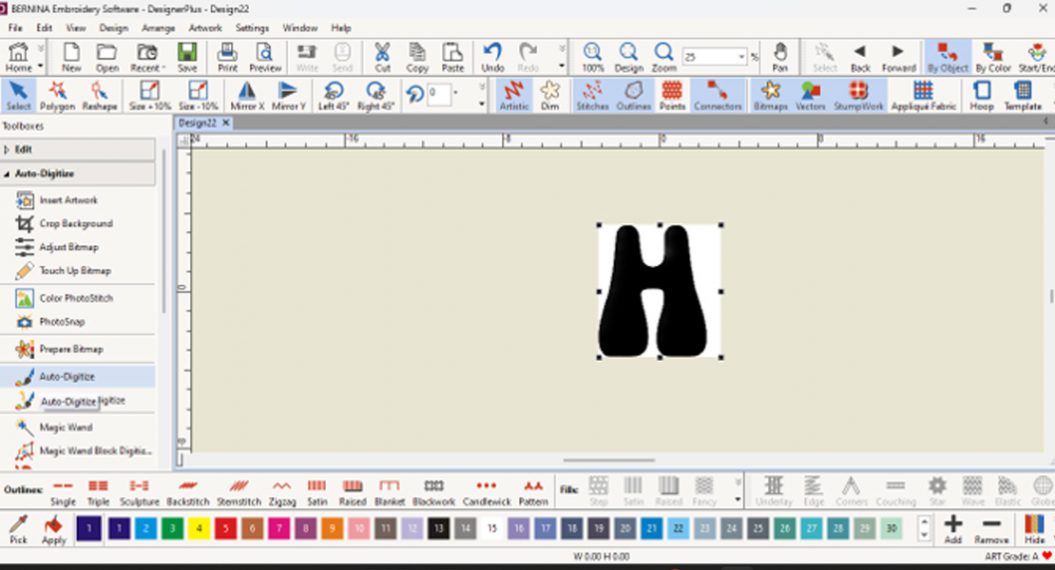
The main workspace screen of Toolbox will now open up.
• Click on the Monogram Tool.

• In the Choose Alphabet section:
Select the Ornate – 1 Letter alphabet.

NOTE: This Alphabet’s style is very well suited for a 1-Letter monogram as the letters are set into a circle, thus standing very well on their own. Each Monogramming alphabet indicates recommended minimum-to-maximum sizes.
• The preview button on the right hand side of each tile lets you preview what characters are available for each alphabet.
![]()
• In the Enter Letters section:
Swipe across the B and type the letter A (or initial of your choice).
Set the Height of the letter to 2 inches as a starting point. Size is easily adjusted at the end.
• In the Choose Decoration section:
Select a circular decoration.

Note: Toolbox will automatically size the decoration to your monogram letter and change the thread color.
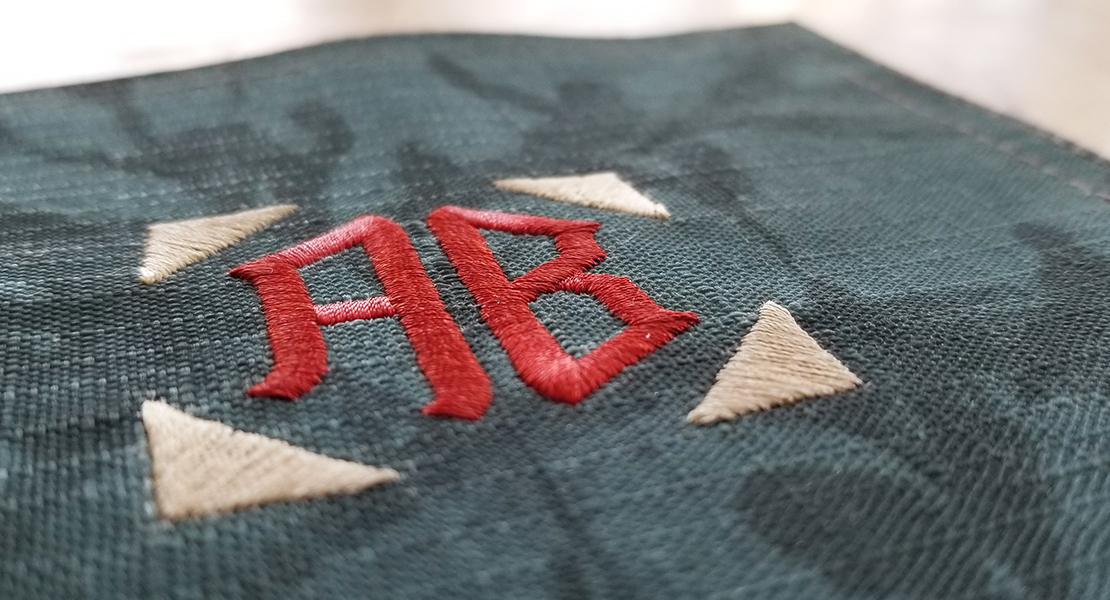
Your Monogram should now look as follows:
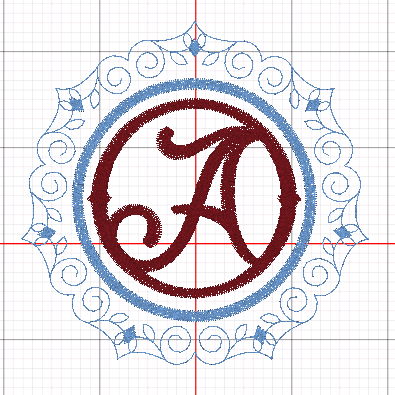
That’s it! You now have a one-letter Monogram . . . with decoration!
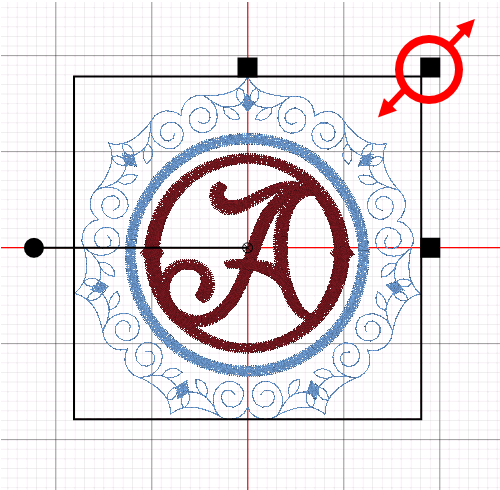
If you wish to adjust size of your Monogram:
• Use the Select Tool / Select All.

• Drag the Monogram to center it if it is not yet centered; this will make it easier to gauge sizing.
• Using the Upper-Right Corner Sizing control, drag the corner (black handle) inward or outward to resize.
TIP: Use the grid as a reference to gauge the final size of the monogram.
As you can see, by centering the monogram first and using the top right corner resizing handle, the monogram is resized while its center stays in place, making it easier to gauge final sizing against the grid.
If you like the Monogram we created in this tutorial, feel free to download it here.
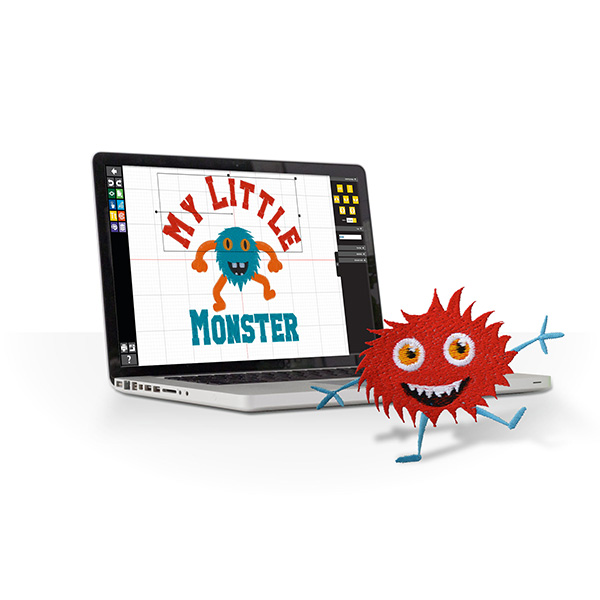
One Minute Monogram with BERNINA Toolbox Embroidery Software
How would you create a monogram in a minute? It’s simple with Toolbox. Join BERNINA of America educator, Sylvain Bergeron, in a quick guide to monograms utilizing BERNINA’s beginner-friendly embroidery software Toolbox.